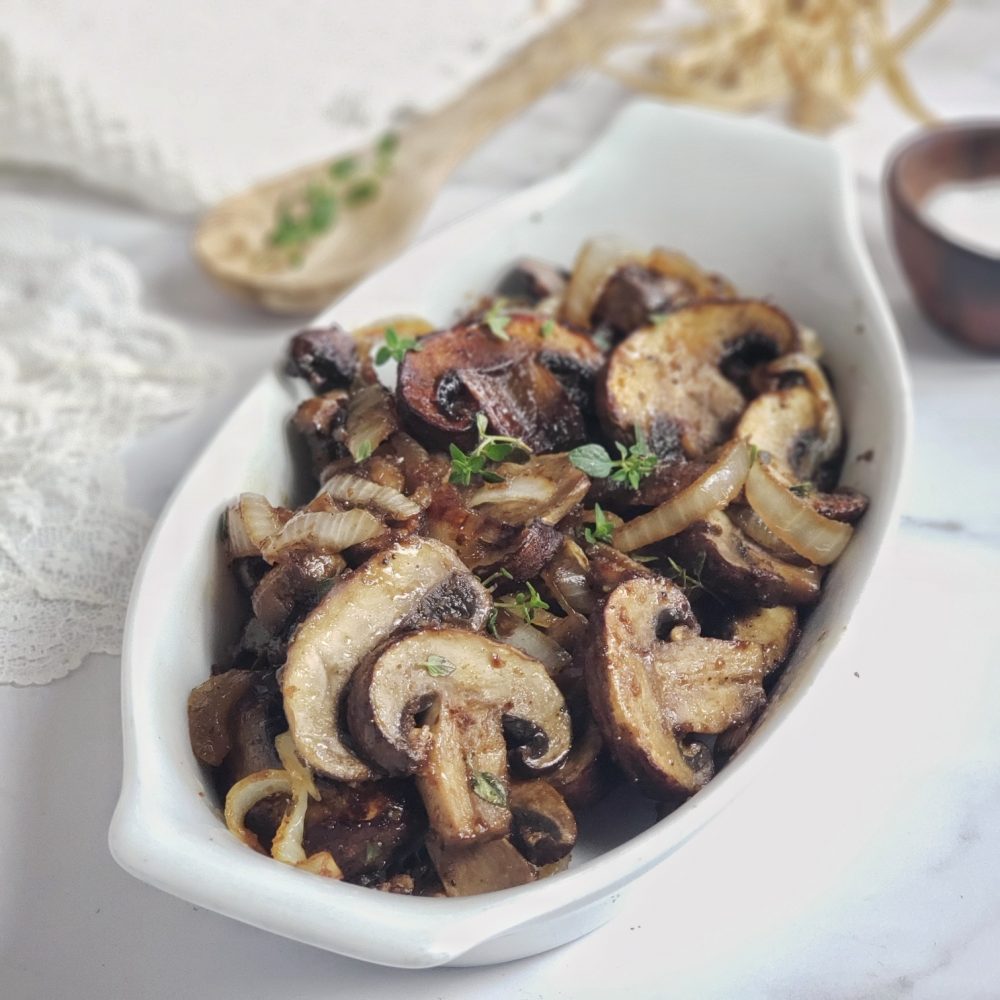
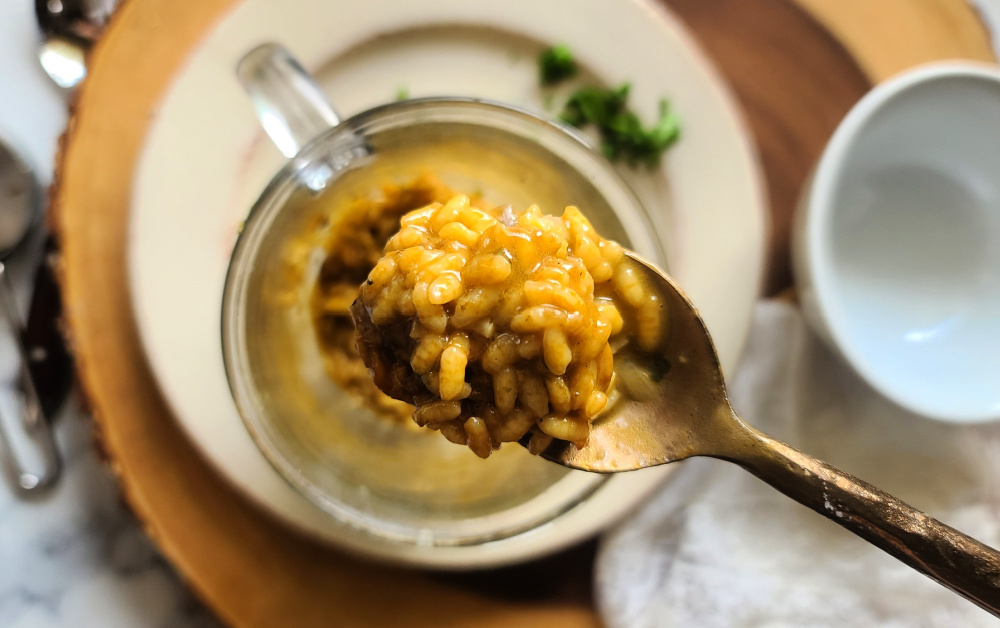
Flying solo on dinner plans? Stay home and cook up a comforting, delicious serving Mushroom Risotto for One that is well worthy enough to make any restaurant menu.

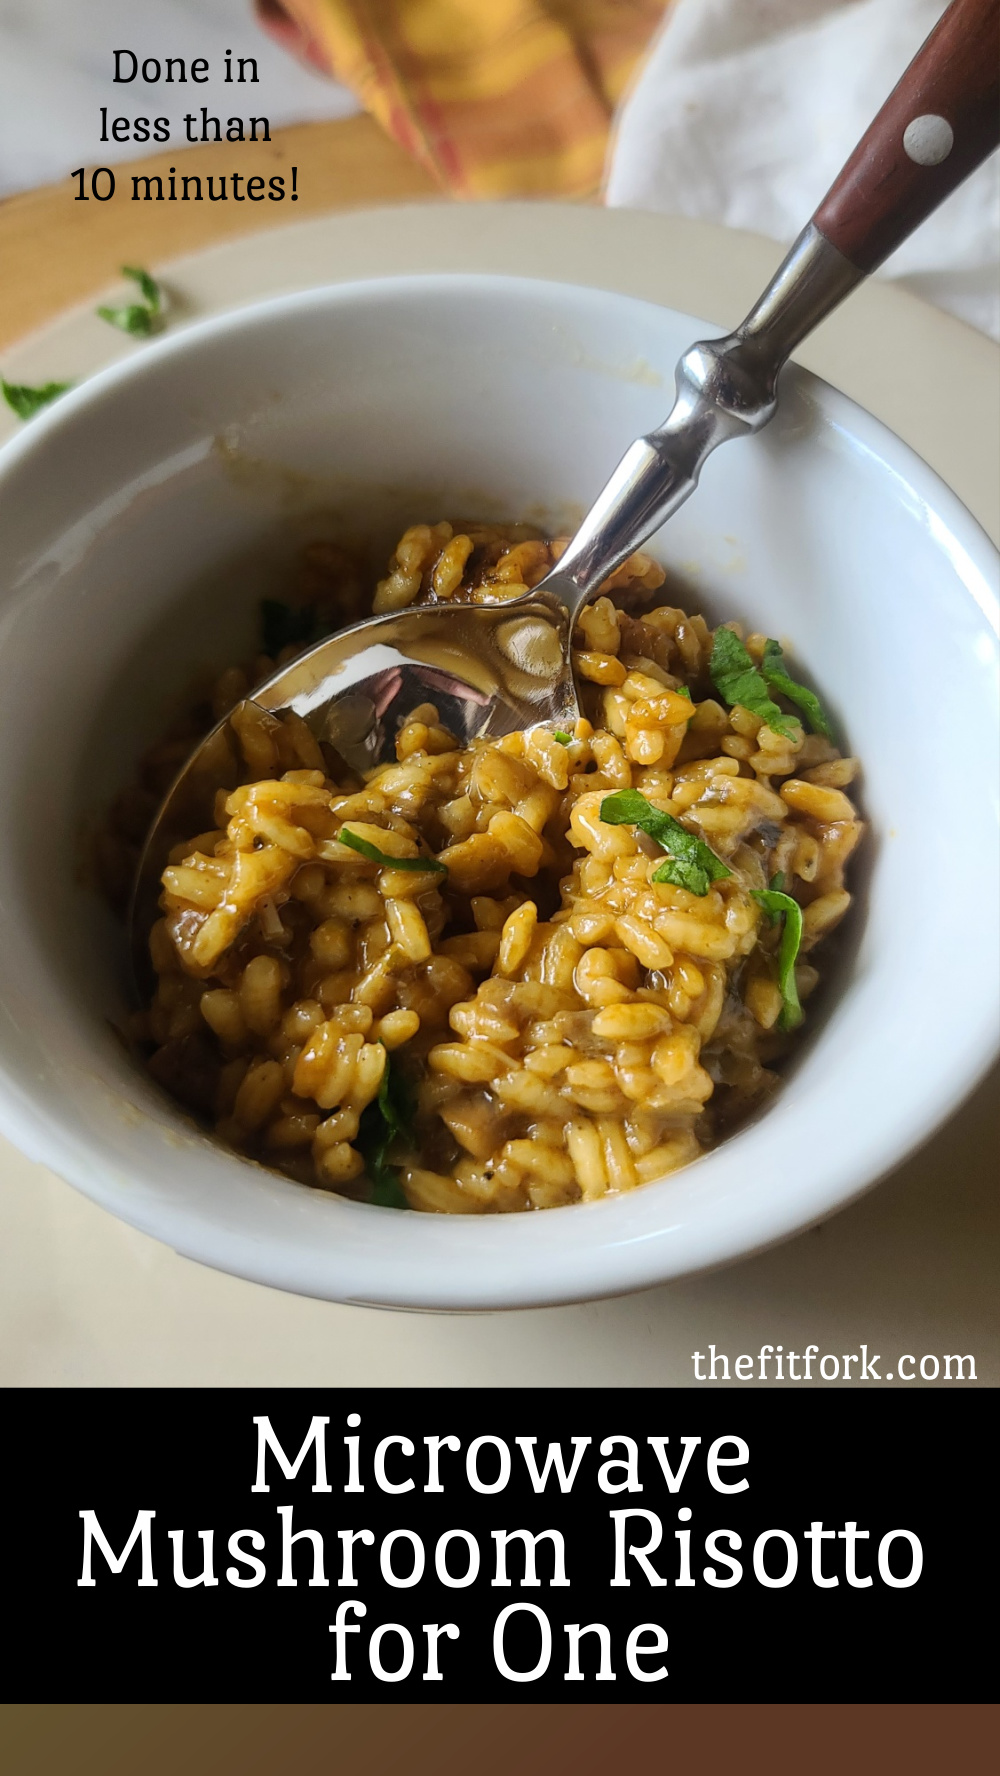
Maybe you’ve made risotto before and are like, “No, way . . .that’s going to take too long and/or I don’t have the patience.” However, unlike traditional risotto that takes 20 minutes of constant stirring and devoted attention (a real PITA) to produce, this easy-make risotto cooks up in the MICROWAVE in less than 10 minutes.
Plus, since it is a single-serve mushroom risotto recipe, you have automatic portion control that will keep you from eating an entire pot full. It’s so creamy and velvety and mushroom-y, you are going to love this under 10-minute risotto recipe.
The recipe uses all of the traditional risotto ingredients including Arborio rice, which (consider this your warning) you should NOT swap out for another type of rice. Arborio a medium-grained rice that is that textbook standard for producing the right starchy, creamy texture of this beloved rice comfort dish. Also of course, butter, Parmesan cheese, and mushrooms! I think Baby Bella (aka Cremini) mushrooms work great, but those simple white button mushrooms will do just fine too!
Serving: 300 cal, 13g fat, 27g carb, 6g protein). I used a vegetable-based culinary concentrate from Zoup to whip up the broth, so convenient and rich-tasting, there was no point in opening a big carton of broth for just ½ cup.
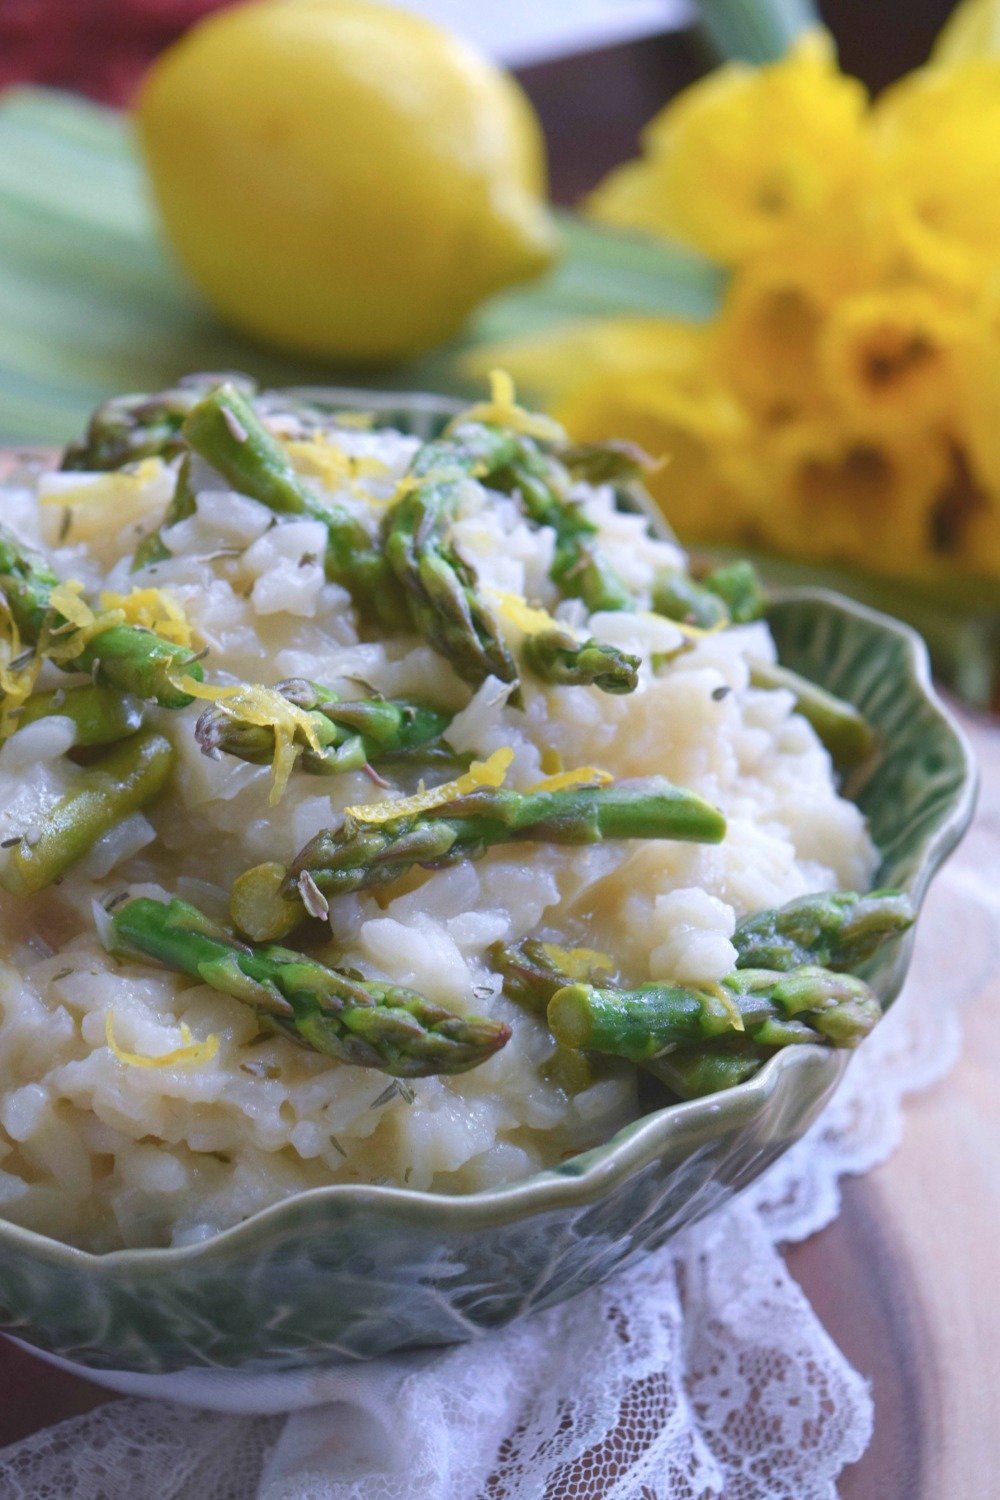
Pro Tip: Use a really big mug, about 20 – 24 ounces (or bigger). This will at first appear too big when you see the small amount of rice in it, but the large size is mandatory to prevent any messy over-boiling. If you’d like a large yield microwave risotto dish, check out my recipe for Microwave Risotto with Lemon & Asparagus which serves four
Note: This post contains affiliate links. I may earn a small commission from purchases, however price to you remains the same. Proceeds help offset operating costs for The Fit Fork – thank you!
In less than 10 minutes, whip up creamy, velvety Mushroom Risotto in the microwave (in a mug)! Delicious, restaurant-worthy, easy and perfectly portioned for dinner for one!
- ½ tbsp butter
- 1 tbsp finely chopped onions
- ¼ cup of arborio rice no substitutes
- 1/2 cup of veggie broth
- 1 tbsp of dry white wine can sub broth or water
- Pinch garlic powder
- Pinch ground black pepper
- 3 tbsp finely chopped mushrooms about 2 white buttons
- 1 tbsp grated Parmesan cheese
- Optional garnish: chopped thyme or p
-
Place the butter and onion in oversized 20- to 24-ounce mug. Mug will look “too big” for ingredients, but it will boil up so you need that room. Microwave on HIGH for 90 sec, stopping to stir halfway through.
-
Add the rice, garlic powder, ground pepper, and broth to butter mixture.
-
Microwave on 50% power for 2 minutes. Let “rest” for 2 minutes, then at 50% for another two minutes.
-
Stir in wine and mushrooms. Microwave at 50% for 2 more, let sit 2 minutes. If it is liquid-y or rice still has “crunch” then microwave again at 50%, adding water if getting too dry.
-
Add cheese and herbs, if desired, and heat another 1 minute at 50% power.
-
*Because microwave cooking times can vary depending on wattage, if at any time too much liquid is evaporating and rice looking dry, add a tablespoon more of broth/water back in.

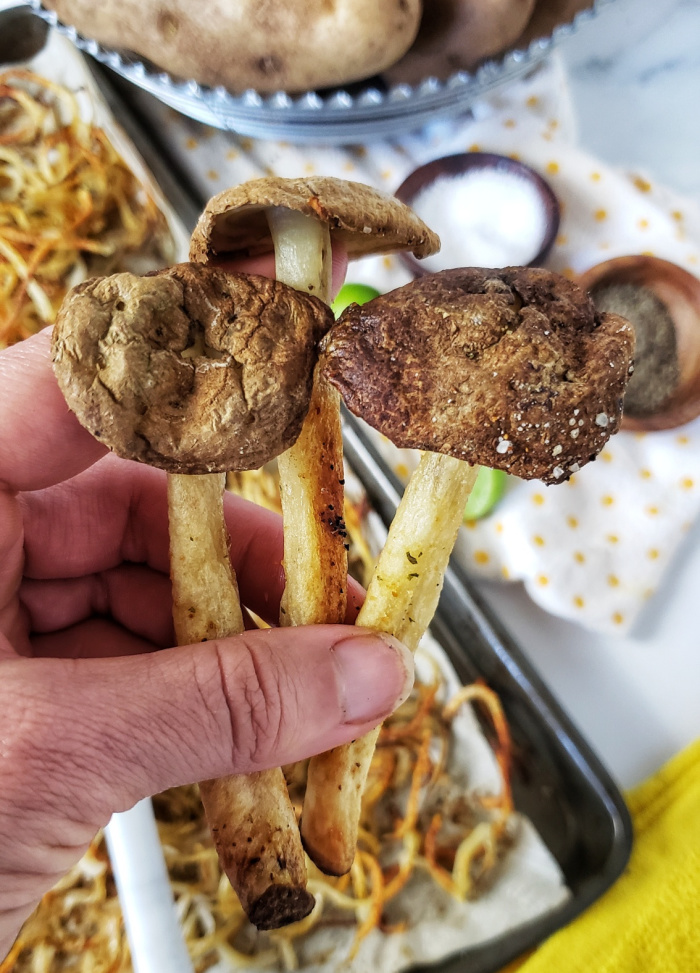
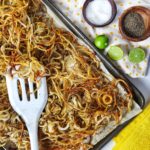
![[Sheet Pan] Spiralized Chili-Lime Hash Browns . . . and easy, economical and nutritious potato side dish for any meal of the day! And, oh yeah, AMAZINGLY delicious.](https://thefitfork.com/wp-content/uploads/2021/05/Sheet-Pan-Spiralized-Chili-Lime-Hash-Browns-hero-square.jpeg)
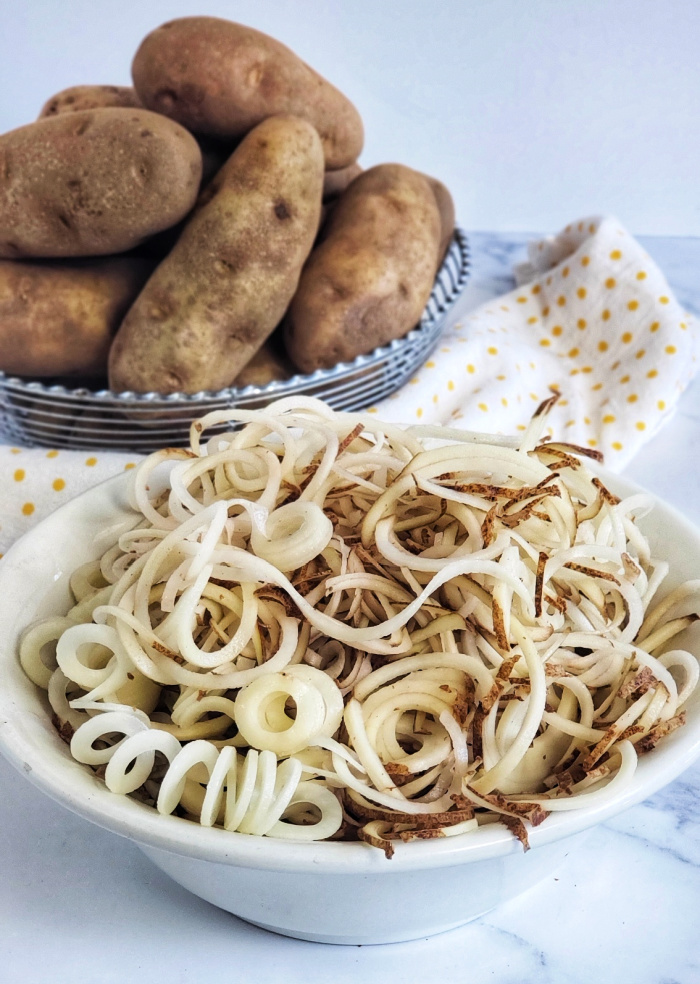
![[Sheet Pan] Spiralized Chili-Lime Hash Browns . . . and easy, economical and nutritious potato side dish for any meal of the day! And, oh yeah, AMAZINGLY delicious.](https://thefitfork.com/wp-content/uploads/2021/05/Sheet-Pan-Spiralized-Chili-Lime-Hash-Browns-pin-1-scaled.jpg)
![[Sheet Pan] Spiralized Chili-Lime Hash Browns . . . and easy, economical and nutritious potato side dish for any meal of the day! And, oh yeah, AMAZINGLY delicious.](https://thefitfork.com/wp-content/uploads/2021/05/Sheet-Pan-Spiralized-Chili-Lime-Hash-Browns-dinner-example.jpeg)