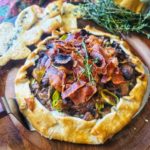
Rustic Mushroom Bacon Blue Cheese Tart with Garlic-Thyme Pastry “Leaves”

This post is sponsored by Wick’s Pies.

Autumn is here, the cozy yet bold flavors are dropping faster than the leaves from a tree! Like this Rustic Mushroom Bacon Blue Tart (with Garlic-Thyme Pastry “Leaves”), an autumn-inspired, delightfully delicious meal that comes together conveniently thanks to frozen pie crusts from Wick’s Pies.
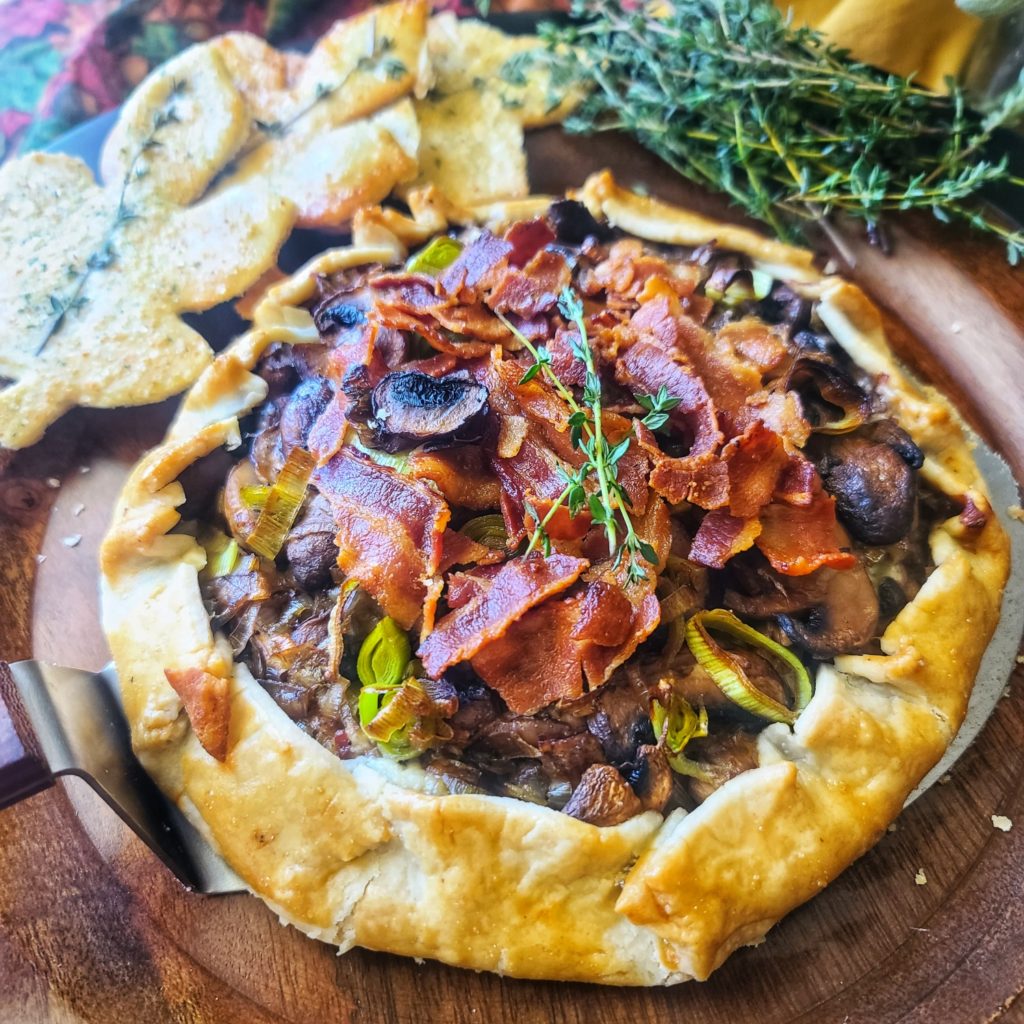
So bold and beautiful, this mushroom blue cheese tart is filled with flavor and easy to make thanks to a frozen pie crust! Sever with a green salad for a brunch or light dinner -- or as an appetizer for your fall-season party!

Eating pie for dinner is where it’s at! This is one of the best savory tarts I have ever made and is brimming with mushrooms, leeks, bacon and fresh herbs on a bold layer of creamy blue cheese.

Oh, and the crust! Let’s talk about the crust! Delicate, tender, flakey yet oh-so convenient! It’s a frozen pie crust from Wick’s Pies. I am NOT a pastry chef, and having the time and skill to make a pie crust worthy to envelope all the delicious ingredients in this mushroom tart stresses me out!

A glimpse at how easy this “use a froze pie crust” recipe actually is!

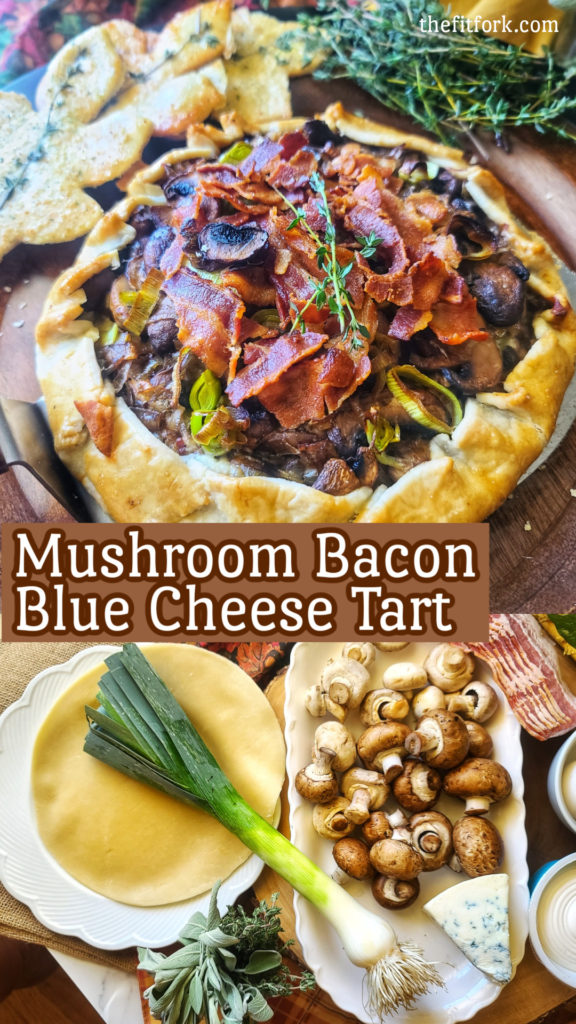
Using a frozen (and thawed) 8” Raw Circle of rolled out dough from Wick’s Pie, make my life so much easier – and I can spend my culinary talents focusing on the fillings and overall flavor of my tart rather than worrying about a dry, soggy, or otherwise lackluster crust.
So bold and beautiful, this mushroom blue cheese tart is filled with flavor and easy to make thanks to a frozen pie crust! Sever with a green salad for a brunch or light dinner -- or as an appetizer for your fall-season party!
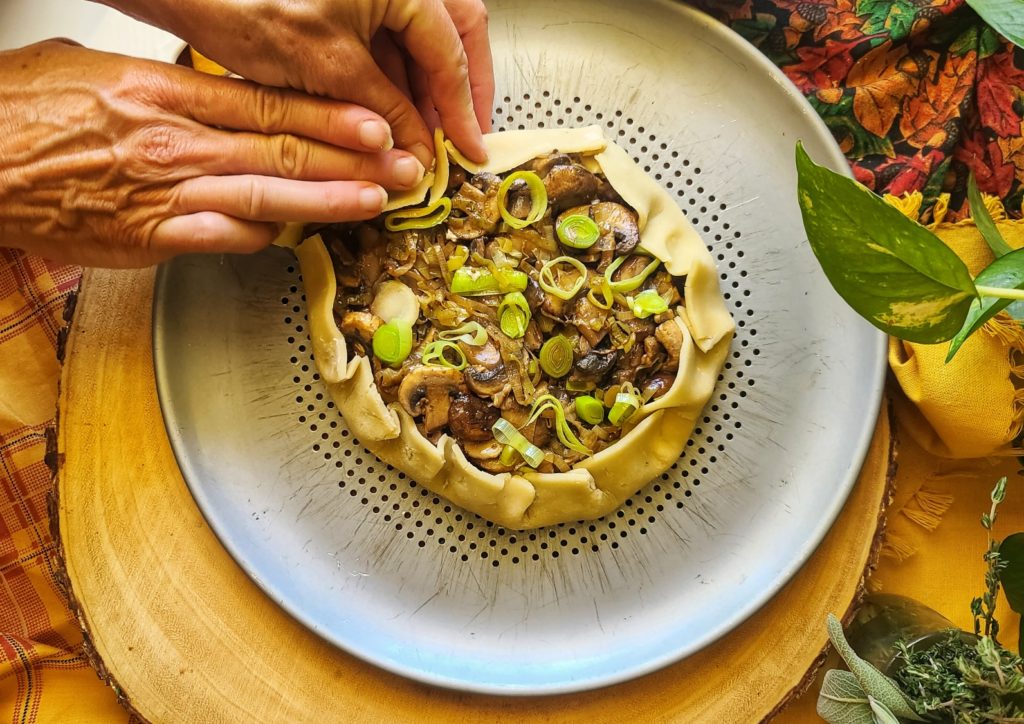
Fold up the sides, easy-peasy – you can’t make a mistake!

Also, I making a “rustic” tart, NOT in a pie pan with fancy lattice work, pinching or braiding also makes easy savory tart recipe a winner. Just put fillings in the middle, leaving about a 1-inch border, and then fold up the edges to secure. This mushroom pie CAN’T be messed up and any imperfections in executing the crust “fold up” just adds to the rustic, country charm.
So bold and beautiful, this mushroom blue cheese tart is filled with flavor and easy to make thanks to a frozen pie crust! Sever with a green salad for a brunch or light dinner -- or as an appetizer for your fall-season party!

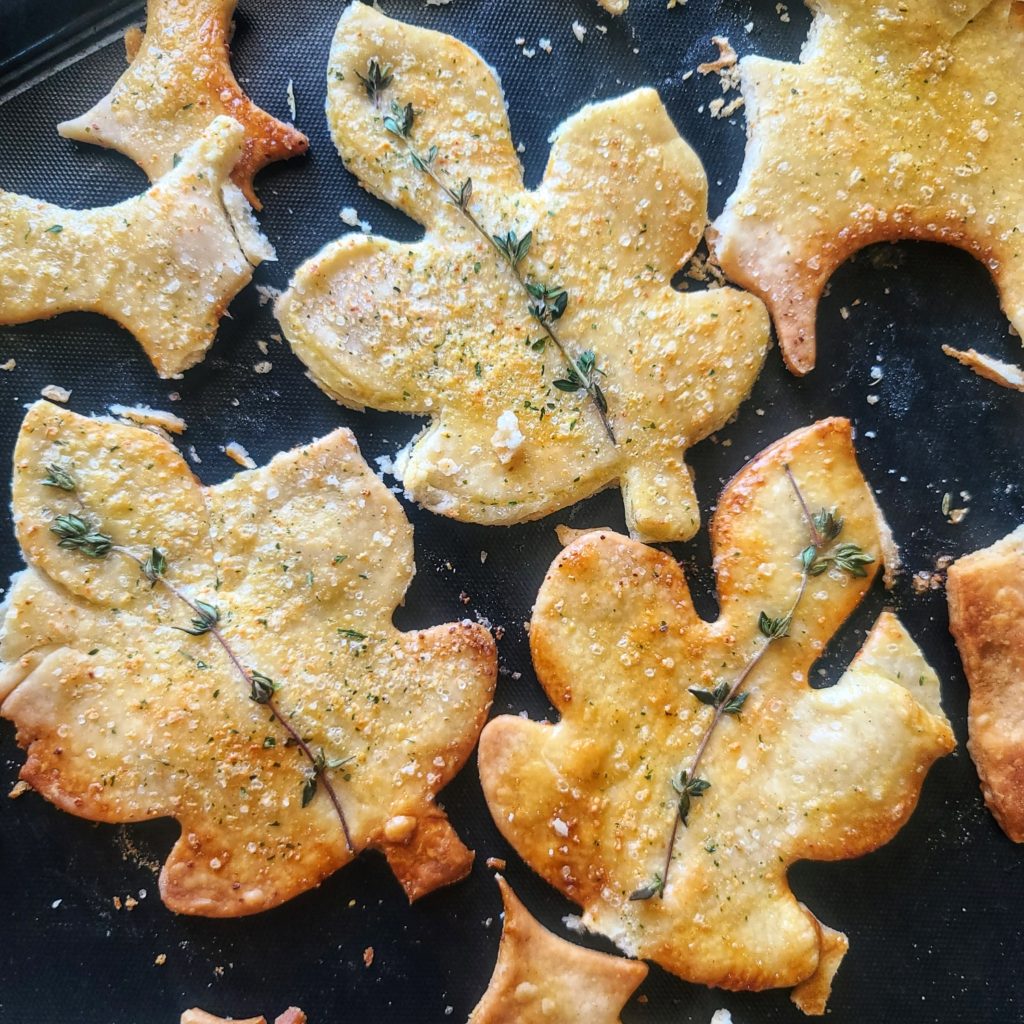
Because I’m so addicted to this delicious, tender convenience pie crust, I decided to use a leaf-shaped cookie cutter to make extra savory pie-crust pastries. You can NEVER have too much crust, am I right?! I simply sprinkled these pie dough cut outs with garlic salt and pressed in a bit of fresh thyme decoratively. Feeling so fancy serving this casual yet pretty darnclassy meal to my mom and dad this weekend!
So bold and beautiful, this mushroom blue cheese tart is filled with flavor and easy to make thanks to a frozen pie crust! Sever with a green salad for a brunch or light dinner -- or as an appetizer for your fall-season party!
Use a cookie cutter to punch out your favorite shape and sprinkle with garlic salt!

Mushroom Tart Pro Tips:

After sautéing mushrooms, slightly tilt pan to pool up excess liquid and mop off with a paper towel. This will prevent the crust from getting soggy.

Don’t skip the egg wash step in the recipe, this helps the crust turn a beautiful golden brown with a nice gloss.

If you are not a blue cheese fan, you can substitute another type of cheese (maybe crumbled Feta or even grated sharp white cheddar) instead.

I like to use a vented pizza pan, I think it keeps the crust crispier and flaker.

Check out Wick’s Pies wholesaler page for the source of the 8” Raw Circles used in my recipe . . . or you can also order whole pies of the dessert type to be delivered to your door– what a fabulous way to minimize upcoming holiday entertaining stress!

  1. Website: https://www.wickspies.com/
  2. Facebook: https://www.facebook.com/WicksPies
  3. Instagram: https://www.instagram.com/wickspies/
  4. Twitter: https://twitter.com/WicksPies

Learn more about Wicks Pies!
o bold and beautiful, this mushroom blue cheese tart is filled with flavor and easy to make thanks to a frozen pie crust! Sever with a green salad for a brunch or light dinner -- or as an appetizer for your fall-season party!
Pin this for later!
5 from 3 votes
o bold and beautiful, this mushroom blue cheese tart is filled with flavor and easy to make thanks to a frozen pie crust! Sever with a green salad for a brunch or light dinner -- or as an appetizer for your fall-season party!
Rustic Mushroom Bacon Blue Cheese Tart with Garlic-Thyme Pastry “Leaves”
Prep Time
10 mins
Cook Time
36 mins
Total Time
35 mins
 

So bold and beautiful, filled with flavor and easy to make thanks to a frozen pie crust! Sever with a green salad for a brunch or light dinner — or as an appetizer for your fall-season party!

Course: Appetizer, brunch, dinner
Cuisine: American, country, French
Keyword: bacon, blue cheese, mushroom, pie crust, tart
Servings: 4 servings
Ingredients
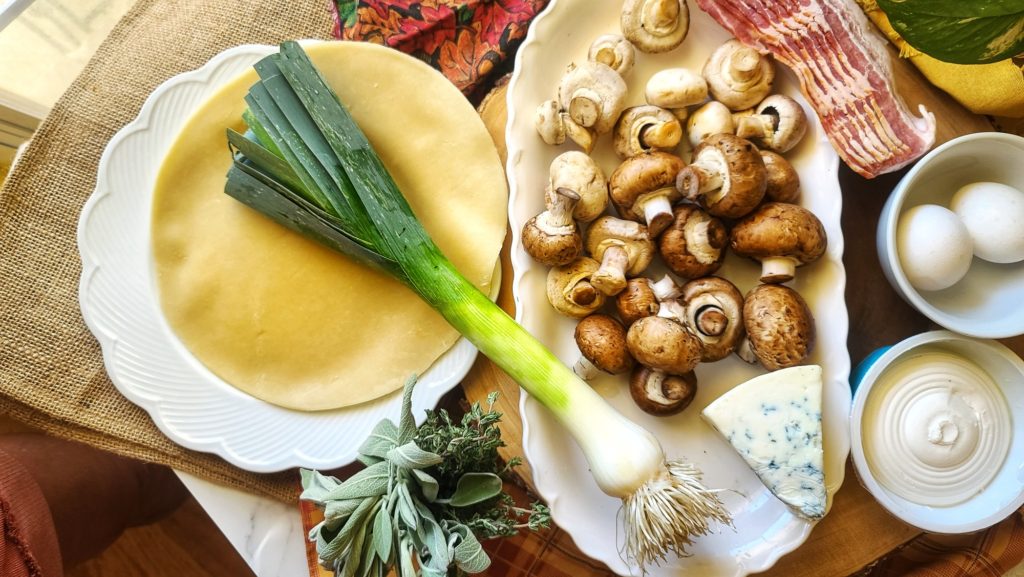
  • 4- ounce bacon
  • 10 ounces mushrooms of choice I used Cremini and White Button
  • 1 cup sliced leeks whites and light greens
  • 1/4 teaspoon black pepper
  • ¼ teaspoon sea salt
  • 4 ounces cream cheese softened
  • 2 ounces blue cheese crumbled
  • 1 teaspoon fresh thyme leaves plus extra for garnish and crust “leaves”
  • 1 whisked egg for wash
  • ½ teaspoon garlic salt
  • 2 frozen Wick’s Pie crusts, thawed 1 for tart, 1 for extra crust “leaves” (optional
Instructions
  1. Heat 12-inch stainless steel skillet over medium-high and cook bacon for several minutes each side, until browning and crispy. Remove to paper towel-lined plate to drain, reserving about 1 tablespoon bacon fat in pan (discarding the rest).
  2. Add sliced leeks to pan, and sauté for 2 minutes and then add mushrooms and continue to cook for a 4 to 5 more minutes until softened and liquid released. Season with salt and pepper. Remove from heat and slightly tilt pan to pool up any remaining mushroom liquid and carefully pour off or sop up with paper towel. This will help prevent tart from getting soggy.
  3. Preheat oven to 400F.
  4. Allow mushroom mixture to cool for a few minutes. Meanwhile, make cheese filling by coarsely mashing together 2 ounces of crumbled blue cheese with 4 ounces cream cheese.
  5. Place thawed Wick’s Pie crust on a baking sheet (I prefer a vented pizza pan), coated with non-stick spray.

  6. Using spatula, spread on cheese mixture eaving a 1” border. Next pile on mushroom mixture over cheese and lightly pat down.

  7. Fold up edges of pie crust “rustically,” pinching excesses in the folds together as needed. Brush exposed edges of pie crust with egg wash.
  8. Top with crumbled bacon.
  9. Bake at 400F for 25 minutes or until crust golden and cheese bubbling.

  10. Once you stick tart in oven, start preparing the optional garlic-thyme “leaves” which will bake in the same oven as the tart for the last 5 to 6 minutes of baking.

  11. Spread thawed Wick’s crust on a baking sheet and sprinkle with garlic salt. Use leaf shaped cookie cutter (or other cutter design of choice) to make impressions that cut through – slightly wiggle the cut crust from them, but leave on the pan to cook as “extra” snacking material for later! Press on some of the fresh thyme into to dough decoratively. Bake at 400F for 5 to 6 minutes or until golden. Remove to cool on pan for 5 minutes before handling.
  12. Serve garlic-thyme leaves alongside the tart, if desired (making the leaves is an optional step).

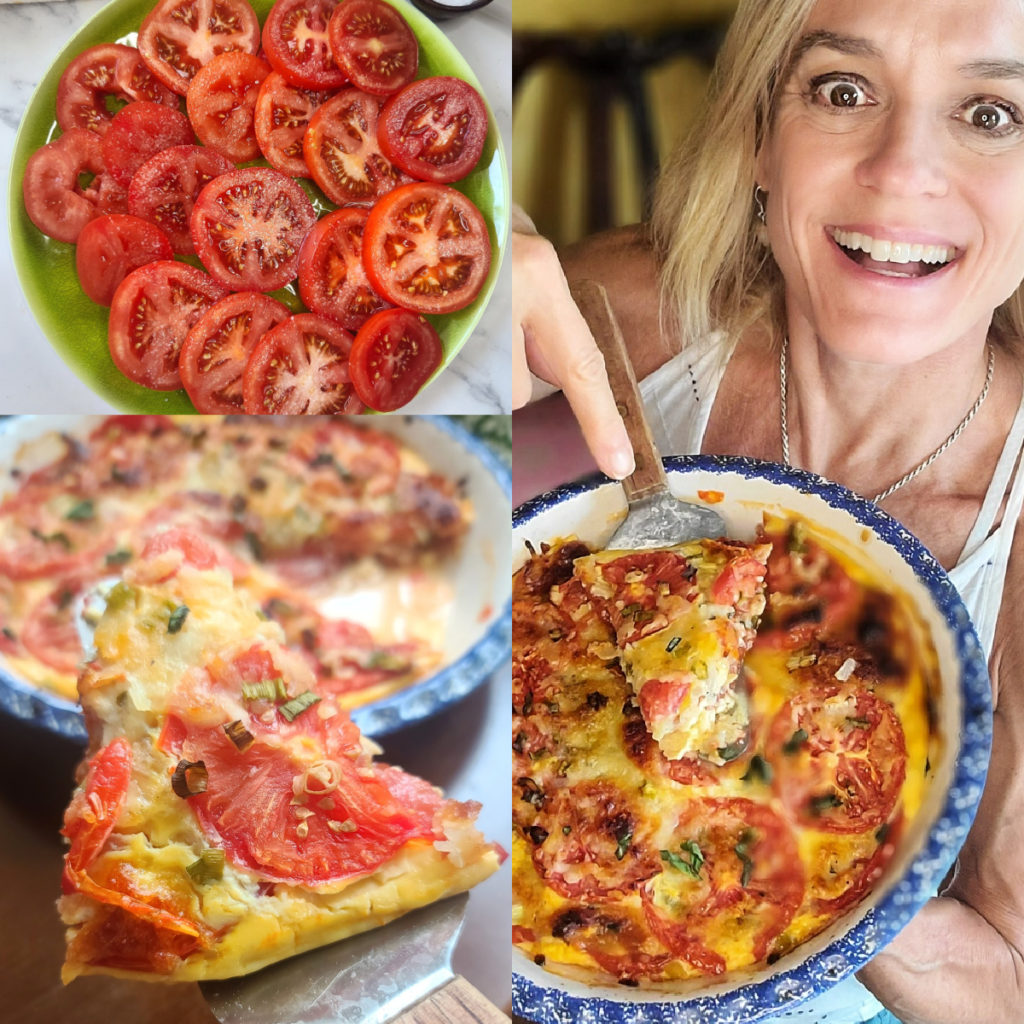
No-Crust Tomato Pie – Lower Carb, Gluten-free

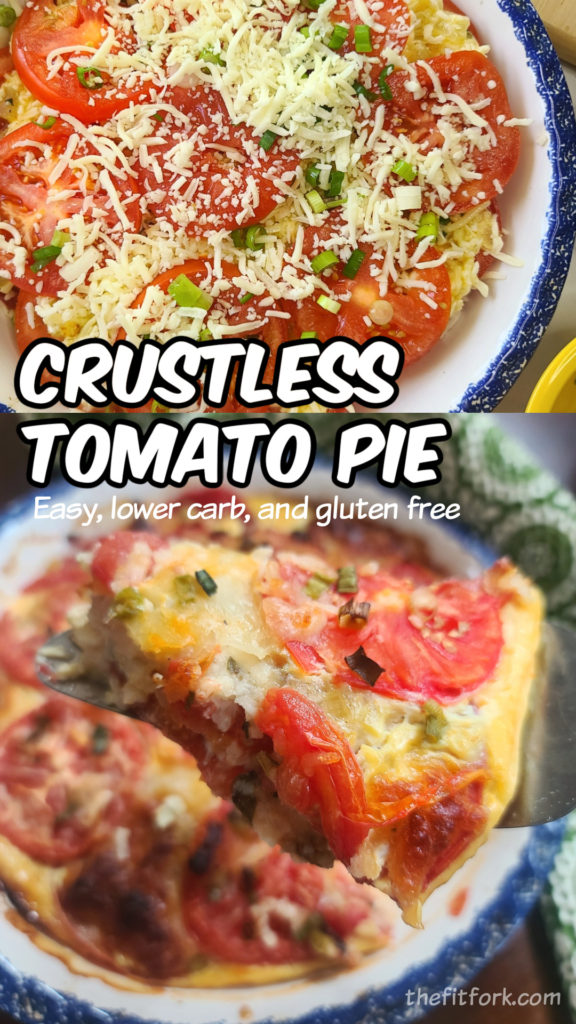
Crustless Tomato Pie is a low-carb spin on one of my favorite southern dishes. Such a yummy way to use up a bumper crop of sweet, ripe tomatoes.

Most southern tomato pies have a pastry crust, but I personally like mine without! Tomatoes tend to get watery and seep all over a crust and make it unpleasantly soggy, especially you have leftovers. But a crustless tomato tart or pie doesn’t have nearly the same issue.

Watch it – 15-second tutorial!

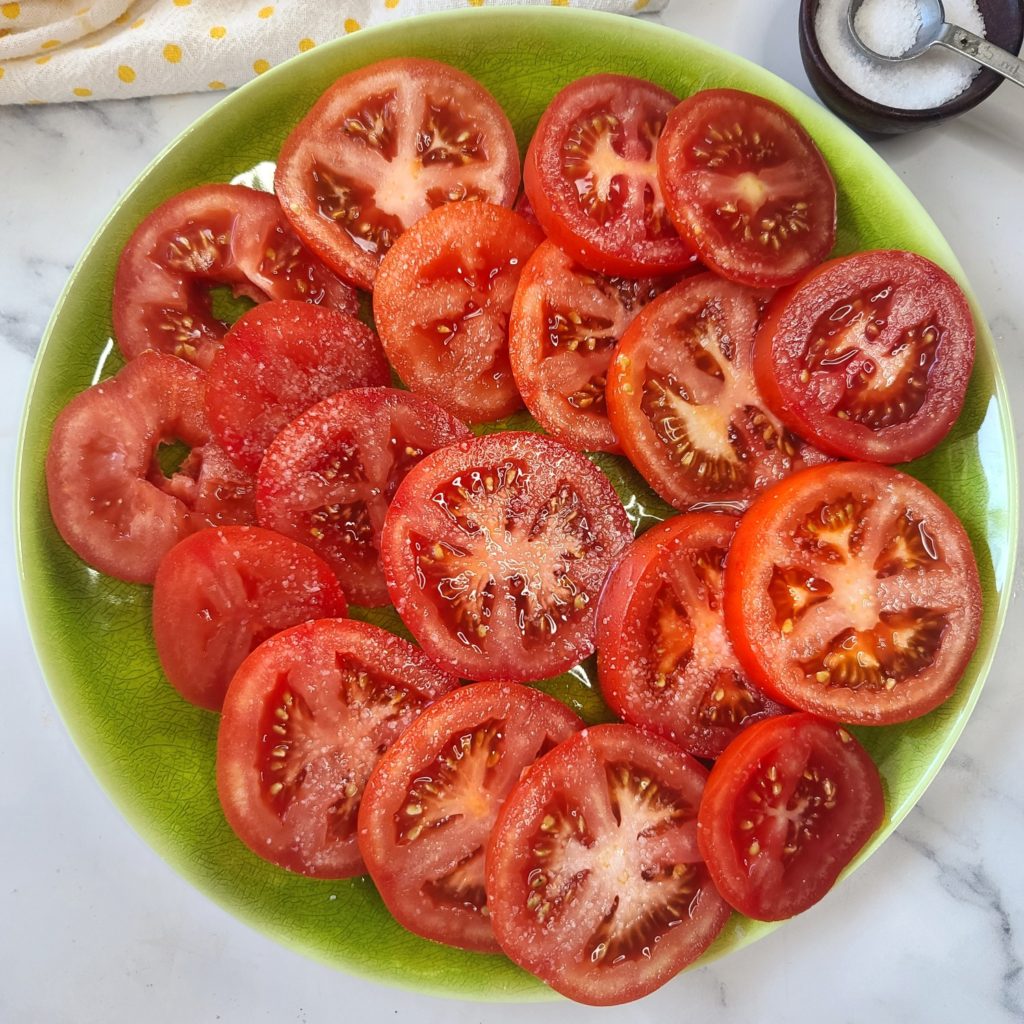
However, one of the most important preparation steps you’ll want to take for this tomato mozzarella pie is to “sweat” the tomatoes. To do this simple task, just sprinkle your slice tomatoes with a little salt and let them rest on a plate for about 30 minutes. Afterward, drain off any liquid released onto the plant and use paper towels to blot up any excess moisture (this also helps remove some of the salt so that it doesn’t overpower). Sweating tomatoes like this helps keep them from making dishes watery and also makes the tomato flavor more intense – win-win!

Sweat the tomatoes with a little sale for 30 minutes - this helps remove excess moisture so recipe doesn't get soggy and also intensify flavor.
Don’t skip the 30-minute tomato “sweat” session!

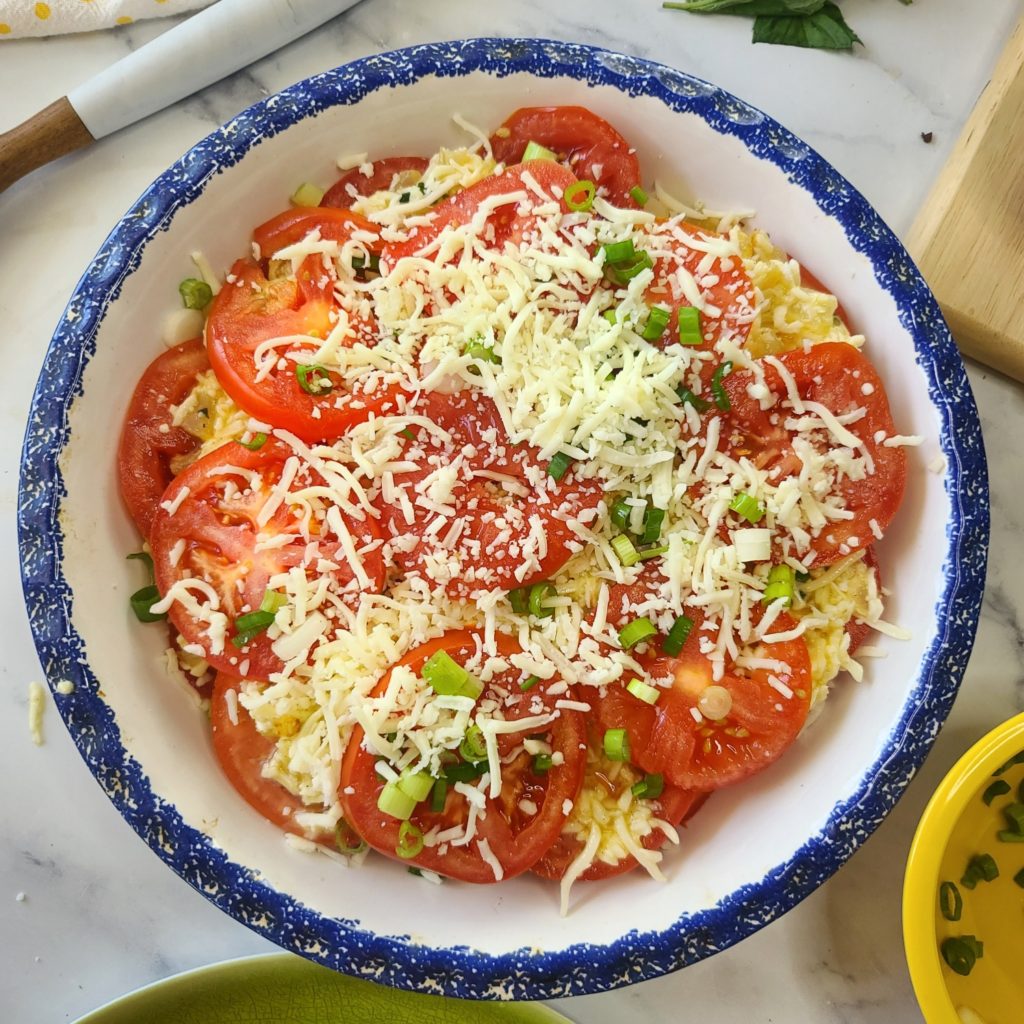
To assemble the tomato pie, you just layer tomato slices and half of the egg-cheese mixture, and then repeat those layers again, and finish with a final tomato layer – so 3 layers of tomatoes and two layers of filling. The recipe does call for two eggs in it, but only to serve as a binder to help keep everything together – it’s definitely not eggy like a quiche or frittata.  It’s all about the tomatoes!

Ready to pop in the oven for 30 minutes!

Serve a side dish to dinner or light lunch – it’s even delicious as summery breakfast. My husband says it’s a casserole with tomatoes, but I say it’s a low carb tomato pie since it’s in a pie dish – he does agree it’s delicious. My kids say the low carb tomato casserole slash pie tastes like a pizza! Any way you slice it, we gobble it all up.

Pin this for later!

However, if you do want to heat leftovers up the next day, you can microwave a slice for about 45 seconds. Or, if you have an air-fryer, I prefer to set my slice in a small dish and air fry at 390F for about 6 minutes – this returns the cheese to more of the original gooey-crispy state.

Makes 6 servings, each with 178 calories, 9g carb, 12g fat, 13g protein

Disclaimer: My post contains affiliate links. I earn a small commission on products purchase, however the price to you remains the same. Thank you!

5 from 6 votes
Crustless Tomato Pie: No crust means the intense flavor of vine-ripe tomatoes shines through in this recipe whether you want to call it a pie, tart or casserole. Simple ingredients, lower carb, gluten-free and sure to delight for breakfast, brunch or as a side dish any night.
No Crust Tomato Pie – Low Carb and Gluten Free
Prep Time
10 mins
Cook Time
30 mins
“Sweating” tomatoes
30 mins
Total Time
1 hr 10 mins
 

Crustless Tomato Pie: No crust means the intense flavor ofvine-ripe tomatoes shines through in this recipe whether you want to call it apie, tart or casserole. Simple ingredients, lower carb, gluten-free and sure todelight for breakfast, brunch or as a side dish any night.

Course: Appetizer, Breakfast, brunch, lunch, Side Dish
Cuisine: American, Southern
Keyword: brunch, pie, tart, tomato
Servings: 6 servings
Calories: 178 kcal
Ingredients
  • 1 ½ lbs. tomatoes about 5 to 6 medium
  • 1 tsp salt
  • 1 cup chopped sweet onion
  • 1 tablespoon butter
  • 2 eggs
  • ½ tsp black pepper
  • 2 tablespoons fresh chopped basil
  • 2 cups shredded mozzarella reserve 1/3 cup
  • 2 green onions tops and whites chopped
Instructions
  1. Slice tomatoes and sprinkle with salt. Let sit 30 minutes, then pour off juices and blot excess with paper towels.
  2. While tomatoes are “sweating,” saute onion in butter. Let cool of a bit.
  3. Mix together cooled sauteed onions, eggs, pepper, fresh basil, and 1 2/3 cups of the mozzarella.

  4. Layer pie dish with tomatoes, then dollop and spread ½ of the cheese-egg mixture on top.
  5. Sprinkle with green onions. Layer with tomatoes and remaining cheese mixture.
  6. There should be enough tomatoes left for the top. Arrange these and sprinkle with remaining cheese.
  7. Bake at 375F for 30 to 40 minutes, or until cheese bubbling and starting to brown in places.
  8. Let rest for 15 minutes before cutting into 6 wedges.
Recipe Notes

Makes 6 servings, each with 178 calories, 9g carb, 12g fat, 13g protein

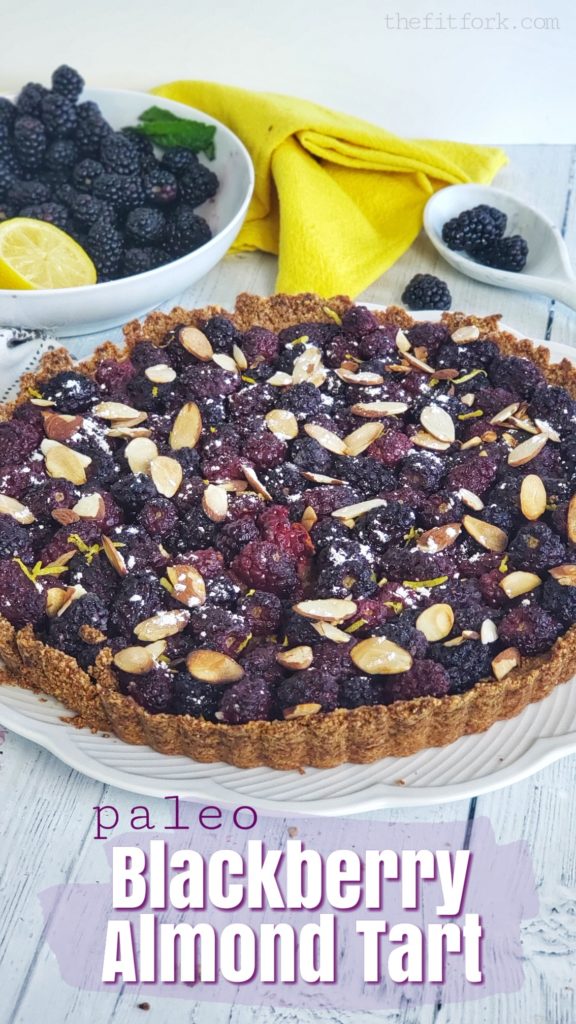
Paleo Blackberry Almond Tart (Vegan, Gluten-Free, Lower Carb)

Jump to Recipe

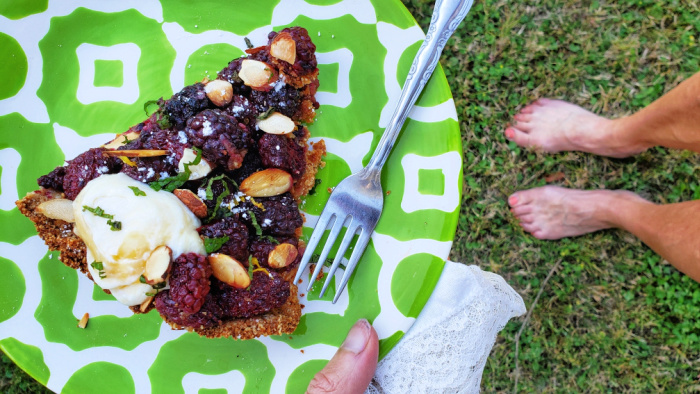
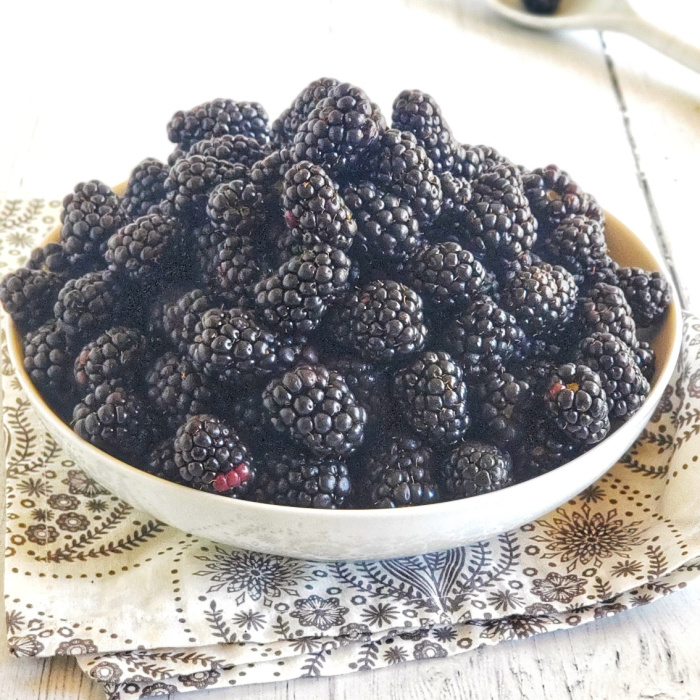
Fresh blackberries, yum! Nothing says toes-in-grass summer dessert more than a berry tart and that’s what I did with a recent windfall of plump, juicy blackberries!

My Paleo Blackberry Almond Tart is also gluten-free, vegan-friendly, made lower carb with some sweetener swaps. It’s a healthy berry dessert recipe that fits with so many dietary eating patterns!

Blackberries are rich in antioxidants, fiber, and a variety of other health promoting nutrients. If this, plus their sweet taste, isn’t enough motivation to eat them, check out the blackberry macros: just 6.1g of carbs 0.7g of fat, and 61.9 calories (plus, surprise – 2g protein)!

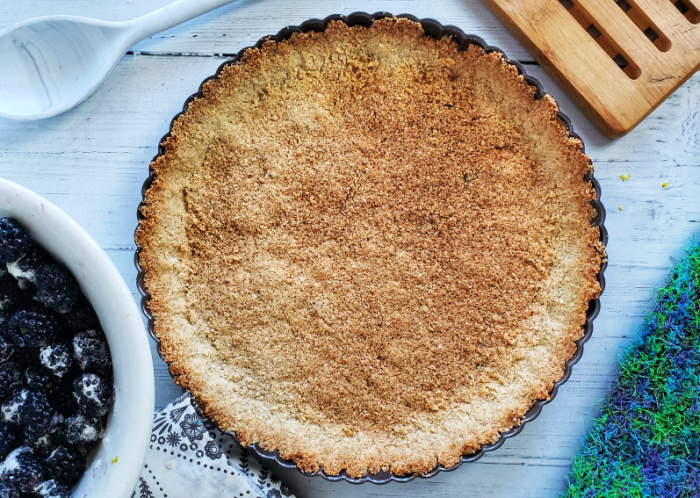
This is a super simple recipe, and starts with super-fine ground almond flour and coconut flour crust made without dairy, egg, or high calorie sweeteners (instead I used granulated Monk Fruit sweetener to moderate the carbohydrates and make it a (not LOW) but lower carb blackberry tart).

After baking the crust in an 11” Tart Pan, the fresh berries are simple tossed with a little more sugar substitute along with lemon juice and lemon zest. It’s popped back into the oven for 30 minutes until the berries are nearly bursting with juices.

Pin for Later!

Or, check out the Pinterest Story on how-to make this paleo blackberry tart with video demonstration.

Best served warm, as is – or with the creamy topping of your choice. I used a non-dairy yogurt mixed with lemon curd.

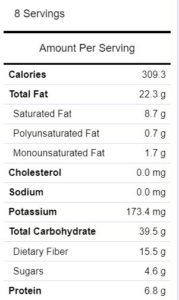
Each serving of this Paleo Blackberry Tart has 309 calories, 22g fat, 24g net carb (39 total with 15g fiber), and about 7g protein.

Do you have a favorite healthy berry dessert or Paleo blackberry recipe?! Please share – in need inspo for the rest of my fresh blackberries (which, BTW, were about $0.80 per pound where I picked them up!!!! A super deal!)

Also, another perfect blackberry recipe for summer entertaining: Skinny Blackberry Nectarine Margaritas!

This post contains affiliate links. I earn a small commission on any sales, however price to you remains the same. Proceeds help to offset operating expenses for The Fit Fork — thank you!

5 from 8 votes
BLACKBERRY ALMOND TART (PALEO, GLUTEN-FREE, VEGAN, LOWER CARB)
Prep Time
10 mins
Cook Time
40 mins
Total Time
50 mins
 

This delicious berry recipe is simple and perfect for summer entertaining!

Course: Dessert
Keyword: blackberry, blueberry, gluten free, paleo, tart
Servings: 8 servings
Calories: 309 kcal
Ingredients
  • 1 ½ cup super fine almond flour
  • ½ cup coconut flour
  • 1/3 cup cup-for-cup sugar substitute like Monk fruit or stevia
  • ¼ tsp baking soda
  • ¼ tsp salt
  • ½ tsp ground cinnamon
  • 1/3 cup coconut oil melted
  • ½ tsp vanilla extract
  • 4 to 5 cups fresh blackberries
  • ¼ cup cup-for-cup sugar substitute like Monk fruit or Stevia
  • 1 tablespoon fresh lemon juice
  • 2 ounces toasted almond slivers
Instructions
  1. Preheat oven to 350F degrees.
  2. Mix together dry ingredients: almond flour, coconut flour, sugar substitute, baking soda, salt, ground cinnamon. Mix in coconut oil and vanilla. Mixture will be crumbly, use hands to shape into ball.
  3. Set ball into middle of non-stick tart pan (11”) and press down and around with fingers until flattened and going up sides of tart pan. Bake for 10 to 12 minutes until turning golden on top.
  4. While crust baking, in bowl toss together blackberries, sugar substitute, lemon juice and lemon zest.
  5. Remove crust from oven and pour fresh berry mixture over rust. Return to oven and bake for 30 to 35 additional minutes, or until fruit starts to bubble.
  6. Remove at top with toasted almond slivers. Serve warm.
Recipe Notes

Colorful Carrot and Pea Tart Recipe + More Spring Brunch Ideas

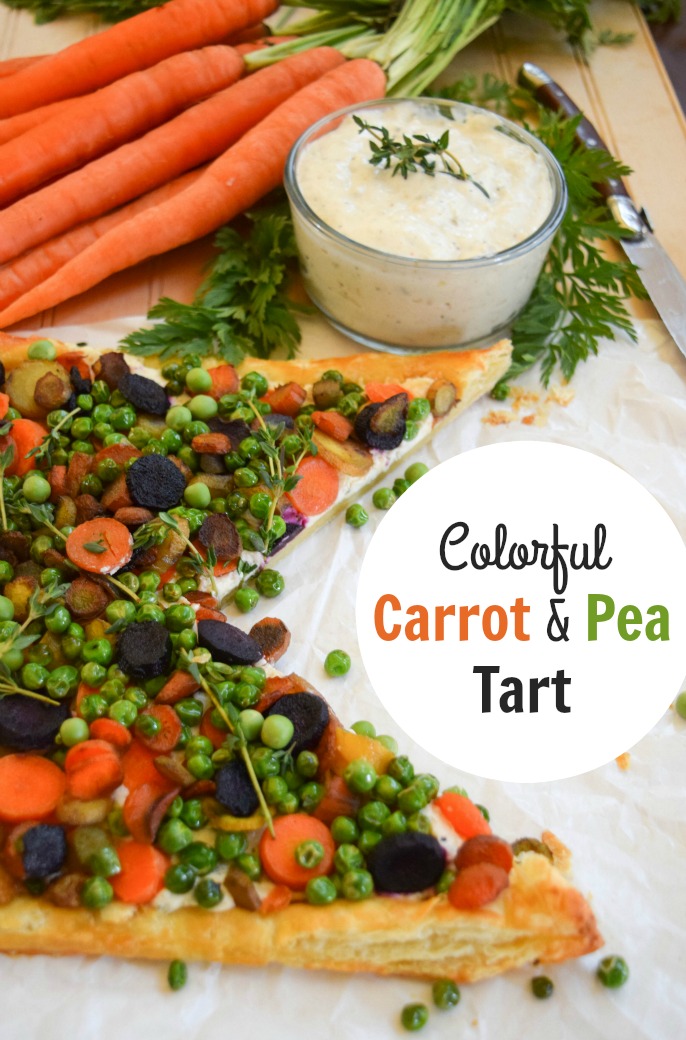
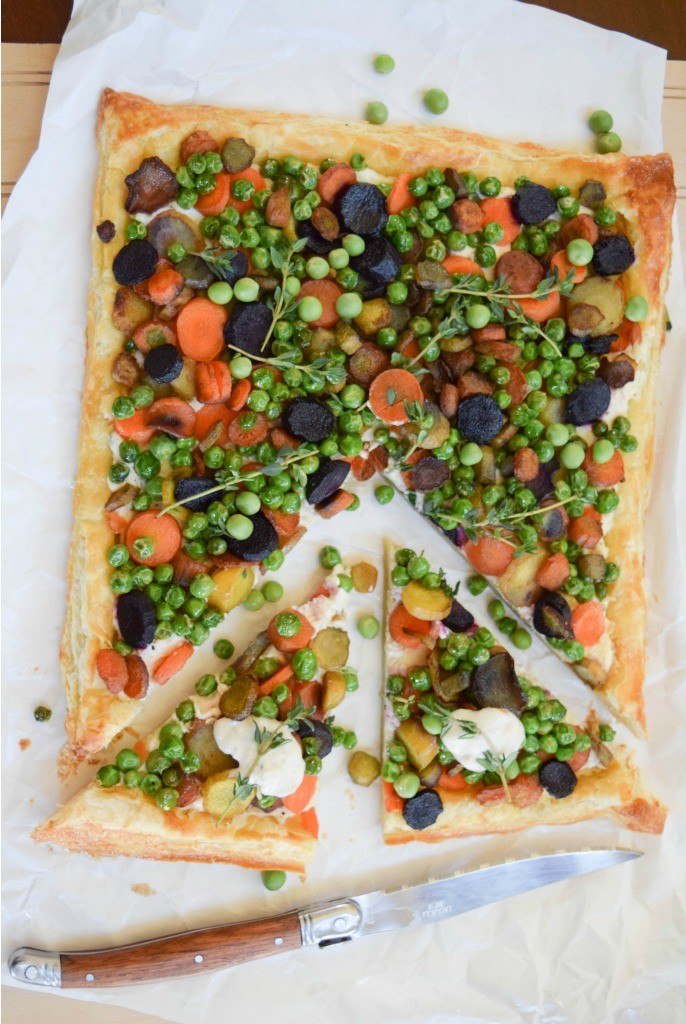
Colorful Carrot & Pea Tart is an easy but showy addition to your spring celebration brunch or dinner.When I first started dating my husband, I remember an older family friend saying we go together like “peas and carrots.” I wondered what that even meant! But I remembered that classic frozen veggie mix I used to be served as a kid, and it was always peas and carrots –both a little naturally sweet and packed with wholesome goodness, but each very different at the same time – green v,. orange, round vs. square diced, firm vs. soft textured. These similarities and differences pair up like no other – they are the perfect complement to one another, just like the hubs and me.

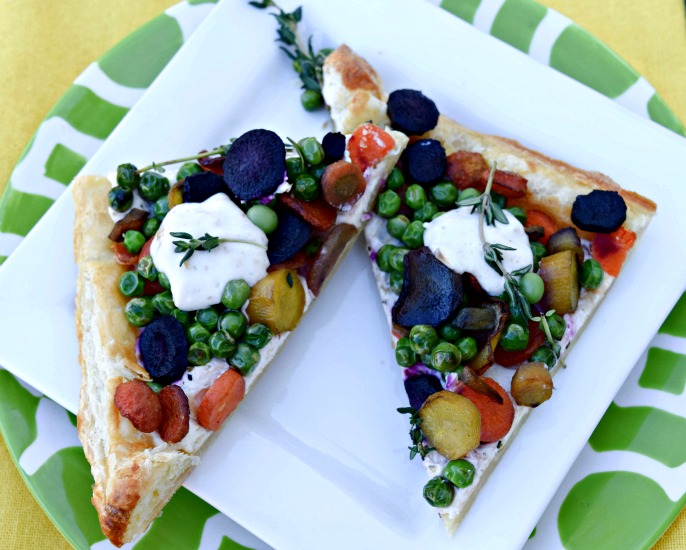
Colorful Carrot and Pea Tart makes a light lunch or showy addition to your spring brunch.So, in honor of peas and carrots and recently celebrating my 25th wedding anniversary, I’m sharing a harmonious, must-have recipe for your next brunch — Colorful Carrots and Peas Tart. This garden gorgeous recipe is ideal for your spring celebrations including Easter, Mother’s Day, bridal showers, graduations and more.

I’ve used tri-colored baby carrots to kick up the color even more and pre-made puff pastry dough for quick convenience. I’ve kept the creamy layer of my Colorful Carrots and Peas Tart lighter by using reduced-fat dairy products and Opadipity by Litehouse™, a Greek yogurt-based savory dip with fewer calories and less fat than conventional products. Carrot and Peas Tart is a vibrant addition to your spring brunch, featuring wholesome goodness from the farmer's market.
Also, in keeping with the Peas & Carrots theme, I’ve rounded up some of my favorite recipes that feature peas and/or carrots for a collection on Mode.com.

Check out Pea & Carrot Recipes for Spring

by The Fit Fork at Mode

What is on your menu for Easter weekend? Or, what is your favorite spring vegetable? Please share in the comments below — XOXO, Jennifer

This post is sponsored by Mode.com and Litehouse Foods. All opinions are my own.

Colorful Carrot and Pea TArt
Prep Time
10 mins
Cook Time
30 mins
Total Time
45 mins
 
Bring family together for brunch with our gorgeous, garden-fresh tart. The classic combination of English peas and carrots gets a tastefully trendy upgrade for your spring table.
Course: Appetizer, Main Dish, Side Dish, Vegetable
Cuisine: American
Servings: 6 servings
Ingredients
  • 1 sheet frozen puff pastry, thawed
  • 1 medium egg, whisked
  • 1 1/2 cups tri-colored baby carrots cut into thin discs
  • 3/4 cup shelled fresh English peas
  • 2 teaspoons olive oil
  • 4 ounces reduced-fat cream cheese
  • 1/4 cup Opadipity by Litehouse™ Spicy Asiago Artichoke
  • 1/3 cup part-skim shredded mozzarella cheese
  • 1 tablespoon fresh chopped parsley
  • 1/4 teaspoon salt
  • 1/2 cup additional Opadipity by Litehouse™ Spicy Asiago Artichoke for servingadditional Opadipity by Litehouse™ Spicy Asiago Artichoke for serving
Instructions
  1. Preheat oven to 400 F degrees.
  2. Place parchment paper or silicone mat on baking baking sheet and unfold thawed puff pastry dough. Using knife, carefully score ½” inside perimeter without cutting all the way through. Fold sides up and pinch dough at the corners.
  3. Brush dough on top and sides with egg wash. Use tines of fork to slightly puncture dough to prevent puffing while baking.
  4. Bake for 10 minutes or until turning lightly golden brown. Remove from oven. If still puffed up in center, gently push down with fingers.
  5. Mix together cream cheese, dip, mozzarella cheese, parsley and salt in small bowl. Using spatula, gently spread across bottom of tart crust.
  6. Add olive oil, peas and carrot slices to skillet and sauté for about 3 to 4 minutes or until softening and lightly caramelized. Add on top of cheese layer.
  7. Return tart to 400 F degree oven and bake for an additional 15 minutes, taking care that edges don’t over brown.
  8. Cut into squares or wedges and serve with additional OPAdipity.