Love at First Bite! Nut Butter Crispies with Cacao Nibs Recipe

Valentines Day Healthy Treat Nut Butter Crispies

Who doesn’t love a crispy rice treat? I do, but not those prepackaged ones made with corn syrup, white puffed rice and a ton of other ingredients and preservatives I can’t pronounce.  Plus, there’s only a scant trace of protein in one of those gooey squares; that means I’ll be crashing lickity-split from my carbohydrate high. What’s a girl got to do to satisfy her sweet tooth and get a little snap, crackle and pop going on? Mix up her own healthier version of this favorite treat from childhood, that’s what! I have a hunch you are going to fall in love with this healthy snack recipe – package them up and give them to your favorite sweetie for Valentine’s Day!

Healthy Gym Snack Protein Nut Butter Bites

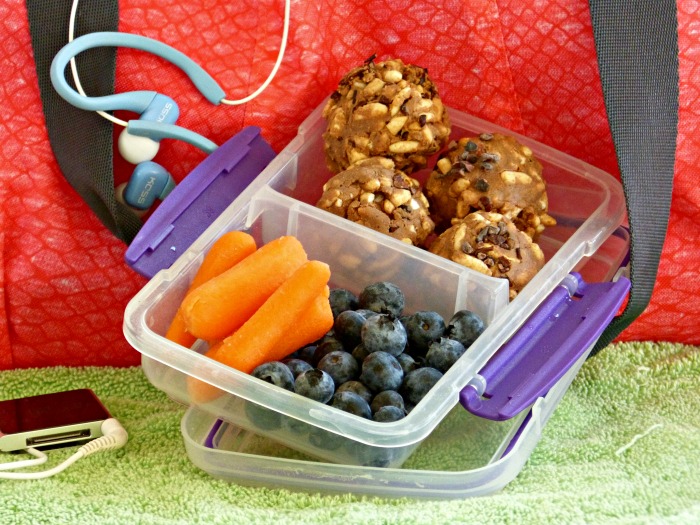
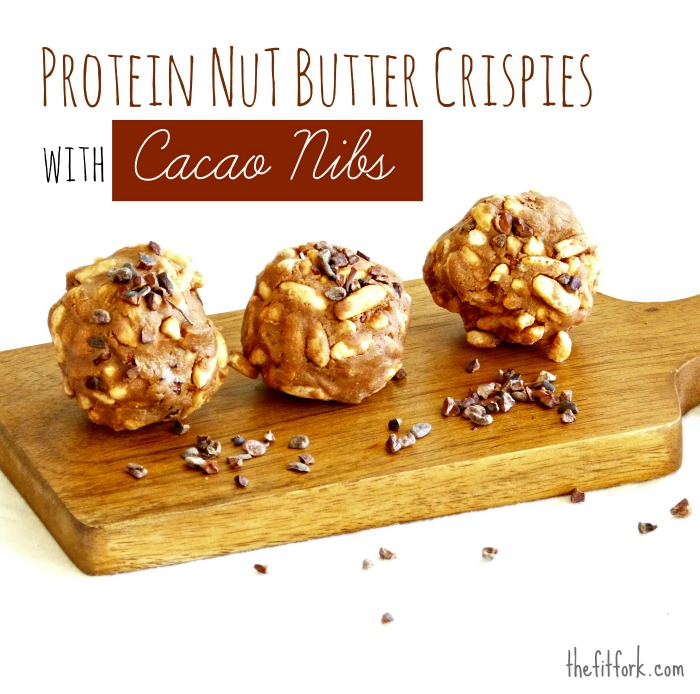
My version of crispy rice treats, Protein Nut Butter Crispies, features puffed brown rice, a 100% whole grain, that hasn’t been enriched or fortified with any weird stuff. A couple scoops of protein powder (you can use any brand or flavor) adds long-lasting energy that is perfect before a workout or to help build back up damaged muscle tissue afterward. Almond butter and honey helps hold everything together with delicious taste while cacao nibs lend an extra dose of crunchiness to this fun-to-eat treat.

cocoa_nibsYou may be wondering, “Just what are cacao nibs and why should I be eating them?” Cacao nibs are little pieces of cacao beans that been have roasted, hulled and prepped for the chocolate-making process. While I like to think of them as “nature’s chocolate chips,” cacao nibs don’t really add any sweetness to a recipe. In fact, they are a tad bitter (in a good way) and have a slightly nutty flavor with chocolate undertones. Here are some other good things to know about cacao nibs:

  • Cacao nibs are abundant with magnesium, a mineral needed for in excess of 300 biochemical reactions in the human body including muscle and nerve function and maintaining a steady heart rhythm.
  • Unlike chocolate bars, cacao nibs pack in a lot of fiber in a small serving – one ounce of cacao nibs has nine grams of fiber.
  • Cacao nibs are rich in iron, a necessity for the production of red blood cells  — and a good thing for women, runners and other athletes who need more iron (up to 30% more) than the average Joe.  One ounce of raw cacao nibs provides six percent of the daily recommended value.
  • Cacao nibs provide more antioxidant benefits than eating the darkest chocolate bar around. You’ve probably heard that the darker the chocolate, the better – experts suggest picking a bar with as much as 70% cacao (it can take a while to get used to the less sweet taste). Since cacao nibs are the basis for chocolate candy (after being ground into a paste and mixed with sugar and milk solids), you’re skipping all the unhealthy stuff and going straight to the unsullied source of nutrients..
  • Get creative with cacao nibs! You can eat cacao nibs straight out of the bag, mix them into oatmeal or sprinkle on Greek yogurt – or mix in cacao nibs into any of your recipes for baked goods.

healthy snack nut butter crispies

Protein Nut Butter Crispies with Cacao Nibs Recipe

  • 2 cups puffed whole grain brown rice cereal
  • 2/3 cup (2 standard scoops) chocolate protein powder
  • ¼ cocoa nibs
  • 1/4 cup almond butter
  • 1/4 cup honey (I like Wholesome Sweetener’s Fairtrade Organic Honey )
  • Optional:  2 Tbsp. chocolate candy-covered sunflower seeds

Place puffed rice, protein powder and cocoa nibs in a medium-sized bowl and toss together until combined.

Warm almond butter in the microwave for about 20 seconds so it’s more malleable. Spray spatula with baking spray and scoop out warmed nut butter on top of dry mixture. Drizzle honey on top of this and stir everything until combined. Mixture may be a bit crumbly, that’s okay.

Using hands, form mixture into approximate 1 ¼” diameter balls, packing tightly. Repeat process with remaining mixture.

If desired, lightly press tops of nuggets into candy-coated chocolate sunflower seeds or another topping of choice.

Makes 18.

Good Gourd, You’ll Love This Baked Pumpkin Protein Donut Recipe!

Another protein donut recipe just in time for Thanksgiving morning! Oven-baked, scaled down in size and packed with nutritious, anti-oxidant filled pumpkin puree, there’s not much more you could want in a breakfast treat or late-night snack. Oh, except for protein, fabulous PROTEIN! I’ve snuck in a wallop of whey powder to give these goodies some sticking power. Really, you can use any flavor of protein powder you like from vanilla to cake batter (really!).  This time I used an unflavored brand of whey protein from BiPro so that the natural flavors of the pumpkin spices would shine through. You can make these protein doughnuts ahead and keep in the freezer until you’re ready to munch; just defrost and warm slightly in the microwave before dusting with the cinnamon sugar.

Baked Pumpkin Protein Mini Donuts Recipe

  • 1 (15-ounce) can pumpkin puree
  • 1 egg
  • ¾ cup egg whites
  • ½ cup canola oil
  • 1 ½ cup granulated sugar
  • ¾ cup white all-purpose flour
  • ¾ cup whole-wheat flour
  • ¾ cup whey protein powder (unflavored or vanilla)
  • 1 teaspoon salt
  • 2 teaspoon baking soda
  • 1 ½ teaspoon ground cinnamon
  • ½ teaspoon ground nutmeg
  • ½ teaspoon ground ginger
  • Topping: additional sugar and cinnamon

 Directions:

Preheat oven to 350 F degrees.

In large bowl, use a spatula to mix together pumpkin, eggs, oil, and sugar.

In another bowl, mix together remaining dry ingredients including flours, protein powder, salt, baking soda, cinnamon, nutmeg, and ginger.

Mix combined dry ingredients into pumpkin mixture, and stir, scraping down sides of bowl as needed, until well-mixed.

Line a large 32 or 44 ounce cup with a 1-gallon zip-top bag, folding excess length down over sides of cup. Spoon in batter and secure top; snip a 1/2 inch triangle out of bottom corner to serve as your “pastry bag.”

Squeeze batter from bag into mini-donut tin, filling about halfway full.  If you don’t have a donut pan, use a muffin tin instead (donuts will like muffins though, obviously).  Give tins a spritz of baking spray in they don’t have a non-stick coating.

Bake in 350 F degree oven for approximately 12 – 15 minutes or until turning golden and springy to touch.  Remove from oven and let cool in pan for 2 – 3 minutes.

Flip out of pan and gently toss in zip-top bag or bowl filled with ¾ cup sugar and 1 tablespoon cinnamon.

Makes 36 mini-donuts.

Nutrition Information (per 1 mini doughnut)


McD’s in the Athlete’s Village? Try No-Bake Chocolate Chip Protein Bars Recipe for Olympic-Sized Snacking

Over the last couple months, I’ve developed an Olympic-sized appetite which I am attributing to my twice-a-day workout schedule. Run in the morning; CrossFit in the late afternoon.  Today, mindlessly influenced by the fact that there is a McDonald’s in the Athlete’s Village at the London Olympics, I headed on over to my local golden arches for lunch. No, I didn’t woof down a gut-busting Big Mac, fry and milkshake meal and I hope our USA athletes aren’t either! I responsibly ate the Premium Southwest Salad with Grilled Chicken which is actually quite good with a roasted corn, tomato and black bean salsa and sprinkling of cheese and tortilla chips. However, with only 290 calories (yet supplying a decent 27 gram serving of protein), I was fiercely famished a few hours later.

Today, to address the needs of my rumbling stomach, I whipped up a batch of No-Bake Chocolate Chip Protein Bars. Ready in no time, my afternoon treat was ready just in time to kick back on the couch and enjoy seeing the women’s marathon. Sadly, I realized that my favorite event isn’t until Sunday, August 5th.   Oh well, table tennis and badminton will have to do today!

No-Bake Chocolate Chip Protein Bars Recipe

  • 2 cups minute oatmeal
  • 4 scoops vanilla whey protein powder (my 4 scoops measured 1 ½ cups)
  • 1 tablespoon ground flaxseed
  • 1 tablespoon stevia sugar substitute
  • ½ cup natural peanut butter (or almond butter)
  • ½ cup water
  • ½ cup chocolate chips

Line loaf pan with plastic wrap. In large bowl, add oatmeal, protein powder, flaxseed and stevia; mix these dry ingredients together until well-combined. Next, add peanut butter and water; knead with clean hands until incorporated (you can try to use a spoon, but my wooden one busted right in half). Sprinkle in chocolate chips, knead a bit more. Press mixture into prepared loaf pan and firm up in freezer for 20 minutes. Pull mixture out of pan by plastic wrap; slice into 12 equal sized pieces. Store in the refrigerator.  Serves 12.

Nutritional info (per serving): calories 221, total fat 10g, sodium 99mg, potassium 94 mg, total carb 22g, dietary fiber 3g, sugars 10g,  protein 11.g