I received compensation and product from Mizuno as part of this campaign through Fitfluential.com. However, all opinions and editorial comments are completely my own.  What better way to kick up your training and tackle a hard race than in a new pair of running shoes?! You really must treat your feet right and running in old, beat down and battered shoes is just asking for an injury. Even if your kicks still look out-of-the-box new on the uppers, shoes you’ve been running in for a while begin to lose their shock absorption, cushioning and stability features. You could keep running in worn out shoes to save a buck, but eventually you’ll pay the price with an injury caused by too much stress on your bones and joints.
Whether you run 5ks, ultramarathons or just recreationally jog the block, experts say that you should replace your running shoes every 300 – 400 miles. When you flip your running shoes over, it is obvious when the tread starts to wear out – usually you can see another color of tread that has worn through on one side or the other. But, often shoes wear out in the midsole (where all the support and cushion lies) long before this — so don’t judge wear and tear by the tread alone. If you are experiencing leg fatigue and joint soreness and nothing else has changed in your training schedule, your running shoes may be the culprit.
The 300 – 400 mile replacement schedule is only a rough guide. If you are a heavier runner, you may need to replace shoes more often that a lighter runner. Your biomechanics and running form can play a role in how often you need to change the proverbial tires – for example, are you a heel striker or do you land mid foot? The surfaces you run on also come into play (e.g.: trail versus treadmill) as does the actual construction of the shoe – I once had a very, very light pair of shoes that were literally falling apart after 70 miles. That was a bummer. 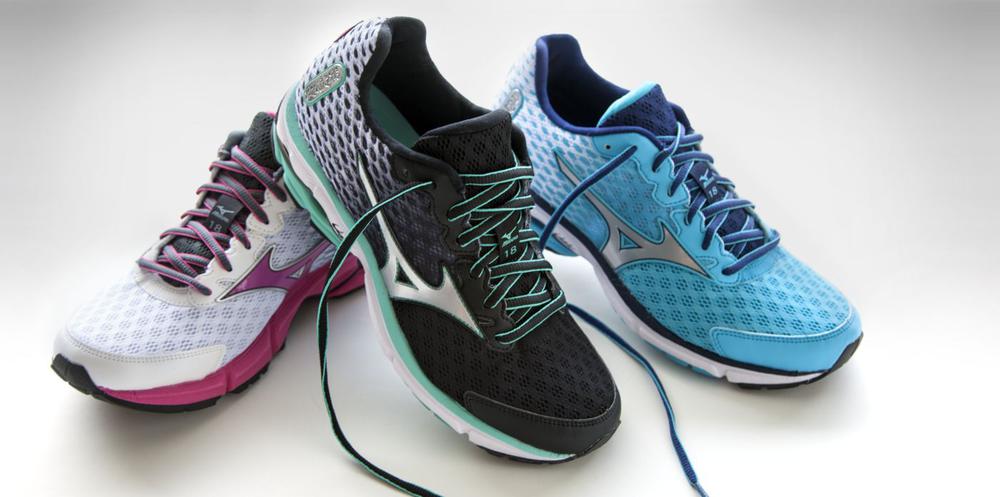 I was recently sent a new pair of Mizuno WaveRider 18 running shoes as part of a campaign for Fitfluential.com. I was able to try them out for a few weeks before a 10 mile race and wear them to a popular 10 mile race (Run for the Water) in Austin. A neutral shoe marketed as a “lightweight trainer” (7.8 ounces), the Wave Rider 18s helped keep my feet happy and ready to haul buns from start to finish of a very hilly run. In all honesty, these shoes felt a little “more” than the ultra lightweight shoes I typically race in – I was worried I would feel clunky, but in reality my “ride” experience was quite the opposite. Just the little bit of extra cushioning prevented my feet from feeling beat up on the downhill with no discernable difference in responsiveness and foot-to-ground feedback. And, okay, I’m a girl – so I care about how my shoes look. The Wave Rider 18 is very stylish and I loved the black and silver (with flash of “Florida Keys” turquoise) color scheme – it also comes in white and fuchsia purple or blue and silver. I may need to pick up a pair of each to round out my wardrobe.
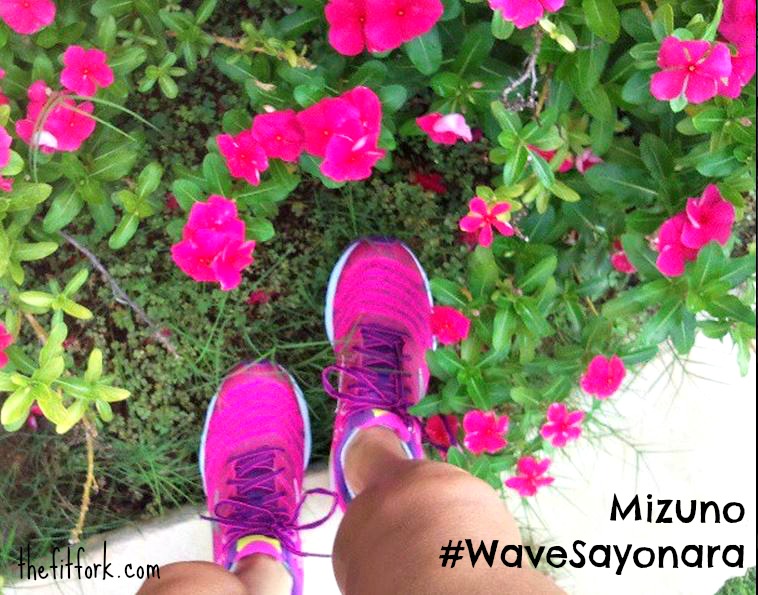
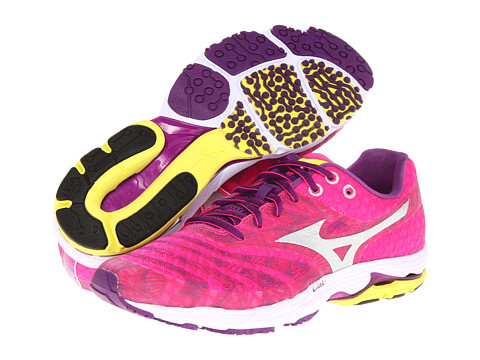
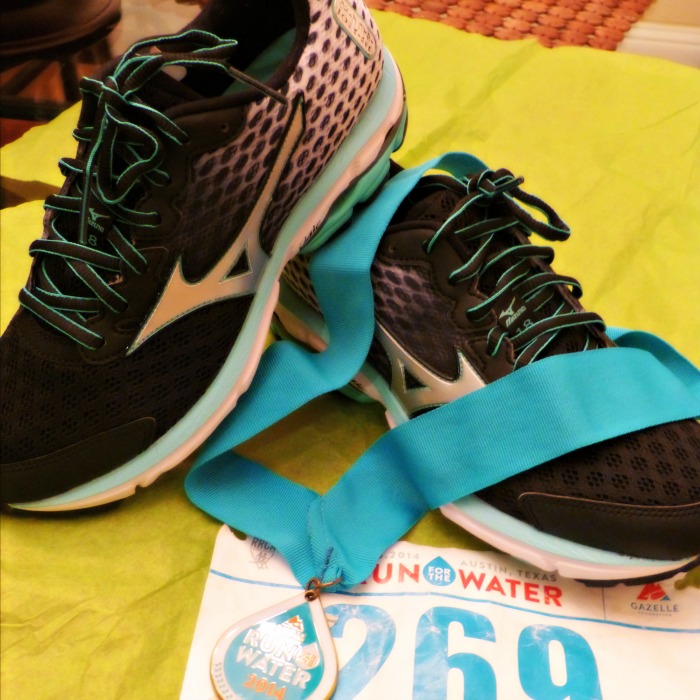
Mizuno Wave Runner 18 FTW!
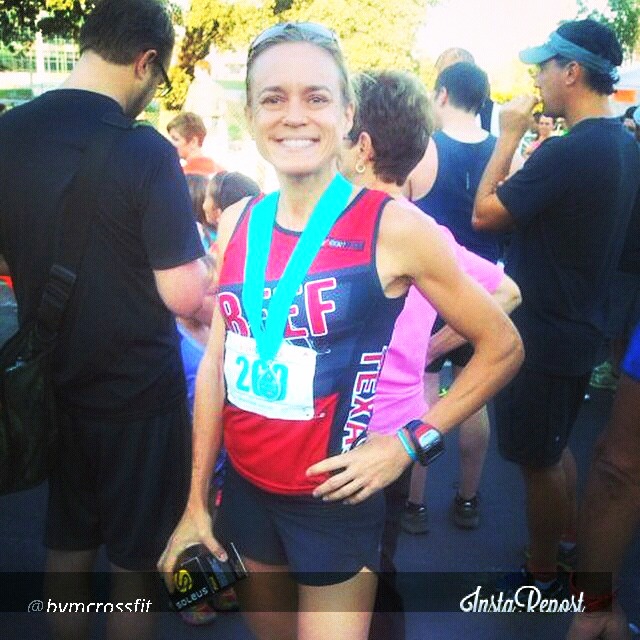
So, how did the race go – well, I’ve participated in Run for the Water all 8 years that it’s been around and I’ve done better and I’ve done worse. In the end, I hung on to win my age group and place 3rd in the Master’s division – this is a pretty competitive race and I walked away with a little bit of prize money and a new Solaris GPS watch! Whoot! The best thing about this race though is it supports the Gazelle Foundation which helps to bring clean drinking water to Burundi. Have you ever worn Mizuno shoes and, if so, which ones? Did you run a race too this weekend? Tell me about it!