When You Can’t Run, Then Row Workout

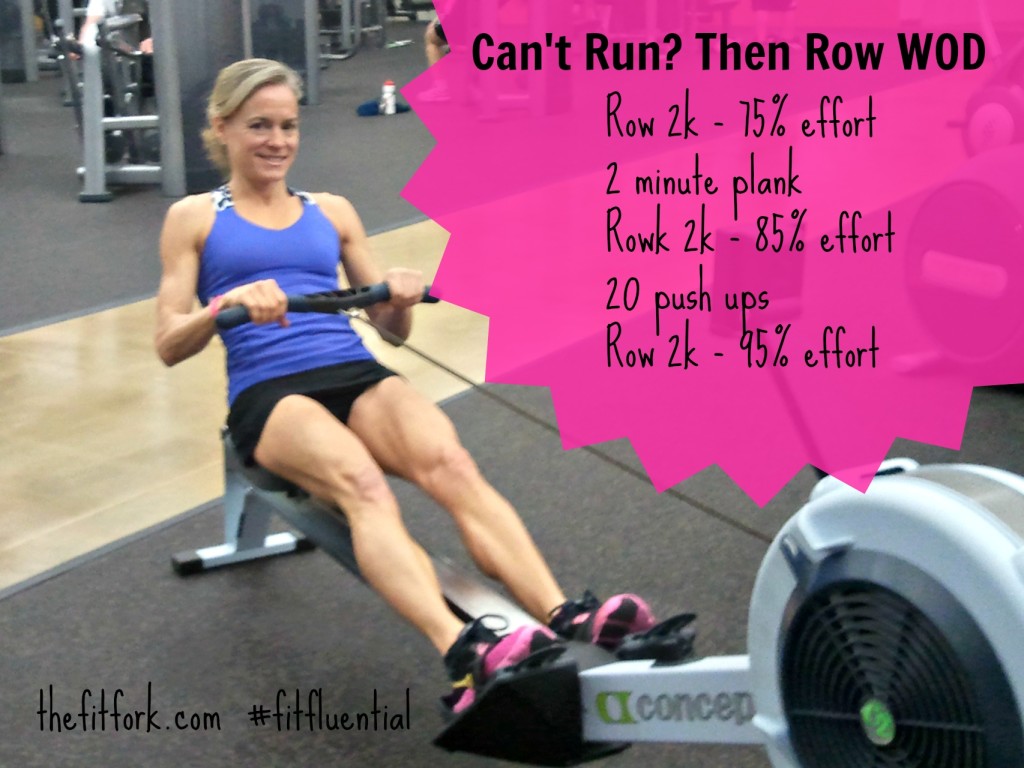
If I can’t run (or don’t feel like it), the rowing machine is my cardio butt-kicker of choice.  Plus, I love it when a CrossFit WOD has rowing as one of the elements; I know I’ll have a chance of making up time lost on dead lifts, cleans, jerks and other such “more muscle, less hustle” maneuvers.

If you’re exclusively a runner, it’s a smart idea to mix up your cardio routine every once in a while. Take a break from running at least one or two days per week!  It’s beneficial to your overall fitness to use some new muscle groups in endurance training, it actually can make you faster . . . so, let me introduce the rower!  This mainstay of the gym is well worth your attention. A rowing workout gives you one of the best cardio workouts around, requiring effort from both your upper and lower body. I also feel it working my core! Plus, rowing doesn’t put as much impact on your joints which means you have higher odds of remaining injury-free.

So if your knees (or your mind) need a break from the daily pavement pounding, try out this rowing workout. It should take about 30 minutes, give or take. The three progressively challenging bursts of rowing for two kilometers each feature “active” breaks in between. Enjoy and row like the wind!

If you don’t have access to a rowing machine, but want to get some of the same muscle strengthening benefits, you can try this rowing band exercise at home.  I like to call it the “faux-row”!

Faux-Row Band Exercise

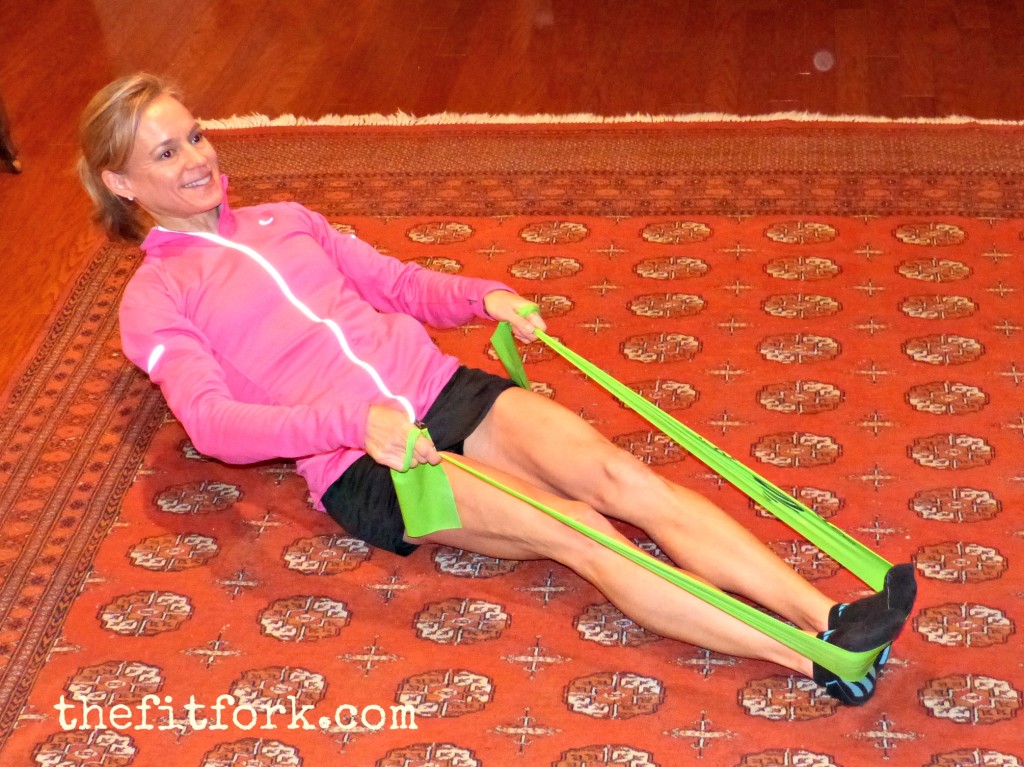
Step 1:  Lay out a mat, this exercise needs a little padding on the rear. Sit with your legs partially bent out in front of you.  Wrap a resistance band around each hand and stretch it around the balls of your feet, move legs out to create tension in band.

jennifer fisher - thefitfork.com - row drive

Step 2: (above) Drive backward, first with the legs, then lean back with the core, and finally follow through by pulling arms back to chest (like boat rowing) all while keeping back straight.

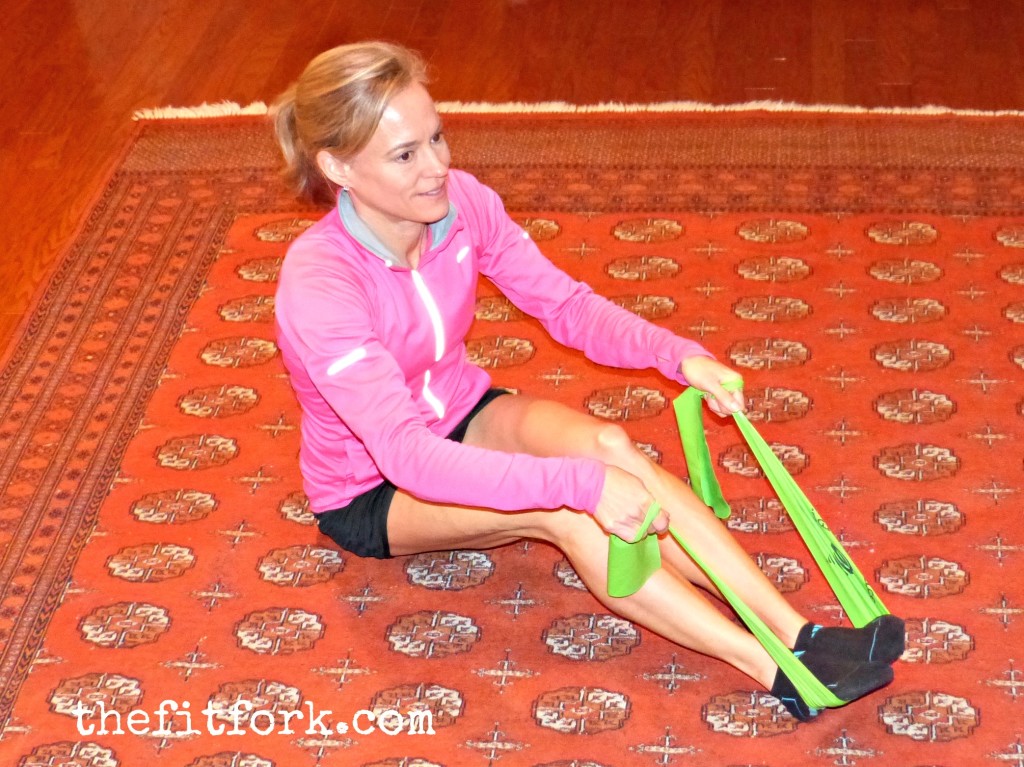
jennifer fisher - thefitfork.com - row recovery

Step 3:  (above) While bracing your legs with the band, recover by bringing the arms forward first, followed by leaning the core up, and then bending the knees upward a little bit. Repeat steps 2 and 3 seamlessly for 20 – 40 combined reps. Aim for 3 to 6 sets.

CrossFit “Cure Duchenne” Workout – Dash and Donate!

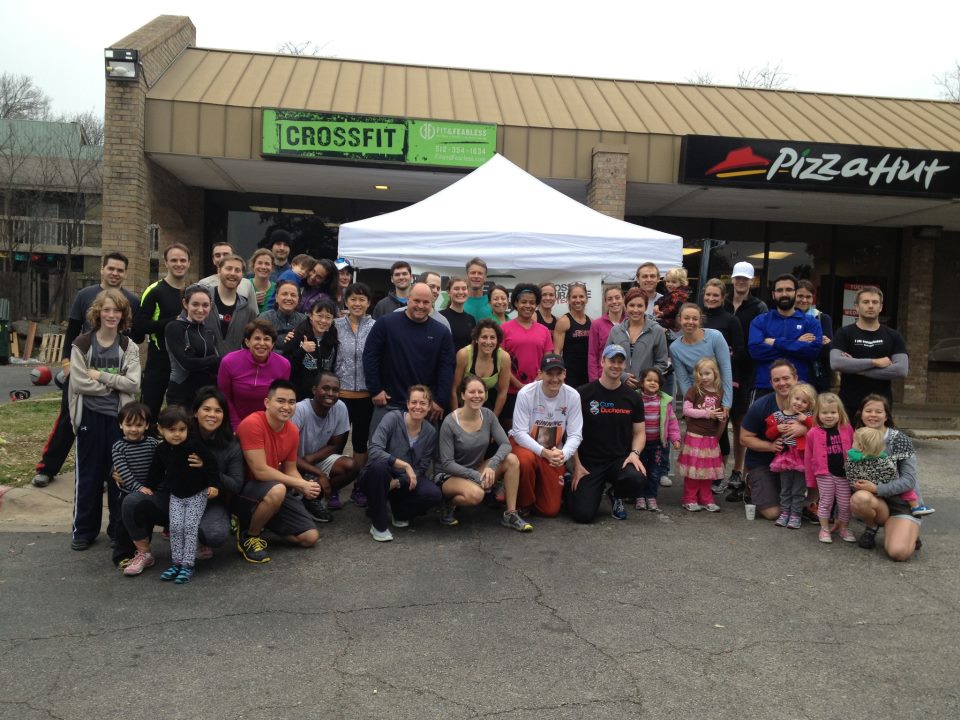
cureduchenne gang

The Cure Duchenne Benefit at Fit & Fearless CrossFit (don’t you love the Pizza Hut next door?!)

What a great morning spent at my friend Valerie’s CrossFit box, Fit and Fearless CrossFit in Austin, Texas. There were about 75 of us there to get our Saturday WOD in; but, more importantly we all had gathered to help support a little boy named Timothy with a rare disease called Duchenne. If you haven’t heard of it, Duchenne is a very rare muscle-wasting disease that has no cure and is ultimately 100% fatal. Only affecting males, the life expectancy for a boy with this disease is only about 25 years of age. But, through ongoing research, we all have hopes that discoveries will be made to improve this devastating prognosis

This is Timothy, he is 9 years old.

This is Timothy, he is 9 years old and has Duchenne.

For the second year, Valerie will be running the Austin Marathon on behalf of Timothy and the other 200,000 boys worldwide who cannot run because of this terrible form of muscular dystrophy. Through the marathon’s program, 26 Miles for 26 Charities, Valerie will run to raise money for the grassroots foundation CureDuchenne, a non-profit that supports cutting-edge research.  I hope you will please consider my plea to help cure Duchenne by making a donation of any amount.

You can donate here.

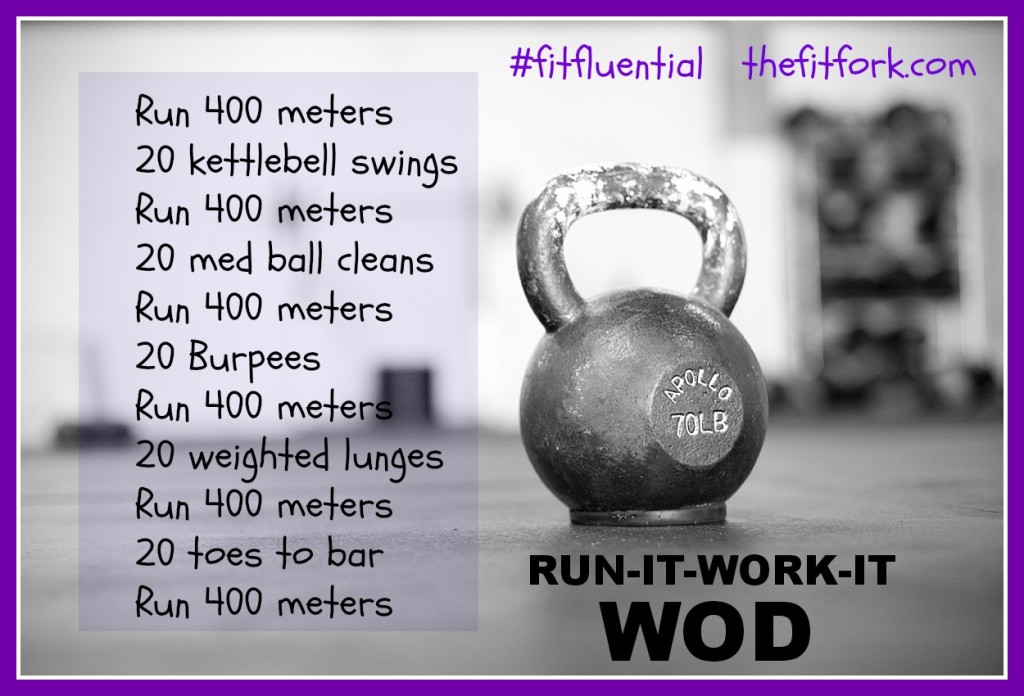
So, I’d also like to share the WOD we did today, it was lots of fun for me. Probably because it had a ton of running in it!

jennifer fisher thefitfork run-it-work-it WOD

CrossFit & Fearless, Annie Sakamoto and Sore Shoulders

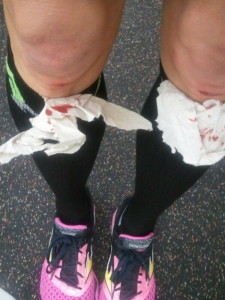
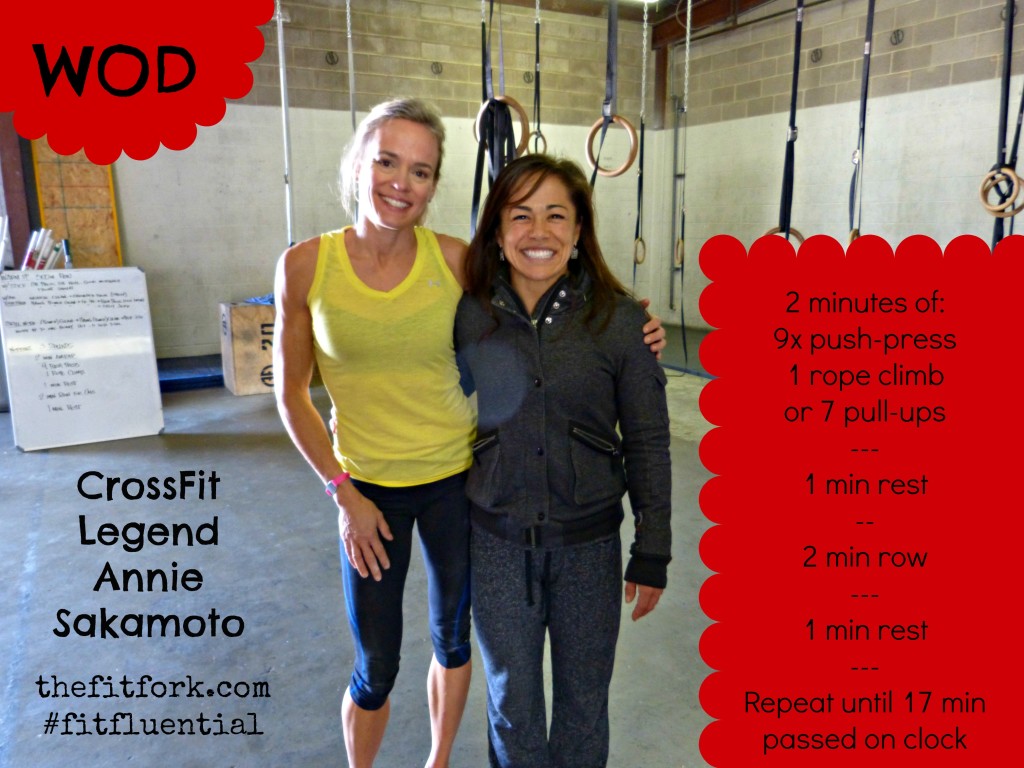
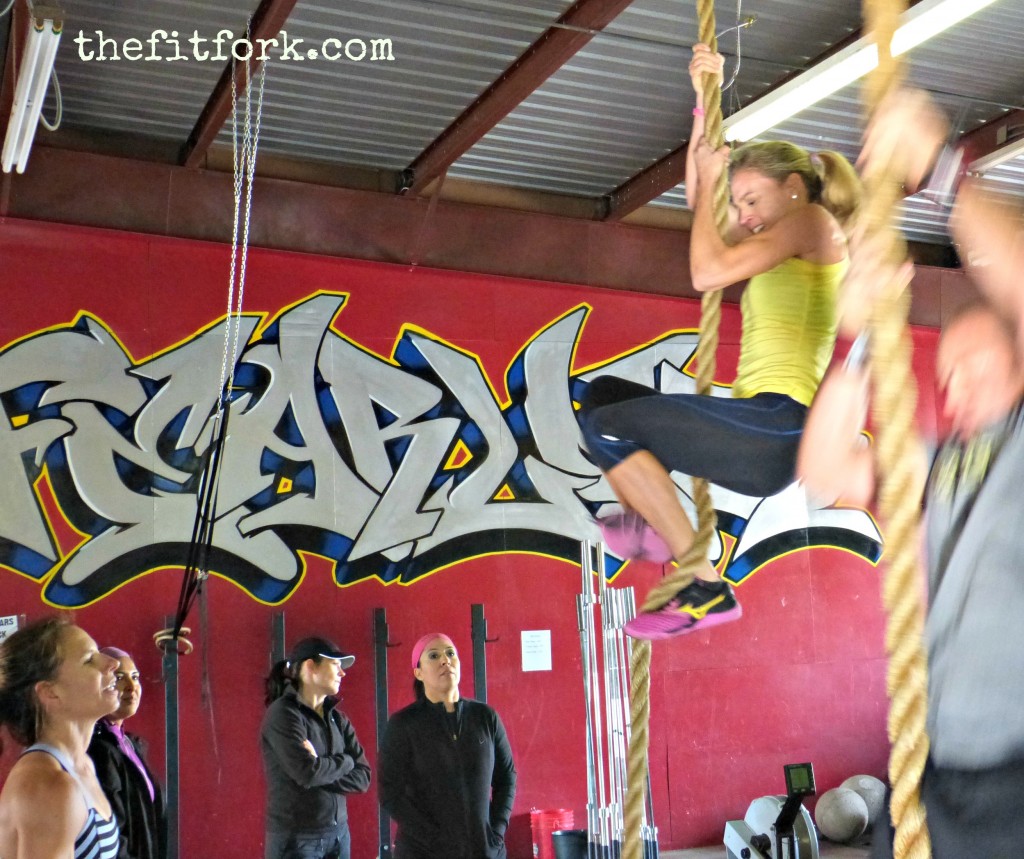
Well, it’s been about 10 days since my workout with CrossFit legend Annie Sakamoto who came to school us at CrossFit & Fearless in Austin While my shoulders aren’t sore anymore, I did wear my deluxe case of Delayed Onset Muscle Fatigue like a badge of honor all week. While I can now lift my arms over my head to shave my arm pits again, I do still have a nasty scab along my ankle from my not-so-dainty descent from a rope climb we did that day.

So do you want to know more about Annie? It seems wrong to say “cute as a button” and “she’ll kick your butt” in the same sentence, but it is oh-so true! Only five feet tall (if that), this Santa Cruz superstar, with hair I would kill for, made me feel like an uncoordinated (and very weak) giant bumbling through a WOD in Lilliput (no, not Lululemon land, I wish). According to the 2012 CrossFit Games site, Annie’s PRs are 178 lbs. for Clean and Jerk, 140 for Snatch, 280 for Deadlift, 260 for Back Squat and 46 pull-ups. Now, take all these records and divide them in ½ (and maybe even more) and that’s about what I can handle!   Oh, and did I also mention she’s a mom of two?

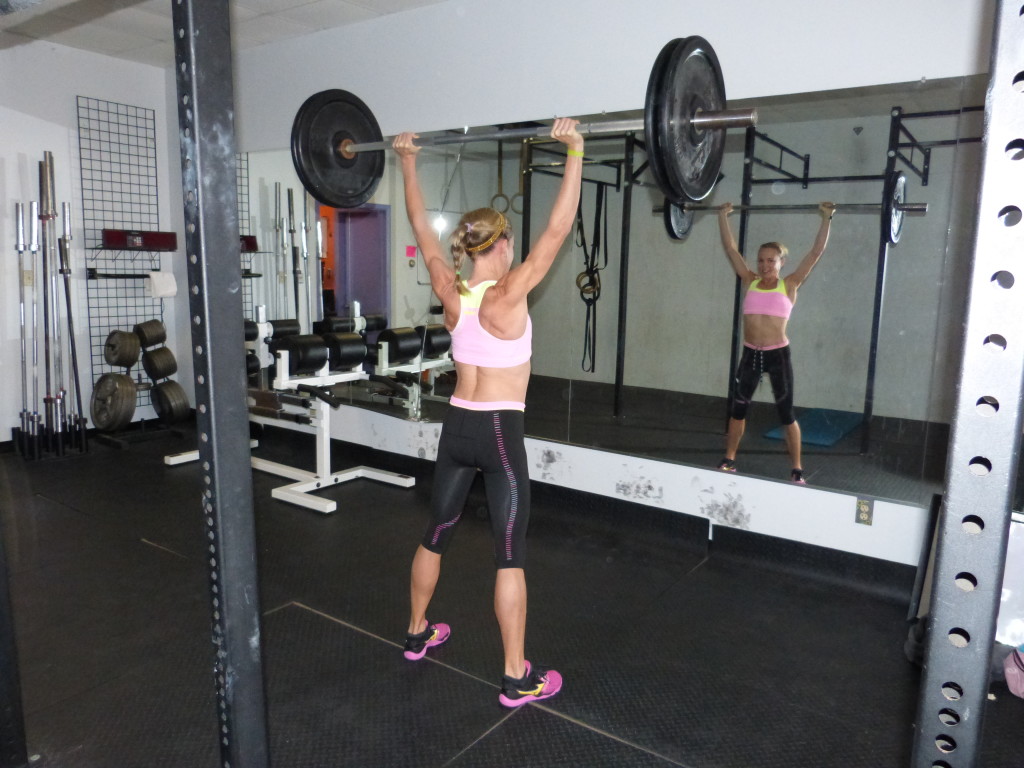
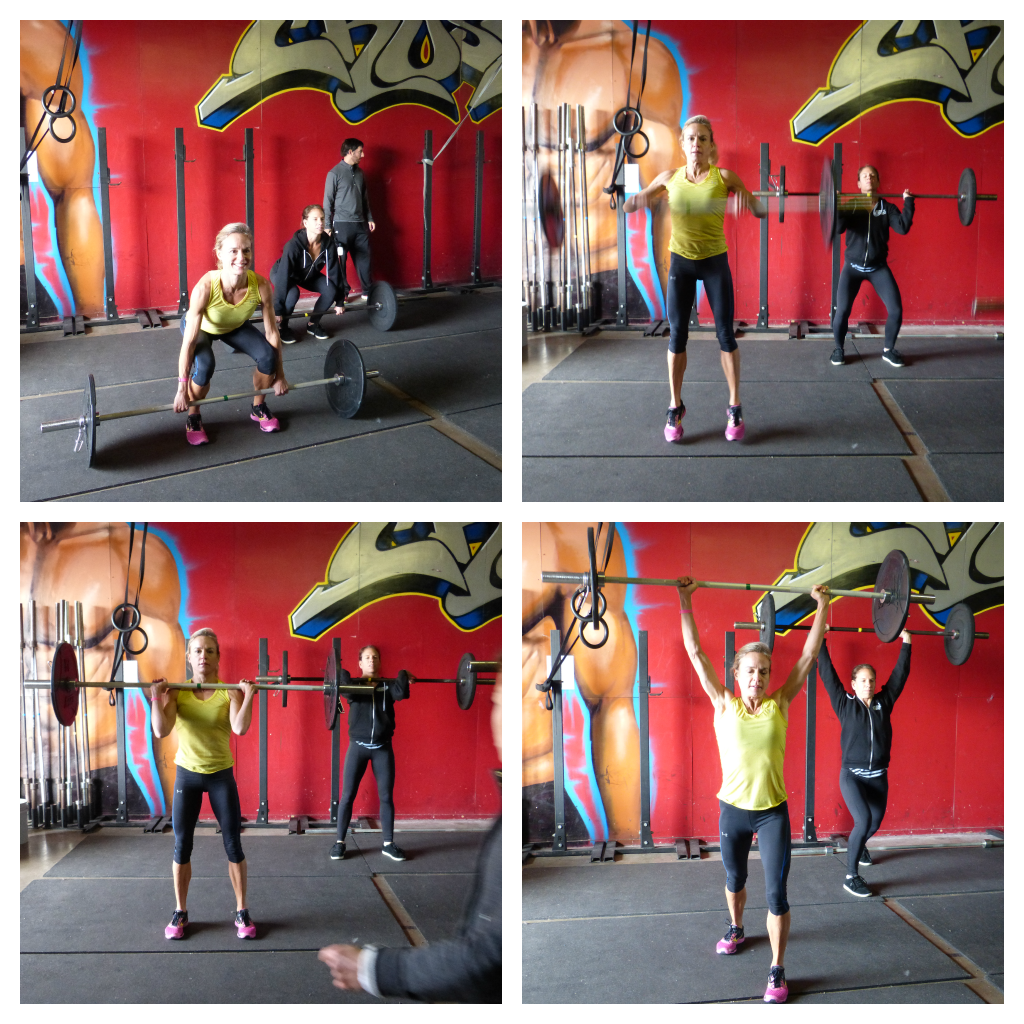
We spent the first part of our training doing some skill work with Olympic Weightlifting, fine-tuning our Power Cleans, Hang Cleans, Front Squat and Jerks. We were supposed to keep adding more plates, going up and up and up until near maximum effort. But, I decided to keep it semi-easy and focus more on the skill, ‘cause I was having a little trouble with one of them, ahem.

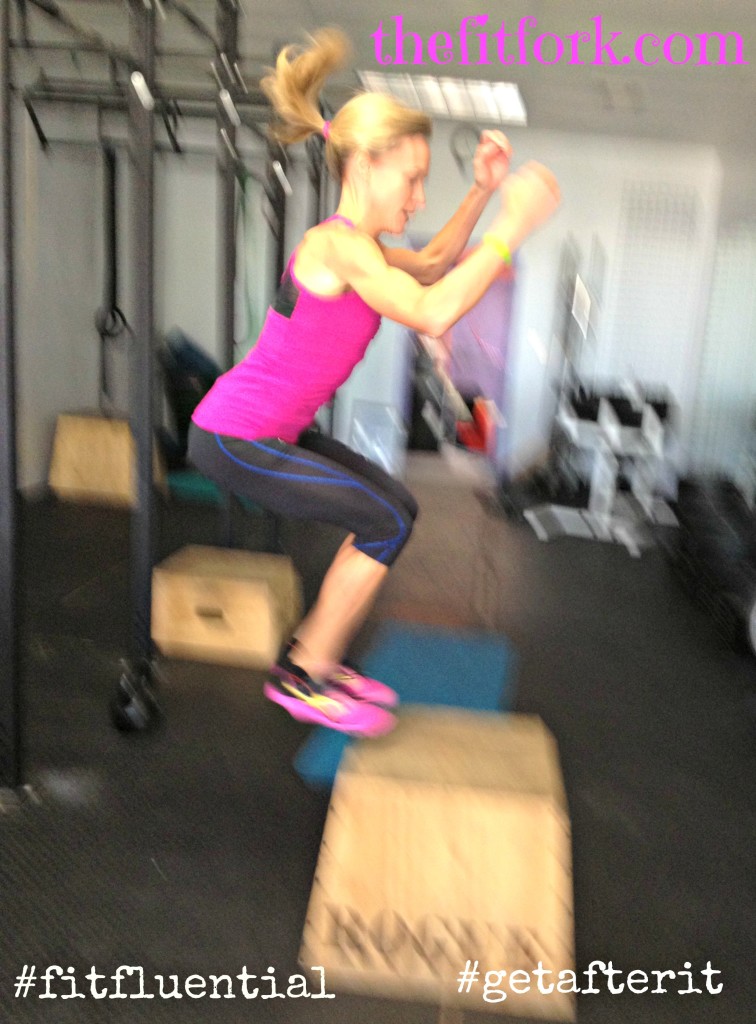
Next onto the WOD, and as usual it looked so easy written out on the whiteboard. But, I was singing a different song once I was through the first round.  It’s written out on the top photo of this post if you want to try it out in your free time – ha! Some of the highlights are below:

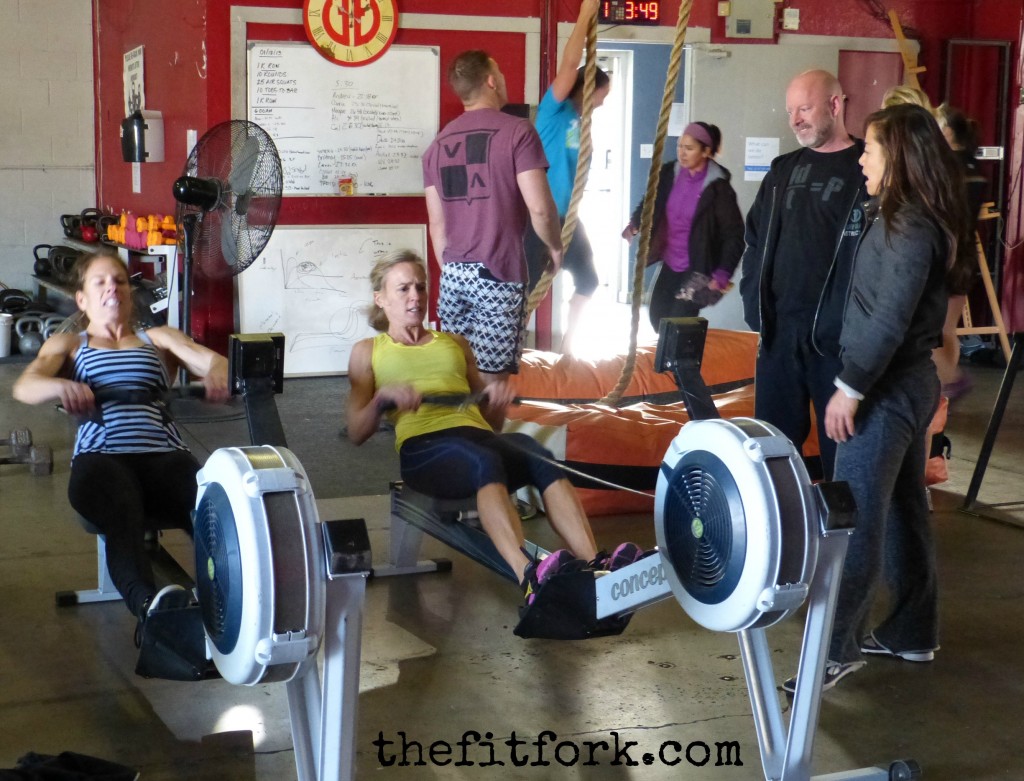
CrossFit box owner, Valerie and me like a little friendly competition.  Rowing like we stole it!

If my 6th grade P.E. class could see me now!


Guaranteed-to-be-Sore Core Workout


the fit fork jennifer fisher core workout core exercises

Picked up this core workout from a CrossFit Gymnastics seminar I took a few weeks ago. Apparently all the elite, Olympian-type gymnasts do it everyday as a warm-up and cool-down to their hours and hours of grueling in the gym.So, I decided If these little pig-tailed girls can do it a couple times a day to bookend much harder and more difficult workouts, surely I can do the simple core workout just once, every other day, as a stand-alone event! Somehow though, it doesn’t seem so simple about 30 hollow rocks into the routine. So break it down in chunks if you need to.

So, who’s in? No flipping or flopping on the commitment; you have to agree to do the workout at least three times per week. Come on, it’s only going to take about 10  to 20 minutes depending on how long you have to rest.  Here’s the plan:

100 Hollow Rocks: Remember, lower back should be touching the ground. Keep legs straight and tight together with toes pointed. Arms extended straight and glued to your ears. Slowly rock back and forth without allowing the shape to break at any point.

50 Belly Rocks: Lay face-down on the ground. Extend arms straight and keep glued to your ears. Pull chest and lower legs off the floor, keep core tight. Slowly rock back and forth without allowing the shape to break at any point.

50 V-Ups: Lie on ground and start in hollow body position. With legs straight and together, bring them up and towards your torso. While raising your legs, reach for the toes with your hands. Finish in a pike position with your hands and feet meeting at hip level, then return to hollow body position.

50 Side Crunches:  Lie on side, claps hands behind neck. Slightly bend knees and keep legs together. Pull torso and lower legs up at the same time, as if they were reaching toward one another. Lower back down to the ground. Repeat on other side after 50 crunches.

More fun from today:


How Did I Flippin’ Get Talked Into a CrossFit Gymnastics WOD!

Yesterday I got schooled on sideshow tricks and such at a CrossFit Gymastics Seminar hosted at Fit and Fearless CrossFit in Austin.  Teaching us mere mortals these super-human skills was the intrepid and, might I add, impressively-strong-but-not-hulkishly-muscular, Matthew Willis from Texas Parkour.  Apparently he knows his stuff, even trained with the super agile Carl Paoli of Gymnastics WOD. I noticed that Matthew has this quote on his Facebook page, it’s a good one to keep in mind when you’re 45 like me and trying gymnastics again after 30 years —

“It’s not how many times you fall, but how many times you get back up that really matters.”

After warming up, our first challenge of the day was Diving Monkey Push Up (aka Parkour Pushup).  Seriously, when I heard the name, I wasn’t so sure this was for me and honestly, for my scrappy arms, it was one of the hardest moves of the day – my triceps were already killing me going into it.  The move is like a kipping push up and is supposed to be performed in a fluid manner, to the chopping start and stopping I found myself doing.  I’ll have to practice this all month until I have it down, but check out Valerie and Matthew working the progression:

Next, we took a little crash reminder course in the importance of keeping a Hollow Body position for many of the upcoming tricks. You have to master this “core” concept before you can move onto many of the more complex skills like kipping pull-ups and muscle-ups.  Watch how the demonstrator in the video below gets proper form by tucking head up slightly, rounding back so shoulder blades are off the ground, abs and glutes are engaged tightly, and legs are squeezed together all the way together down to the toes – now rock it!


We took this hollow body skill off the floor and practiced it on the bar in preparation for kipping pull-ups. Since I’ve already got this pull up skill down for the most part, I did appreciate the tips on releasing grip and re-catching grip on the upswing. Watch below I’m hanging on to my last few kipping pull-ups on quivering arms after a long morning of hard work. Video is sideways and I can’t figure out how to flip it, go figure.

On to handstands, my main takeaway was to remember to keep my hands pointed forward for better balance and to engage shoulders and core as much as possible.  Also, we practiced a front roll out as a graceful way to get out of the handstand pose if we kicked over too much.  Maybe not so graceful for me; I used to be able to flip around, walk on my hands, and all sorts of stuff – now I’m just freaked out about hurting my neck and back. But, I’m not saying I can’t do it; that would mean a 10 burpee punishment!

Finally, we showed off with our favorite tricks like one-armed handstands (holla), walking on hands, kipping handstand push-ups and more. The only thing we didn’t get to practice was a skill I’ve been trying to master for six months – the muscle up.

Jennifer and Linda rocking out the one-armed handstand!