When it comes to summer cookouts, everyone remembers who made that amazing side dish or salad. If you want to be that guest (or host) . . I have some amazing ideas.

Whether you’re celebrating America’s 250th birthday, the Fourth of July, Labor Day, or simply gathering around the grill with friends and family, these fresh salads, veggie-forward sides, and colorful summer recipes are guaranteed to earn a spot next to the burgers, brisket, and barbecue.
From patriotic salads bursting with seasonal berries to grilled vegetables, watermelon favorites, and healthier comfort-food classics, these recipes are easy to make, travel well, and let summer produce shine. Here are the summery sides I’ll be fixin’ up this season – bring one or bring them all!
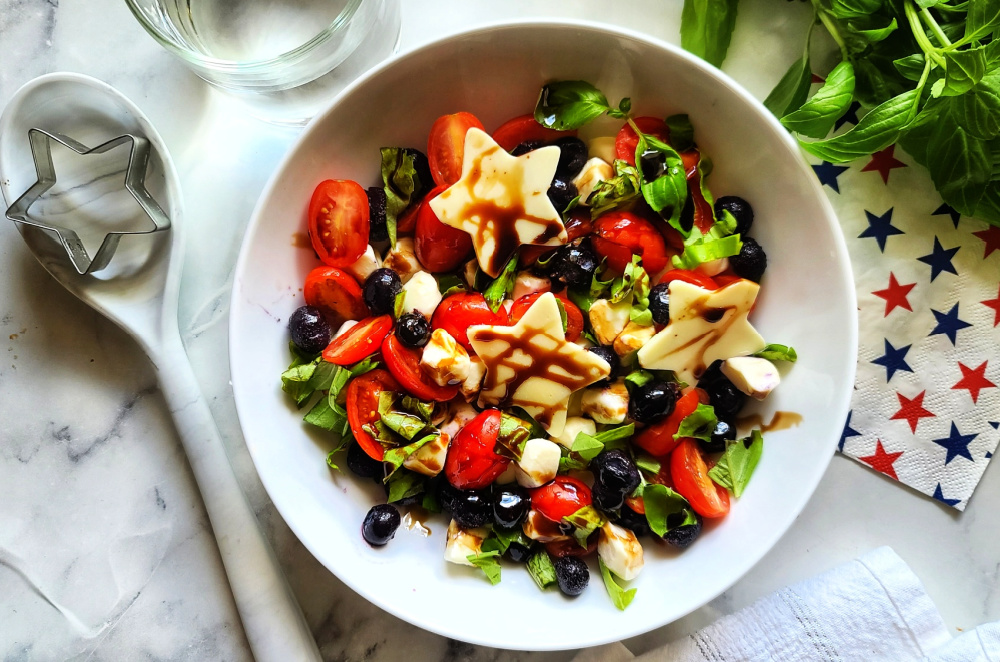
Red, White & Blue Caprese Salad with Blueberries: Nothing says summer celebration quite like red, white, and blue. Fresh tomatoes, creamy mozzarella, sweet blueberries, fragrant basil, and a balsamic drizzle create a patriotic side that’s almost too pretty to eat.
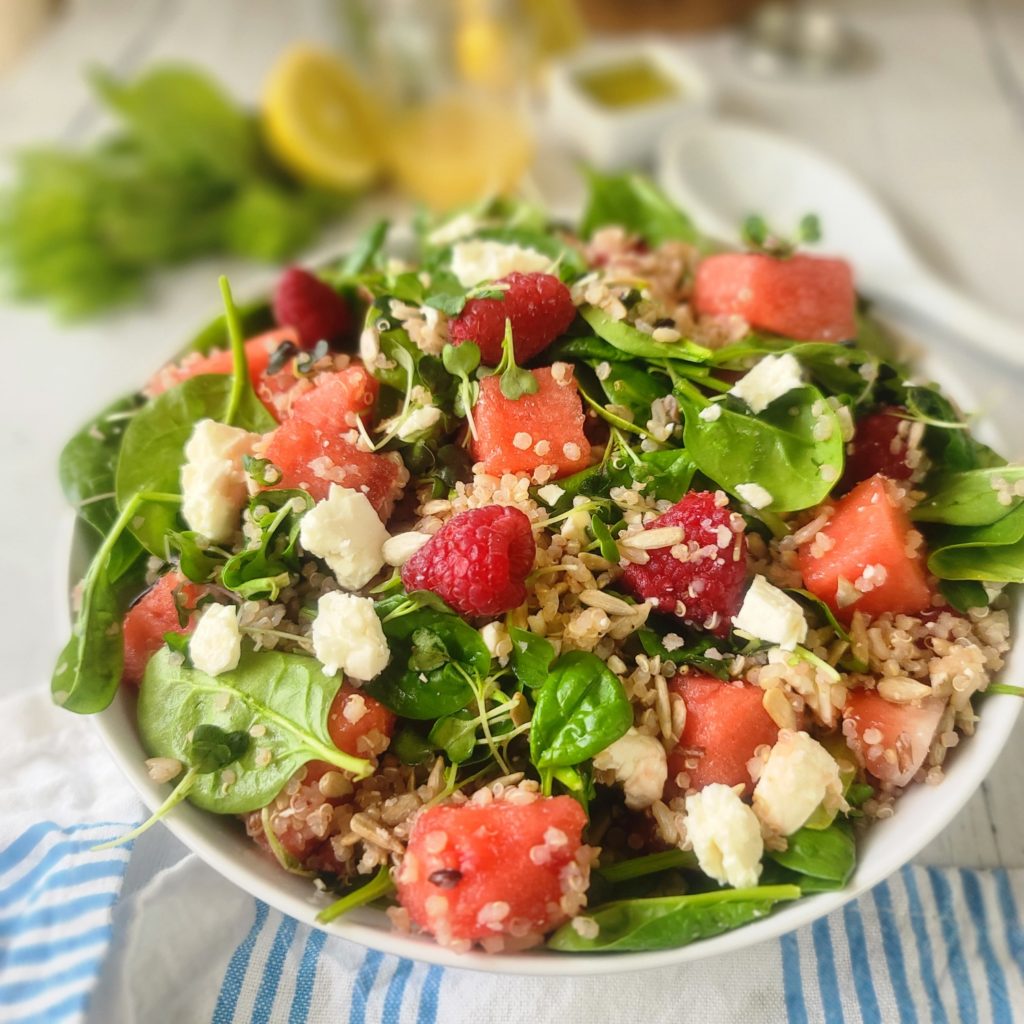
Watermelon Raspberry Quinoa Salad with Ginger Mint Dressing: A refreshing mashup of juicy watermelon, sweet raspberries, protein-packed quinoa, and a bright ginger-mint vinaigrette. It’s light, colorful, naturally gluten-free, and hearty enough to hold up on a buffet table without getting soggy.
No-Crust Tomato Pie: Peak summer tomatoes deserve their moment. This lower-carb, gluten-free tomato pie skips the traditional crust while delivering all the cheesy, savory goodness that makes tomato pie a Southern favorite.

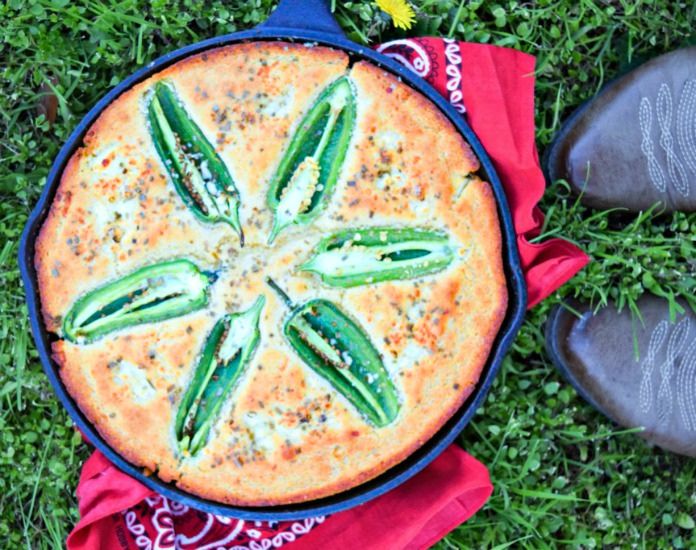
Jalapeño Feta Cornbread: A warm skillet of homemade cornbread always disappears first. This version gets a flavor upgrade with sweet corn, tangy feta, and just enough jalapeño heat to keep everyone coming back for another slice.
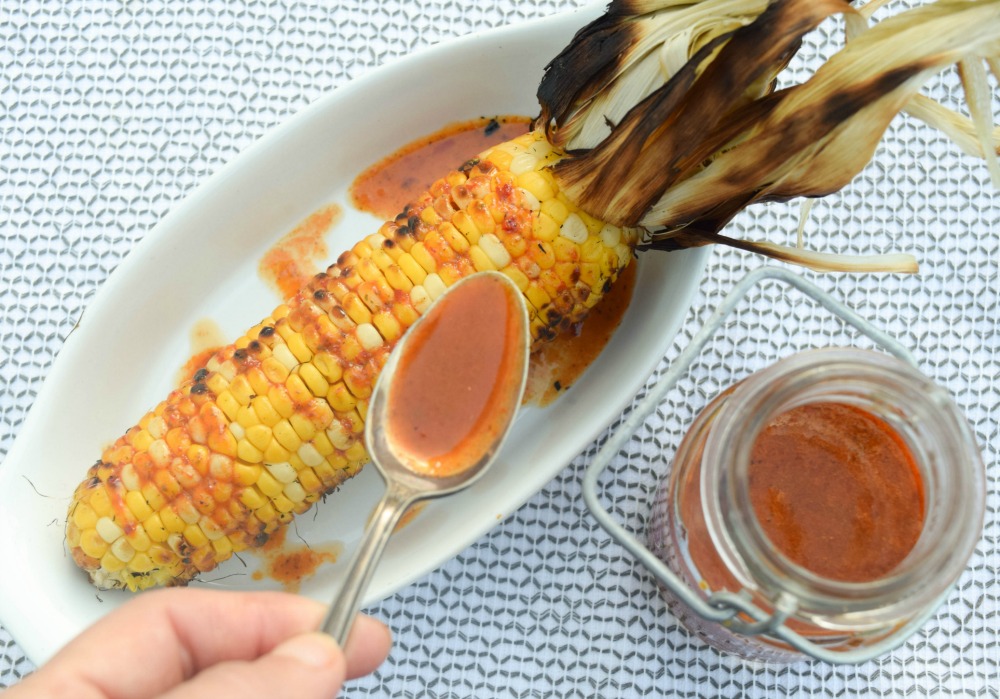
Grilled Corn in the Husk with Creamy Ancho Vinaigrette: Grilling corn right in the husk creates juicy, smoky kernels every time. After grilling, drizzle each ear with my creamy ancho vinaigrette for a restaurant-worthy side that’s incredibly simple.
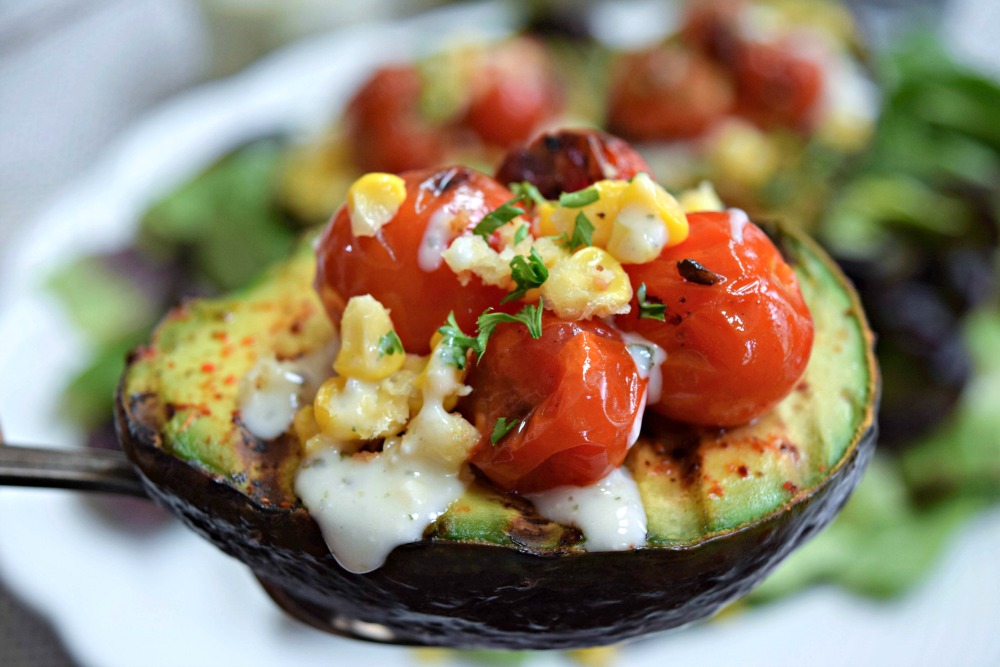
Grilled Avocado Boats with Blistered Tomatoes: If you’ve never grilled an avocado, you’re in for a treat. Warm, creamy avocado halves pair beautifully with smoky blistered tomatoes for a side that’s unexpectedly elegant yet incredibly easy.
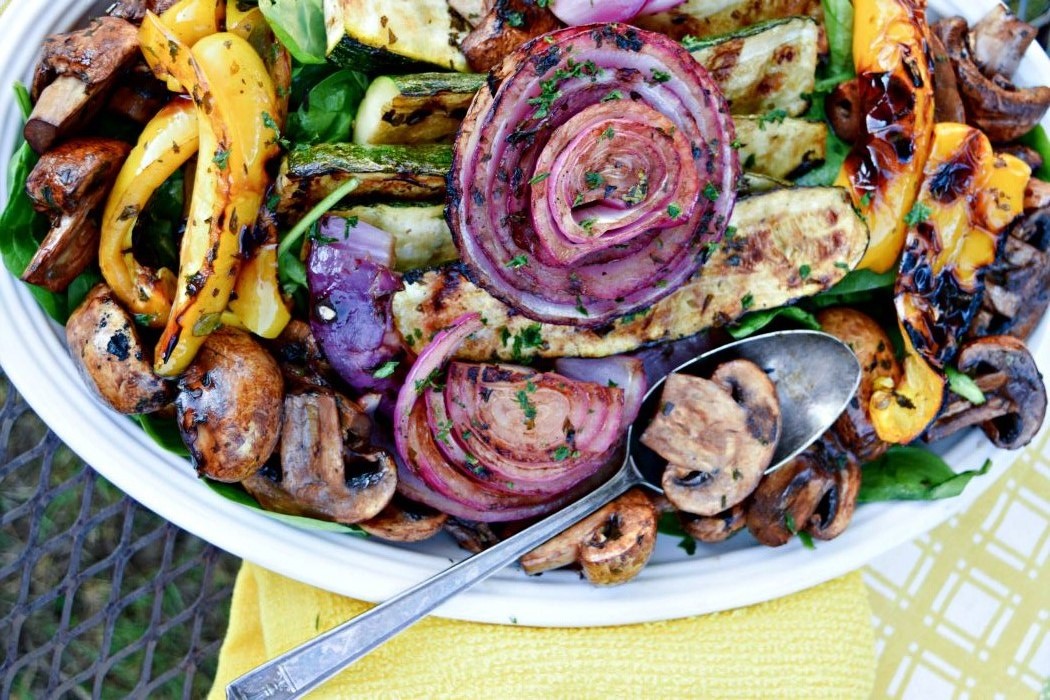
Balsamic Grilled Vegetable Salad: Fire up the grill for more than just meat. Bell peppers, zucchini, onions, asparagus, and other seasonal vegetables caramelize beautifully before being tossed in a tangy balsamic dressing. It’s colorful, healthy, and makes excellent leftovers.
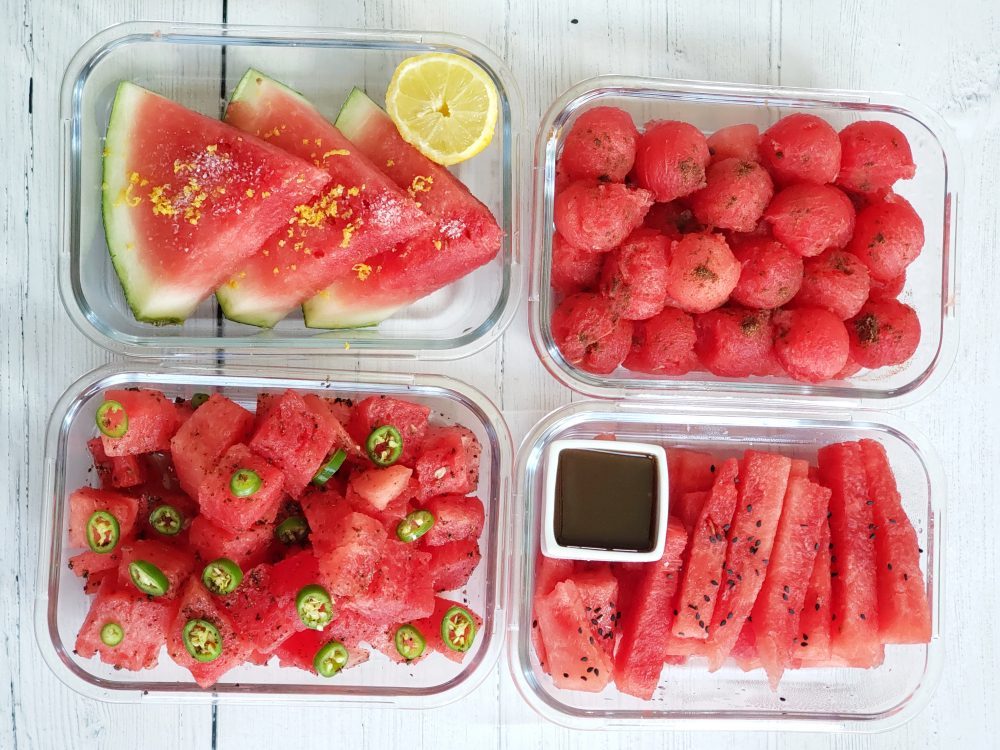
Four Ways to Season Watermelon That Will Blow Your Mind: Sure, watermelon is delicious on its own—but these simple seasoning ideas take it to another level. Sweet, spicy, savory, and tangy combinations transform this classic summer fruit into an unforgettable party snack.
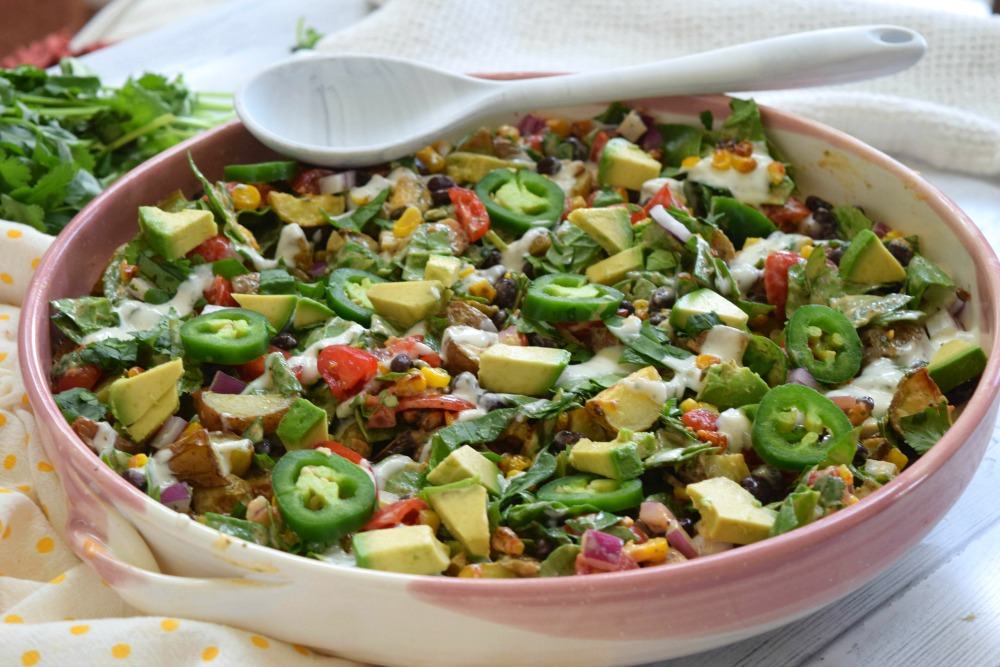
Fiesta Five Veggie Potato Salad: This isn’t your average mayo-heavy potato salad. Loaded with five colorful vegetables and a lighter dressing, it’s fresh, vibrant, and packed with flavor while still delivering the comfort everyone expects from a classic picnic side.