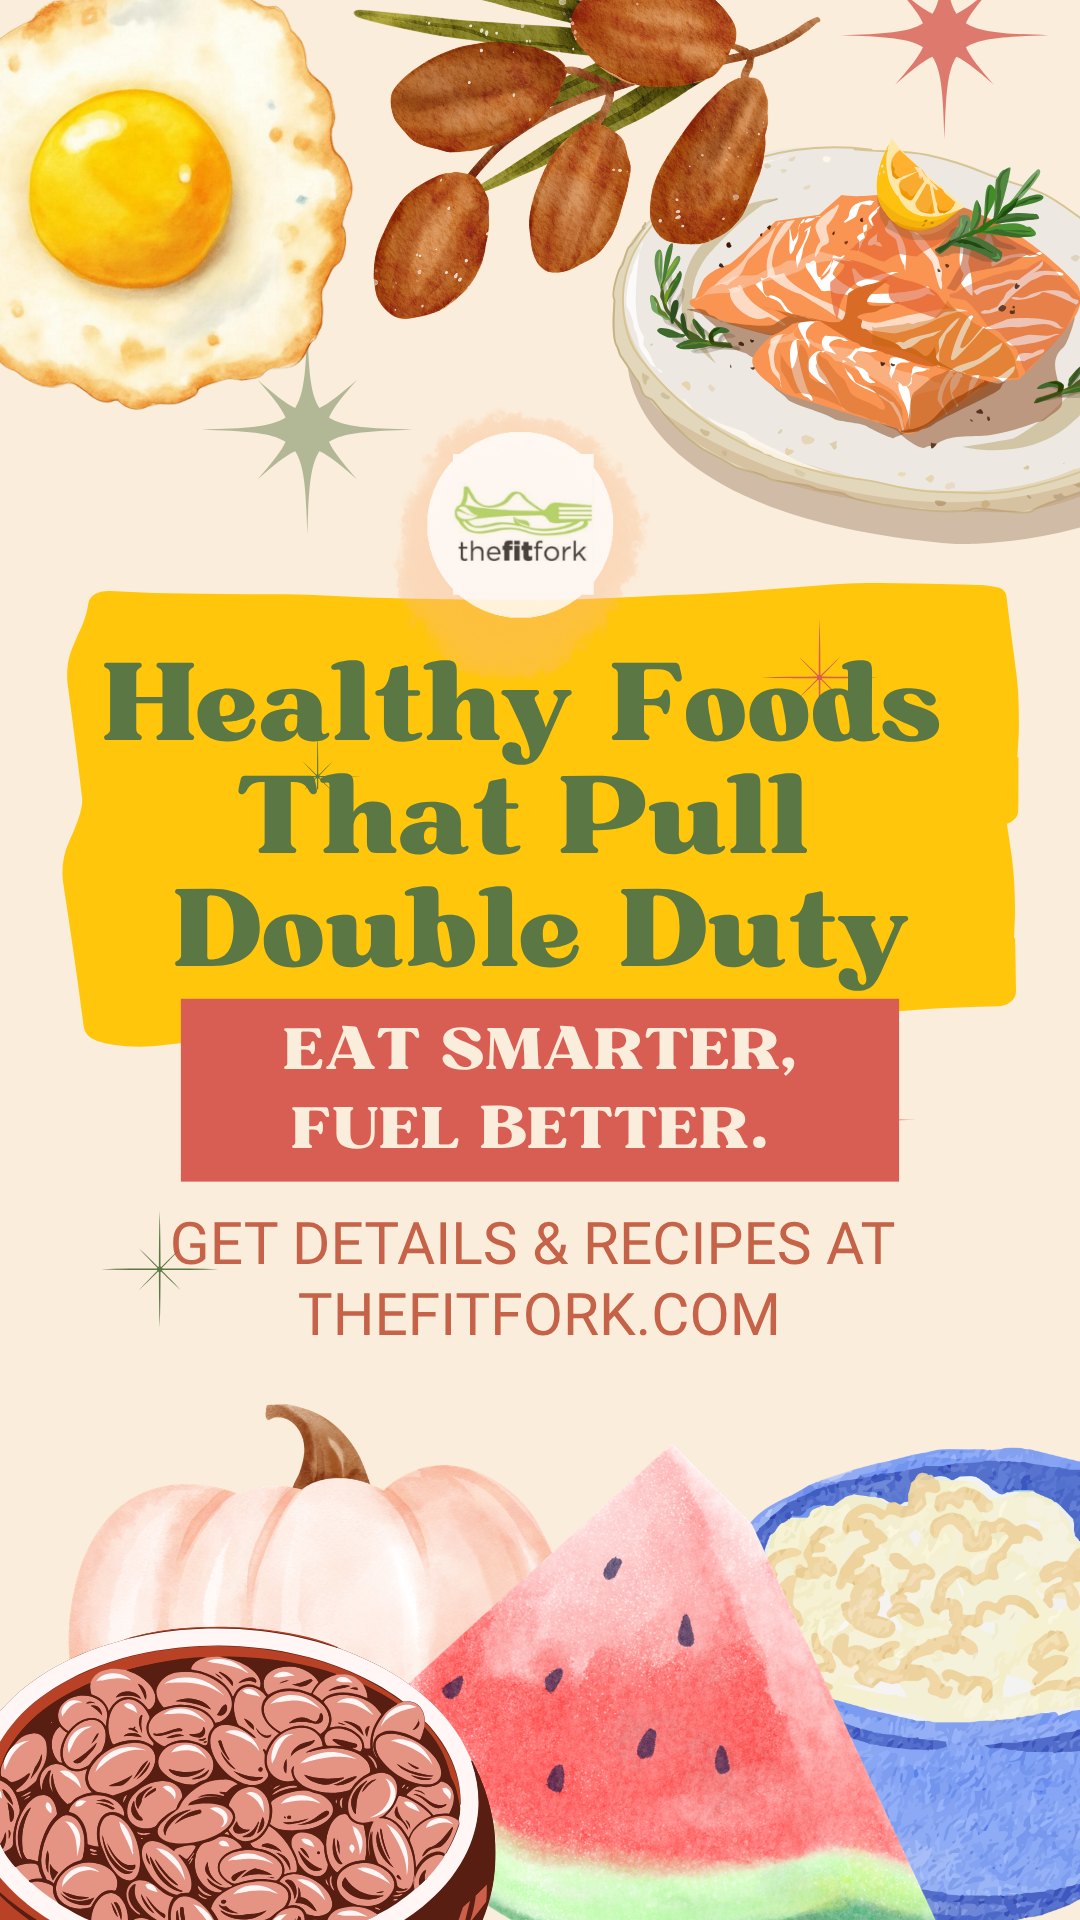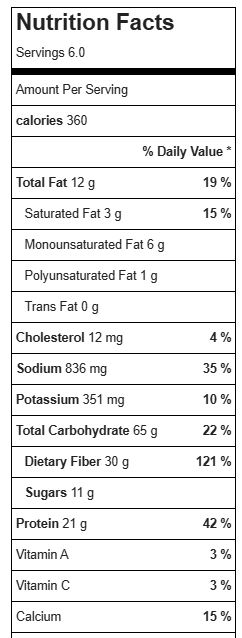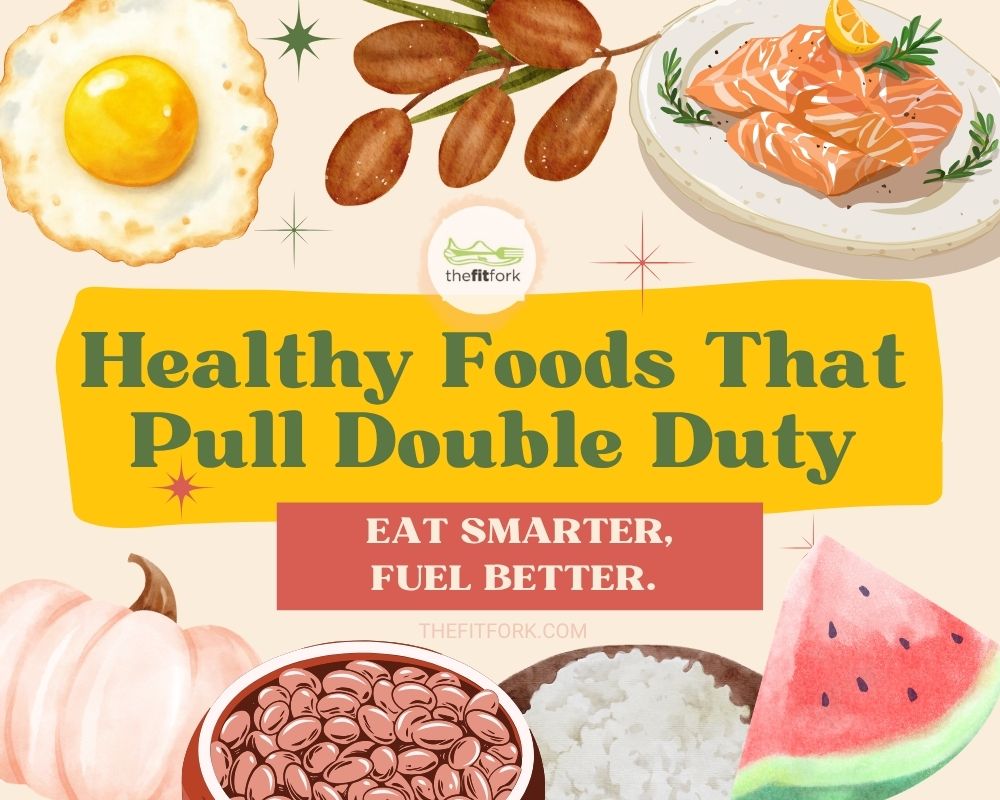
Healthy eating doesn’t have to mean chasing “superfoods” or buying expensive specialty ingredients. Some of the hardest-working foods are everyday staples that support wellness while also helping energy, recovery, muscle maintenance, hydration, endurance, or healthy aging. Whether you’re training for an event, lifting weights, walking daily, or simply trying to stay active and strong as you age, these are some of my favorite foods pull double duty.
Watermelon for Hydration + Recovery:
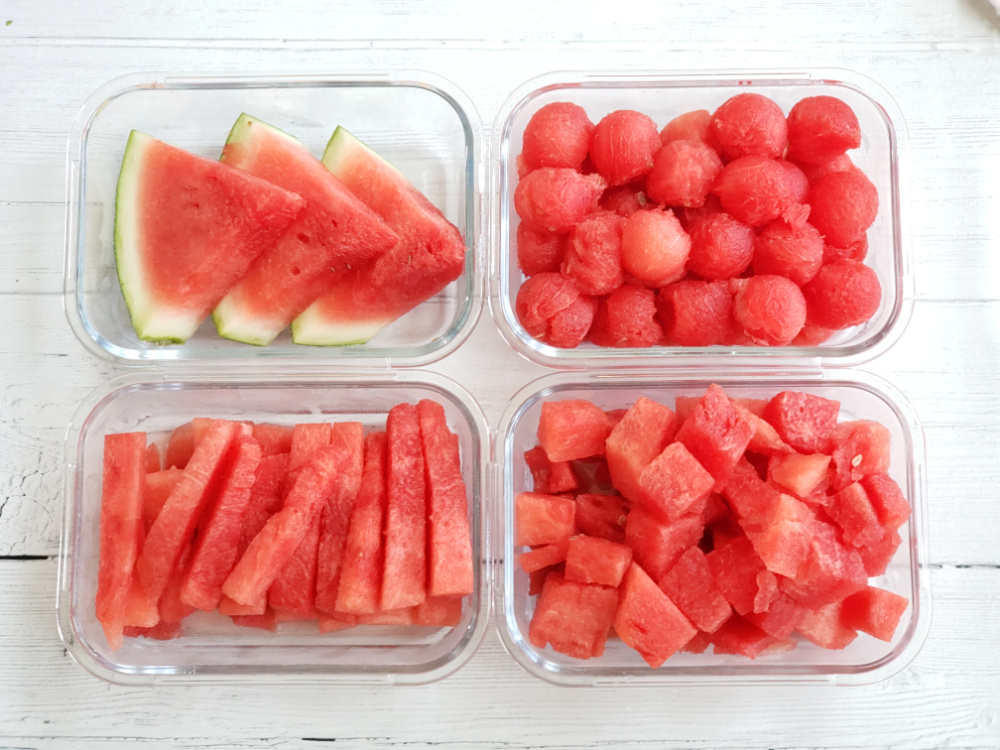
Watermelon isn’t just a refreshing summer snack. Its high water content helps support hydration, especially important for workouts year-round (I’m luck in Texas, we have it nearly year-round.) Watermelon also naturally contains potassium and citrulline, compounds that may support circulation and exercise recovery. Get more details on how it can support your fitness goals HERE. Double-duty benefit: ✓ Hydration support, ✓ Recovery support, ✓ Natural energy
Try These Watermelon Recipes:
- Simple Watermelon Slices with Cinnamon Boost
- Watermelon Salad with Chamoy
- Coconut Milk Watermelon Nice-cream
Dates offer Quick Energy + Fiber:

Dates are one of my favorite ingredients in my fit foodie recipes, and also a stand-alone snack. They provide naturally occurring carbohydrates that can help fuel activity while also delivering dietary fiber. Unlike many processed snack options, dates offer quick energy plus nutrients like potassium. I pretty much always have these in my pack during a long Spartan race or hike. Double-duty benefit: ✓ Workout fuel, ✓ Digestive support, ✓ Pantry (and backpack) friendly
Try These Date Recipes:
- Date & Protein Chocolate Cookies
- Cinnamon Mocha Marathon Energy Bites
- Kung “Power” Chicken (Kung Pao with date sauce)
Eggs Offer Muscle Support + Convenience:
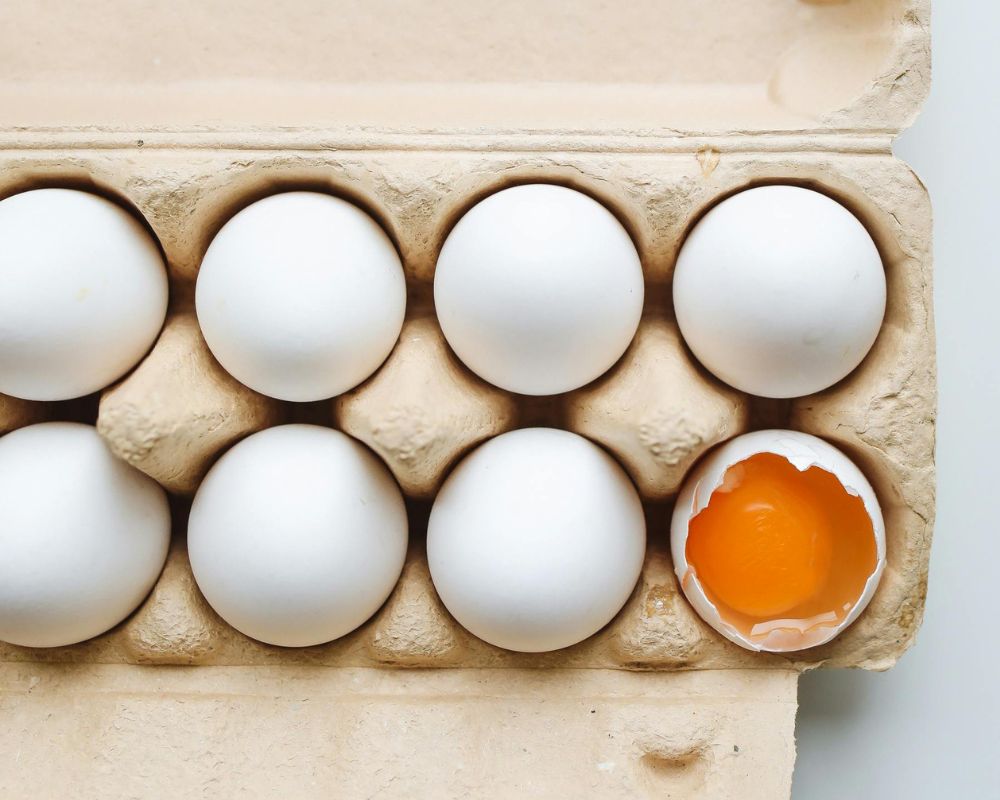
Eggs deliver high-quality protein and important nutrients like choline while being affordable and incredibly versatile. For active adults, especially over 50, protein becomes increasingly important for maintaining muscle. Whether eating a hard-boiled egg for a snack, or making a tasty omlete or egg recipes, you can’t go wrong with the incredible edible egg! Double-duty benefit: ✓ Protein for muscle maintenance, ✓ Fast, practical meal solution, ✓ Economical protein
Try These Egg Recipes:
- Harvest Stracciatella (an egg-packed Italian-inspired soup)
- Salsa-Poached Eggs (Huevos Ahogados)
- Breakfast Burrito Muffins
Pumpkin Provides Fiber + Nutrition Density:
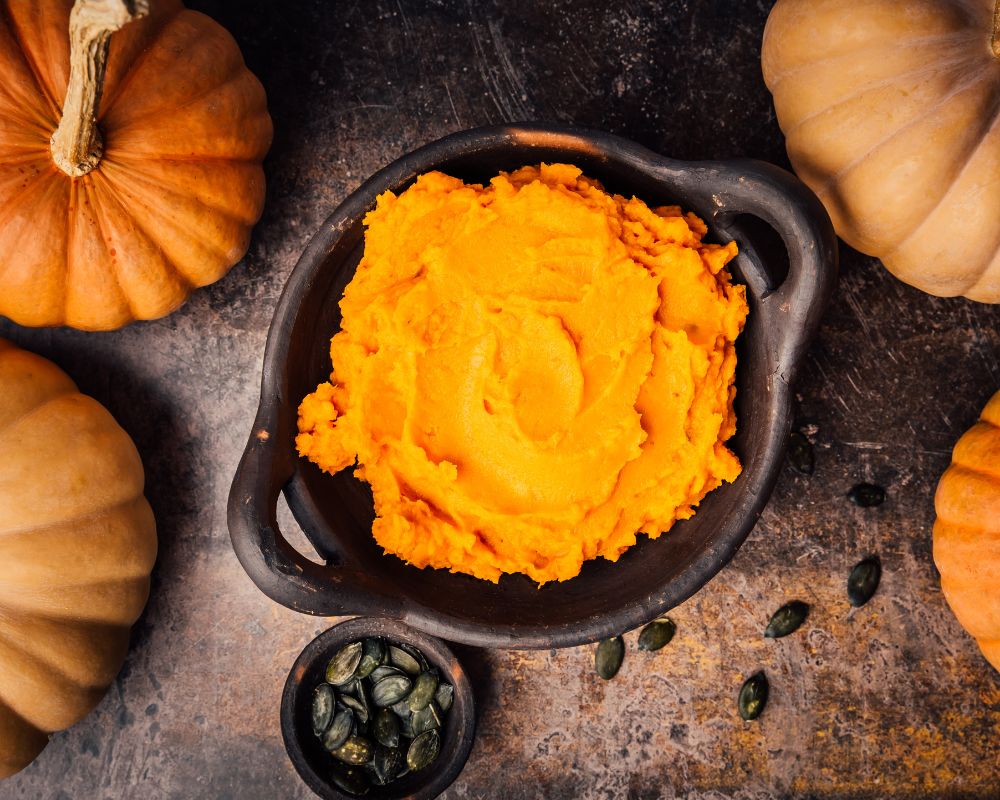
Pumpkin deserves more credit than just seasonal coffee flavoring. Pumpkin contains fiber plus vitamin A precursors and works beautifully in both sweet and savory recipes. Plus, it can help add volume and texture while boosting nutrition. Double-duty benefit: ✓ Fiber support, ✓ Nutrient boost, ✓ Pantry friendly (load up in the fall!)
Try These Pumpkin Recipes:
- High Protein Pumpkin Bread
- Pumpkin Scrambled Oats (hey, eggs too!)
- Black Bean Pumpkin Soup
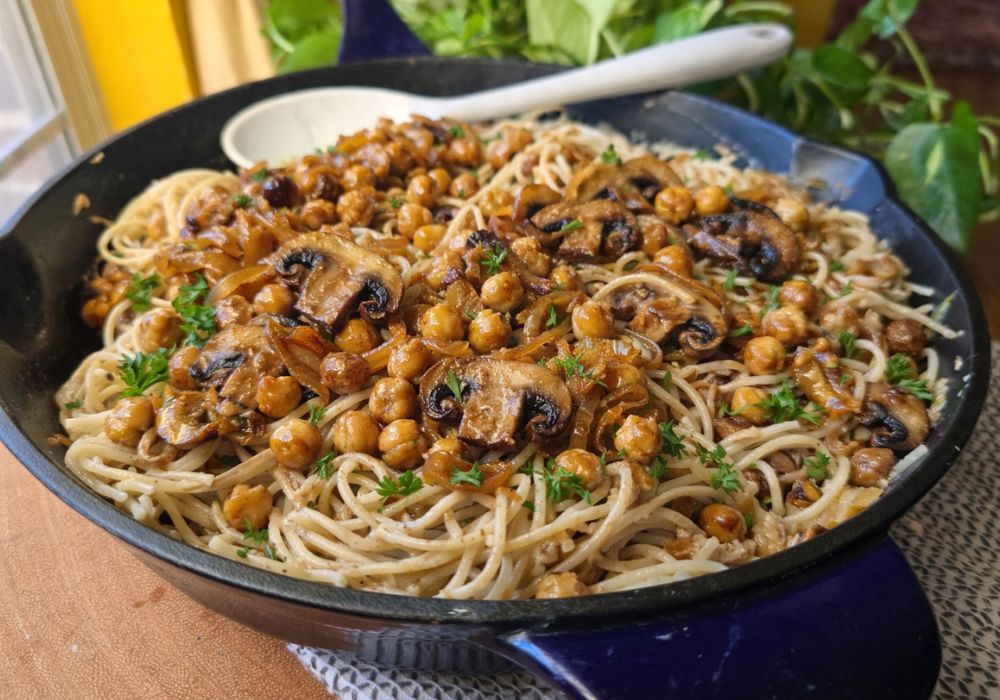
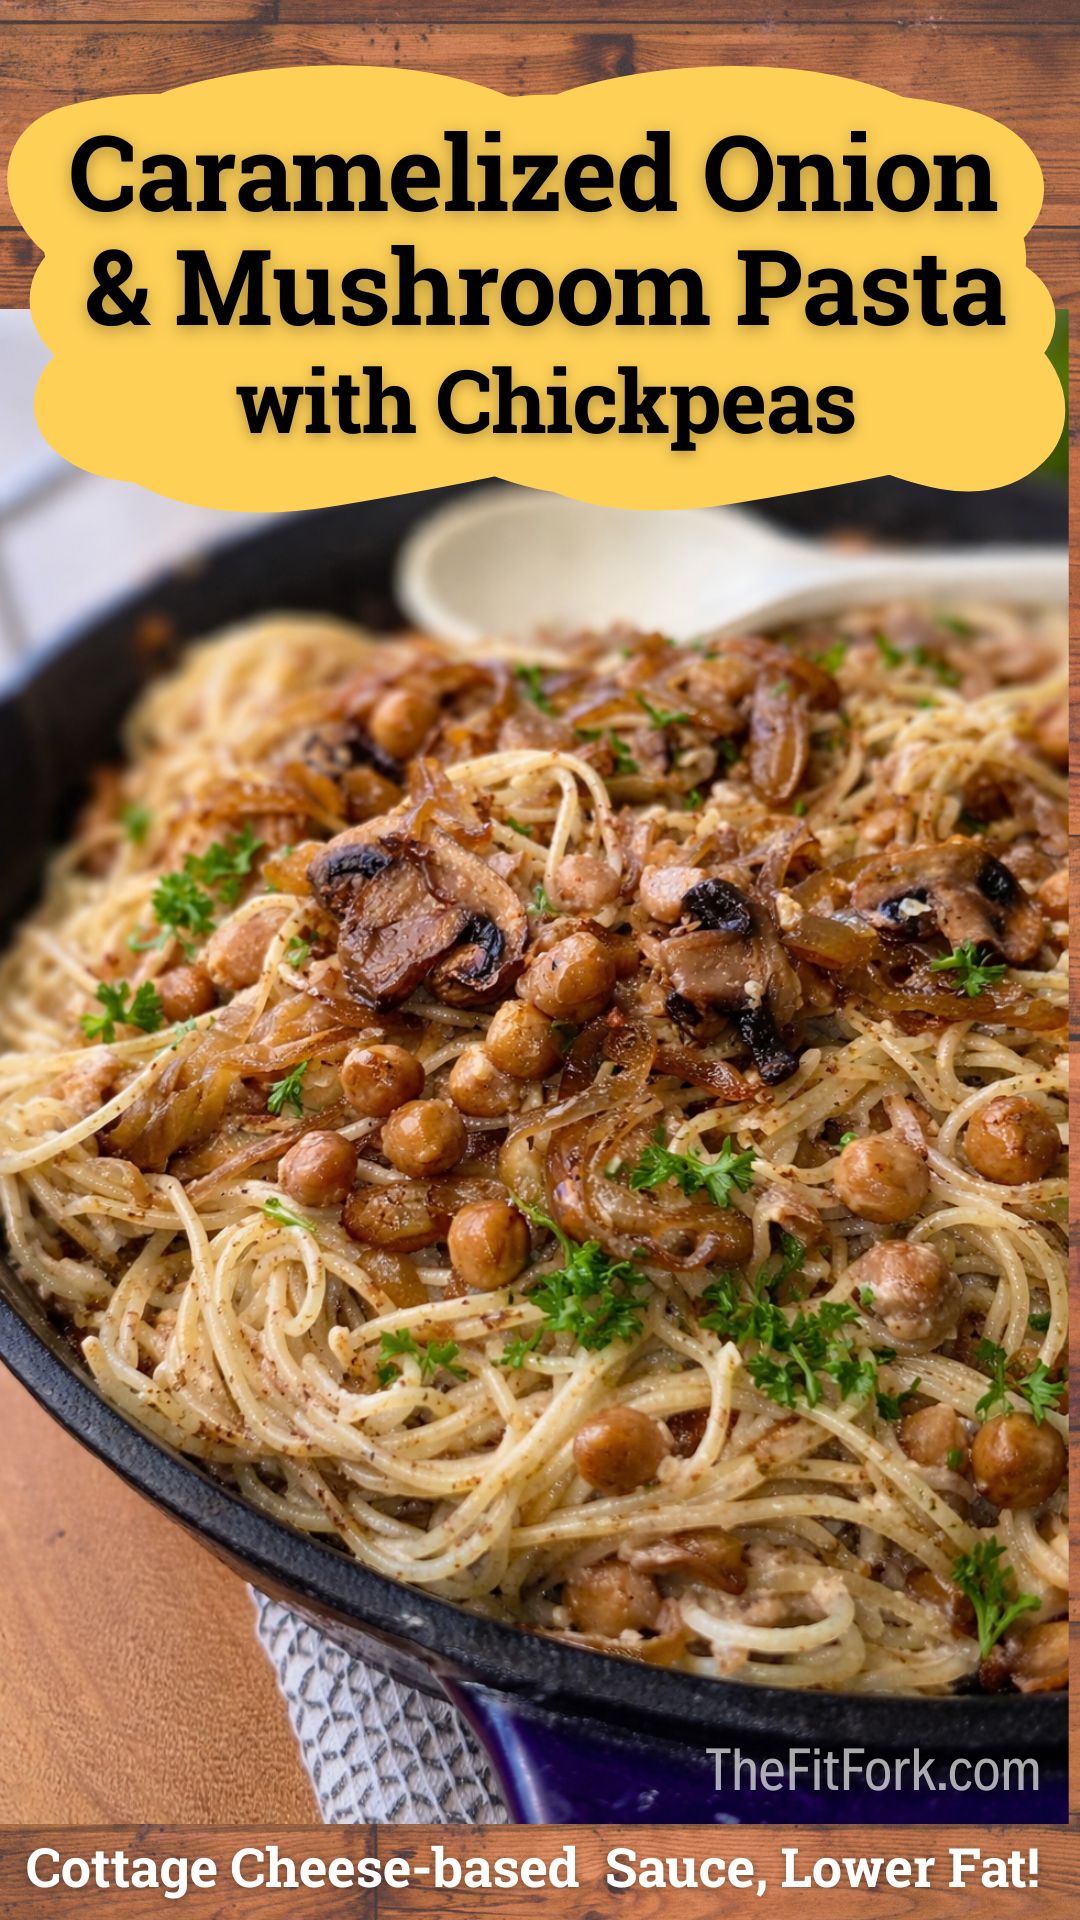
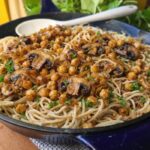
Beans Packed with Veggie Protein + Complex Carbs:
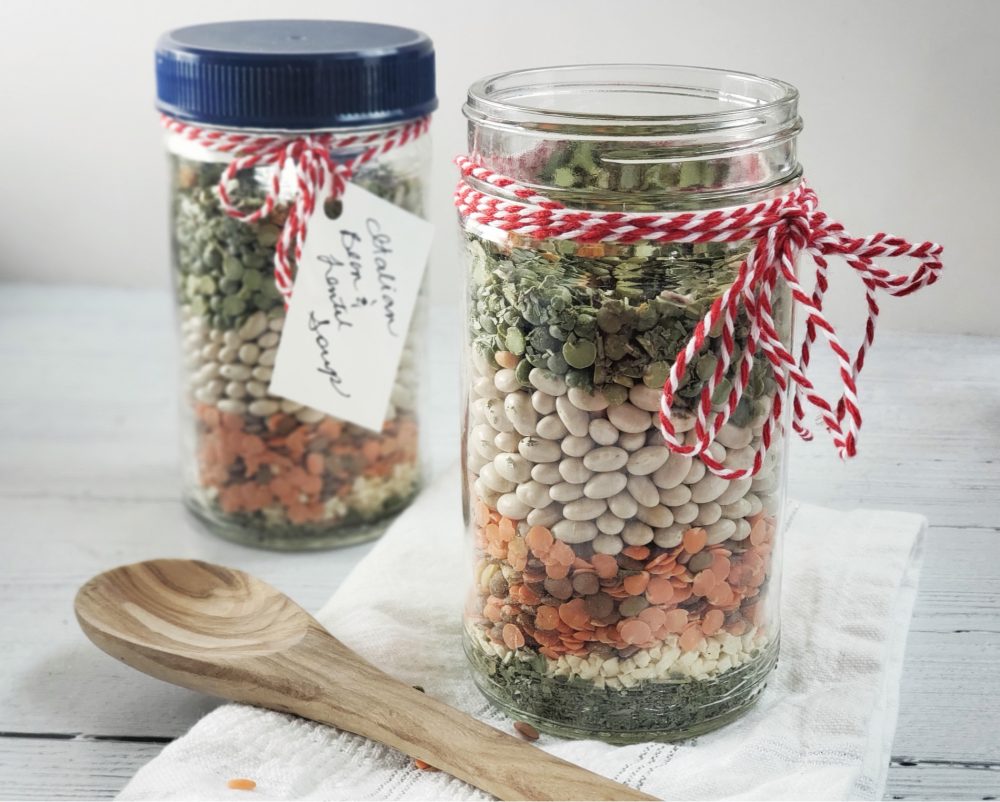
Beans and legumes are one of the most underrated foods for active lifestyles. They bring plant protein together with fiber-rich carbohydrates, creating longer-lasting energy and satisfying meals. They’re also budget-friendly and pantry-friendly. Double-duty benefit: ✓ Energy support, ✓ Satiety, fiber and muscle support, ✓ Pantry friendly and cheap
Try These Bean Recipes:
- Mango Chili with Beans and Kale
- Instant Pot Bean Medly
- Southwest Bean Salsa Waffles
- Peanut Butter Chickpea Bark
Salmon Wins With Quality Protein + Healthy Fats:
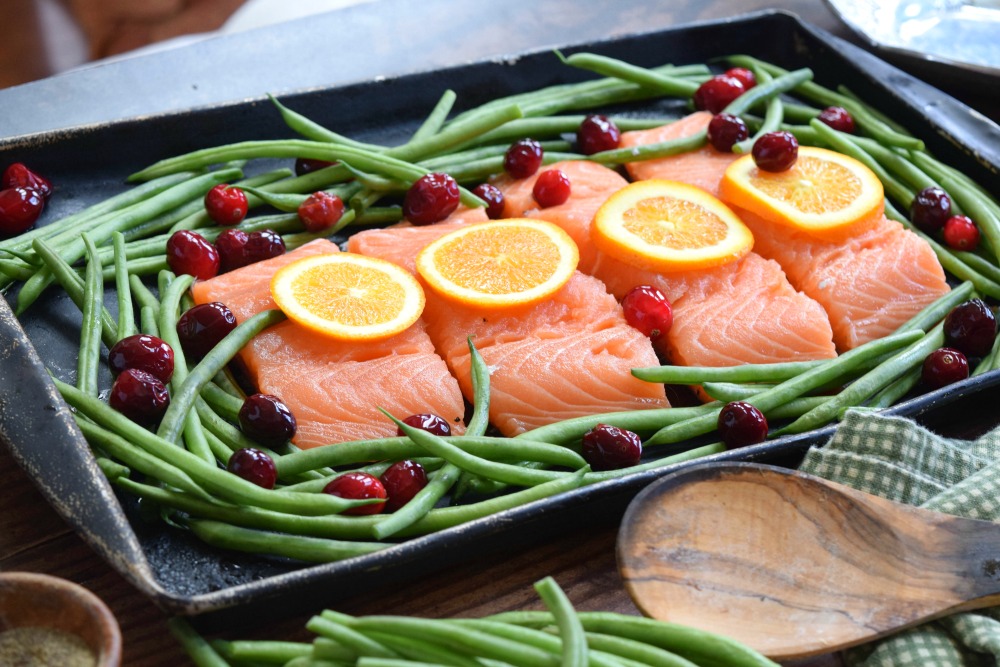
Fatty fish like Salmon earns a place on the list because it supports multiple wellness goals at once, including muscle management and heat and brain support. It earns my thumbs up for healthy aging. Salmon provides protein for recovery alongside omega-3 fats that support overall health. Plus, it’s quick and convenient to cook, while also feeling fancy! Double-duty benefit: ✓ Recovery nutrition, ✓ Heart and brain support, ✓ Versatile
Try These Salmon Recipes:
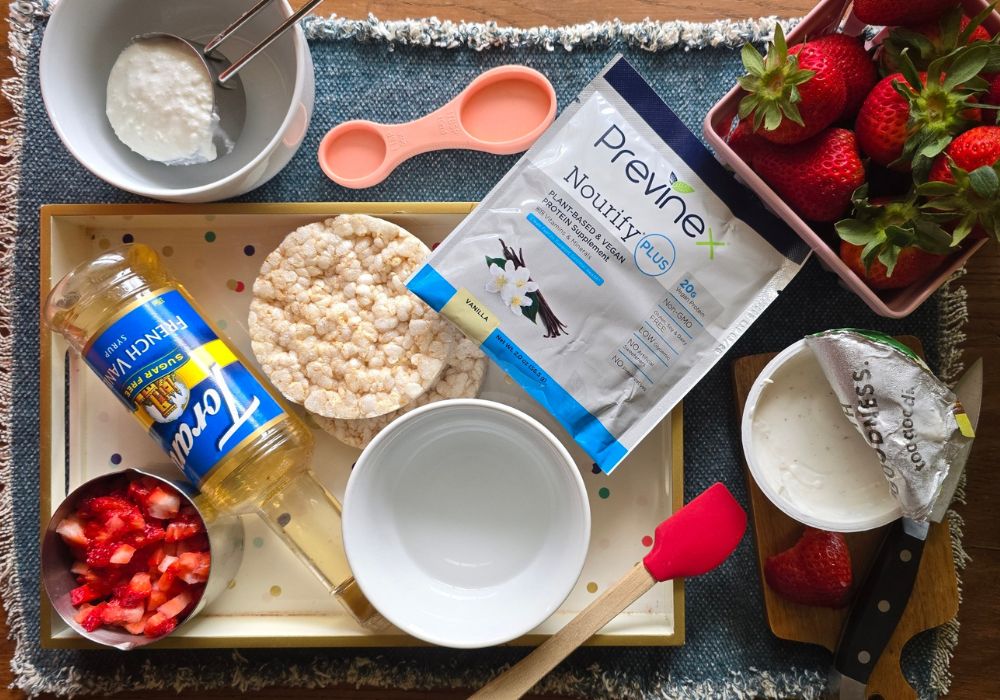
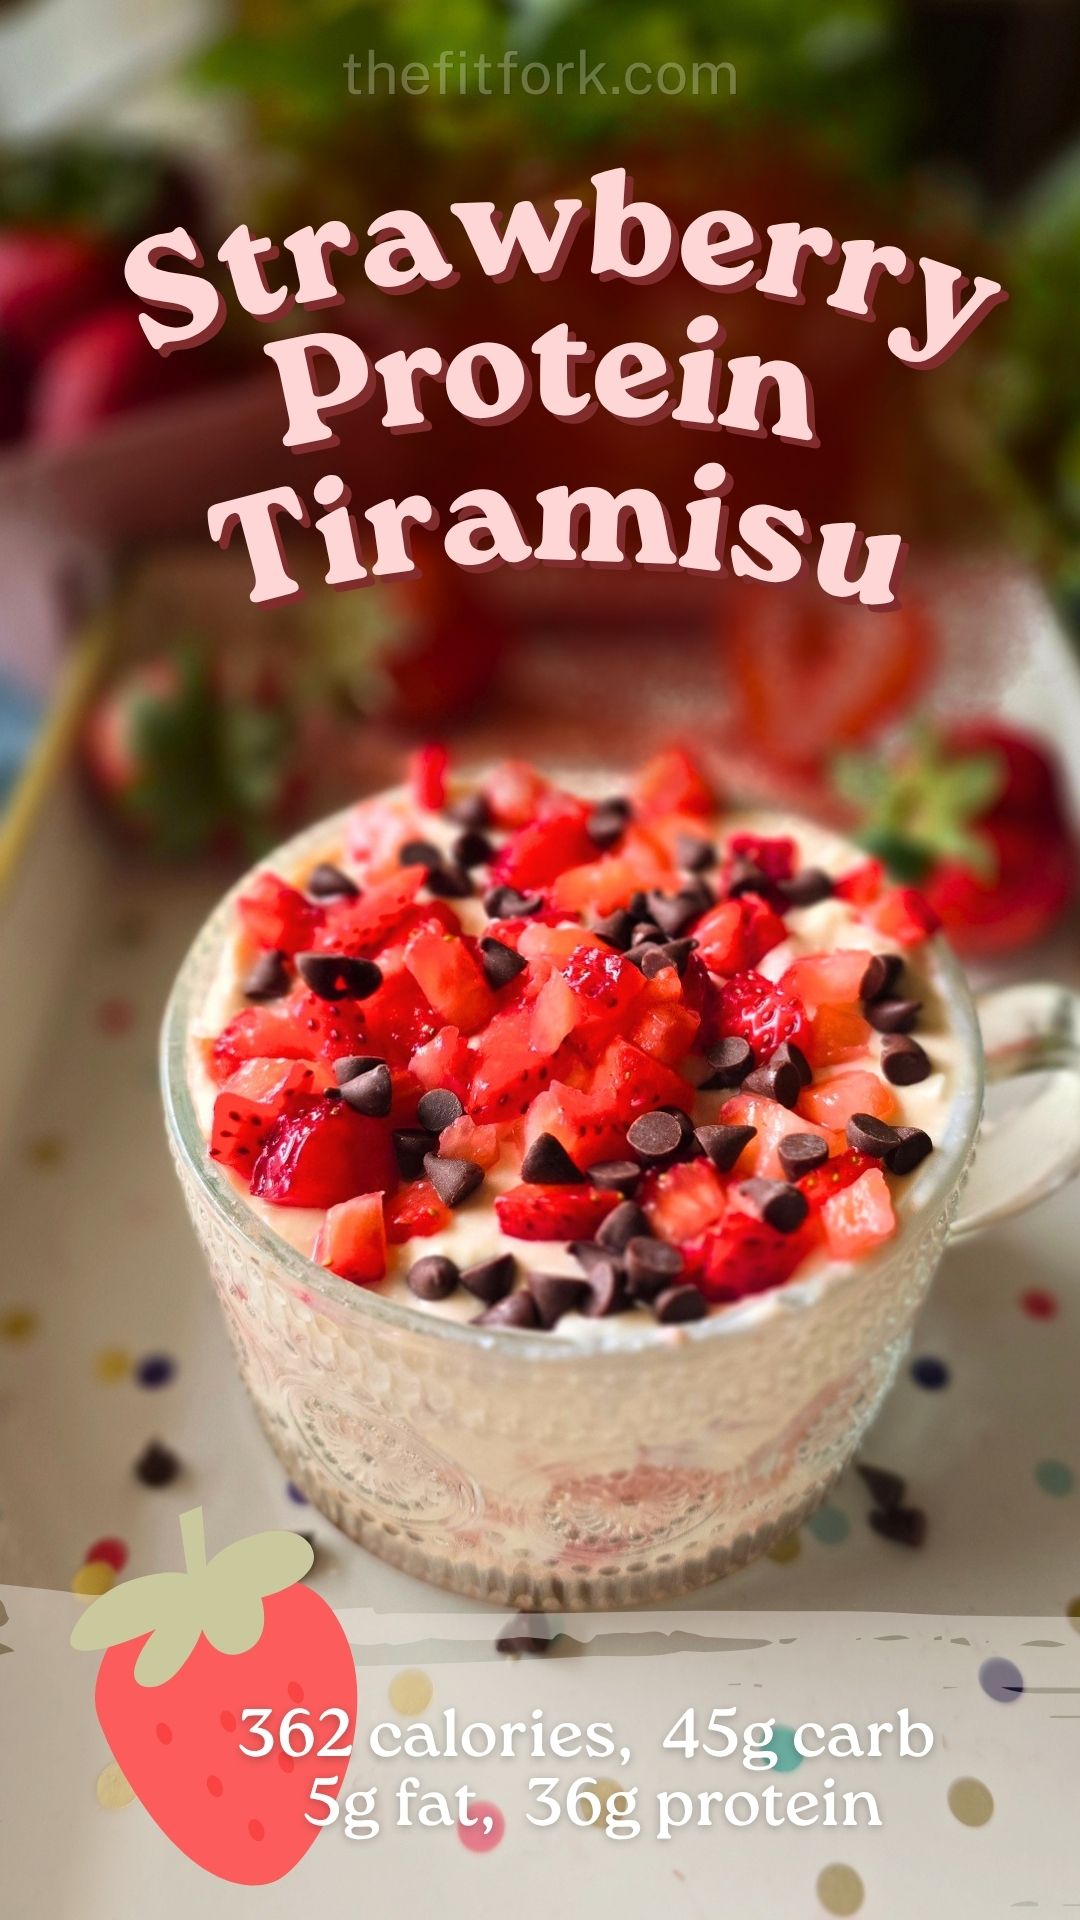
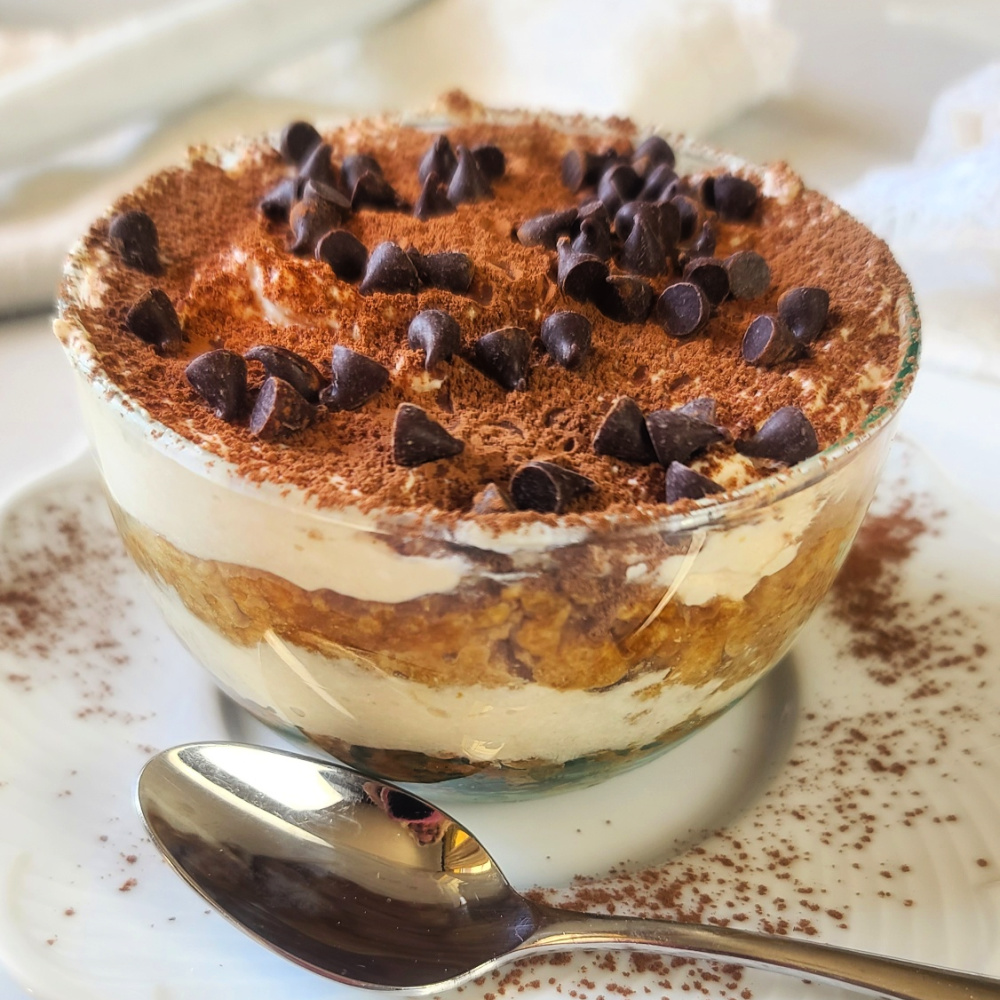
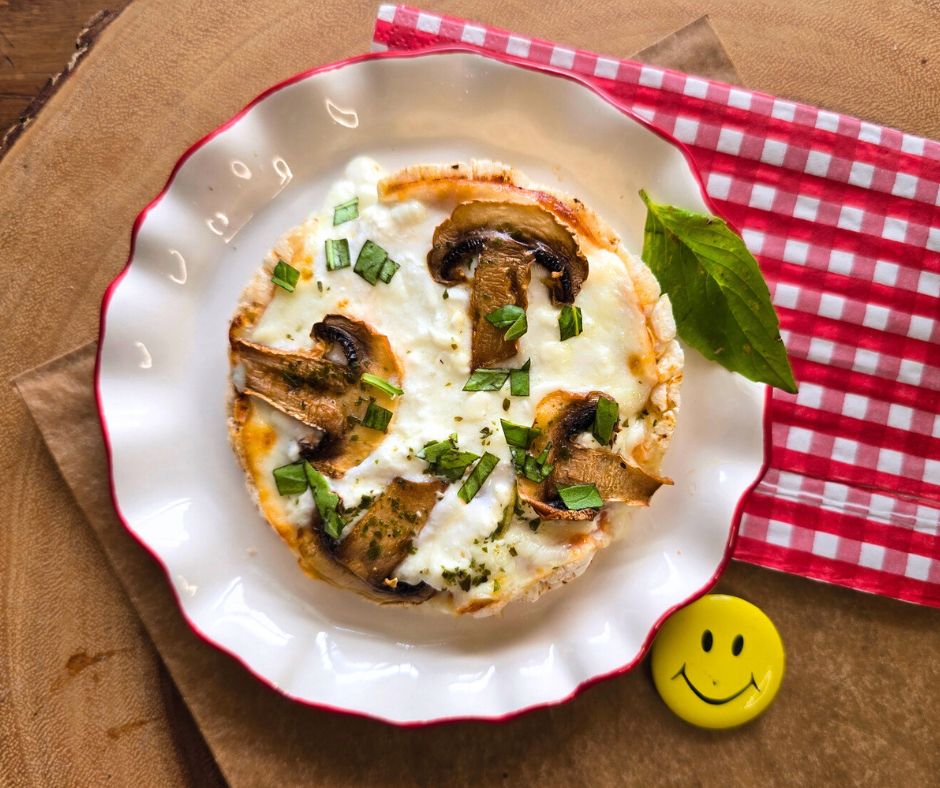
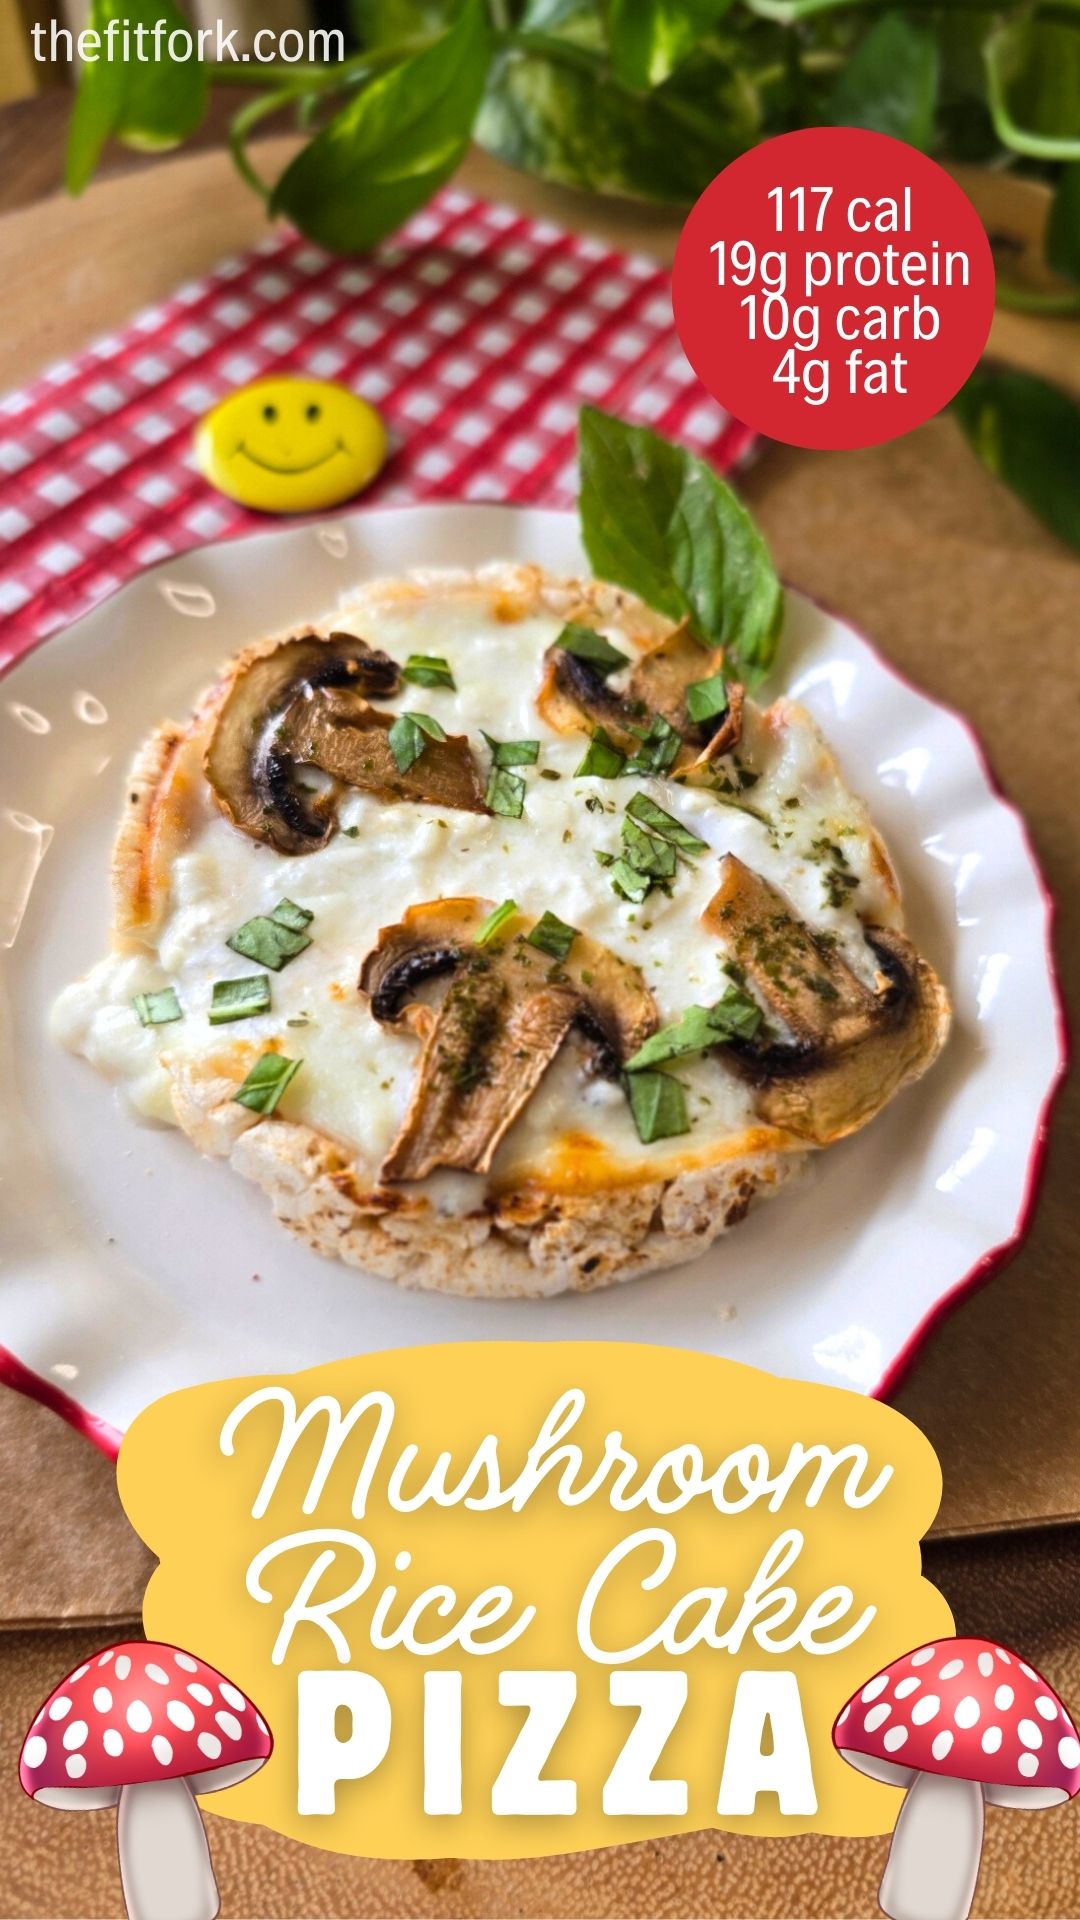
Cottage Cheese Boosts Protein + Surprisingly Versatile:
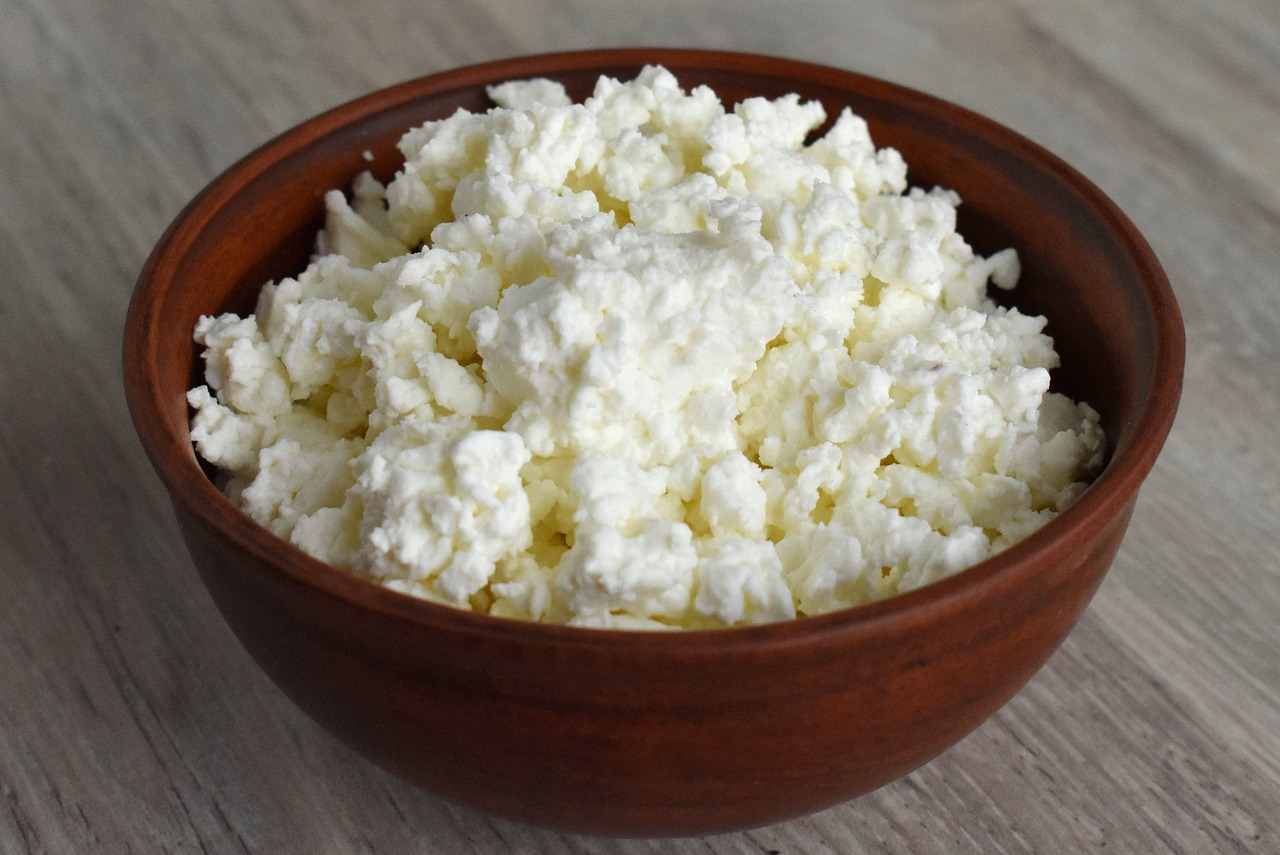
Cottage cheese has made a major comeback for good reason. It adds protein and creaminess while fitting into sweet or savory meals. Literally, I’ve made dozens and dozens of recipes with cottage cheese as a boosting ingredient (here is a round up of two dozen)! If you choose a lower-fat cottage cheese variety, it’s a great way to supplement recipes with lean protein and other nutrients like calcium.. Double Duty Benefit: ✓ Muscle-supporting protein, ✓ Easy meal upgrade, ✓ Calcium-packed
Try These Cottage Cheese Recipes: