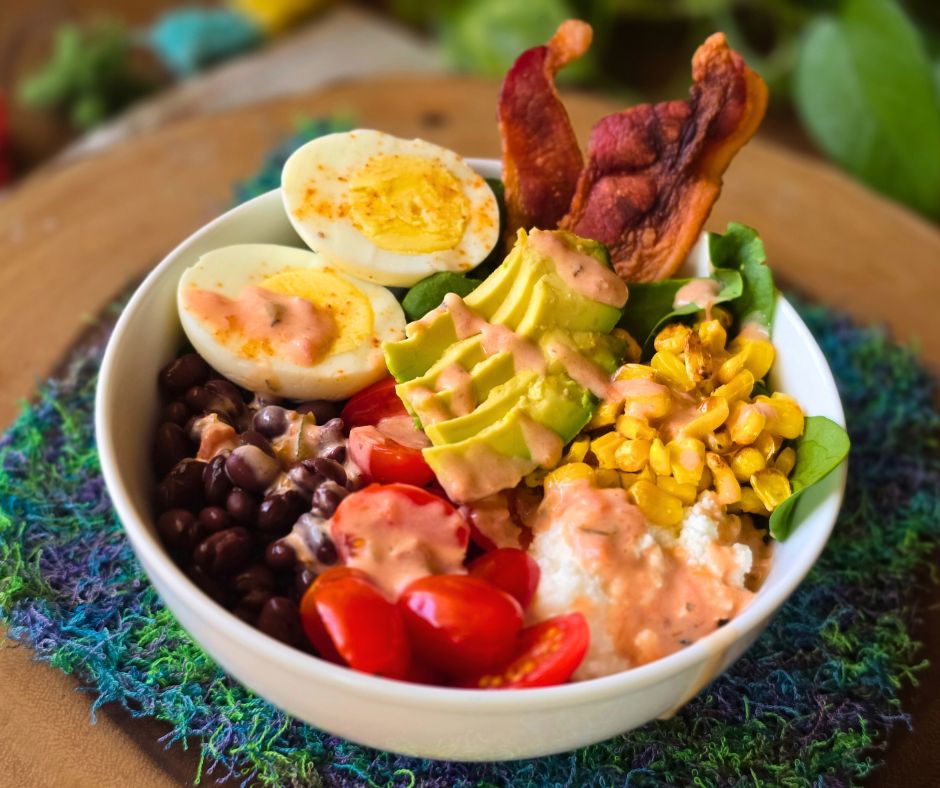
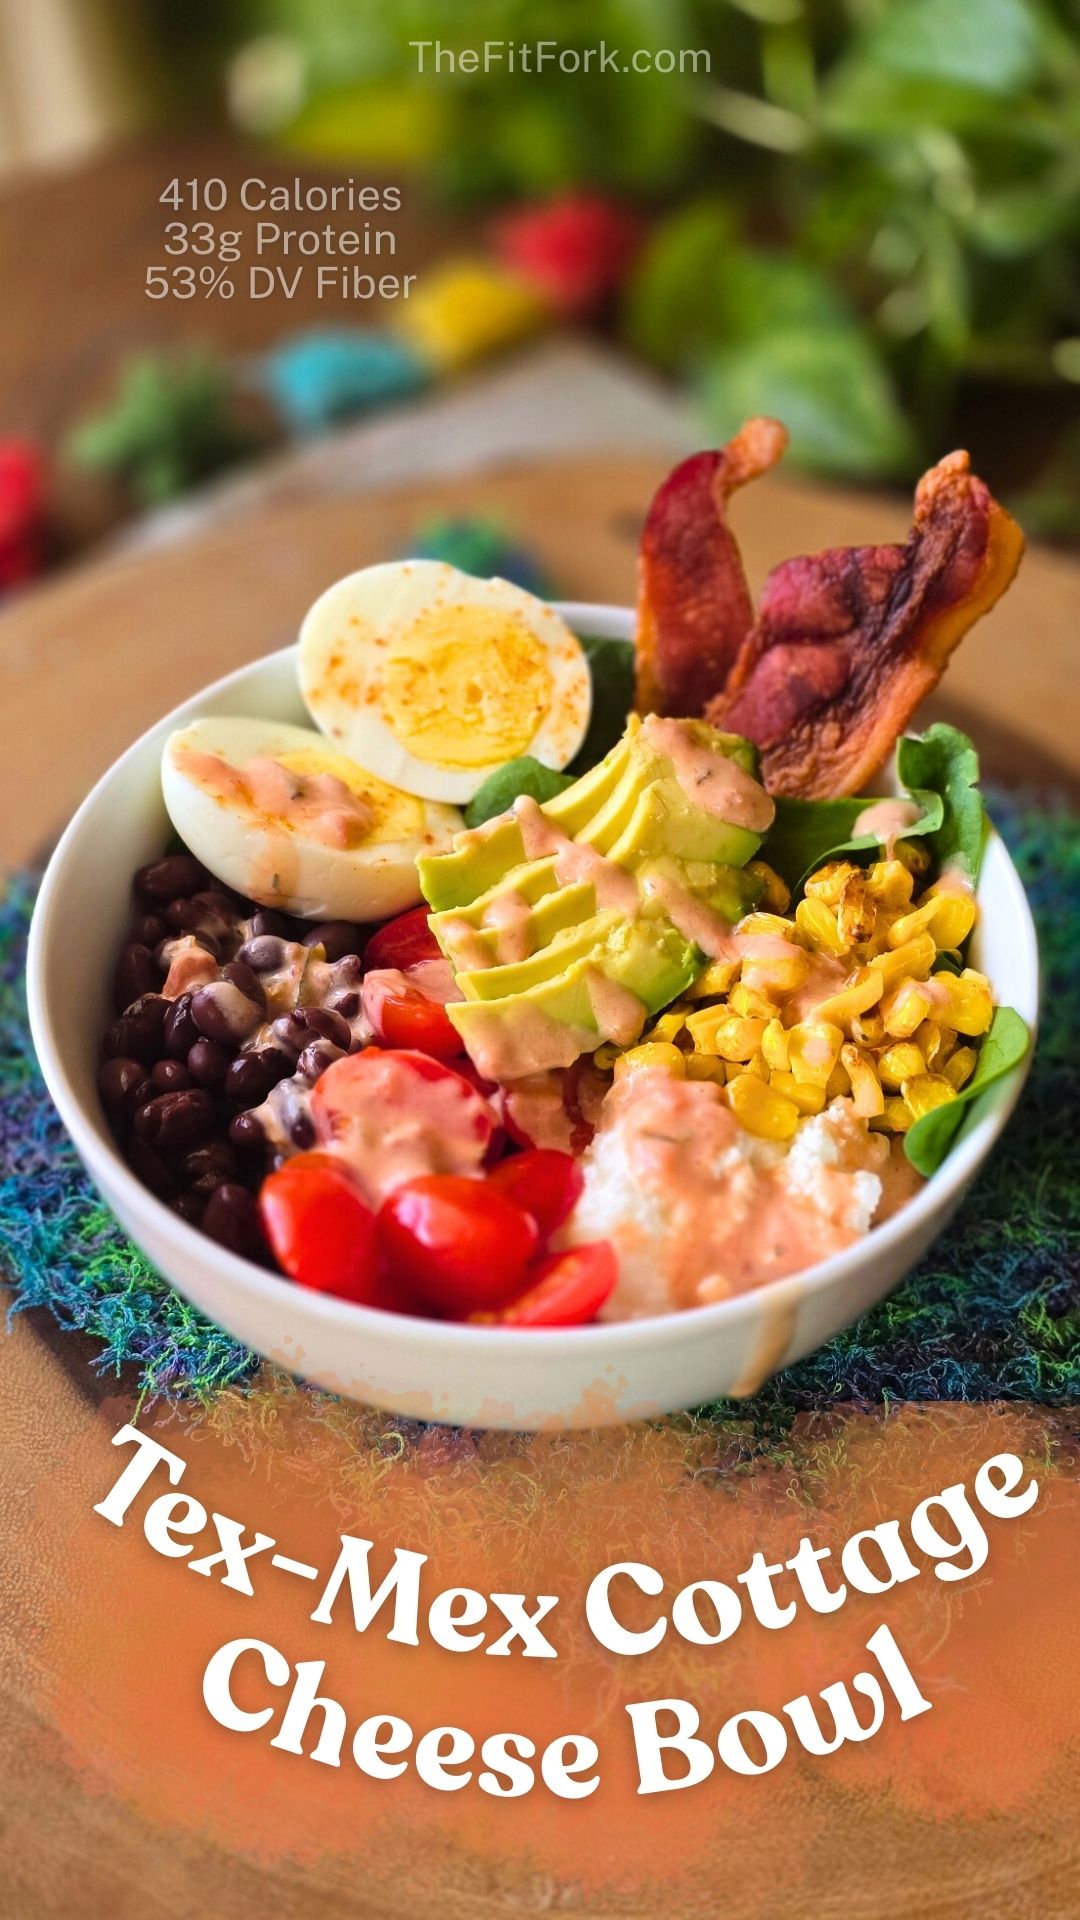
Tex-Mex Cottage Cheese Bowl: High-Protein, High-Fiber, No-Cook Lunch Win

If you’ve ever opened the fridge, said “I’m hungry,” and wanted something right now that actually fuels you… this bowl is for you. No stove. No complicated prep. Just real food, layered in a bowl, and lunch is handled. My Tex-Mex Cottage Cheese Bowl is one of those magical meals that checks all the boxes:

  • Assemble-and-eat easy
  • High in protein
  • Loaded with fiber
  • Big flavor, minimal effort

Why I’m Loving This Protein Bowl Lately

This isn’t just a “throw-some-things-together” meal (although it totally can be). It’s a balanced, nourishing bowl that keeps me full and energized—whether I’m coming from a workout, heading into a busy afternoon, or just trying to avoid the mid-day snack spiral.

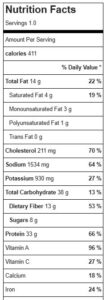
With about 400 calories and 33 grams of protein, it delivers serious staying power. And thanks to beans, veggies, and avocado, it also brings something most of us desperately need more of… 👉 Dietary fiber.

So many quick lunches are either 1) high carb and low protein or 2) low fiber with low fullness – both leave you hungry an hour later. But, this bowl is different – you get 33g protein mention above, plus13g fiber, healthy/satiating fats from avocado and volume form veggies. It’s designed to satisfy, provide energy and minimize cravings – I tweaked and ran the macros over and over to ensure this type of win!

Let’s Talk Fiber (Because Most of Us Need More)

Here’s the truth: most adults are woefully low in fiber. A good general guideline is to aim for about 14 grams of dietary fiber per 1,000 calories in your diet. So if you’re eating around 2,000 calories per day, that’s roughly 28 grams of fiber.

This bowl delivers about 13 grams of fiber in a ~400 calorie meal—nearly half of what many people get in an entire day. And we can thank beans (and veggies!) for that. More fiber means better digestion, better blood sugar control, better fullness, and better overall health.

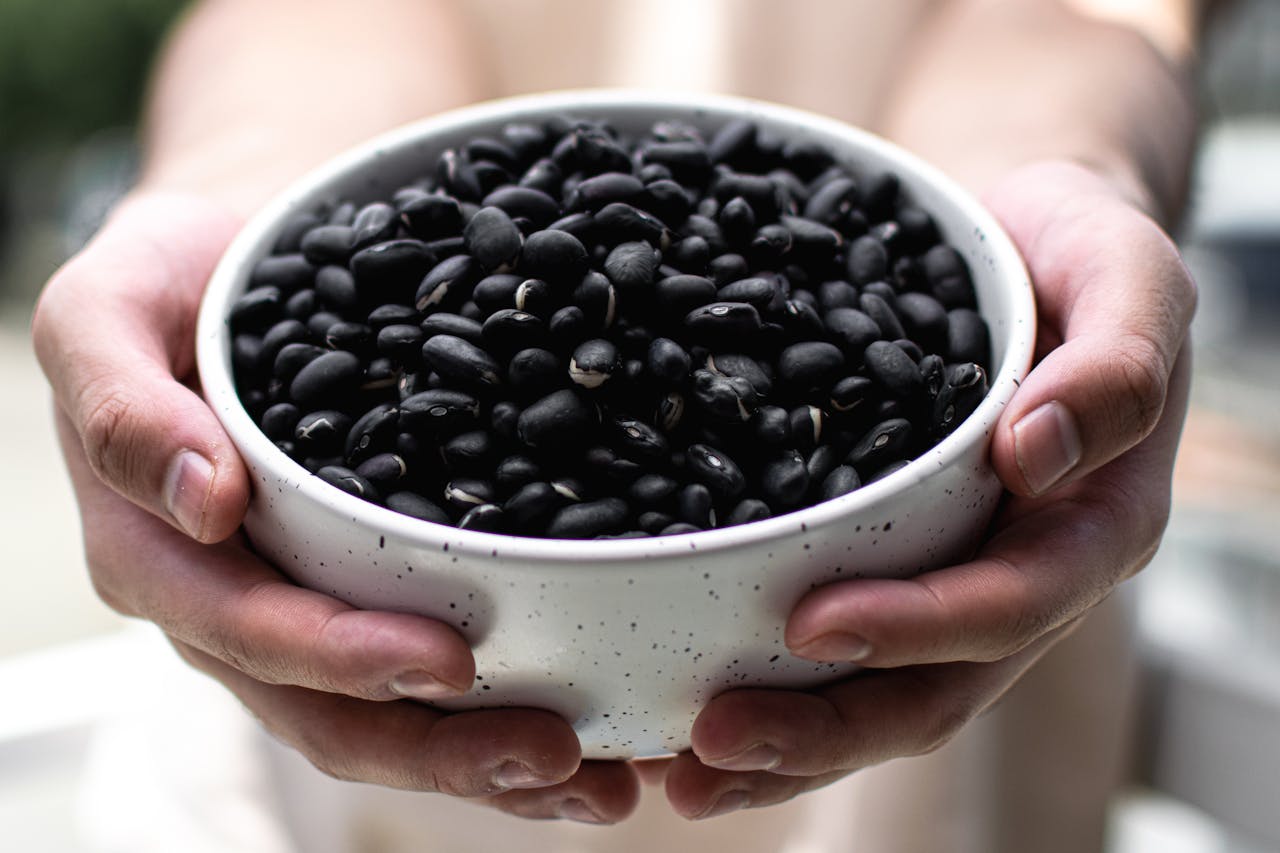
DYK: One serving of cooked black beans (1/2 cup) contains: 114 calories, 8g protein, 0g fat, 20g carbs, 7g dietary fiber.

Easy Hacks to Make This Quick Lunch Even Faster

One of my favorite things about this recipe is how customizable and convenience-friendly it is. Here are a few shortcuts I use all the time that keep me from turning on the stove:

1️ Go “Virtually No-Cook”: If time (or energy) is low, lean on smart shortcuts:

  • Use canned beans (just rinse and drain)
  • Grab store-bought hard-boiled eggs if you don’t have meal-prepped ones
  • Use pre-cooked bacon crumbles OR Make microwave bacon (it takes about 30 seconds). Or, just use any leftover protein you have in the fridge like chicken, beef or pork.

2️ Make a Semi-Homemade Salsa Ranch: This is my little flavor hack that takes two seconds:

Mix together: A little salsa + your favorite light ranch dressing. That’s it! You get creamy + tangy + Tex-Mex vibes without buying another specialty sauce.

3️ Meal Prep Without the Sog Factor

If you’re packing this for work or making it ahead, it’s key to keep the cottage cheese and dressing in separate containers. Add them right before eating. This keeps everything fresh and prevents soggy spinach or watery bowls. Nobody wants that.

High ProteinTex-Mex Cottage Cheese Bowl
Prep Time
5 mins
Cook Time
1 min
Total Time
6 mins
 
This easy Tex-Mex Cottage Cheese Bowl is a high-protein, high-fiber lunch you can assemble in minutes. With 33g protein and 13g fiber, it’s a healthy, satisfying meal for busy days.
Course: dinner, lunch, meal prep
Cuisine: high protein, Southwestern, tex mex, workout
Keyword: cottage cheese, high protein, southwestern, tex mex
Servings: 1 serving
Calories: 411 kcal
Ingredients
  • 1 cup baby spinach
  • ½ cup 2% cottage cheese
  • ½ cup black beans from can drained
  • ¼ cup corn kernels I like to roast my for a few minutes in air fryer with garlic salt
  • 8 grape tomatoes sliced
  • 1 hardboiled egg halved
  • 1 piece of cooked bacon optional but worth it.
  • ¼ small avocado sliced
  • 2 tbsp favorite salsa
  • 1 tbsp favorite light ranch
Instructions
  1. Add first 8 ingredients to bowl. Then in small ramekin, mix together salsa and ranch for the dressing. Pour over bowl – enjoy all the goodness!
Recipe Notes

Easy Air Fryer Stuffed Mushrooms with Spinach and Cottage Cheese

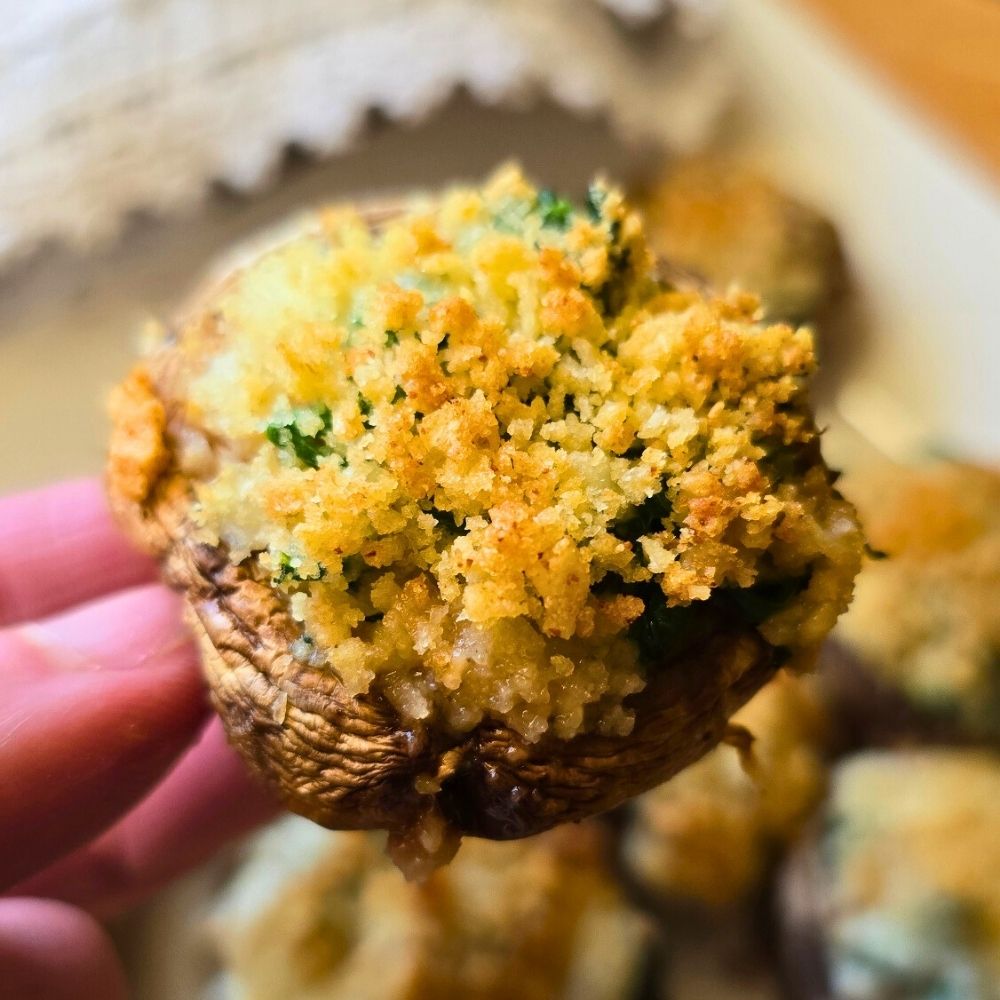
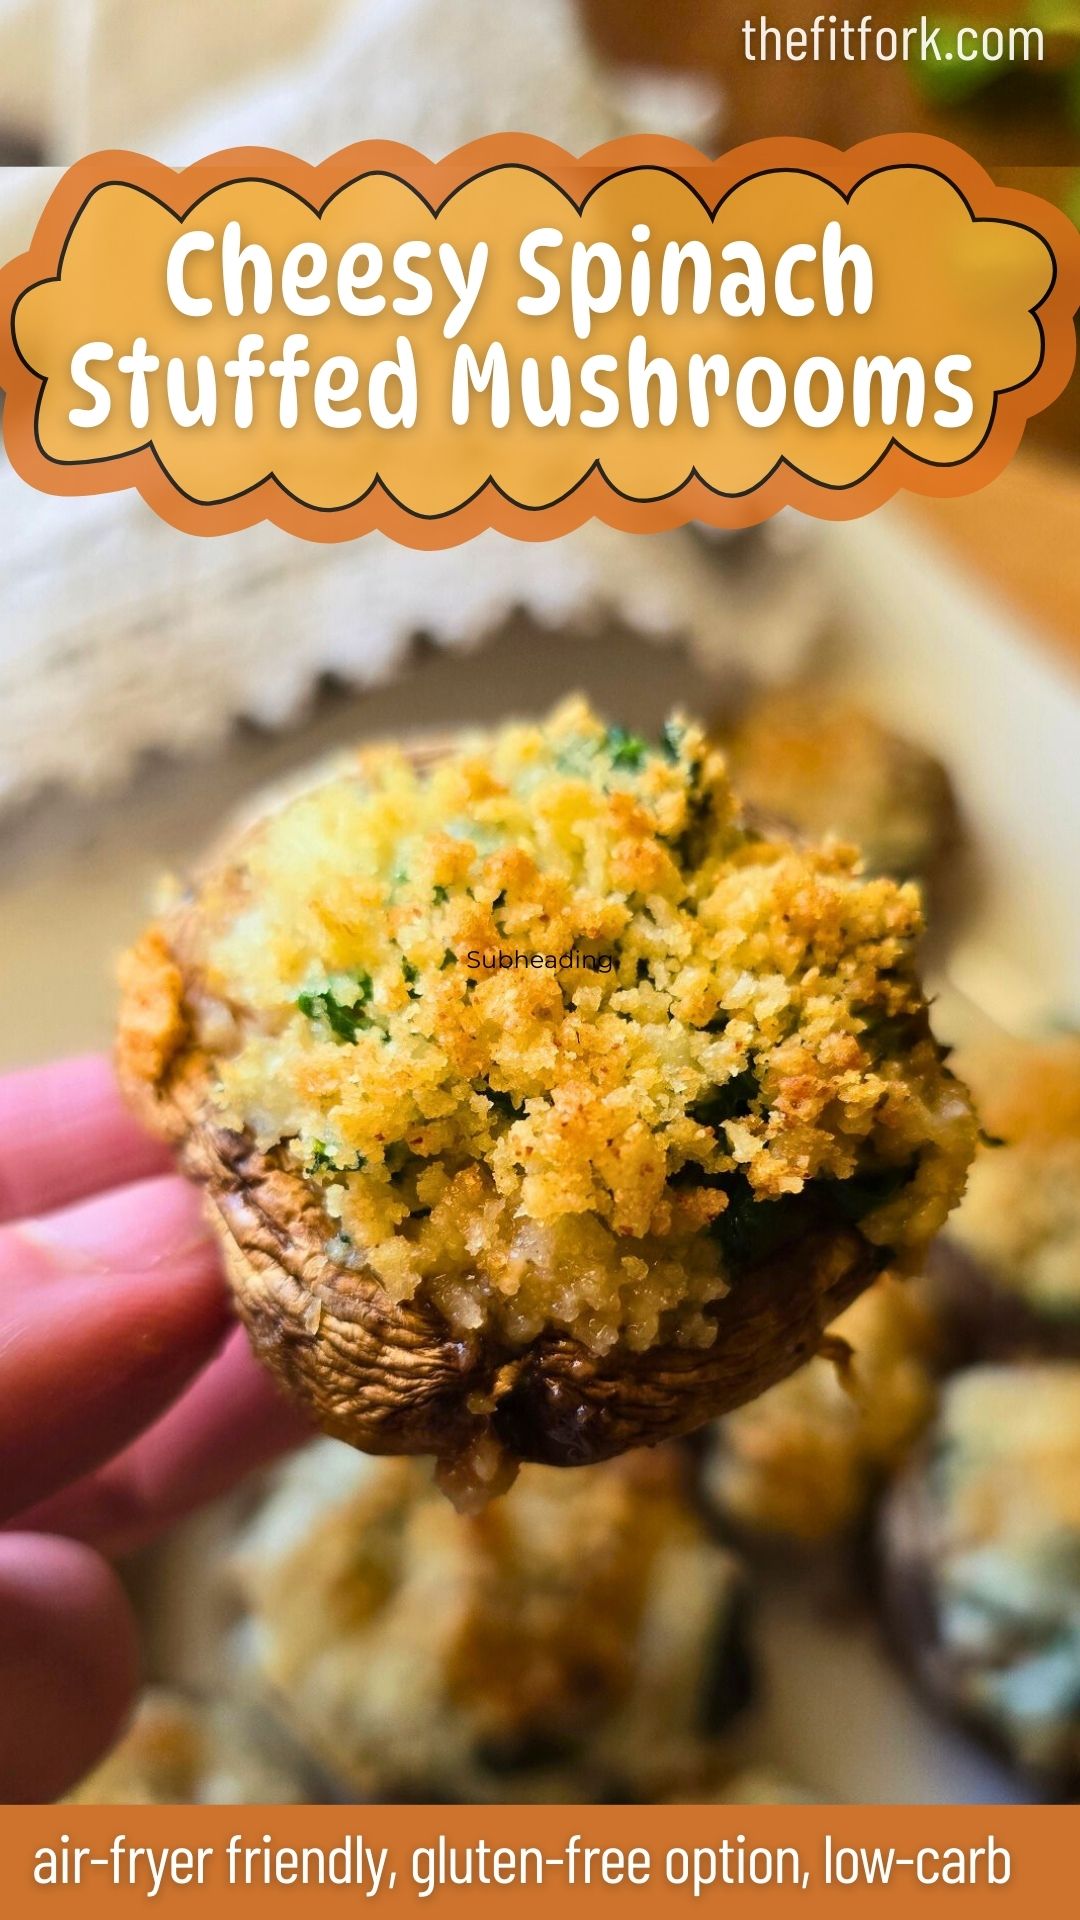
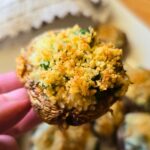
If you’re looking for a fast, flavorful appetizer or side dish that feels indulgent but fits into a balanced lifestyle, these Cheesy Spinach Stuffed Mushrooms are about to become a new favorite.

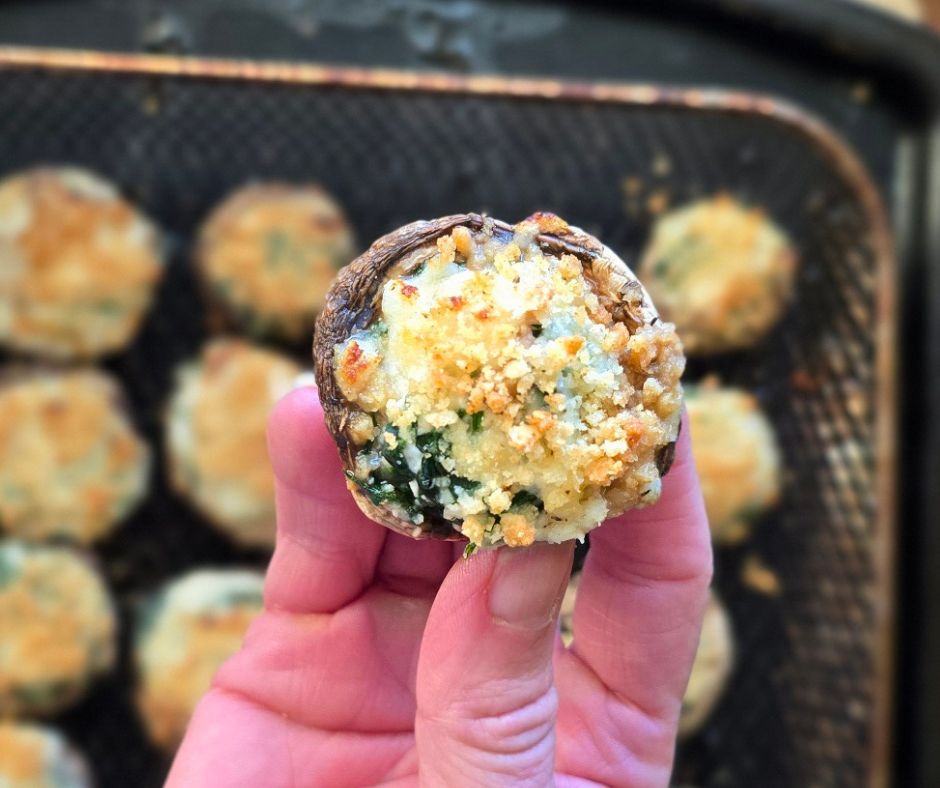
They’re creamy, savory, and perfectly golden on top—thanks to a high-protein filling made with cottage cheese and sharp white cheddar. Best of all, they cook in just 10 minutes in the air fryer or 20 minutes in the oven, making them a veggie-forward finger food, ideal for weeknights, parties, or last-minute entertaining.

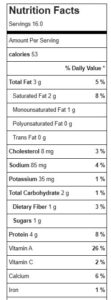
Plus, each mushroom packs big flavor with impressive macros: Just 53 calories, 4g protein, 2g fat and 1g net carbs per piece.

Why You’ll Love Low-Carb Cottage Cheese Stuffed Mushrooms

  • Ready in minutes in the air fryer
  • High-protein, lighter than traditional stuffed mushrooms
  • Creamy and cheesy but using low-fat cottage cheese to minimize fat
  • Great for parties, meal prep, or healthy snacking
  • Naturally low carb and can be gluten-free (skip the panko or use crush gluten-free crackers, if needed)

Pro Tips for Stuffed Mushrooms:

Mushrooms: I have made this with both White Button and Cremini (Baby Bella) mushrooms, and both turned out beautifully. Look for mushrooms that are medium to large so that, when the stem is removed, the cavity is large enough to hold plenty of filling. You could also try dividing filling across four large Portobella mushrooms for a vegetarian entrée option.

Mushroom Stems: You will be removing the mushroom stems for this recipe, but don’t throw them all away! Reserve about half of the fresher-looking stems to finely chop and mix back into the filling. The others can be saved and used later in the week in stir-fries, soups, etc.

Draining Cottage Cheese: Reduced-fat cottage cheese helps add a creamy texture while boosting protein and moderating calories. You do need to drain it, though—otherwise the mushrooms will be soggy. To drain, place it in a fine mesh strainer (like I did in the video) and press out the liquid with the back of a spoon. You can also use a cheesecloth to squeeze out extra moisture.

Squeezing Spinach: Fresh spinach steams quickly in the microwave, but you’ll need to squeeze out as much liquid as possible. Make sure it has cooled slightly so you don’t burn your hands.

Crispy Topping: Panko breadcrumbs make a delicious crunchy topping, but you can omit them if you prefer. You can also substitute crushed crackers, regular or gluten-free. Also, did you know gluten-free panko is available?!

Should I Use an Air Fryer or Oven?

These stuffed mushrooms are flexible depending on what you have available, both methods produce tender mushrooms with creamy centers and lightly crisped tops.

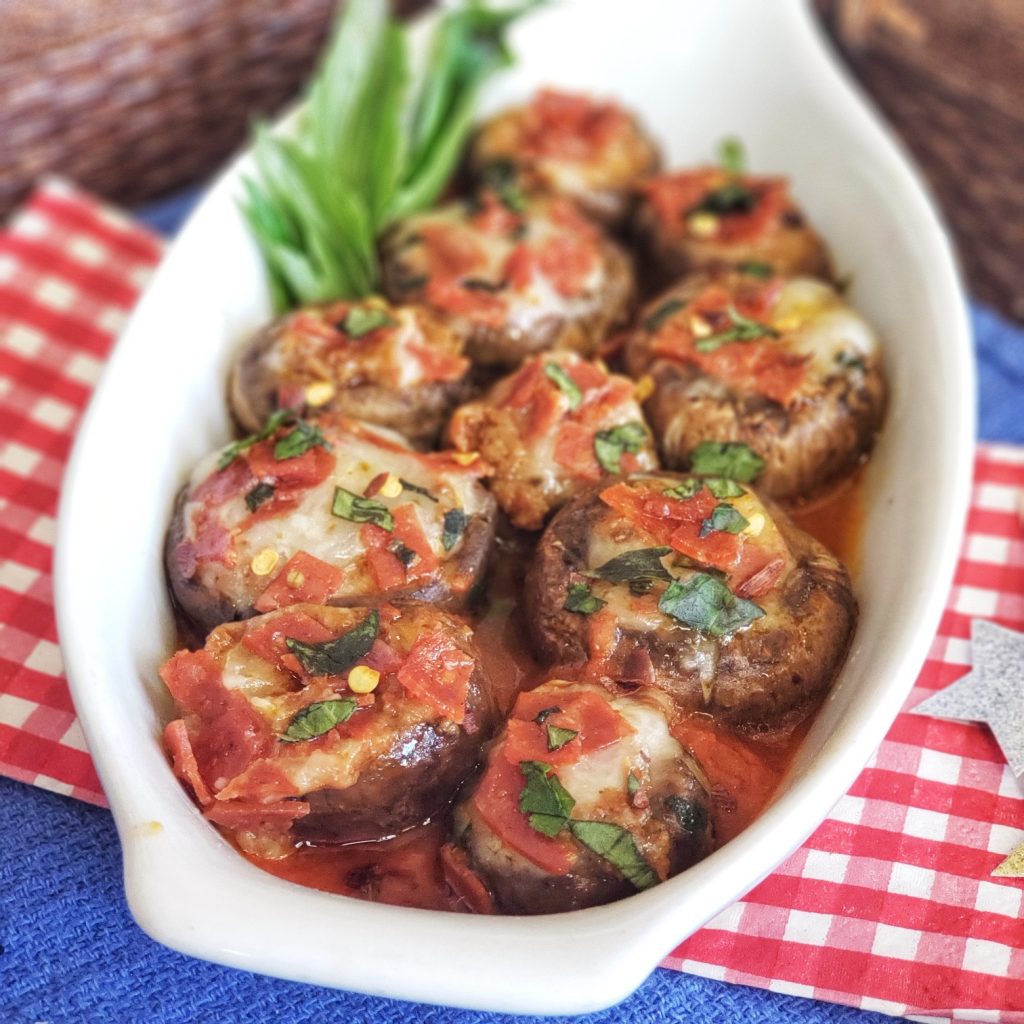
If you love mushrooms, you also need to check out my Pepperoni Pizza Stuffed Mushrooms below!!!

Cheesy Spinach Stuffed Mushrooms in Air Fryer
Prep Time
10 mins
Cook Time
10 mins
Total Time
20 mins
 
Air fryer cheesy spinach stuffed mushrooms made with cottage cheese and sharp cheddar. A quick, high-protein appetizer ready in 10 minutes with just a smidge over 50 calories per piece.
Course: Appetizer, Side Dish, Snack
Keyword: cottage cheese, mushroom, spinach
Servings: 16 Stuffed Mushrooms
Calories: 53 kcal
Ingredients
  • 1 lb. White Button or Cremini mushrooms medium to larger sized ones work best
  • 1 tablespoon olive oil
  • Salt and ground black pepper to taste
  • 2/3 cup 2% cottage cheese drained VERY well
  • 4 oz grated white sharp cheddar cheese
  • 2 cups packed fresh baby spinach
  • 1 tbsp water
  • 1/4 tsp garlic salt
  • ¼ tsp ground black pepper
  • 2 tbsp panko bread crumbs or gluten-free crushed cracker option or gluten-free panko
Instructions
  1. Preheat air-fryer to 380°F (Or oven to 350°F).
  2. Drain cottage cheese well to remove the excess liquid. The best way to do this quickly is using the back of spoon to push out liquid through mesh strainer.
  3. Remove the stems from the mushrooms by gently twisting them off. Save about half of the fresher-looking stems to chop up and back into the mixture.
  4. Place mushroom caps on air fryer try (or baking sheet), smooth side up, and brush with olive oil and season with a little salt and pepper. Flip mushrooms back over so openings are face up. Set aside.
  5. In microwave-safe bowl, add spinach and 1 tablespoon of water. Steam in microwave for 1 minute. Let cook for several minutes, until cool enough to squeeze as much liquid out as possible.
  6. Mix together the squeezed spinach (loosened up with fork), drained cottage cheese, and the cheddar cheese. Mix in about 1/4 cup chopped mushroom stems.

  7. Season with garlic salt and ground black pepper, stir well.
  8. Fill each hollowed-out mushroom with the cottage cheese mixture, pressing down to compact it in.
  9. Sprinkle tops with a little bit of panko bread crumbs.
  10. Cook in pre-heated 380F air fryer for 10 minutes (or traditional oven at 350F for 20 minutes) or until nicely browned, cheese is melty and panko is golden.
Recipe Notes

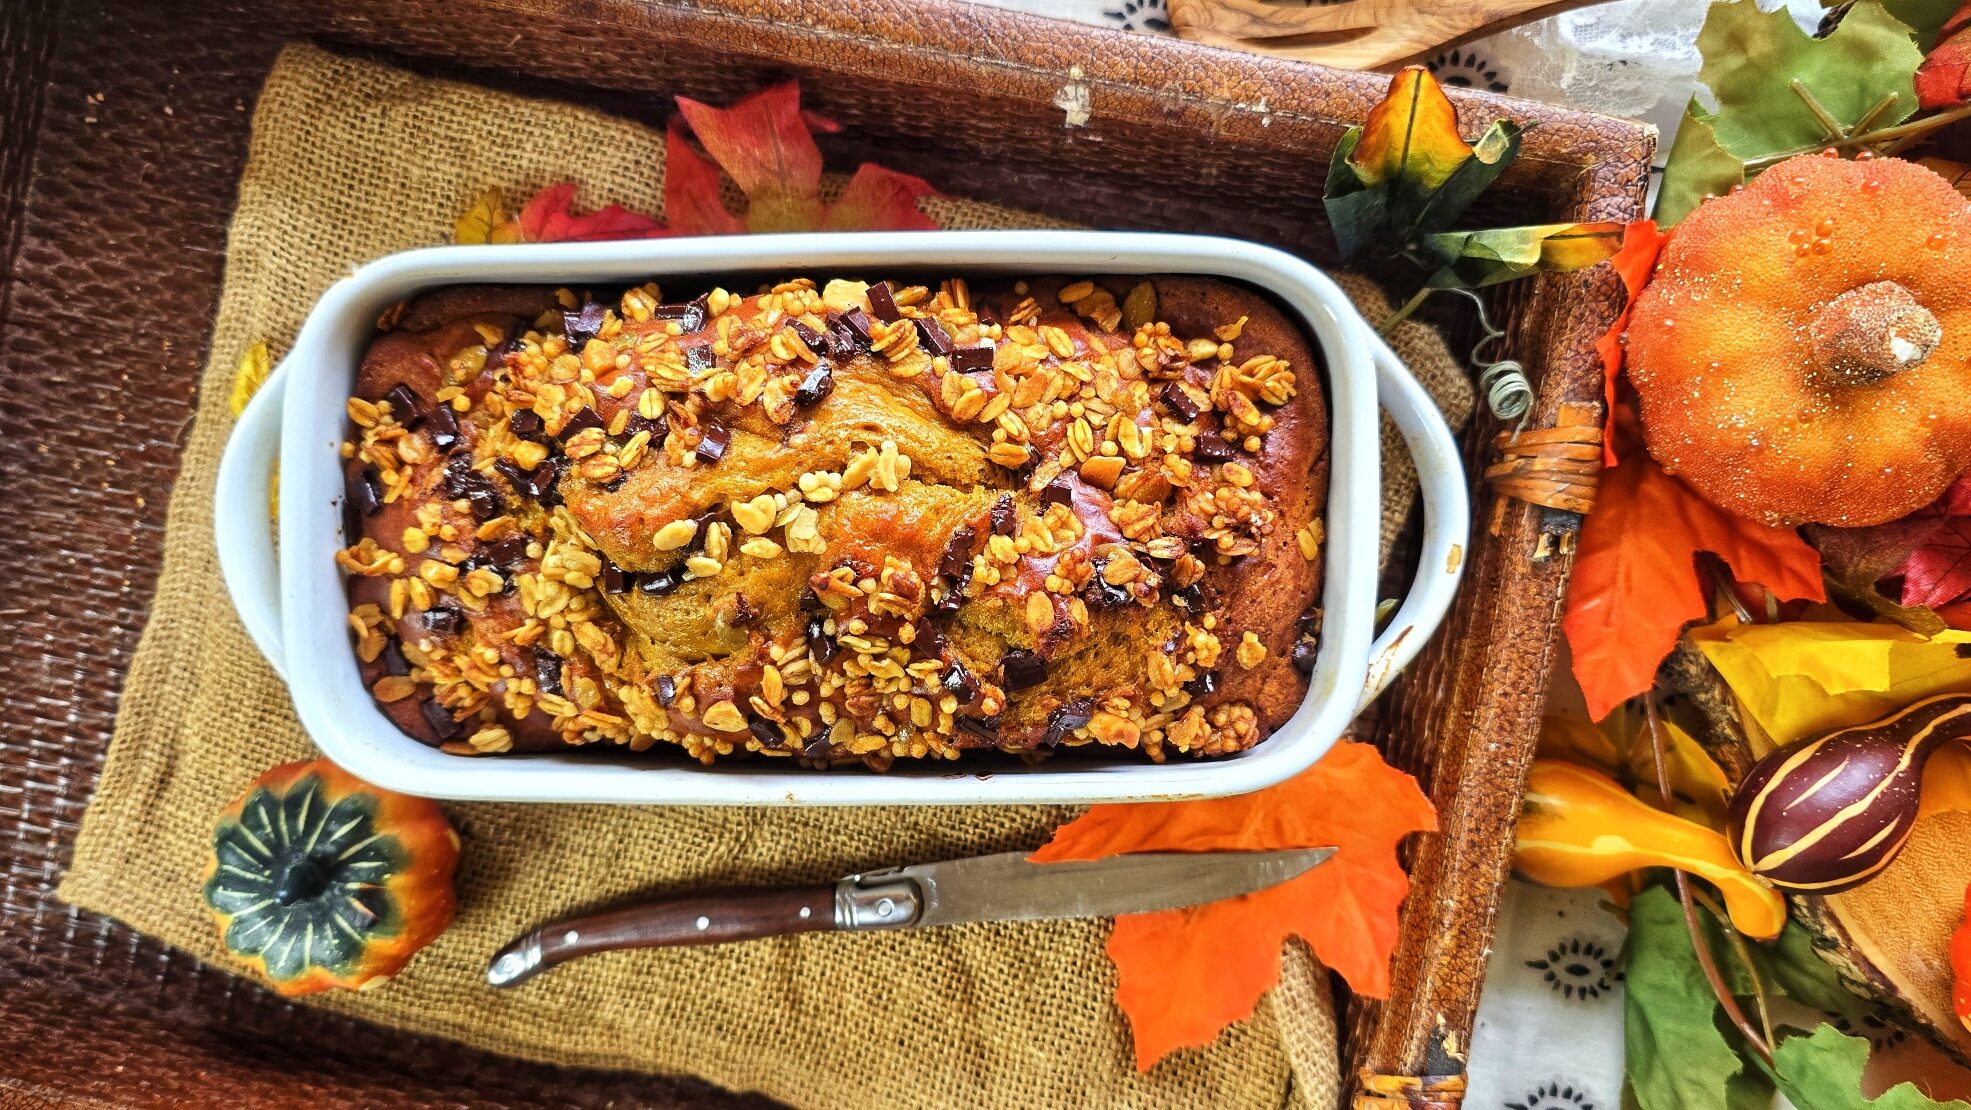
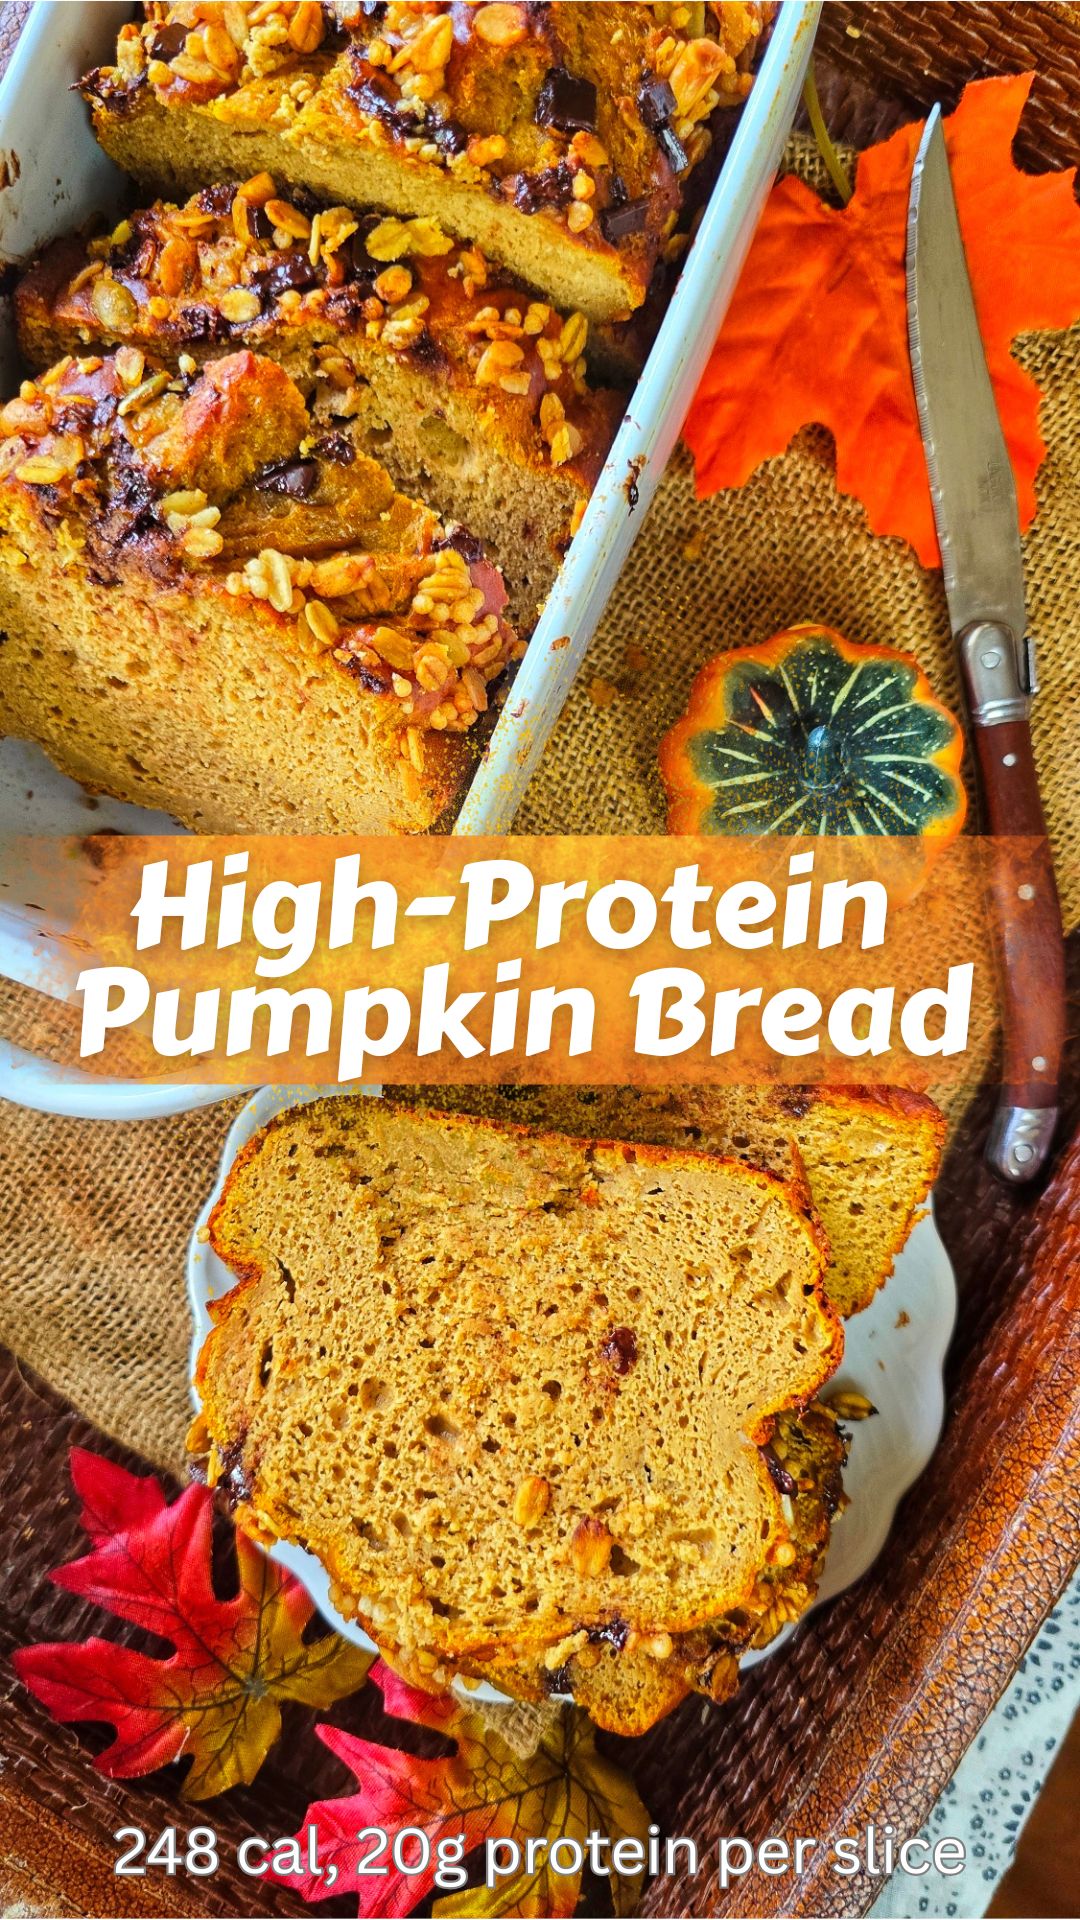
High Protein Pumpkin Bread with Granola Topping

Cozy fall flavor meets high-protein fuel.

If pumpkin spice season makes your heart (and taste buds) happy, you’re going to love this Pumpkin Protein Bread with Granola Topping. It’s got all the warm, comforting vibes of a fall treat — but with a macro-friendly twist that keeps your nutrition goals on track.

This easy recipe delivers nearly 20 grams of protein per slice and stays under 250 calories, thanks to the powerhouse combo of cottage cheese and your favorite vanilla protein powder. The batter comes together right in your blender, so there’s no need for multiple bowls or complicated steps — just blend, pour, bake, and enjoy.

The texture? Soft, moist, and perfectly spiced with that unmistakable pumpkin pie flavor. It tastes like dessert but the macros make it perfect for breakfast, post-workout recovery, or a clean-eating snack.

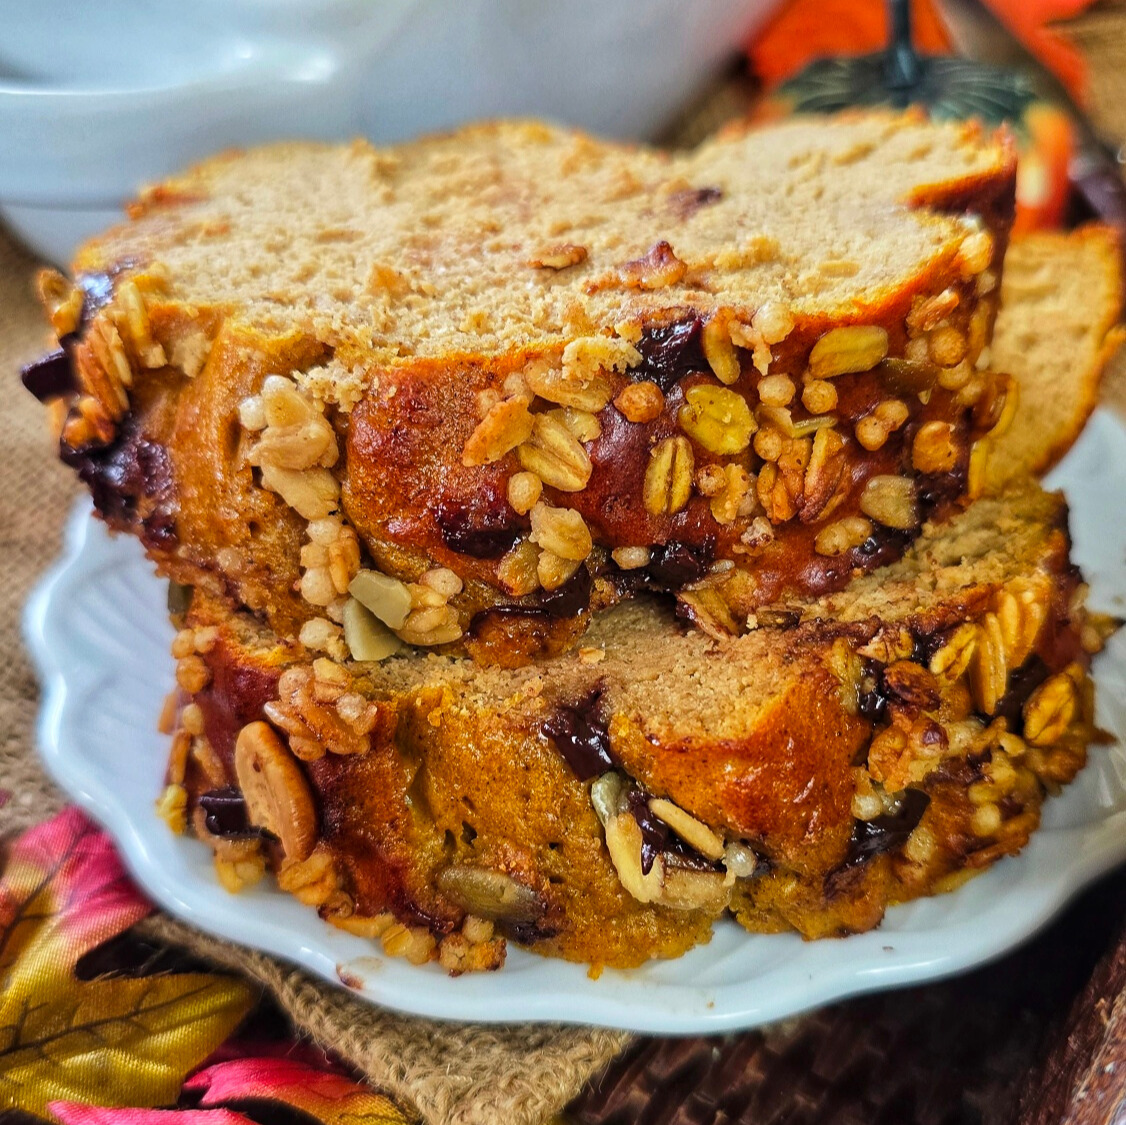
To take things up a notch, I sprinkled the loaf with a handful of protein granola before baking — that golden, crunchy layer on top is the ultimate finishing touch. Of course, you can use any granola you like (or skip it if you prefer a classic loaf).

This is one of those recipes that makes your kitchen smell amazing, satisfies your sweet tooth, and fuels your body — total win-win!

Why You’ll Love It

  • 🎃 Cozy pumpkin spice flavor
  • 💪 Nearly 20g protein per slice
  • 🧀 Cottage cheese + protein powder for a nutritional boost
  • 🍞 Moist, fluffy texture
  • ⚡️ Quick blender batter = minimal cleanup
  • 🍯 No added sugar
  • 🥣 Crunchy granola topping for texture and staying power

Enjoy it:
Fresh out of the oven, warmed with a drizzle of almond butter, or packed in your gym bag for a quick grab-and-go snack. However you slice it, this Pumpkin Protein Bread is pure fall fuel!

HIGH PROTIEN PUMPKIN BREAD
Prep Time
5 mins
Cook Time
50 mins
Total Time
55 mins
 
Cozy up with this Pumpkin Protein Bread with Granola Topping — nearly 20g protein, under 250 calories, no added sugar, and full of fall flavor!
Course: Breakfast, Snack, workout
Cuisine: high protein
Keyword: fall, high protein, pumpkin
Servings: 8 servings
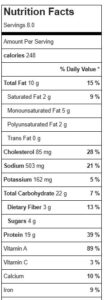
Calories: 248 kcal
Ingredients
  • 1 cup 2% cottage cheese
  • 1 ¼ cup canned pumpkin
  • 2 large eggs
  • 1 teaspoon vanilla
  • ¼ cup extra virgin olive oil or oil of choice
  • ½ teaspoon salt
  • 1 teaspoon baking soda
  • 2 teaspoons ground cinnamon
  • 1 teaspoon pumpkin pie spice
  • 1 1/3 cup protein powder vanilla I used whey
  • 1 cup all-purpose flour or gluten-free baking blend
  • *10-20 s drops tevia or monk fruit drops depending on sweetness preference
  • Cooking spray
  • 1/3 cup favorite granola protein granola for the win!
Instructions
  1. Pre-heat oven to 350F.
  2. Add cottage cheese, pumpkin, eggs and oil to blender and blend for about 60 seconds until smooth and well combined.
  3. Add salt, baking soda, cinnamon, pumpkin pie spice and protein powder to blender, blending for about 30 seconds until incorporated. Next add flour, pulsing in and scraping down sides of blender with spatula, as needed. Do not over blend mixture.
  4. Depending on your sweetness preference and/or of the protein powder used, add 10-20 drops of liquid stevia or monk fruit.
  5. Pour mixture into a standard 4.5” x 8.5” loaf pan that has been liberally sprayed with cooking spray. Sprinkle top of batter with granola before baking.
  6. Bake for 45-50 minutes until center set and toothpick pulls clean. Let cool in pan for 15 minutes; cut in 8 thick slices.
  7. Store leftovers in fridge for up to 5 days. Reheat in microwave for 10 seconds.
Recipe Notes

High-Protein Chocolate Chip Cookie Dough Banana Bread (No Added Sugar!)

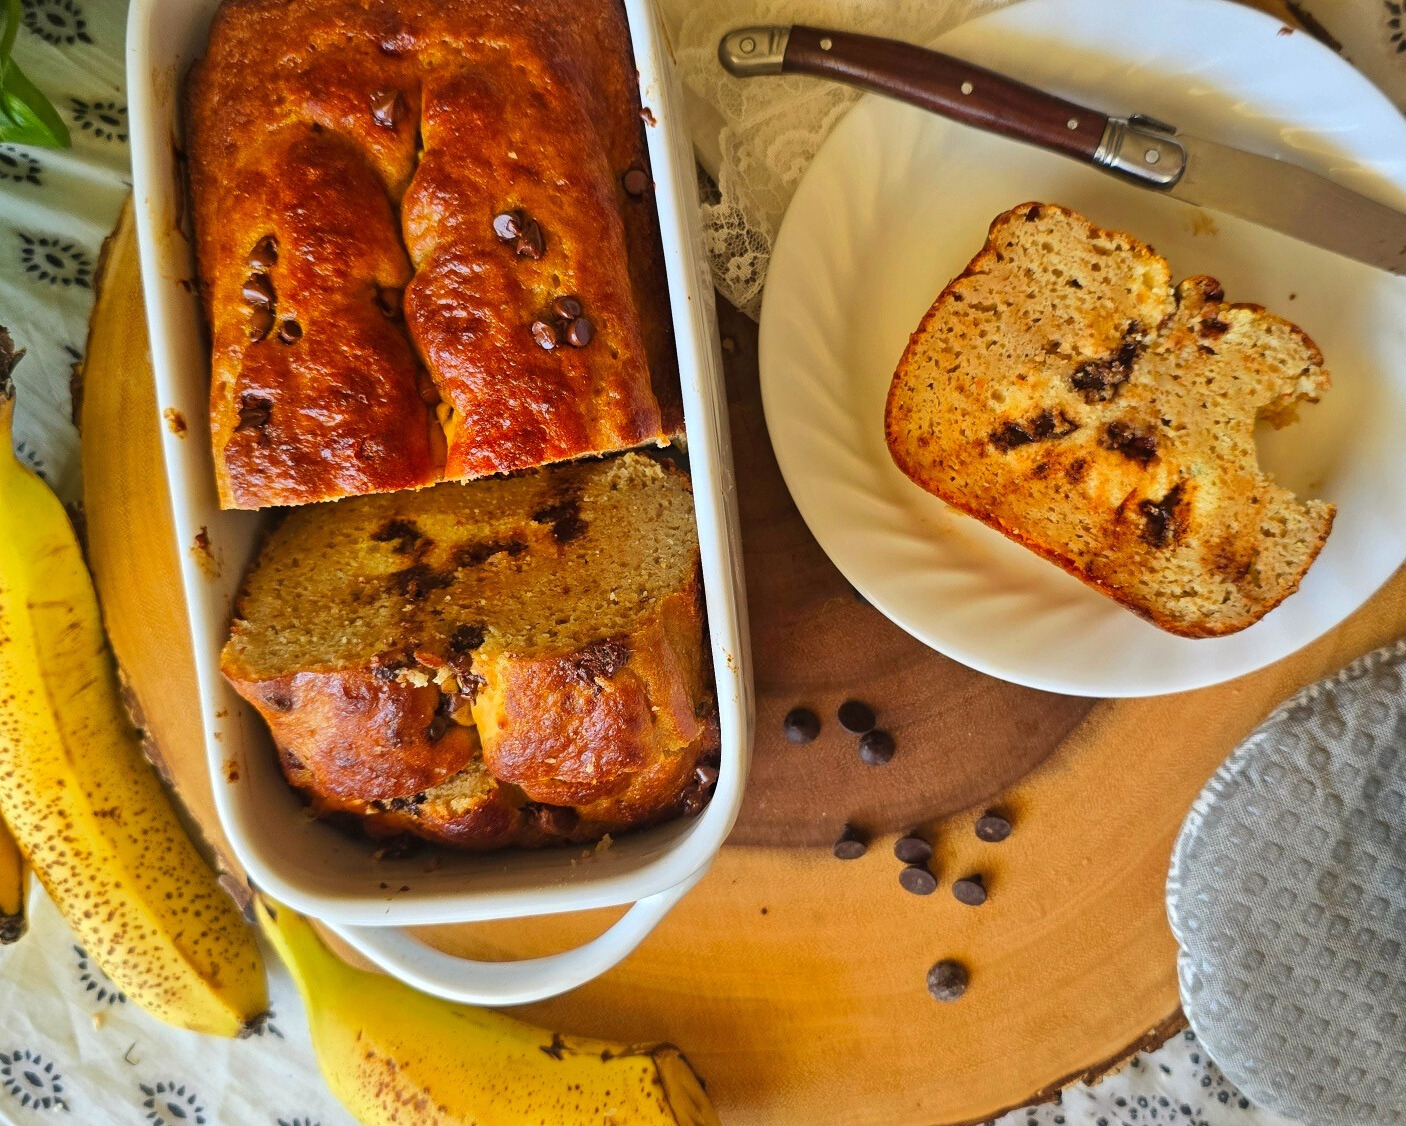
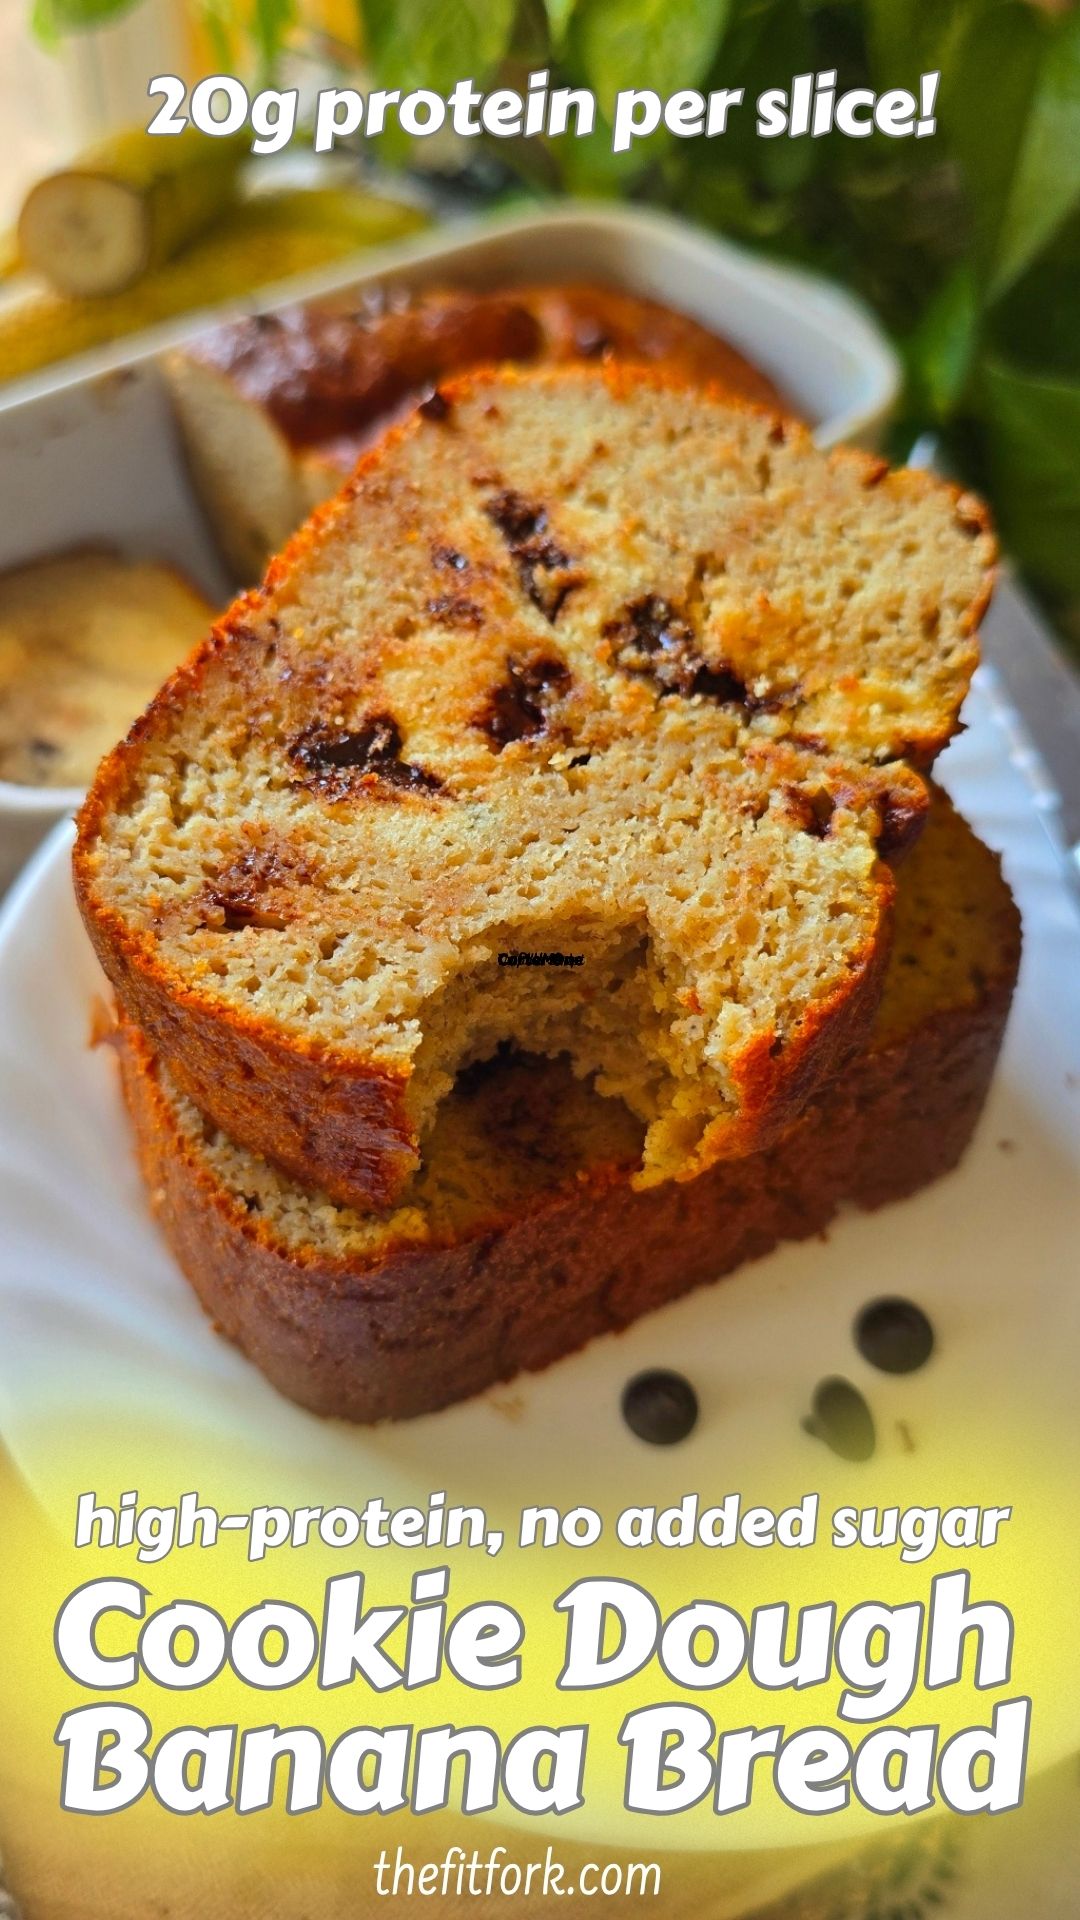
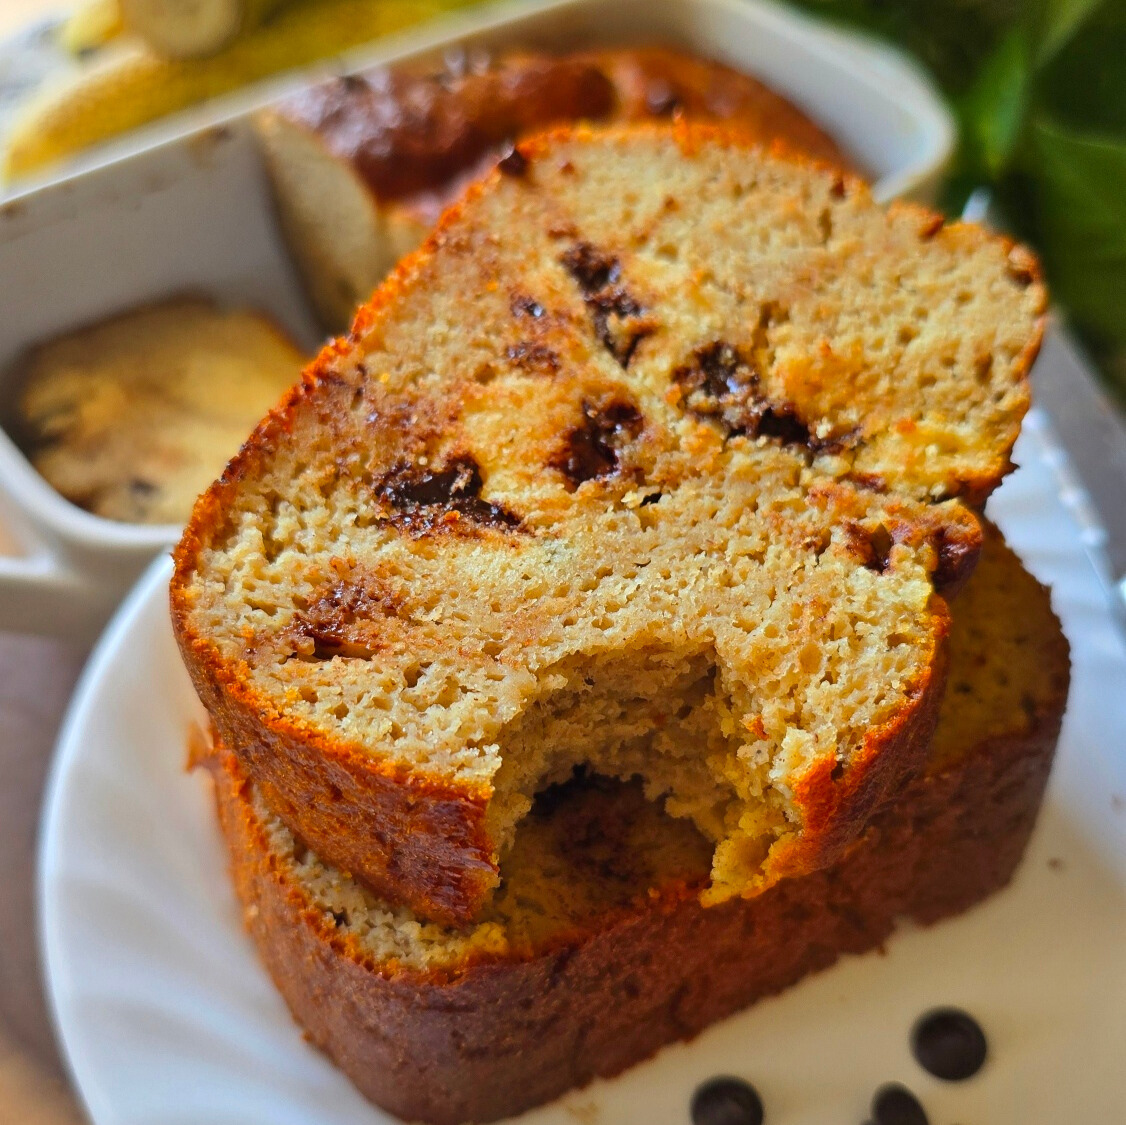
What happens when two of your favorite recipes collide in the best way possible? You get my Chocolate Chip Cookie Dough Protein Banana Bread – the ultimate mashup of my small-batch protein chocolate chip cookies and my cottage cheese protein banana bread. The result? A soft, moist, chocolate-studded quick bread with dollops of baked-in cookie dough and a big protein punch!

This Chocolate Chip Cookie Dough Protein Banana Bread is packed with 20g protein per serving, no added sugar, and chocolate chip cookie dough swirls. Perfect for breakfast, snacks, or dessert.

This loaf is everything I want in a treat — indulgent enough to feel like dessert, but balanced enough to enjoy for breakfast or a post-workout snack. With 20g of protein per serving (thanks to protein powder and cottage cheese), no added sugar, and sugar-free chocolate chips, this recipe fuels your day without the crash.

This Chocolate Chip Cookie Dough Protein Banana Bread is packed with 20g protein per serving, no added sugar, and chocolate chip cookie dough swirls. Perfect for breakfast, snacks, or dessert.

Why You’ll Love This Protein Banana Bread with Cookie Dough Recipe:

  • Protein-packed: A blend of cottage cheese and whey protein powder amps up the protein while keeping the bread moist and fluffy.
  • No added sugar: Natural sweetness comes from ripe bananas — the riper, the better! (Hot tip: keep a stash of frozen bananas on hand for baking).
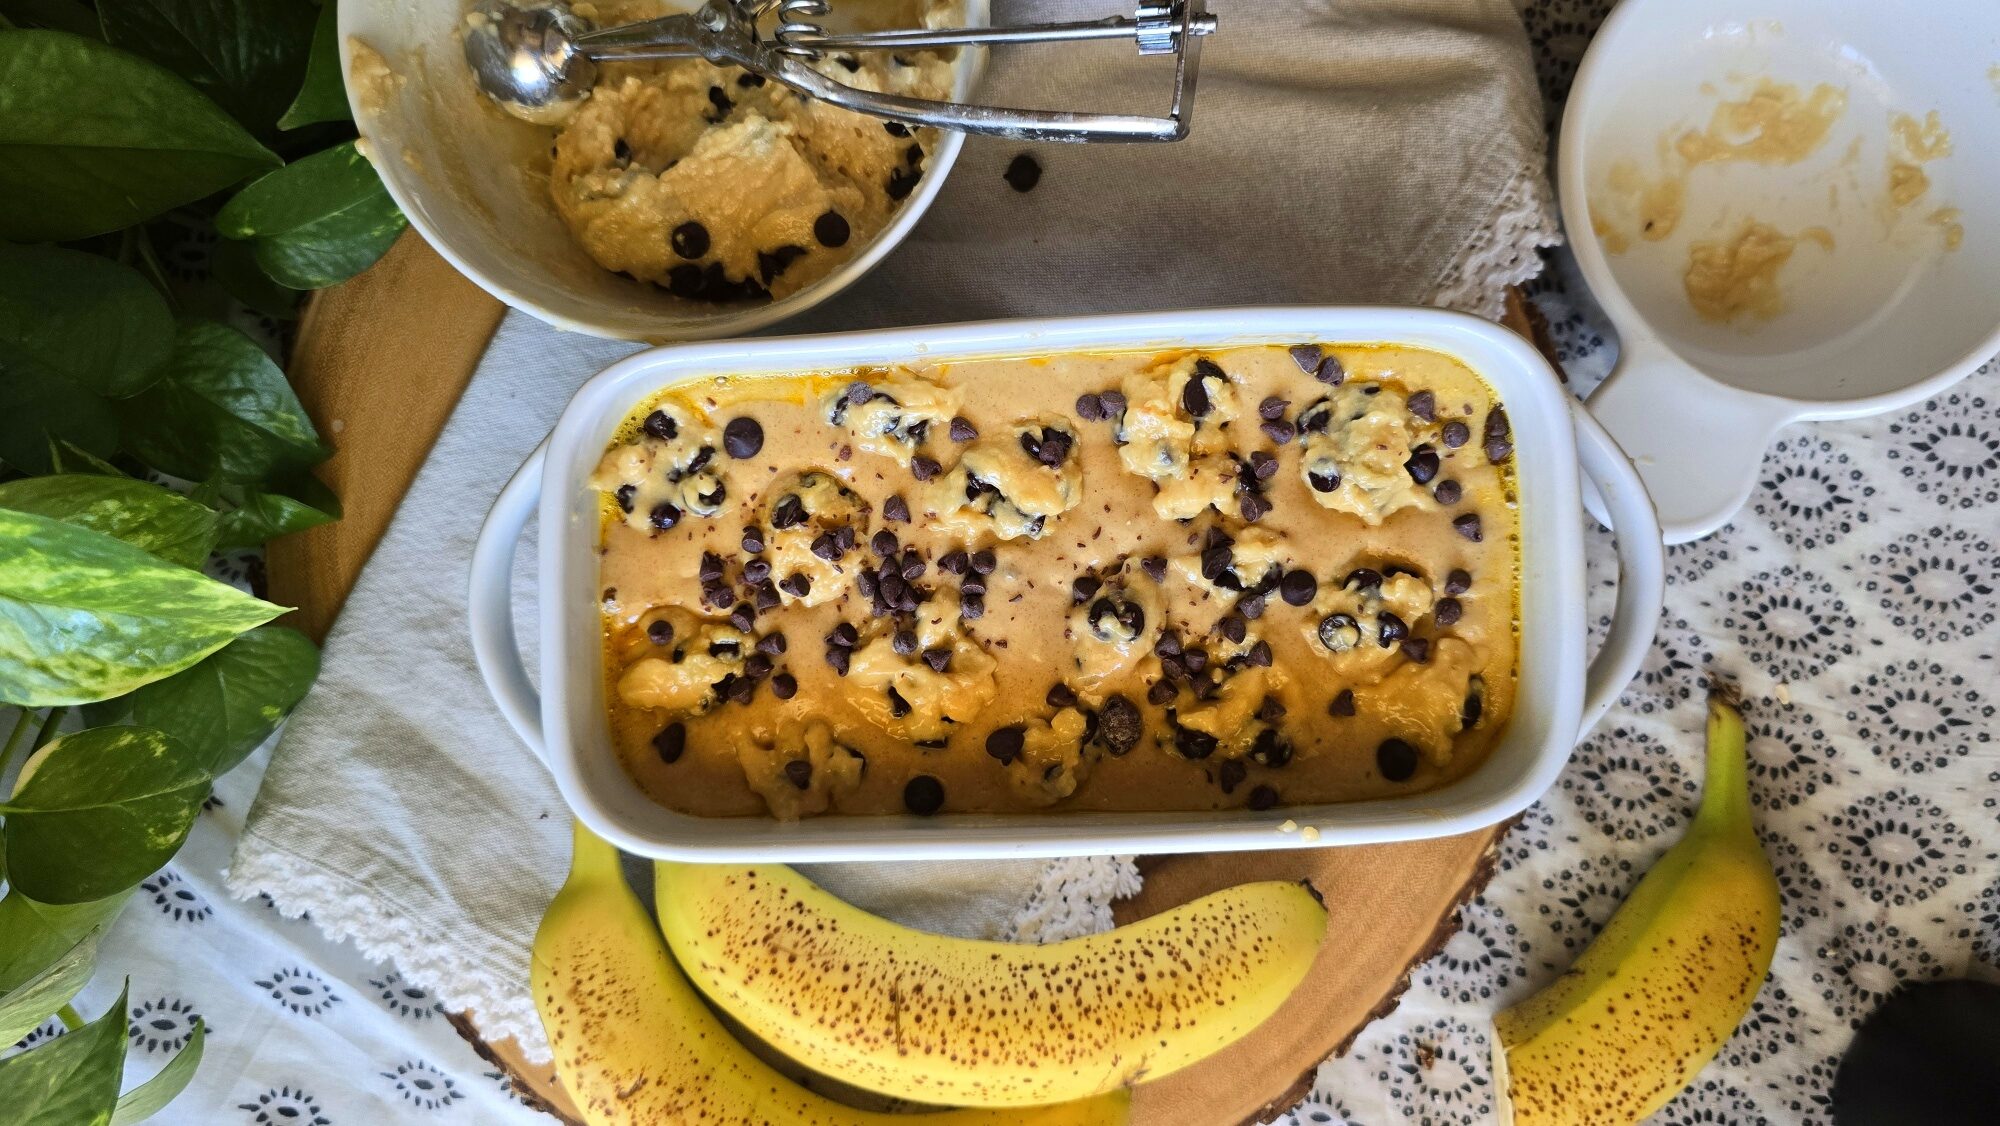
  • Cookie dough: Making the cookie dough first and letting it firm up in the freezer for about 15 minutes makes it easy to scoop and place on top of the banana bread batter before baking.
  • Customizable: Use all-purpose flour or your favorite gluten-free baking blend (THIS is my favorite one for gluten-free baking). I used vanilla whey protein for this version, but have also used a plant-based.
  • Versatile: Enjoy a slice as a satisfying breakfast, an energizing afternoon snack, or a wholesome dessert.
This Chocolate Chip Cookie Dough Protein Banana Bread is packed with 20g protein per serving, no added sugar, and chocolate chip cookie dough swirls. Perfect for breakfast, snacks, or dessert.

Tips for Best Results Baking Protein Banana Bread:

  • Use a standard loaf pan (8.5 x 4.5 inches) for even baking.
  • Chill the cookie dough before adding to the batter — this helps the dough dollops be easier to scoop up.  A melon-baller or mini cookie dough scoop helps the process also.
  • Always use very ripe bananas for maximum sweetness and flavor.
  • Stick with sugar-free chocolate chips to keep the recipe lower in sugar while still giving you that melty, chocolatey goodness. Milk chocolate or dark chocolate, depending on your preference.

This cottage cheese banana bread with cookie dough in the center is truly a win-win-win: it satisfies cravings, nourishes your body, and delivers all the cozy vibes of homemade baking. I can’t wait for you to try it!

Note: This post contains affiliate links. I may earn a small commission based on purchased made through links. Proceeds are used to offset operating expenses for The Fit Fork – thank you!

High-Protein Chocolate Chip Cookie Dough Banana Bread (No Added Sugar!)
This High-Protein Chocolate Chip Cookie Dough Banana Bread is moist, chocolatey, and packed with 20g protein per serving — no added sugar required. 🙌 Perfect for breakfast, snack, or even dessert.
Course: bread, Breakfast, Dessert, Snack
Keyword: banana, banana bread, protein powder
Servings: 8 servings
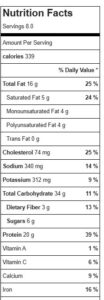
Calories: 339 kcal
Ingredients
Protein Cookie Dough (make first)
  • ½ cup all-purpose flour or gluten-free baking blend DO NOT use almond or coconut flour or similar, will be too dense.
  • ½ cup protein powder of choice I used vanilla whey
  • 1/4 (up to) ¼ cup granulated sweetener real sugar or alternative with cup for cup equivalent measuring you might want to lessen or leave out if the protein powder is quite sweet
  • ¼ tsp baking soda o
  • 2 Tbsp extra virgin olive oil
  • 2-3 Tbsp milk start with 2 Tbsp, then mix in more if needed, you don’t want the dough to be too soft though
Protein Banana Bread
  • 1 cup 2% cottage cheese
  • 1 ¼ cup mashed ripe banana about 2 medium
  • 2 large eggs
  • 1 tsp vanilla
  • ¼ cup extra virgin olive oil or other oil of choice
  • ½ tsp salt
  • 1 tsp baking soda
  • 1 tsp ground cinnamon
  • 1 1/3 cup protein powder vanilla
  • 1 cup all-purpose flour or gluten-free baking blend
  • optional *10-20 stevia or monk fruit drops optional, depending on sweetness of protein powder
  • as needed Cooking spray
Instructions
  1. Instructions
  2. Pre-heat oven to 350F.
  3. Make cookie dough first. Add flour, protein powder, sweetener (if desired), and baking soda; mix together.
  4. Next add oil and milk 1 tablespoon at a time, mixing well. Use more or less milk depending on the consistency; you don’t want it to be too thin. Will be thick and a little sticky.
  5. Stir in chocolate chips to cookie dough and set bowl in freezer for 15 minutes while you prepare banana bread batter.
  6. Add cottage cheese, mashed banana (or just the hunks), eggs and oil to blender and blend for about 60 seconds until smooth and well combined.
  7. Add salt, baking soda, cinnamon, and protein powder to blender, blending for about 30 seconds until incorporated. Next add flour, pulsing in and scraping down sides of blender with spatula, as needed. Do not over blend mixture.
  8. Depending on your sweetness preference and/or ripeness of bananas or sweetness of protein powder you may want to add 10-20 drops of liquid stevia or monk fruit. I did NOT however, and it was still nicely, lightly sweet.
  9. Pour mixture into a standard loaf pan that has been liberally sprayed with cooking spray. If desired, sprinkle and desired topping on before baking.
  10. Bake for 40-50 minutes until center set and toothpick pulls clean. Let cool in pan for 15 minutes; cut in 8 thick slices.
  11. Store leftovers in fridge for up to 5 days. Reheat in microwave for 10 seconds.
Recipe Notes

Lemon Protein Cheesecake Cups with Blackberry Chia Topping

Sweet, creamy, and packed with protein, these Lemon Protein Cheesecake Cups with Blackberry Chia Topping taste like summer in a jar! If you’re craving a light yet satisfying treat that fuels your body while satisfying your sweet tooth, this single-serve no-bake dessert is just the thing. Each spoonful offers a refreshing burst of citrus with a creamy, cheesecake-like texture—no oven required.

The magic starts with blended cottage cheese—a high-protein, low-sugar dairy superstar—combined with fresh lemon juice and zest plus a scoop of vanilla protein powder for that cheesecake-style richness. It’s silky smooth and layered with a luscious blackberry chia “jam” that sets up beautifully in just minutes thanks to the natural gelling powers of chia seeds.

Whether you’re powering up for a workout, recovering after one, or simply looking for a nutritious snack or dessert, this high-protein cheesecake cup delivers. At around 250–300 calories with 30g protein, 28g carbs, and just 8g fat per serving (macros vary slightly by protein powder), it’s a feel-good indulgence that works for your goals.

Why You’ll Love These Lemon Protein Cheesecake Cups:

  • Bright and zesty lemon flavor meets creamy cottage cheese.
  • Blackberry chia topping adds fruity, jammy goodness with fiber and healthy fats.
  • Around 30g protein per serving to help you stay full and support muscle recovery.
  • No baking required—ready in minutes!
  • Perfect for meal prep, post-workout, or a nutritious dessert. Easy to double up recipe, keeps in fridge for up to 5 days.

Ingredient Power-Ups:

  • Cottage Cheese: Rich in casein protein, which digests slowly to keep you satisfied longer. It’s also a good source of calcium and vitamin B12. I’ve used 2% milkfat cottage cheese, but you can also go 0% – however, it just won’t be as creamy tasting.
  • Chia Seeds: Packed with omega-3 fatty acids, fiber, and antioxidants. Just a tablespoon turns mashed fruit into a thick, spoonable “jam.”
  • Protein Powder: Boosts protein intake to support lean muscle, energy, and satiety. Use your favorite clean-label vanilla variety – I’ve been using plant-based Nourify
  • Plus by Previnex (save 15% code: thefitfork )
Save 15% at Previnex with code THEFITFORK

More Healthy Protein Cheesecake Recipes to Try:

Mango Protein Cheesecake Cup for One is a no-bake, easy high protein snack that will be your new tropical-inspired favorite for a healthy dessert, post-workout snack or even an easy breakfast that also boasts lots of calcium and fiber.

If you love this lemon version, don’t miss these other creamy, protein-packed favorites:

Note: This post contains affiliate links. I earn a small commission on purchase made through those links. Proceeds help offset operating costs for The Fit Fork. Thanks!

Lemon Protein Cheesecake Cups with Blackberry Chia Toppin
Prep Time
5 mins
chill to set
15 mins
Total Time
20 mins
 

A high-protein, no-bake dessert or post-workout snack (even breakfast) made with cottage cheese, lemon, and protein powder—topped with fruity chia “jam” featuring the season's best blackberries. Sweet, creamy, and macro-friendly!

Course: Dessert, Snack
Cuisine: high protein, vegetarian
Keyword: blackberries, cheesecake, cottage cheese, meal prep
Servings: 2 servings
Calories: 300 kcal
Ingredients
  • 1.5 cups 2% cottage cheese blended smooth
  • 1 small lemon juiced + zested (about 2tbsp juice)
  • 2 scoops vanilla protein powder 56g
  • 6 oz blackberries more or less, can also sub thawed frozen (just use a skosh less water below)
  • 2 oz water
  • 1.5 tbsp chia seeds
Instructions
  1. Mix together blended cottage cheese, lemon juice/zest, and protein powder until combined, divide among two 16-oz containers. Set in fridge while making blackberry topping.

  2. In a separate bowl or jar, mash/muddle blackberries with water and chia seeds. Let gel up for 15 min in fridge before dividing over cheesecakes!

Recipe Notes

Macros can vary based on type of protein powder used.