Some ingredients earn superstar status. Others quietly do the heavy lifting. For me, oats fall squarely into that second category and have earned a permanent shelf space in my healthy athlete kitchen. They’re not flashy. They’re not trendy. They won’t usually dominate social media food trends. But as an athlete in my late 50s balancing training, recovery, recipe development, and everyday life, oats have become one of the hardest-working foods in my kitchen. They are affordable, flexible, nutritious, easy to store – that’s MVP status to me!
Oats are Whole Grain Multi-taskers: Fuel + Nutrition
As someone who lifts weights, runs and is active on the daily, I appreciate foods that work harder. That’s helpful whether you’re fueling athletic goals, managing hunger, or simply trying to avoid wandering into the pantry 45 minutes after breakfast. Along with fiber, this humble pantry stable also is a good source of manganese, magnesium, iron and B vitamins. And . . .
Complex Carbohydrates for Sustained Energy: Unlike sugary breakfast foods that can lead to energy crashes, oats provide slower-digesting carbohydrates that help support more steady energy. That MATTERS – especially if you’re heading out for a long walk, strength training, recovering after workouts, or even just trying to avoid that mid-afternoon energy slump (your brain needs sustained energy too)!
Fiber That Keeps You Fuller Longer + Other Nutrients: Oats naturally contain soluble fiber, including beta glucan, which can help support fullness and overall heart health. Every day translation? That just means oats are satiating, satisfying, make you feel full!
Why Oats Work So Well For Healthy Aging Athletes
As we get older, nutrition becomes increasingly important. Protein and protein timing matters a lot. Strength training matters. But carbohydrates still matter too – they seem to be wrongly villainized these days. Of course, binging out on processed sugary carbs isn’t a great thing, but mindful Carbohydrates (like OATS, a whole grain!) that support activity levels and pair well with protein-rich foods. To create meals that are more satisfying and better balanced, I often combine oats with:
- Cottage cheese
- Protein powder
- Greek yogurt
- Eggs
- Nut butter
My Favorite Recipe That Use Oats
The beauty of oats is flexibility. Oats move way beyond a bowl of soggy oatmeal (which I actually find comforting). Here are some recipes I use to incorporate oats into my healthy, active lifestyle:
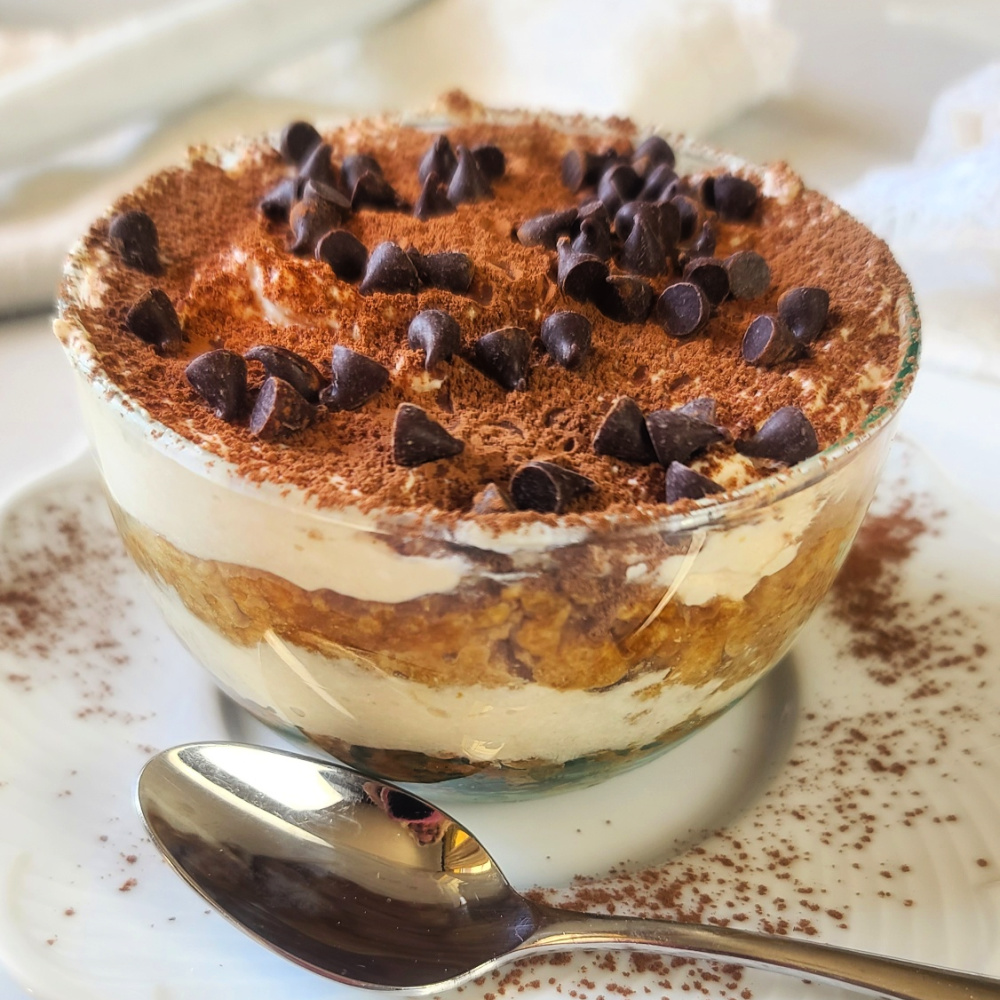
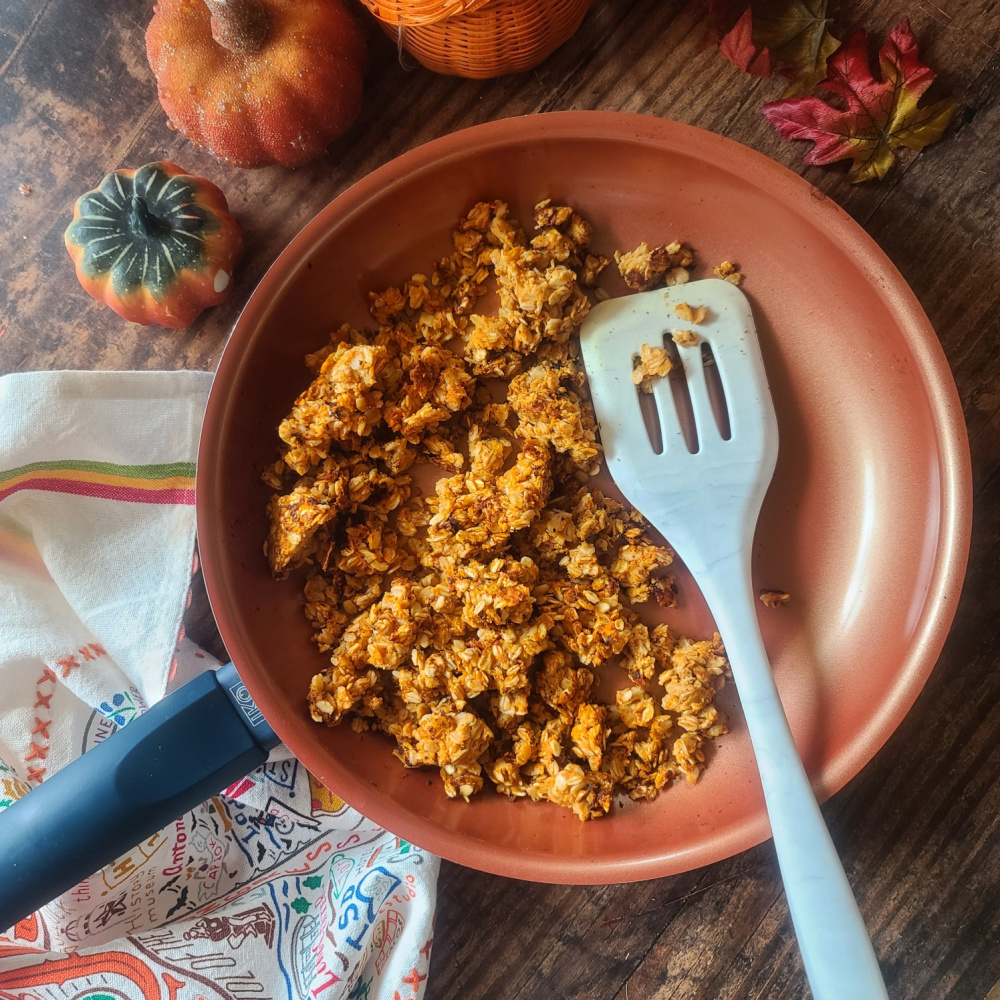
Pumpkin Scrambled Oats: Take your oatmeal in a savory-sweet direction with these creamy pumpkin scrambled oats. Packed with fiber, protein, and cozy fall flavors, this hearty 10-minute breakfast is a satisfying way to start the day.
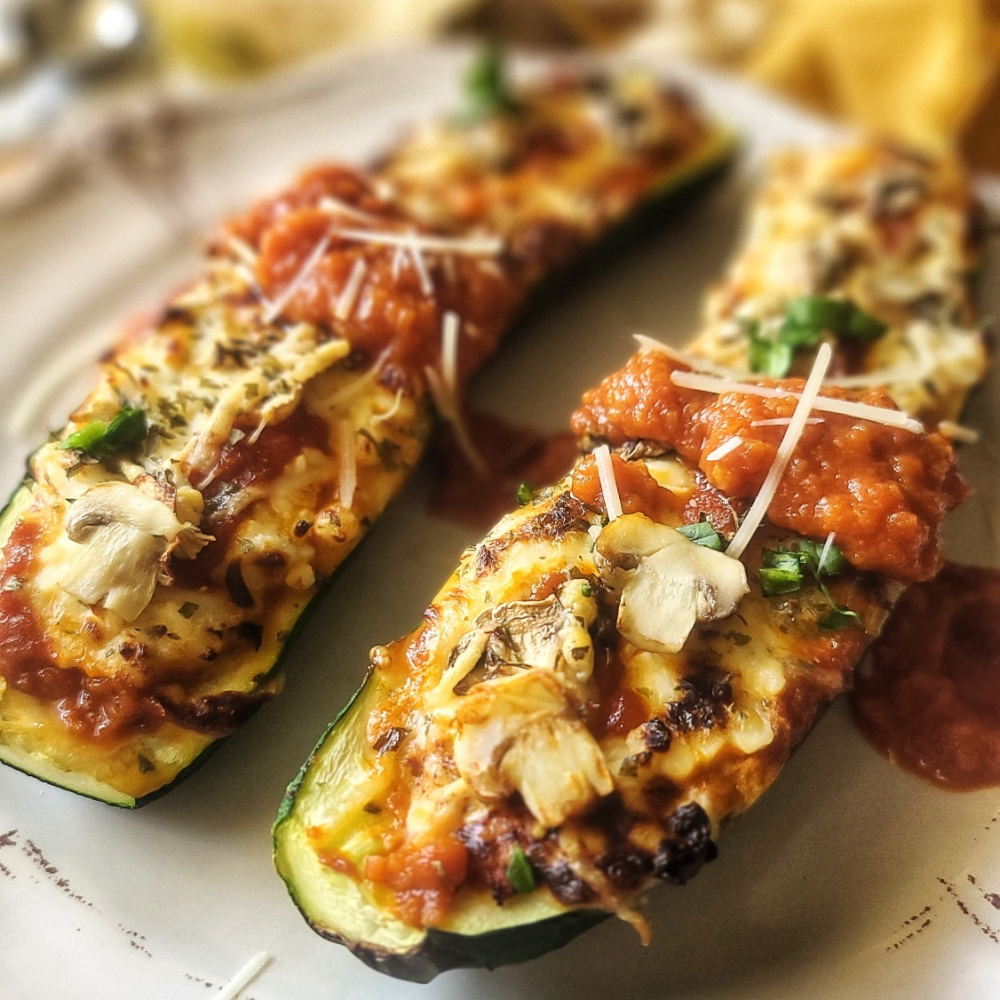
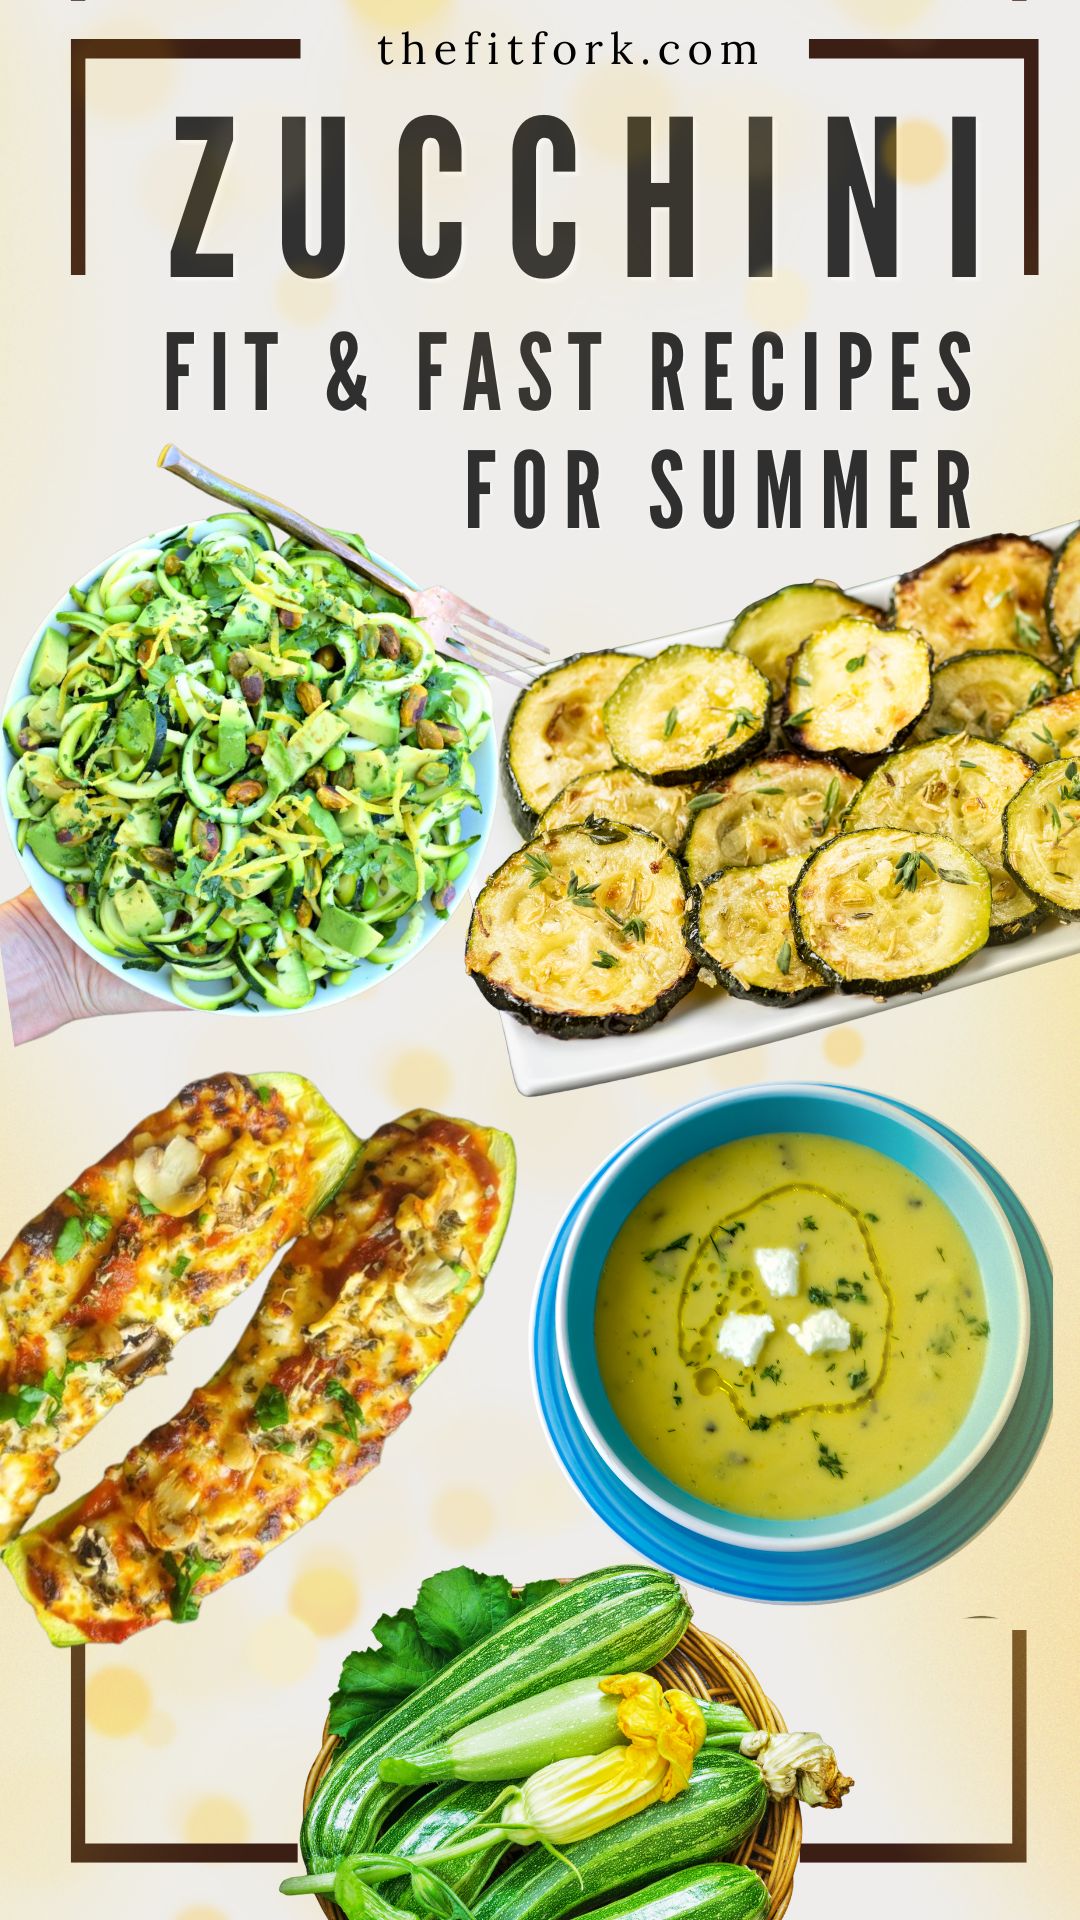
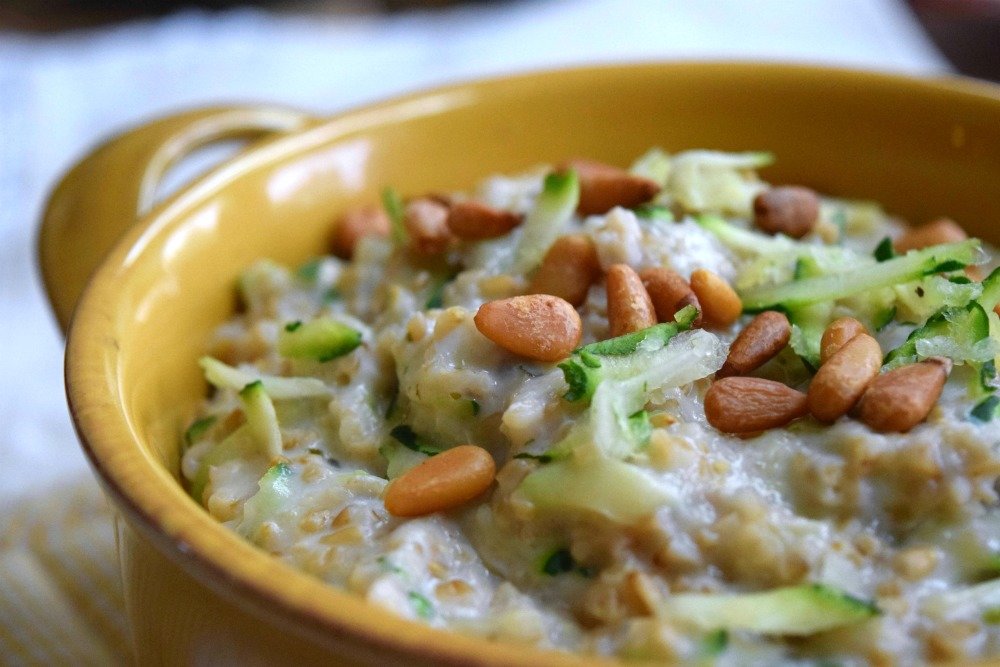
Garlicky Cauliflower Zoats (Zucchini + Oats): Not all oats have to be sweet! This savory bowl combines oats with zucchini and cauliflower for a veggie-packed breakfast that’s rich in fiber, filling, and surprisingly delicious with garlic and seasonings.
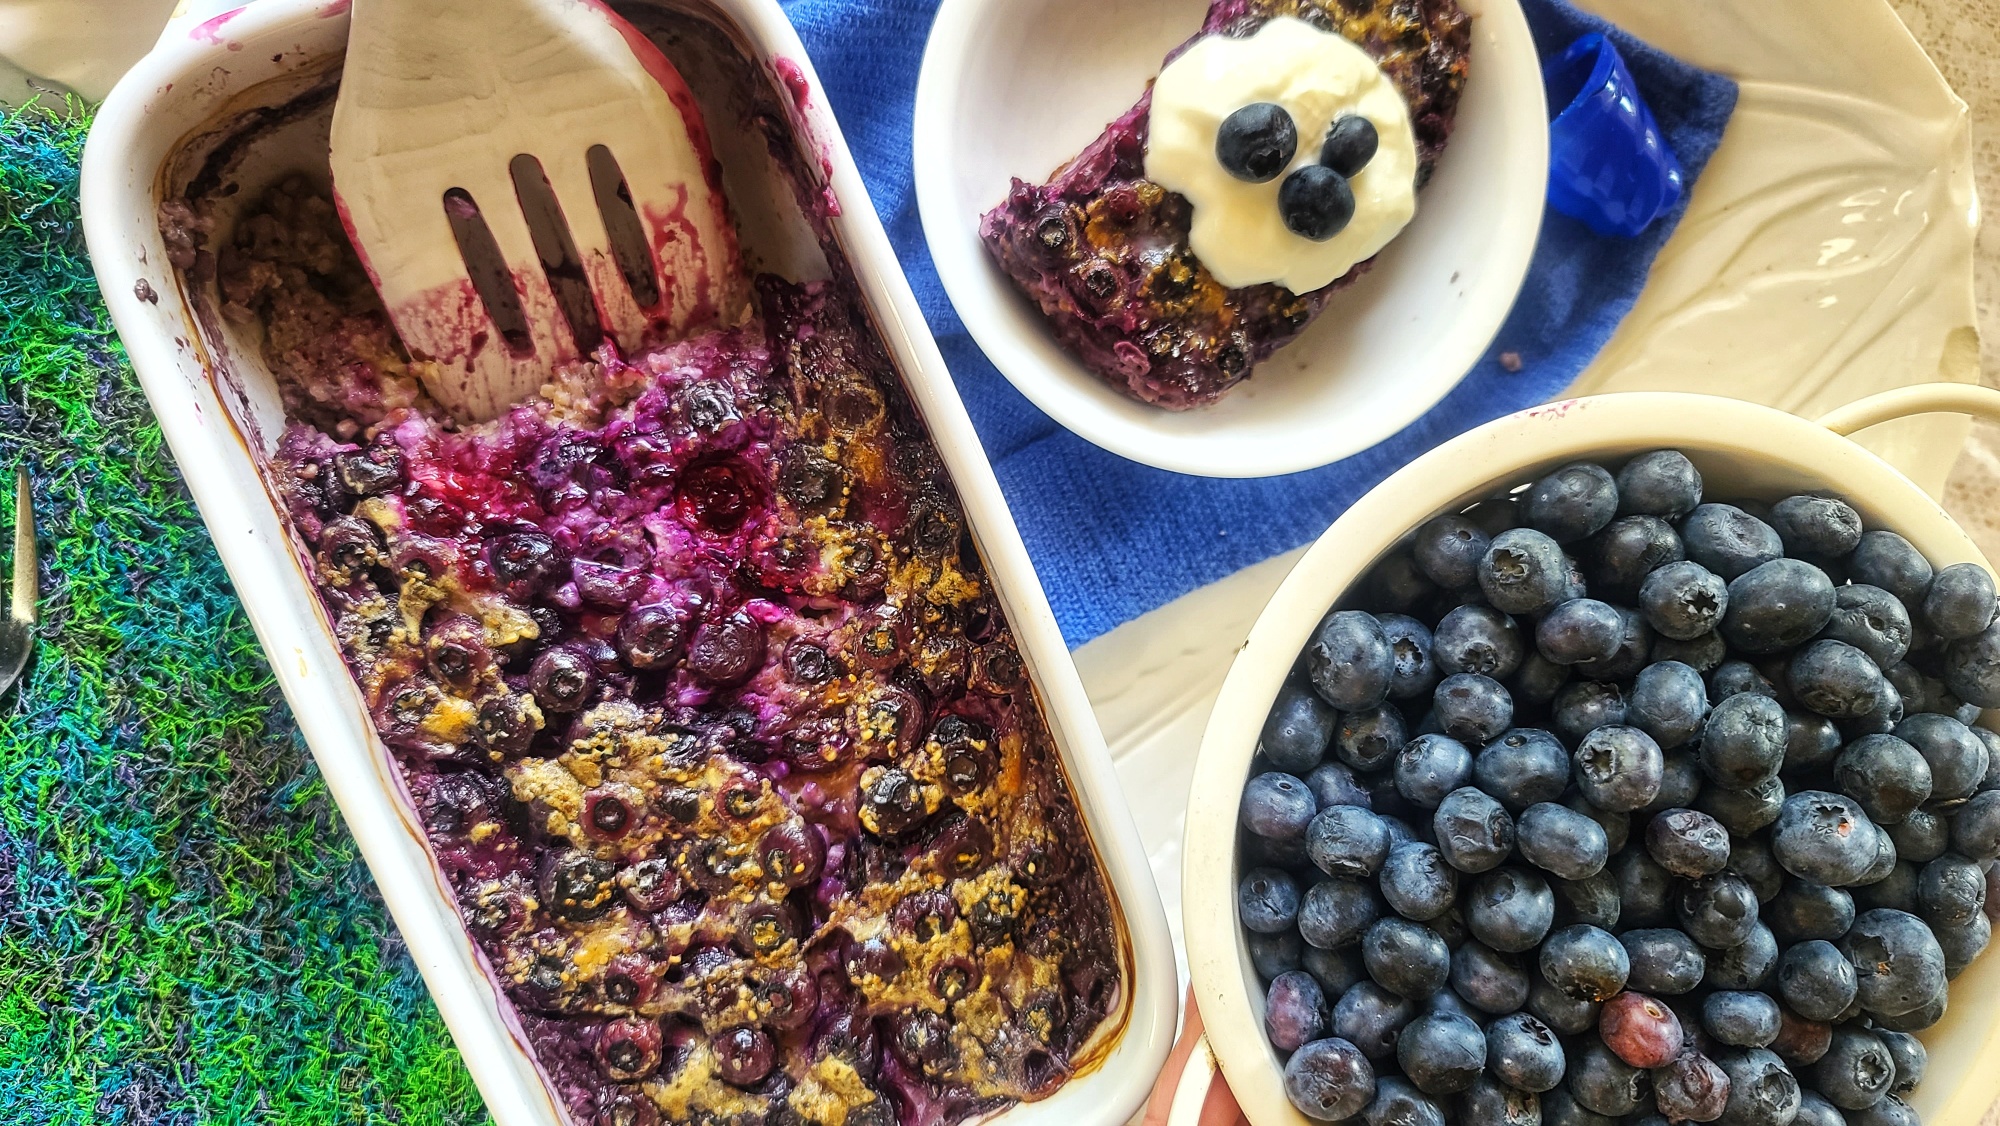
Blueberry Baked Steel-Cut Oats with Protein: Perfect for meal prep, this baked oatmeal combines chewy steel-cut oats, juicy blueberries, and added protein for a make-ahead breakfast that keeps you fueled all morning long.
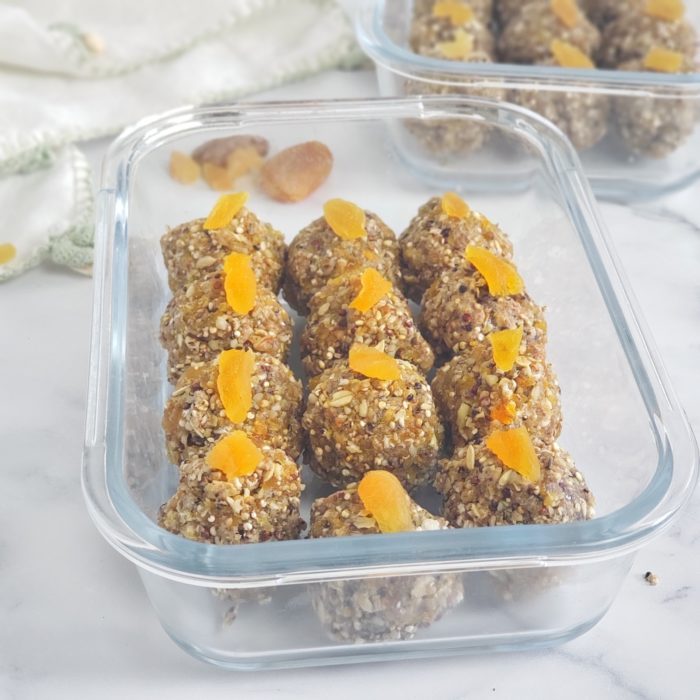
Toasted Quinoa Oat Pecan Apricot Bites with Collagen: These no-fuss snack bites blend oats, toasted quinoa, pecans, dried apricots, and collagen for a wholesome grab-and-go treat packed with texture, flavor, and staying power.
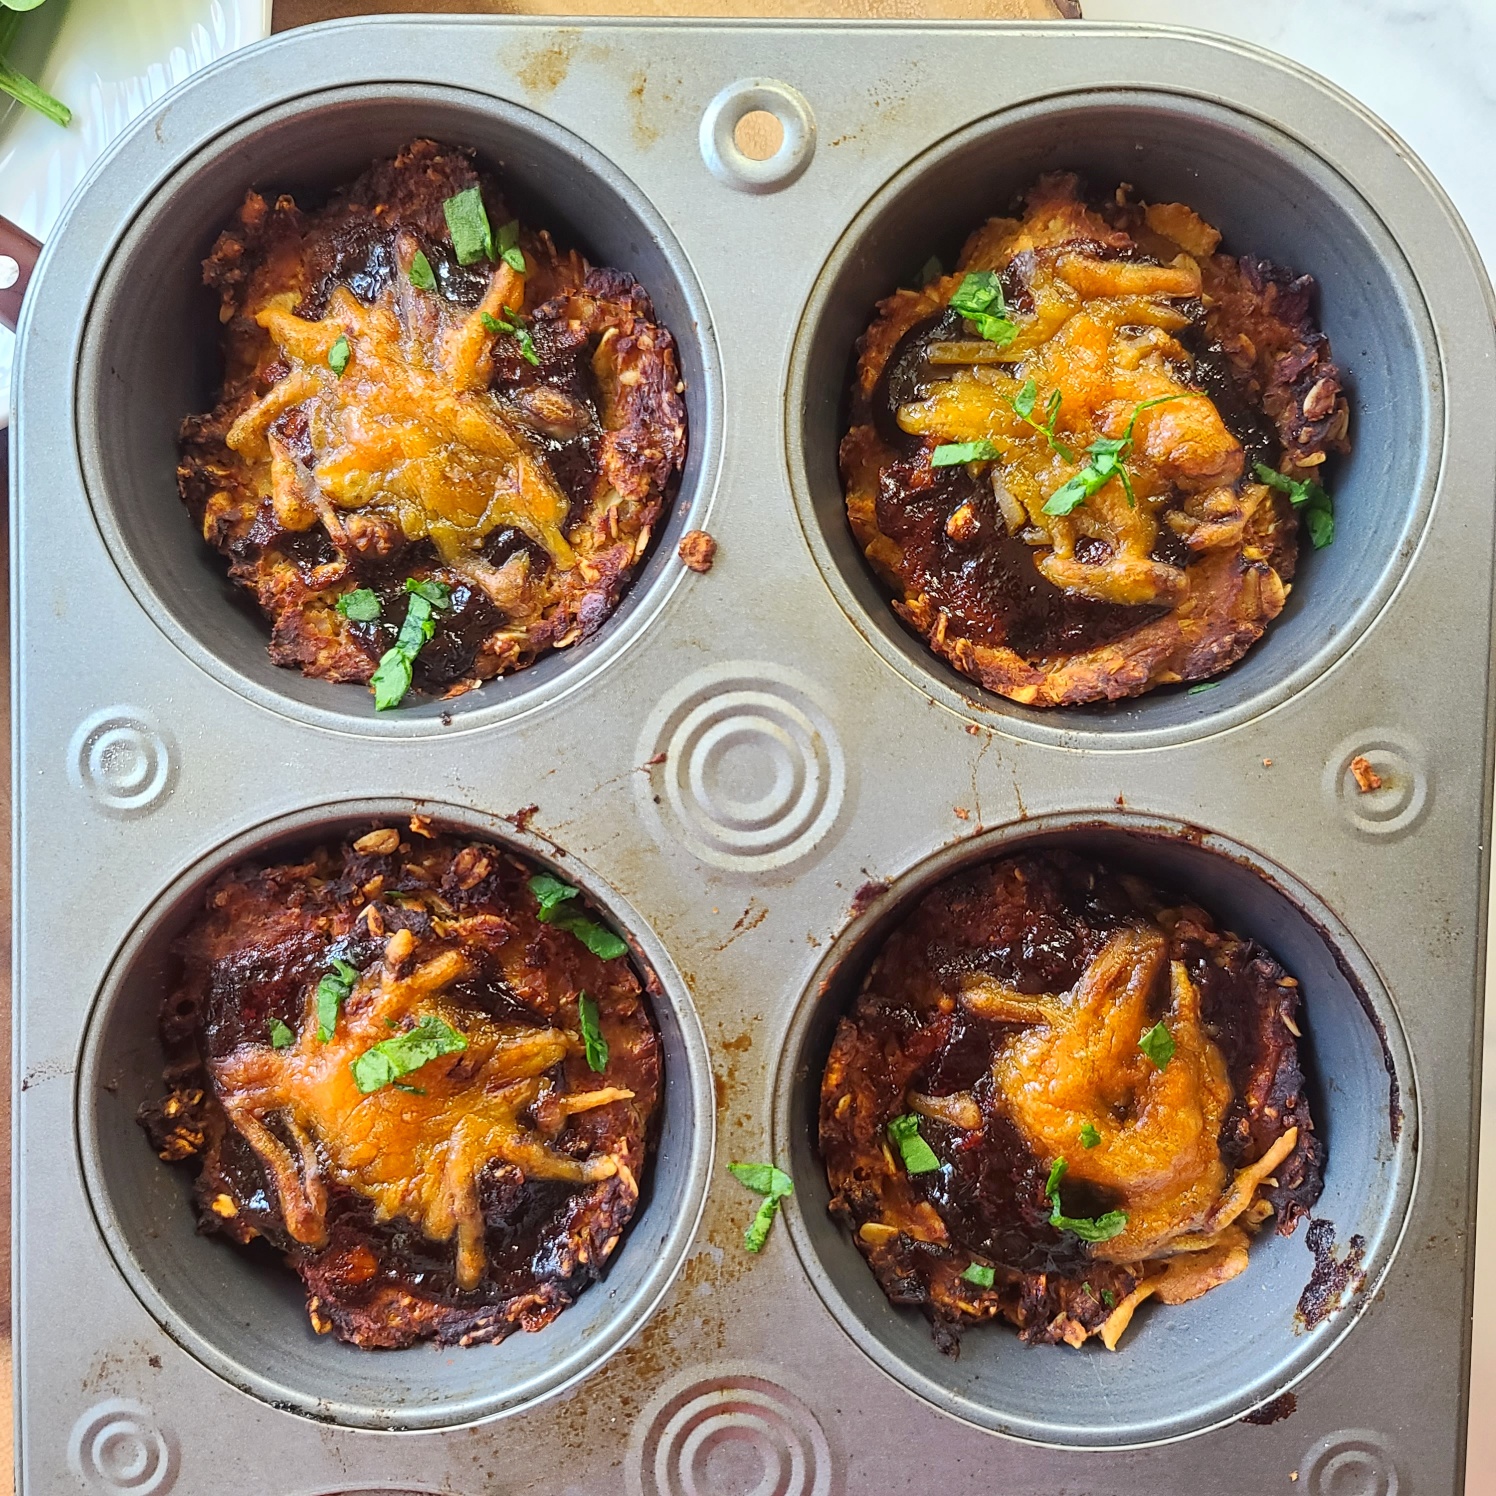
Vegetarian Mini BBQ Meat Loaf Muffins: Oats step in as a nutritious binder in these vegetarian mini “meatloaf” muffins. They’re packed with plant-based goodness, brushed with tangy BBQ sauce, and perfect for meal prep or healthy lunches.
Cinnamon Protein Waffles: Made with oat flour and protein powder, these fluffy cinnamon waffles deliver a satisfying balance of protein and fiber. They’re a delicious way to enjoy the benefits of oats while keeping breakfast