Best Low Carb Side Dishes in Air Fryer

Although I prioritize fitness and healthy eating, I still find myself susceptible to cravings for delicious, crispy “fried” treats. Thankfully, my air-fryer has emerged as my guilt-free solution, transforming indulgent side dishes into wholesome alternatives – these are some of the best vegetables in the air fryer! Explore these low carb air fryer side dish recipes to elevate tonight’s dinner to a new level of satisfaction – even when time is tight!

A low-carb, gluten-free and keto-friendly way to snack and get more vegetables in your day! These easy air fryer zucchini chips use just a few simple ingredients and are done in minutes – perfect for game day entertaining or a delicious side dish and alternative to fries.

Cheddar Zucchini Chips in the Air Fryer stay low carb, thanks to a coating made from crushed cheddar crisps and almond meal, instead of breadcrumbs and flour. Dunk in your favorite dipping sauce, so addictive!

 Honey Ginger Broccoli for Two in Air Fryer is my delicious spin on “crack” broccoli – my kids beg for it and will eat up the whole batch!

Crispy, crunchy and quick, these baked onion rings are lower in carbs thanks to a coating that includes keto-friendly ingredients like crushed pork rinds, Parmesan cheese and coconut flour. A delicious appetizer, game day snack or side dish for steak, burgers and more!

Crispy Low Carb Onion Rings in Air Fryer are a clever way to avoid eating carbs or staying gluten-free. The onions are coated in topping made with crushed pork rinds – a smart and flavorful way to use this old-school snack!

Hatch green chile fries are a quick and easy air fryer recipe suitable for paleo, whole30, gluten free and low carb diets.

Hatch Green Chili Fried in Air Fryer make mage with this popular, milder New Mexico pepper. Of course, you can use any type pepper (even hot ones, if you dare) and even bell pepper strips!

Let cool a couple minutes. Sprinkle with salt and drizzle with honey, toss gently. Sprinkle with granola!

Granola Honey Sweet Potato Fries hit the spot – crunch on the outside, soft on the interior and drizzled with honey, sprinkled with sea salt and upgraded with a lightly spicy granola. Upgraded comfort food to pair up with almost any main dish protein.

TIPS FOR CRISPY AIR FRYER SIDE DISHES

Type of Air Fryer: You can use whatever air fryer you prefer – a smaller “drawer” style one may require you to make some of these recipes in two batches. I prefer a larger oven-style air fryer with a door that pulls downward. That makes it easy for me to check on food, flip it, see what’s going on through the door winder, and also typically cook up the whole batch at once to serve my hungry family.

Can I Use an Oven? Yes, but it will take a little longer. Preheat the oven temperature to the same temperature and increase cooking time by about 33% longer, flipping halfway through. So if an air-fryer recipe says 10 minutes, bake in oven for 15 minutes. Also, it is preferable to use a mesh rack or over the baking sheet or a crisping tray sheet to help promote crispiness.

How do I Reheat Leftovers? It’s best to reheat leftovers in a pre-heated air-fryer (375F) for just a few minutes until crisped up and warmed. Reheating in a microwave is not recommended, as it will made the food soggy.

This post contains Amazon affiliate links.

Green Chile Cottage Cheese Queso – High Protein

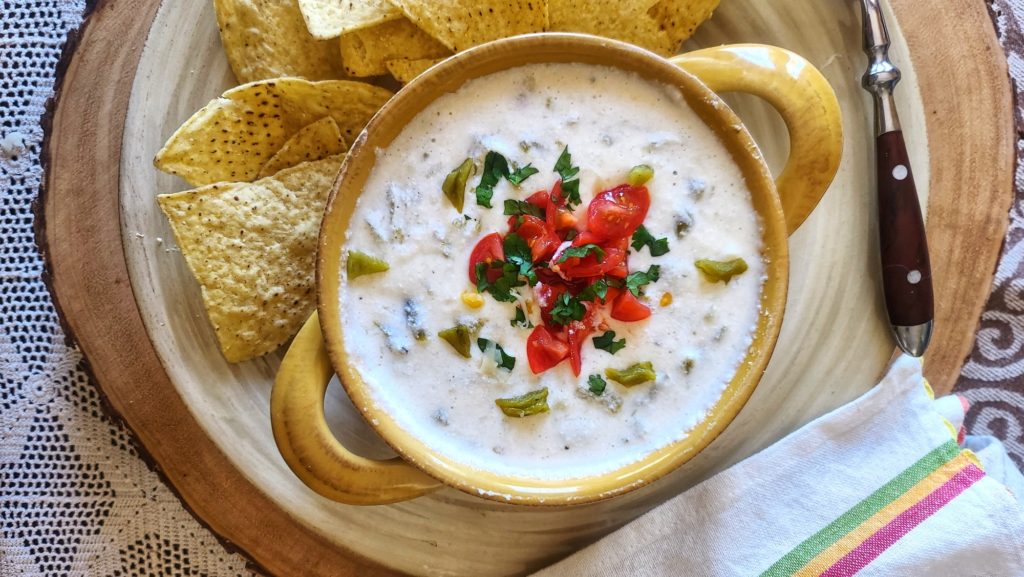
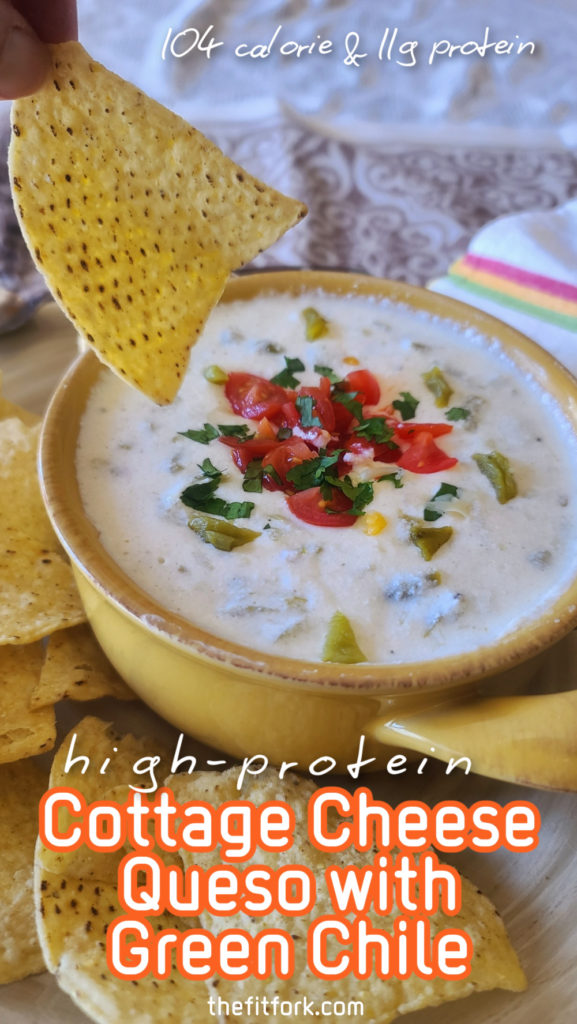
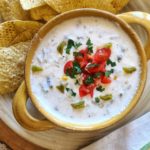
Good news for cheese lovers! You can have your queso and eat it too! High Protein Green Chile Queso is easy, delicious AND nutritious and will become your new favorite not dip for snacking and meals. Heck, you’ll want to pour it on everything!

Most queso (as we know it in the Southern US) is based on processed American cheese, ewwww – kinda a mystery substance. But my recipe high protein queso shared below features cottage cheese as the hero ingredient.

Cottage cheese in queso might sound strange – but it is cheese, right?! It’s blended smooth for a creamy texture and is incorporated with a bit of grated Pepper Jack for a slightly spicy and richer cheese vibe. You stay away artificial ingredients, preservatives and who knows what – plus, there’s lots of protein and not much fat.

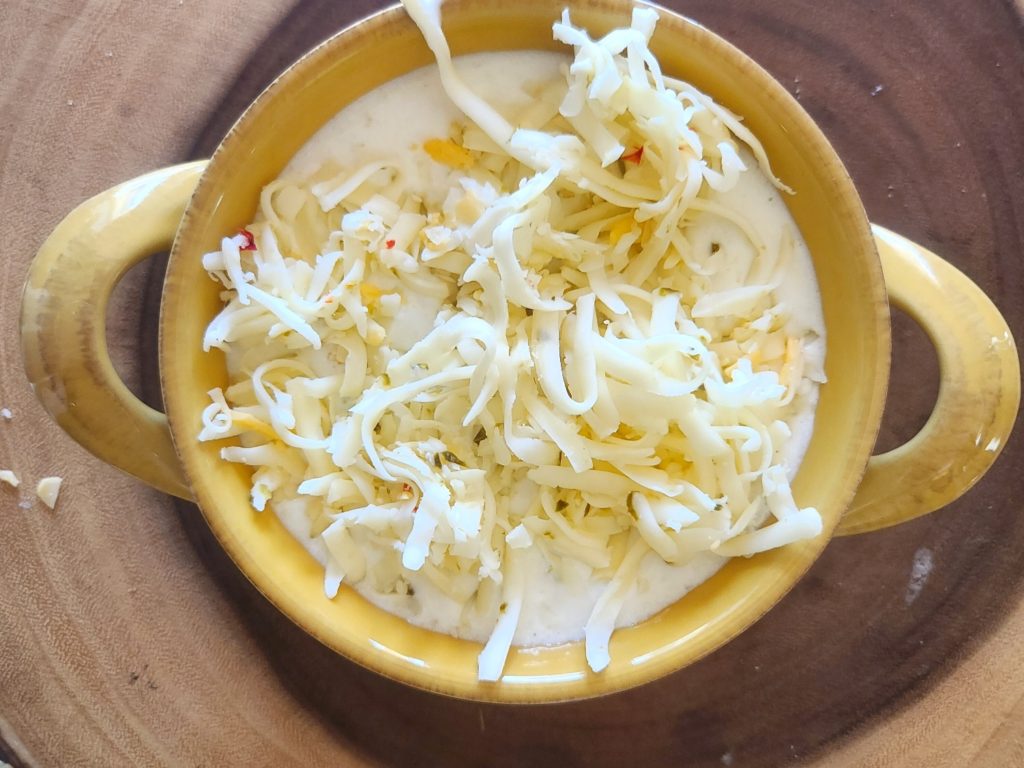
Shredded Pepper Jack melts into blended cottage cheese for the perfect medley! Or, try white cheddar!

And, cottage cheese queso is easy to make, with just four ingredients, an approximate 24-oz microwave-safe dish (or a little larger), and a microwave. So, 1) tastes great, 2) lots of protein, 3) less fat and no fake stuff – WIN-WIN-WIN!

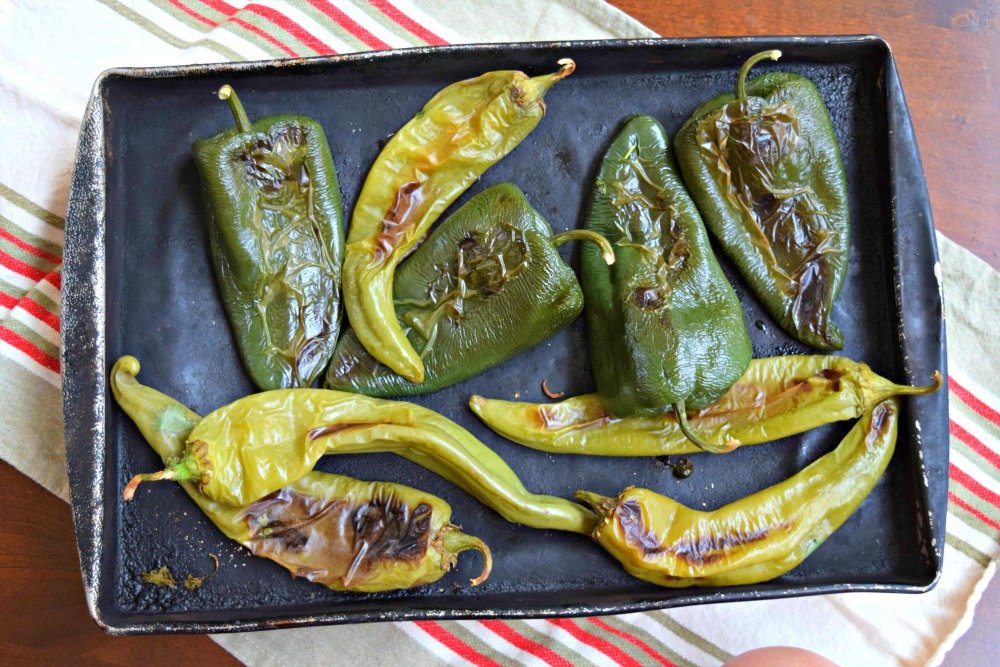
Roast and chop your own green chile peppers, or for convenience, use pre-prepped like frozen, jar or canned.

This would be a great appetizer or snack for football game season – bowl games are coming up! Make it at score big compliments!

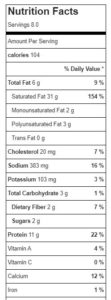
Lower in fat, but still ooey-gooey, this high protein green chili queso features blended cottage cheese as the hero. Simple to make in the microwave, only 4 ingredients – delicious and nutritious! 100 calories per serving with 11g protein.  A healthy appetizer or topping for your Mexican-inspired meal.

This post contains affiliate links.

5 from 5 votes
Lower in fat, but still ooey-gooey, this high protein green chili queso features blended cottage cheese as the hero. Simple to make in the microwave, only 4 ingredients – delicious and nutritious! 100 calories per serving with 11g protein. A healthy appetizer or topping for your Mexican-inspired meal.
Cottage Cheese Queso with Green Chiles

Lower in fat, but stillooey-gooey, this high protein green chili queso features blended cottage cheeseas the hero. Simple to make in the microwave, only 4 ingredients – delicious andnutritious! 100 calories per serving with 11g protein.  A healthy appetizer or topping for your Mexican-inspiredmeal.

Ingredients
  • 2 cups 2% milkfat cottage cheese not drained
  • 2 tsp garlic powder
  • 4 oz chopped green chiles from can or fresh roasted
  • 4 oz fresh grated Pepper Jack cheese
  • Optional: Pico de Gallo for garnish
Instructions
  1. Add cottage cheese to blender and process until smooth, a minute or so.
  2. By hand, stir in the garlic powder and chopped green chilies. If using chiles from a can, pour off and discard and ½ the juices so dip doesn’t become too watery.
  3. Add mixture to a microwave-bowl.
  4. Heat in microwave for about 2 minutes. Remove and stir in the pepper jack cheese, ½ at a time.
  5. Return to microwave and heat an additional 1-2 minutes until heated through and bubbling. Stir again to make sure the pepper jack cheese is incorporated.
  6. If desired, garnish with Pico de Gallo.
  7. Serve warm with chips or baguette slices to dip in. Or, use a drizzle on fajitas, burrito bowls, nachos, etch.
  8. Store leftovers, covered, in fridge for up to 5 days. To reheat, microwave on half-power for 2-3 minutes until able to stir it up. Then, heat again on high for 1-2 minutes until hot and bubbling.
Recipe Notes

Gouda Mac & Cheese with Brussels Sprouts in 9×13 Family Casserole

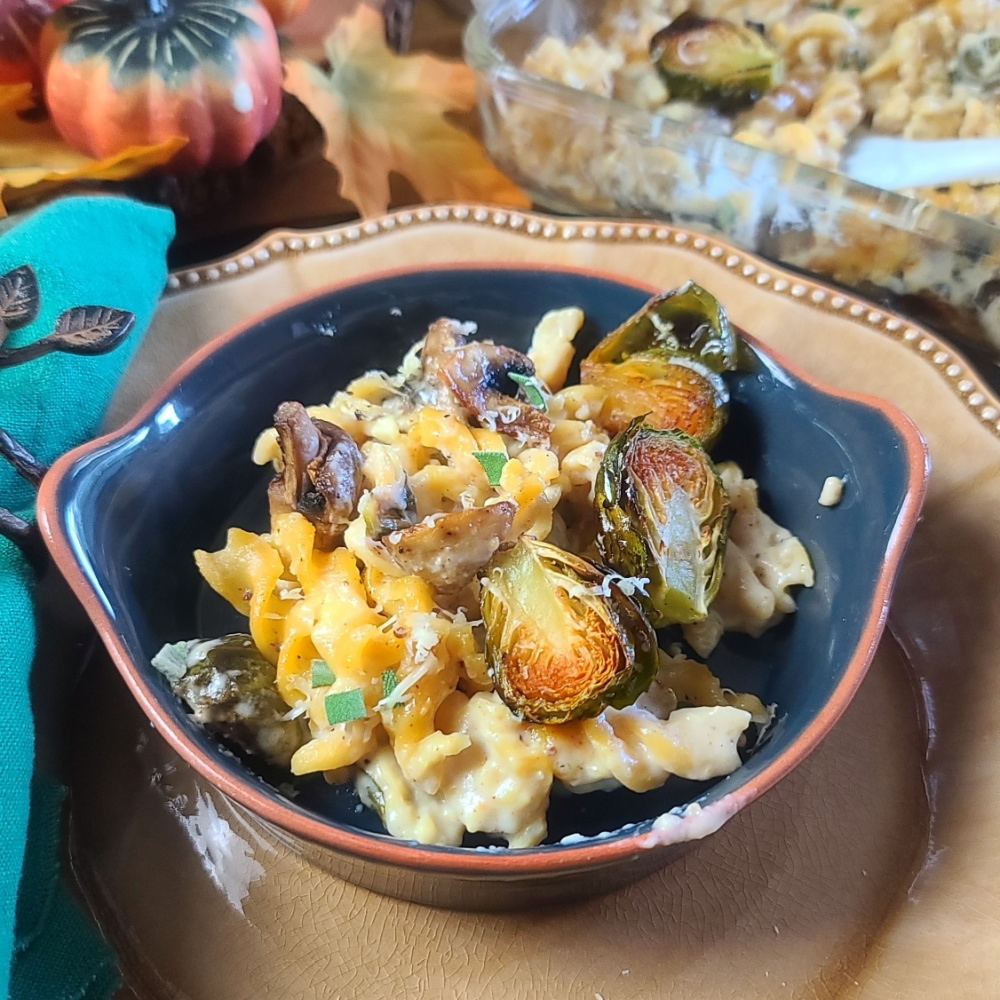
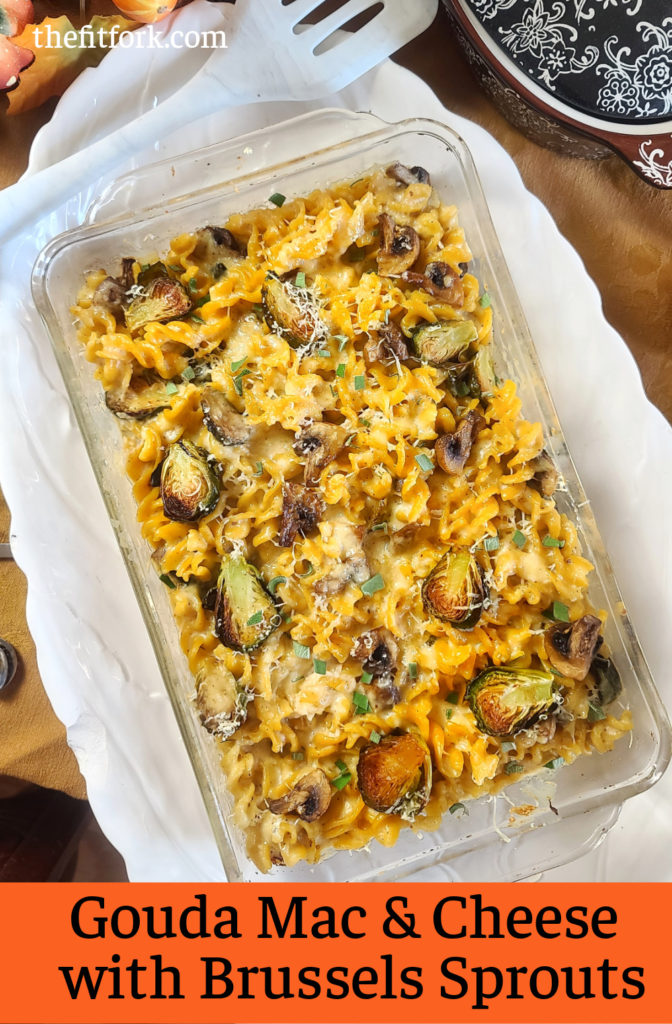
Gouda Mac and Cheese with Brussels Sprouts and Mushrooms offers a tasty and on-trend twist to one of America’s most comforting pasta dishes. The rich, earthy flavors of Brussels sprouts and mushrooms seemingly melt into the creamy goodness of Gouda cheese – combine all that with the pasta of your choice, and it’s noodle nirvana!

This delicious, hearty mac and cheese can be made ahead and baked as a side dish for Thanksgiving or other family meals! It's a 9x13 casserole crowd pleaser!

Plus, veggies – don’t forget you sneaked vegetables into each and every serving of this gouda mac and cheese! It’s a great way to convince kids to eat more of the good stuff. As for the pasta, you can use the flour variety (eg: traditional durum wheat or a gluten-free alternative (I like ZenB Pasta made from 100% yellow peas to offer LOTS of fiber and protein)

This delicious, hearty mac and cheese can be made ahead and baked as a side dish for Thanksgiving or other family meals! It's a 9x13 casserole crowd pleaser!
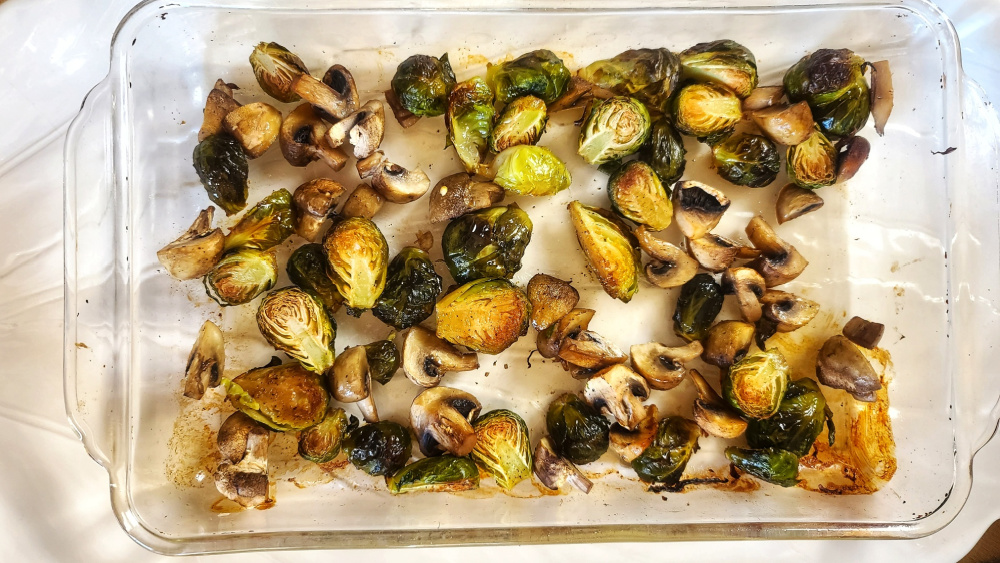
Brussels sprouts and mushrooms roast in the oven for a caramalized, rich flavor that elevates gouda mac.

This Brussels sprout mac and cheese is an easy 9” x 13” side dish and makes a great take-along offering to a pot luck or holiday feast at a friend’s house – keep it warm in this awesome casserole cozy. I know It will be one of our most popular and best thanksgiving side dishes of this year.

This delicious, hearty mac and cheese can be made ahead and baked as a side dish for Thanksgiving or other family meals! It's a 9x13 casserole crowd pleaser!
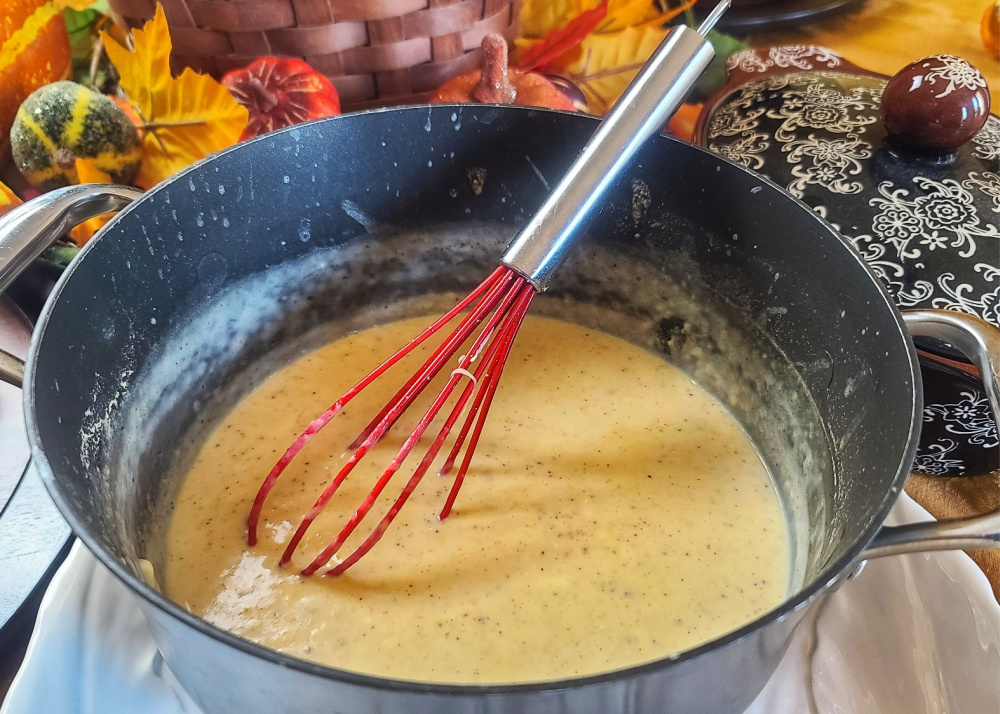
These cheese sauce comes together easily and is the “yum” that binds this baked pasta together.

TIPS FOR GOUDA MAC & CHEESE WITH BRUSSELS SPROUTS

Cheese Swap: You can swap out the Gouda for an equal amount of sharp cheddar (or really any similar cheese) for a bold change.

Don’t Like Mushrooms?: Just leave them out, no other modification needed.

Don’t Like Brussels Sprouts?: Swap with fresh broccoli florets and roast as directed for Brussel sprouts in recipe.

Pasta Shape: I prefer an elbow macaroni, penne, cavatappi or rotini for Mac and Cheese recipes. These have lots of twists and/or tunnels to catch the cheesy sauce.

Pasta Alternatives: I’ve used both traditional and gluten-free pastas to make this Brussel Sprouts Mac & Cheese, so go with your preference. It’s best when pre-cooking the noodles to take them off al dente (very slightly “to the tooth” or firm) because they will cook a second time as a mac and cheese casserole in the oven.

Note: As an Amazon Influencer, I earn from qualifying purchases.

5 from 4 votes
This delicious, hearty mac and cheese can be made ahead and baked as a side dish for Thanksgiving or other family meals! It's a 9x13 casserole crowd pleaser!
Gouda Mac and Cheese with Brussels Sprouts
Prep Time
10 mins
Cook Time
40 mins
Total Time
50 mins
 

This delicious, hearty mac and cheese can be made ahead and baked as a side dish for Thanksgiving or other family meals! It's a 9×13 casserole crowd pleaser!

Course: Pasta, Side Dish
Keyword: 9×13, brussels sprouts, comfort food, mac and cheese, pasta
Servings: 8 servings
Ingredients
  • 8 ounces brussels sprouts; tough outer leaves removed trimmed and halved (or quartered, if large)
  • 8 ounces white button mushrooms quartered
  • 2 tbsp olive oil divided
  • ½ tsp salt plus a dash more for pasta water
  • ½ teaspoon ground black pepper
  • 1 8- ounce box of uncooked pasta elbows, rotini, penne or similar
  • 6 ounces gouda cheese grated
  • ¼ cup butter
  • ¼ cup flour
  • 2 tsp Dijon mustard
  • 1 tsp minced garlic
  • 1/2 tsp paprika
  • 18 ounces whole milk
  • 1 ounce fresh-grated Parmesan cheese about ½ cup
Instructions
  1. Pre-heat oven to 425F.
  2. Trim Brussels sprouts and pull off tough outer leaves. Half smaller sprouts, and quarter large ones. Do the same for mushrooms.
  3. In 9” x 13” glass baking dish, add Brussels sprouts. Drizzle with 1 tbsp of olive oil, and sprinkle with about half of the salt and pepper to season.
  4. Roast in oven for a total of 20-25 minutes. After 10 minutes, pull out and add mushrooms to the dish, along with the remaining olive oil, salt and pepper. Return to oven to roast for 10 more minutes (so 10 minutes total for mushrooms, 20-ish for sprouts).
  5. While vegetables are roasting, bring water to boil in pasta pot and prepare pasta per package instructions for “al dente”. After cooking, drain in colander and set aside.
  6. In same pot that pasta was cooked in (now empty), melt butter over medium-high heat. Sir in mustard and garlic and stir for about 1 minute. Next add in flour a little at a time, using a whisk to incorporate. Whisk constantly, making a roux that turns deep golden brown, in about 3 to 4 minutes.
  7. With heat turned to medium, pour in milk a little at a time, whisking until combined and smooth. Next add cheese a little at a time, whisking until smooth.
  8. Add cooked pasta to cheese sauce and mix until coated. Then pour into 9×13” dish with roasted veggies; stir. Top with 1 ounce of fresh grated Parmesan cheese.
  9. Place in oven now heated to 350F. Bake for 15 minutes, or until cheese bubbling and lightly browning on top.
Recipe Notes

Macros coming.

Microwave Pumpkin Risotto – A Simple & Seasonally Scrumptious Recipe

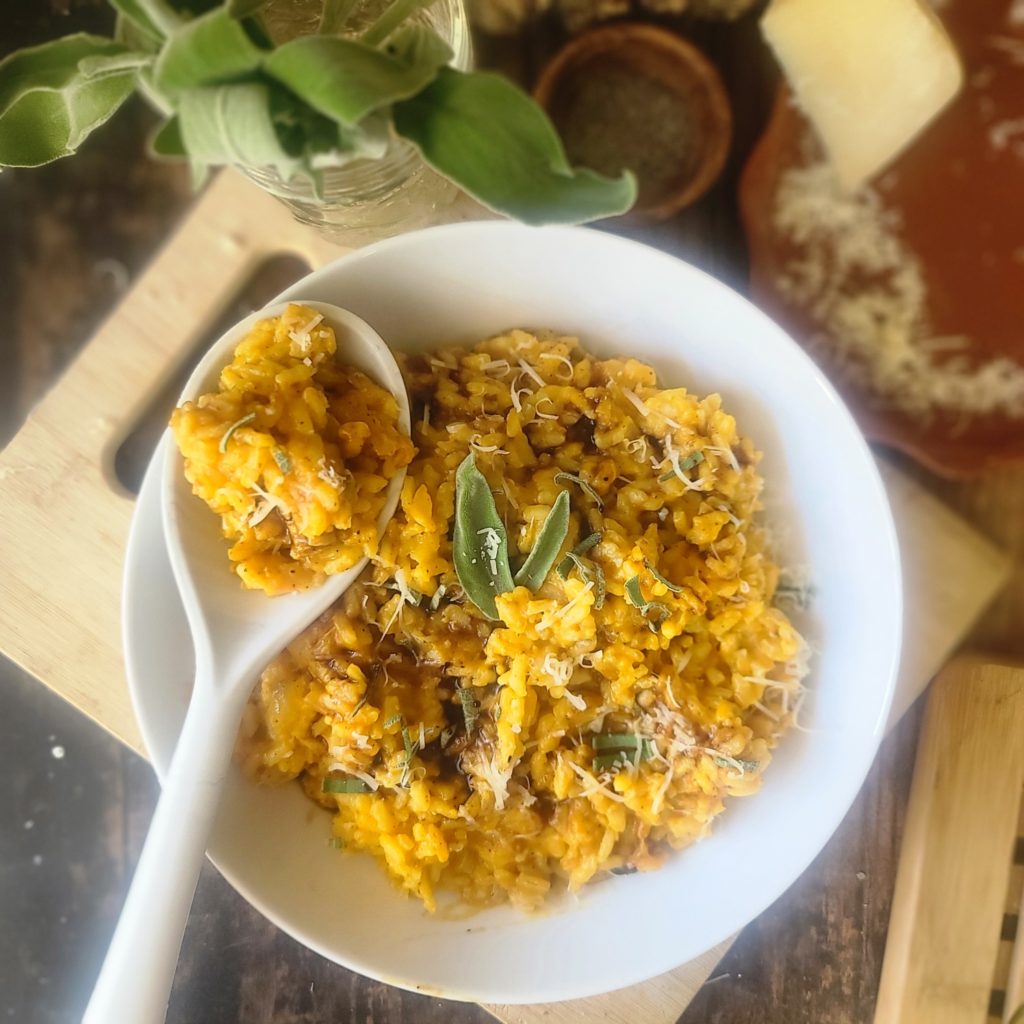
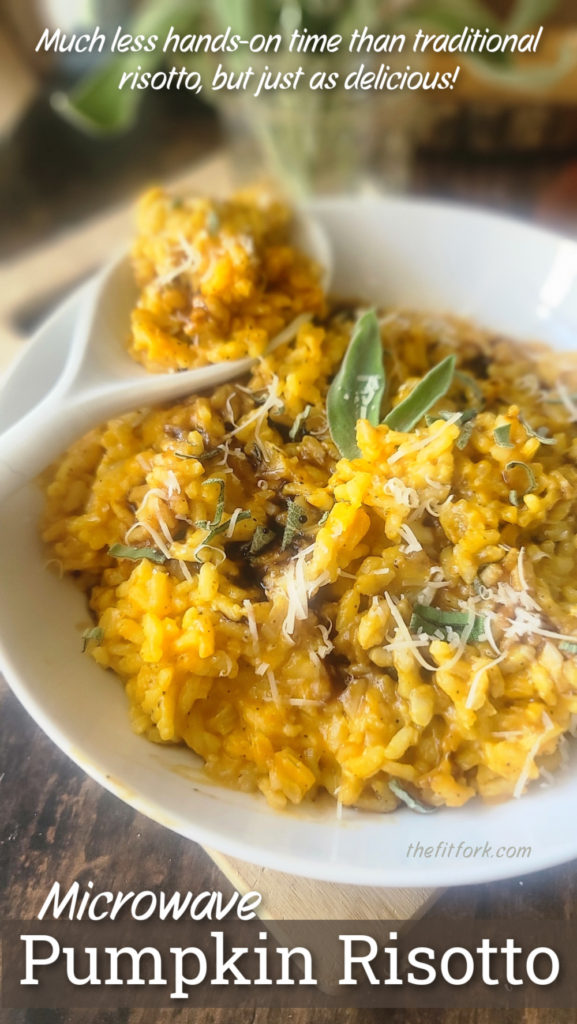
Microwave Pumpkin Risotto, so seasonally scrumptious! My “secret” shortcut allows me to get this rich and creamy dish on the table in 20 minutes without standing over a pot stirring non-stop. Today, I’m going to share this easy pumpkin side dish with you along with all my tips on how to make microwave risotto!

Microwave Pumpkin Risotto, so seasonally scrumptious! A “secret” shortcut gets this rich and creamy dish on the table in 20 minutes without standing over a pot stirring non-stop. A complementary side dish to fall-inspired meals including Thanksgiving turkey, Holiday beef roast, or fast and easy with salmon or shrimp for a weeknight meal!

This pumpkin rice recipe will make a complementary side dish to all sorts of fall-inspired meals including turkey at Thanksgiving, a beef roast for Christmas or as part of other celebratory feasts. The simple fact is, it’s just so easy and quick to make, it’s ideal for weeknight dinners too – love to serve it with sauteed shrimp on top or slices of leftover steak.

Microwave Pumpkin Risotto, so seasonally scrumptious! A “secret” shortcut gets this rich and creamy dish on the table in 20 minutes without standing over a pot stirring non-stop. A complementary side dish to fall-inspired meals including Thanksgiving turkey, Holiday beef roast, or fast and easy with salmon or shrimp for a weeknight meal!
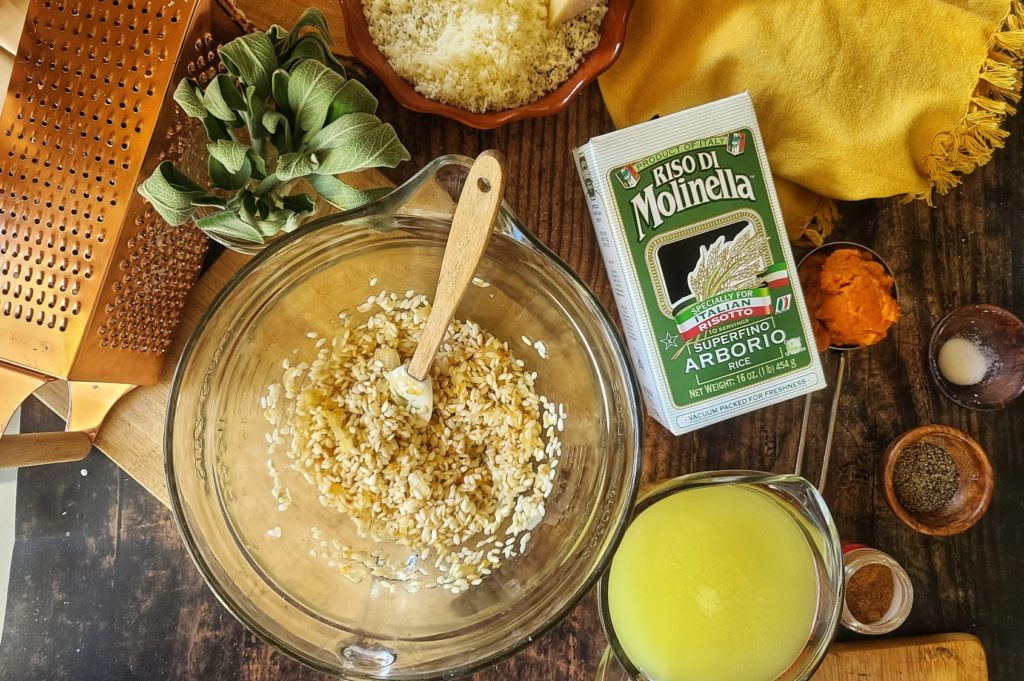
Use Arborio rice! Or, in a pinch, any other short or medium grain rice will yield a good result.

To garnish, I used fresh snipped Sage, a robust herb that shines in hearty, rich dishes. Also, I drizzled just a bit of sweet-tangy balsamic syrup to complement the savory and play up the pumpkin. You can reduce balsamic vinegar by boiling it for some time to make a balsamic syrup, but I find it much more convenient to buy the syrup. BTW, these garnishes are optional.

Microwave Pumpkin Risotto, so seasonally scrumptious! A “secret” shortcut gets this rich and creamy dish on the table in 20 minutes without standing over a pot stirring non-stop. A complementary side dish to fall-inspired meals including Thanksgiving turkey, Holiday beef roast, or fast and easy with salmon or shrimp for a weeknight meal!

Microwave Pumpkin Risotto Tips

Type of Rice: Arborio rice is the is the go-to rice for making risotto. It’s a short-grain rice that can absorb lots of liquid and yields a creamy, hearty texture. In a pinch, you can substitute any type of medium- or short-grain rice with a good result. Just never use a long grain or instant rice.  

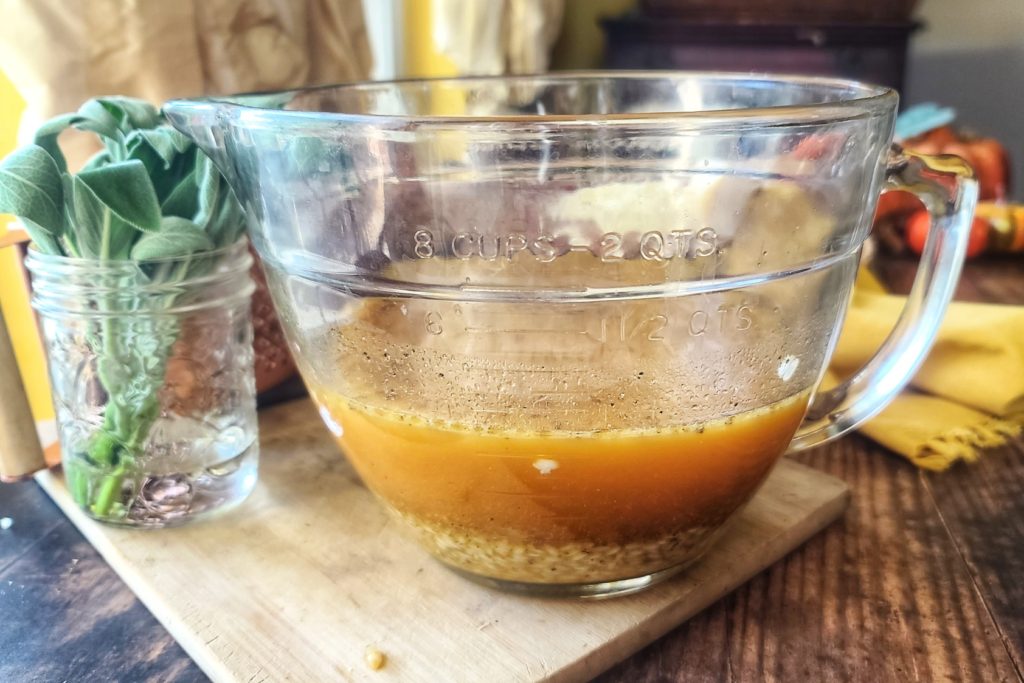
Cooking Container: Ensure that you are using a large enough microwave-safe container so that the ingredients don’t boil over and make a mess. I suggest an 8-cup capacity glass measuring cup with handle.  It’s safe for the microwave, reduces the amount of measuring cups dirtied, and the handle is the safest way remove/return the microwave between stirring sessions.

Vegan: It’s easy to swap the chicken stock for vegetable broth to keep the recipe plant-based. Also, instead of Parmesan cheese, use a vegan parm substitute

Fresh Herbs: Go with what floats your boat, or skip all together. I thought fresh sage, with its earthy and bold profile, was a nice complement to this richer pumpkin dish.

The dish looks watery at first, but the Arborio rice soaks up all that goodness during cooking and releases a creamy texture.

Note: This post contains affiliate links. Any commissions earned are used to offset operating expenses for The Fit Fork. Thank you!
5 from 4 votes
Microwave Pumpkin Risotto, so seasonally scrumptious! A “secret” shortcut gets this rich and creamy dish on the table in 20 minutes without standing over a pot stirring non-stop. A complementary side dish to fall-inspired meals including Thanksgiving turkey, Holiday beef roast, or fast and easy with salmon or shrimp for a weeknight meal!
Microwave Pumpkin Risotto
Prep Time
5 mins
Cook Time
20 mins
Total Time
25 mins
 
Microwave Pumpkin Risotto, so seasonally scrumptious! A “secret” shortcut gets this rich and creamy dish on the table in 20 minutes without standing over a pot stirring non-stop. A complementary side dish to fall-inspired meals including Thanksgiving turkey, Holiday beef roast, or fast and easy with salmon or shrimp for a weeknight meal!
Course: Side Dish
Cuisine: Italian
Keyword: fall, pumpkin, rice, thanksgiving
Servings: 4 servings
Calories: 195 kcal
Ingredients
  • 1/2 cup chopped onion
  • 2.5 tbsp butter or olive oil
  • 1/2 tbsp minced garlic
  • 3/4 cup arborio rice
  • 2 cups chicken or vegetable stock
  • 1/2 cup pumpkin from can
  • 1/2 teaspoon ground black pepper
  • ¼ teaspoon salt
  • ¼ teaspoon ground nutmeg
  • ½ cup fresh grated Parmesan cheese plus 1-2 tbsp more for topping
  • Garnish optional fresh snipped sage and balsamic syrup.
Instructions
  1. In a 2-quart microwave-safe glass bowl, add chopped onion, butter, and garlic. Microwave on high for 3 minutes.
  2. Stir in rice to onion mixture and microwave on high for another 3 minutes.
  3. Mix in stock, canned pumpkin, pepper, salt and nutmeg. Microwave this mixture on high for a total of 16 minutes, removing every 4 minutes to stir for 30 seconds (don’t skip stirring each time, this is what releases the starches for “creaminess”).
  4. Remove and while still hot stir in cheese. Drizzle with balsamic syrup, and top with snipped fresh sage. Serve immediately.
Recipe Notes

Makes 4 servings, each with: 195 cal, 30g carb, 7g fat, 3g protein.

Watermelon Salad with Chamoy Dressing + More Spring Recipes

Note: This post is sponsored by Watermelon.org. However, all opinions, comments and enthusiasm remain my own.

Hello to spring and howdy to watermelon salads! No more hot and heavy soups for supper, the weather is warming up, my mood is lightening up, and my plate is filling up with all the beautiful produce of the season!

Watermelon Salad, watermelon salad recipe, chamoy watermelon, chamoy on watermelon summer fruit salad, summer salad recipes with fruit, cutting watermelon
Making a savory-sweet watermelon salad is life . . . literally life, seeing as how many health benefits watermelon offers including vitamins, minerals, fiber and phytonutrients. Watermelon is cholesterol-free, fat-free, sodium-free, and has 80 calories per 2-cup serving. It contains nutrients that support heart health, like magnesium (6% DV) and phosphorus (2% DV). Each serving also has 25% DV of vitamin C which is important for growth and repair of tissues in all parts of your body.  Perhaps my favorite thing about watermelon (other than the sweet taste and natural energy it provides for my training) is that 92% water which helps me stay hydrated.

Other reason to incorporate watermelon salad recipes into your life is that a watermelon salad is a quick and easy meal fix and completely customizable to suit your personal preferences.
ways to cut watermelon
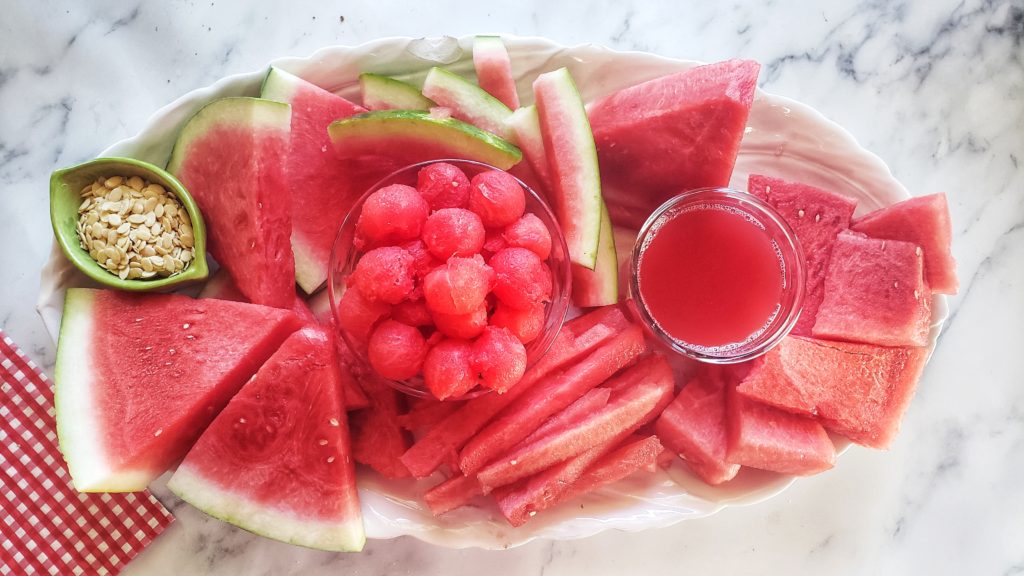
Quick and Easy. It is NOT as hard or time consuming as you might think to cut a large watermelon. That’s a common objection I enjoy overcoming with friends, family and anyone who gives me drama about cutting up a watermelon. In fact, I’ve done a whole article and video showing my technique for cutting up a large watermelon in about 5 minutes.


If you still are intimidated or unmotivated about cutting watermelon for salads, buying it pre-cut in the produce department is the next best way. While this pre-prepped route is more expensive, you typically get very sweet melon as the produce department tends to pick the best watermelons for their point-of-purchase, prepped containers.
Check out this 30 second tutorial!
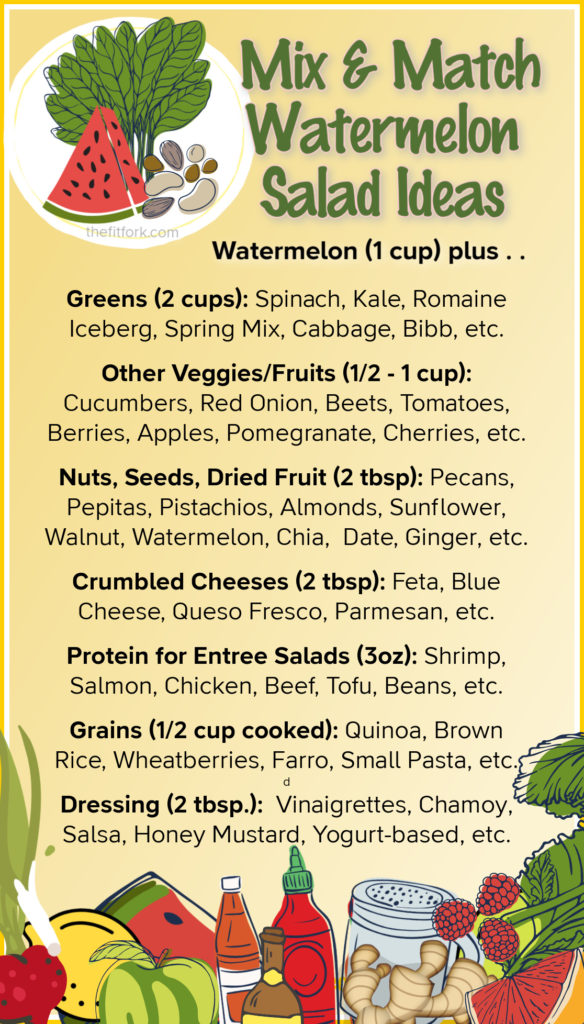
mix and match watermelon salad ideas
Pin this for later!

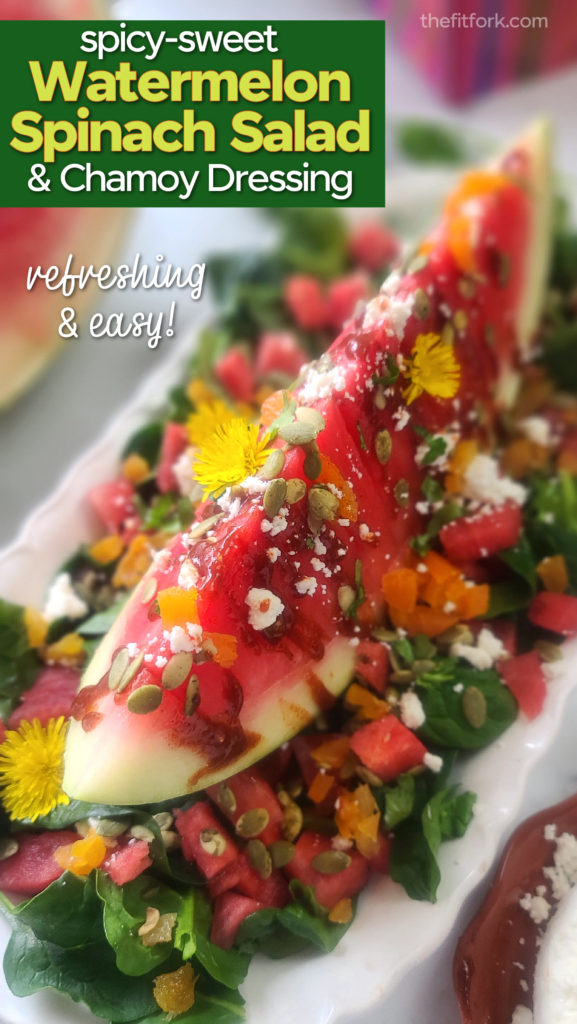
Customizable. Watermelon salads can be what YOU want them to be. Today, I’m sharing a recipe for Watermelon Spinach Salad with Chamoy . . .. it totally suits my love for spicy-sweet things and brings me joy.  Chamoy is a Mexican condiment made from dried apricots, chile de arbol, hibiscus flowers, citrus, and other seasonings . . . and trust me, chamoy on watermelon is incredibly tasty and lights up every part of your taste senses.

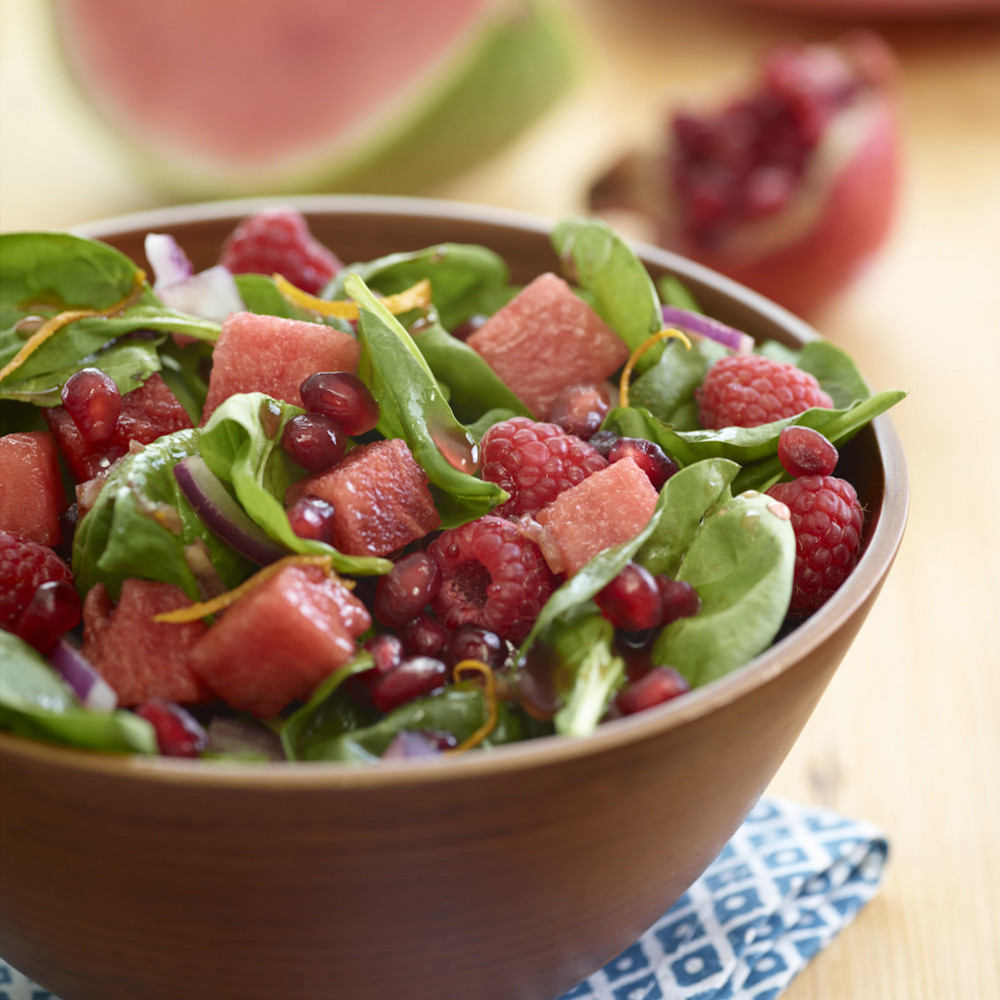
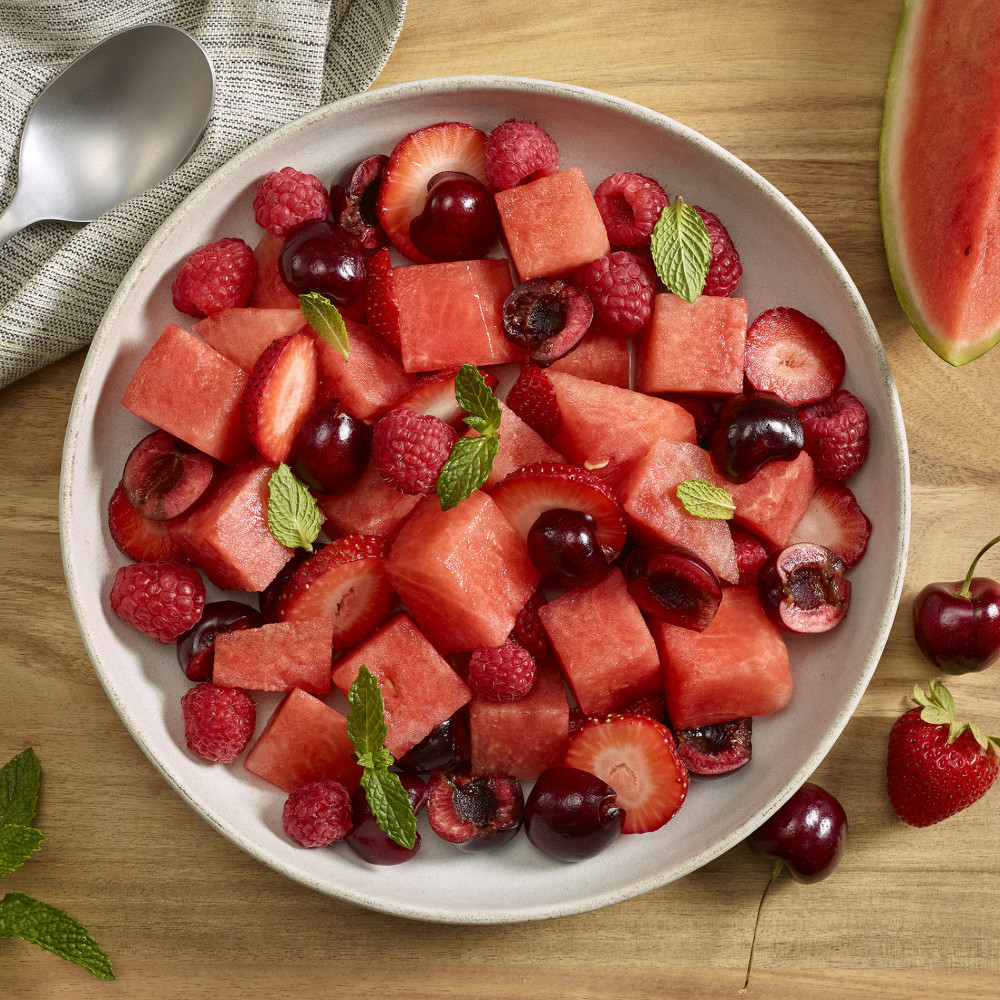
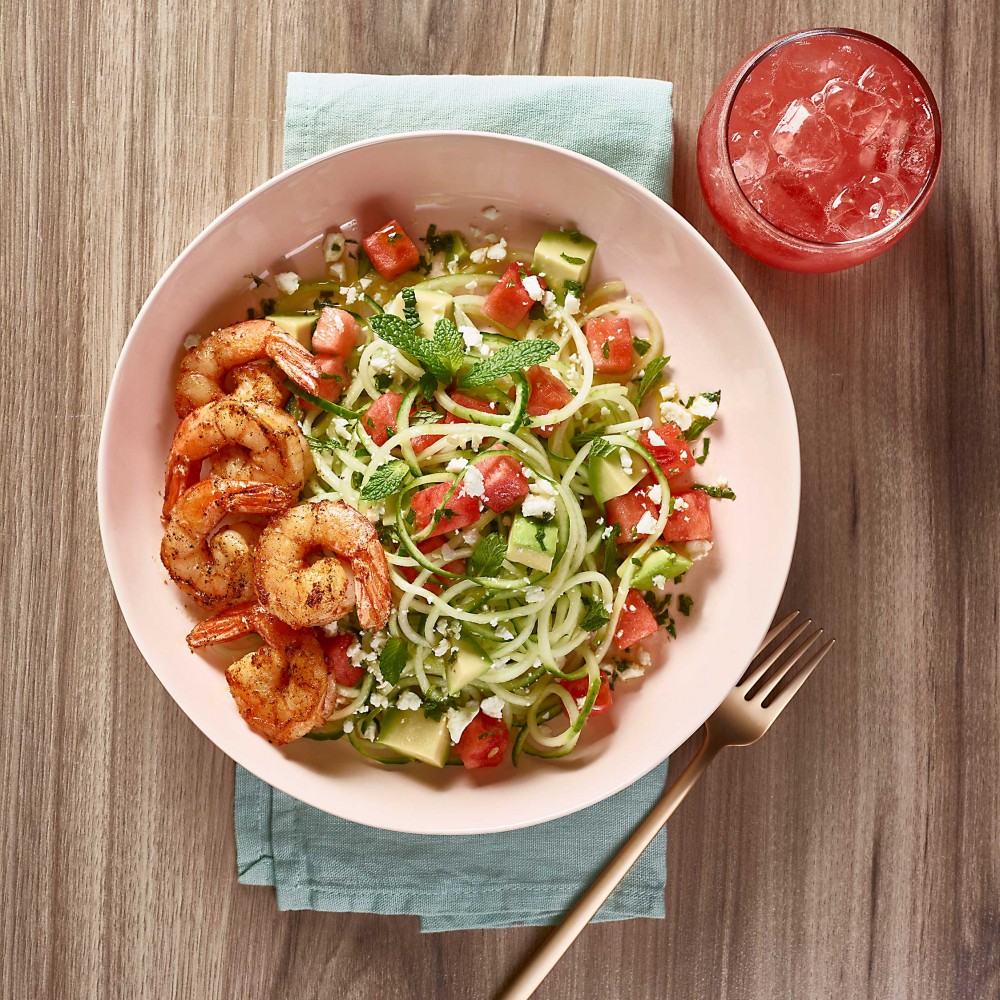
For my chamoy watermelon recipe and watermelon salad recipes in general, it’s simple to swap out all the salad ingredients (except watermelon) for the items you prefer or have on hand. For example, instead of queso fresco, use blue cheese. Instead of pumpkin seeds, use pecans. Instead of Chamoy, use a balsamic vinaigrette. You get the idea. In fact, I’ve made a pin-ready chart (above) to give you inspiration for endless mix-and match watermelon salads.

Pin this for later!

Tips for Watermelon with Chamoy Salad

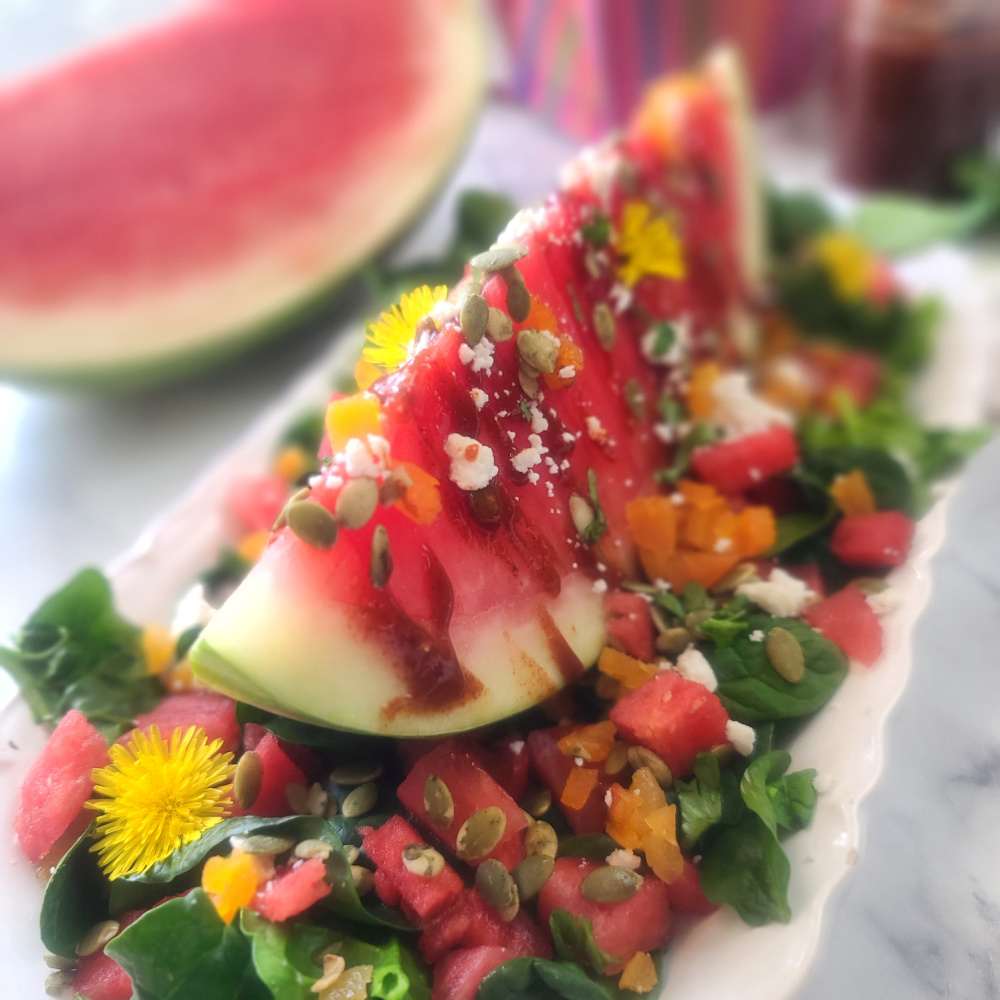
  • The yellow flowers are dandelions foraged from my lawn.  All parts of this “weed” plant (except stems which taste bitter) are beneficial to consume, you can even use dandelion leaves in place of or addition to the spinach.
  • Dried apricots are tossed in the salad to enhance the apricot in the chamoy, but any other dried fruit would be equally delicious.
  • Chamoy can be found in the bottled condiment area of Mexican markets or larger grocery stores. You can also make your own (time consuming) or order it online. The consistency varies from very thick to very thin – look for something in the middle. If too thick, thin down a bit with juice from your watermelon! 
  • Leftover chamoy is delicious used as a rim on cocktails or mocktails – watermelon margarita, anyone?!
  • Instead of the wedge presentation, the salad can feature watermelon cubes or watermelon balls
  • The recipe is easy to scale up or down, and you don’t have to get hung up on precise measurements
  • This salad is best consumed right after making to prevent wilting and sogginess..

Find more summer salad recipes with fruit (and watermelon) at The Fit Fork:

watermelon chia summer salad thefitfork.com

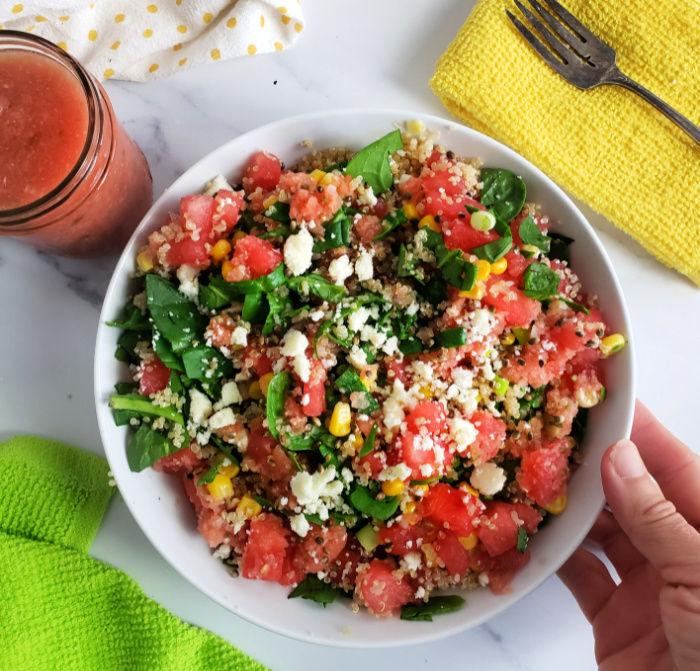
Watermelon Quinoa Salad with Salsa

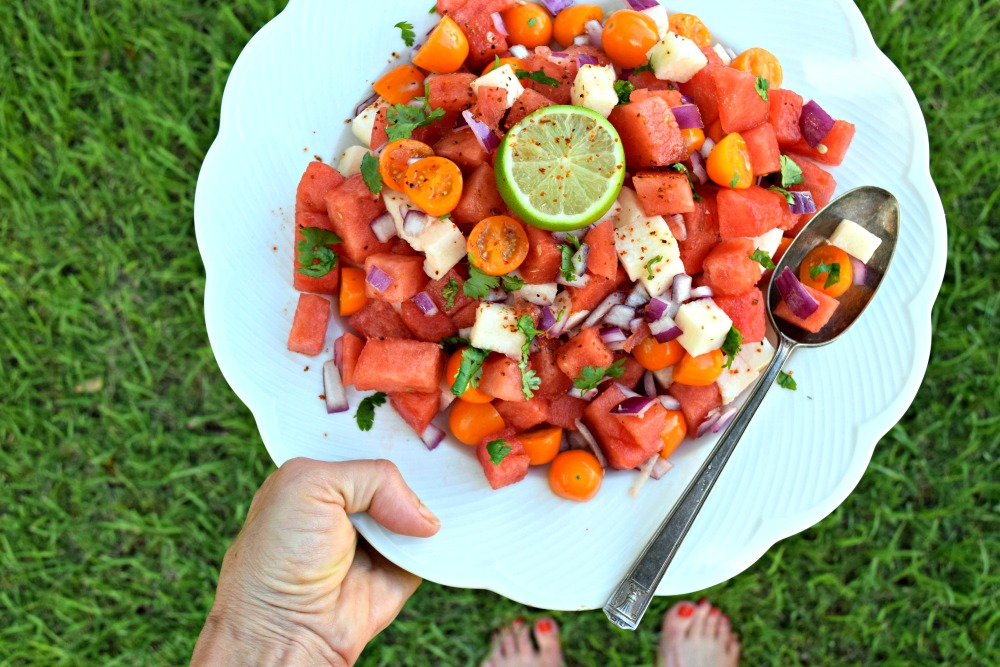
watermelon tomato tajin salad thefitfork.com

Watermelon Jicama Salad with Tajin Honey Vinaigrette

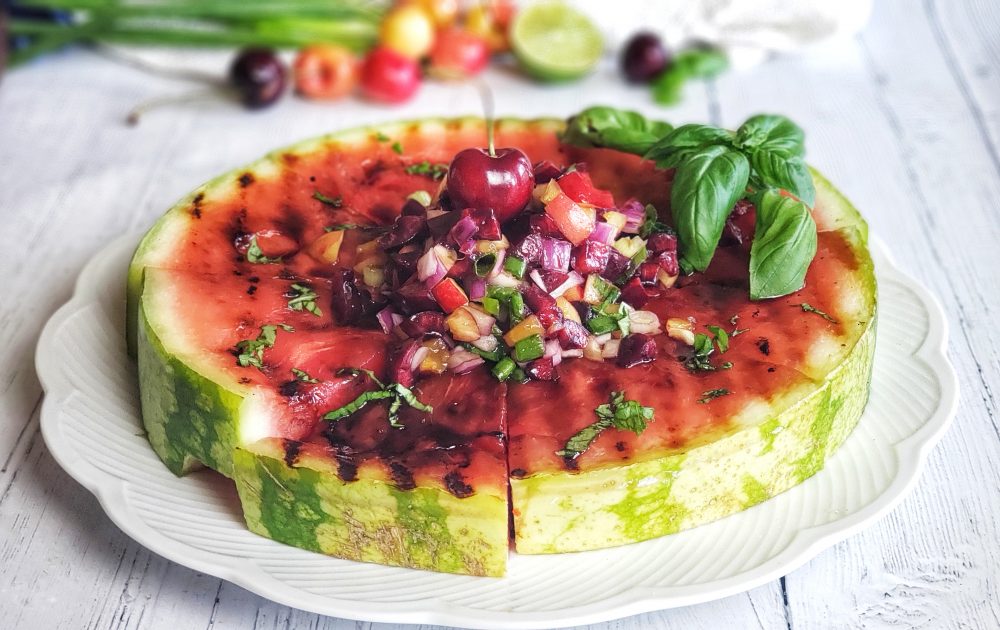
grilled watermelon with balsamic cherry salsa

Grilled Watermelon Wedge Salad with Balsamic Cherry Salsa

And, Watermelon.org always has creative, delicious, nutritious watermelon salads (and 100s of other watermelon recipes).  Here are three fruit and vegetable salads with watermelon that I’ve tried and LOVED:

5 from 4 votes
WATERMELON SPINACH SALAD with CHAMOY
Prep Time
10 mins
Total Time
10 mins
 

 A big,juicy wedge is dressed up with pepita seeds, crumbled queso fresco, choppedapricots and chamoy sauce, a spicy-sweet Mexican condiment. It’s an amazingwatermelon salad to kick off Spring break, picnics in the park, runningoutside, and dipping toes in the pool season!

Course: entree salad, Side Dish
Keyword: chamoy, mexican food, tex mex, watermelon
Servings: 4 servings
Ingredients
  • 1 wedge watermelon about ¼ to1/8 watermelon, depending on size
  • 2 cups chopped watermelon
  • 6 cups baby spinach
  • ½ cup dried apricots chopped
  • ½ cup crumbled queso fresco
  • ¼ cup Chamoy sauce*
  • ¼ cup pepita seeds
  • 2 tbsp chopped fresh cilantro
  • Optional Edible flowers such as pansies or dandelion
Instructions
  1. To make watermelon wedge, slice watermelon in half lengthwise, then slice that half lengthwise. This will give you a one-quarter wedge. If your watermelon is quite large, you may want to slice this quarter in half (to create a 1/8 watermelon wedge). I guestimate that the total amount of watermelon in the wedge is about 4 cups.
  2. Chop up another 2 cups of watermelon in a bite-size pieces.
  3. Sprinkle washed, dried spinach on platter, place watermelon wedge on top.
  4. Spoon extra watermelon on spinach, around wedge.
  5. Drizzle Chamoy sauce over top of wedge and onto greens.
  6. Sprinkle chopped apricots, crumbled queso fresco, seeds and cilantro on top of wedge and around salad.
  7. If desired, garnish with edible flowers for maximum spring-time effect!
Recipe Notes

*Chamoy sauce is a Mexican condiment sweet-spicy-salty condiment that can be found in most larger grocery stores, from an international market, or you can google the recipe and make your own (it usually features soaked dried: apricots and prunes, hibiscus leave, chile peppers, citrus and more).