Tale of Two Treats | #DesignerWhey Sustained Energy Review

Yes, I work out frequently, often twice a day. It’s not a punishment; I crave it. But, when my body needs to recover, I take a rest day. I’m not a slave to any training plan.

Yes, I eat with my health in mind, usually every meal of the day. Again, it’s not a punishment; my body craves the lean proteins and fresh produce. But, when my taste buds need a treat, I have something sweet. I’m not an extremist or a denier when it comes to what I eat.

Hey, it was my birthday!

Hey, it was my birthday!

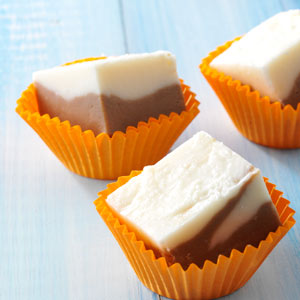
Full disclosure, I eat M&Ms, cinnamon jelly beans and other sugary things on occasion. I don’t even feel regret. Here’s a peek at an unashamedly sugary recipe I created for a special celebration (It was actually just published in Simple & Delicious Magazine – August issue). Say so in the comments and I’ll send you the recipe.

2013_07 rootbeer float fudge

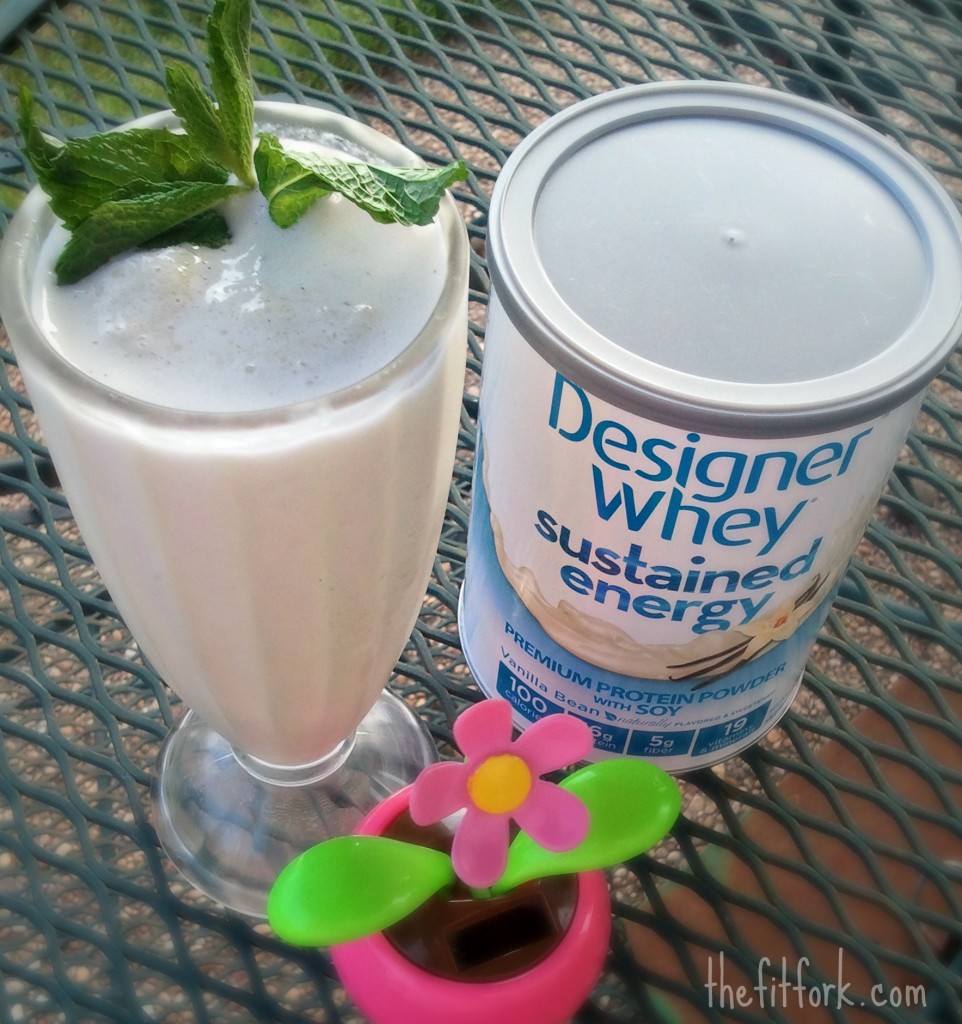
However, usually my “sweet” will be something that provides a higher level of satiety like nuts and dried fruit, fresh fruit and Greek yogurt, or (yum) a protein smoothie. I like these options because my energy stays high; there is nothing worse than eating snack and then crashing a few hours later. Right now, I’m really digging Designer Whey’s   “Sustained Energy” Premium Protein Powder. They sent me a couple canisters to test out, Chocolate Velvet and Vanilla Bean. Each serving size only has 100 calories yet provides long-lasting energy thanks to a blend of fast-absorbing whey protein and slower absorbing soy and casein proteins (16 grams of protein per serving). In addition, each scoop provides 5 grams of fiber (20% DV), an excellent source of 19 vitamins and minerals, and delicious taste made with all-natural flavors and sweeteners – including real cocoa or vanilla bean pieces. And, for those of you with special dietary needs, this protein powder is Kosher-certified and gluten-free.

SAMSUNG

Without a doubt, the Chocolate Velvet is really delicious. But, I may have a slight preference for the Vanilla Bean because it makes an excellent starting point for so many flavor profiles in my smoothie making mania – strawberry-banana, chai-spiced, pina colada, peppermint (pictured above) and more! Since my mind has been fixated on root beer floats (ahh, remember the fudge?), I decided a root beer float smoothie would satisfy my soda shop hankerings. So, simple to make yet so yummy, this smoothie is a perfect way to refuel after a workout or run. Remember, you need to take in adequate protein within 30 minutes of an intense session to aid in muscle recovery.

Root Beer Float Smoothie (with Designer Whey Sustained Energy Protein Powder)

Toss everything in the blender, process until smooth. Add more or less ice depending on a preference for consistency. Pour in a tall glass (preferably a tall float glass or mug for effect) and enjoy!

Serves 1.

sponsored post badge

Bumper Crop Boogie | How to Blanch and Freeze Summer Vegetables

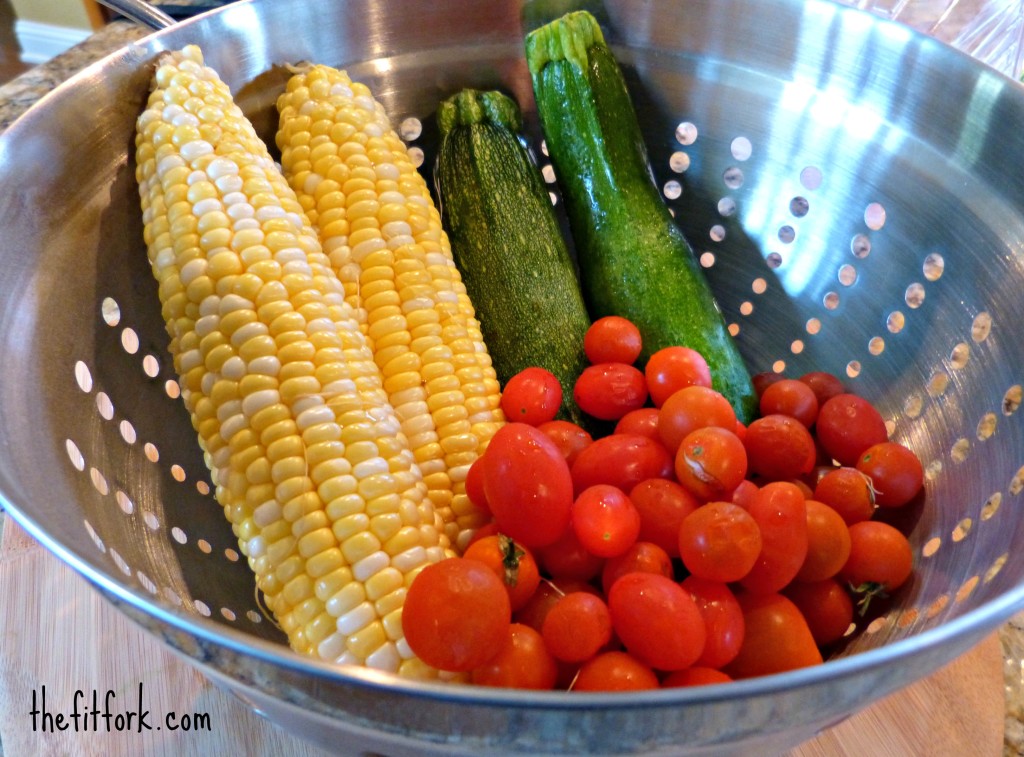
The sun-drenched colors, the succulent flavors; summer vegetables make me want to dance! In my opinion, a person can’t have too much of a good thing when it comes to summer season vegetables. But, often in the warmer months, even though I don’t have my very own garden, the produce bin in the fridge runneth over. When I see a sale on corn for under a quarter a cob, I can’t pass it up. When my parents bring me surplus zucchini from their urban community garden, I welcome the windfall. I can’t pass up a farmer’s market or roadside stand without pulling over to check out the local selections. You get the idea and it’s inspired a ton of great recipes, like my Green Chile & Pork Stuffed Zucchini.

jennifer fisher - thefitfork.com summer veggies

This week, I had more veggies on hand than my family could scarf down in a week. So, rather than sit there and watch them wrinkle and rot, I decided to take a few extra minutes and prep the abundance for the freezer. Not trying to go all Little-House-On-The-Prairie on you but “putting up your vegetables” for the winter, or whatever time of year, is a great way to reduce needless waste (did you know 40% of America’s food goes uneaten?) and enjoy the fresh flavors of the season later.

Getting your veggies ready for the freezer is easy; the main point to remember is that most vegetables (except for herbs, green peppers and, in my opinion grape tomatoes) will need blanching. Blanching is just another term for par-cooking vegetables in boiling water or steam for a short time. The process of blanching stops enzyme actions which can cause loss of flavor, color, texture and vitamins. The type of vegetable and how big of chunks it is cut up into (if at all) dictates the amount of time to blanch. The University of Colorado Extension Services has some good tips on how to prepare, blanch and pack your veggies for the freezer.

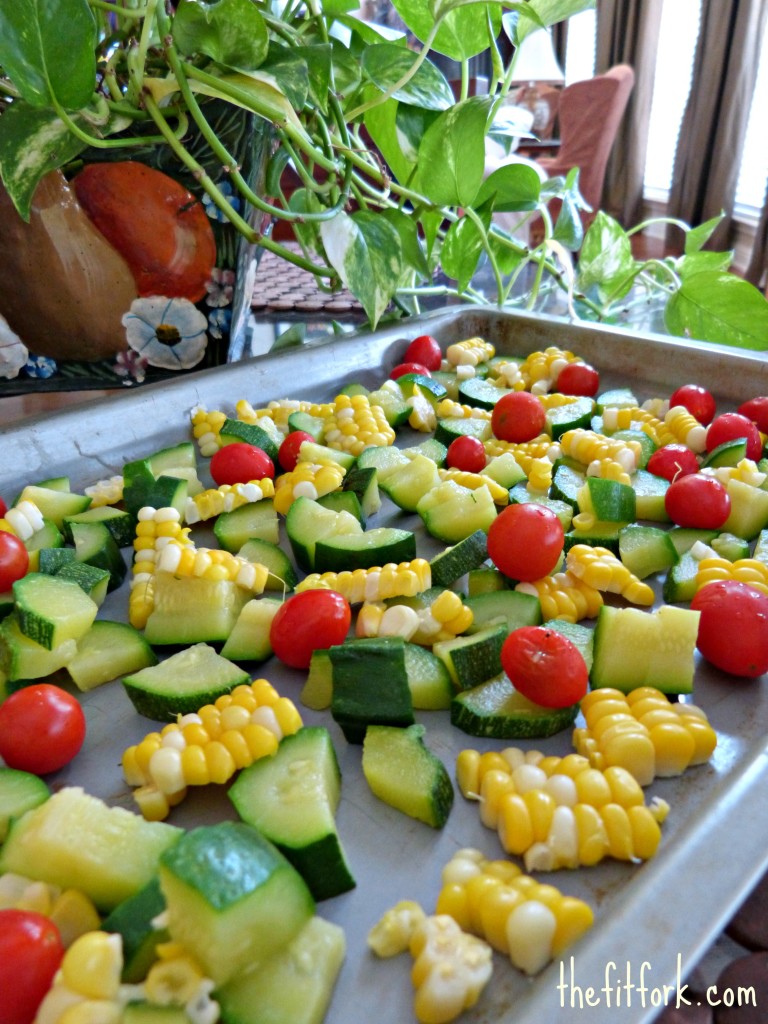
jennifer fisher - thefitfork.com - tray freezing veggies

How to Prepare a Jumble of Fresh Corn, Zucchini and Grape Tomatoes for the Freezer

  1. Husk and remove silk from corn.
  2. Rinse grape tomatoes and set aside. I skip blanching and put my grape tomatoes straight in freezer.
  3. Slice zucchini into 1/2 inch slices; cut slices into quarters.
  4. Boil large pot of water.
  5. Add corn and blanch (boil) for 5 minutes.
  6. After 1 minute, add zucchini and blanch for 4 minutes along with corn.
  7. While veggies are blanching, prepare a big bowl of ice water.
  8. Remove zucchini and corn with tongs or a slotted spoon and place in ice bath to stop cooking process.
  9. After a few minutes, remove veggies to clean towel to drain excess water.
  10. Use sharp knife to remove corn kernels from cob.
  11. Lay veggies (including tomatoes) in a single layer on a large rimmed baking sheet.
  12. Freeze vegetables for several hours, until hardened.
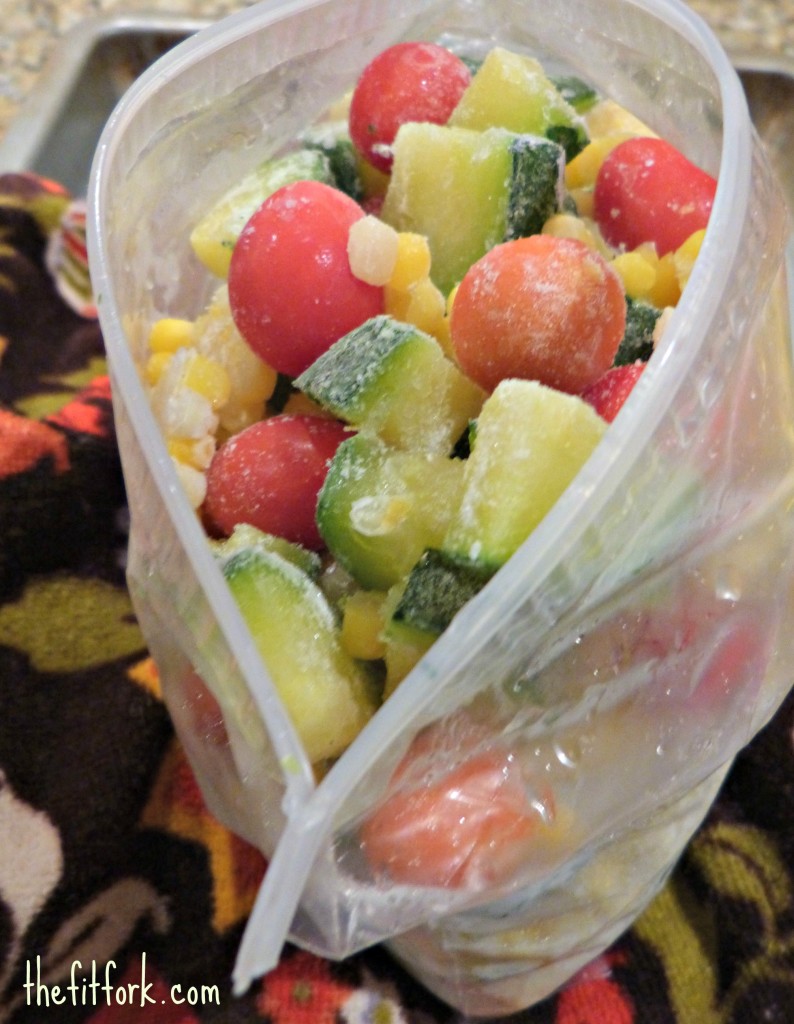
  13. Repackage vegetable mix into zip-top bags, leaving a little bit of room at the top for expansion.

jennifer fisher - thefitfork.com - frozen vegetables bag

Even though it might seem easy to dump blanched vegetables into a container for freezing, they’ll all end up hardened together into one big lump. That’s why tray freezing is so cool (pardon the pun) and totally worth the extra step involved. Whether you want a small portion or a large portion, you can scoop out exactly what you desire if you’ve tray frozen your vegetables before pouring into a freezer bag. Vegetables blanched and then frozen in this manner will have a life of at least 12 months in a freezer set to 0 degrees Fahrenheit.

Wondering how to cook this mix of tomatoes, corn and zucchini? Just thaw out a portion from your freezer stash and toss into a skillet that has been heated with oil good for sautéing. I like grape seed oil. Cook on the stove top for just a few minutes until heated through, but not overcooked and soggy. For flavor, toss in some garlic, chopped herbs and a dash of soy sauce. The mix also works great in other recipes and could easily be incorporated into my Crustless Calabacita Quiche!


Deviled Egg in Tomato Canoe Salad Recipe+ How to Peel Eggs + Hellmann’s Longest Picnic Table

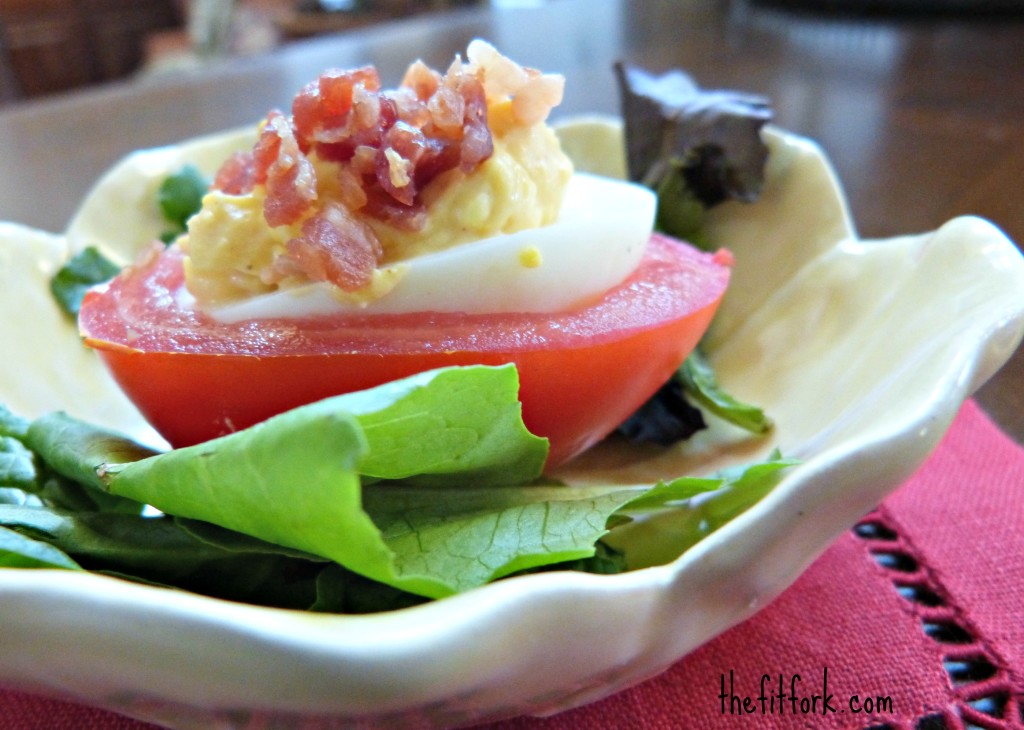
jennifer fisher - thefitfork.com - deviled egg tomato canoe single

Even if summer isn’t officially here for a few more weeks, it certainly feels like it is here in Austin, Texas. The kids are basically out of school, barring the last few finals and a field day, and our family calendar is booking up with neighborhood pool parties, potlucks and lazy-day picnics. The more leisurely pace of the season lets me do one of the things I love best, and that’s get creative with recipes.

So how very timely that I found a contest being sponsored by Hellmann’s® in honor of the company’s 100th Birthday.  Part of the happy hoopla includes Chef Mario Batali (I love his recipes, don’t you?); here’s his spin on five old-school, classic Hellmann’s® recipes. The new creations are sure tasty looking; I’m salivating just reading the recipes for Chicken Pasta Salad with Green Olives and Raisins, Chicken Wings with White BBQ Sauce, a Juicy Salsa Burger, Fiery Chipotle Deviled Eggs and Favorite Parm Chicken. You can get all these recipes at Mario’s Table.

You can make these recipes at home “as-is” (and you know they are delish, because this guy has some mad chef skills), or better yet, add your own flair to the chef-inspired recipes. Hellmann’s® is inviting you to submit your best version of one of these five recipes. Just add one to three new ingredients and explain how you would make it better!  You could even win a trip to celebrate Hellmann’s® birthday in New York City and be a guest at the “World’s Longest Picnic Table.”

mario batali hellamans

So, I’ll go first! Of course, with my picnic and potluck state of mind, I chose Mario’s Fiery Chipotle Deviled Eggs to make over. Deviled eggs – or really any egg recipe –never lasts long in my house.  And, honestly, there’s nothing to feel guilty about when it comes to eating a few – what a great source of protein and B vitamins and other nutrients. I also appreciate how Hellmann’s® is now using 100% certified cage-free eggs in the making of their Lite Mayonnaise. This keeps with the brand’s commitment (which I second) to ‘Real Food’ made with simple ingredients.

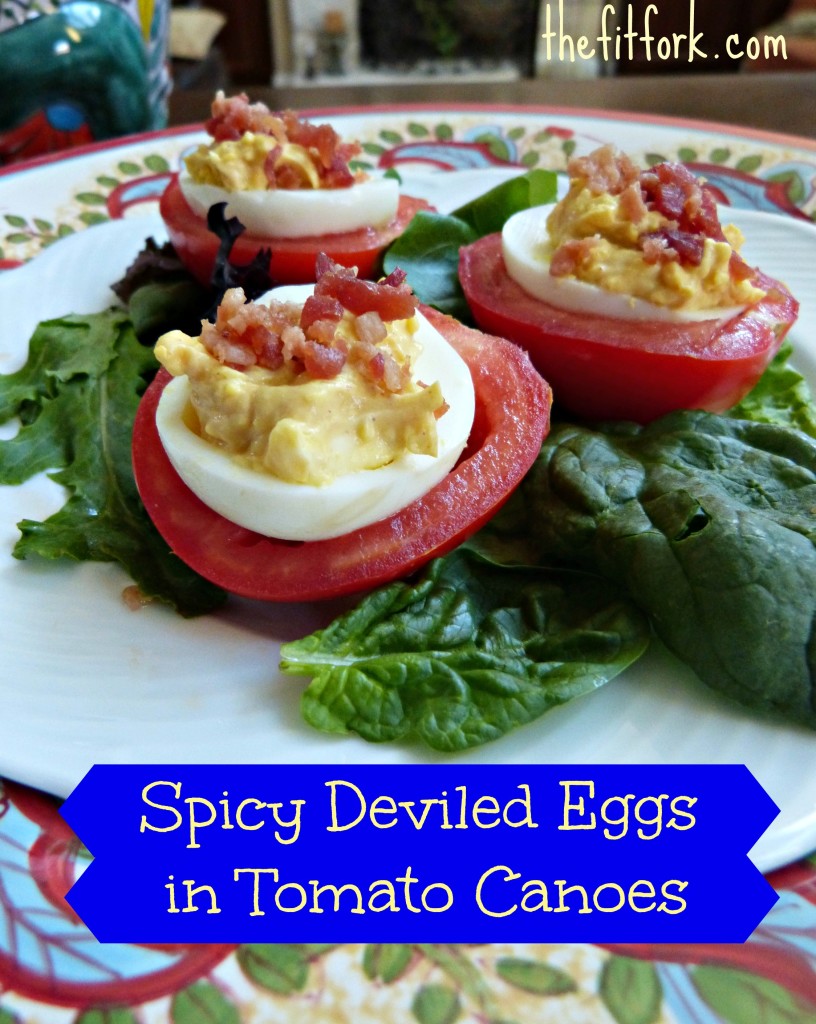
jennifer fisher - thefitfork.com - deviled egg tomato canoes

 Spicy Deviled Eggs in Tomato Canoes (Served as a Salad)

  • 12 large eggs
  • 1/2 cup Hellmann’s® Mayonnaise Dressing with Olive Oil
  • 1 tablespoon spicy mustard
  • 2 tablespoons chipotle hot sauce
  • 1 teaspoon celery salt
  • 12 medium-sized Roma tomatoes, halved lengthwise and seeded
  • 9 ounces baby spring mix
  • 1/4 cup crumbled bacon

Instructions:

Place eggs in a single layer in a saucepan; add cold cater to cover by 3 inches. Bring to a boil; cover, remove from heat and let stand 9 minutes (or a little longer if you are using XL eggs).

Drain immediately and fill the saucepan with cold water and ice. Tap each egg firmly on the counter until it forms a web of cracks and peels under cold running water. See my other egg peeling tips below.

Slice eggs in half lengthwise and carefully remove yolks. Place yolks in medium bowl with mayonnaise and add mustard, hot sauce and celery salt and mash until smooth. Spoon yolk mixture into egg white halves; set aside.

Cut tomatoes in half lengthwise and scoop out seeds. Place one egg in one tomato half and sprinkle with approximately 1 teaspoon of the bacon crumbles. Repeat for remaining eggs. For an individual serving, place 4 egg and tomato halves on a bed of lettuce.

Serves 6.

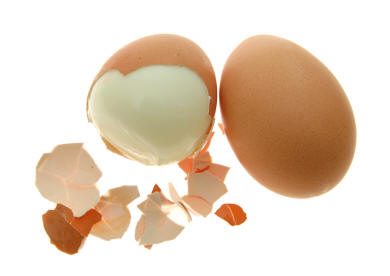
peel egg

Tips to Make Peeling Hard Boiled Egg Easier

  • Don’t use straight-from-the-hen’s-behind fresh eggs. What I’m trying to say here is that eggs that are about a week old work best for boiling. I don’t know why!
  • When boiling eggs, cover them in cold water in the pot and bring it up to a boil over high heat. Starting from cold lessens the chances of the shells cracking before completely cooked.
  • Some people suggest adding a teaspoon of salt or baking soda to the water to make peeling easier. Wish I would have found this tip earlier!
  • Store eggs in the refrigerator for a few days before you plan to use them. For some reason, eggs that have been hanging around for a while have peel that slips right off in big pieces rather that little shards of shell that also take off chunks of the cooked egg.
  • Peeling eggs under cold water also seems to facilitate the process.

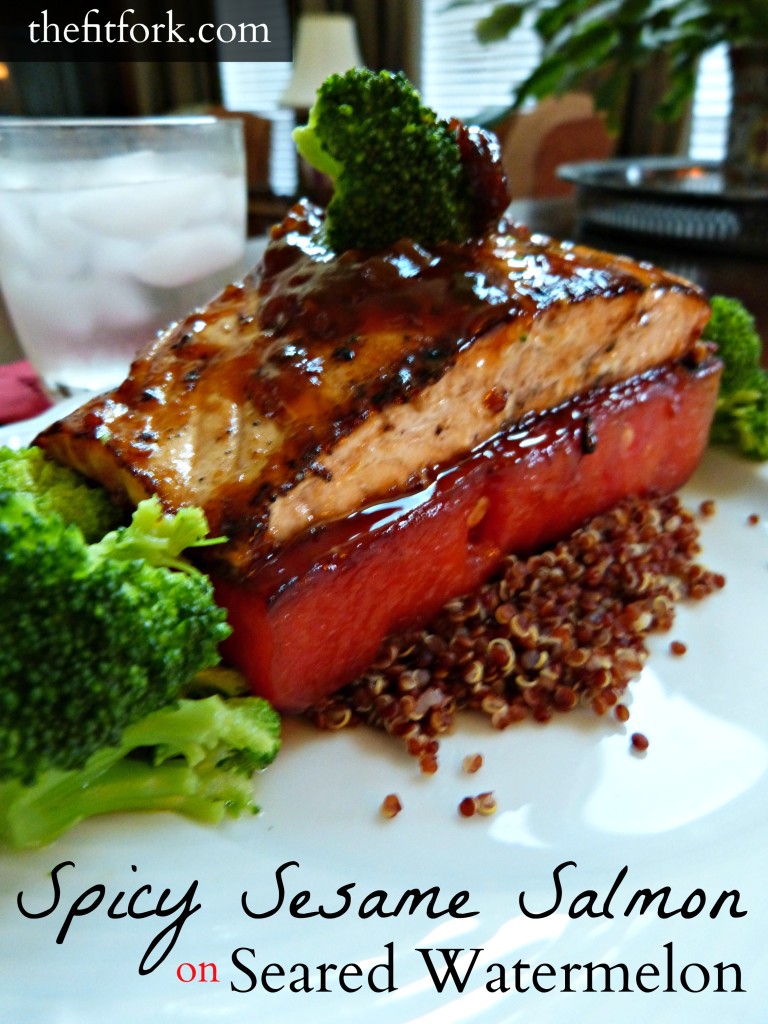
Superfoodie: Spicy Sesame Salmon on Seared Watermelon

jennifer fisher - thefitfork.com - spicy sesame salmon seared watermelon

I love living life on the “wedge.” I’m crazy like that. Watermelon is one of my favorite fruits. Actually, it’s a vegetable related to cucumbers and squash, but don’t tell that to my kids. Everyone in the family agrees that there’s not much that tastes better in the heat of the summer than a big slice of juicy watermelon – the five of us have no problem polishing off a whole melon in one day! A simple and healthy dessert for picnics and pool parties, watermelon can be enjoyed right off the rind or dressed with a little spicy surprise – check out my recipe for Watermelon with Spicy Salsa that was once featured in Better Homes & Gardens.

Last night I decided to add a little sophisticated spin to watermelon and put it on the dinner plate as something other than just a sweet side. My experimenting has been named Spicy Sesame Salmon on Seared Watermelon and it is super delish, especially topped with my favorite fish – salmon. Hey, that’s two superfoods in the same recipe for maximized nutrition!  I served it on a bed of organic red quinoa and broccoli, but you can tweak that to suit your tastes.

Spicy Sesame Salmon on Seared Watermelon Recipe

For Watermelon & Fish:

  • 1 cross section watermelon (1″ thick)
  • 1 tablespoon olive oil
  • Sea salt
  • 2 wild caught salmon filets, skinned

For Sauce:

  • ¼ cup sweet chili sauce
  • 1 teaspoon Sriracha sauce
  • 2 tablespoons soy sauce
  • 2 tablespoons rice wine vinegar
  • 1 tablespoon dark sesame oil
  • 2 tablespoons toasted sesame seeds

watermelon salmon

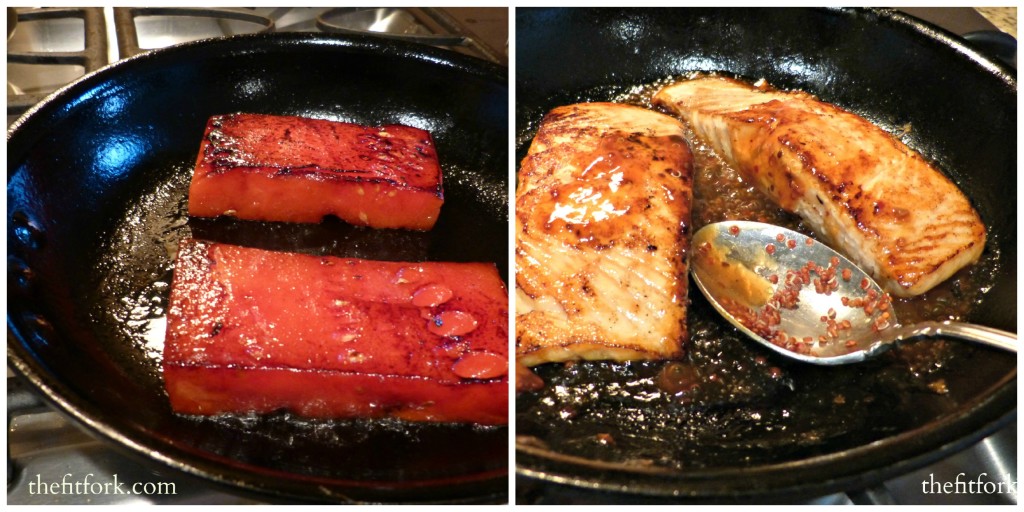
Cut watermelon into 2 planks approximately 1” thick, 6” long and 3” wide. Add olive oil to skillet and bring heat to medium high. Add watermelon and sear for approximately 2 minutes on each side, or until watermelon flesh is beginning to caramelize.  Remove from skillet, season with sea salt and set aside until fish is ready.

Keep heat on and add fish to skillet used for watermelon; leave residual juices and oil in there.  Saute for approximately 5 -6 minutes per side until cooked through and fish is lightly browned on the outside, firm and flaky.

In a small bowl, whisk together chile sauce, Sriracha sauce, soy sauce, vinegar, oil and sesame seeds. Pour over fish during last 2 minutes of cooking to glaze salmon and warm up.

To serve, place fish atop seared watermelon plank and spoon extra spicy sesame sauce from pan over the top.*

Serves 2.

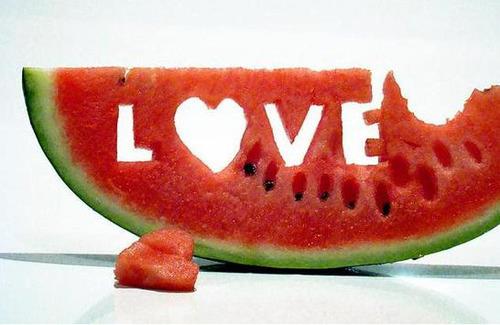
love watermelon

More reasons to love watermelon:

Low Calorie: Watermelon is basically free of fat, cholesterol and sodium and has only 80 calories in a 2 cup serving. Plus, with a high water content, along with some fiber, this melon gives you a feeling a fullness that will help curb unhealthy snacking.

Nutrient Rich: An abundance of vitamins and minerals are found in watermelon including Vitamin A (25% DRV), Vitamin B6 (6% DRV), Vitamin C (30% DRV), Thiamine (6% DRV), Magnesium (6% DRV), and Potassium (8% DRV).

Lycopene Leader: Watermelon actually trumps tomatoes when it comes to lycopene, offering up to 20 milligrams in a two-cup serving. Not only does this amazing antioxidant give watermelon its pink-red pigment, it’s an efficient oxygen scavenger that helps to repair cell damage caused from daily living.

Heart Health: Eating six cups of watermelon (not that hard, trust me) increases free arginine which maintains cardiovascular function. Plus, a diet rich in fruits and vegetables, as opposed to a diet filled with bad fats and processed foods has been shown to contribute to longer living.

Hydration: Watermelon is a tasty way to replenish body fluids, plus it is naturally infused with electrolytes.  Because watermelon flesh is comprised of 92% water, eating 1 cup of diced watermelon is the equivalent of drinking 7.36 ounces of water.  Get super hydrated with my recipe for Watermelon Blueberry Nuun Agua Fresca!

Facts come from the National Watermelon Promotion Board.

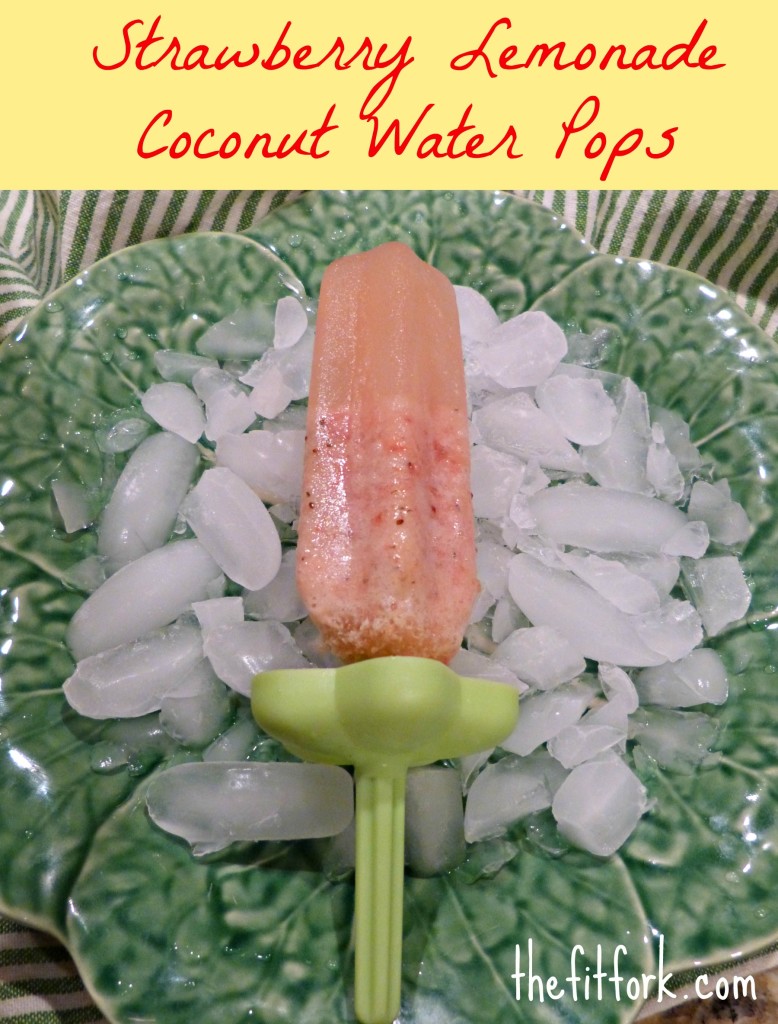
Superfoodie: 16-cal Strawberry Lemonade Coconut Water Pops

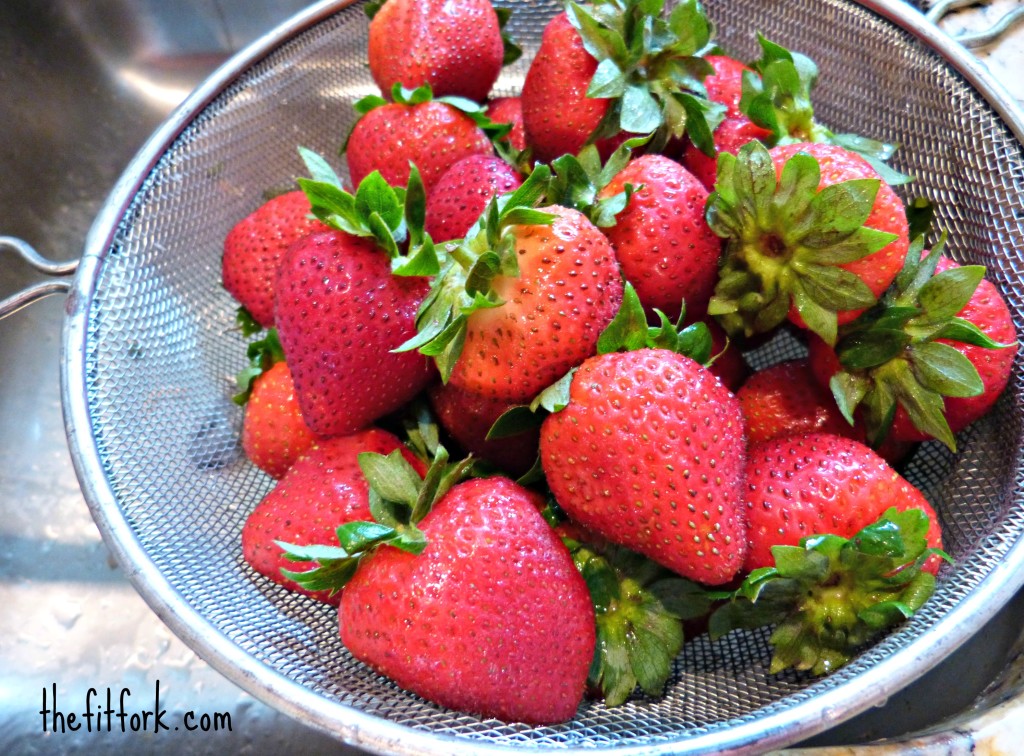
strawberries thefitfork.com

Are you ready to cool off with Strawberry Lemonade Coconut Water Pops? Just as yummy as a tall glass of the summer-time sipper (maybe even tastier) and loaded with potassium from the coconut water – a great way to replace the nutrient lost through sweat while running or working out.

Strawberries are a bona fide superfood, high in vitamin C and other antioxidants. Studies show that eating this red fruit has a myriad of benefits including reduced inflammation and cell damage, increased folate levels for heart health, and a lessened chance of age-related ocular issues. These are just a few perks!

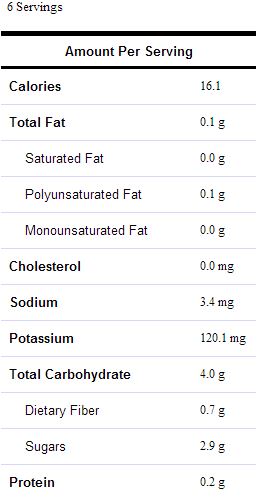
And, there’s no need to feel guilty about enjoying this frozen confection, each pop only has 16 calories!  I’m also sharing with you some fun facts about strawberries and some strawberry-inspired recipes from some fellow Fitfluential foodies.

jennifer fisher - thefitfork.com - strawberry lemonade coconut water pops

Strawberry Lemonade Coconut Water Pops Recipe

  • 1 6-ounce bottle coconut water (I used Zico)
  • 2 tablespoons lemon juice
  • 2 teaspoons Stevia
  • 1 ¼ cups fresh sliced strawberries

Place all ingredients in a blender and pulse on and off for about 30 seconds until everything is blended. The strawberries should be a little chunky.  Pour liquid into 3-ounce freezer pop molds. Freeze for at least 3 hour or until frozen solid. Makes 6.

strawberry lemonade coconut water pops

strawberry facts

  • There are 200 seeds on the average strawberry.
  • Organic strawberries have more vitamin C and antioxidants than regular berries.
  • Regular strawberries have one of the highest concentrations of pesticide residues of all produce tracked by the USDA. If organic berries aren’t available, soak your strawberries in water for 2 minutes before eating.
  • Strawberries stop ripening as soon as they’re picked. For best taste, select bright red berries with their caps intact.
  • Don’t wash strawberries until ready to eat them, otherwise they’ll spoil too fast.
  • Along with cherries and grapes, strawberries are one of the few sources of ellagic acid, a compound shown to prevent carcinogens from turning healthy cells into cancerous ones.
  • Every man, woman and child in the US each eats 3.4 pounds of fresh strawberries per year plus another 1.8 pounds of frozen strawberries.We should all eat more!
  • One cup of strawberries has just 46 calories.

strawberry recipes

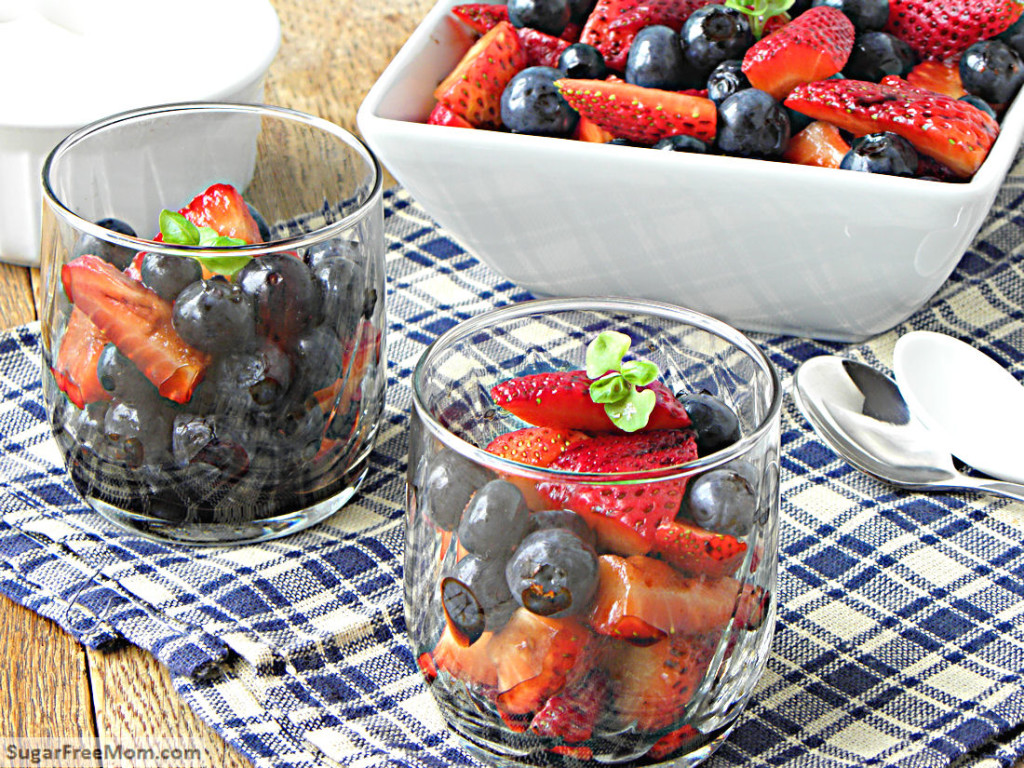
balsamicberries2

Naturally Sweetened Balsamic Berries from Brenda at SugarFreeMom.com

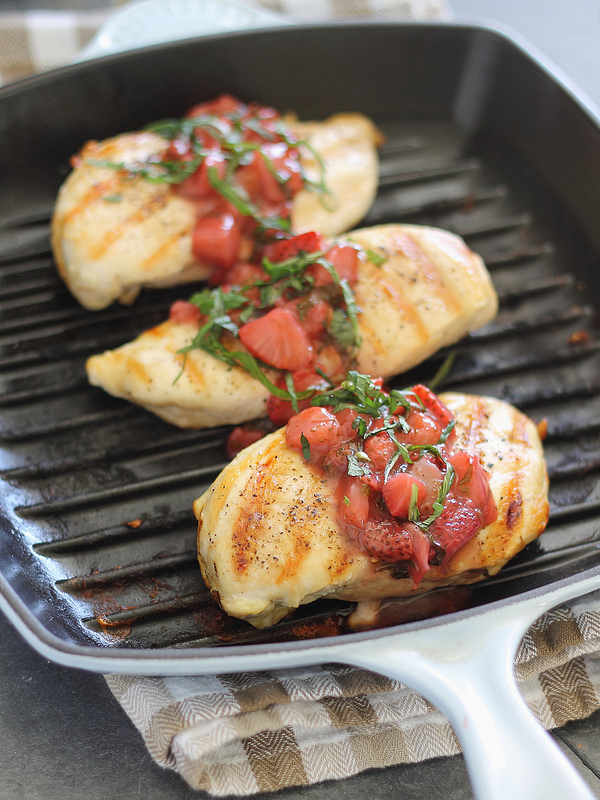
chicken with strawberry basil sauce

Grilled Chicken with Strawberry Bail Sauce from Gina at RunningtotheKitchen.com

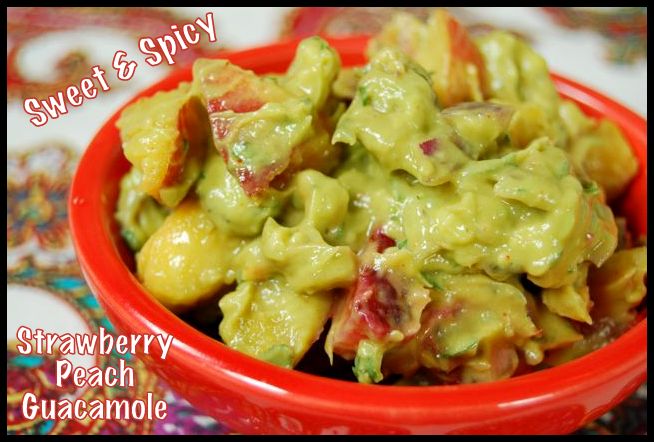
strawberry peach guacamole

Sweet & Spicy Strawberry Peach Guacamole from Lindsay at TheLeanGreenBean.com