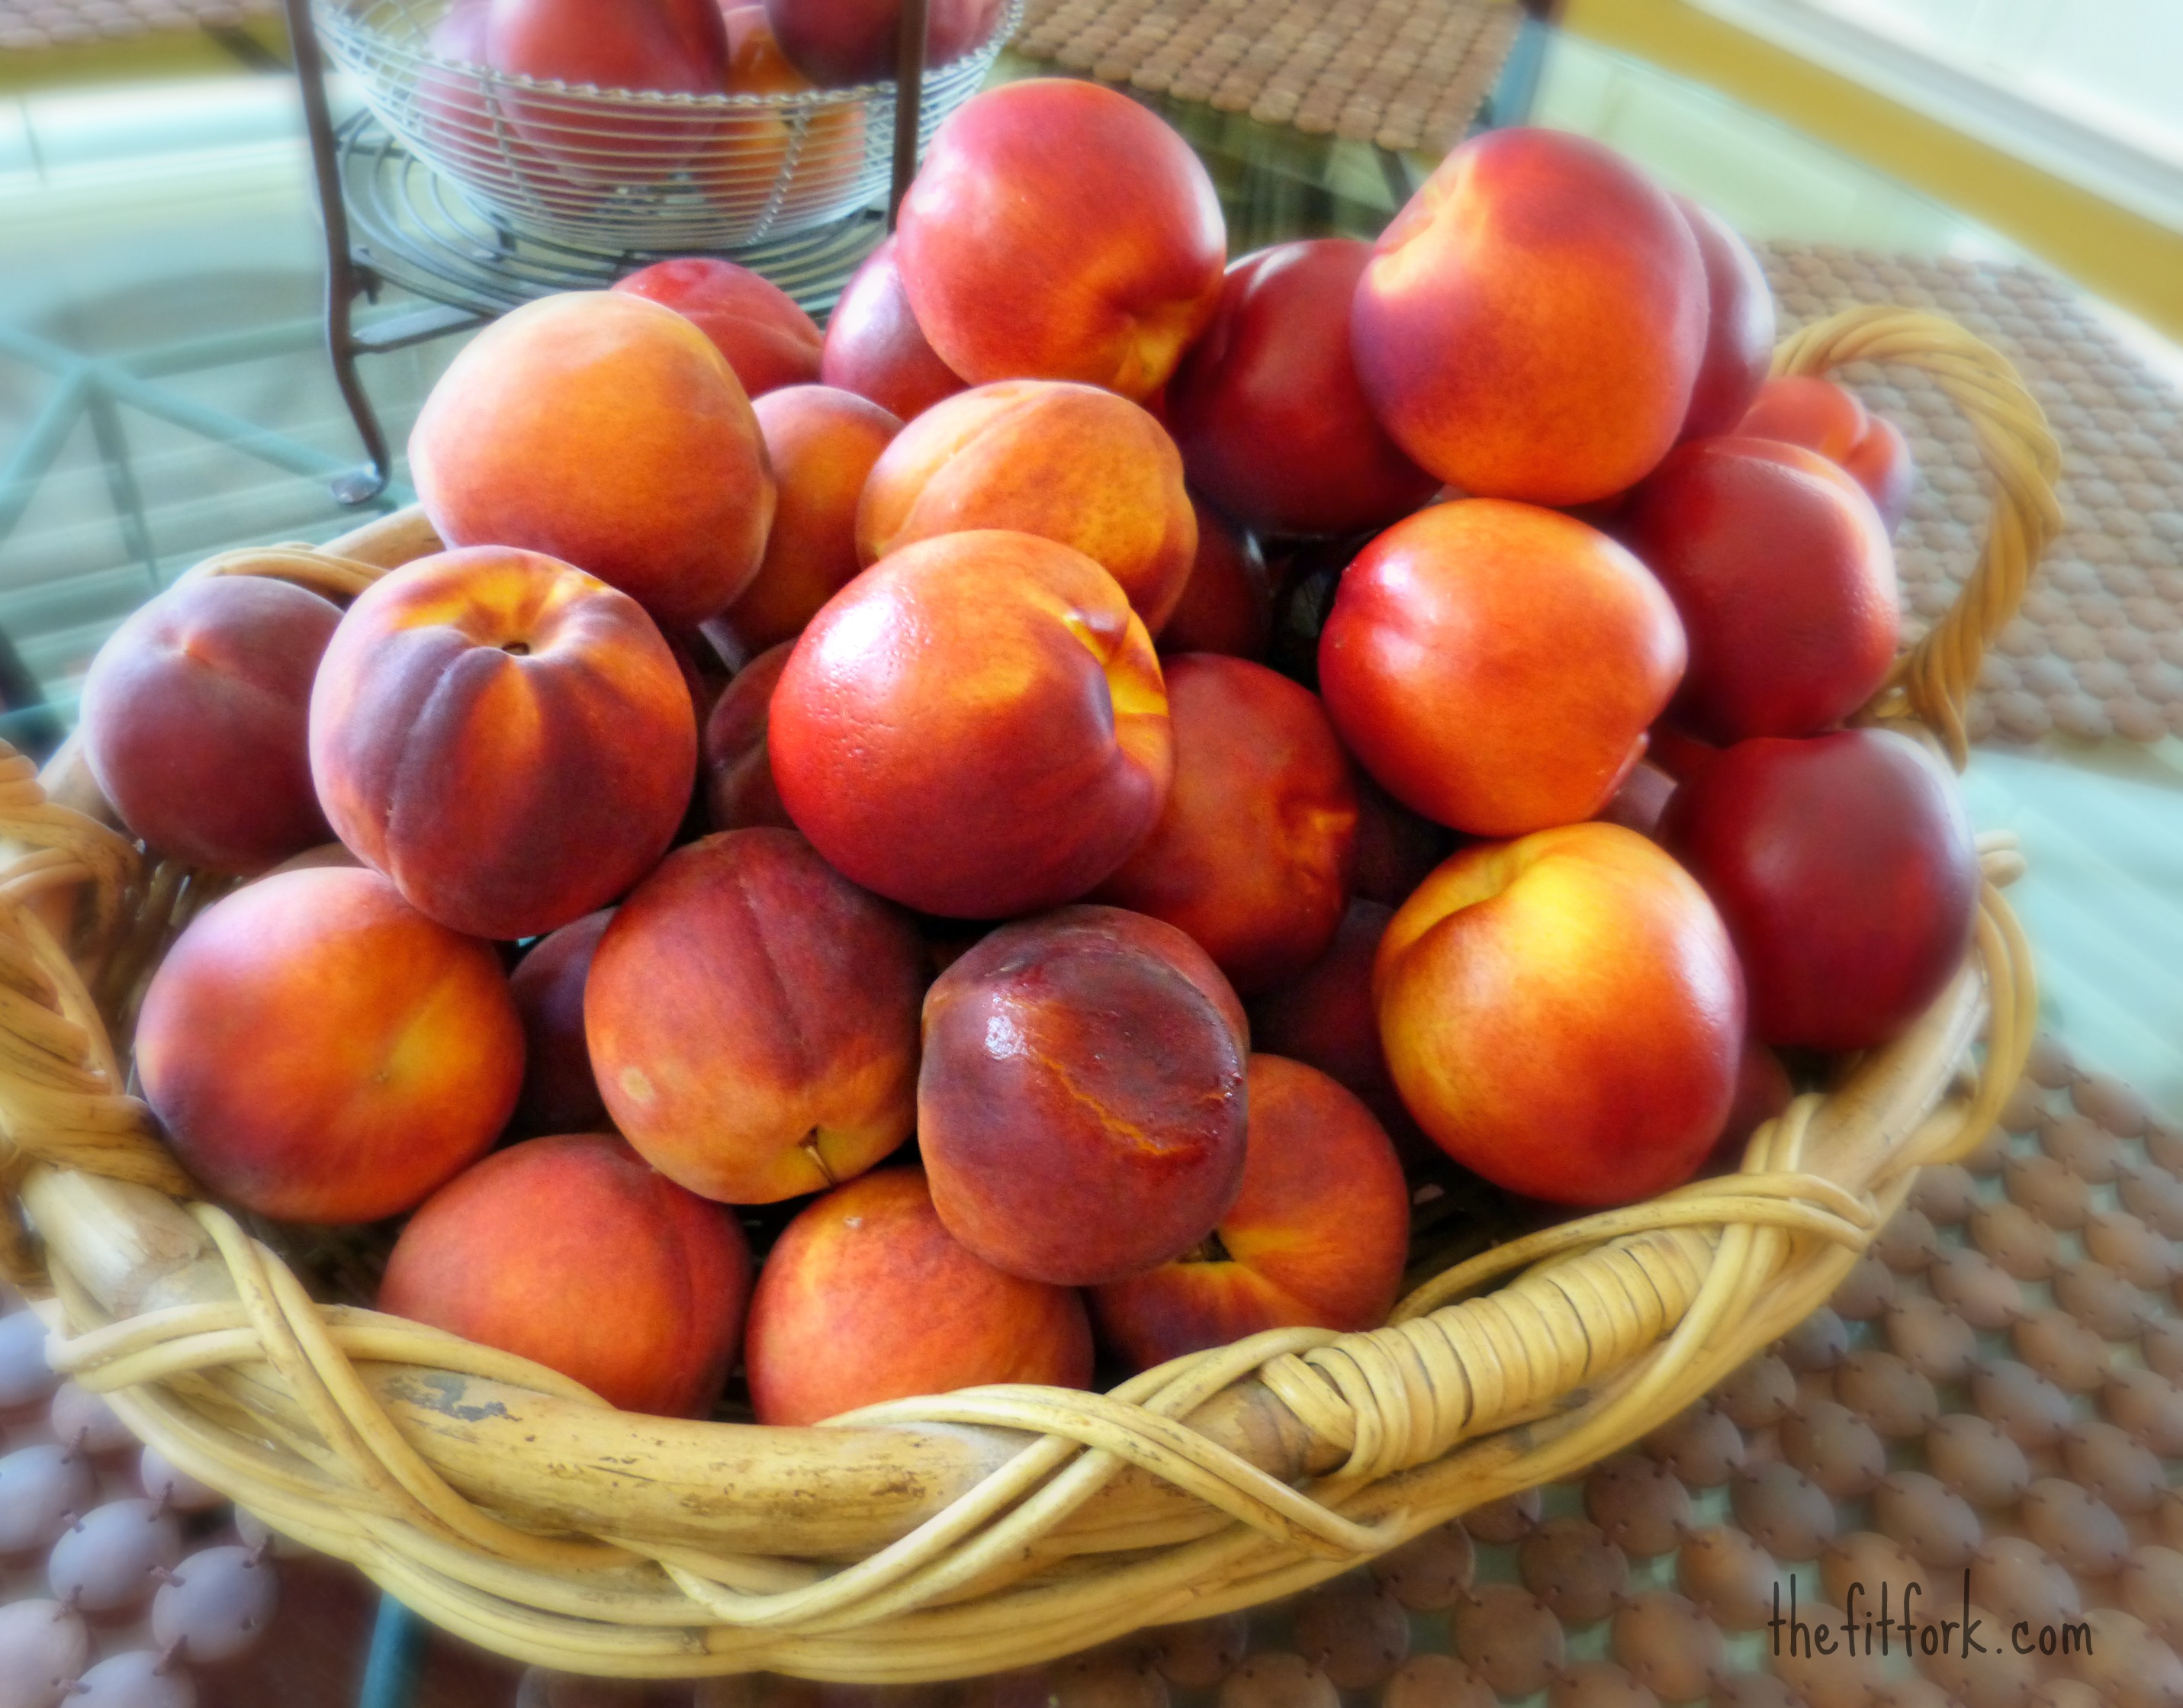
 I scored a big fruit haul today, peaches for 25 cents per pound. Hoping to enjoy the sweet spoils of the season year-round, I loaded up my cart with as much I could stuff in the two big shopping bags I brought along. I ended up with 40 pounds for a grand total of 10 dollars!
After the kids and I gorged on peach after peach, letting the sticky dribble down our chins and arms, I declared an end to our binge on the bushel so we could at least have some leftover for the freezer and all the recipe creations cropping up in my mind.
Putting up peaches in the freezer is really pretty easy, and the taste and texture of the fruits holds up well to a life on pause in sub-32 degrees. Depending on what type of future use you have in mind, peaches can be prepped for the freezer in several ways including syrup packed, liquid packed, dry packed, pureed and portioned into ice cube trays. For those in a hurry, peaches can even be wrapped up whole and frozen.
The methods on ‘How to Freeze Peaches’ below also works well with all stone fruits including nectarines, apricots, plums, cherries and such!
How to Freeze Peaches
1) In a large pot, bring water to a rolling boil. Dunk peaches in boiling water for approximately 45 seconds. This flash-cooking process is called blanching and is an effective way to prepare nearly all fruits and vegetables for the freezer
2) Using a slotted spoon, remove peaches from boiling water and immediate submerge into large bowl filled with ice water to stop the cooking process.
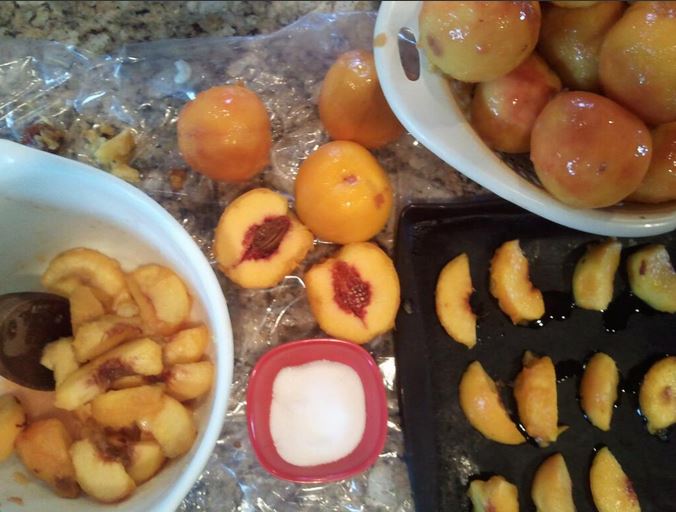
3) Remove the skin from peaches; it should easily slip off with a few nudges. Unless you are planning a blemish-free photo shoot, don’t worry if a few pieces of skin are still stuck on the peach.
4) Slice or cube peaches and place in large bowl. For every quart of peaches, add approximately 2 tablespoons of lemon juice and 2 tablespoons to 1/3 cup of sugar, depending on your preference. Let macerate for 30 minutes. If preferred, the sugar may be omitted.
5) Decide on freezing method.
- To syrup pack, spoon peach slices and syrupy juices into zip-top bag, leaving 1-inch of headroom at the top.
- To liquid pack, place peach segments into zip-top bag and add water or juice (like apple or white grape), leaving 1-inch of head room at the top.
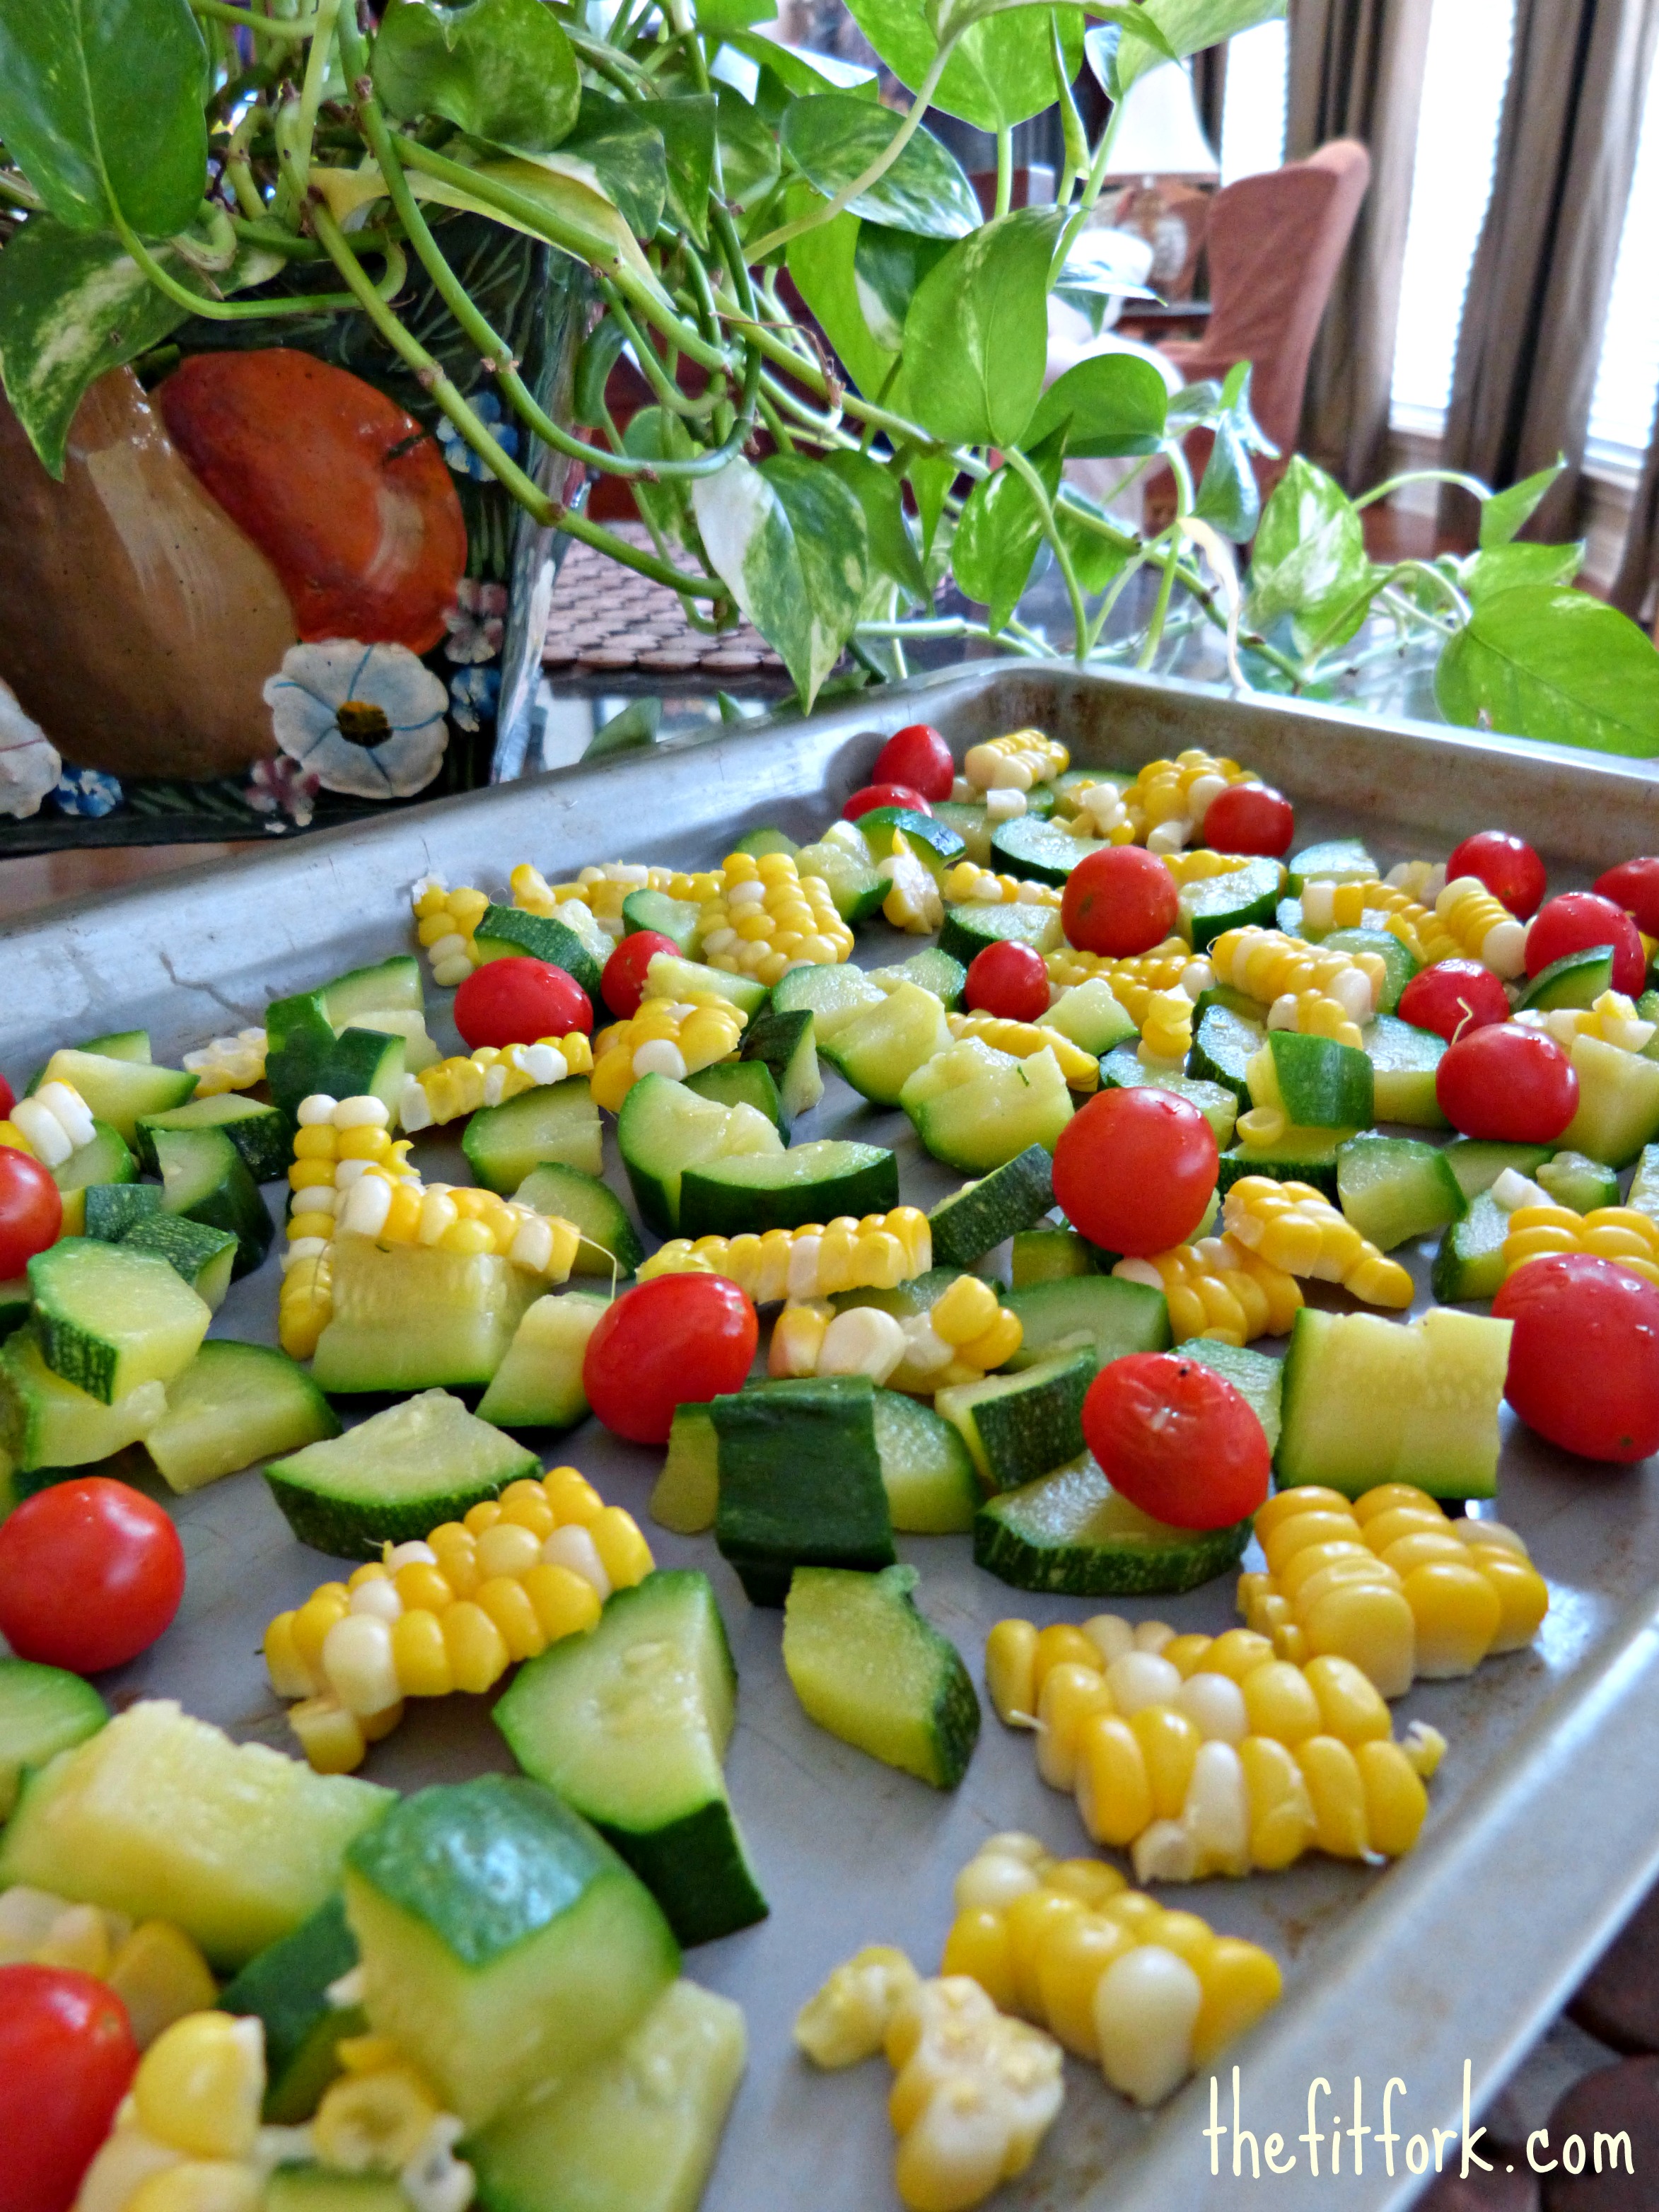
- To dry pack, arrange peach segments on a cookie sheet and place in freezer for 1 hour until firm; transfer to preferred storage container. The beauty of this method is that the fruit doesn’t stick together in one solid clump in the freezer; sliced can be taken out one at a time, as needed.
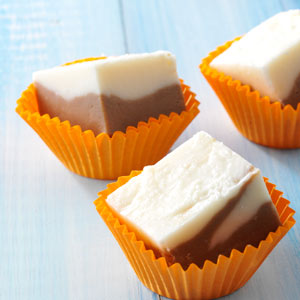
- To puree, add to blender and puree until smooth. Pour into ice cube trays and freeze until solid; store in a zip-top bag.
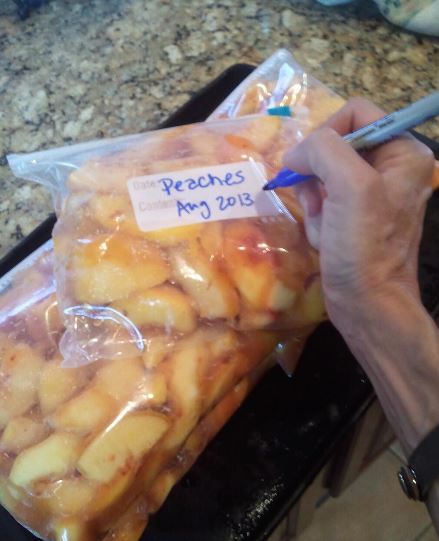
6) Use a permanent market to write date on each bag. Peaches keep well in the freezer for up to 12 months
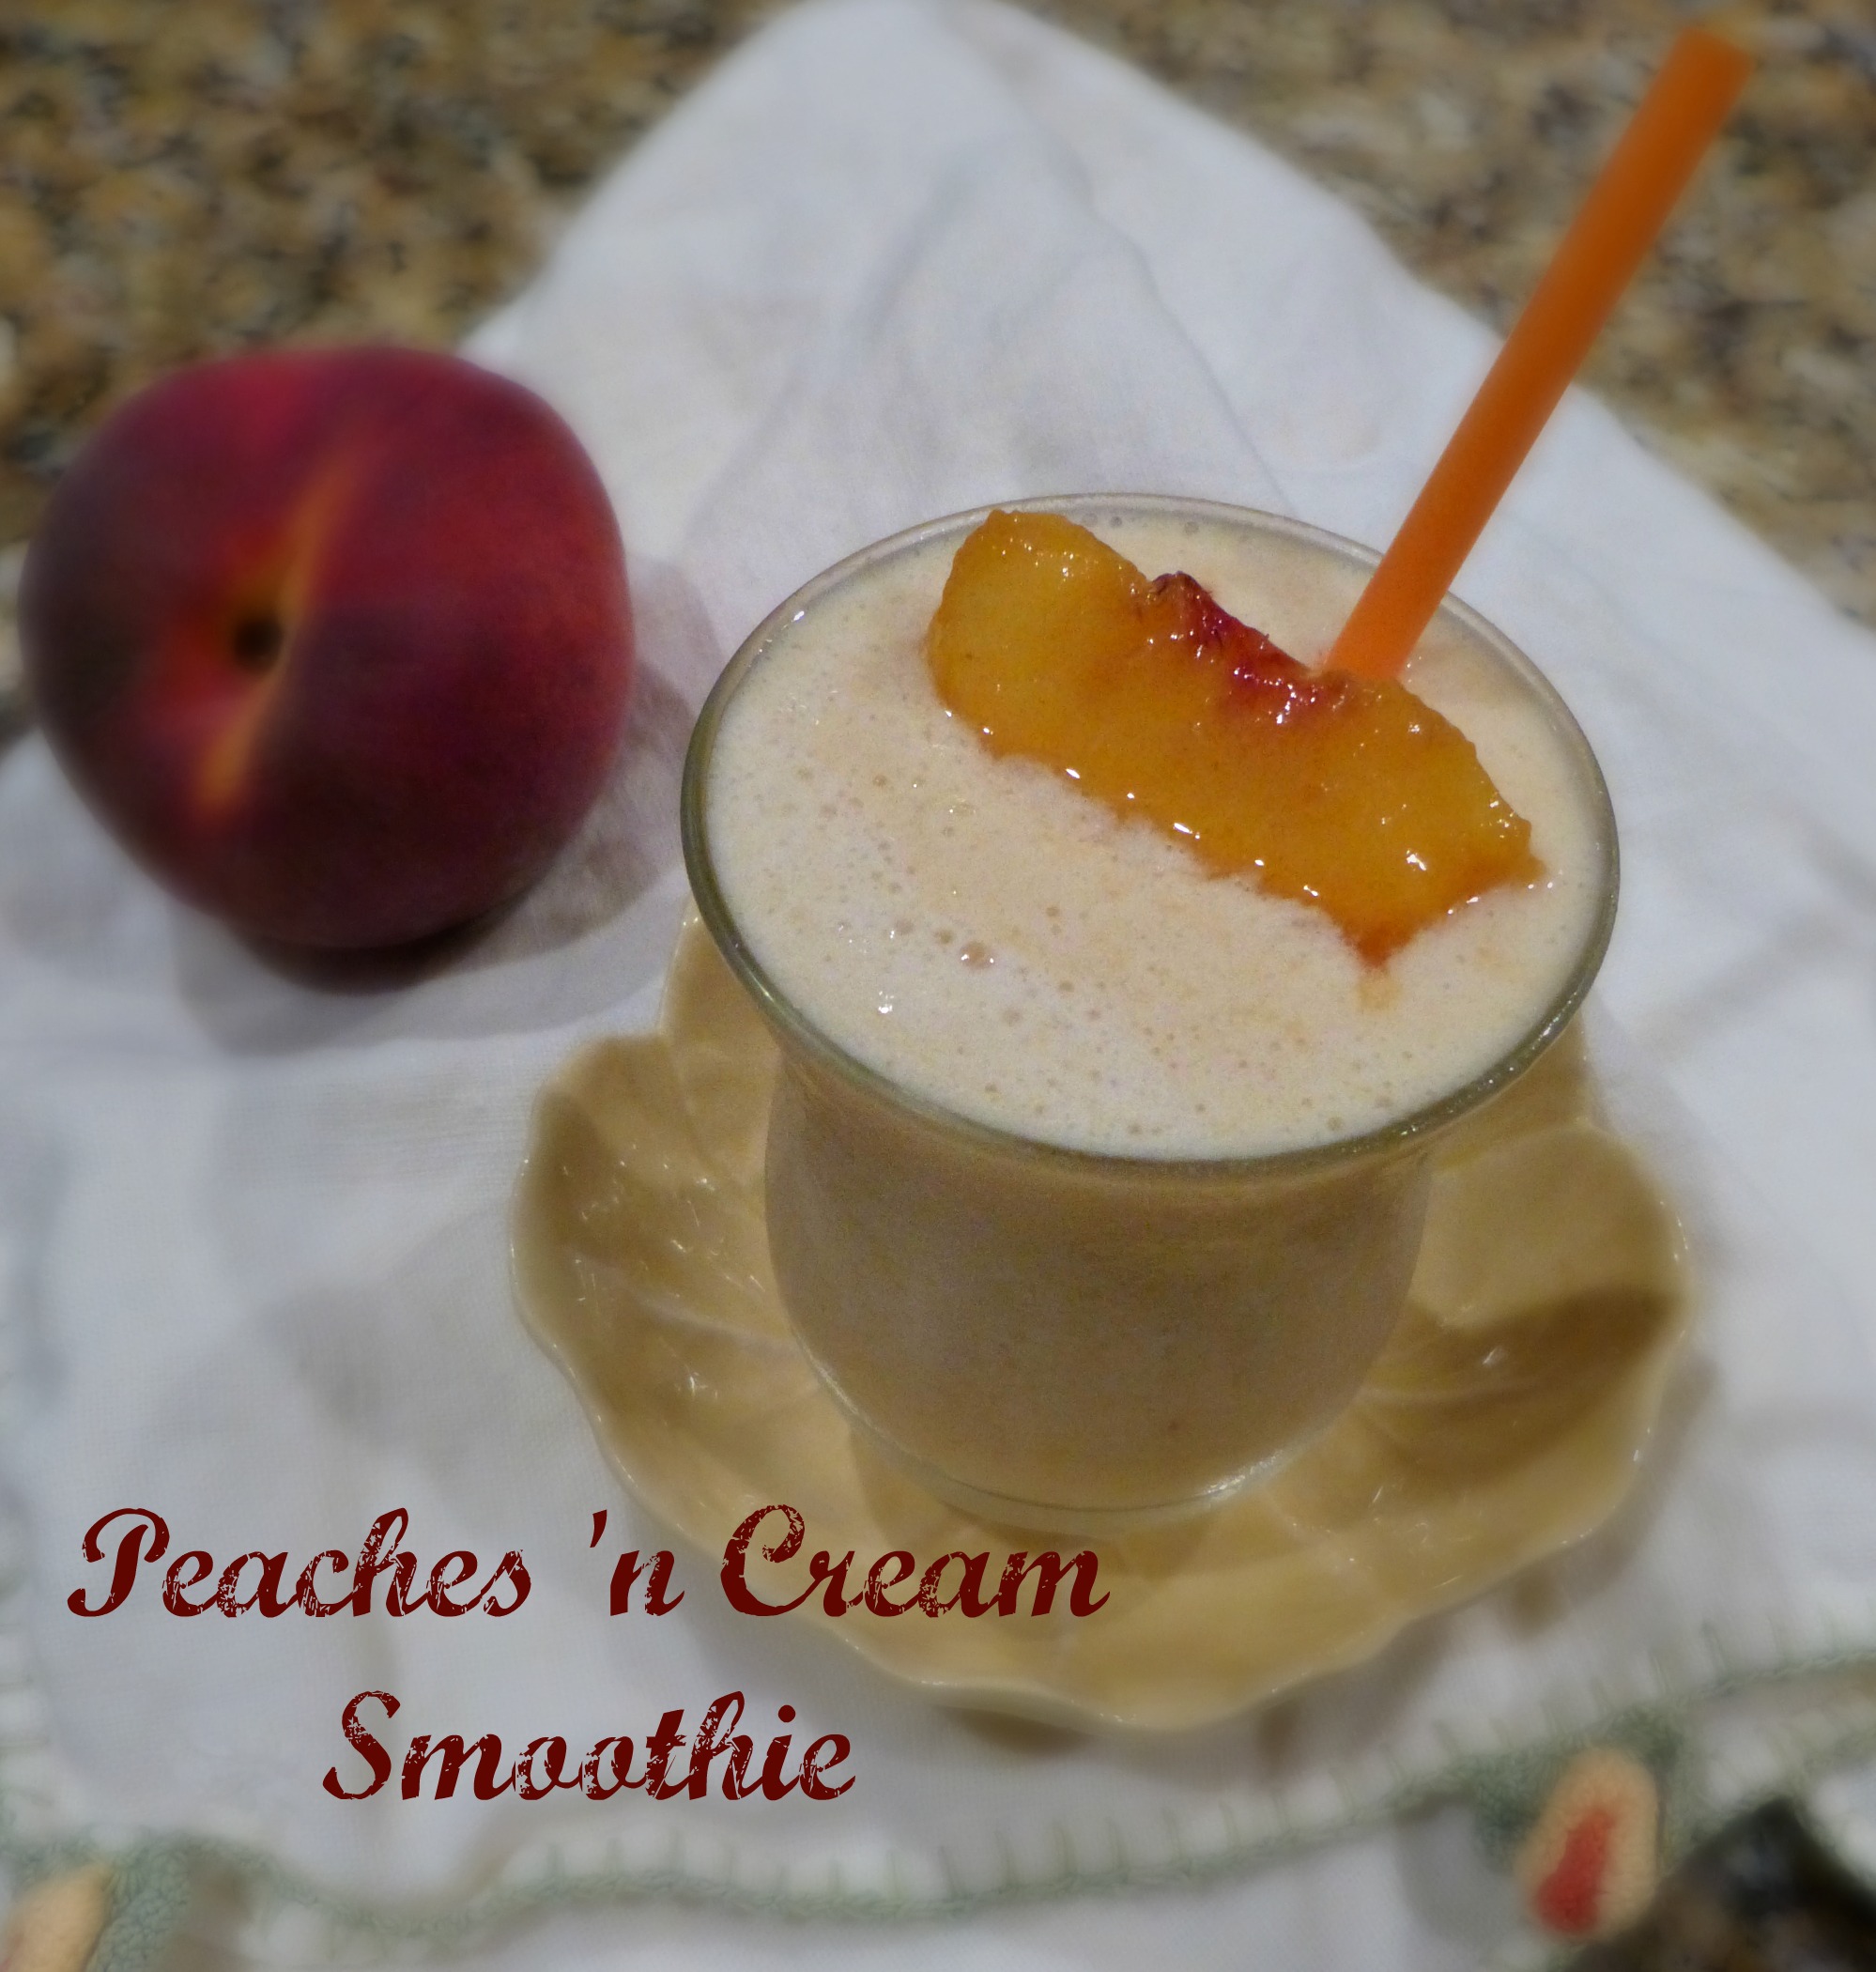
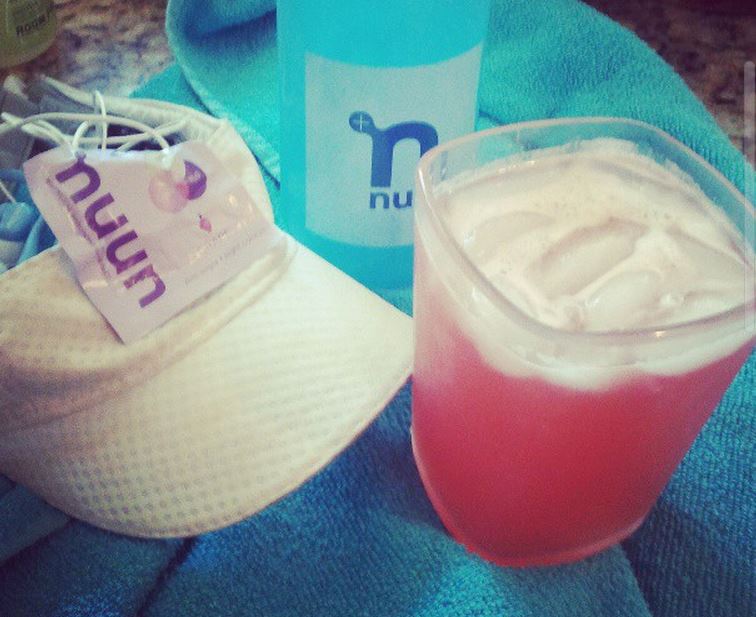
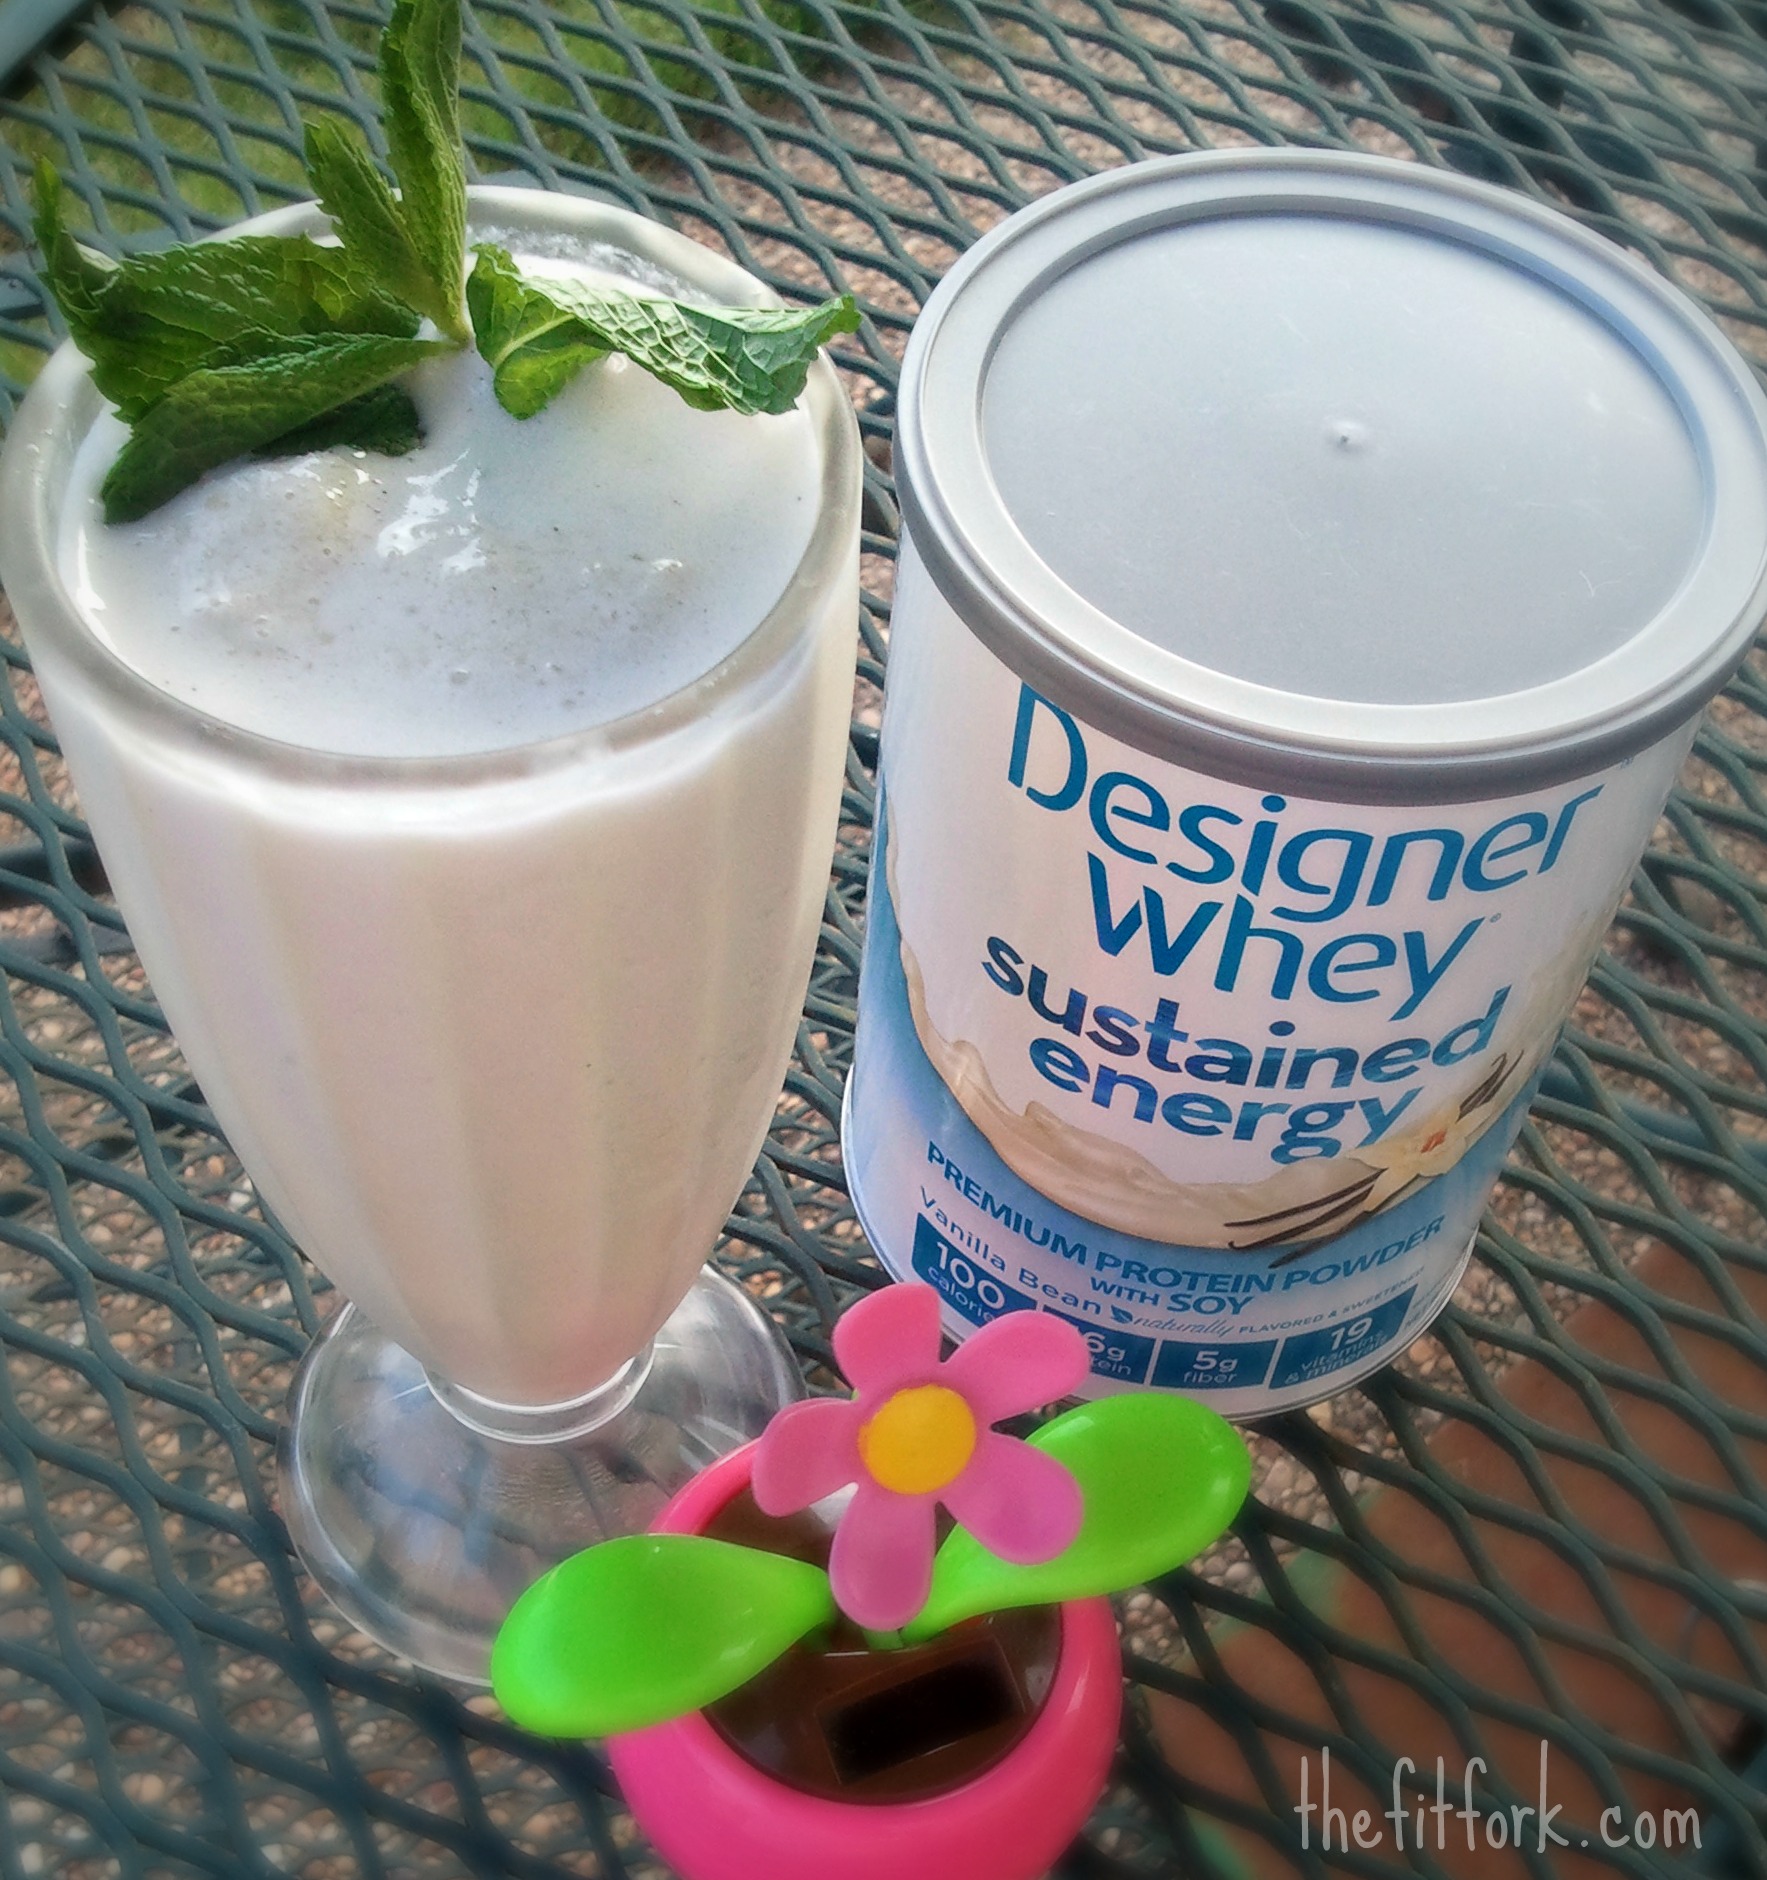
Peaches ‘n Cream Protein Smoothie Recipe
- 2 cups unsweetened almond milk
- 1 teaspoon Stevia
- 2 scoops favorite protein powder, vanilla
- 1 ½ cups, frozen peach slices
- 1 cup ice
Place all ingredients into a blender, process until smooth. Serves 2.