Holy hot peppers, the mother of all Hatch green chile festivals is about to hit town right here in the ATX (that’s Austin for you non-locals). Delivered straight from the fertile farms of New Mexico to greedy grocery shoppers like myself, Hatch season is a much anticipated event that only comes around once a year. The best way to prepare the peppers is by fire-roasting; it lends a yummy smoky flavor. Central Market and some other stores take care of this step for you, roasting them in a huge tumbler and then packaging them up read to go. While it’s not as convenient, it’s definitely well worth the time and trouble to roast them on the grill at home. This precious pepper is a versatile addition to nearly every food imaginable, from classic quesadillas and rellenos to unexpected sweet dishes like ice creams and quick breads – seriously!

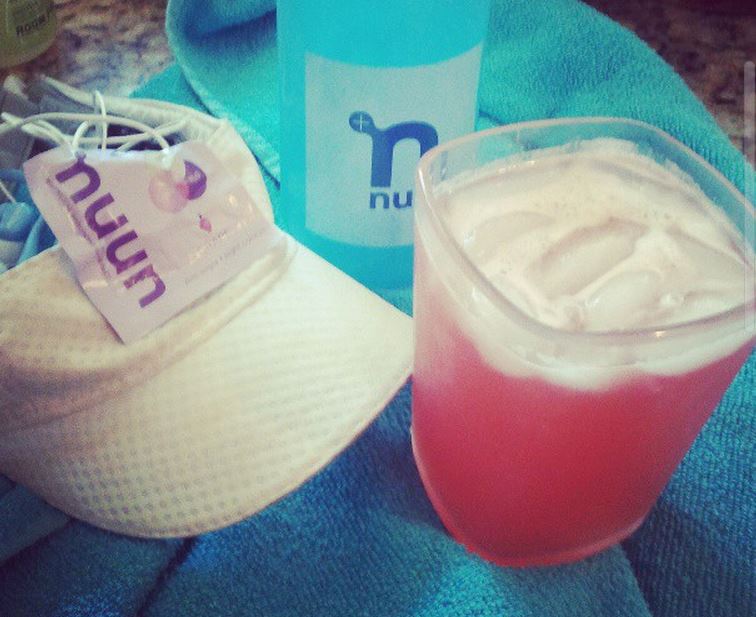
How would I know such a thing? Well, I’ve seen all sorts of eye-popping, taste bud-blasting Hatch creations as I battled it off time and time again at the Central Market Hatch Green Chile Festival Cook-Off. In the last four years, I’ve taken 3rd place, 2nd place and 1st place – and then last year my recipe made the finals but I had to bow out due to the Hood to Coast Relay with Nuun Hydration. Right now, my creative juices are flowing, trying to figure out just exactly how I’m going to use the signature punch of Hatch peppers in my next recipe creation. Good thing I still have a good portion of a past prize, about 75 pounds of fire-roasted peppers, processed and packaged up in the freezer.
 I’m sharing one of my past winning recipes and hopefully the rest of the recipes if time permits this month. Hatch Green Chile & Chicken Cheesecake with Avocado Drizzle isn’t exactly the most low-calorie recipe in town, but I did make some low-fat substitutions to bring it down a notch. Also, if you’re in a time crunch, I’ve found a great fresh product by Litehouse Foods (Avocado Dip) that can be substituted for the Avocado Drizzle portion of the recipe.

Hatch Green Chile & Chicken Cheesecake with Avocado Drizzle
For Cheesecake:
- 1 1/3 cup crushed Central Market Hatch Green Chile tortilla chips (or plain)
- ¼ cup butter, melted
- 3 (8-ounce) packages reduced-fat cream cheese, softened
- 4 large eggs
- 1 tablespoon chili powder
- 1 teaspoon cumin
- 1 teaspoon Worcestershire sauce
- ¼ teaspoon salt
- 3 tablespoons minced green onions
- 1 ½ cup finely shredded cooked chicken (white meat)
- ½ pound fire-roasted Hatch green peppers, skinned, seeded and chopped*
- 1 ½ cups shredded pepper jack cheese
- 8 ounces light sour cream
- 1 teaspoon seasoned salt
- Garnish: hatch green chile tortilla chips
Avocado Drizzle:
- 2 large Hass avocados (approx 8 ounce each), seeded, peeled and diced ½”
- ½ cup chicken broth
- ¼ cup fire-roasted Hatch green peppers, skinned, seeded and chopped
- 1 tablespoon of jalapeño pepper; seeded and diced (more to taste if you like hot-hot)
- 2 cloves roasted garlic
- 1 teaspoon lime juice
- Salt and pepper to taste
In medium bowl, combine the tortilla chips and melted butter. Press mixture onto the bottom and 1-inch up the sides of a 9-inch springform pan. Set aside
In large work bowl of electric mixer, beat the cream cheese at high speed until light and fluffy. Add the eggs, one at a time, beating well after each. By hand, stir in the chili powder, cumin, Worcestershire sauce, salt and minced green onions.
Pour half of the cream cheese mixture into the prepared pan. Layer with chicken, Hatch peppers and pepper jack cheese. Pour remaining cream cheese mixture on top.
Bake at 350 F for 10 minutes; then reduce the heat to 300 F and bake for an additional 1 hour or until set in the center. Remove from oven and cool completely on a wire rack.
Combine the sour cream and seasoned salt and spread evenly over the top of the cheesecake. Cover and chill for at least 8 hours.
While chilling prepare sauce by adding avocado, chicken broth, roasted hatch peppers, jalapeño, garlic and lime juice until pureed. Add salt and pepper to taste. If coulis seems too thick, blend in a tiny bit of water a time until desired consistency.
To serve, remove sides of springform pan; slice into 8 servings. Place each slice on a serving plate and pour a share of the hatch-avocado coulis on top. Garnish each slice with a tortilla chip wedge artfully sticking out of the top.
*If you can’t get your hands on fresh peppers, you can substitute the canned variety. The recipe will still be great, but it just won’t have the same unexplainable effect of a true Hatch pepper.