I mentioned it in a recent post, but it’s worth repeating – Hurray, it’s Hatch green chile season! This precious pepper, which hails from the magical soils of New Mexico, has a cult-like following of foodie fans devoted to adding the pepper’s distinctive flavor to nearly every dish imaginable. If you didn’t see it earlier, check out my unique recipe for Hatch Green Chile and Chicken Cheesecake, a savory entrée for brunch or a light summer dinner. Here is an FYI fact for you, the word “Hatch” only refers to the small town that these peppers are grown in, not the actual variety. Hatch peppers range from mild to hot depending on what type you buy. For example, the Sandia chile is fairly mild while the Big Jim packs more heat.
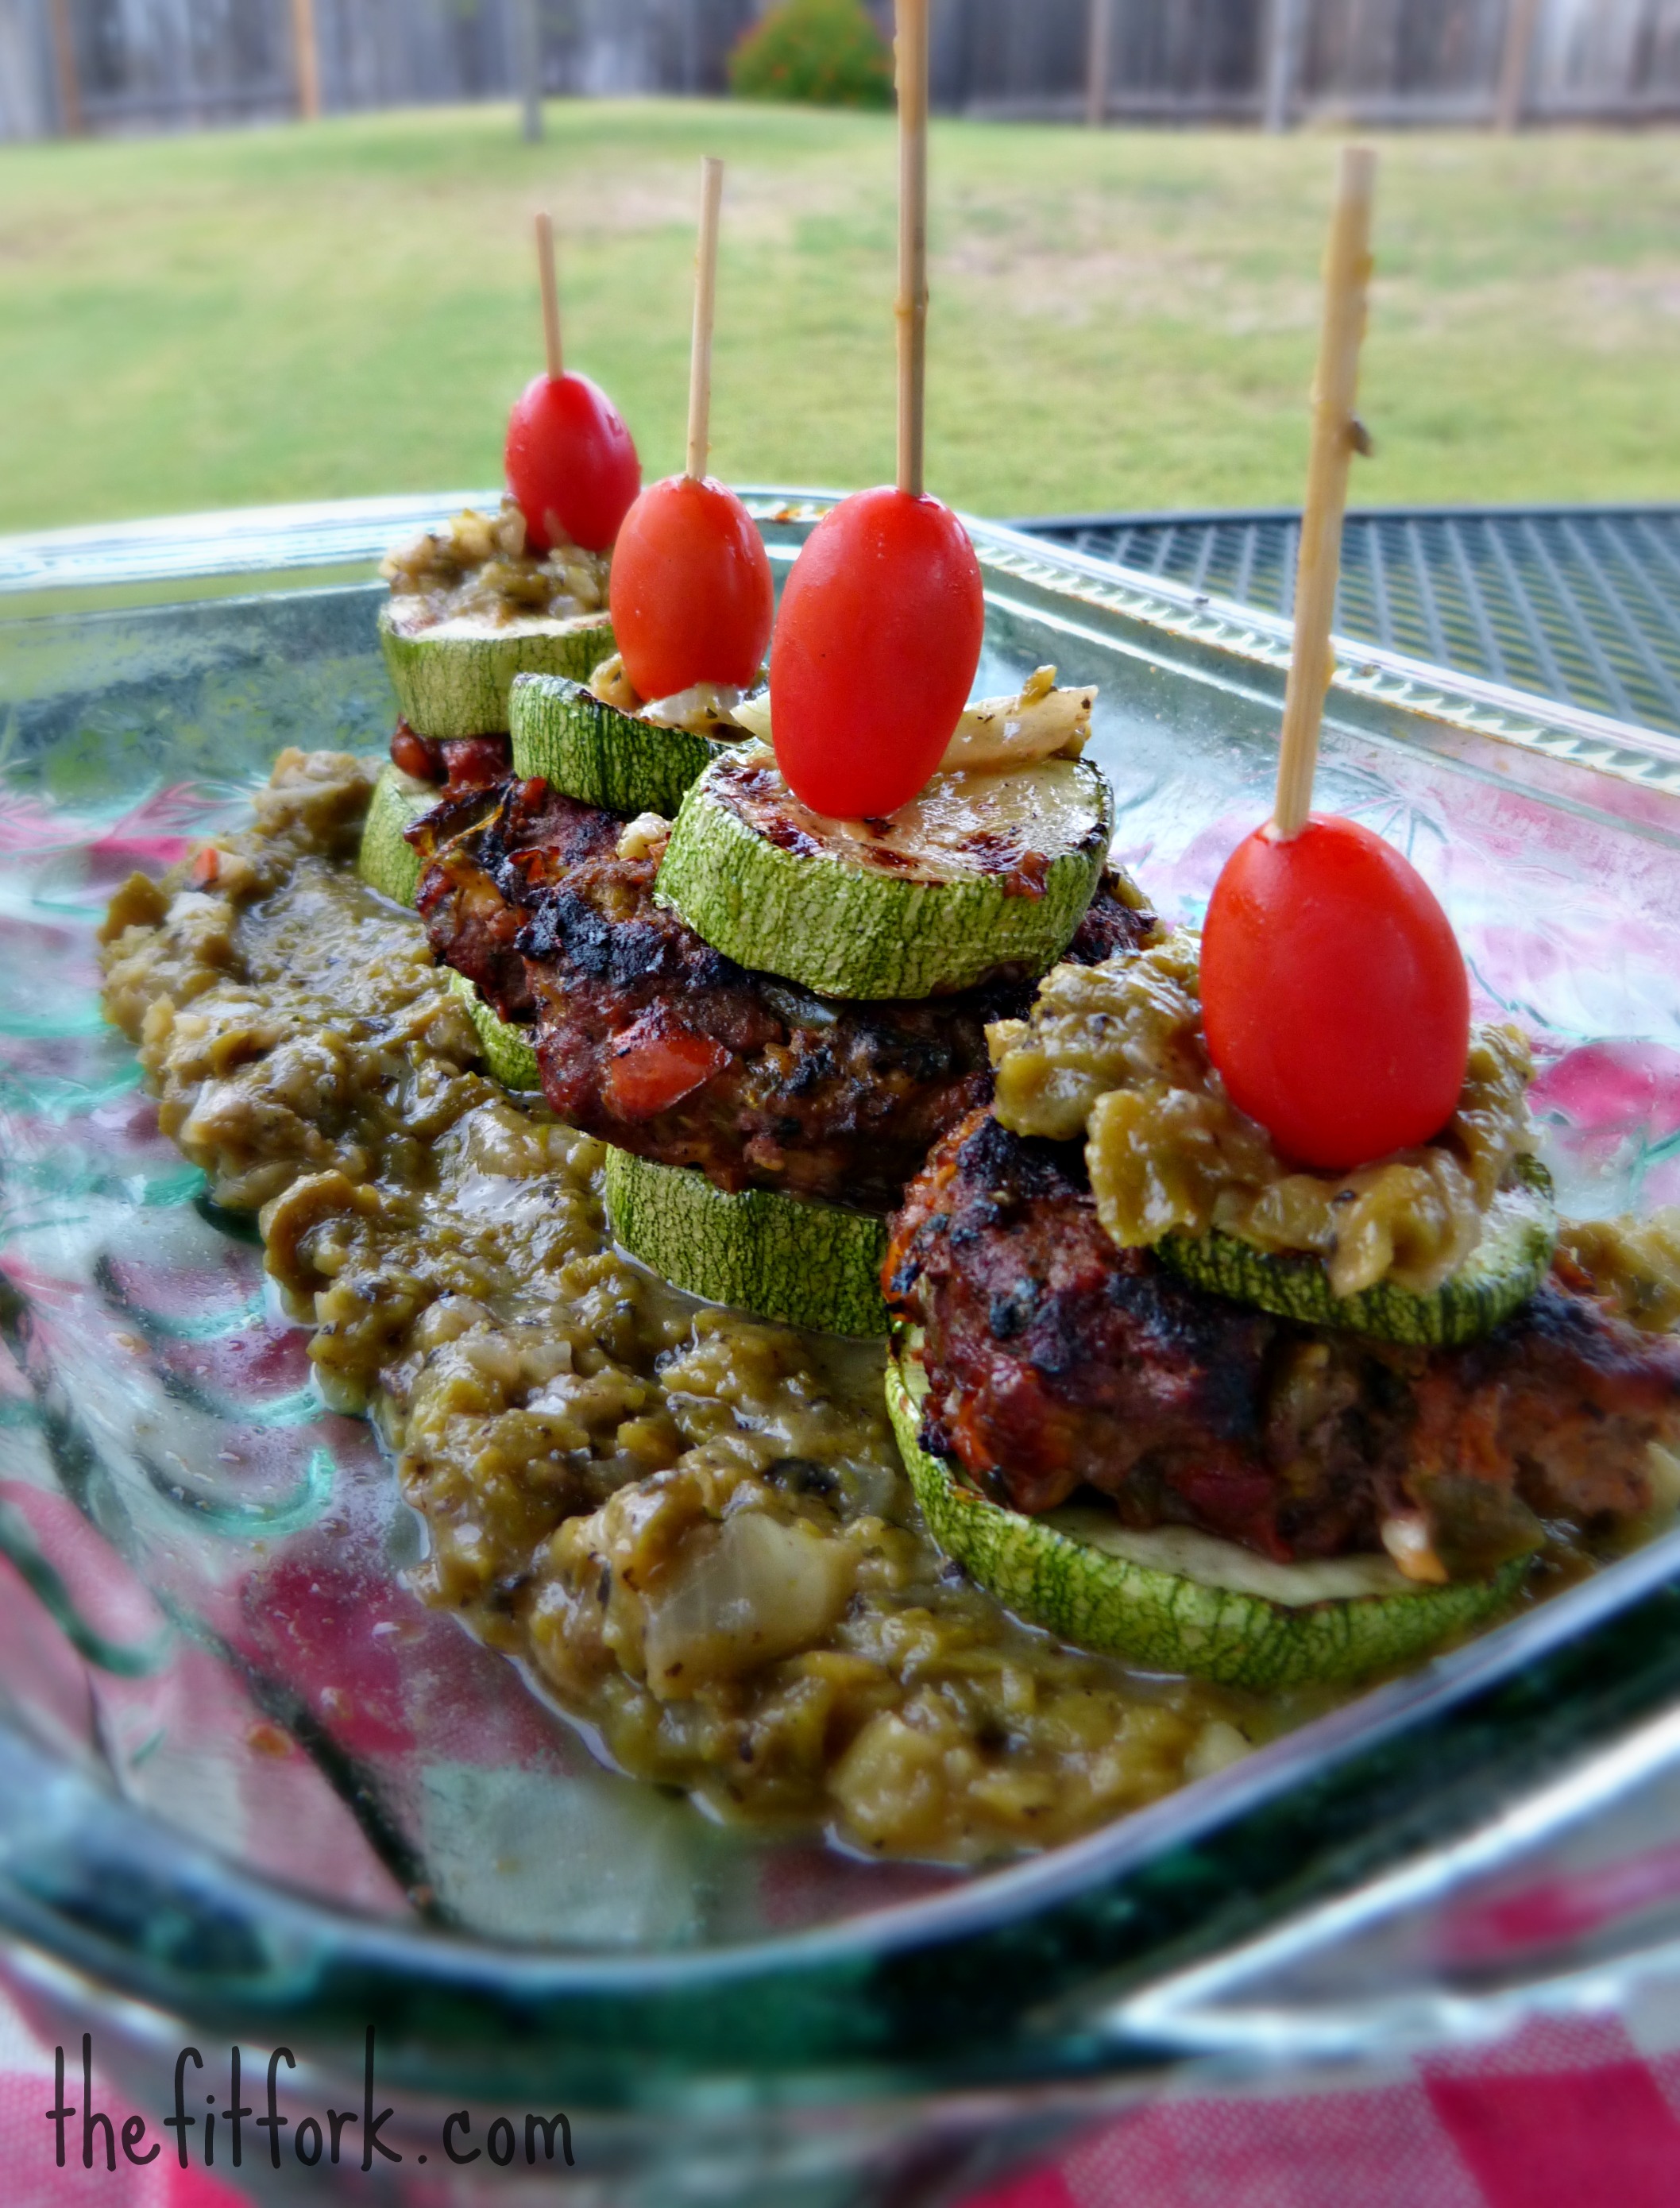
I whipped up this healthy bun-less burger recipe for the love of Hatch (and to enter into a healthy burger recipe contest). I’m calling it Hot Mess Hatch Green Chile Burgers with Calabaza Squash “Buns.” By the way, if you’re not familiar with Calabaza squash, it’s a wider-girthed gourd that tastes pretty much like zucchini. You could use zucchini, but the “buns” won’t really be big enough to contain the patty. Hope you enjoy this “hot mess” covered in Hatch green chile sauce; you’re going to have to eat it with a fork and knife!
Hot Mess Hatch Green Chile Burgers with Calabaza Squash “Buns” Recipe*
- 1 (1lb) calbaza squash, sliced into 8 discs
- 2 teaspoons olive oil
- Salt & pepper to taste
- 1 lb 90% ground beef
- ¼ cup roasted hatch green chilies, seeded, skinned and diced
- 1/4 cup prepared pico de gallo (drained of any liquid)
- 2 ounces shredded cheddar cheese (or omit if Paleo)
- ½ teaspoon cumin
- 1 teaspoon salt
- Garnish: 4 grape tomatoes

Hatch Green Chile Sauce:
- 1 tablespoon olive oil
- ½ cup onion, finely diced
- 1 teaspoon minced garlic
- 1 cup roasted hatch green chiles, peeled seeded and diced
- 1 tablespoon all-purpose flour (substitute Coconut Flour if Paleo)
- ½ teaspoon cumin
- ½ teaspoon oregano
- 1 teaspoon sea salt
- ¾ cup water
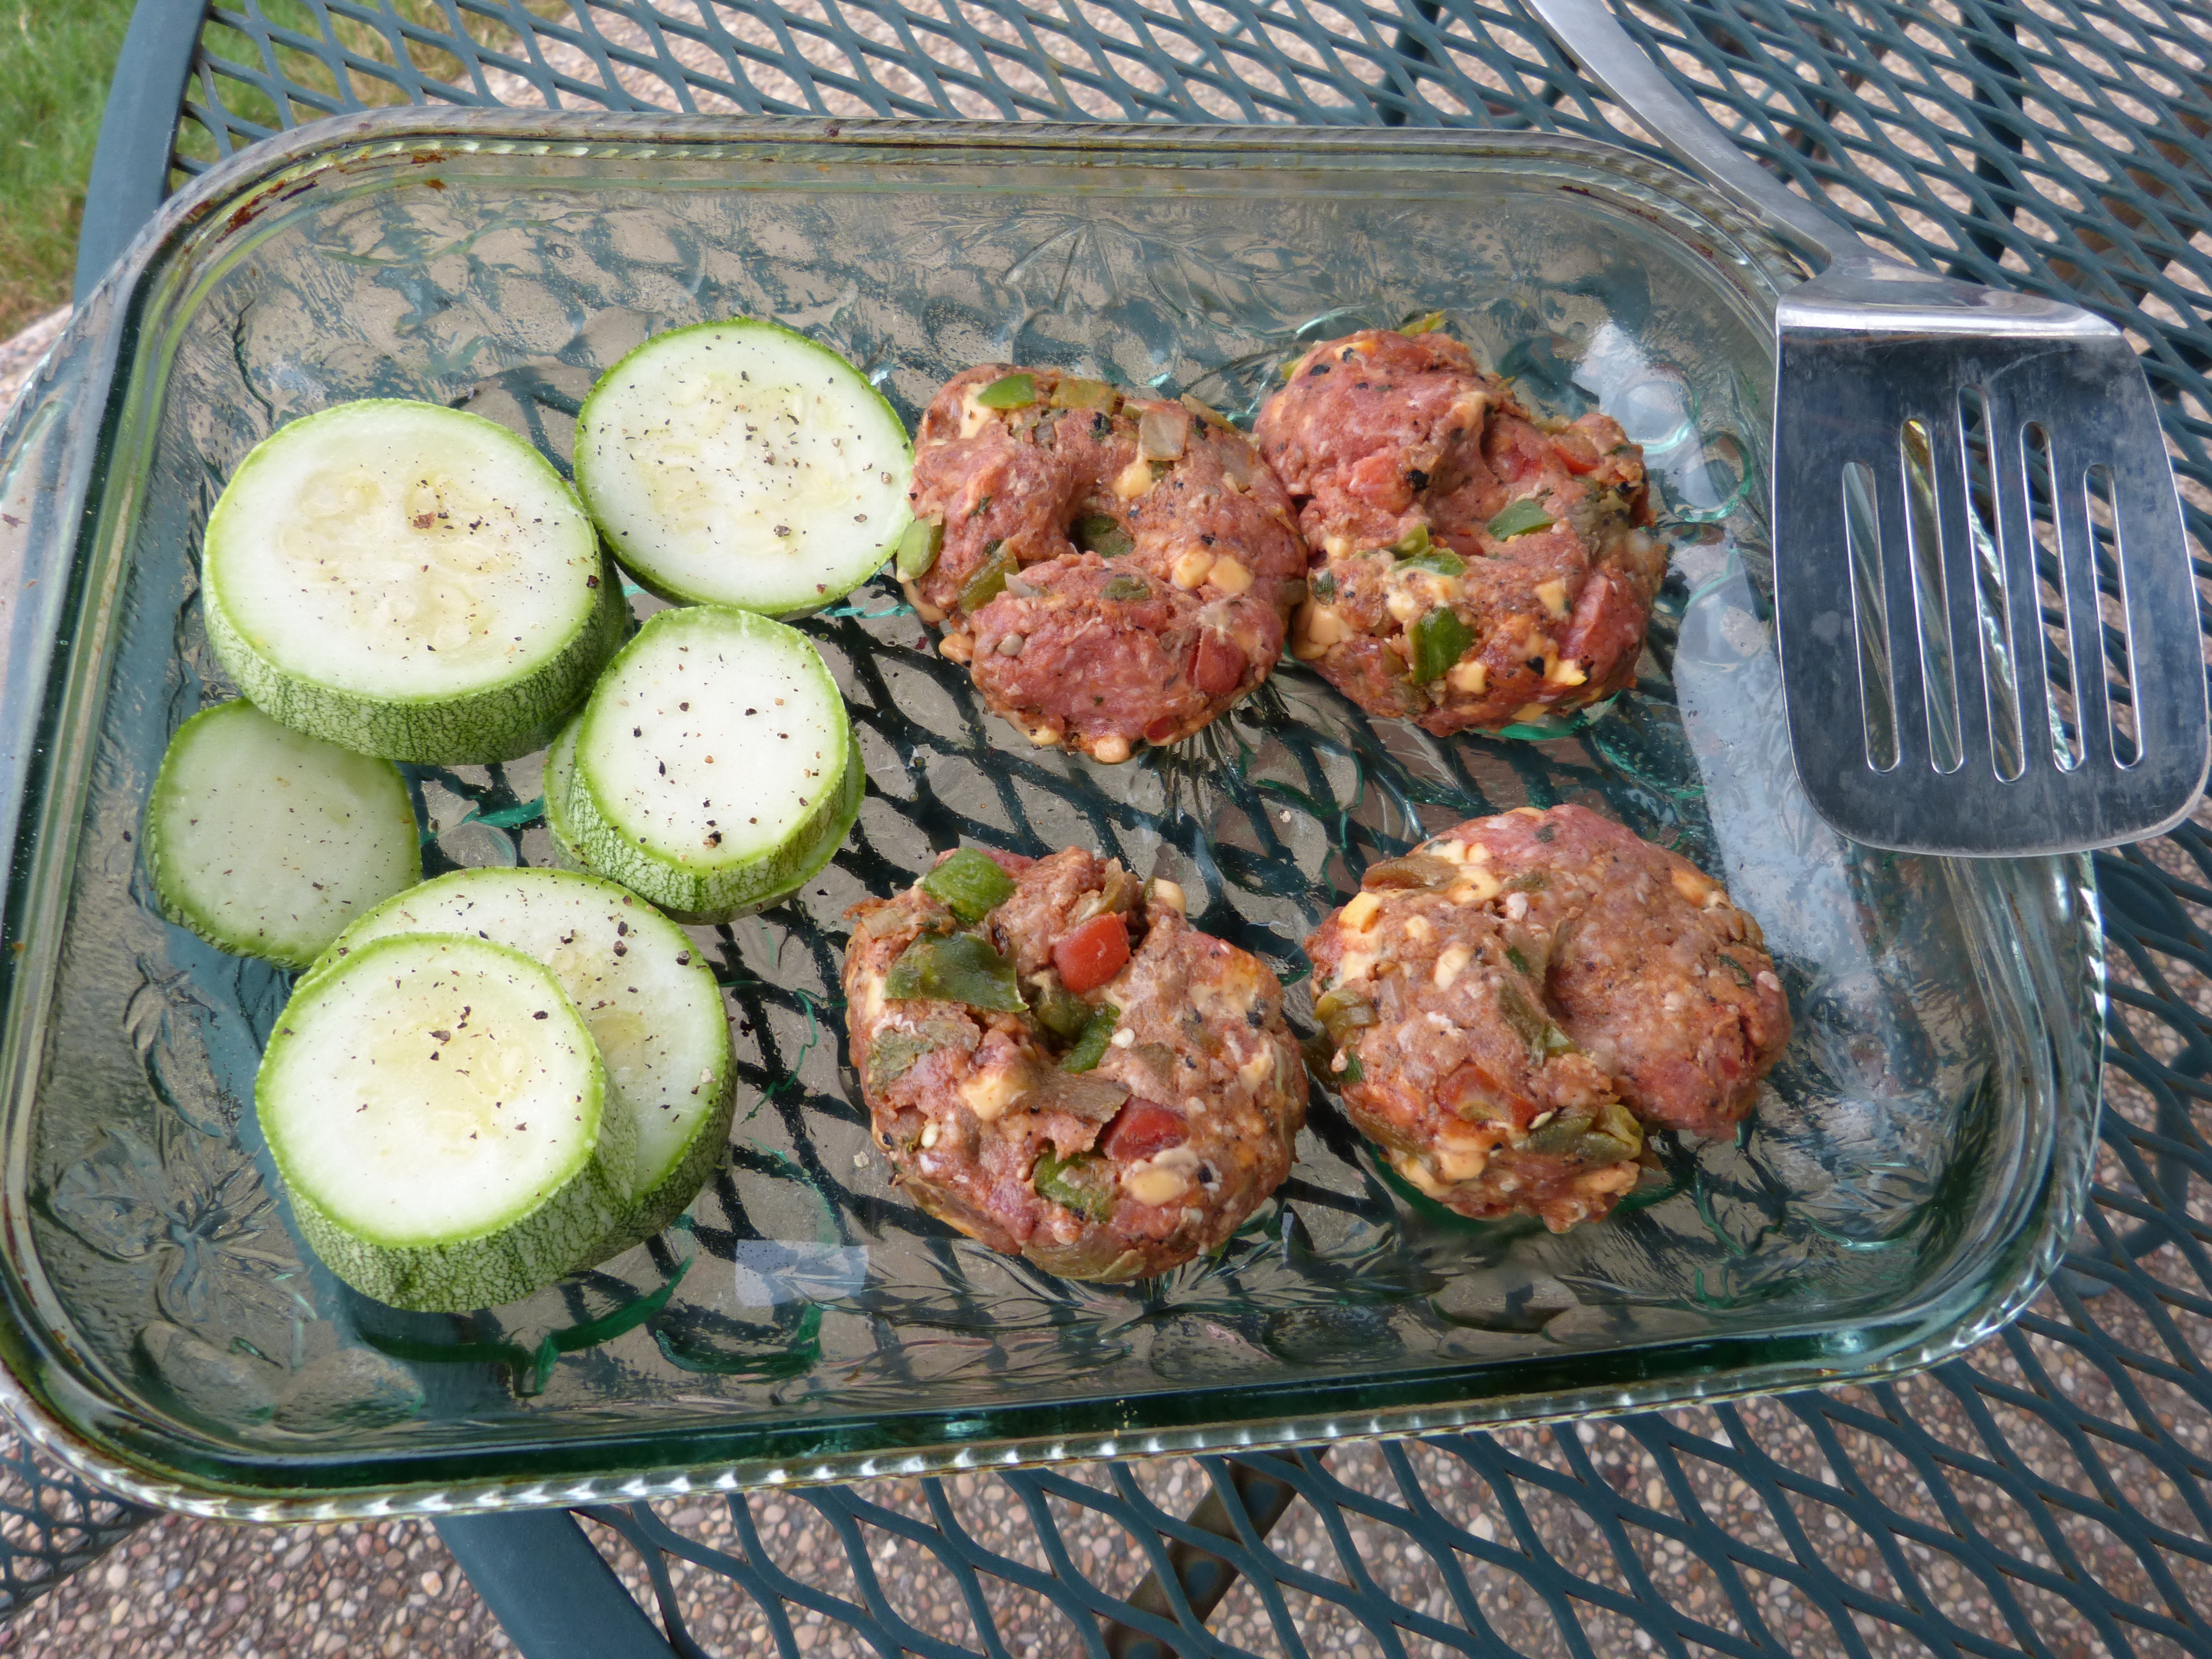
Lay squash rounds out on a baking sheet. Brush with olive oil and season with salt and pepper on both sides. Set aside.
In a medium bowl, add hatch green chiles, pico de gallo, shredded cheese, cumin and salt. Knead this mixture together until incorporated. Divide mixture into 4 sections and shape each into a patty with a small indention in the center (this helps them from balling up on the grill).
Heat gas or charcoal grill to approximate 400 F degrees. Grill squash and burgers, flipping burgers once until desired level of doneness achieved. Squash is done when it has softened (but not soggy) and has turned lightly golden with grate marks.
Meanwhile, make Hatch green chile sauce. In sauté pan, heat olive oil over medium heat. Add the onions and the garlic and cook, stirring frequently, until the onions are soft. While this is cooking, stir together the flour and the spices. Sprinkle this mixture over the onions and stir to coat.
Add water to the mixture in the pan and stir to make sure the flour has dissolved. Add green chiles, mixing well. Remove ½ ingredients and process in food processer until lumpy-smooth. Add back to remaining ingredients in saucepan. Bring to a boil and then reduce to a low simmer for 15 minutes.
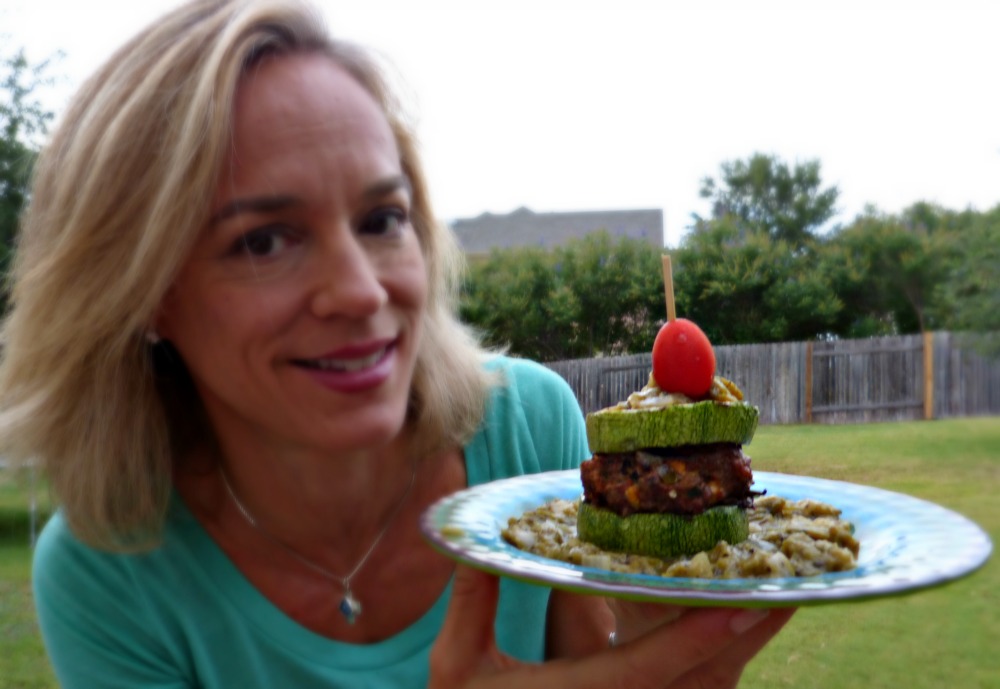
To serve, place one burger patty between two squash rounds. Skewer with a grape tomato to keep burger and buns in place. Use the green chile sauce to drizzle over burgers or to create a “bed” of sauce for burgers to sit it.
Serves 4 (or 2 hungry people)
* Get a more print-friendly version in the “recipe” link under the header