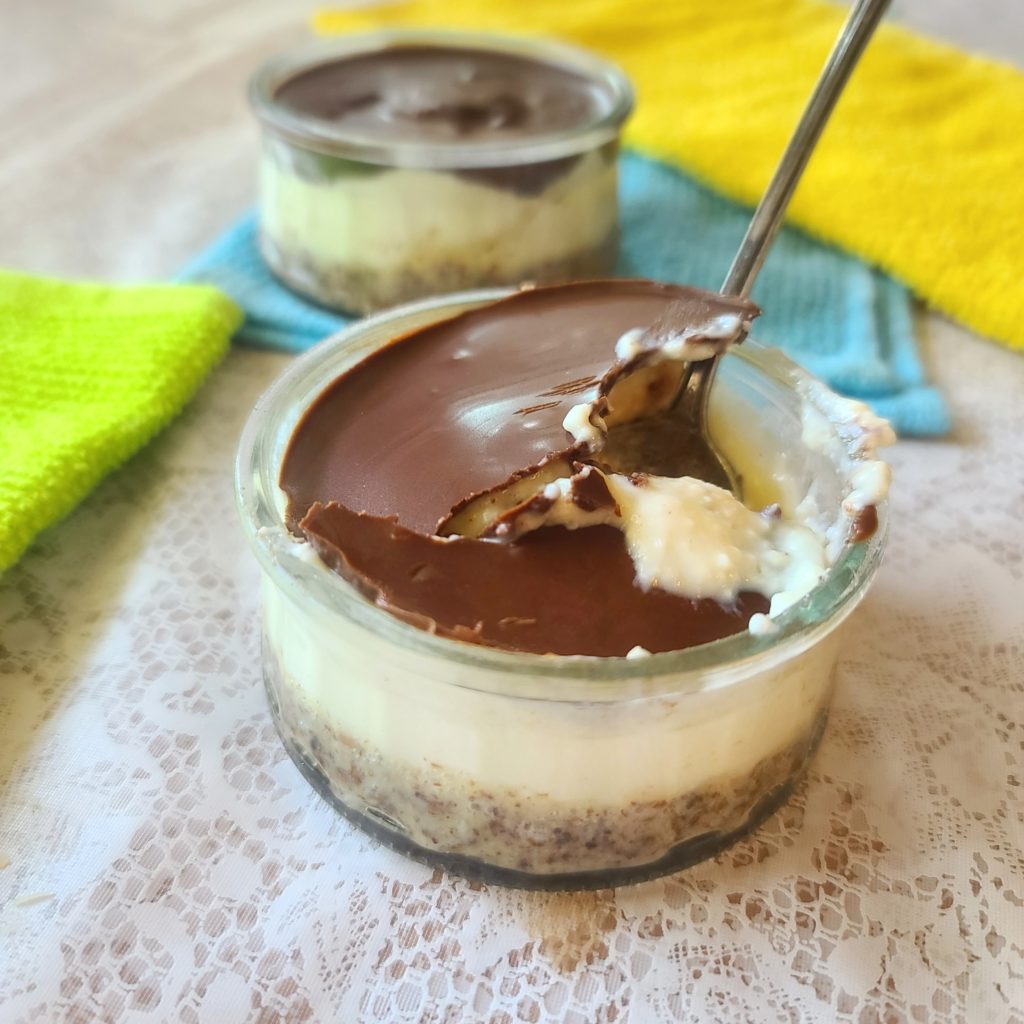
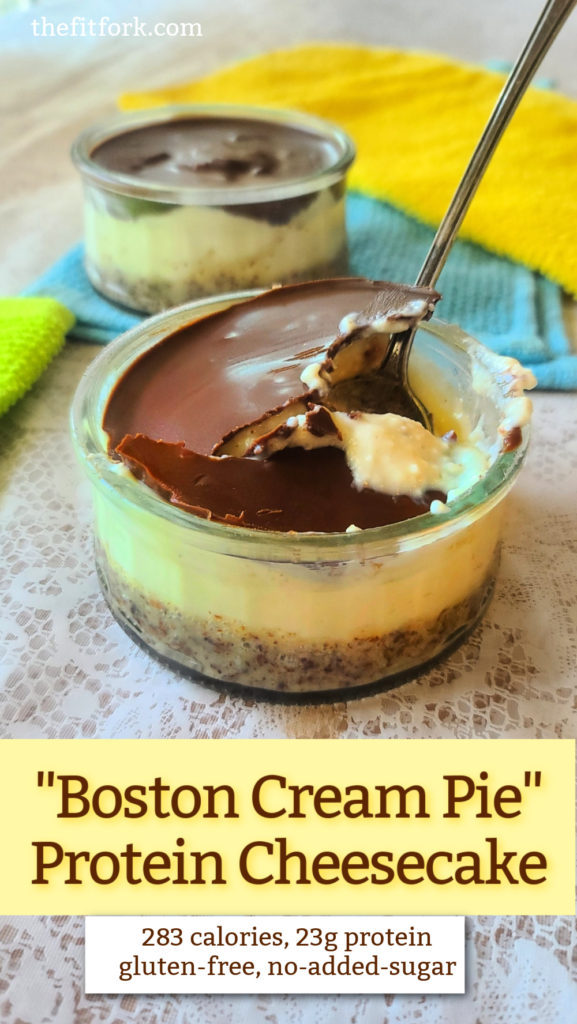
I love Boston Cream Pie, it’s truly an American classic when it comes to desserts – and I transformed this beloved layered cake into a luscious, lower-carb (and high protein) treat that is also gluten-free and has no added sugar.

One serving (an entire mini cheesecake) has 283 calories and 23.3 grams protein! The recipe makes two protein cheesecakes – one for you and your sweetie (or to save for later)! All that protein creamy, smooth filling comes from cottage cheese blended with Birthday Cake Protein Powder (I use the grass-fed ElitePro whey from Top Trainer).
These individual-sized cheesecakes are so easy to make – no bake! The only “cooking” required is melting chocolate chips in the microwave.
BOSTON CREAM PIE PROTEIN CHEESECAKE TIPS
Protein Powder: A whey protein powder like Elite Pro works great, you can swap the Birthday Cake flavor protein for another protein flavor if you are feeling creative and adventurous.
Cottage Cheese: Blending it smooth is the key to this decadent-seeming, high-protein cheesecake recipe. Blending cottage cheese is a total game-changer if you don’t like the curd texture of cottage cheese. Also, when scooping the cottage cheese out of the tub, don’t drain it! Include a little bit of the “juices” to help with blending – actually that cottage cheese liquid is the whey protein what has separated out! It’s a good thing!
Blending: It’s best to use a small blender for this smaller, 2-serving recipe. You’ll also have to stop frequently to scrape down the sides an stir up the mixture with a spatula – it’s pretty thick, so be patient. If needed, you can add a teaspoon or two of water to help get the blending ramped up, but do not over use water – you’ll have a runny cheesecake.
Crust: The crust is kept gluten-free and low carb by using almond meal (I prefer “meal” to “almond flour” – it’s courser and a better texture for this gluten-free crust. Also mixed in are a bit of granulated stevia or monk fruit, and a bit of coconut oil. Press it all down into a 5-6 oz. ramekin or glass custard dish.
Chocolate Chips: The hard chocolate layer on top is really what puts this high-protein dessert over the top. I use Sugar-free dark chocolate chips , but you can do milk chocolate also – and traditionally sweetened chocolate chips are a perfectly fine substitution if that works with you. The key to getting the glossy, smooth shine is to heat chips in a small, dry bowl for about 45 seconds – remove from microwave and immediately start stirring and incorporating just a little bit of coconut oil. Don’t worry, if the coconut oil is still in solid state, it will also quickly melt along with the chocolate.
Finishing Up & Storage: The cheesecakes can be made ahead – and in fact, they should set up in the fridge for 10 minutes to allow the chocolate to harden. They may be kept in the fridge, covered, for 3 to 4 days!

Note: This post contains affiliate links. I earn a small commission on sales that help offset operating costs for The Fit Fork. Thank you for your support!

Boston Cream Pie, an all-American, classic dessert in layers,has been updated with a “cheesecake” twist to offer lots of protein while beinggluten-free and with no added sugar. An easy dessert and no baking required!
- 2 tbsp almond meal
- 2 tsp stevia or monk baking blend
- 3 tsp coconut oil divided
- 2/3 cup 2% cottage cheese
- 1 SCOOP ElitePro Birthday Cake Whey Protein about 1/3 cup (OR OTHER WHEY PROTEIN)
- 1-2 tsp water if needed
- 1 oz. sugar-free chocolate chips about 3 tbsp
-
Divide almond meal and stevia equally among two 4 to 6-ounce ramekins or glass custard dishes. Add 1 tsp melted coconut oil to each and stir until combined. Press down lightly with fingertips to make a crust in the bottom of the ramekin, set aside.
-
In small-sized blender, add undrained cottage cheese and whey protein powder. Pluse blender to combine, stopping frequently to scrape sides and stir up contents. Mixture will be thick, so you will need to repeat this process until smooth – if needed, sparingly add 1 to 2 tsp water to help blending. Be careful to not add to much water or you’ll end up with runny cheesecake.
-
After blended smooth, spoon protein mixture over crusts and level out smooth with back of spoon.
-
In small, microwave-safe bowl, heat chocolate chips on hip for about 45 seconds. Remove and quickly stir with remaining 1 tsp coconut oil until glossy and smooth. If lumps persist, return to microwave for another 10 seconds and then restir.
-
While still hot, pour chocolate over the tops of cheesecake mixture. Spread smooth and all around edges with the back of spoon or a small spatula.
-
Stick in the fridge or freezer for 5-10 minutes before serving so the the chocolate firms back up (like magic shell!). Leftovers may be kept covered in fridge for 3 to 4 days.
Per serving (1 mini cheesecake) — 283 calories, 17g carb, 17g fat, 23.3g protein
