Lightened Yet Still Loaded Baked Potato Soup Recipe

There’s nothing more soul-satisfying on a cold winter night than a nourishing bowl of soup for supper. And for those who know me even just a little bit, will confirm that I’m that always-freezing chick who is bundled up in long johns and ready to slurp soup anytime the thermometer plunges below 70 F degrees.  Soup is a beautiful thing. Not only is soup easy to whip up and low-mess (it’s a one-pot meal), the leftovers are often better the next day. For dinner tonight I made Lightened Yet Still Loaded Baked Potato Soup, a recipe I tweaked and adapted from a 10-year old recipe in Cooking Light magazine (9/2007).

Don’t worry about sabotaging your diet with this make-over recipe; it’s relatively low in calories and fat compared to the naughty restaurant equivalents. For example, 12-ounces of Baked Potato Soup at Outback Steakhouse has an impressive 514 calories and 53 grams of fat (24 saturated) compared to this lightened version that has just 346 calories and less 11.7 grams of fat (7.3 saturated). Calorie-counters could always skip the bacon, but that wouldn’t be any fun.

By the way, if you’re already drooling over the tantalizing photo, you can thank my dear mom and dad for helping get your appetite worked up – they gifted me with a brand new camera for my food photography! Kisses!


Lightened Yet Still Loaded Baked Potato Soup Recipe

  • 2 ½ lbs Russet potatoes
  • 2/3 cup all-purpose flour
  • 6 cups 1% reduced-fat milk
  • 1 cup (4 ounces) reduced-fat shredded extra sharp cheddar cheese, divided
  • 2 teaspoons salt
  • 1 teaspoon freshly ground black pepper
  • 1 cup (8-ounces) light sour cream
  • 1/4 cup chopped green onions
  • 6 bacon slices, cooked and crumbled

Wash potatoes and pat dry. Pierce potatoes with a fork and microwave together for 15 – 20 minutes (turning every 5 minutes) until tender. Cool to handle under cold water.  Peel potatoes; coarsely mash in large bowl.

Place flour in a large Dutch oven or stock pot; gradually add milk, stirring with a whisk until blended. Cook over medium heat until thick and bubbly, approximately 8 – 10 minutes. Add mashed potatoes, 3/4 cup cheese, salt, and pepper, stirring until cheese melts. Remove from heat.

Stir in sour cream. Cook over low heat 10 minutes or until thoroughly heated taking care not to let soup  boil. Ladle 1 1/2 cups soup into each of 8 bowls. Sprinkle each serving with 1 1/2 teaspoons cheese, 1 1/2 teaspoon onions, and about 1 tablespoon bacon.


Sexy Back Work-Out and Handful Bra Raves

I don’t know about you, but I’m planning on making an impressive “exit” at a couple New Year’s Eve parties. That’s because I’ve been working hard on sculpting a sexy back over the past few months and I’m ready to show it off in a cute little black (and white) dress.  So, imagine a fun little frock like the one to the left, but now pair with the new-and-improved back in the picture below!


I didn’t even know there were so many muscles in my back until my coach snapped this picture the other day at her CrossFit box. You’ll notice in the picture, I’m wearing an awesome bra top by Handful. I really can’t say enough great things about the bras made by this company, especially the Adjustable Handful Bra  which I’m sporting in purple in the pull-up picture above. First of all, the slogan at Handful is “Flatter Not Flatten” and what’s not to like about that? Even though I wear an XS in their product line (and less than an A-cup in a traditional bra), the removable pads slip discretely into inside pockets to create a shapely silhouette (and also to prevent embarrassing moments in a cold gym, if you catch my drift). You can even buy additional pads if you desire a more voluptuous look. Also, the stretchy fabric, made from a blend of  82% nylon and 18% spandex, is super comfortable and soft, much more so than other fitness tops I’ve worn.  Another perk, the straps are not just adjustable up-and-down, but also can be arranged criss-cross (as I’m wearing) to wear under t-back tanks — or even a formal dress!  This isn’t just a bunch of puff; I’m seriously loving this bra and am planning on replacing all my ill-fitting everyday bras with a wardrobe of Handful bras.

Anyway, back to the back! There are so many muscles in the back, all working together to support the spine and provide a wide rage of movement in perfect harmony. For example, the trapezius is a large triangle-shaped muscle that runs from the middle of the back up to the neck, also covering part of the shoulder blade.  When sculpted , the trapezius looks strong and sexy; but better yet, it also helps to prevent back fatigue and neck pain. Rhomboids, small muscles that run from the center of your back up to the lower neck, hold your shoulders back and help you keep great posture. External obliques, the lattisimus dorsi, and the scapula muscles are other back muscles that you can’t ignore.  When you think of a sexy back, it’s not just the “official” back muscles that you need to work out; the deltoids, a muscle group that that wraps around the top of the shoulders, are also a must-have for a show-off back.

Check out this 15-minute fitness routine targeted for the back that will have you looking like a softly chiseled goddess in just a few weeks. Challenge yourself by using weights that aren’t too heavy, not too light – but are a modest challenge. This set of back exercises focuses on strengthening your entire back while working out other muscles groups at the same time — functional and fun! Get after it two to three times per week!


Season’s Meatings! Sirloin Roast with Spicy-Sweet Pomegranate Reduction Recipe

beef sirloin roast with pomegranate sauce tenderloin

Lean beef trimmed with a festive fat-free sauce, my Sirloin Roast with Spicy-Sweet Pomegranate Reduction Recipe officially ushers in the family’s extra-long holiday weekend of feasting!  Tonight I whipped up a delicious dinner thanks to the Chateau Loin sent as a most tasteful Christmas gift by the Texas Beef Council.  The Chateau Loin is an exclusive center-cut Sirloin roast not sold at retail, but only to some of the finest restaurants in the world (lucky me). As an alternative, I suggest a Top Sirloin Roast or even a melt-in-your-mouth Tenderloin. More good news; a center-cut sirloin roast is packed with zinc, iron and b vitamins while also boasting less than 6 grams of fat per 3-ounce serving (which falls right in the middle of fat content for a boneless chicken breast (3 grams) and skinless chicken thigh (9.2 grams).

The spicy-sweet pomegranate reduction sublimely sets off the inherent richness of the beef  (did I really just say that?). However, a light drizzling of the sauce is all you’ll need.  Start the sauce while the beef is roasting, it takes about 30 minutes to reduce – perfect timing! Really, this fancy-schmancy dinner couldn’t be easier, but don’t tell my guests who dropped in today for a surprise visit.


Sirloin Roast with Spicy-Sweet Pomegranate Reduction Recipe

For Roast:

  • 1 2lb beef sirloin roast, preferably center cut
  • 2 tablespoons ground black pepper
  • 1 tablespoon Cavender’s Greek Seasoning

For Sauce:

  • 1 cup Pomegranate Juice
  • 1/4 cup balsamic vinegar
  • 2 tablespoons low-sodium soy sauce
  • 2 tablespoons honey
  • 2 tablespoons dried chopped onion
  • 1/2 teaspoon crushed red pepper

Heat oven to 350 F degrees.  Season outside of roast with black pepper and Greek seasoning.  Place meat in roasting pan with wire rack in bottom and cook for approximately 30 minutes in the oven. For medium doneness, remove when a meat thermometer reaches 135 F degrees in the thickest part of the roast.  Remove roast from oven and let rest 5 – 10 minutes before slicing.

Meanwhile, in a medium saucepan, combine all of the ingredients, whisking to incorporate honey.  Bring the mixture to a boil; then reduce the heat and simmer until it reduces in volume by half or less (depending on preference). Serve warm with tenderloin.

‘Tis the Season to Splurge! Mint Chocolate Crinkle Kiss Cookies Recipe

chocolate crinkle cookies kiss cookies thefitforkWhen it comes to eating clean, even good boys and girls fall off the sleigh during the holidays.  But that’s okay! Sometimes we should focus on just enjoying the moment rather than worrying about every friggin’ ingredient in our food (allergies aside) and freaking out about how long it’s going to take to work it all off. I don’t run and workout just so I can eat, I eat so I can run and workout. But, around Christmas time, I have no problem whatsoever about enjoying the indulgences that come with the season. And, this recipe for Mint Chocolate Crinkle Kiss Cookies is well worth the splurge with a brownie-like consistency, peak of minty chocolate, and powdered sugar send-off.  I just gobbled one up that was still warm from the oven and I’m not even going to give it a second thought – well, except maybe about having a second cookie.

Mint Chocolate Crinkle Kiss Cookies Recipe

  • 2 cups all-purpose flour
  • 1 cup unsweetened cocoa powder
  • 2 teaspoons baking powder
  • 1/2 teaspoon salt
  • 2 cups granulated sugar
  • 1/2 cup canola oil
  • 4 large eggs
  • 1 teaspoon vanilla extract
  • 1 cup powdered sugar
  • 36 Mint Hershey Kisses

In a medium bowl, mix together the flour, cocoa, baking powder, and salt. In a large bowl, whisk together sugar, oil, eggs, and vanilla. Stir flour mixture into sugar mixture, until just combined. Place plastic wrap over bowl and refrigerate dough for several hours to firm in up. Unwrap Hershey kisses and keep in the freezer until ready to use.

Preheat oven to 350°F. Put powdered sugar in a small bowl. Scoop dough into 1/2 tablespoon balls, roll in powdered sugar, and place on a baking sheet that has been lined with parchment paper or Silpat. Bake for approximately 12 minutes, or until cookies crackle and are puffed.

Remove from oven. While still hot, press a frozen kiss into each cookie. Cool off cookies while still on pan by placing in the refrigerator or freezer for several minutes. Wait to package cookies up until chocolate kiss has completely cooled.

Makes approximately 36.

No nutritional information chart today, just enjoy!


How Did I Flippin’ Get Talked Into a CrossFit Gymnastics WOD!

Yesterday I got schooled on sideshow tricks and such at a CrossFit Gymastics Seminar hosted at Fit and Fearless CrossFit in Austin.  Teaching us mere mortals these super-human skills was the intrepid and, might I add, impressively-strong-but-not-hulkishly-muscular, Matthew Willis from Texas Parkour.  Apparently he knows his stuff, even trained with the super agile Carl Paoli of Gymnastics WOD. I noticed that Matthew has this quote on his Facebook page, it’s a good one to keep in mind when you’re 45 like me and trying gymnastics again after 30 years —

“It’s not how many times you fall, but how many times you get back up that really matters.”

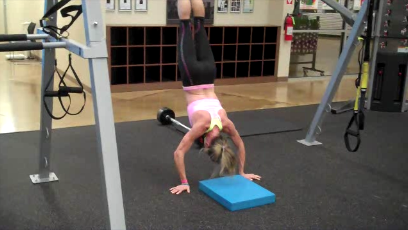
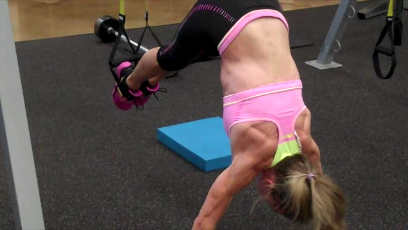
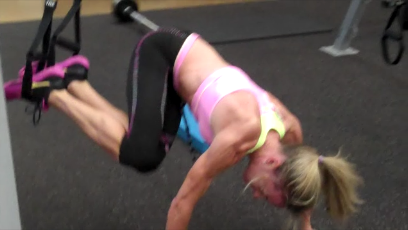
After warming up, our first challenge of the day was Diving Monkey Push Up (aka Parkour Pushup).  Seriously, when I heard the name, I wasn’t so sure this was for me and honestly, for my scrappy arms, it was one of the hardest moves of the day – my triceps were already killing me going into it.  The move is like a kipping push up and is supposed to be performed in a fluid manner, to the chopping start and stopping I found myself doing.  I’ll have to practice this all month until I have it down, but check out Valerie and Matthew working the progression:

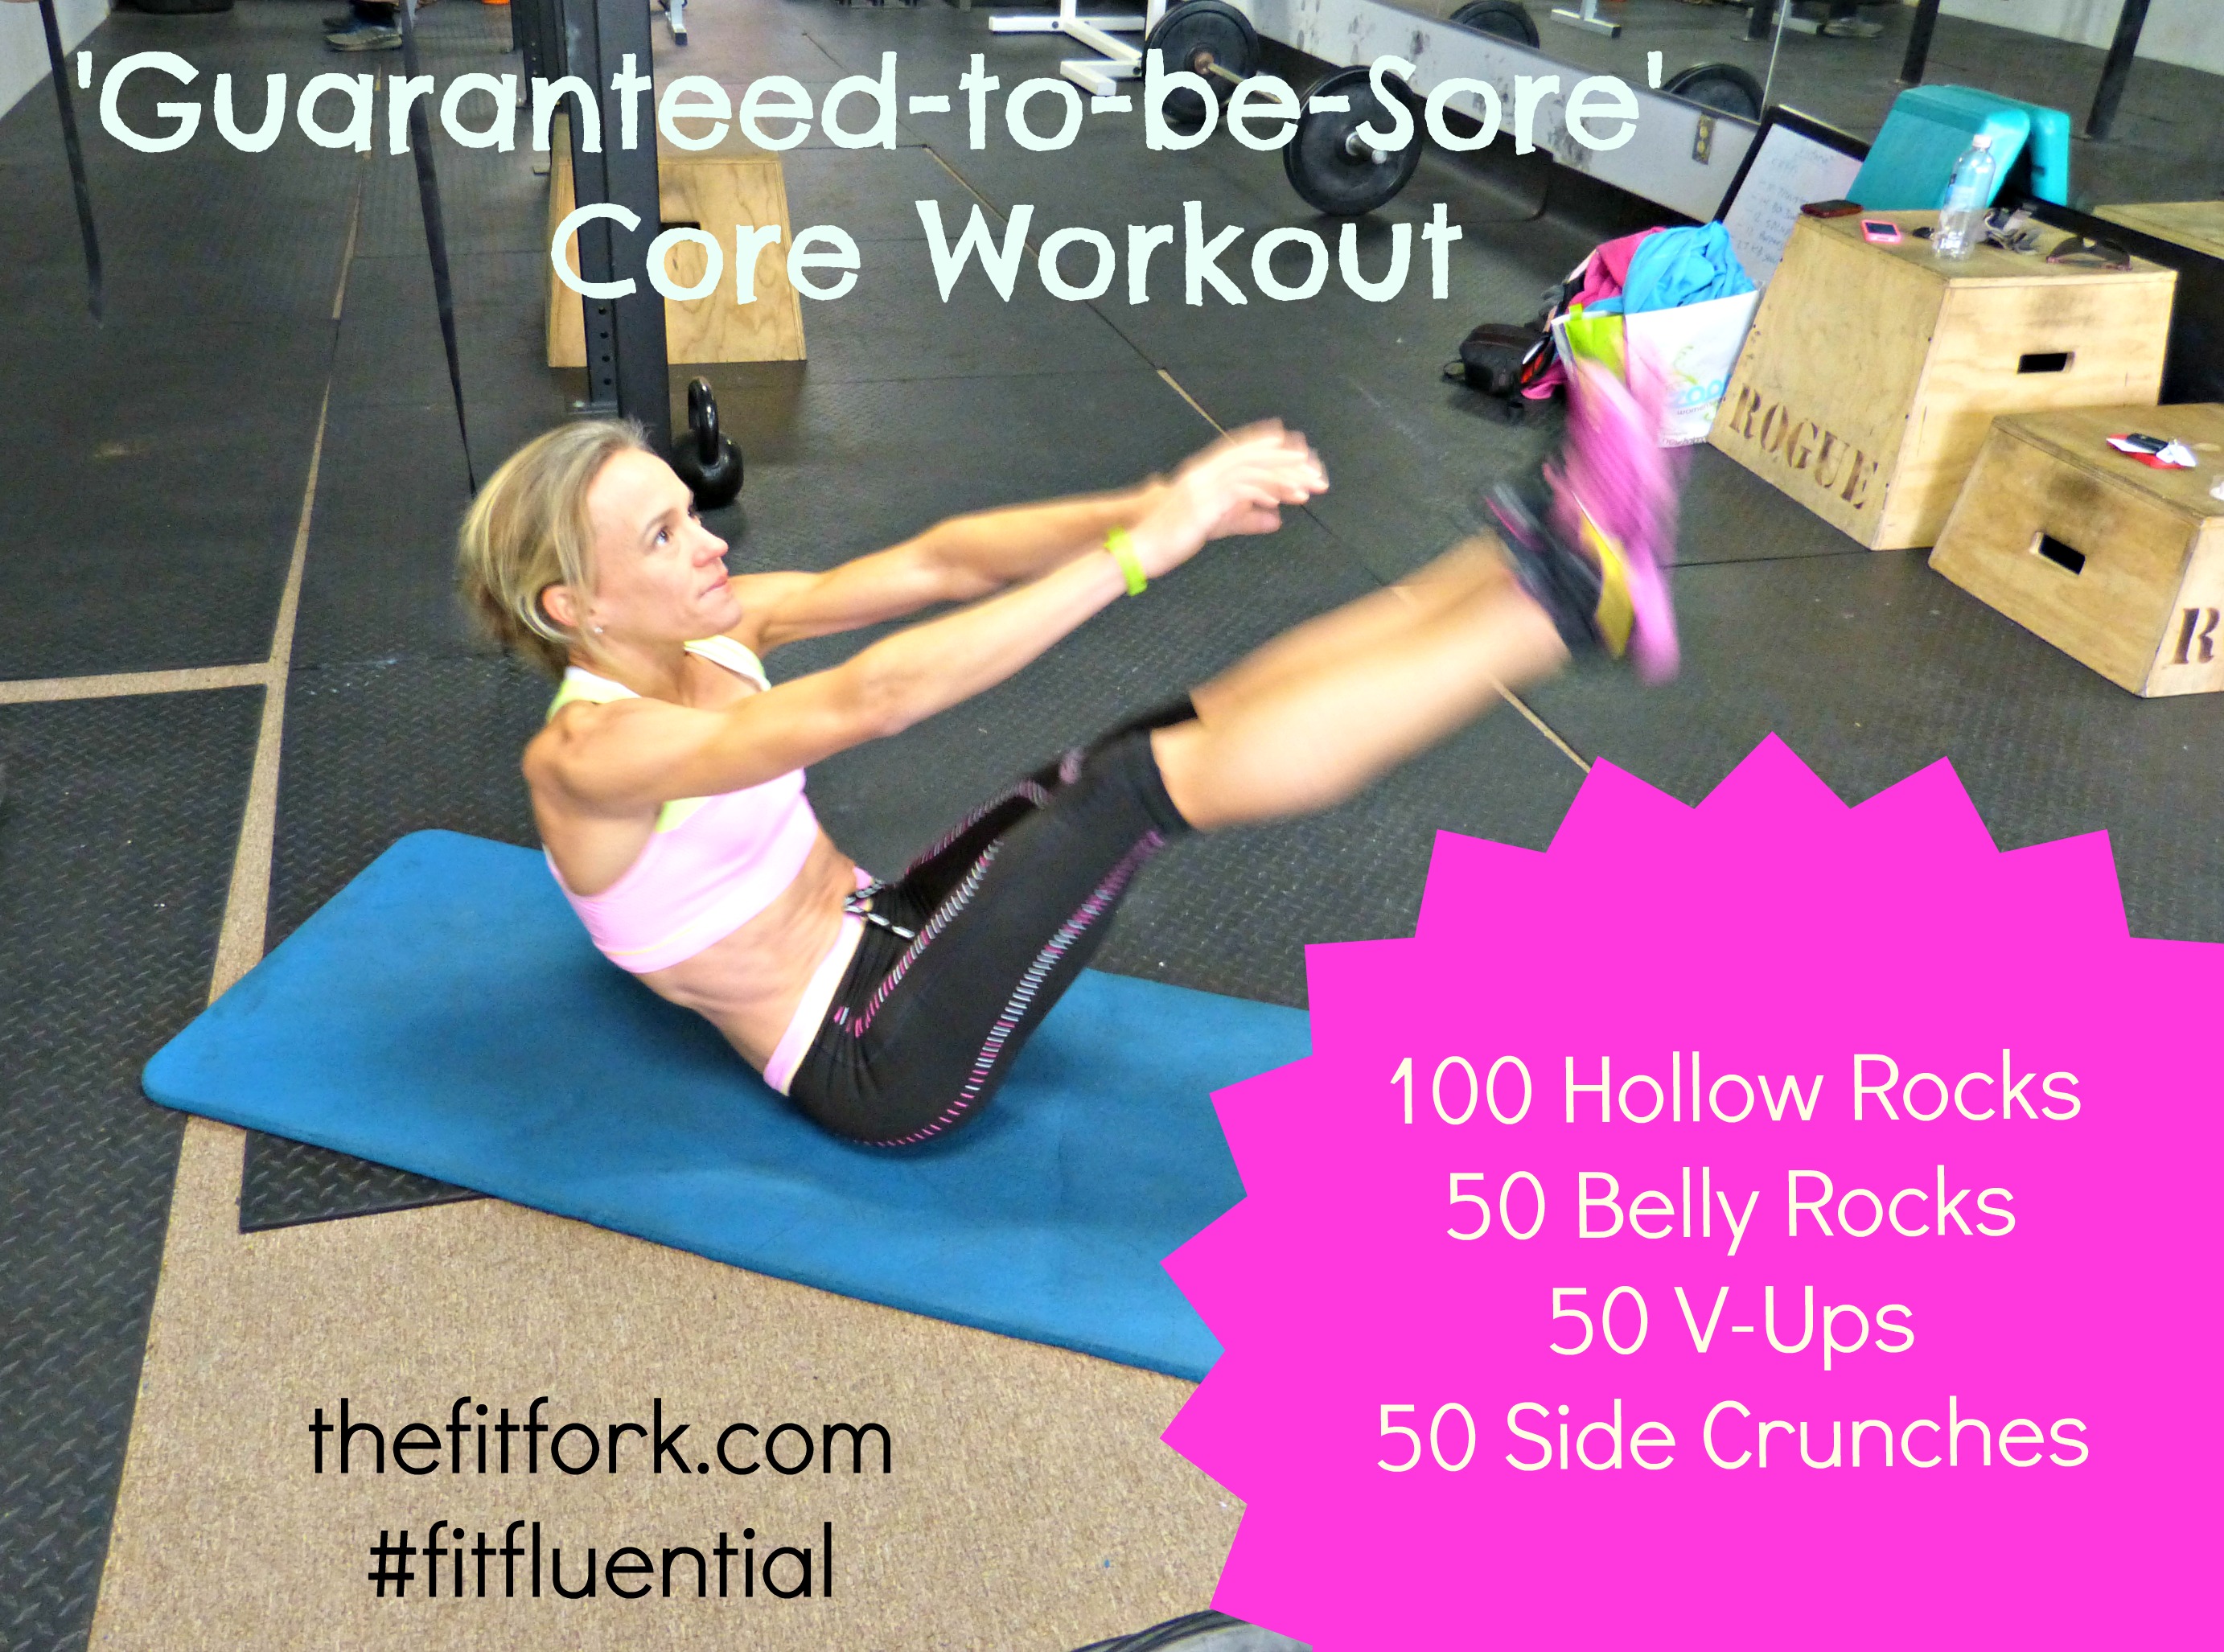
Next, we took a little crash reminder course in the importance of keeping a Hollow Body position for many of the upcoming tricks. You have to master this “core” concept before you can move onto many of the more complex skills like kipping pull-ups and muscle-ups.  Watch how the demonstrator in the video below gets proper form by tucking head up slightly, rounding back so shoulder blades are off the ground, abs and glutes are engaged tightly, and legs are squeezed together all the way together down to the toes – now rock it!


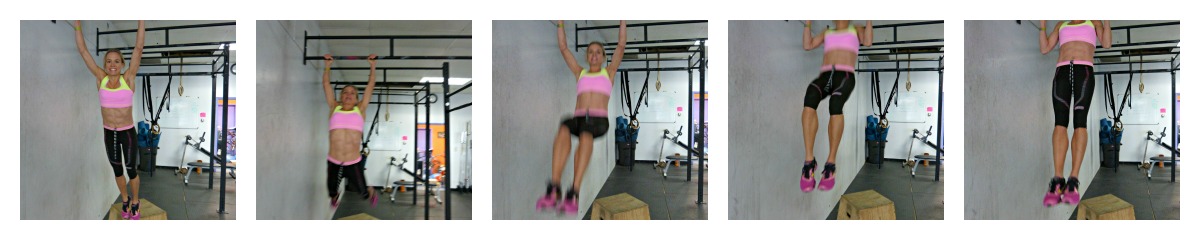
We took this hollow body skill off the floor and practiced it on the bar in preparation for kipping pull-ups. Since I’ve already got this pull up skill down for the most part, I did appreciate the tips on releasing grip and re-catching grip on the upswing. Watch below I’m hanging on to my last few kipping pull-ups on quivering arms after a long morning of hard work. Video is sideways and I can’t figure out how to flip it, go figure.

On to handstands, my main takeaway was to remember to keep my hands pointed forward for better balance and to engage shoulders and core as much as possible.  Also, we practiced a front roll out as a graceful way to get out of the handstand pose if we kicked over too much.  Maybe not so graceful for me; I used to be able to flip around, walk on my hands, and all sorts of stuff – now I’m just freaked out about hurting my neck and back. But, I’m not saying I can’t do it; that would mean a 10 burpee punishment!

Finally, we showed off with our favorite tricks like one-armed handstands (holla), walking on hands, kipping handstand push-ups and more. The only thing we didn’t get to practice was a skill I’ve been trying to master for six months – the muscle up.

Jennifer and Linda rocking out the one-armed handstand!