First of all, God bless America, land of the free. That being said, I feel free to state my opinion that I don’t like where the nutritional guidance dished up by the U.S. government, by way of the Department of Health and Human Services (HHS) and the U.S. Department of Agriculture (USDA) is taking us. For 30 years we have all dutifully listened to these recommendations about what to eat, first with the Food Pyramid and, more recently, with MyPlate and soon with updated 2015 Dietary Guidelines.
Things are always changing, and I’m really questioning the quality of science all this hootenanny – and I’m not the only one, right now we can all sign a petition to demand that quality science determine the 2015 U.S. Dietary Guidelines.

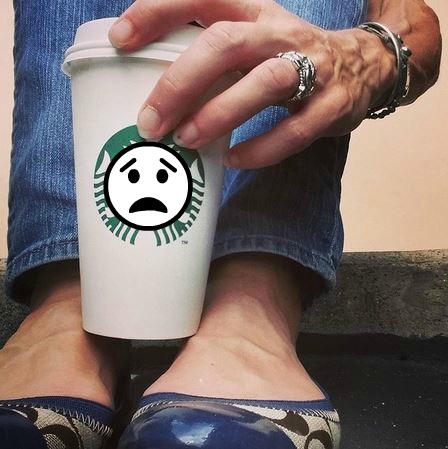
You butter believe it! Funny, but for realz.
Remember how butter was the bad guy over margarine? Oops. Eggs are not awesome, no wait – we decided eggs are okay after all. How about the mandate to eat low fat, fat is making you fat, saturated fats are completely evil – a federal finger shaking that made most Americans run out and load up on overly process foods full of sugar and starchy carbs instead. Obesity and diabetes jumped through the roof. Apparently the science on that study was questionable. Oops.
Most recently the Advisory Council contributing to the upcoming 2015 Dietary Guidelines is pushing a dietary pattern that is higher in plant-based foods and lower in animal-based foods, citing sustainability, environmental impact and lower saturated fat. You can read their recommendations for yourself, I don’t like them.
Don’t get me wrong, I LOVE plant-based foods. I can’t imagine going a day, even a meal, without Mother Nature’s bounty of fresh fruits, vegetables and grains. Heck, I’ll make a dinner that features plant-based protein every once in a while because I just love variety. But, don’t go messing with my butter, my beef, my full-fat Greek yogurt. You’re really going to piss me off.
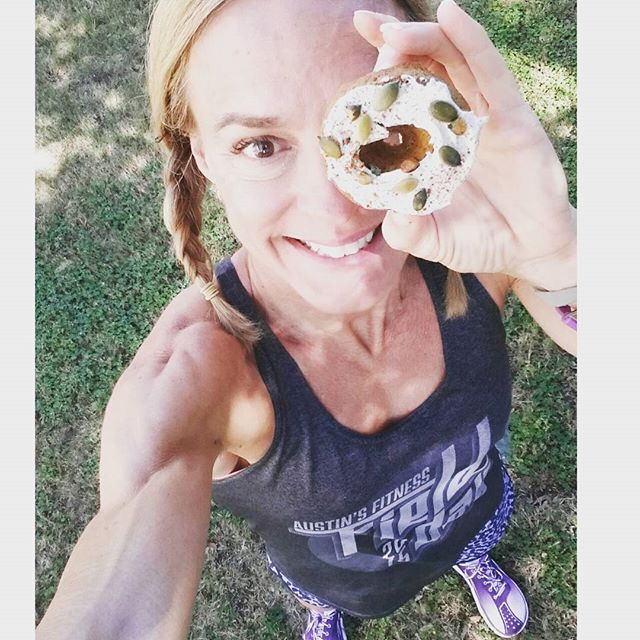
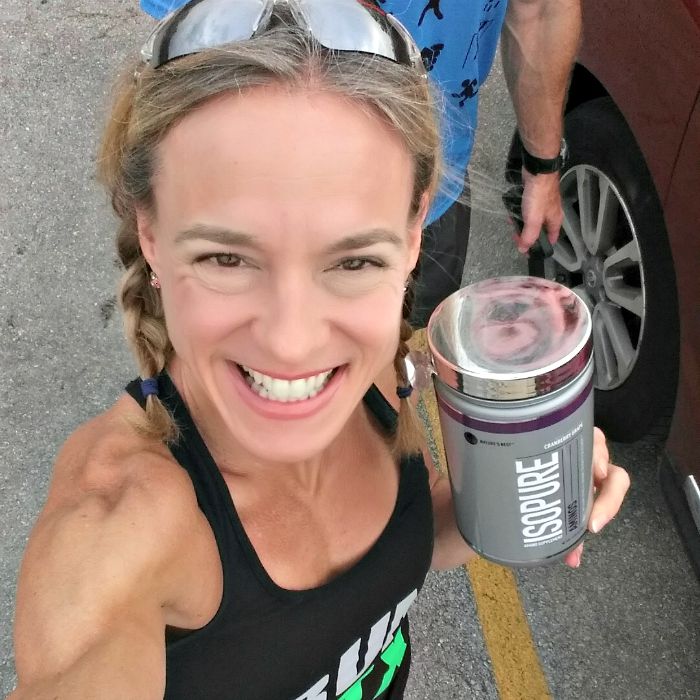
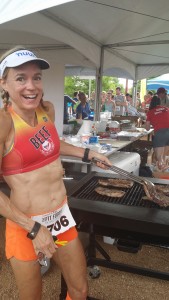 See this picture to the left? I’m not obese. I eat butter, beef, eggs, a rainbow of whole foods and a low-carb diet in general. I was even having a quote-unquote fat day, that morning. Guess what, I also exercise, care about my health and fitness and I don’t like the government telling me what to do. Thirty years of federal nutrition “guidance” has made us fatter and sicker, lets take a stand and do something about it because #NutritionMatters.
Of course, all these federal guidelines must be well-intentioned, although woefully misguided. Who would purposely want to create a population where obesity rates have doubled over the last 30 years and are projected to rise to 50 percent by 2030, according to The Trust for American’s Health Report. Yup, that’s right ONE HALF of Americans will not just be pleasantly plump, but will be medically obese. The upsurge in obesity rates is equally as staggering with our kids. We are in a major health crisis here in the USA.
In a nutshell, it’s time for all of us to look beyond MyPlate and begin demanding dietary guidelines based on quality science that encompasses a range of different approaches. We also need dietary guidelines that eliminate the one-size-fits-all eating plan and focuses on the needs of a very diverse group of people. Newer, better, and more credible science needs to be backing up our food choices, we shouldn’t just be eating “what we’re told” without better proof. Rising rates obesity, diabetes and other health concerns isn’t the proof I’m looking for.
You can help shakeup the status quo and demanding scientific scrutiny in our dietary guidelines by signing this Change.org petition — in the process you may save millions of lives. I signed because I care about what I eat, what my family eats and the health and well-being of American’s in general.
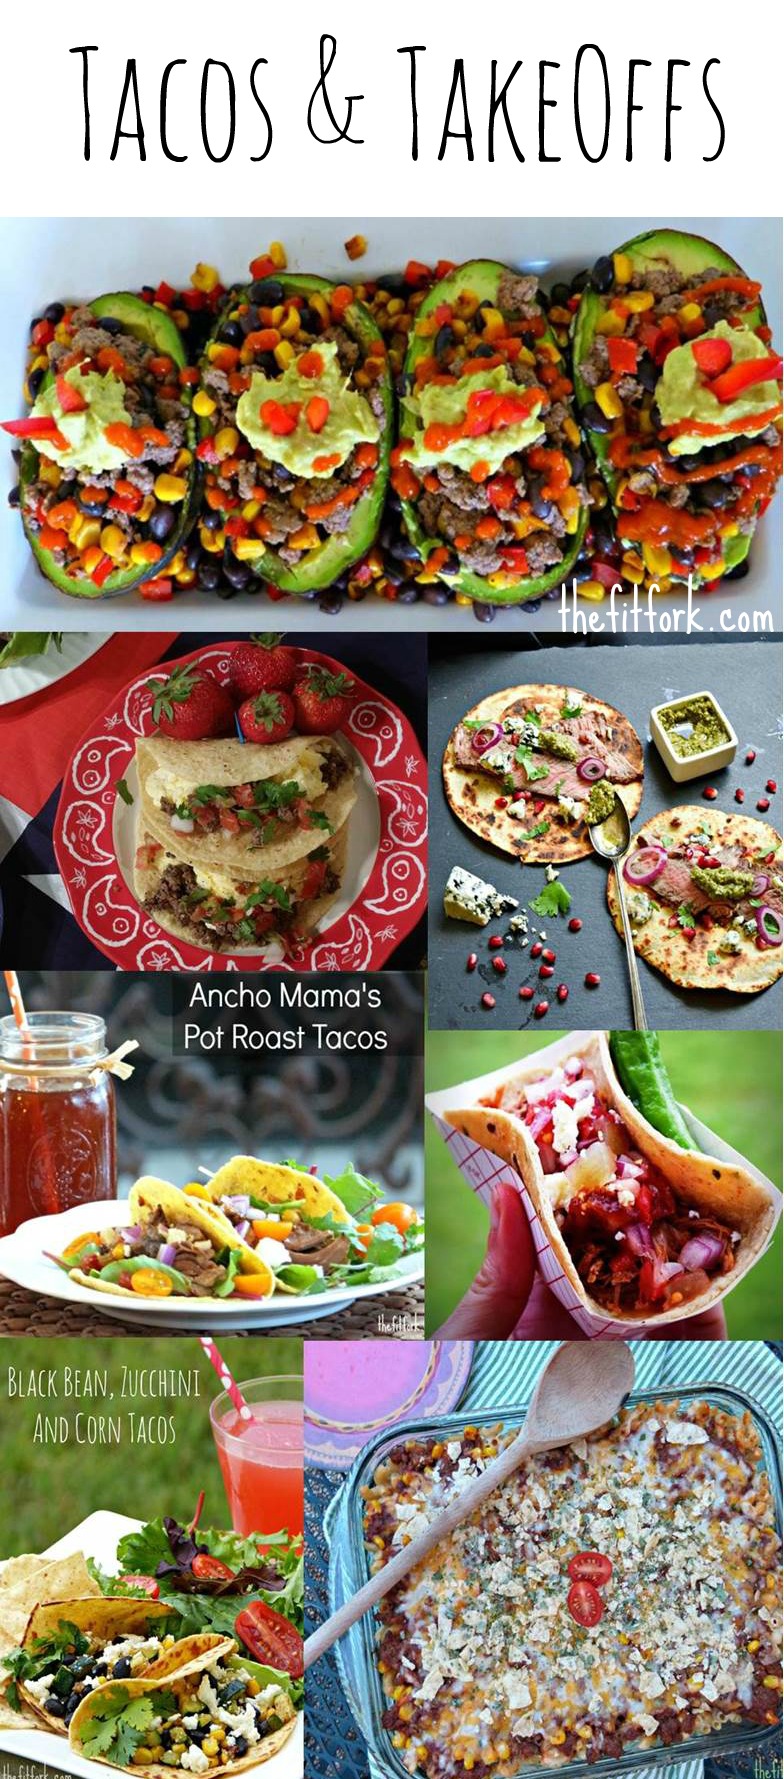
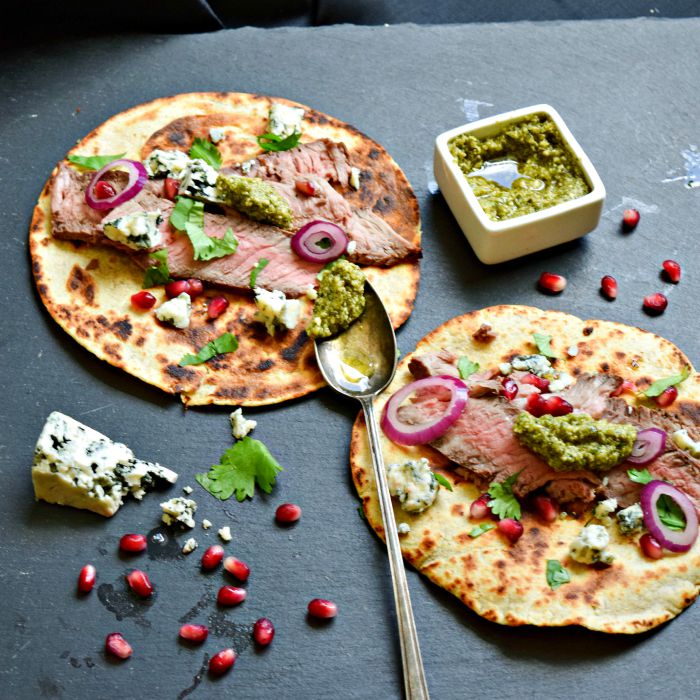
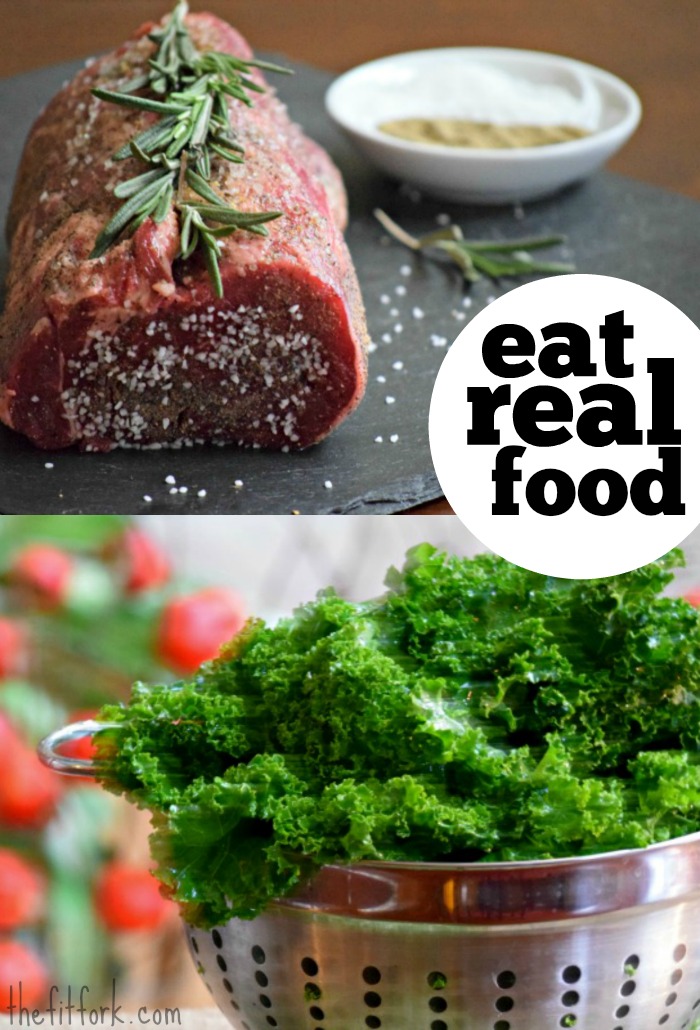
Also, in the name of wholesome family meals that WON’T make you fat or unhealthy, I’ve rounded up a week of my favorite Low-Carb Beef Dinners. I enjoy all of these on a regular basis with a nice side of roasted veggies or a big green salad.
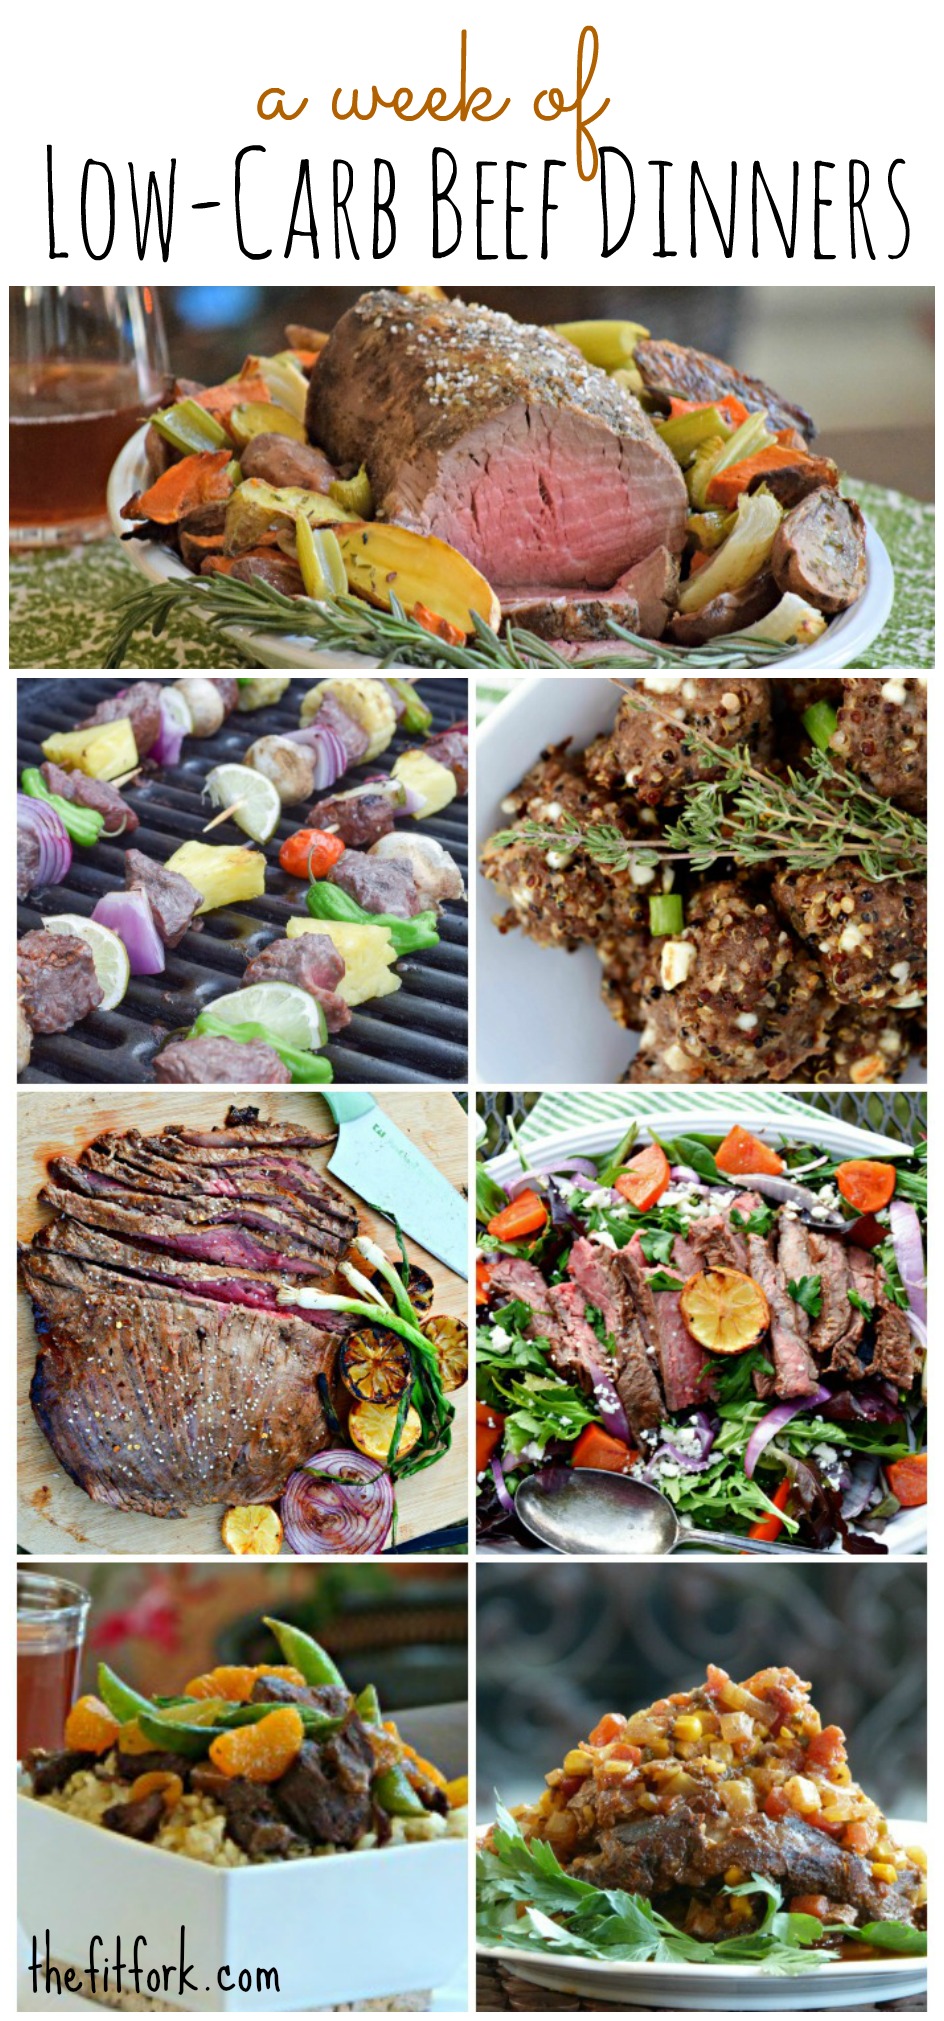
Recipes from top, moving clockwise:
- Rosemary & Garlic Rubbed Tenderloin with Roasted Root Veggies
- Beef, Feta and Quinoa Meatballs
- Flank Steak & Persimmon Salad
- Ancho Mama’s Pot Roast
- Orange & Sugar Snap Pea Beef
- Lemon Grilled Flank Steak
- Do It Your Way Sirloin Kebabs
What are you doing to help your health? Do you think it is sometimes confusing to know what IS and what ISN’T healthy to eat? Please share you thoughts in the comments below and please consider signing the petition to demand that quality science determine the 2015 U.S. Dietary Guidelines. Thank you, XOXO — Jennifer