Easy Brisket Deviled Eggs: Snack for Game Day, Holidays and Post Workout

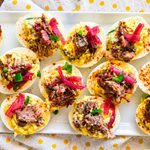
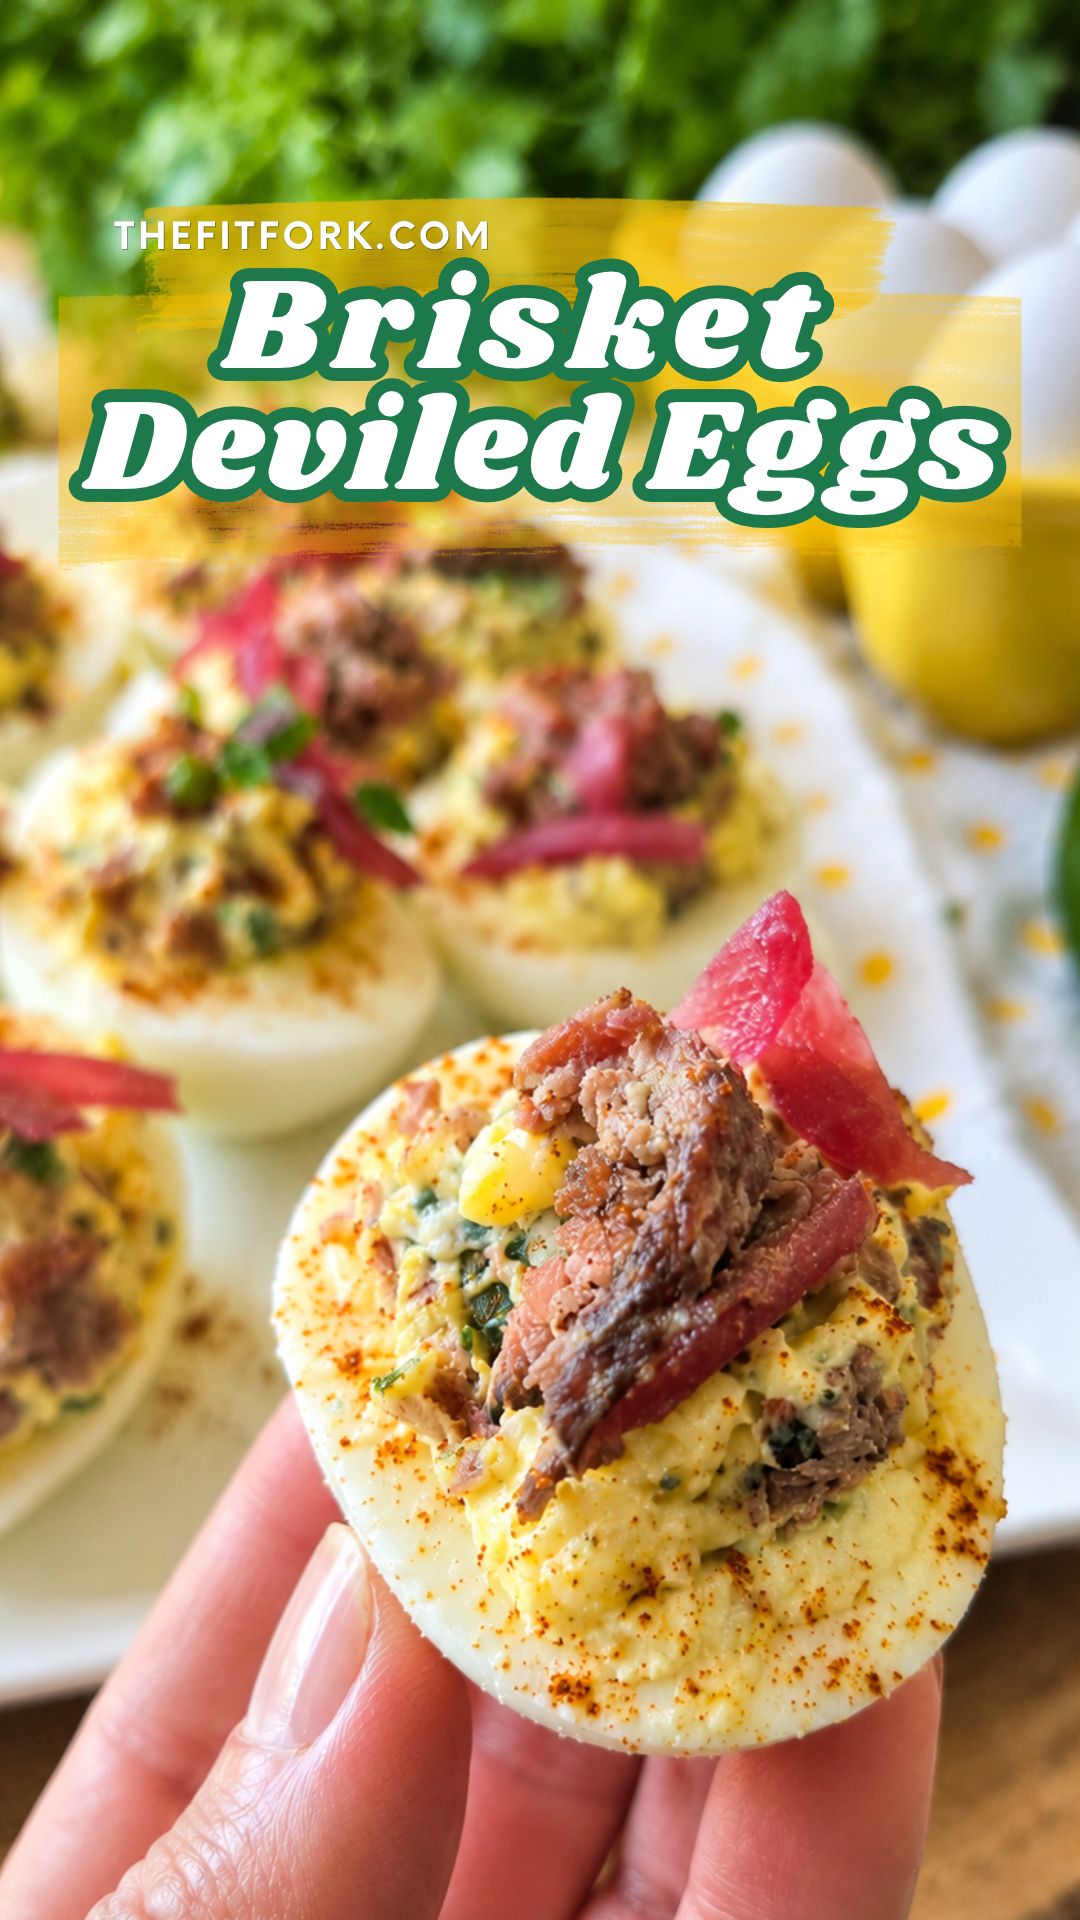
Deviled Eggs bring a little Texas BBQ flavor to a familiar favorite, making them a crowd-pleasing appetizer for just about any occasion. This batch was created by me, and inspired by my friends at BeefLovingTexans.com
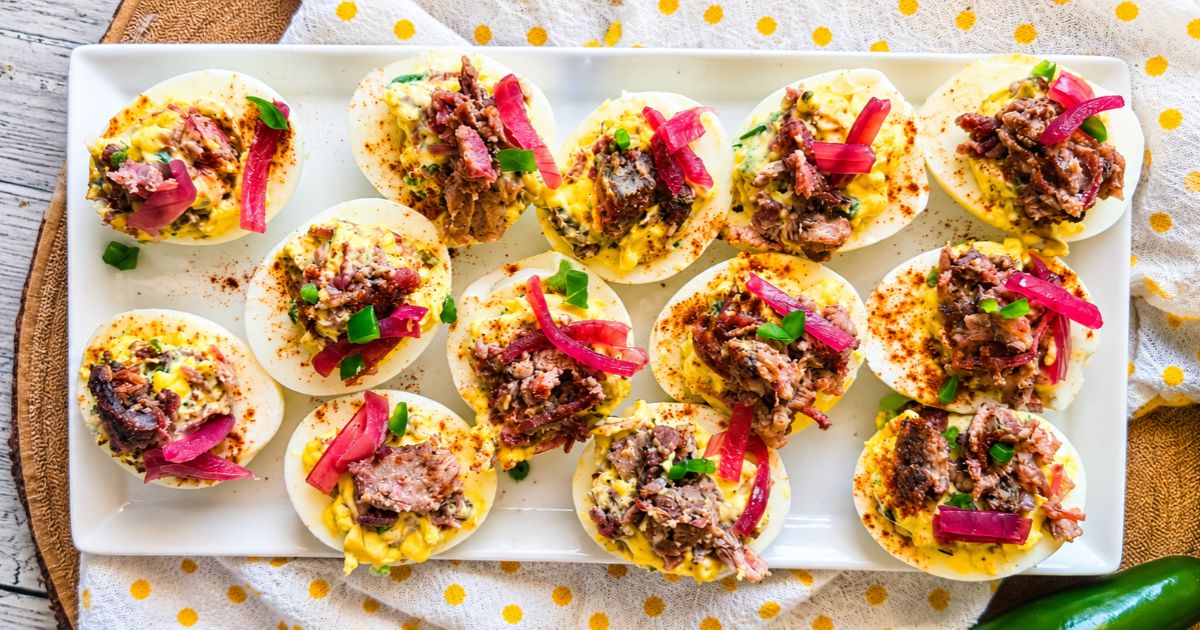
They’re right at home on your Thanksgiving appetizer table, alongside your favorite game day snacks, at Easter celebrations, or at a backyard summer cookout. And because they’re surprisingly easy to make, you don’t have to save them for a special occasion! And, the best part? You don’t even have to smoke a brisket yourself. Leftover brisket works beautifully, but store-bought cooked brisket or a few slices from your favorite BBQ joint make this recipe easy to pull together anytime the craving strikes.

Why You’ll Love These Brisket Deviled Eggs

  • A crowd favorite with a Texas twist. Deviled eggs are a familiar party staple, but smoky brisket and a little jalapeño bring a delicious BBQ-inspired upgrade.
  • Perfect for practically any gathering. Serve them for Thanksgiving, Christmas, Easter, game day, potlucks, summer cookouts, or casual backyard get-togethers.
  • Easy to make. The filling comes together with simple ingredients, and a cookie scoop makes filling the egg whites quick and tidy.
  • A delicious way to use leftover brisket. Have a little brisket left from a weekend cookout? This is a tasty way to give it a second life.
  • Protein-packed party food. Each serving of two deviled egg halves provides 10 grams of protein, making these little bites more substantial than your average appetizer.

Prep & Storage Tips for Brisket Deviled Eggs
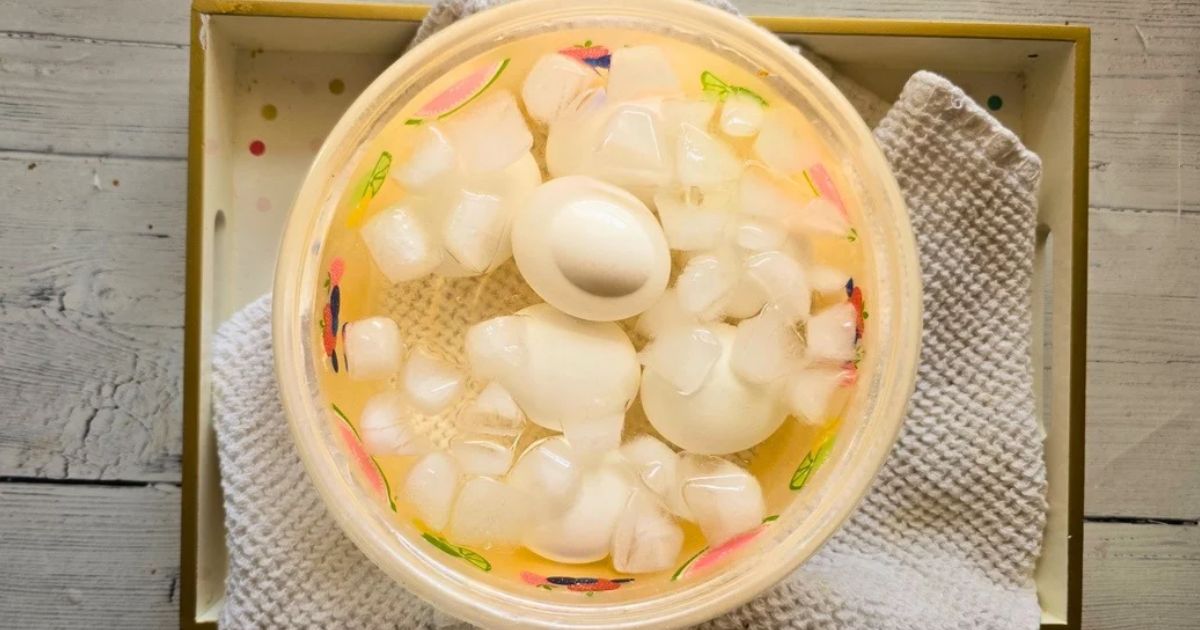
For easier egg peeling: Once the eggs are cooked, transfer them immediately to an ice bath to stop the cooking process. Then allow them cool completely. This helps prevent overcooking, which can cause that unappealing green-gray ring around the yolk, and cooling makes the eggs more comfortable to handle. If egg is being stubborn to peel, crack shell and stick under water while peeling . . or try using older eggs (which often peel more nicely than super fresh eggs).

Choose the Mayo You Love: Mayonnaise gives deviled egg filling its classic creamy texture. Regular mayonnaise delivers a rich, traditional flavor, while avocado-oil mayonnaise is another option if that’s what you keep in your fridge. We all have our favorite brand, and some of us prefer “light.” Also, using plain Greek yogurt is another option.

Use a Cookie Scoop for Neat Filling: Want your deviled eggs to look party-ready without a lot of fuss? A small cookie scoop is a handy way to portion the filling evenly into the egg whites without the clean-up and skills needed to use a pastry piping bag.

Don’t Be Shy With the Toppings: Top as your heart desires. My favorite deviled egg toppings are pickled red onions, diced avocado, fresh jalapeño slices, chopped cilantro or chives, and smoked paprika. A little drizzle of BBQ sauce could be a nice touch as well!

Storage Tip: Keep the finished eggs refrigerated at 40°F or below until serving. Don’t leave them at room temperature for more than two hours, or one hour when temperatures are above 90°F. For outdoor cookouts, serve them over ice or bring out smaller platters and replenish as needed.

Leftovers: Put leftover deviled eggs in a covered storage container or covered egg platter and keep refrigerated at 40°F or below for up to 5 days.
Brisket Deviled Eggs Nutrition

These aren’t just a pretty addition to your appetizer spread. They also provide a little protein in every bite. That’s why I like to add them to a lunch or post workout snack. Nutrition per serving (2 deviled egg halves):

  • Calories: 142
  • Total fat: 10.5 grams
  • Carbohydrates: 2 grams
  • Protein: 10 grams
Brisket Deviled Eggs
Course: Appetizer, snacks
Cuisine: American
Keyword: appetizer, brisket, easter, egg, fingerfood, game day, thanksgiving
Servings: 6 people (2 each)
Ingredients
  • 1/2 cup cooked Leftover Smoked Beef Brisket, chopped, divided
  • 6 eggs
  • 1/4 cup reduced-fat mayonnaise
  • 1 tablespoon yellow mustard
  • 1 teaspoon water
  • 1/8 teaspoon garlic salt
  • 1 jalapeno pepper seeded and chopped
  • 1/2 teaspoon smoked paprika
  • ¼ cup picked red onion slices
  • optional: diced avocado, microgreens, etc.
Instructions
  1. Add 6 eggs to pot and bring to a boil, uncovered. Let boil for 1 minute;
  2. then turn off heat, add lid to pot, and let stand for 12 minutes.
  3. After 12 minutes, use a slotted spoon to immediately put the eggs into a
  4. bowl filled with water and ice. Let sit for 15 minutes.
  5. Peel eggs and slice in half crosswise.
  6. Add yolks to bowl along with mayo, mustard, water, garlic salt. Use fork or spatula to combine until mostly lump free. Doesn’t have to be perfect.
  7. Next, stir in brisket (all but 2 tablespoons) and diced jalapeno.
  8. Spoon yolk mixture back into egg white halves.
  9. Top each deviled egg with a little bit of the reserved brisket, a bit of
  10. picked red onion, and sprinkled with paprika.
  11. Set in fridge to keep cool until serving. Do not keep out longer than 2 hours, unless chilled on ice. Store leftovers in air-tight container, in
  12. fridge, for up to 5 days.
Recipe Notes

Nutrition Facts (per 2 halves)

  • Calories: 142
  • Total fat: 10.5 grams
  • Carbohydrates: 2 grams
  • Protein: 10 grams

Giant Protein Snickerdoodle Cookie | Vegan + Toaster Oven Friendly!

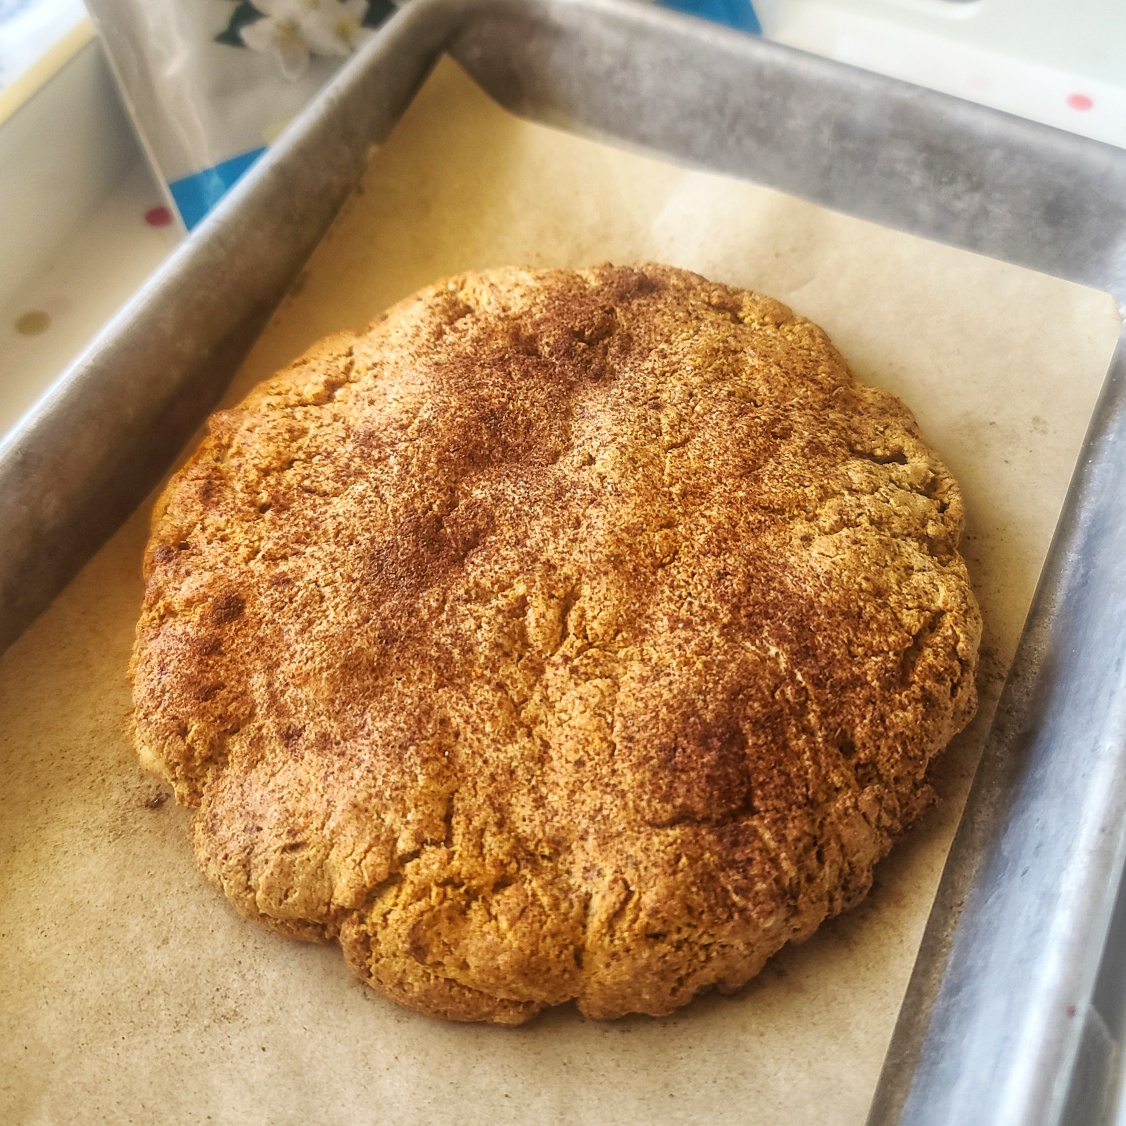
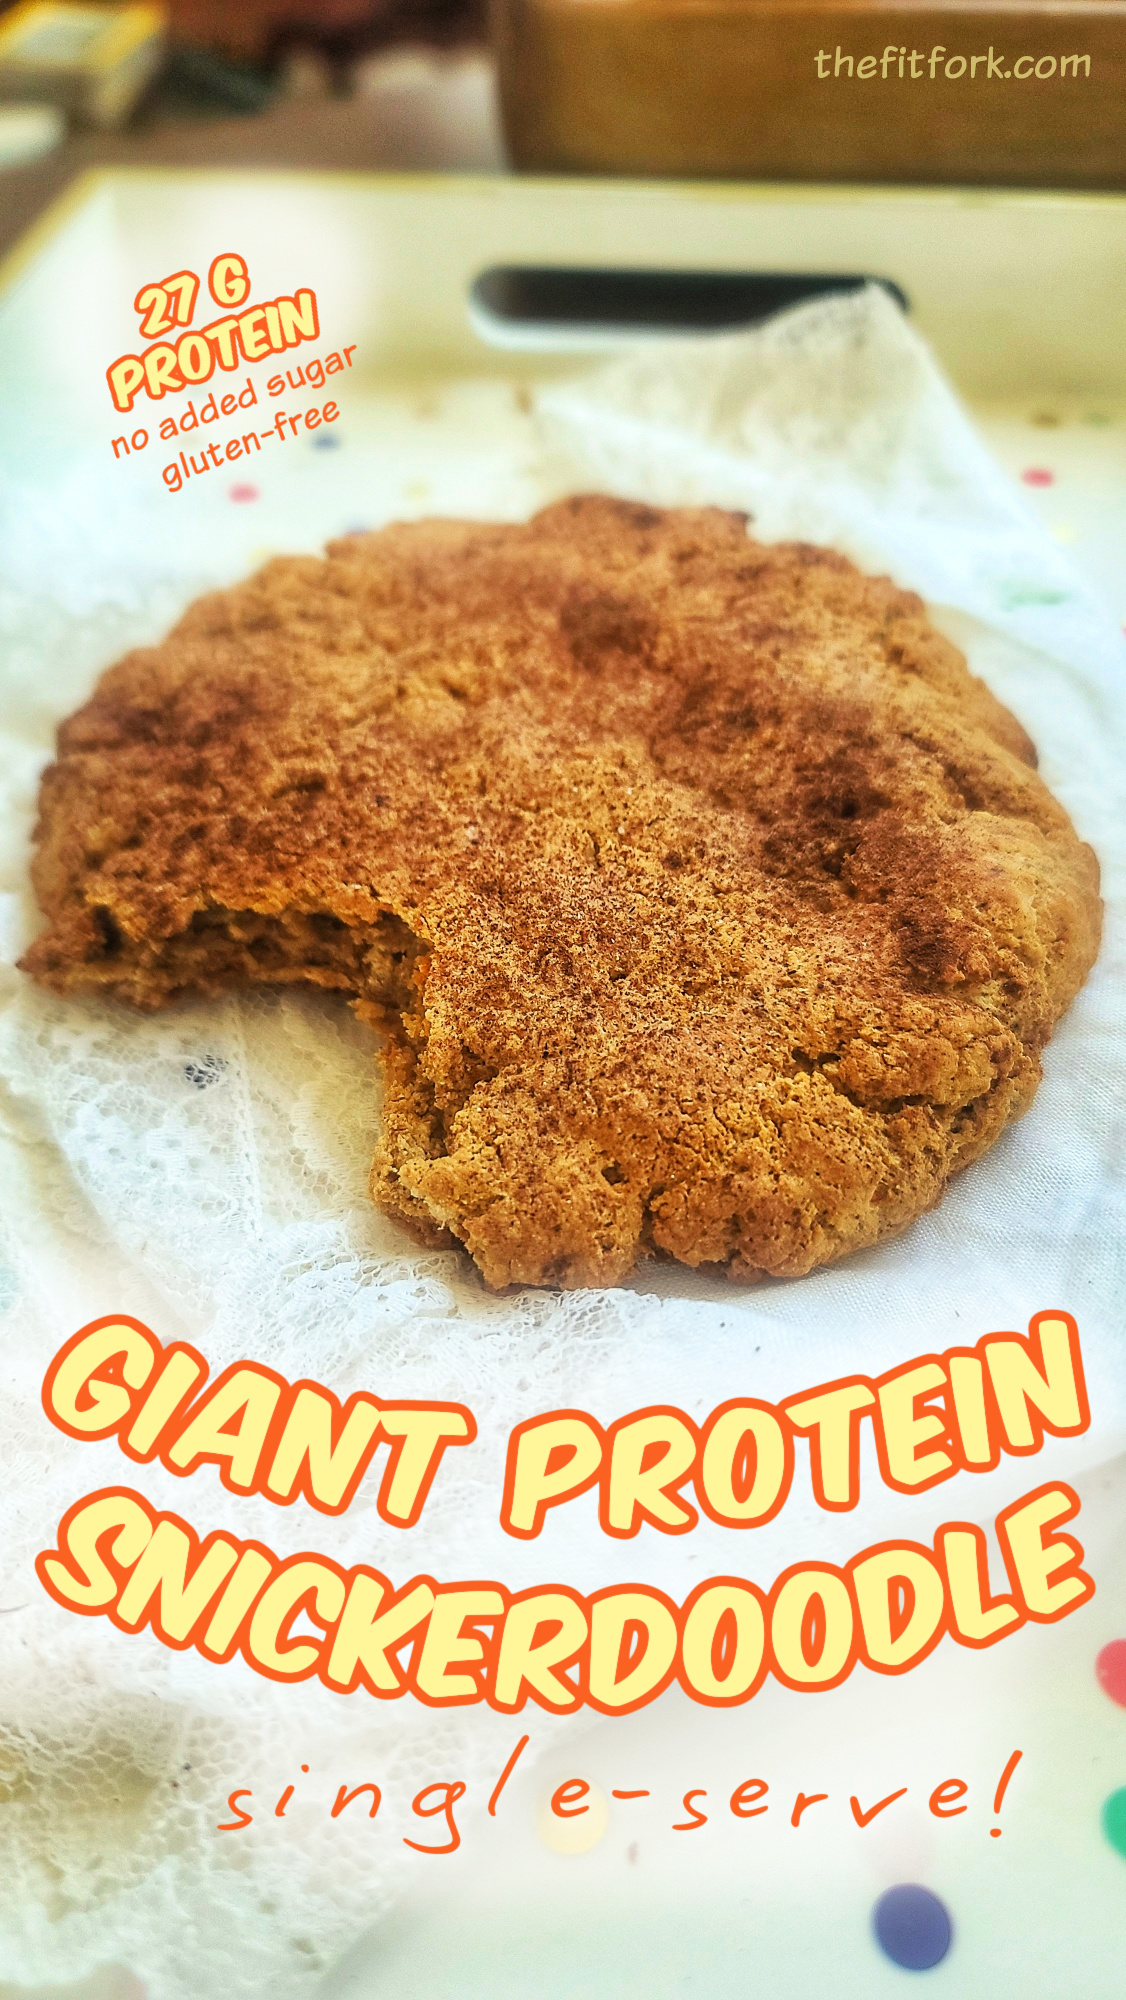
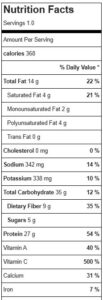
Sometimes a craving for something sweet, soft, and cinnamon-sugar coated just hits hard. That’s where this Giant Protein Snickerdoodle Cookie steps in—bringing all the cozy, nostalgic cookie vibes without a sugar crash or guilt. Best of all? It’s totally vegan and packs in 27 grams of plant-based protein!

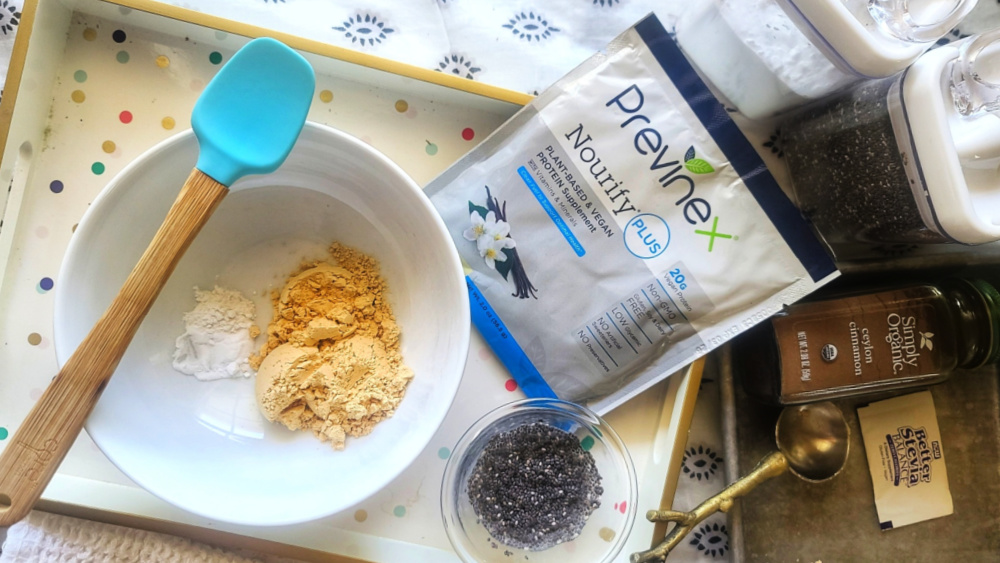
I created this single-serve recipe for those days when you just need a cookie—stat—but also want to stay on track with your health goals. It’s made with Nourify PLUS from Previnex (use code thefitfork to save 15%), a complete vegan protein powder that blends beautifully into baked goods.

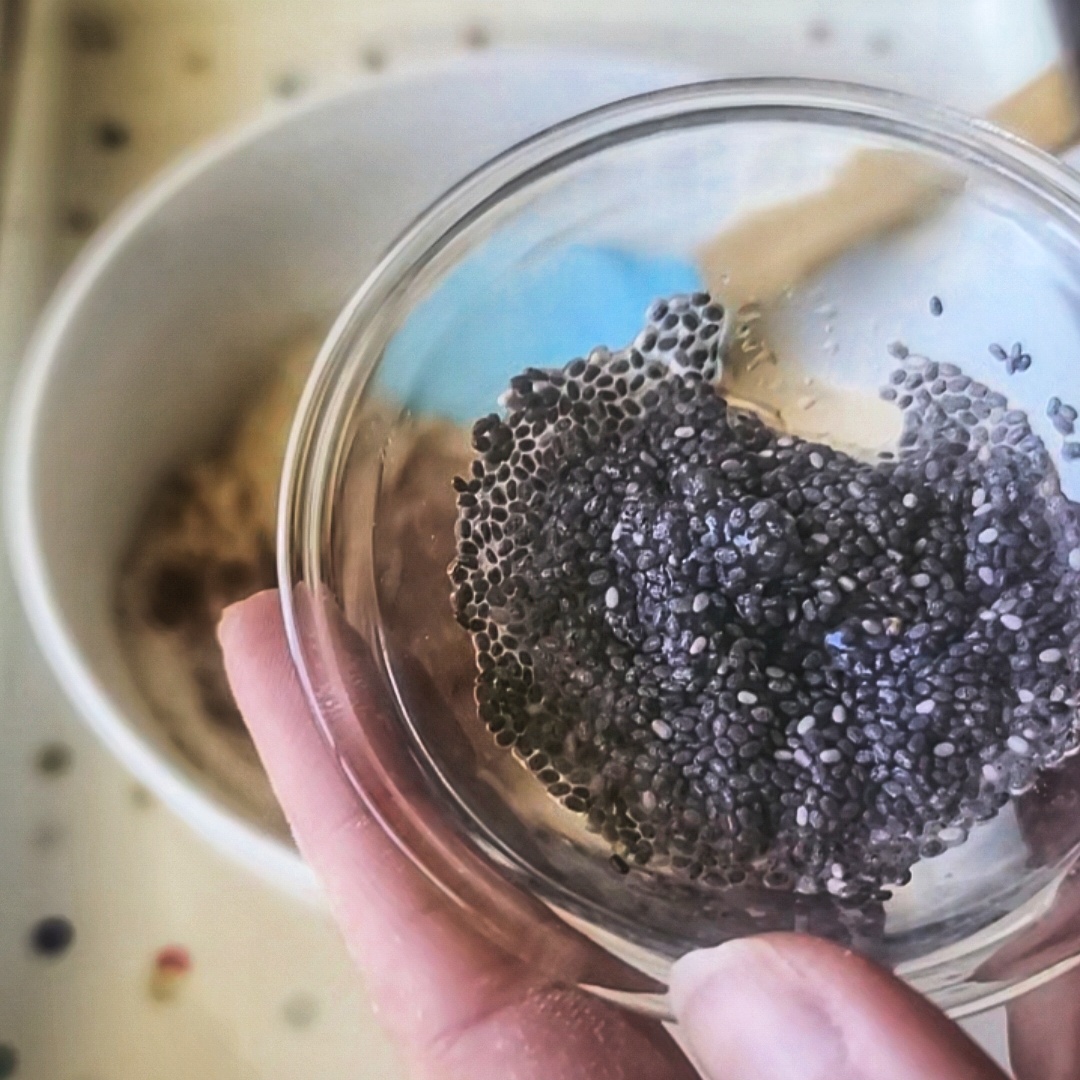
 Instead of egg, I used a gelled chia seed mixture to hold everything together naturally. Peanut flour adds even more protein and keeps it a gluten-free recipe. However, you can use an all-purpose flour, if desired.

The sheer size of this “bis as yo’ face” cookie finished in cinnamon feels indulgent… yet it’s made with good-for-you ingredients. You can even bake it in a toaster oven, so no need to heat up the whole kitchen!

Perfect for a protein-packed breakfast, post-workout treat, or late-night snack—this vegan protein cookie proves you really can have your comfort food and feel good about it too.

Giant Protein Snickerdoodle
Prep Time
10 mins
Cook Time
12 mins
Total Time
22 mins
 

I’m all about a big snack with big benefits, Protein Snickerdoodle Cookie: Made with a plant-based protein powder it packs 27 grams of protein, is gluten-free, and dairy-free. Gelled chia seeds replace eggs to keep my vegan friends happy. Single-serve, full of cinnamon goodness, and yep—you can even bake it in a toaster oven!"

Course: Dessert, Snack, workout
Keyword: cookie, protein powder, vegan
Servings: 1 serving
Calories: 364 kcal
Ingredients
  • 2 teaspoon chia seeds
  • 2 tablespoons water
  • 2 scoops plant-based protein powder such as Previnex Nourify – 60 grams
  • 3 tablespoon peanut flour, chickpea flour or finely ground almond flour (or regular all-purpose flour, but recipe will have less protein)
  • 2 little packets stevia sweeter
  • ¼ tsp baking powder
  • ¼ tsp cream of tartar
  • ¼ teaspoon ground cinnamon
  • 2 teaspoons coconut oil
Instructions
  1. In a small bowl, add chia seeds to water and let sit for 10 minutes until gelling.
  2. In another bowl, mix together protein powder, flour, stevia, baking powder, cream of tartar and cinnamon until combined.
  3. To these dry ingredients, stir in oil and the gelled chia seed mixture and stir until incorporated. Use hands to form into one large dough ball.
  4. Spray center of baking sheet with cooking spray, or use silicone baking sheet. Set dough ball on top of this spot.
  5. Use hands or spray a flat-bottomed bowl with cooking spray and press down on dough ball until spread out approximately 5 inches in diameter. Use hands to shape sides, if needed.
  6. Sprinkle with a little extra cinnamon.
  7. Bake at 350 F degrees in the oven (or toaster oven) for approximately 10 to 12 minutes, or center set and edges and top turning light golden brown.
  8. Remove from oven and let rest on pan for 2 minutes. Eat.
Recipe Notes

Pumpkin Spice Latte Protein Cheesecake: No-Bake Treat for Fall

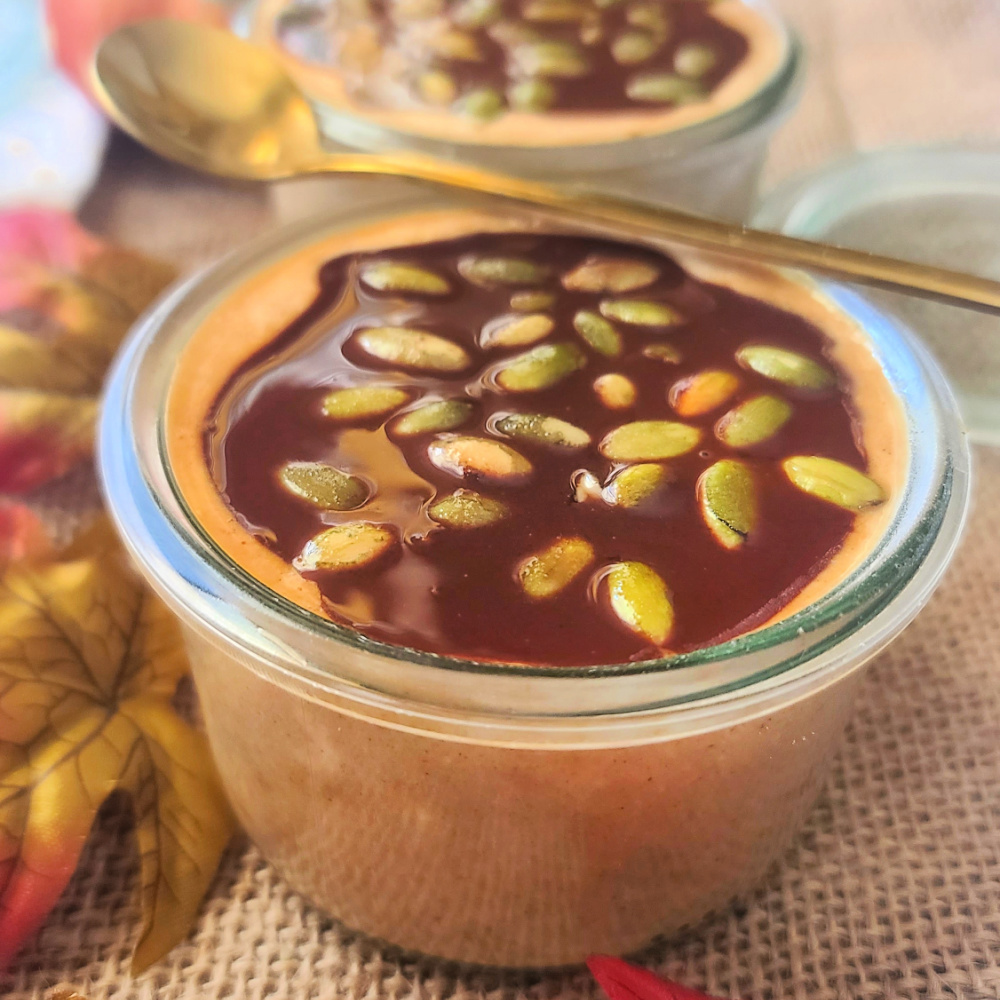
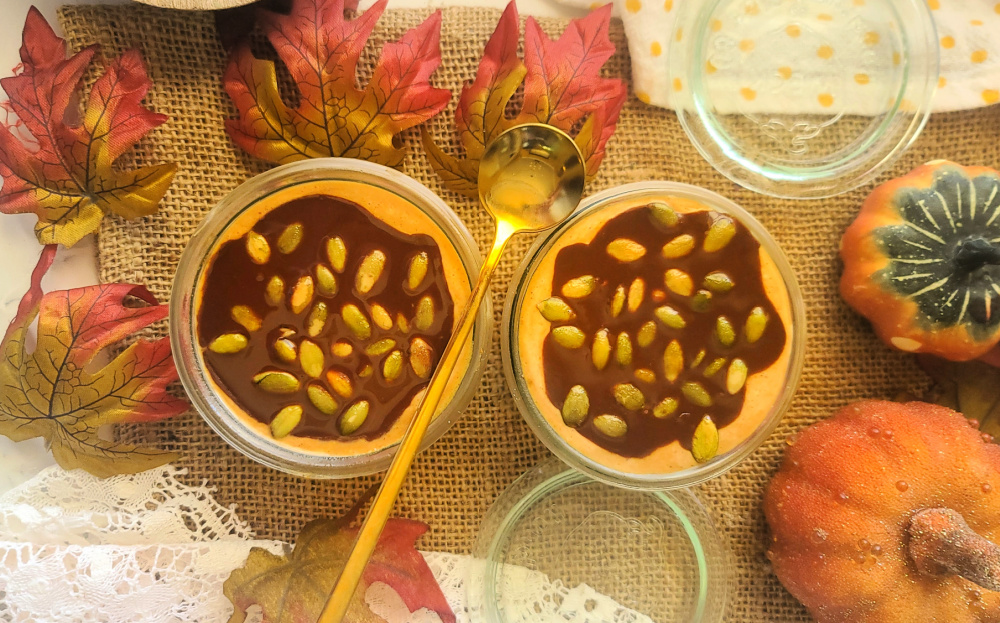
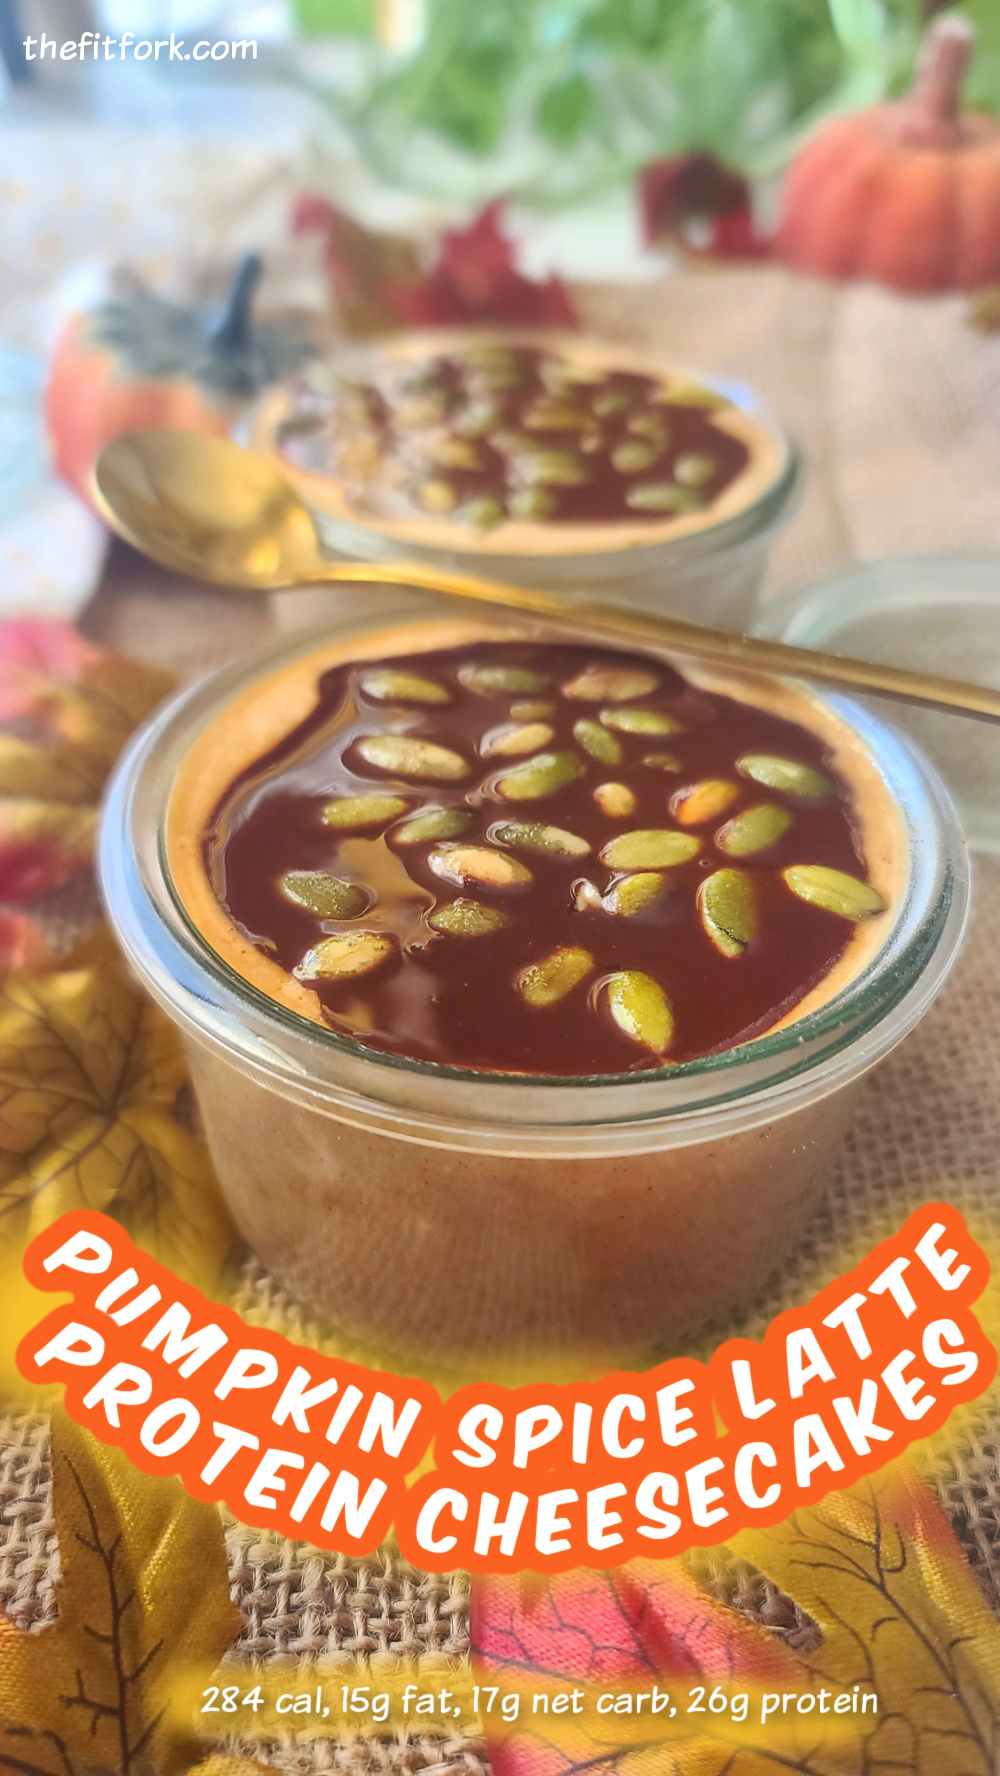
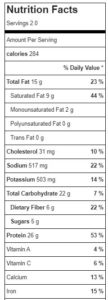
Fall is officially here, which means it’s time to indulge in all things pumpkin spice! But what if you could enjoy that iconic fall flavor in a healthy, protein-packed treat? Well, say hello to my Pumpkin Spice Latte Protein Cheesecakes—a no-bake dessert that you can whip up in minutes and is perfectly portioned in single servings! Makes two; each with 284 cal, 15g fat, 17g net carb, 26g protein

Pumpkin Spice Latte Protein Cheesecakes—a fall-flavored no-bake dessert that you can whip up in minutes and is perfectly portioned in single servings! Makes two; each with 284 cal, 15g fat, 17g net carb, 26g protein

These cheesecakes are perfect for when you’re craving something sweet but want to keep it light and nourishing. Made with smooth blended cottage cheese and a whey-protein coffee mix, each cheesecake offers a serious protein boost while keeping things creamy and delicious. Plus, you’ll get a little caffeine kick, about the same as half a cup of coffee, to keep you energized throughout the day.

BENEFITS OF PUMPKIN SPICE LATTE PROTEIN CHEESECAKES

Healthy Ingredients: Cottage cheese and whey protein coffee mix create a nutrient-dense base that’s high in protein and low in sugar.

Energy and Focus Boost: Thanks to the whey protein coffee mix, you get a modest kick of caffeine in each serving (equivalent of about ½ cup coffee) to help you smash goals through they day.

Fall Flavors: With canned pumpkin and pumpkin pie spice, you’ll get that cozy autumn vibe in every bite.

Easy to Make: These cheesecakes are no-bake, single-serving, and can be prepped in just a few minutes. They’re ideal for busy mornings, a post-workout snack, or a guilt-free dessert.

Chocolate Shell Topping: Sugar-free chocolate chips melted with a touch of coconut oil create a rich, crunchy shell that hardens in the fridge. It’s the perfect contrast to the creamy filling!

Pumpkin Spice Latte Protein Cheesecakes—a fall-flavored no-bake dessert that you can whip up in minutes and is perfectly portioned in single servings! Makes two; each with 284 cal, 15g fat, 17g net carb, 26g protein

WHEN TO ENJOY PUMPKIN SPICE CHEESECAKE WITH PROTEIN

Post-Workout: High in protein, these cheesecakes will help refuel, support muscle management, and satisfy hunger after a workout.

Dessert: Indulge in a sweet treat and satisfy cravings that won’t derail your health goals.

Breakfast: Yes, these pumpkin coffee cheesecakes are healthy enough to start your day with! No sugar crash, just lots of sustained energy here! Plus, the caffeine from the coffee mix adds a nice little morning boost.

TIPS FOR MAKING PSL PROTEIN CHEESECAKES

Blending: This recipe calls for blending cottage cheese for a smooth and creamy texture. For the small amount required, I find that using a personal-sized blender works best – or blending the entire container and using what you need, and saving the rest for another use.

Leftover Pumpkin: You will have leftover canned pumpkin from this recipe. If you don’t have another use for it in the next couple days, freeze in portions (I like ¼ cup in muffin tins) to thaw out and use later in smoothies, oatmeal, baked pumpkin protein recipes and more!

No-Caffeine Version: Swap out the protein coffee mix for an equal amount of vanilla, cake batter, or pumpkin-flavored whey protein. Continue with the rest of the recipe as directed.

Containers: I like to use 6-8 oz. container with air-tight lid, like a canning jar — like these wreck jars in photos.

Pumpkin Spice Latte Protein Cheesecakes—a fall-flavored no-bake dessert that you can whip up in minutes and is perfectly portioned in single servings! Makes two; each with 284 cal, 15g fat, 17g net carb, 26g protein
Pumpkin Spice Latte Protein Cheesecakes
Prep Time
5 mins
chill
5 mins
Total Time
10 mins
 

Pumpkin Spice Latte Protein Cheesecakes—a fall-flavored no-bake dessert that you can whip up in minutes and is perfectly portioned in single servings! Makes two. each with 284 cal, 15g fat, 17g net carb, 26g protein

Course: Breakfast, Dessert, Snack
Keyword: coffee, cottage cheese, latte, protein powder, pumpkin
Servings: 2 servings
Calories: 284 kcal
Ingredients
  • 1 cup 2% cottage cheese, blended
  • 0.33 cup mashed, pumpkin puree
  • 0.25 tsp ground cinnamon
  • .25 tsp pumpkin pie spice
  • 2 scoops coffee whey protein (equals 32 grams) (I used Chike)
  • optional a few drops of liquid stevia or monk fruit if not sweet enough for you.
  • 3 Tbsp sugar-free chocolate chips
  • 1 tsp coconut oil
  • 1 tsp pumpkin seeds
Instructions
  1. Add blended cottage cheese, pumpkin, spices, and coffee whey protein mix
  2. together and stir until smooth.
  3. Taste, and if not sweet enough for your liking, add 5-10 drops of liquid stevia or monk fruit.
  4. Divide mixture among two small bowls, approx. 6-8 oz.
  5. In small microwave safe dish, melt chocolate chips and coconut oil together for 45 to 90 seconds (stirring up every 20 seconds or so, until smooth and glossy). Pour evenly in a layer between the two cheesecakes.
  6. Sprinkle with a few pumpkin seeds, let set in the fridge 15 minutes to s
Recipe Notes

This post contains Amazon affiliate links.

3-Ingredient Cottage Cheese Pizza Crust (Low Carb, Gluten Free, Protein)

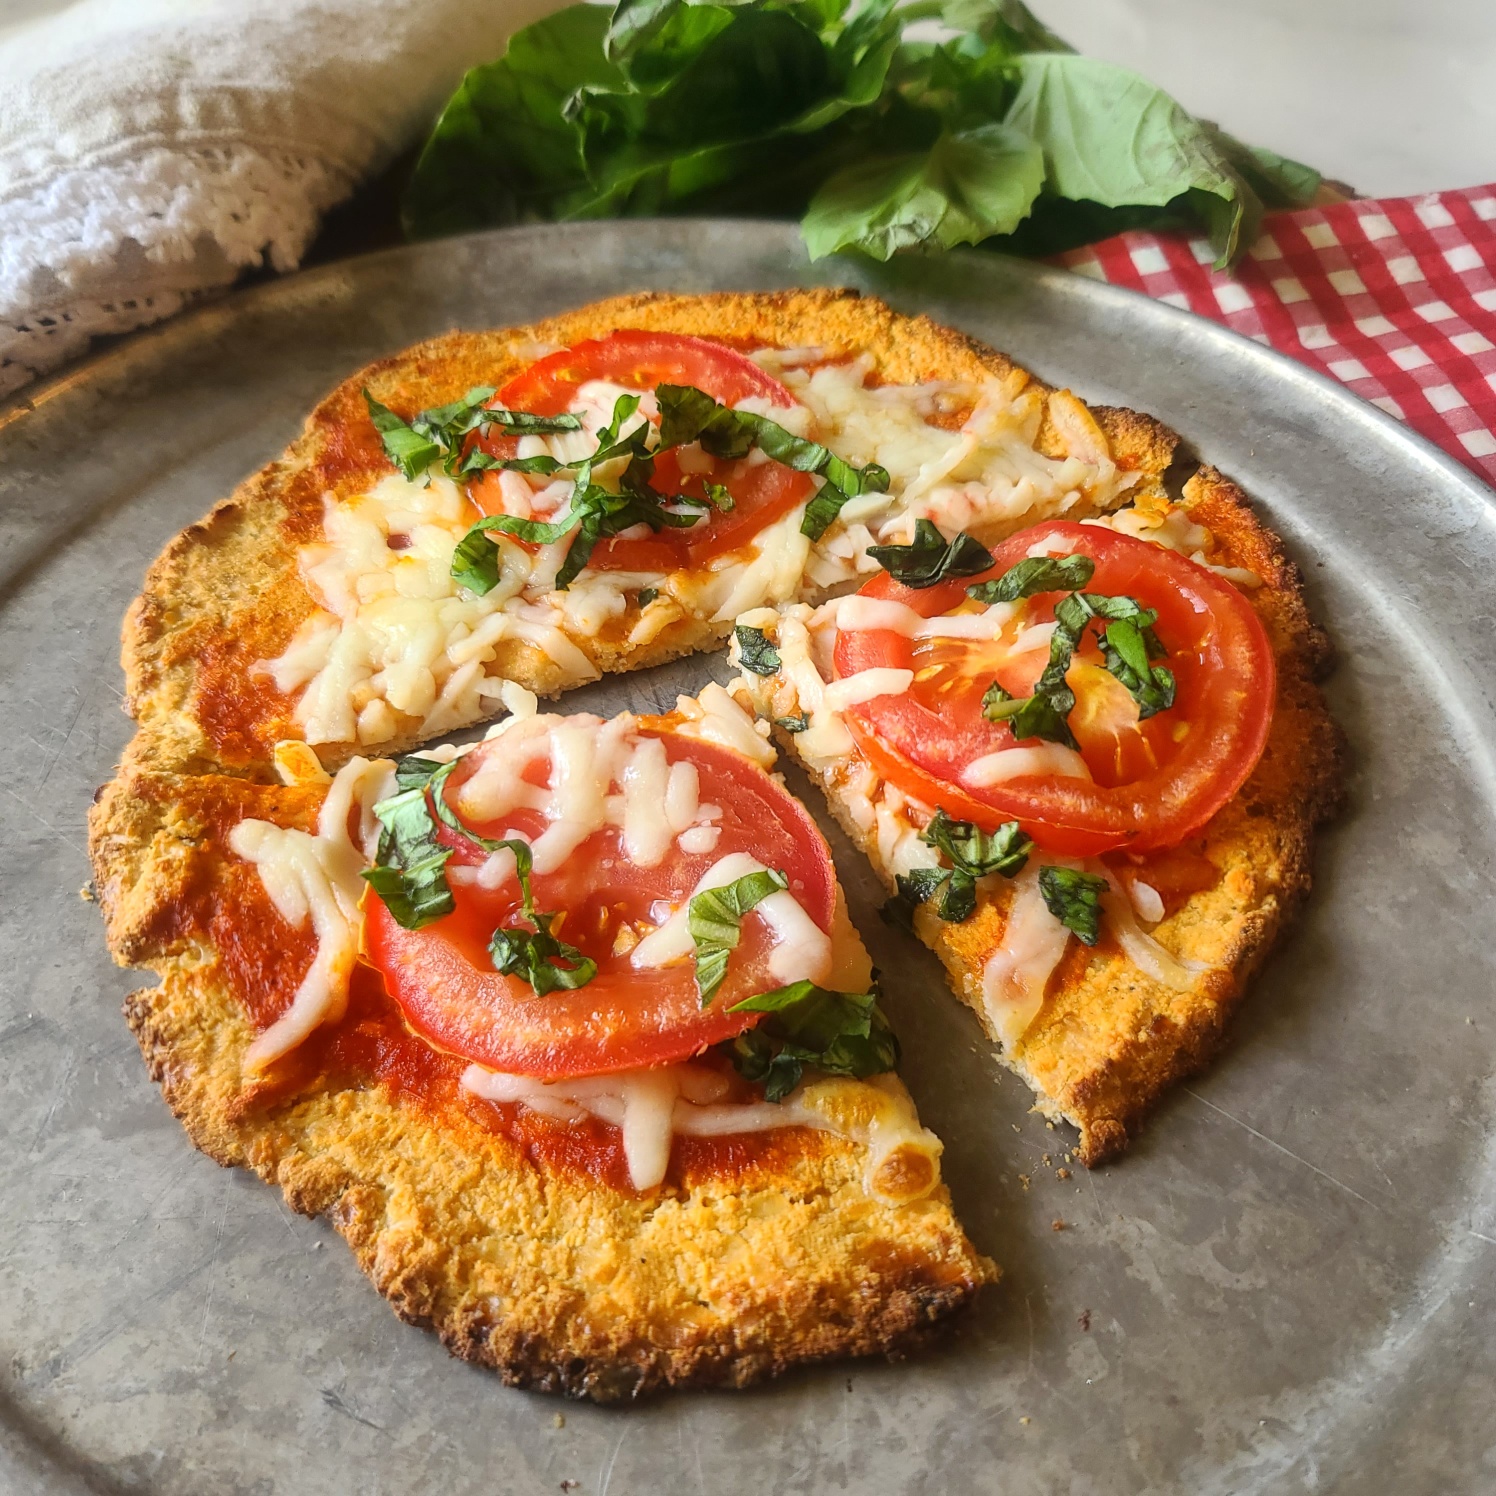
Treat yourself to pizza night done right with 3-Ingredient Cottage Cheese Pizza Crust, a gluten-free, low-carb and protein-packed alternative to traditional crusts.

I’ve been baking and cooking with cottage cheese for YEARS, so it’s funny to see all these viral cottage cheese recipes on TikTok, Instagram and such as if it’s something new! Using cottage cheese is a smart way to bump up protein, lower fat, and minimize carbohydrates in many recipes – pizza crusts included!

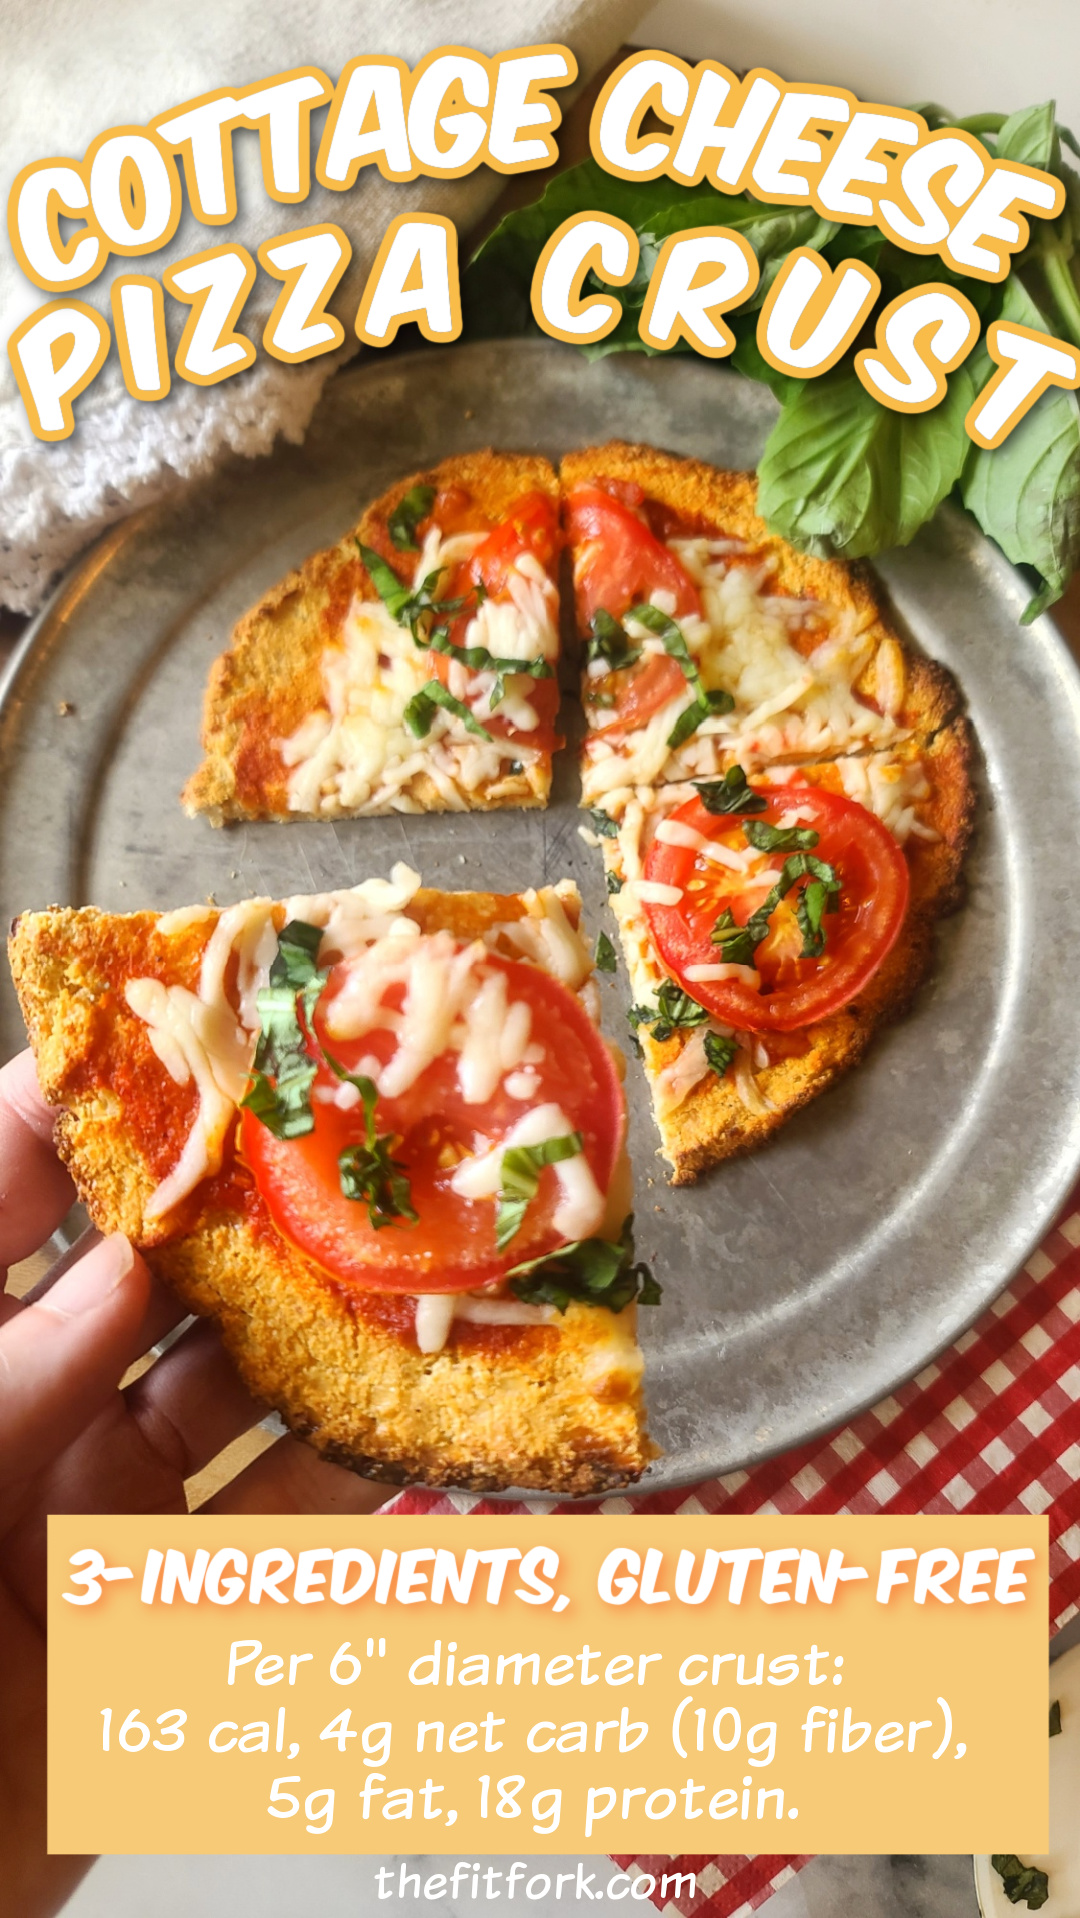
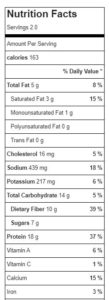
The macros on this pizza crust are impressively good. The recipe makes two personal sized crusts (about 6” diameter each) with a single crust (before toppings of your choice) coming in at 163 cal, 4g net carb, 10g dietary fiber, 5g fat and 18g protein.

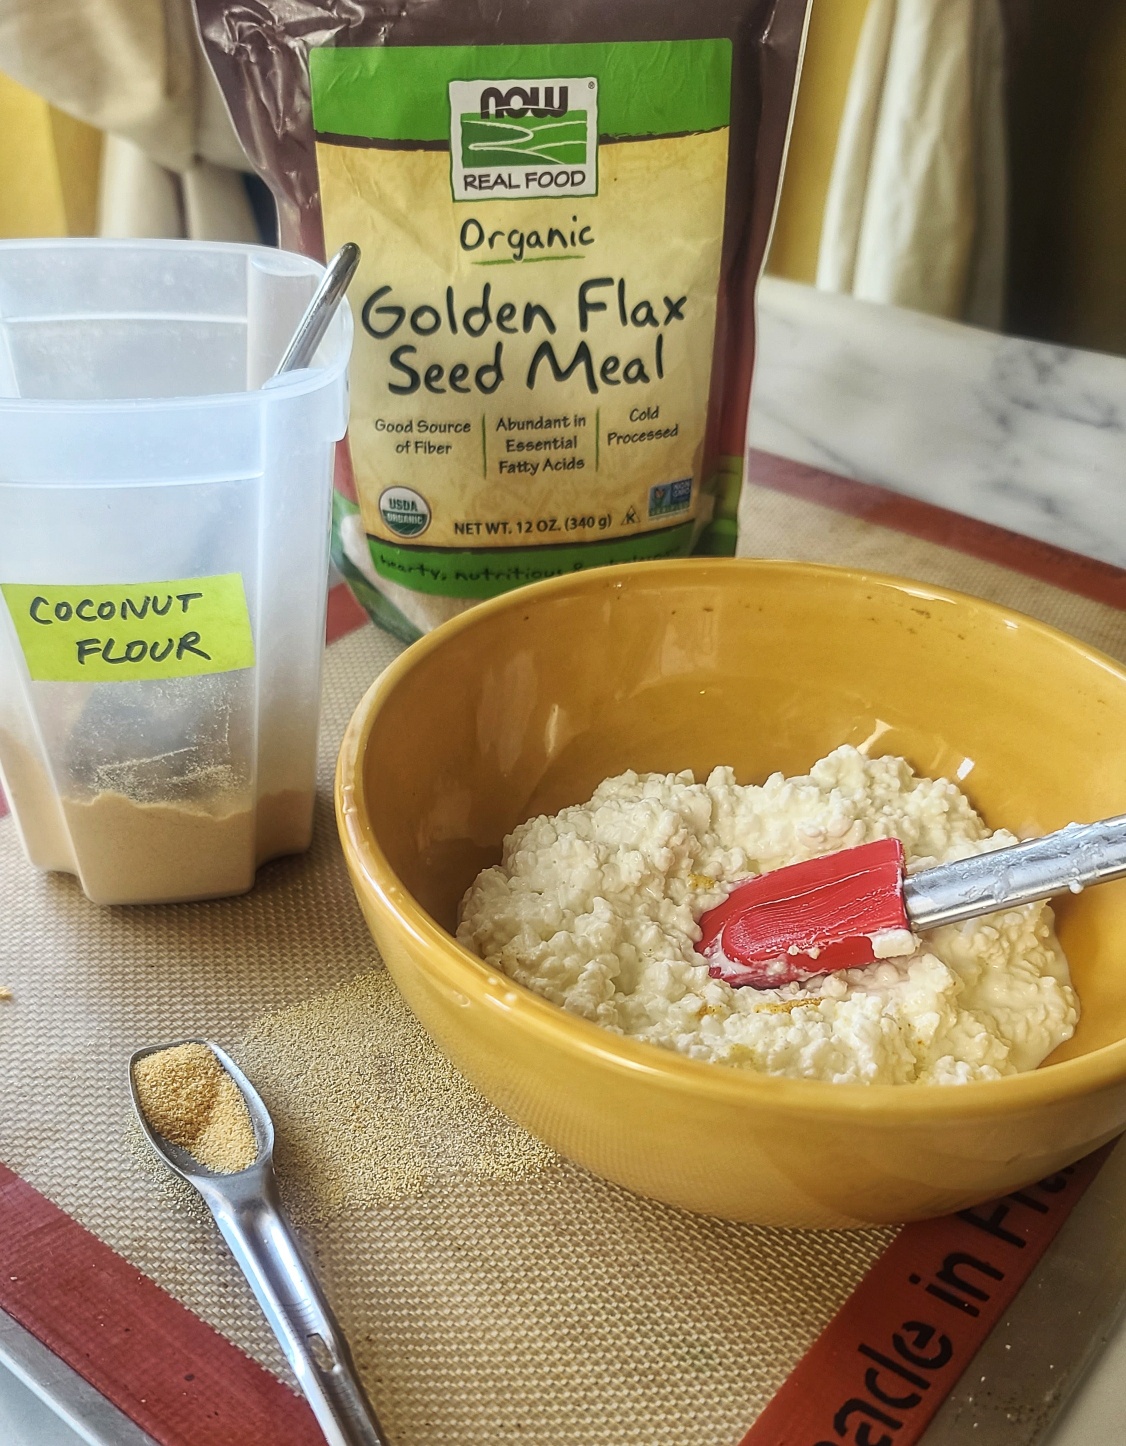
The only ingredients used in this low carb pizza crust are cottage cheese, coconut flour and ground flax seed meal.

TIPS FOR MAKING COTTAGE CHEESE PIZZA CRUST:

COTTAGE CHEESE: When it comes to selecting cottage cheese for his keto pizza crust recipes, pick a small curd cottage cheese with 2% or 4% milk fat. Stay away from the Fat-free cottage cheese, it does not perform as well. Also, if you use small-curb cottage cheese, there is no need to blend the cottage cheese smooth (as some similar recipes call for). For reference, I used Good Culture 2% Classic Low-Fat Cottage Cheese. They also make a lactose-free cottage cheese, if that is needed.

COCONUT FLOUR: This recipe only calls for ¼ cup of coconut flour, but it is a very “thirsty” flour and much less is required than other types of flour. For this reason, please to not make flour substitutes.

GROUND FLAXSEED MEAL: I added ground flax seed to add more fiber to the recipes, along with omega fatty acids. If you can not source this, you can *likely* just substitute with 1 tablespoon more of coconut flour – but I have not tried this yet, so let me know if you do.

OPTIONAL SEASONINGS: You won’t need salt because cottage cheese has enough sodium. But you might like to add garlic powder, everything bagel seasoning, fresh chopped herbs, or whatever else you would prefer.

BAKING: You will need parchment paper or a silicon baking sheet to cover your baking pan and prevent sticking.

COOLING & STORING: After removing the crust from the initial baking, you will want to let it cool almost completely. Otherwise, it will be too fragile to handle. This recipe makes two homemade personal-sized pizza crusts. If you are not using both, cover the leftover one and keep in the fridge to use later for up to 5 days.

TOPPINGS: After your crust has mostly cooled, feel free to handle it to add sauce, more cheese, veggies, meats or whatever toppings you love. Pop back in the oven for about 10 minutes or until cooked to your preference.

Put your trust in this crust for pizza night! A low-carb, high-protein, gluten-free pizza crust that tastes amazing and holds up to the toppings of your choice. Recipe makes two personal-sized crusts, each with 163 cal, 14g carb (4 net carb), 5g fat and 18g protein.

I also have a 2-Ingredient, 2-Minut Pizza Crust recipe that the family loves too – it uses Greek Yogurt and self-rising flour (or an all-purpose gluten-free baking blend with a bit of baking soda).

2 Ingredient 2 Minute Pizza Dough
5 from 6 votes
Put your trust in this crust for pizza night! A low-carb, high-protein, gluten-free pizza crust that tastes amazing and holds up to the toppings of your choice. Recipe makes two personal-sized crusts, each with 163 cal, 14g carb (4 net carb), 5g fat and 18g protein.
3-Ingredient Cottage Cheese Pizza Crust
Prep Time
5 mins
Cook Time
20 mins
Total Time
35 mins
 
Simple, scrumptious and a crust you will crave for pizza night!! Add the toppings you enjoy. Makes two personal-sized crusts, each with 163 cal, 14g carb (4 net carb), 5g fat and 18g protein.
Course: Appetizer, dinner, lunch
Keyword: cottage cheese, gluten free, high protein, low carb, pizza
Servings: 2 servings
Calories: 163 kcal
Ingredients
  • 1 cup 2% or 4% cottage cheese Not zero-fat
  • ¼ cup coconut flour
  • 1 tbsp ground flax seed*
  • Optional: ½ tsp garlic salt or other seasoning of your choice However, don't add seasonings with a lot of salt added. Cottage cheese already has enough sodium.
Instructions
  1. Preheat oven to 400F.

  2. Add ingredients to bowl, mix until combined. Form into two balls.

  3. Line baking sheet with parchment paper or a silicone baking sheet. Use hands to smoosh down and form into two thin discs, approx. 6” diameter.

  4. Bake for approx. 20 minutes, or until turned golden brown and edges just about to get too brown. Remove from oven and let cool on pan about 5-10 minutes.

  5. Top with ingredients of choice and return to oven to bake for 10 more minutes, or until toppings done to your liking.

  6. If you don’t use the 2nd crust, wrap up and store in fridge for use later, up to 5 days.

  7. *If you can’t find this flax meal, try subbing in with 1 tbsp. more coconut flour. I can’t 100% vouch for outcome, but it should work. The flax is just a nice variety, offers fiber and omega fatty acids.

Recipe Notes

Cottage Cheese Pizza Crust nutrition

Note: This post contains Amazon affiliate links.

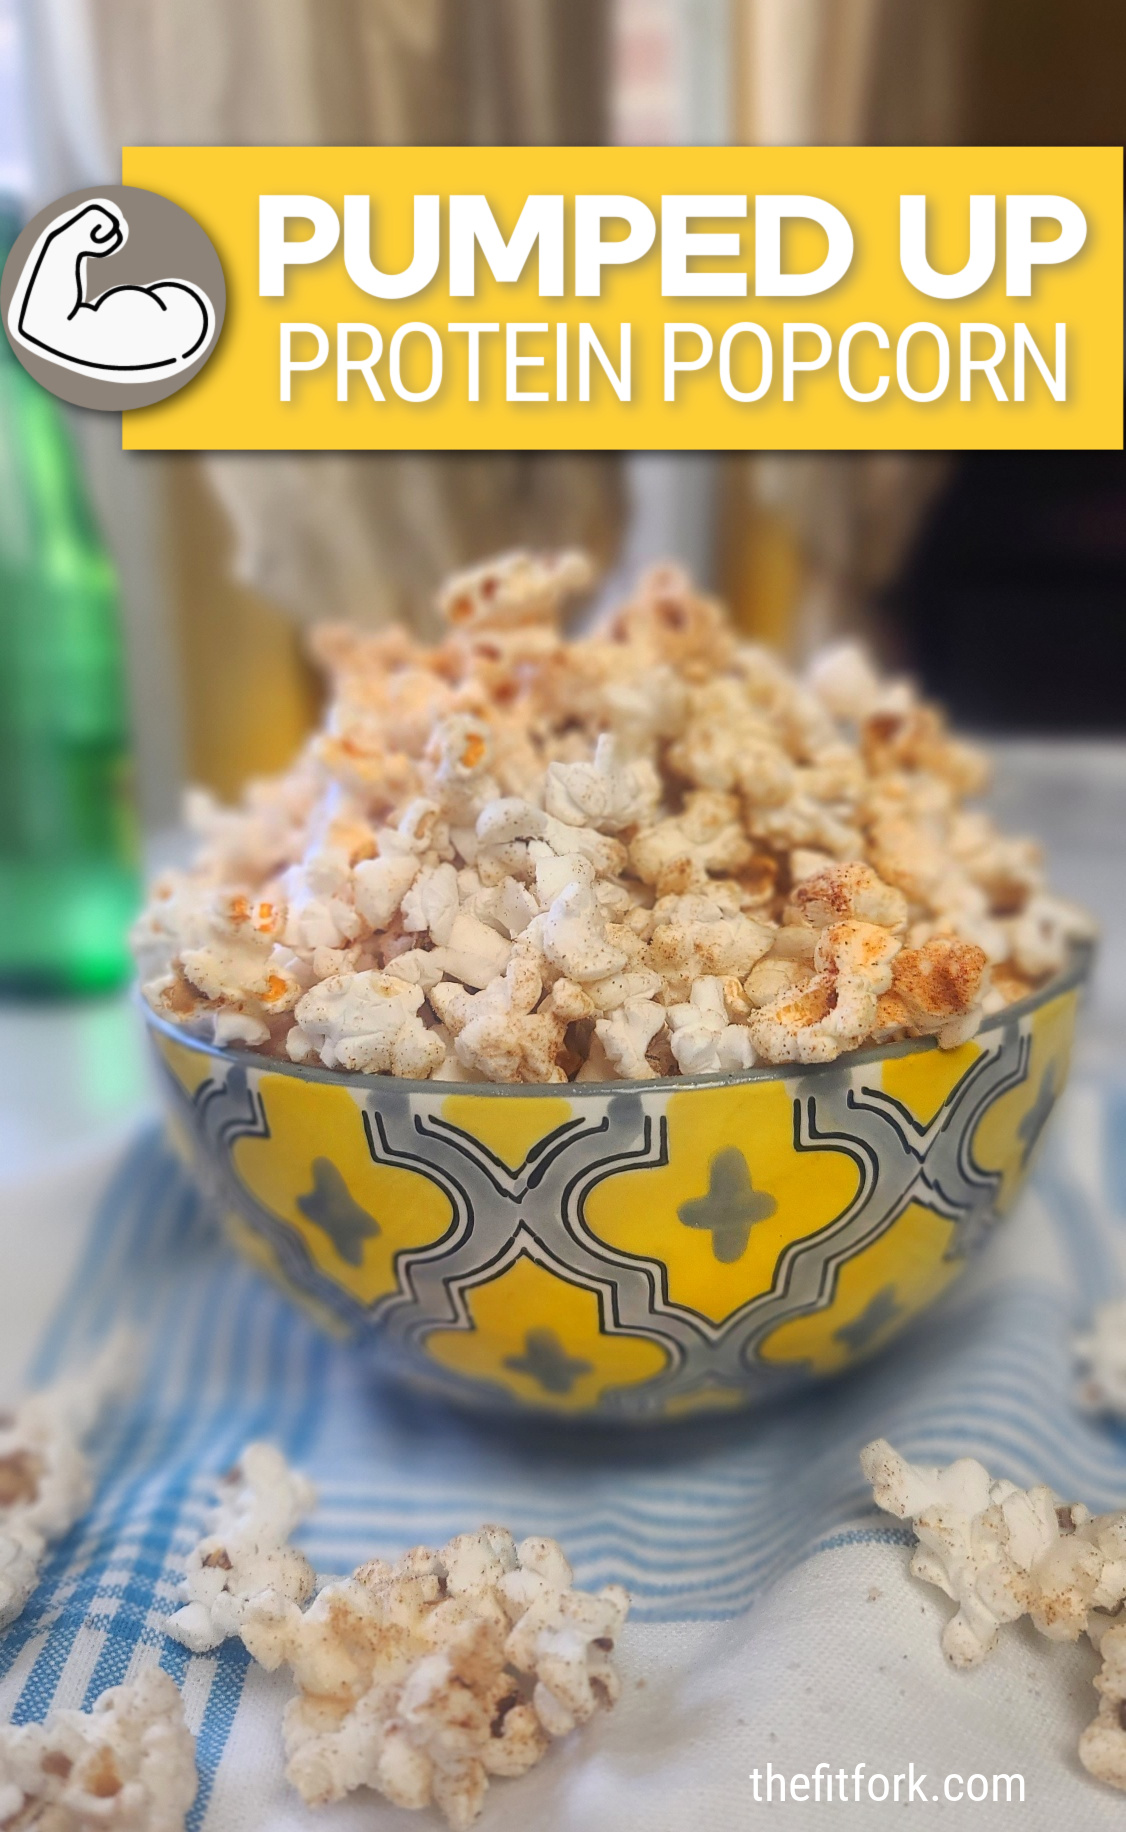
Pumped Up Protein Popcorn

Pump up snack time with Protein Popcorn! Adding protein powder to air-popped popcorn is a clever (and crunchy) way to boost your daily protein intake!

Looking for a healthy snack that will sustain you? Try adding protein powder to popcorn for a tasty, low-cal, high-protein snack with lots of fiber. Get the recipe at thefitfork.com

Popcorn is a whole grain and can be a great snack option when prepared yourself in a healthy way (meaning without the fat, excess salt and additives found in most store-bought options). Whole grains like popcorn contain important nutrients like fiber, vitamins, and minerals that are beneficial for our health.

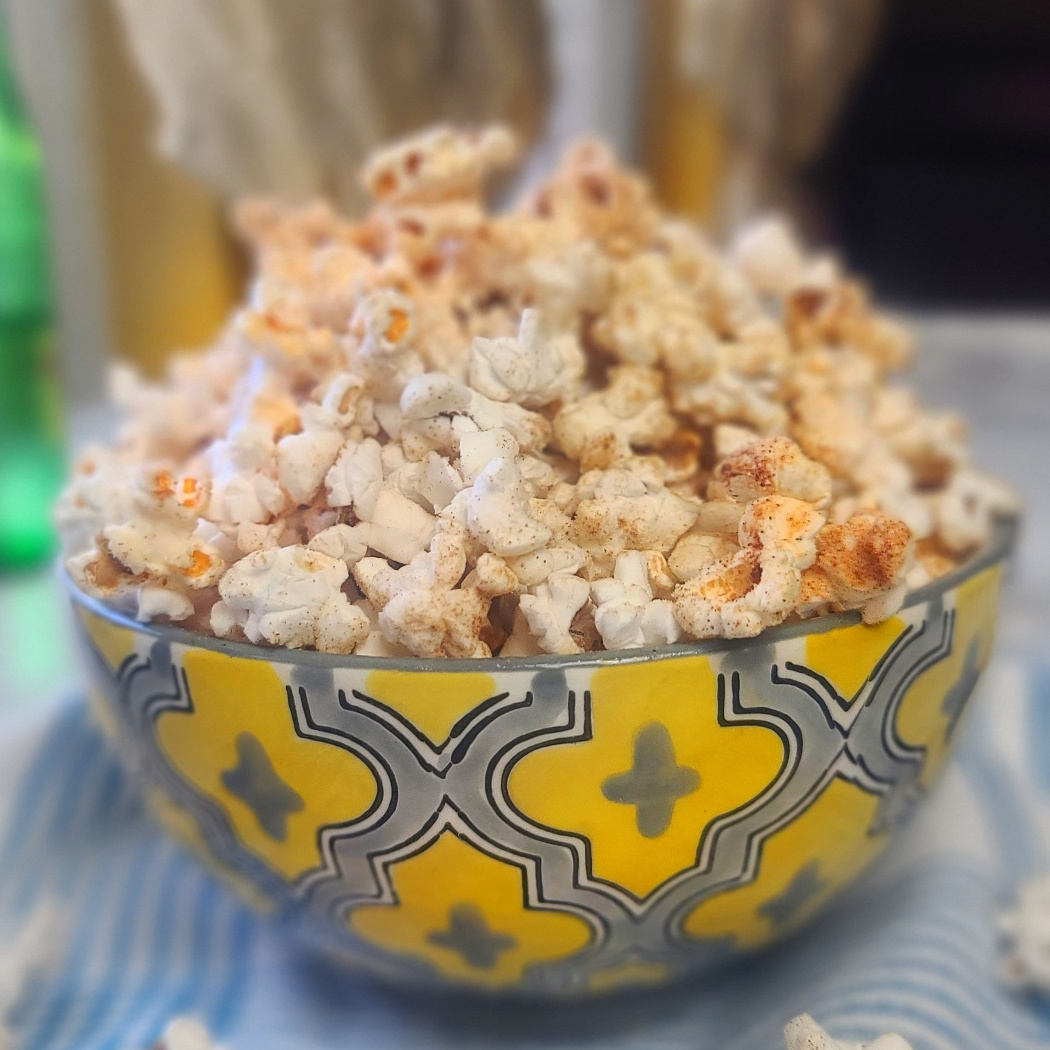
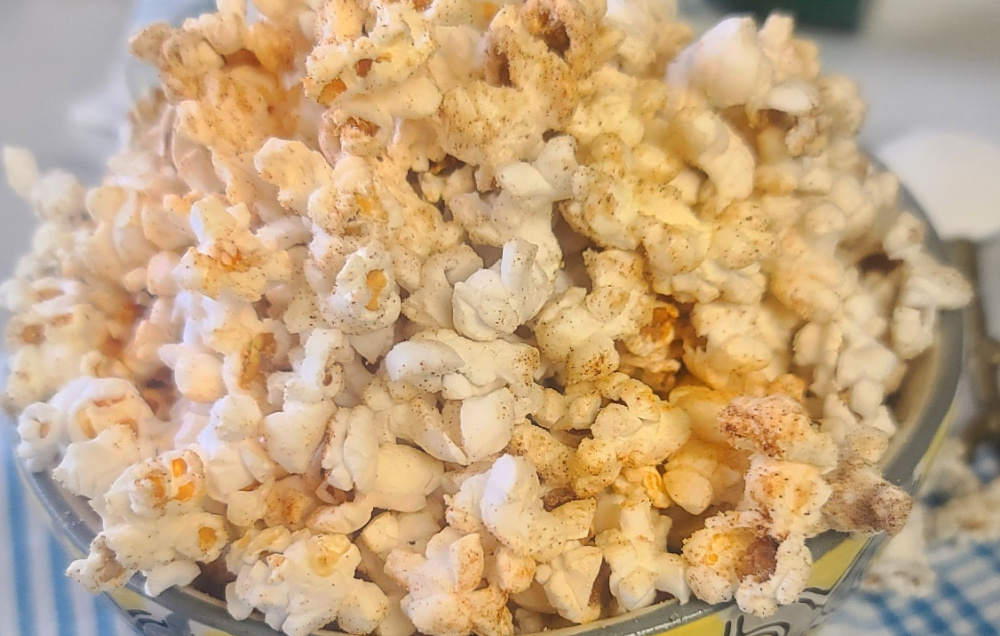
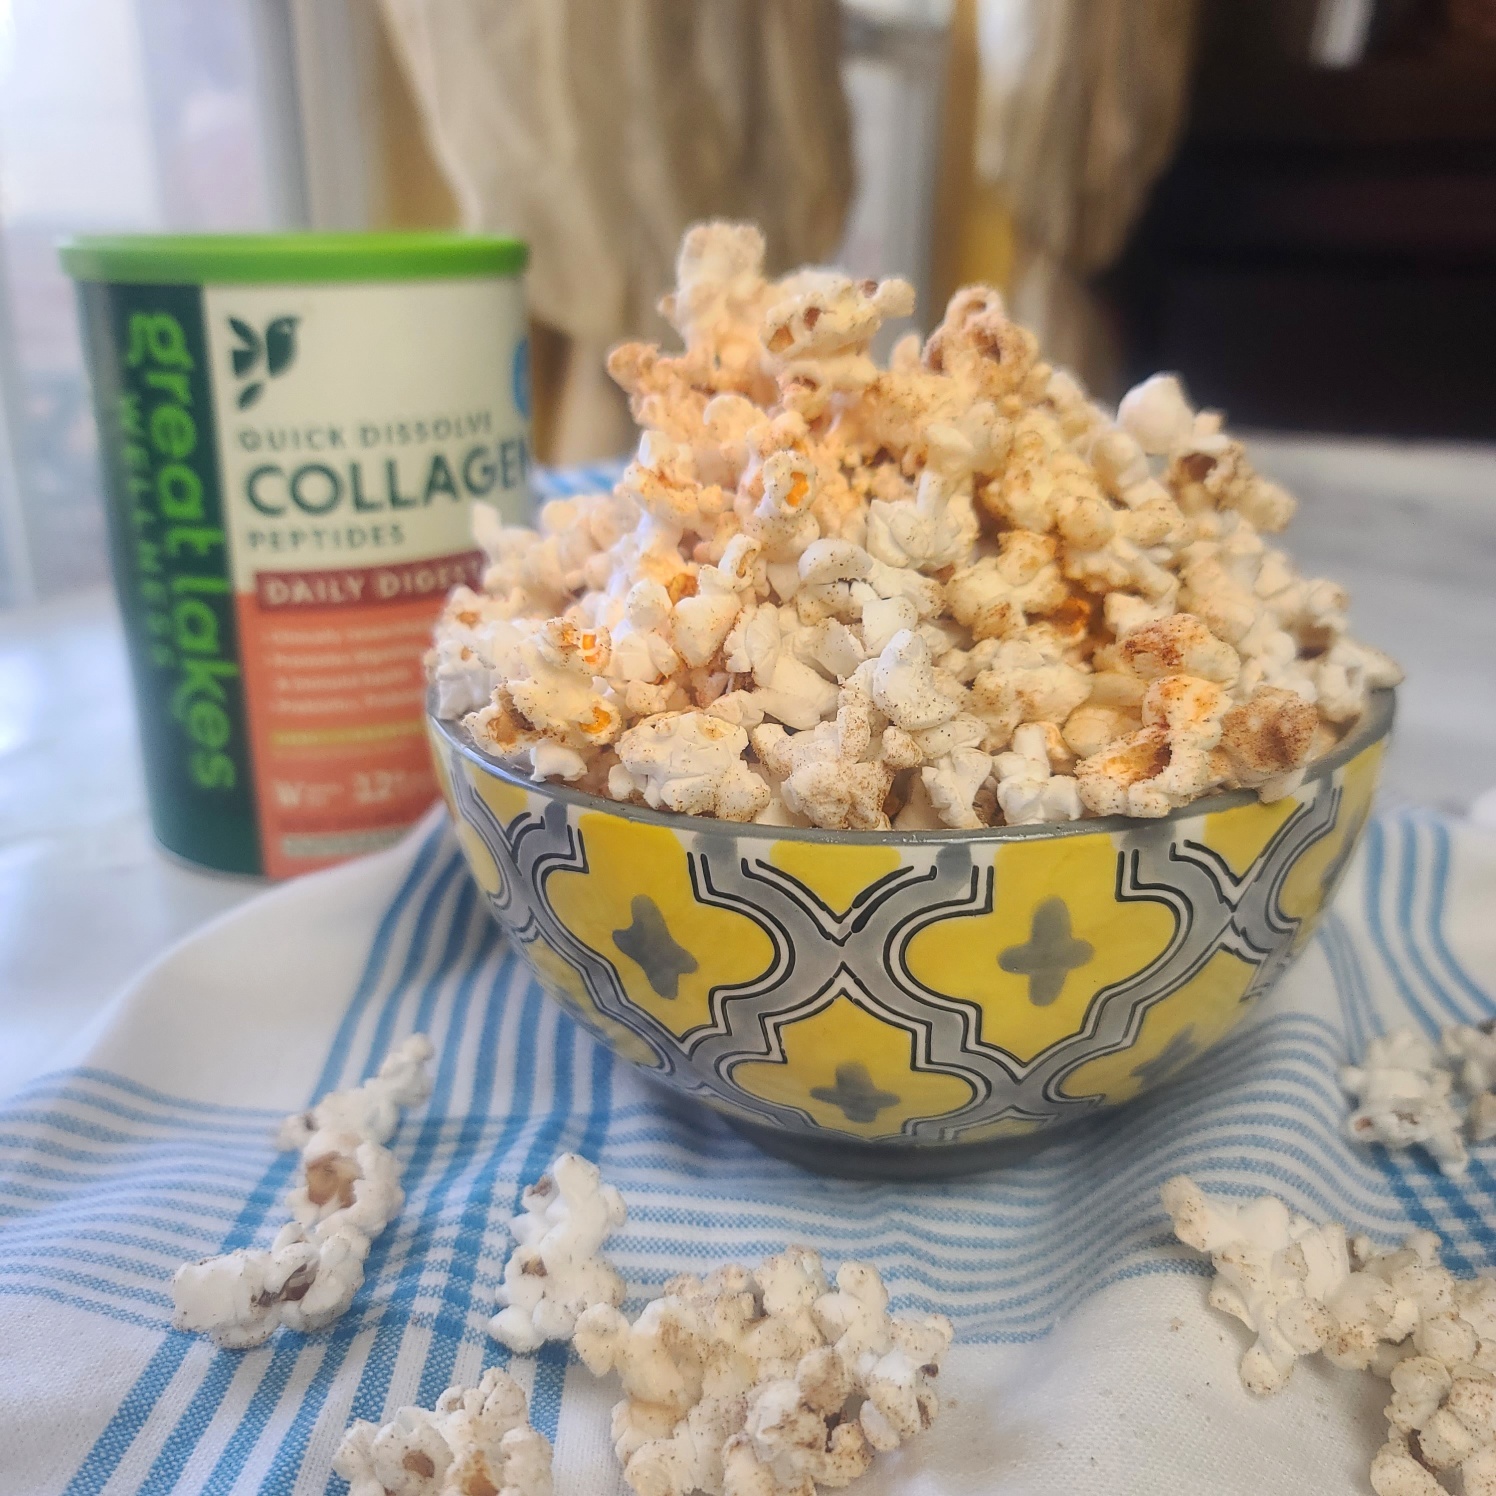
Here’s the honey cinnamon version I made with collagen protein powder!

I personally like the “bang for budget” popcorn offers both your food expenses (it’s a very low-cost snack) and your calorie budget (3 cups of popped plain popcorn looks like a big serving, but has under 100 calories). This recipe makes two 3-cup servings. Nutrition per 1 serving is 120 calories, 8g protein 2g fat 16g net carb (based on the protein powder, cooking spray, and spices I used — may vary slightly for your products).

Looking for a healthy snack that will sustain you? Try adding protein powder to popcorn for a tasty, low-cal, high-protein snack with lots of fiber. Get the recipe at thefitfork.com

Turning plain air-popped or plain microwave popped popcorn into “Pumped Up Popcorn” is quick and easy.

Pick out your protein powder of choice. You can use any type of protein powder, meaning protein source (whey, casein, collagen, pea protein, other plant-based proteins, and blends. You can also experiment with unflavored or protein powder or a flavor. For each batch, you’ll use 2 tablespoons of powder – for this batch I used an honey cinnamon collagen protein powder from Great Lakes Wellness.

Looking for a healthy snack that will sustain you? Try adding protein powder to popcorn for a tasty, low-cal, high-protein snack with lots of fiber. Get the recipe at thefitfork.com

Save 10% on Great Lakes Wellness with code THEFITFORK

Extras Tip: Get the basic recipe for protein popcorn recipe (shared at end of post) and upgrade with your special touch by mixing in a pinch, dash, teaspoon, or tablespoon (depending on the ingredient) of EXTRAS. These extras could include (but are not limited to):

  • Parmesan cheese or nutritional yeast
  • Cookie Spices like Cinnamon, Nutmeg, Ginger, even Cacao Powder
  • Savory & Spicy Spices like Chili Powder, Cumin, Italian Seasoning, Turmeric, Garlic Powder
  • Granulated Sugar Substitutes

Popcorn Making Tip: You can make this protein popcorn recipe in a counter-top air-popper, a microwave-popper, or even a brown paper bag in the microwave (yes! Add the ¼ cup kernels to a larger lunch-sized brown bag, fold down top, and microwave for 3 minutes or until popping becomes infrequent and sporadic).

Fun Fact: Popcorn has a volume expansion of over 25 times, so 1 tablespoon of kernels yields 1.5 cups of popped corn. 

Looking for a healthy snack that will sustain you? Try adding protein powder to popcorn for a tasty, low-cal, high-protein snack with lots of fiber. Get the recipe at thefitfork.com
PUMPED UP PROTEIN POPCORN
Prep Time
2 mins
Cook Time
3 mins
Total Time
5 mins
 

Make a quick and easy snack that will keep you filled up thanks to protein and fiber! Easy to customize with flavors and mix-ins of your choice!

Course: Snack
Keyword: popcorn, protein powder
Ingredients
  • 1/4 cup popcorn kernels (4 tablespoons) yield 6 cups
  • Cooking spray of preference two 3-second dispenses
  • 2 tablespoons protein powder or collagen powder
  • ¼ teaspoon salt
  • Optional Extra Mix-Ins of Choice, see notes
Instructions
  1. Prepare no-oil-added popcorn via the method of your choice: air popper, microwave popper, or even brown paper bag (see recipes notes).
  2. After popcorn has popped, work quickly and divide into two batches while still hot.
  3. Spritz each bowl with a 3-second spritz of cooking spray of choice, tossing the bowl to coat evenly as you do so.
  4. Quickly sprinkle half the protein powder, salt and any other mix-ins on each batch. Toss well for maximum sticking. If needed, do another quick spritz of cooking spray to encourage fall-off powder to stick on.
  5. Ready to serve in the two bowls, or toss together in one big bowl for sharing-style.
Recipe Notes

Nutrition: 120 calories, 8g protein 2g fat 16g net carb per serving (makes about 2 servings, 3 cups each)

Popcorn making tip: make microwave popcorn in a brown lunch bag, simply add the ¼ cup kernels to a larger lunch-sized brown bag, fold down top, and microwave for 3 minutes or until popping becomes infrequent and sporadic

Optional Mix-In Ideas:

    • Parmesan cheese or nutritional yeast

    • Cookie Spices like Cinnamon, Nutmeg, Ginger, even Cacao Powder

    • Savory & Spicy Spices like Chili Powder, Cumin, Italian Seasoning, Turmeric, Garlic Powder

    • Granulated Sugar Substitutes