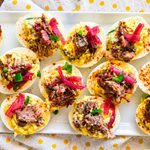
Easy Brisket Deviled Eggs: Snack for Game Day, Holidays and Post Workout

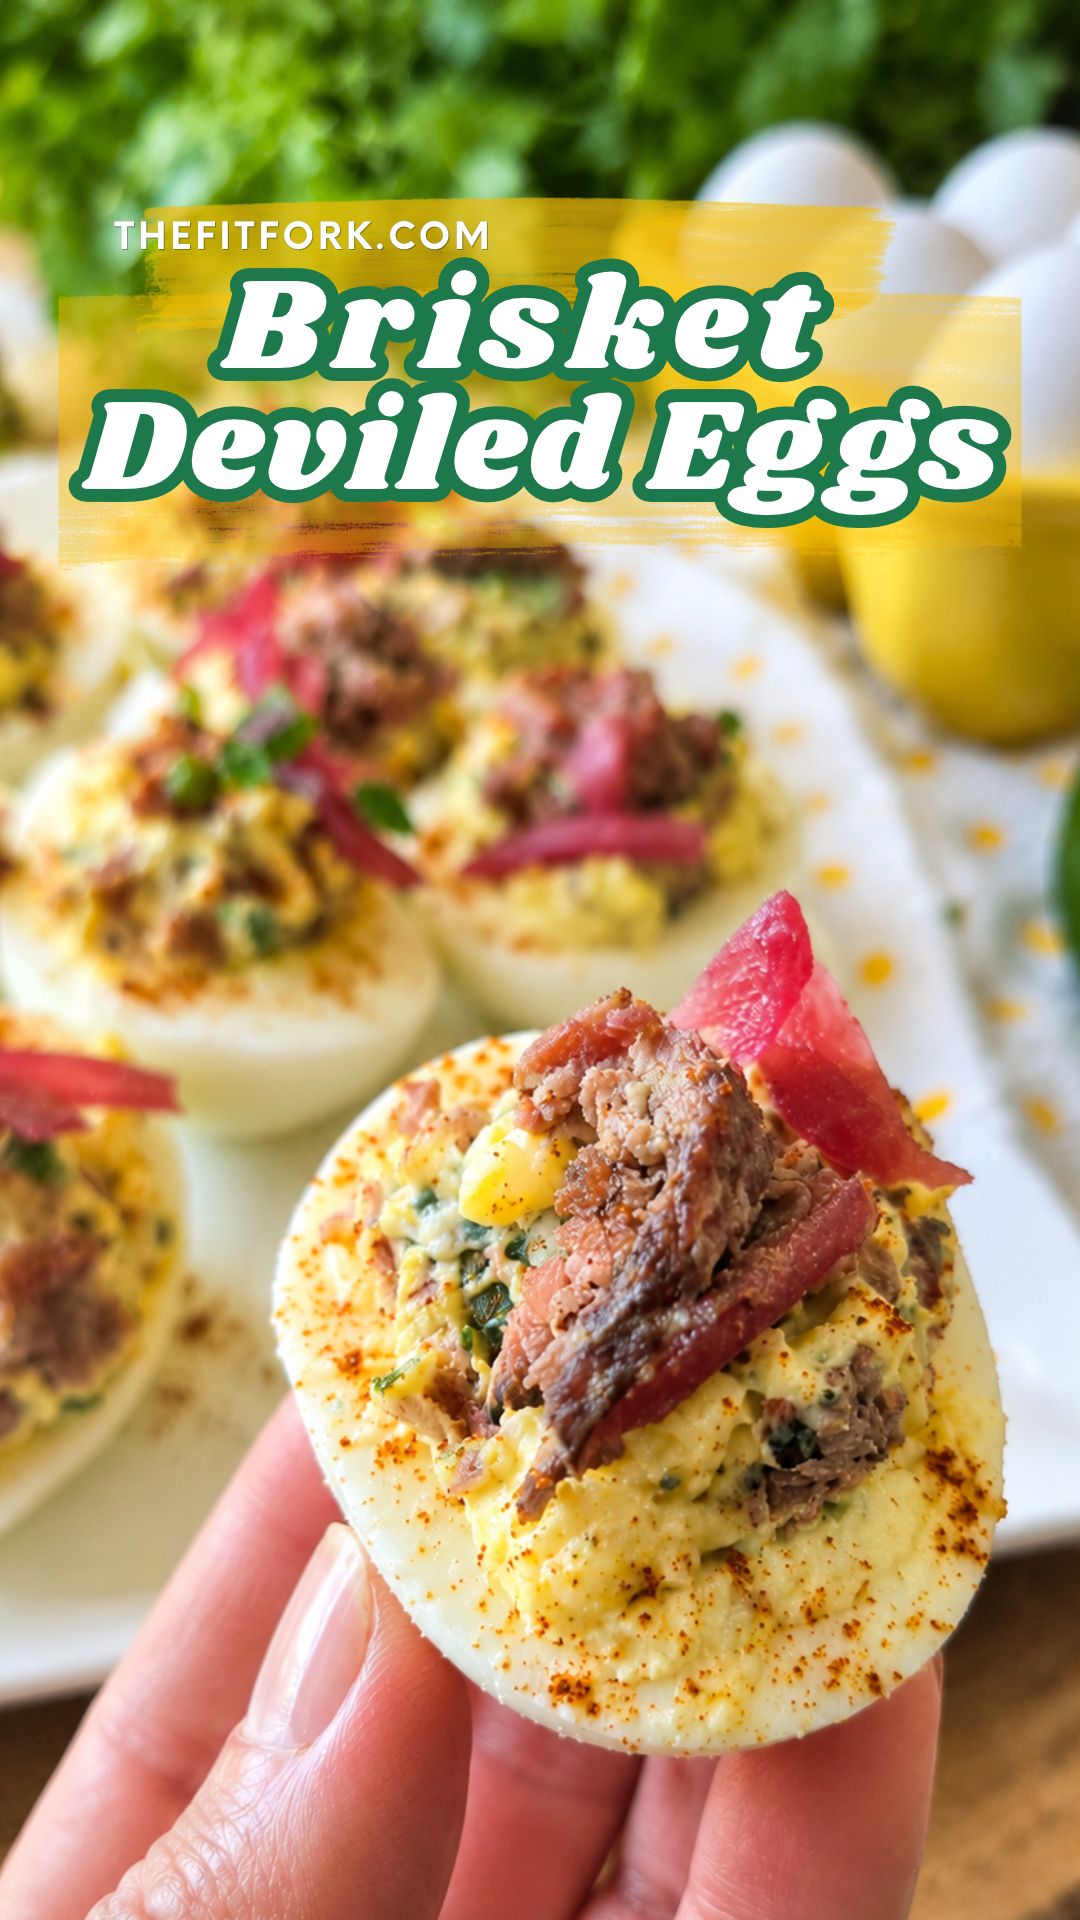
Deviled Eggs bring a little Texas BBQ flavor to a familiar favorite, making them a crowd-pleasing appetizer for just about any occasion. This batch was created by me, and inspired by my friends at BeefLovingTexans.com
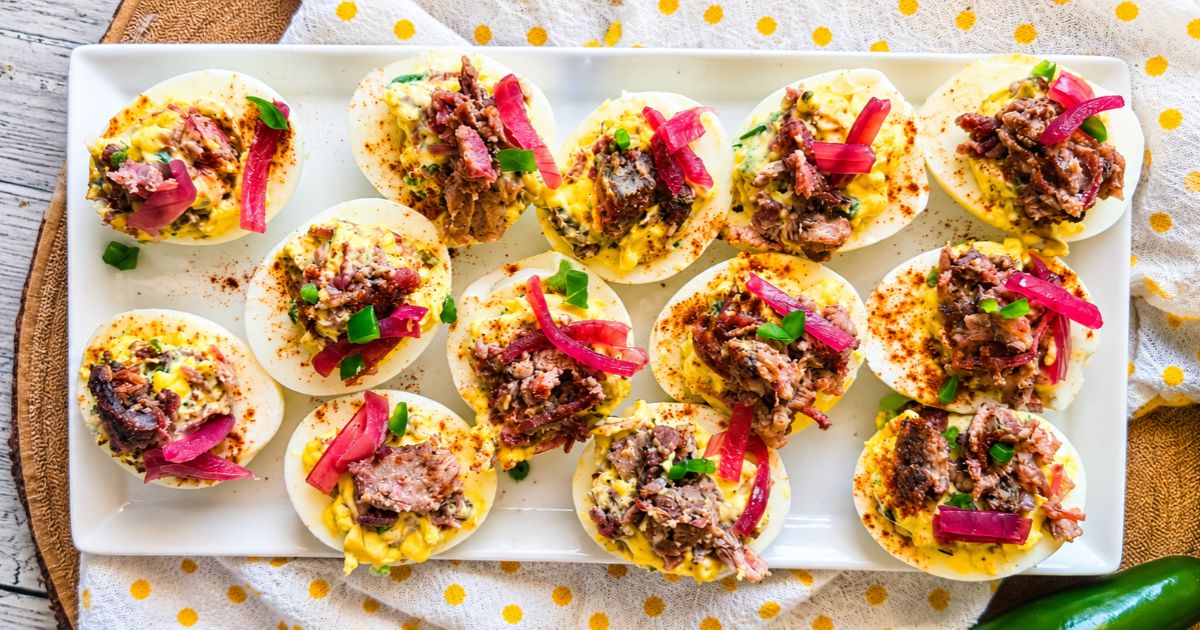
They’re right at home on your Thanksgiving appetizer table, alongside your favorite game day snacks, at Easter celebrations, or at a backyard summer cookout. And because they’re surprisingly easy to make, you don’t have to save them for a special occasion! And, the best part? You don’t even have to smoke a brisket yourself. Leftover brisket works beautifully, but store-bought cooked brisket or a few slices from your favorite BBQ joint make this recipe easy to pull together anytime the craving strikes.

Why You’ll Love These Brisket Deviled Eggs

  • A crowd favorite with a Texas twist. Deviled eggs are a familiar party staple, but smoky brisket and a little jalapeño bring a delicious BBQ-inspired upgrade.
  • Perfect for practically any gathering. Serve them for Thanksgiving, Christmas, Easter, game day, potlucks, summer cookouts, or casual backyard get-togethers.
  • Easy to make. The filling comes together with simple ingredients, and a cookie scoop makes filling the egg whites quick and tidy.
  • A delicious way to use leftover brisket. Have a little brisket left from a weekend cookout? This is a tasty way to give it a second life.
  • Protein-packed party food. Each serving of two deviled egg halves provides 10 grams of protein, making these little bites more substantial than your average appetizer.

Prep & Storage Tips for Brisket Deviled Eggs
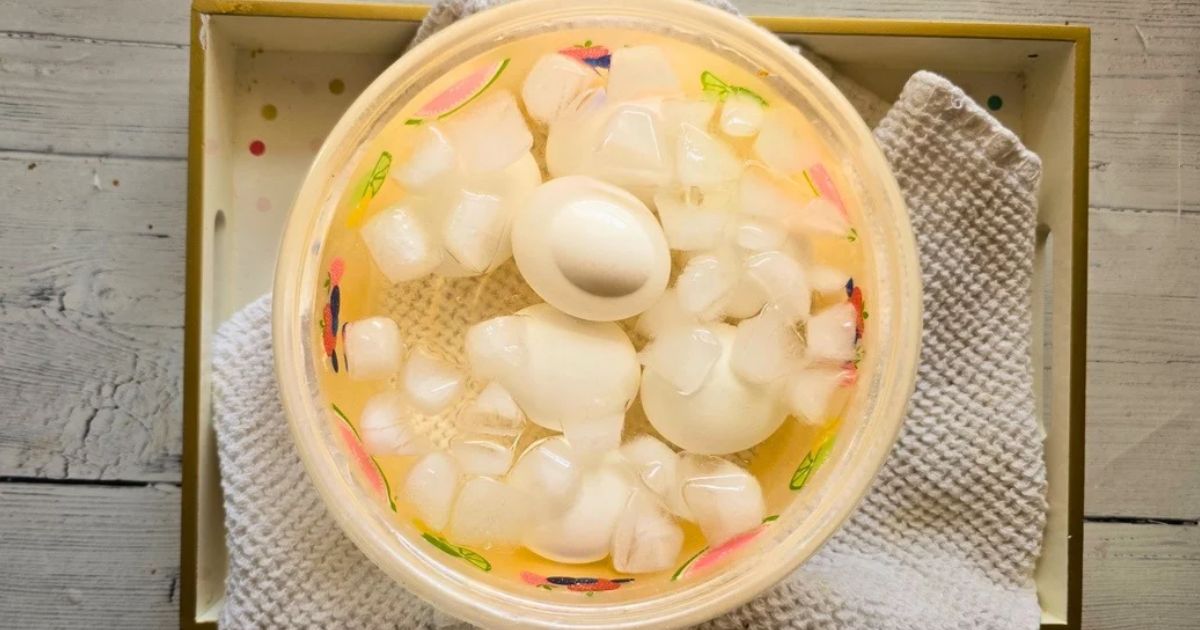
For easier egg peeling: Once the eggs are cooked, transfer them immediately to an ice bath to stop the cooking process. Then allow them cool completely. This helps prevent overcooking, which can cause that unappealing green-gray ring around the yolk, and cooling makes the eggs more comfortable to handle. If egg is being stubborn to peel, crack shell and stick under water while peeling . . or try using older eggs (which often peel more nicely than super fresh eggs).

Choose the Mayo You Love: Mayonnaise gives deviled egg filling its classic creamy texture. Regular mayonnaise delivers a rich, traditional flavor, while avocado-oil mayonnaise is another option if that’s what you keep in your fridge. We all have our favorite brand, and some of us prefer “light.” Also, using plain Greek yogurt is another option.

Use a Cookie Scoop for Neat Filling: Want your deviled eggs to look party-ready without a lot of fuss? A small cookie scoop is a handy way to portion the filling evenly into the egg whites without the clean-up and skills needed to use a pastry piping bag.

Don’t Be Shy With the Toppings: Top as your heart desires. My favorite deviled egg toppings are pickled red onions, diced avocado, fresh jalapeño slices, chopped cilantro or chives, and smoked paprika. A little drizzle of BBQ sauce could be a nice touch as well!

Storage Tip: Keep the finished eggs refrigerated at 40°F or below until serving. Don’t leave them at room temperature for more than two hours, or one hour when temperatures are above 90°F. For outdoor cookouts, serve them over ice or bring out smaller platters and replenish as needed.

Leftovers: Put leftover deviled eggs in a covered storage container or covered egg platter and keep refrigerated at 40°F or below for up to 5 days.
Brisket Deviled Eggs Nutrition

These aren’t just a pretty addition to your appetizer spread. They also provide a little protein in every bite. That’s why I like to add them to a lunch or post workout snack. Nutrition per serving (2 deviled egg halves):

  • Calories: 142
  • Total fat: 10.5 grams
  • Carbohydrates: 2 grams
  • Protein: 10 grams
Brisket Deviled Eggs
Course: Appetizer, snacks
Cuisine: American
Keyword: appetizer, brisket, easter, egg, fingerfood, game day, thanksgiving
Servings: 6 people (2 each)
Ingredients
  • 1/2 cup cooked Leftover Smoked Beef Brisket, chopped, divided
  • 6 eggs
  • 1/4 cup reduced-fat mayonnaise
  • 1 tablespoon yellow mustard
  • 1 teaspoon water
  • 1/8 teaspoon garlic salt
  • 1 jalapeno pepper seeded and chopped
  • 1/2 teaspoon smoked paprika
  • ¼ cup picked red onion slices
  • optional: diced avocado, microgreens, etc.
Instructions
  1. Add 6 eggs to pot and bring to a boil, uncovered. Let boil for 1 minute;
  2. then turn off heat, add lid to pot, and let stand for 12 minutes.
  3. After 12 minutes, use a slotted spoon to immediately put the eggs into a
  4. bowl filled with water and ice. Let sit for 15 minutes.
  5. Peel eggs and slice in half crosswise.
  6. Add yolks to bowl along with mayo, mustard, water, garlic salt. Use fork or spatula to combine until mostly lump free. Doesn’t have to be perfect.
  7. Next, stir in brisket (all but 2 tablespoons) and diced jalapeno.
  8. Spoon yolk mixture back into egg white halves.
  9. Top each deviled egg with a little bit of the reserved brisket, a bit of
  10. picked red onion, and sprinkled with paprika.
  11. Set in fridge to keep cool until serving. Do not keep out longer than 2 hours, unless chilled on ice. Store leftovers in air-tight container, in
  12. fridge, for up to 5 days.
Recipe Notes

Nutrition Facts (per 2 halves)

  • Calories: 142
  • Total fat: 10.5 grams
  • Carbohydrates: 2 grams
  • Protein: 10 grams

A Bunch of Banana Tips and Snack Ideas to Sweeten Any Day

Bananas are not just a delicious and versatile fruit; they also have the power to fuel your runs and workouts plus brighten up your day in unexpected ways. Whether you’re a banana lover or just looking for some fun, practical tips, these ideas will bring a smile to your face. Let’s dive into five banana tips that will leave you grinning from ear to ear!

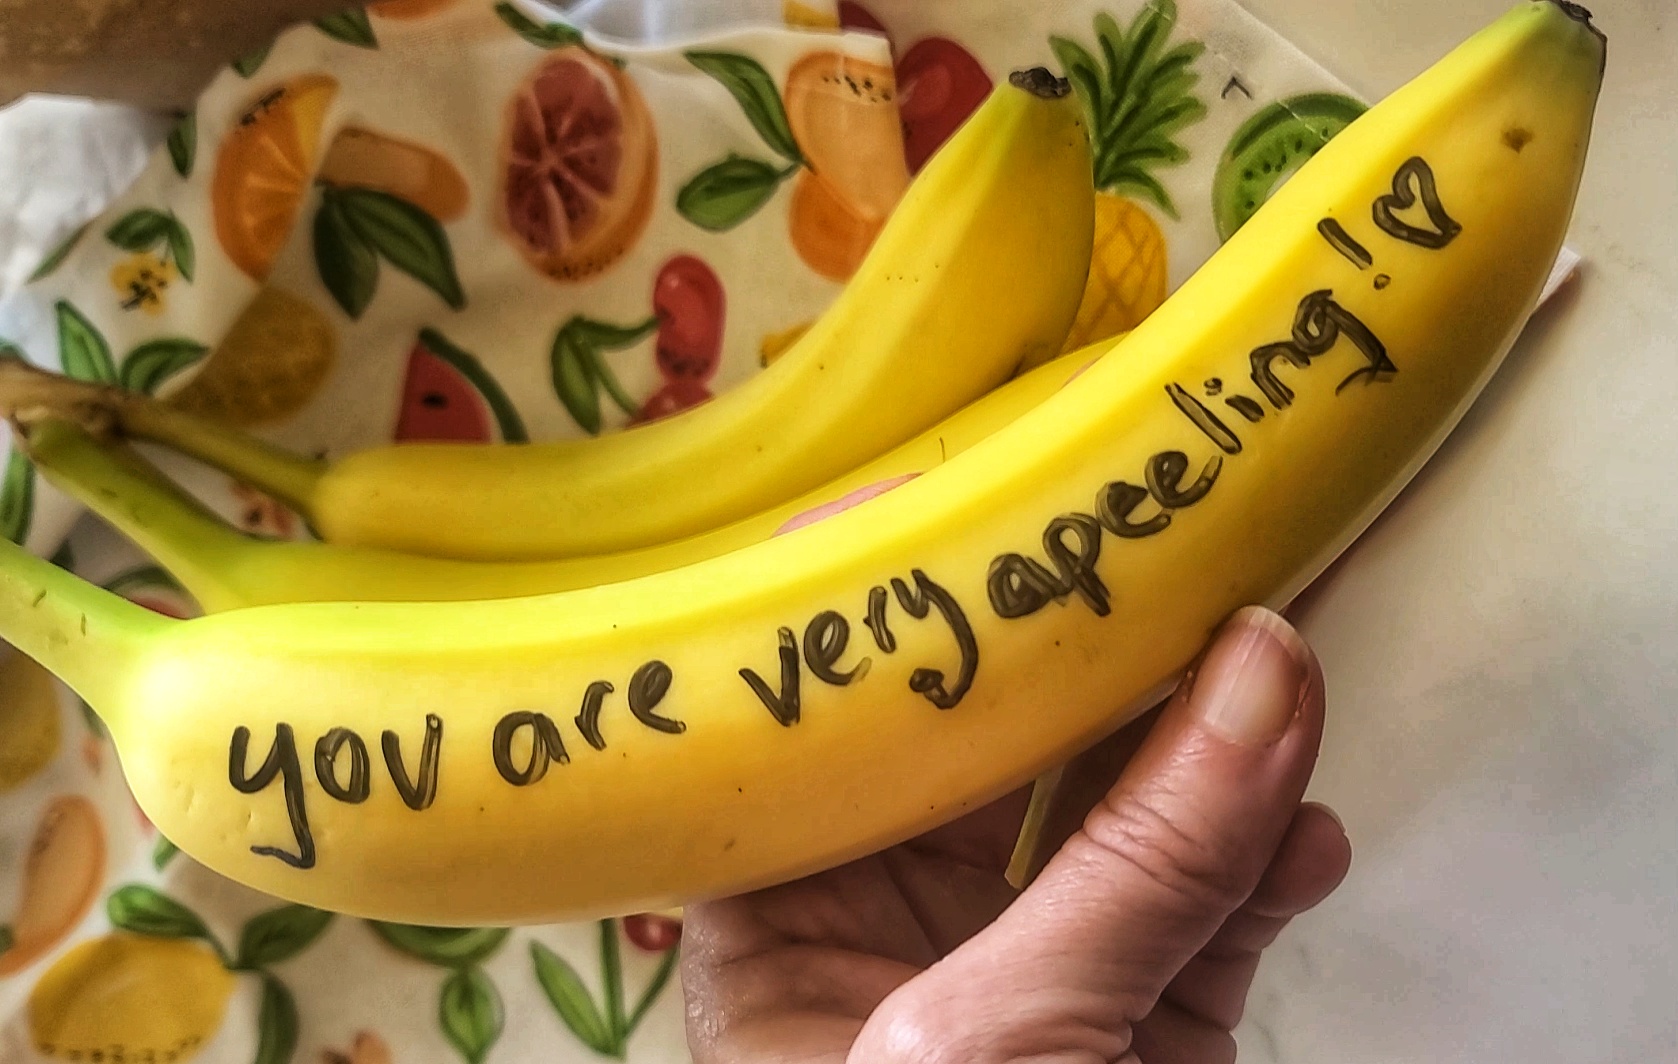
1) Write a Clever Note on the Peel to Make a Banana Lover’s Day

Sometimes, it’s the small gestures that make the biggest impact. Before sending someone off with a banana, why not add a little personalized note right on the peel? Use a pen to gently inscribe a sweet message, or even a funny doodle. Whether it’s a motivational quote, a simple “Have a great day!” or an inside joke, this tiny touch can turn an ordinary snack into a delightful surprise.

Here are some romantic banana-inspired message ideas:

  • I find you a-peeling!
  • Let’s monkey around!
  • I’m bananas for you!
  • Love you a bunch!
  • Let’s never split!

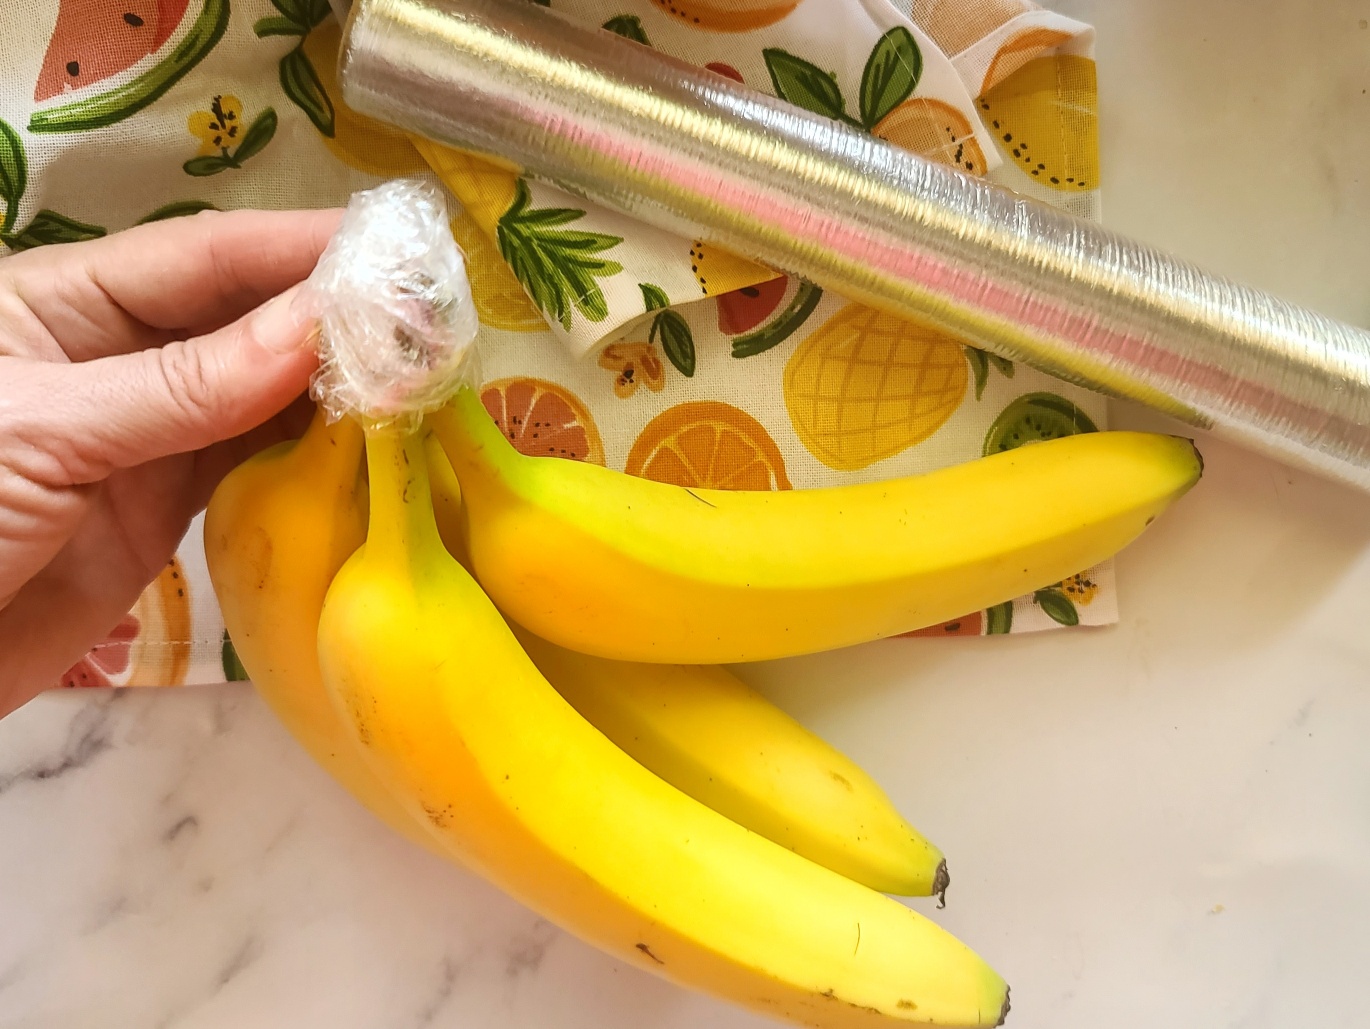
2) Slow Down Ripening with a Simple Trick

Ever bought a bunch of bananas only to watch them go from perfectly ripe to overly brown in what feels like minutes? A simple way to slow down the ripening process is to wrap the stems in plastic food wrap. This trick works by trapping the ethylene gas that bananas naturally release, which is responsible for ripening. If you’re feeling a bit extra, there are even adorable reusable Nana Hats that do the job just as well while adding a fun touch to your fruit display (see my watermelon one in the video).

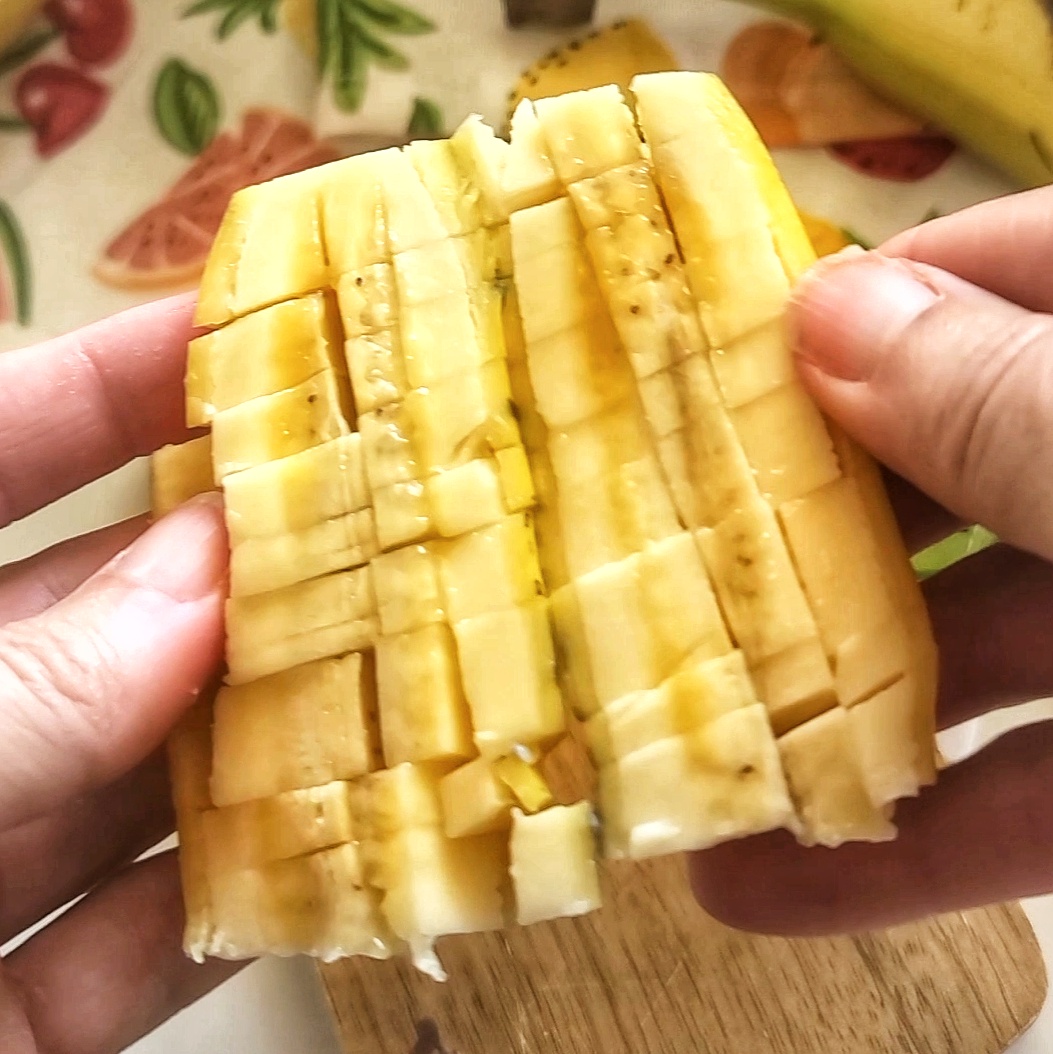
3) Get Dicey: How to Cut the Perfect Banana Topping for Breakfast: Here’s a morning routine hack for you! Instead of slicing bananas the usual way, try dicing them into small cubes, while still in the skin. This cross-hatch dicing technique is perfect for topping your oatmeal, yogurt, or cereal – or to stir into pancake batter. The small pieces are easier to mix in and give you a delightful burst of banana in every bite.

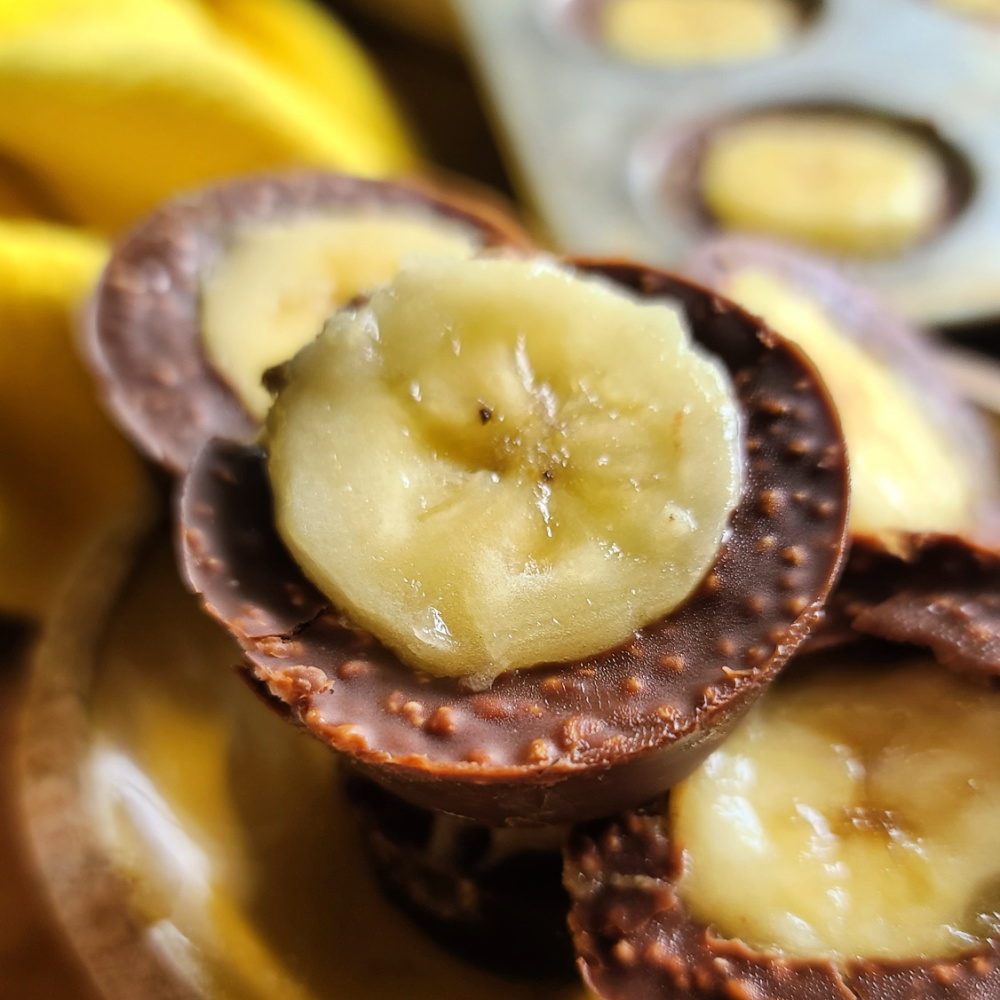
4) Freeze Chocolate-Covered Banana Slices for a Healthy Treat: Craving something sweet but trying to stay on the healthier side? Try slicing up some bananas and dipping them in melted chocolate. Freeze the slices for a few hours, and you’ll have a delicious, guilt-free treat that satisfies your sweet tooth. These frozen delights are perfect for a quick snack, dessert, or even as a fun treat to share with friends and family. You can also get creative by adding a sprinkle of sea salt, popped amaranth or quinoa, or chopped nuts before freezing. Check out my Crispy Chocolate Banana Bites recipe.

Treat your sweet tooth to this healthy snack - a sugar-free crispy chocolate inspired by a Nestle Crunch bar, nut butter and banana slices! Prep a batch and store in the freezer. Gluten-free and only 84 cal per piece

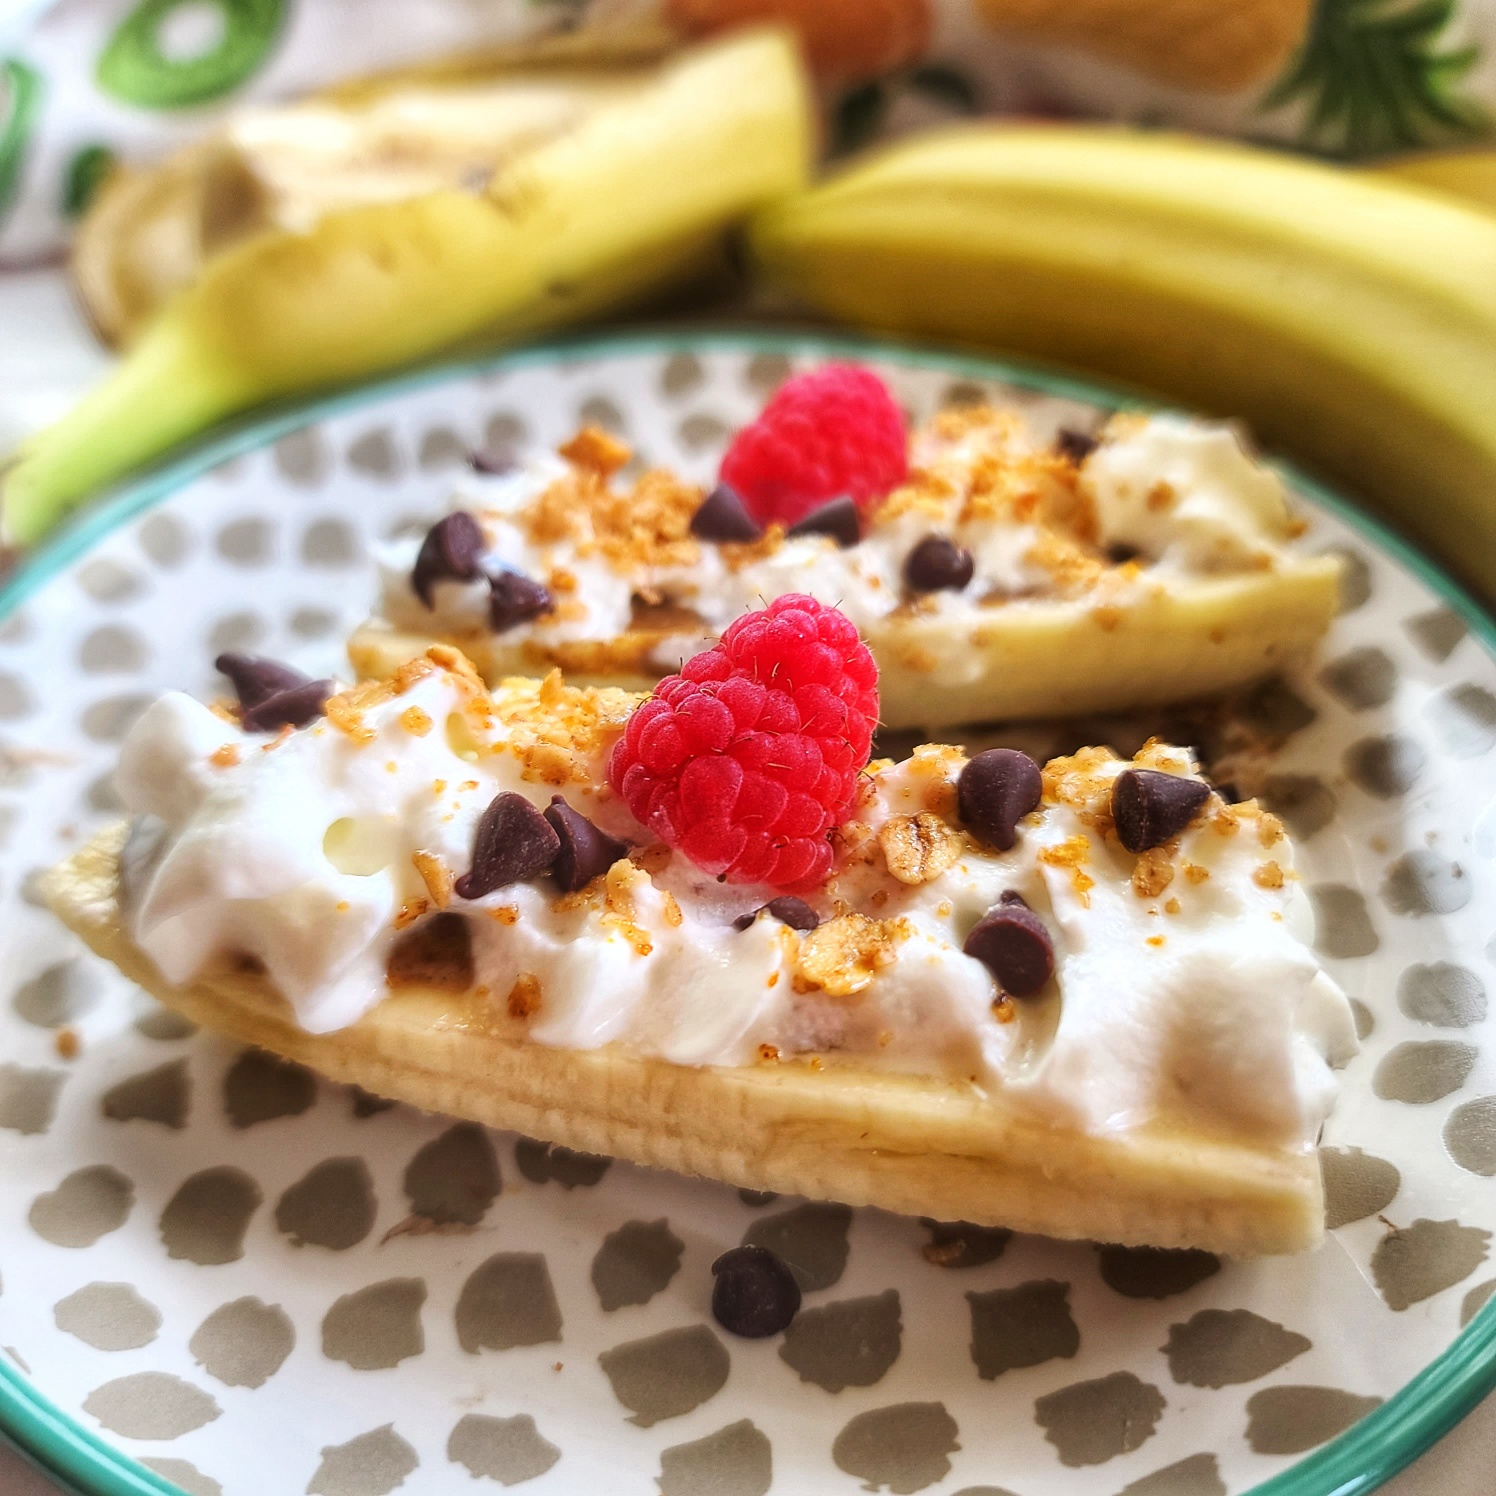
5) Create a Peanut Butter Banana Sundae for the Ultimate Banana Snack: Bananas and peanut butter (or other nut and/or seed butters you prefer) are a match made in heaven, and this sundae takes it to the next level. Start by slicing a banana lengthwise and spreading a generous layer of peanut butter on top. Add your favorite toppings—think granola, chocolate chips, or a drizzle of honey—and you’ve got yourself a smart and satisfying snack. Whether you enjoy it as a mid-afternoon pick-me-up or a post-workout treat, this peanut butter banana sundae is sure to hit the spot.

Enjoy these banana tips, and don’t forget to share the joy with others! Whether you’re adding a bit of fun to someone’s day or treating yourself to a healthy snack, bananas are here to make life a little sweeter.

Almond Butter Protein Cookies | 3-Ingredient Low Carb Treat

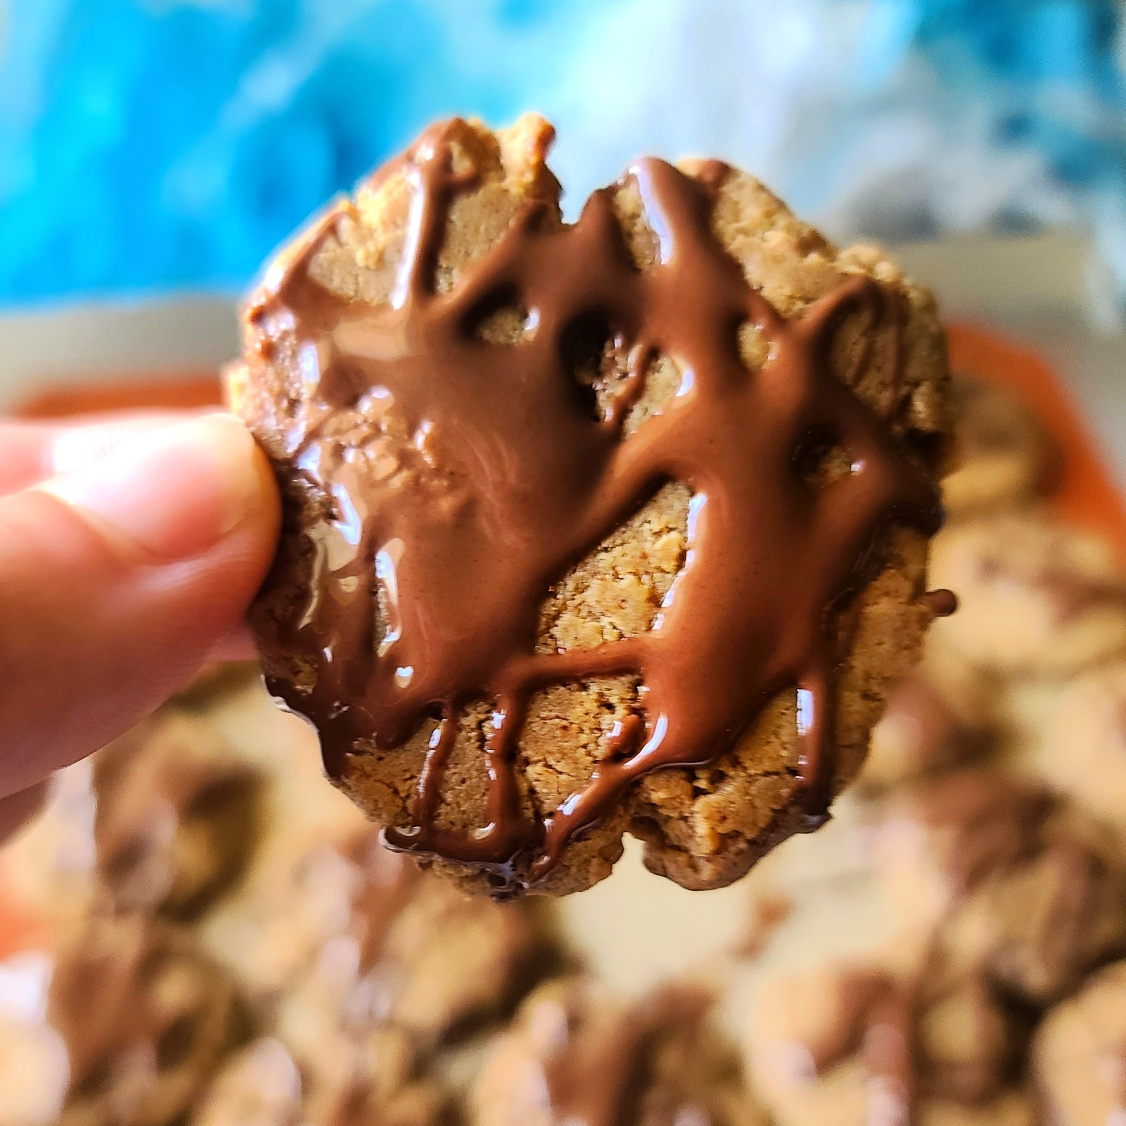
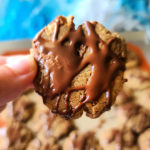
Today I’m snacking on Almond Butter Protein Cookies, so tasty and a smart treat that supports a low-carb, high protein and/or gluten-free lifestyle.

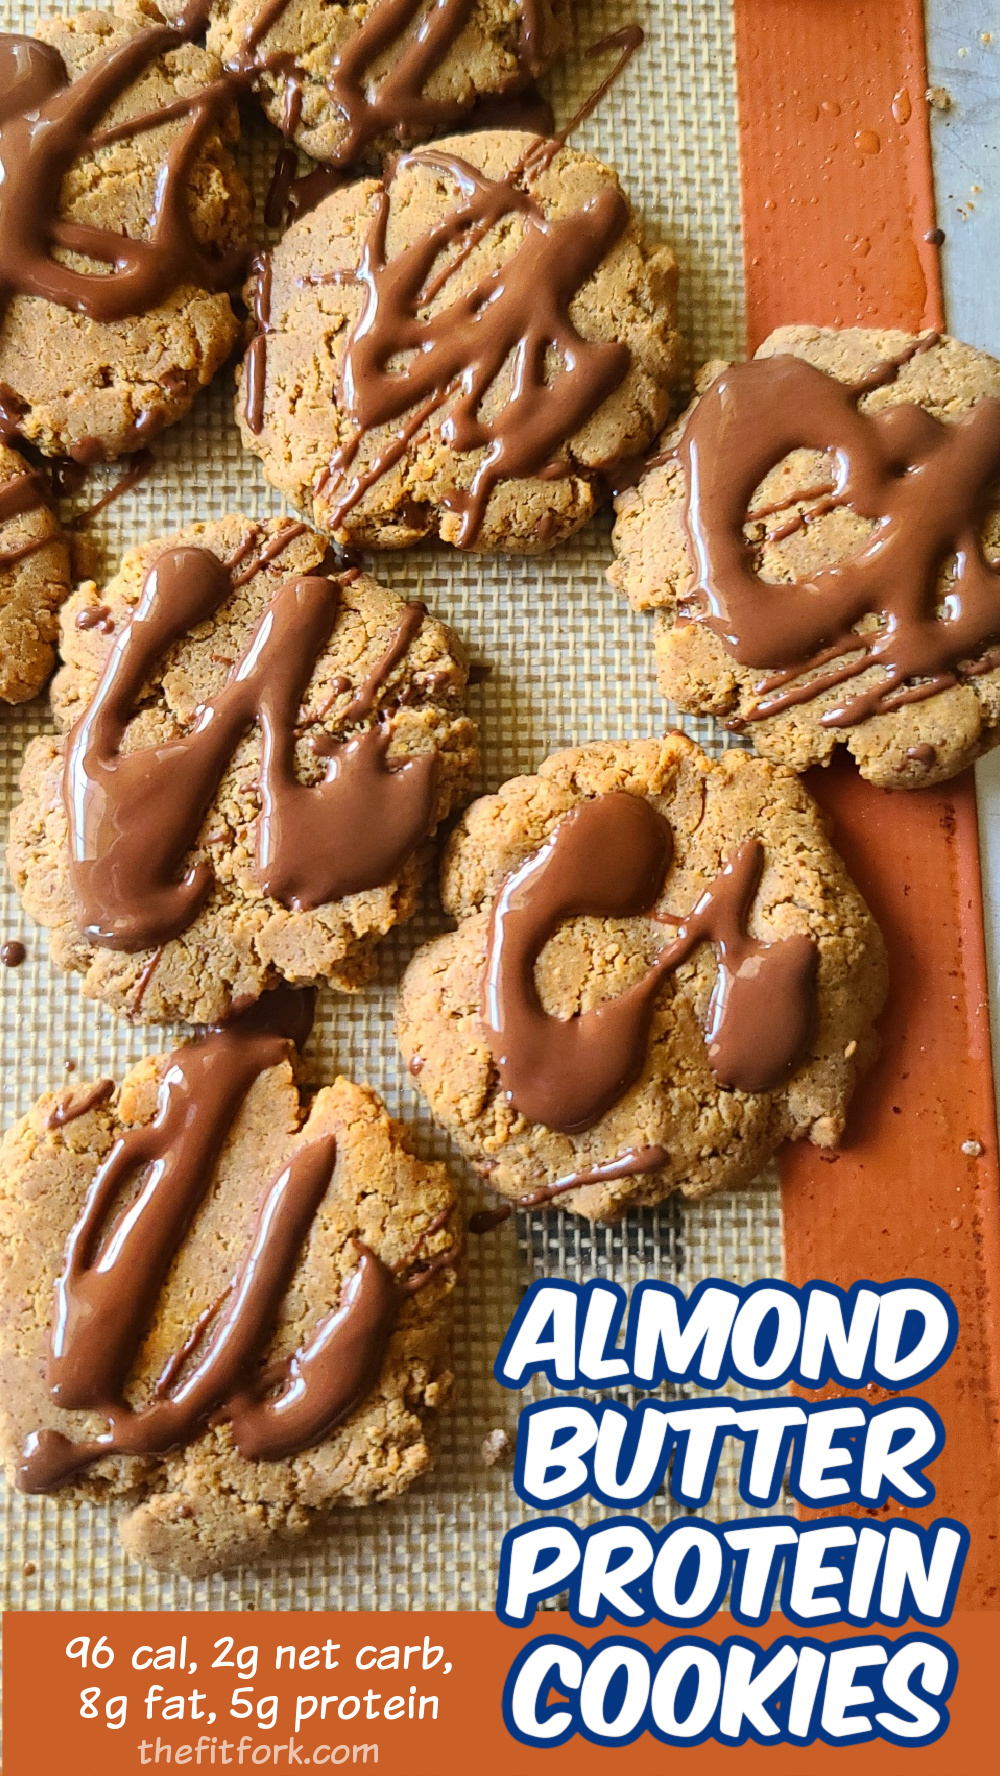
Almond Butter Protein Cookies are a smart little snack or healthy treat that supports a low-carb, high protein and/or gluten-free lifestyle. 96 calories, 2g net carb and 6g protein each.

 Only 3 ingredients in the actual cookie – a natural-style almond butter, eggs, and whey protein powder. The chocolate drizzle on top is optional, the cookies deliver plenty of yumminess unadorned.  

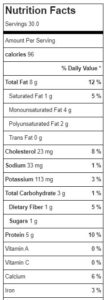
 Each cookie has 96 calories and 5 grams of protein each, 2g net carb, 8g fat and 5g protein. Please note though, that the exact brand of whey protein powder used could alter the macros a little up or down.

TIPS FOR MAKING PROTEIN ALMOND BUTTER COOKIES

Almond Butter: Use an all-natural almond butter what has a “drippy” consistency. Almonds should be the only ingredient (or maybe a little salt too). With these types of nut butters, as I’m sure you know, you’ll need to stir the oil back into the jar before measuring out. While this is a recipe using almond butter, you COULD substitute all-natural peanut butter, cashew- butter, etc.

Baking Prep: You don’t need to oil/spray/grease the pan for this recipe, the dough itself is quite oily from the nut butter. However, I recommend preparing your baking sheet with a silicone baking mat or parchment paper to ensure a no-stick result and easier clean up.

Extras: The nutty richness of almond butter and light sweetness from the protein powder are enough alone to make these cookies taste great, but toppings can be fun too. I have the instructions for a chocolate drizzle (made with sugar-free chocolate chips and coconut oil) on the recipe card, but other good ideas to elevate these low carb cookies including dusting with cinnamon or lightly press another topping (like sprinkles, chopped nuts, mini chocolate chips) into the top of the cooking before baking.

Post contains Amazon affiliate links. Visit my Amazon store for more products I love to use in my recipes.

1 from 1 vote
Almond Butter Protein Cookies
Prep Time
8 mins
Cook Time
12 mins
Total Time
20 mins
 

Almond Butter Protein Cookies are a smart little snack or healthy treat that supports a low-carb, high protein and/or gluten-free lifestyle. 96 calories, 2g net carb and 6g protein each.

Course: cookies, Dessert, snacks
Cuisine: American
Keyword: almond butter, protein powder
Servings: 30 cookies
Calories: 96 kcal
Ingredients
  • 1 cup whey vanilla protein powder
  • 1 ½ cup natural almond butter smooth
  • 3 extra large eggs
Optional Chocolate Drizzle:
  • ¼ cup sugar-free chocolate chips
  • 1 teaspoon coconut oil
Instructions
  1. Preheat oven to 350F.
  2. Line a baking sheet with parchment paper or silicone baking mat
  3. Combine ingredients in a large mixing bowl and stir until combined and a thick dough formed.
  4. Scoop about 1 tablespoons of cookie dough and roll it into a ball using your hands. Place the balls on baking sheet, spaced out.
  5. Flatten the dough balls into an approximate 2” diameter with the back of a glass or a fork.
  6. Bake for approximately 12 minutes, or until edges turning golden brown.
  7. Remove from the oven, let cook on baking sheet for 2 minutes. The transfer to a tray lined with paper towel for the remainder of the cooling and to help absorb any excess almond oils.
  8. Optional chocolate drizzle: After cookies have cooled, heat chocolate chips and coconut oil in small microwave-safe bowl. Heat for 30 seconds and then stir. Return to microwave and heat in 10 second increments, stirring between, until smooth and glossy. Using spoon, drizzle onto cooled cookies. Place try in the fridge for 5 minutes to help set.
Recipe Notes

Best Balanced, Healthy Snacks Found on Amazon

Keeping a stash of macro-balanced, nutritious snacks in the pantry helps to keep you satisfied, fueled, energized between meals whatever the scenario, whether working from home or before a gym session.

Often individually-wrapped, single-serve snacks get a bad rap – you might instantly think of highly-process junk with tons of sugar, fat and unwanted ingredients (candy bars, mainstream chips, baked goods). BUT the good news is that there are plenty of delicious and healthy packaged snacks on Amazon (all also gluten free) that offer a blend of taste and nutrition, conveniently delivered to your doorstep. Great runner snacks, gluten-free snacks, busy life snacks that I highly recommends — kids will love too (if you want to share)!

Snack Criteria: My criteria for this list of healthy balanced snacks on Amazon were 1) featured a balanced blend of macros – so protein, healthy fats, moderate gluten-free carbohydrates; 2) Sweeteners come from better-for-you-than-sugar sources like honey, date syrup, fruit, and even the judicious use of quality natural zero-carb choices; 3) Do not need refrigeration, cooking, etc. – they are ready to eat; and 4) Taste great and something, as a fit foodie and athlete, I actually eat and would order again without hesitation (and have!)

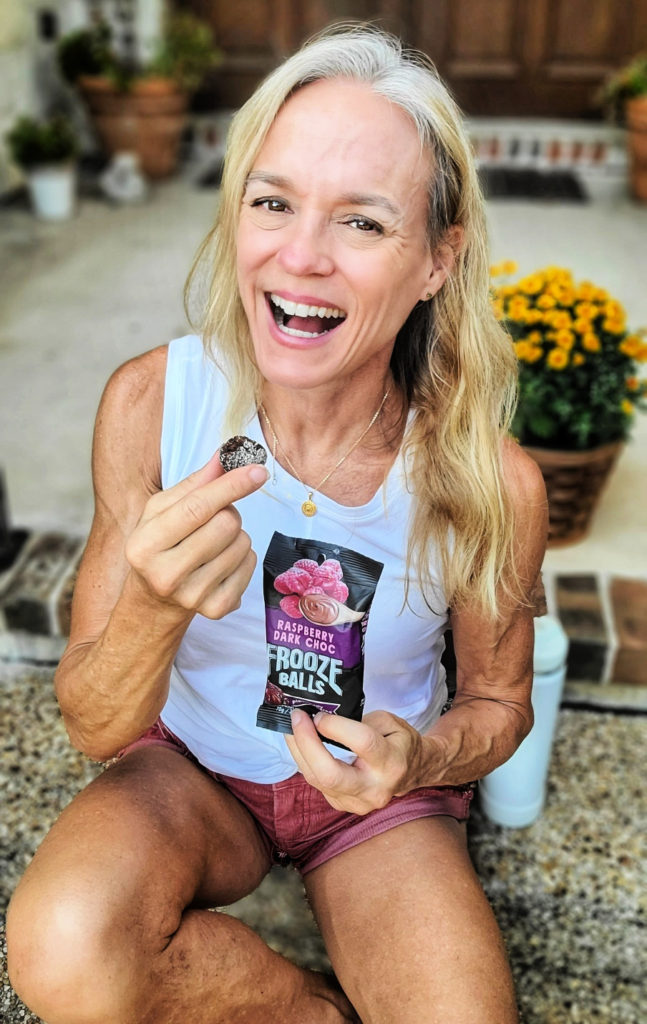
FROOZE BALLS

Frooze Balls:  I love these energy bites, they remind me of something I’d make homemade when I have the time (but never do, lol)! Made with zero junk and plant-powered ingredients like dates, peanuts, coconut, hazelnuts, strawberries and more. These balanced energy balls come packed 5 to a bag, making it easy to portion to my hunger level. Crafted in New Zealand and available in so many creative, crave-worthy flavors – find them HERE.

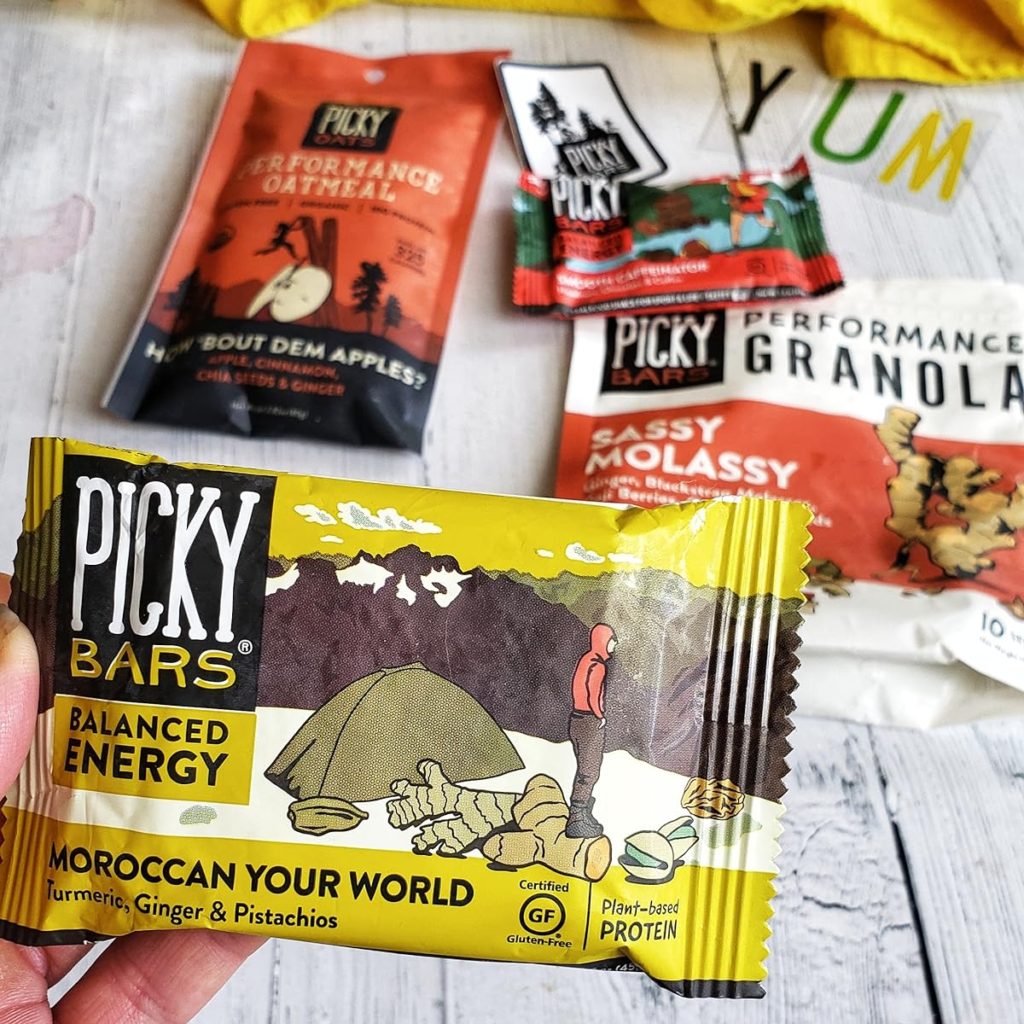
PICKY BARS

Picky Bars: I learned about these real food energy bars years ago in my running community. In fact, the company was founded by past elite runners on a mission to create workout snacks made with easy-to-digest, feel-good ingredients carefully mixed in macronutrient harmony. And, all without the chemicals or fillers found in lots of sport-specific products. Yummy flavor combos, Cinnamon Roll’n is my personal favorite – find them all HERE.

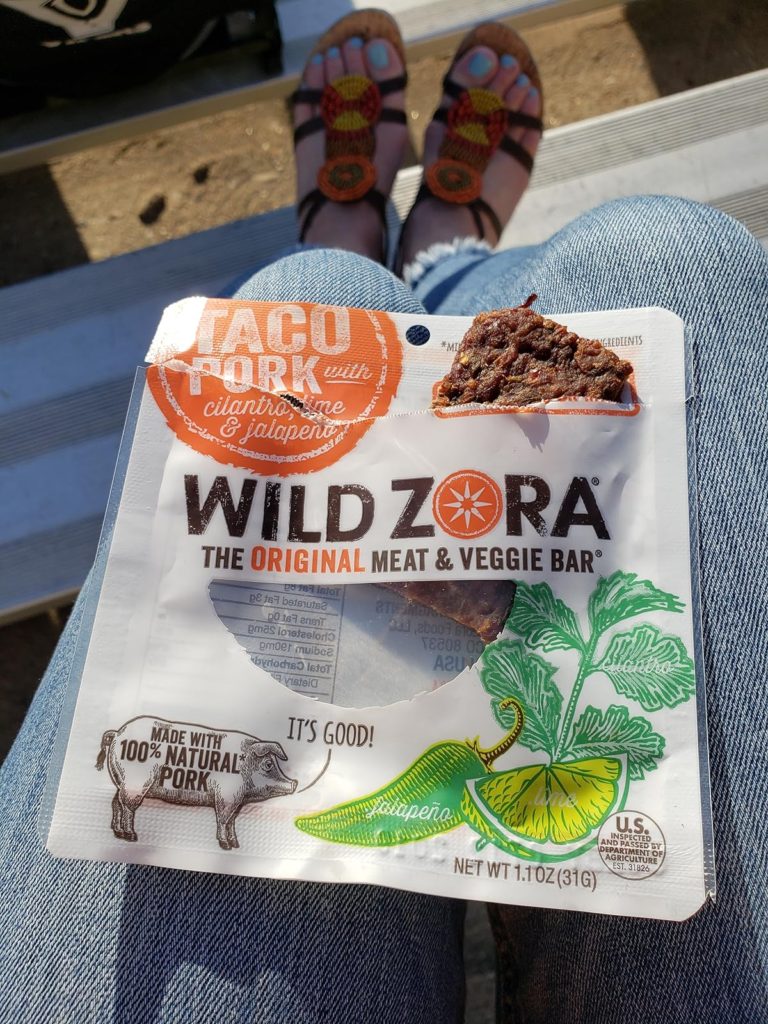
WILD ZORA MEAT & VEGGIE BAR

Wild Zora Meat & Veggie Bars: If you think you don’t like jerky, this balanced protein snack will change your mind! Made with the best-quality meats (including beef, turkey, lamb, and pork options) providing 6-8g protein and nutrient-dense vegetables and/or fruit for energy and more flavor. Ingredients are clean and simple with no added sugar, gluten, hormones or artificial preservatives. I love the texture, not tough to chew like some jerky, but tender and satisfying.  Find them HERE.

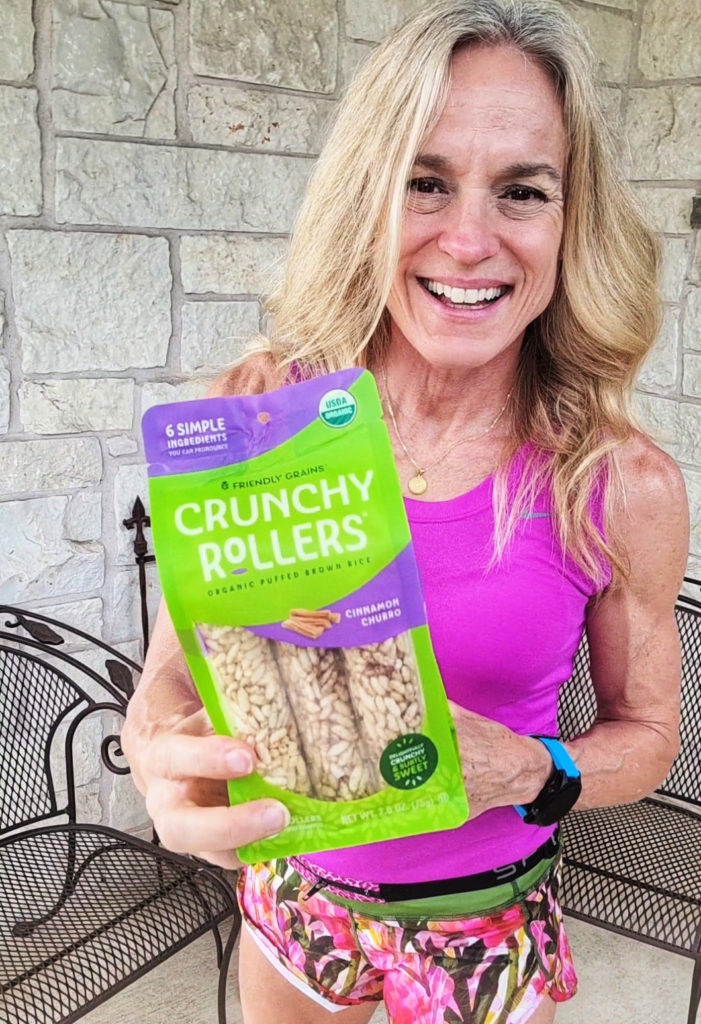
FRIENDLY GRAINS CRUNCHY ROLLERS

Crunchy Rollers by Friendly Grains: Like a rice cake from years ago, but yummier and much more fun! Free from the top-9 allergens, this healthy whole grain snack is packaged in pouches of two, perfect for work lunchboxes and taking on the go to fuel sports. Yummy flavors like Cinnamon Churro Caramel Sea Salt that are subtly sweet, but not sugar-loaded. Made with puffed whole grain, organic brown rice that fill you up smartly and a bit of protein (but not loads), these are great to eat for energy before a workout – you can also dip into a nut butter for a bit more protein. Find them HERE.

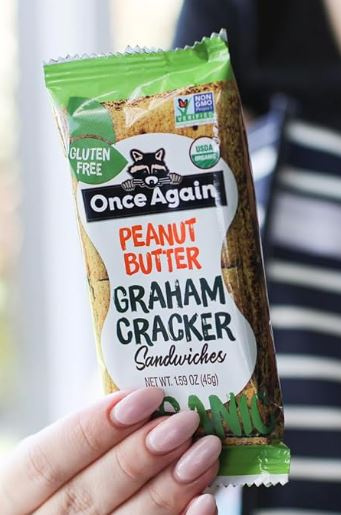
ONCE AGAIN PEANUT BUTTER GRAHAM CRACKER SANDWICHES

Once Again Peanut Butter Graham Cracker Sandwiches: The only sandwich cracker on the market that is both organic & gluten free. Munching on peanut butter crackers was a big part of my childhood, and as an adult, I appreciate the quality of taste of this hand-crafted snack. Here’s a personal race-day secret: I always eat a pack of peanut butter crackers in the start line chute. Whole grain carbs, healthy fats, and 5g protein per serving — winning! Find HERE.

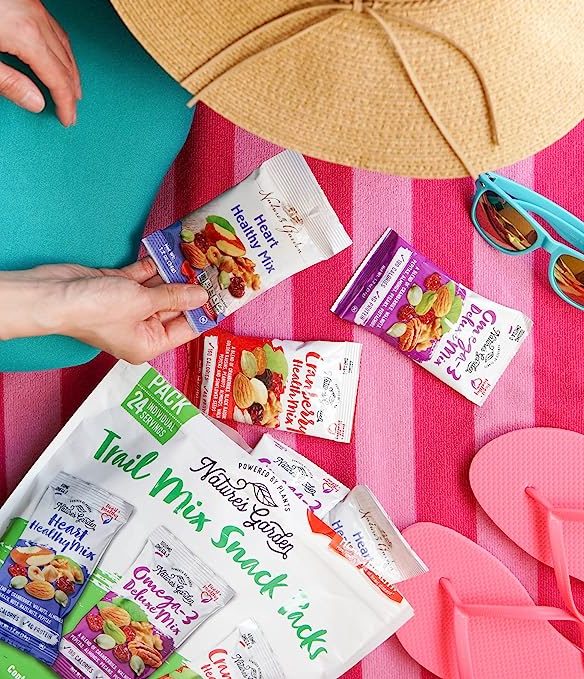
NATURE’S GARDEN HEALTHY TRAIL MIX

Nature’s Garden Healthy Trail Mix Snack Packs: Individually portioned bags of trail mix filled with heart-healthy, omega-3 rich nuts, beneficial seeds and dried fruit like cranberries and raisins.  This is a yummier and more varied version of the GORP (“Good Ole Raisins and Peanuts”) I grew up with as a kid to keep us going all afternoon until dinner! Check it out HERE.

Note: As an Amazon affiliate, I earn from qualifying purchases.


Pumpkin Spice Peanut Butter Roasted Chickpeas – Easy, Inexpensive, Satisfying Snack

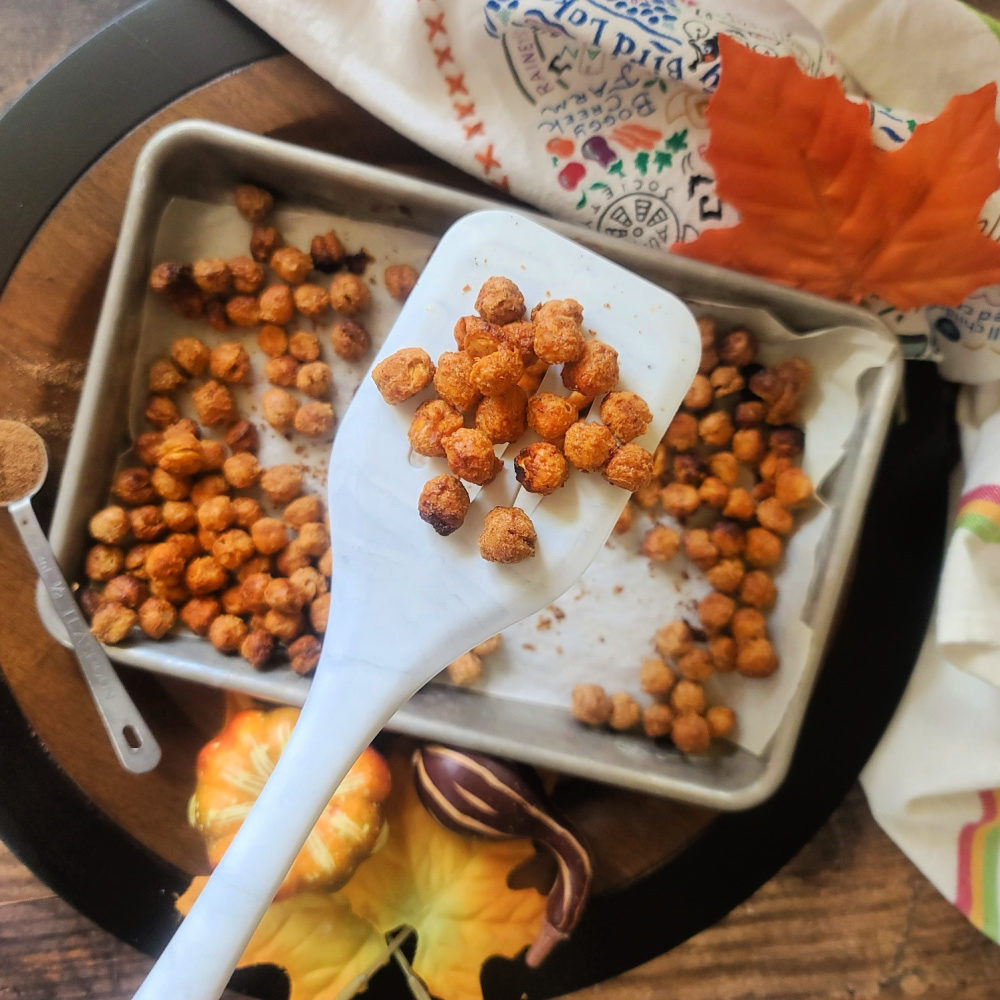
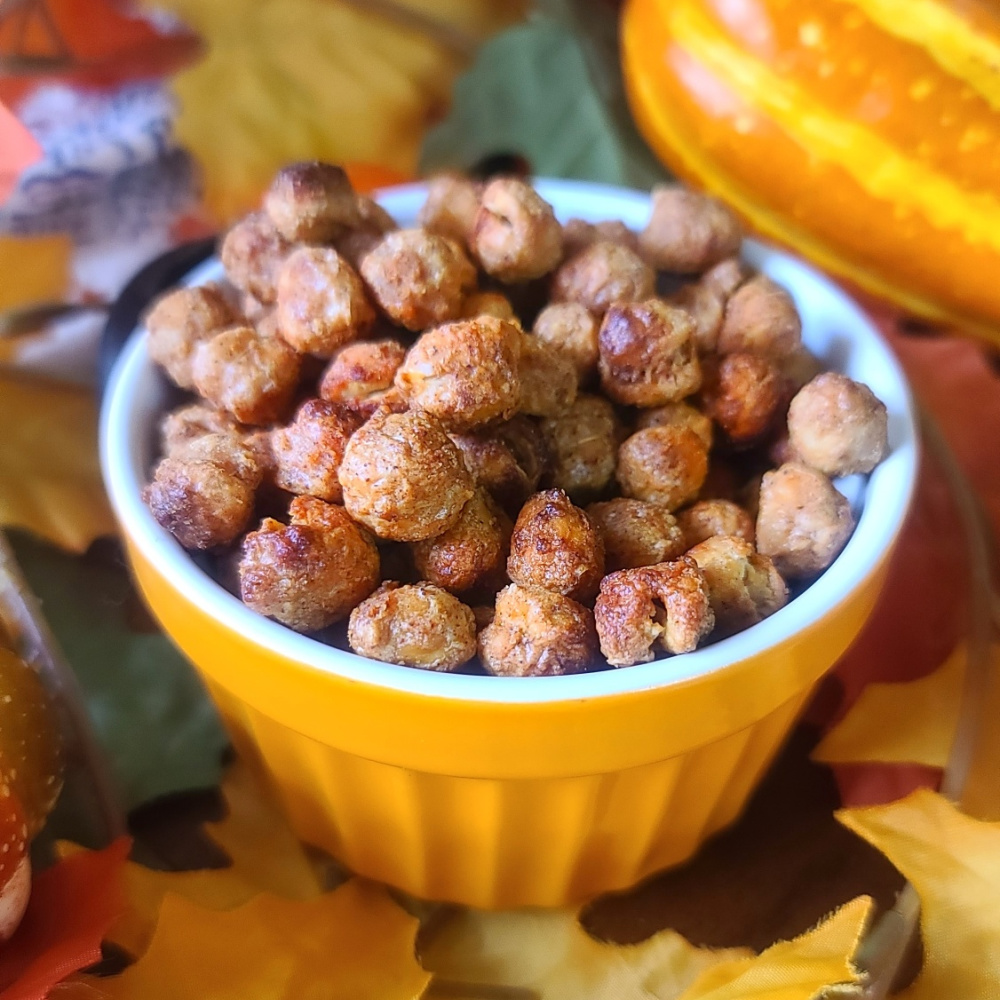
If looking to add a little pumpkin spice magic to your day yet stick to your best healthy snacking intentions, Pumpkin Spice Peanut Butter Roasted Chickpeas deliver big taste in a wholesome little package. It’s also super inexpensive (about $1.50 per batch using convenience canned chickpeas) compared to the $5-$10 dollars I see for other bagged “healthy” snacks.

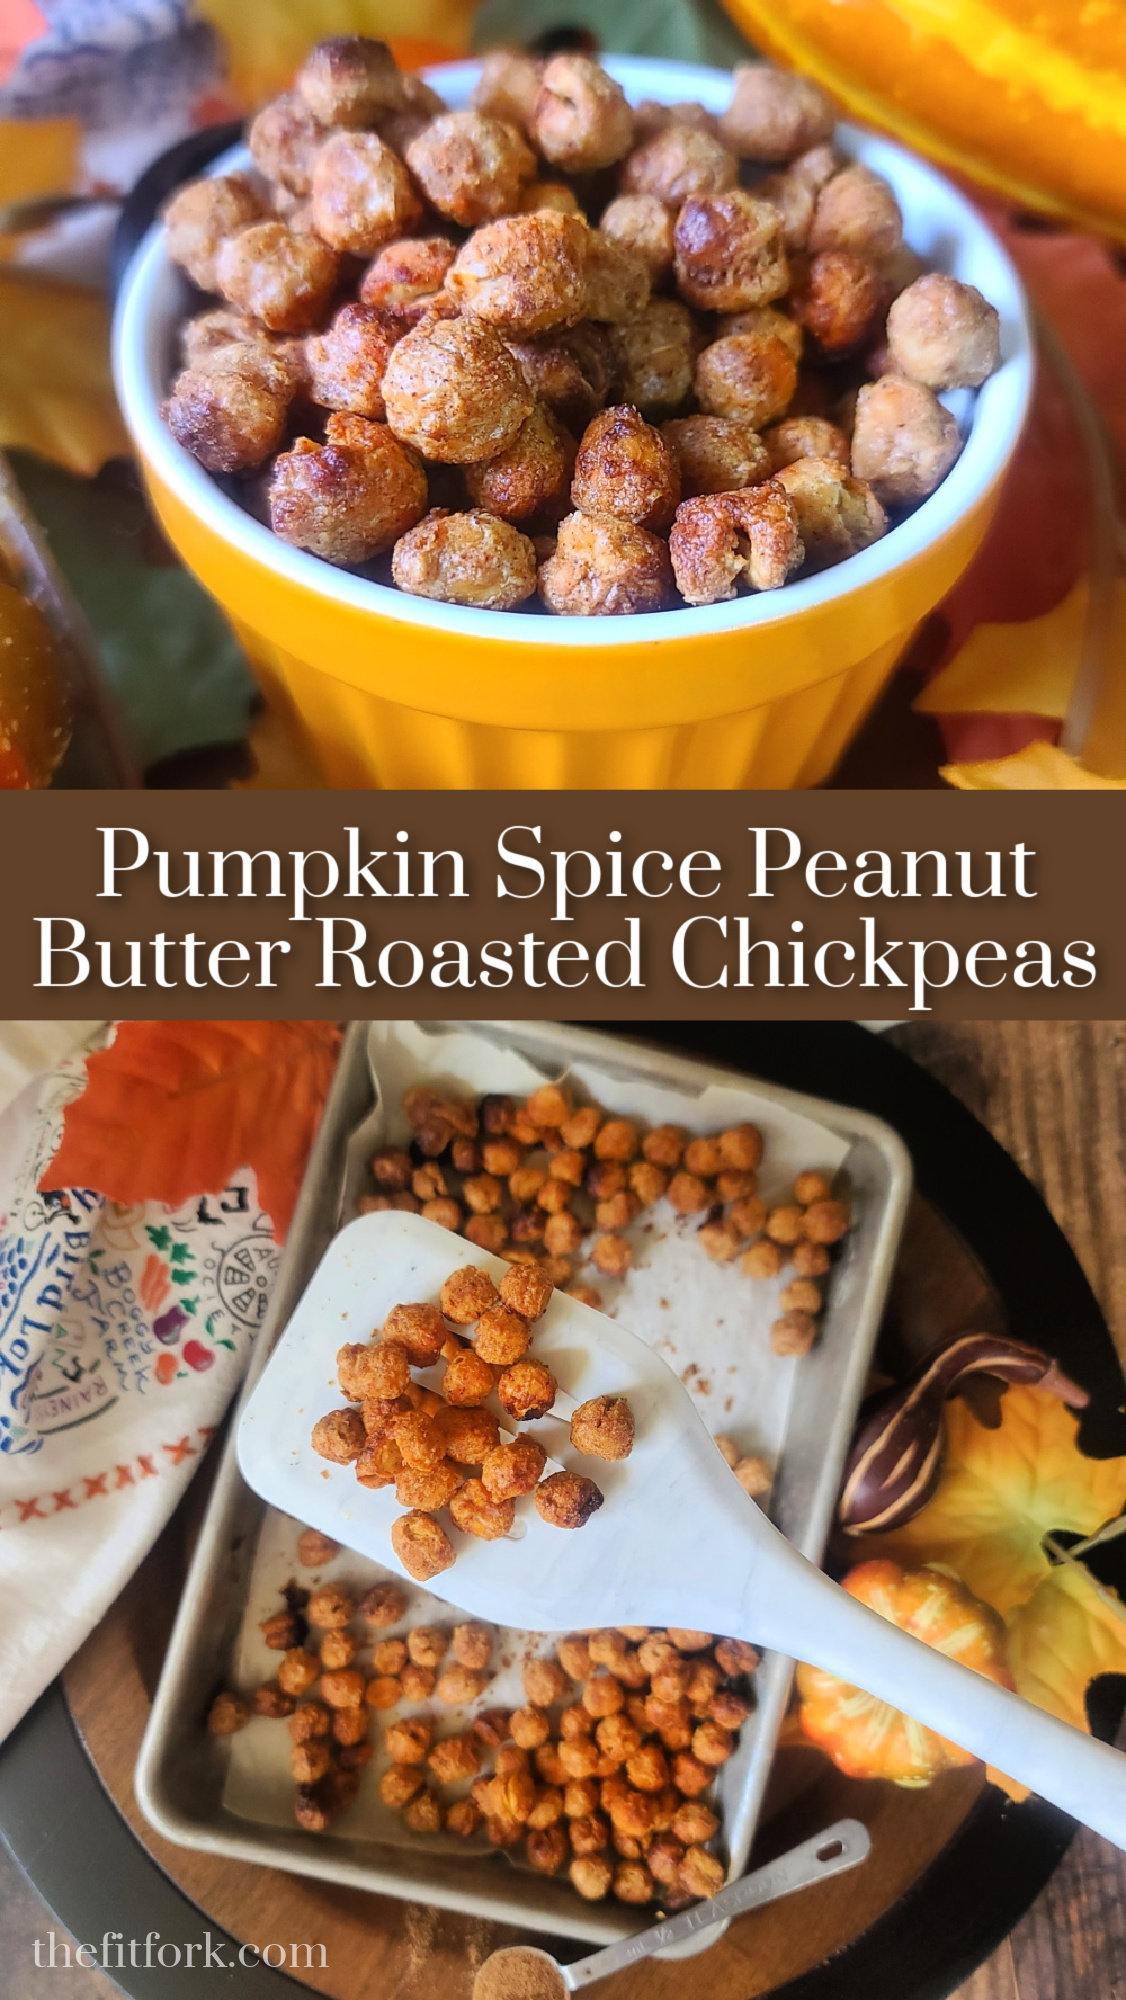
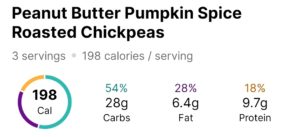
Pumpkin Spice Peanut Butter Roasted Chickpeas – a yummy treat that isn’t so scary for the season. 10g of protein per serving (perfect for a healthy snack), 4g fiber and 198 calories. Easy-peasy to make, using canned chickpeas and I even baked mine in the toaster oven!

Made with simple, good-for-you ingredients including chickpeas, peanut butter powder, olive oil, and pumpkin pie spice blend. These are pantry items I typically always have on hand, meaning that a better-for-me snack filled with protein, fiber and a satisfying crunch can be whipped up whenever the mood strikes.

Roasted chickpeas are great snack choice to take on the go as they don’t need refrigeration, utensils or leave greasy or grainy residue on your hands. Plus, they give you that sustaining energy boost thanks to a nicely balanced profile of 10g protein, 28g carb (4g of fiber), and 6g of fat.

Pumpkin Spice Peanut Butter Roasted Chickpeas – a yummy treat that isn’t so scary for the season. 10g of protein per serving (perfect for a healthy snack), 4g fiber and 198 calories. Easy-peasy to make, using canned chickpeas and I even baked mine in the toaster oven!

TIPS: PUMPKIN SPICE PEANUT BUTTER ROASTED CHICKPEAS

2-step Roasting: The chickpeas roast in two segments – first, about 20-25 minutes plain and unoiled or seasoned and second, another 5 minutes after being coated with the spice mixture. The spice coating isn’t added at the front end (like many savory recipes) because the natural sugars in the maple syrup (or any other sweet flavor) would burn and become bitter if they had to endure too much time in the oven.

Ingredient Substitutions: You can replace 15-oz can of canned chickpeas with 1 ½ cups homemade (just don’t season them). The peanut butter powder can be replaced with almond butter powder in the same amount. Also, you can swap the olive oil for coconut oil or avocado oil. You can swap the maple syrup for honey. If you don’t have pumpkin pie spice blend, you can substitute an equal amount of ground cinnamon and pinch of nutmeg.

Skinning Chickpeas: Once you rinse and drain canned chickpeas, pour them out onto a clean dishcloth or paper towels and gently rub while rolling around to remove the outer seed coat (skin) – while it is definitely edible, rich in fiber and nutrients (so don’t worry if you miss a few), it has a tendency to fall off and burn during roasting.

Scaling Up & Pans: It’s easy to double or triple or go higher on this peanut butter chickpea recipe by simply increasing all the ingredients in the same ratio. However, note that your pan size will increase as the chickpeas need to roast in a single layer (don’t pile them up). One batch can be done in a 9”x6” toaster oven pan (I like this non-stick toaster oven pan), a 9”x9” brownie pan or a standard cake layer pan. Two to three batches can be accommodated on a standard rimmed baking sheet. Anything higher, you’ll have to go to two pans or more.

Storing Leftovers: Keep leftover pumpkin spice chickpeas in an airtight container or plastic zip-top bag (I like reusable zip storage bags). They can stay on the counter for about a week (if they even last that long!). I’ve not tried freezing them, so I can’t recommend.

Pumpkin Spice Peanut Butter Roasted Chickpeas – a yummy treat that isn’t so scary for the season. 10g of protein per serving (perfect for a healthy snack), 4g fiber and 198 calories. Easy-peasy to make, using canned chickpeas and I even baked mine in the toaster oven!
Pin this for later!
5 from 5 votes
Pumpkin Spice Peanut Butter Roasted Chickpeas – a yummy treat that isn’t so scary for the season. 10g of protein per serving (perfect for a snack), 4g fiber and 198 calories. Easy-peasy to make, using canned chickpeas and I even baked mine in the toaster oven!
Pumpkin Spice Peanut Butter Roasted Chickpeas
Prep Time
5 mins
Cook Time
25 mins
Total Time
30 mins
 

Pumpkin Spice Peanut ButterRoasted Chickpeas – a yummy treat that isn’t so scary for the season. 10g ofprotein per serving (perfect for a healthy snack), 4g fiber and 198 calories. Easy-peasyto make, using canned chickpeas and I even baked mine in the toaster oven!

Course: Snack
Keyword: chickpeas, peanut butter, pumpkin spice
Servings: 3 servings
Ingredients
  • 1 15- oz can chickpeas drained and rinsed
  • 2 teaspoons olive oil or melted coconut oil
  • 4 teaspoons maple syrup
  • 2 tablespoons peanut butter powder or almond butter powder
  • 1/2 teaspoon ground pumpkin pie spice
  • 1/8 teaspoon fine sea salt
Instructions
  1. Drain and rinse can of chickpeas. Pour out on a dry dishcloth or paper towels and gently rub any “skins” off, discarding. Let dry while oven preheats to 400F degrees.
  2. Line small rimmed baking sheet in parchment paper or a silicone baking sheet.
  3. Bake for 20 minutes, stopping to shake or stir up the pan once or twice to encourage even roasting. Remove from oven and temporarily set aside, but keep oven on.
  4. In smallish bowl, mix together oil, nut butter powder, pumpkin pie spice and salt until it forms a thin paste.
  5. Pour in pan the pan of baked chickpeas and stir until evenly coated. Return to baking sheet, spreading out in a single layer. Cook again at 400F for 5- 6 minutes, stirring halfway through.

  6. Let cool, enjoy! Store leftovers in an air-tight container for up to a week.
Recipe Notes

Note: This post contains affiliate links. Commissions are used to offset operating expenses for The Fit Fork.