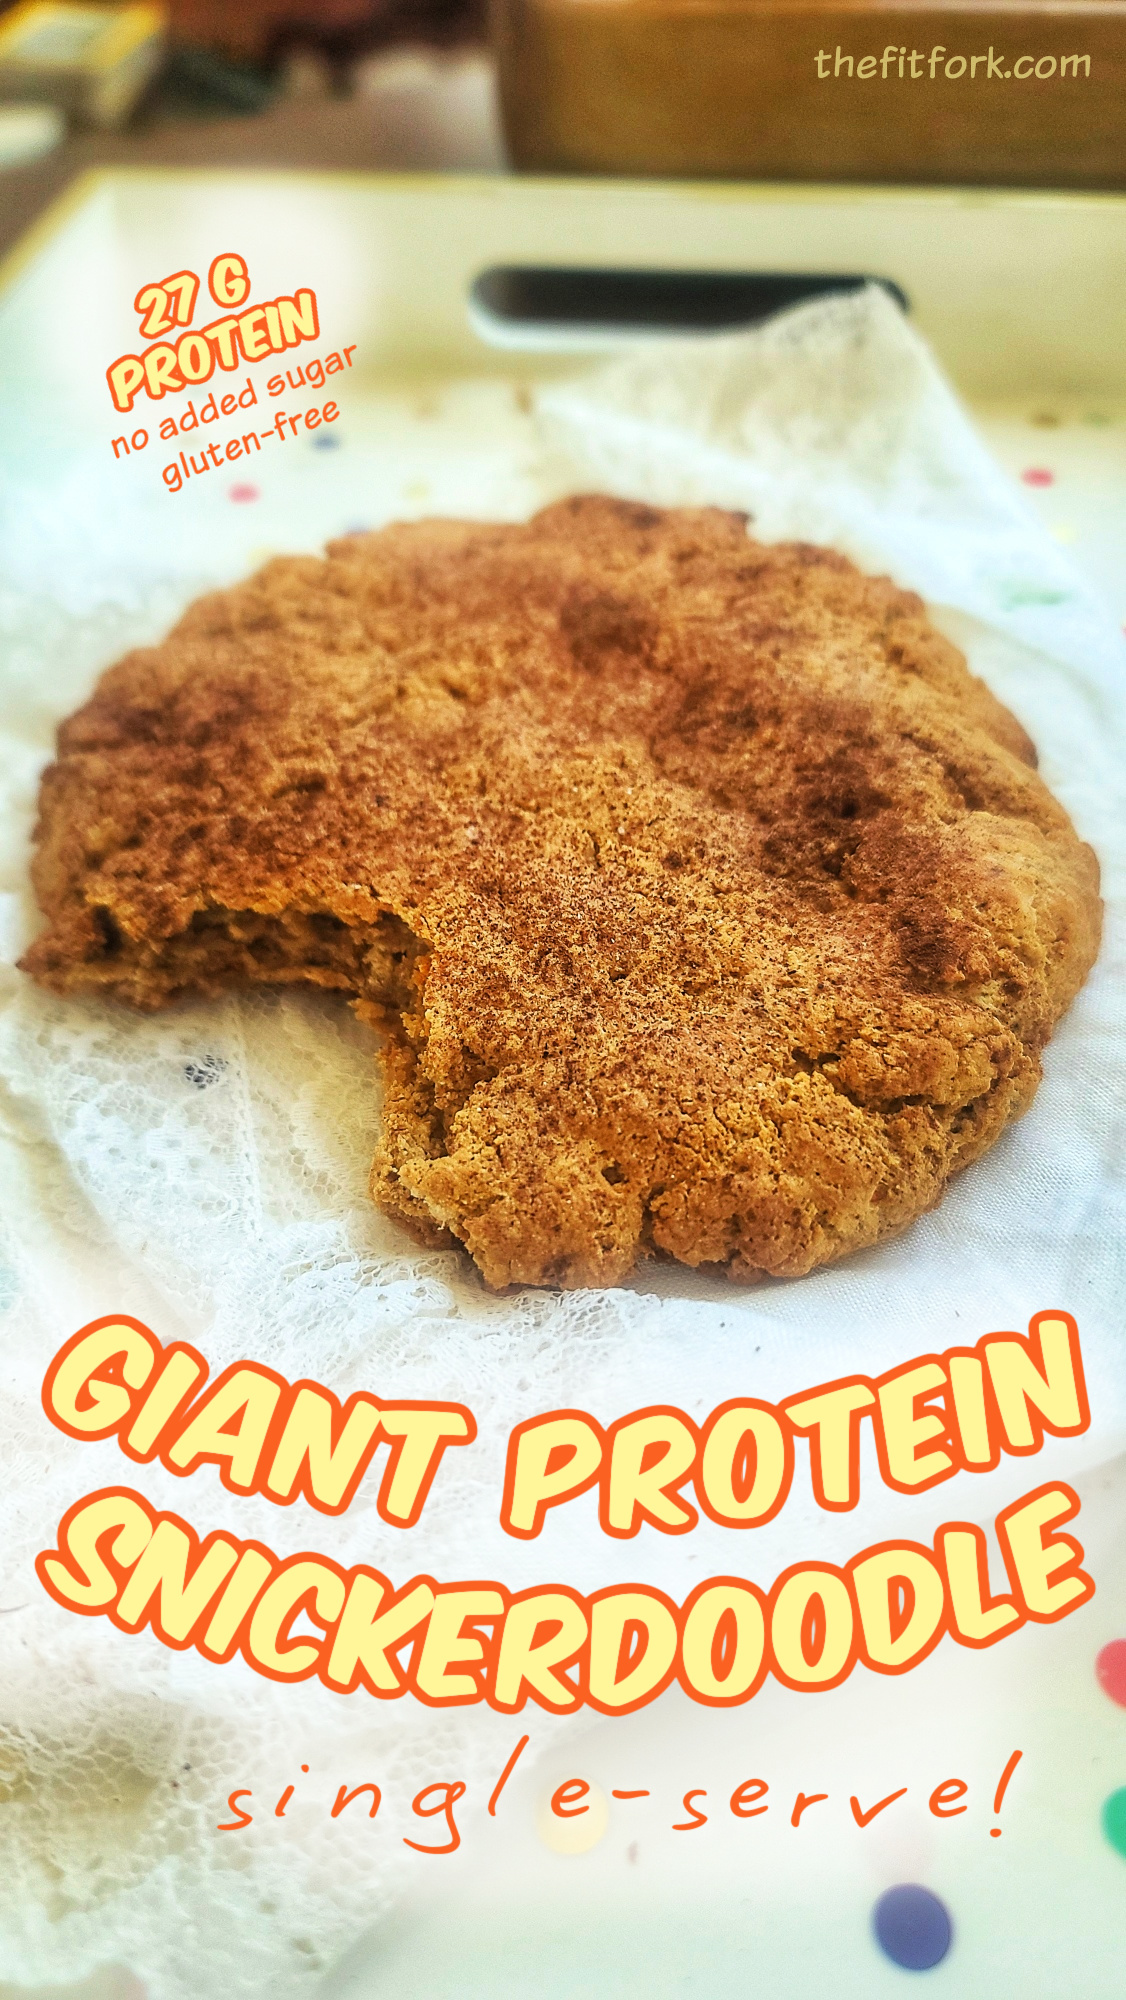
I really love a good mug cake—especially when it’s packed with protein.
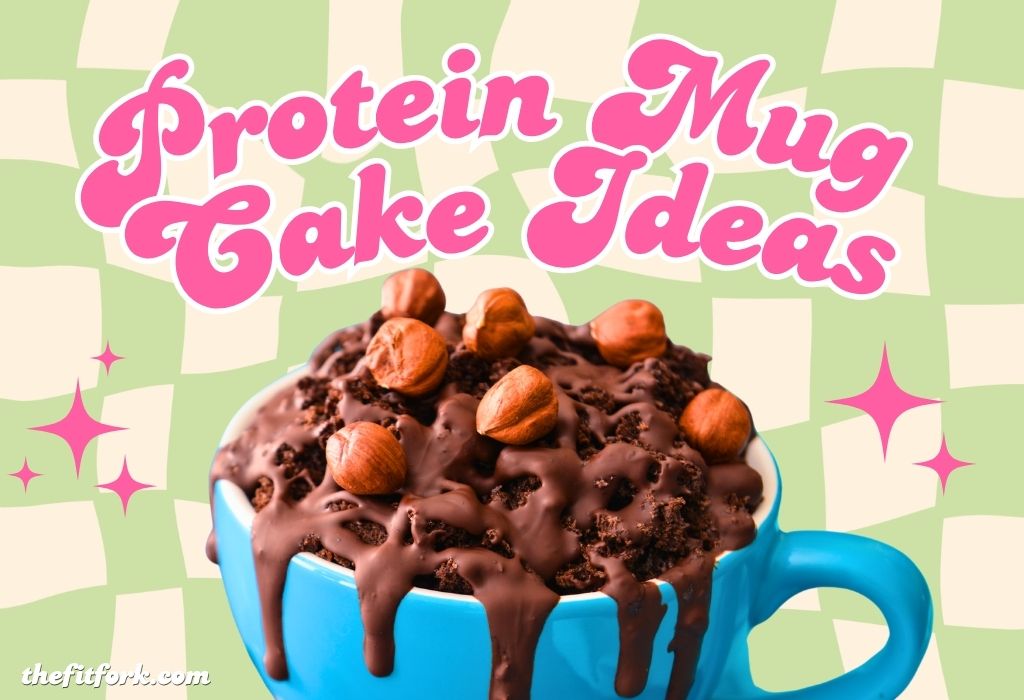
Not only are protein mug cakes quick to make, they’re the perfect way to satisfy a sweet craving without baking an entire pan of brownies or heating up the kitchen. They’re ideal for solo snackers, couples, busy mornings, post-workout treats, or those evenings when you just want a little something sweet.
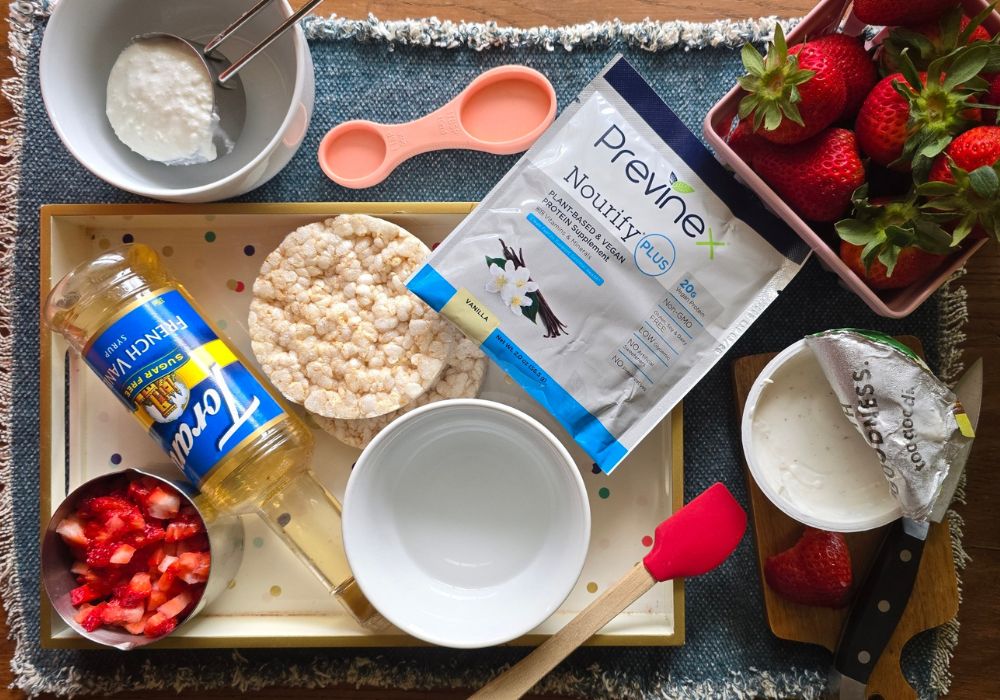
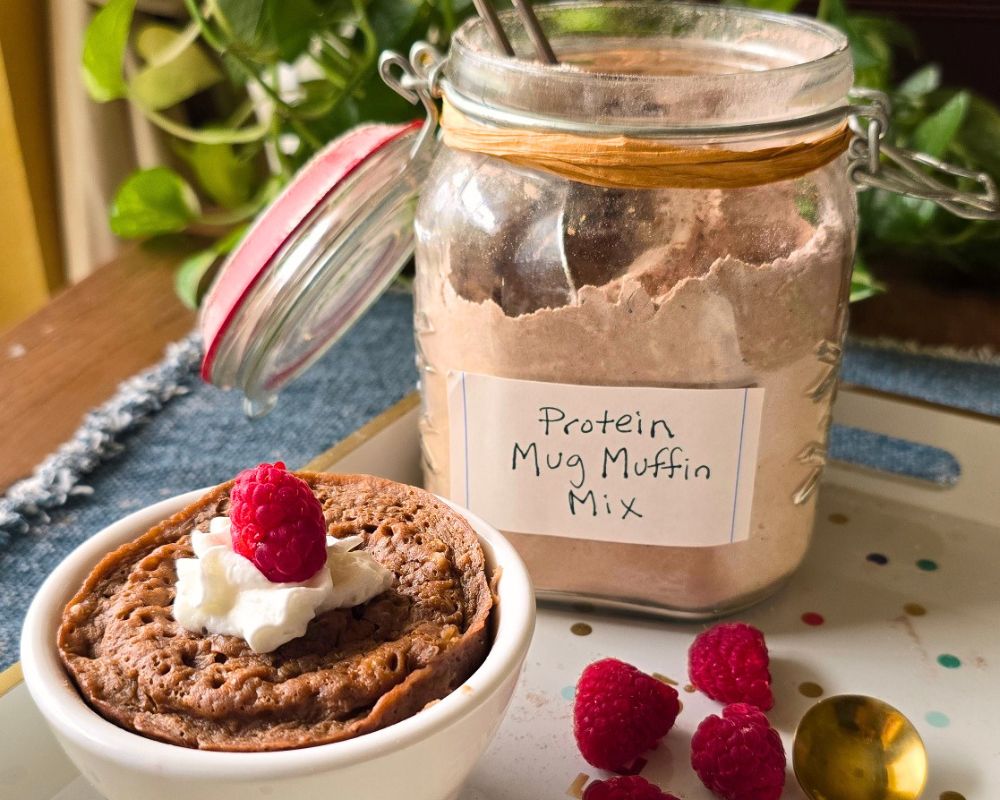
They’re even faster when you keep a batch of my Protein Mug Muffin (Cake) Mix in the pantry. Simply stir together the mix with an egg, a splash of water, and a little mashed fruit, then microwave for a couple of minutes. That’s it! You have a warm, fluffy, protein-packed treat ready before your coffee has even finished brewing.
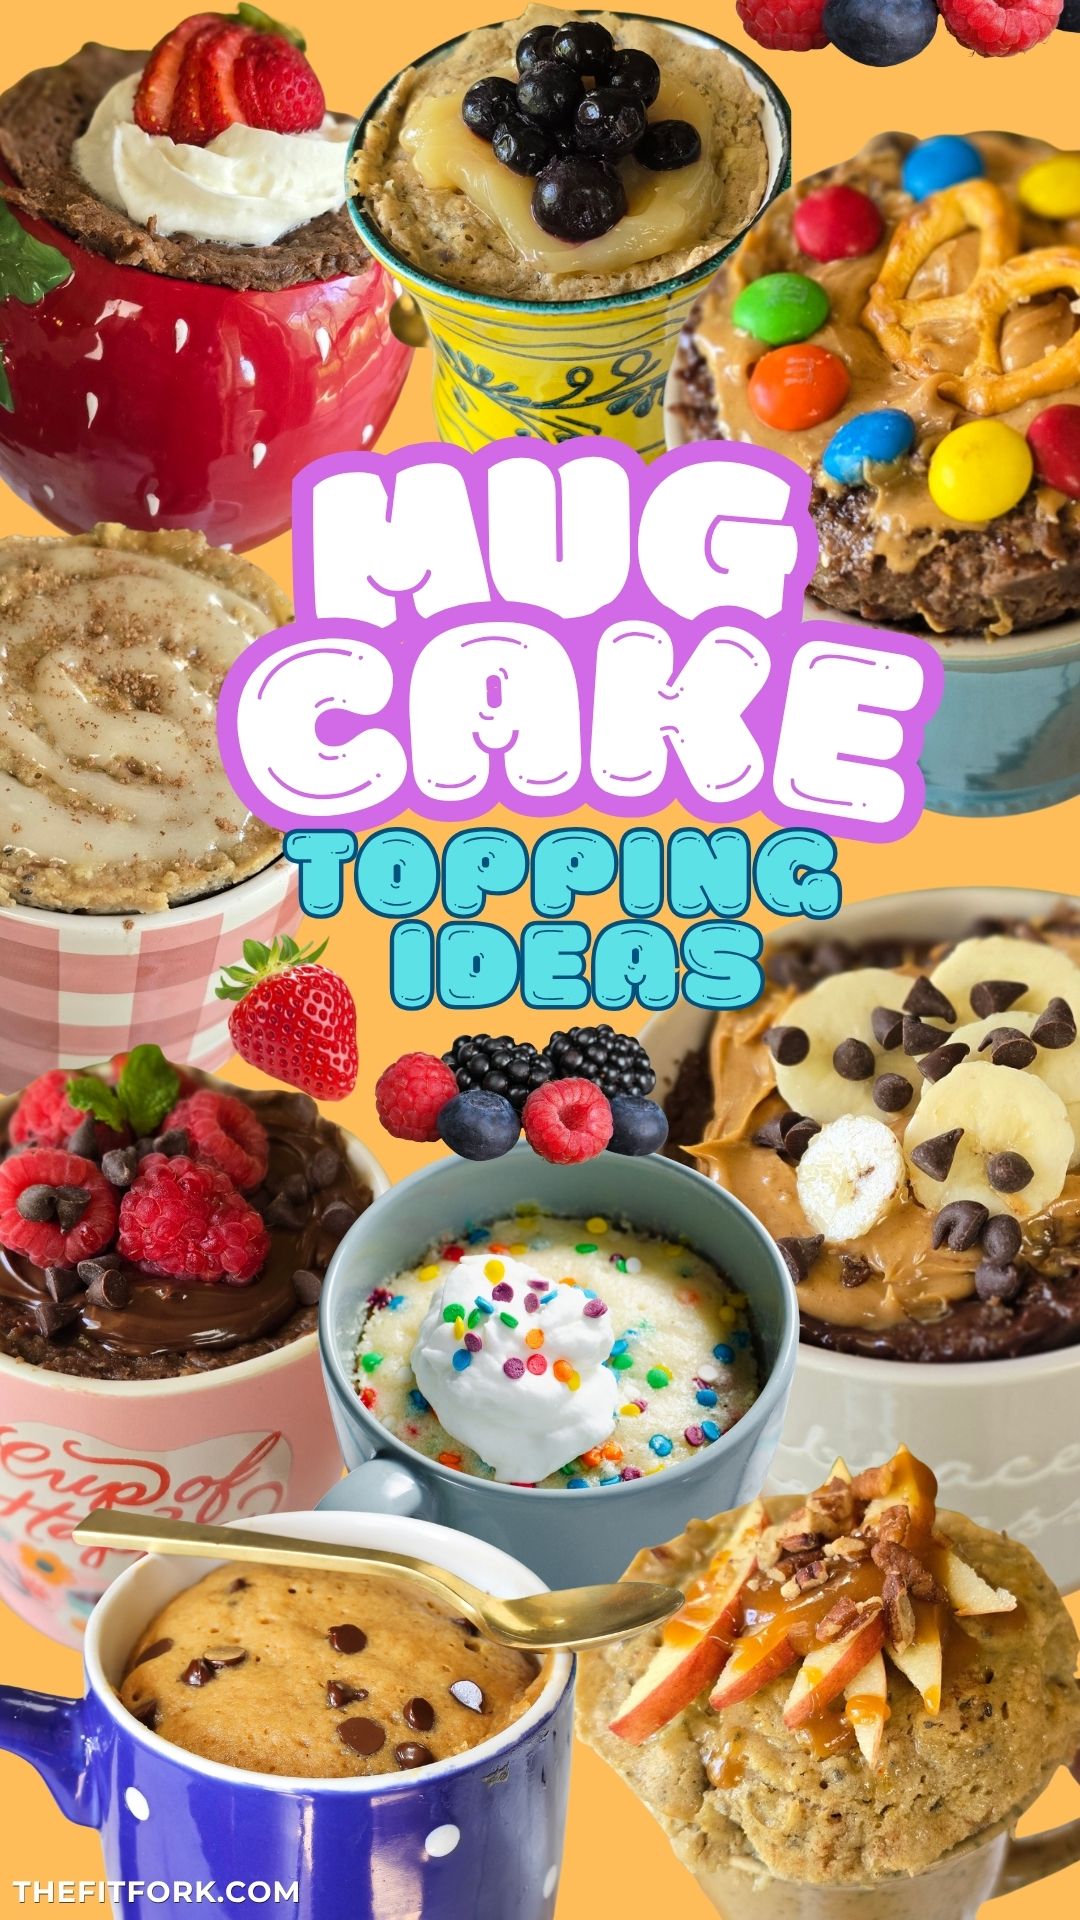
One of my favorite things about this recipe is how customizable it is. The base recipe is balanced, naturally sweetened with no added sugar, and delivers about 20 grams of protein, but changing the toppings makes it feel like a completely different dessert every time.
Grab the Protein Mug Muffin (Cake) Mix recipe HERE!
Easy Protein Mug Cake Topping Ideas
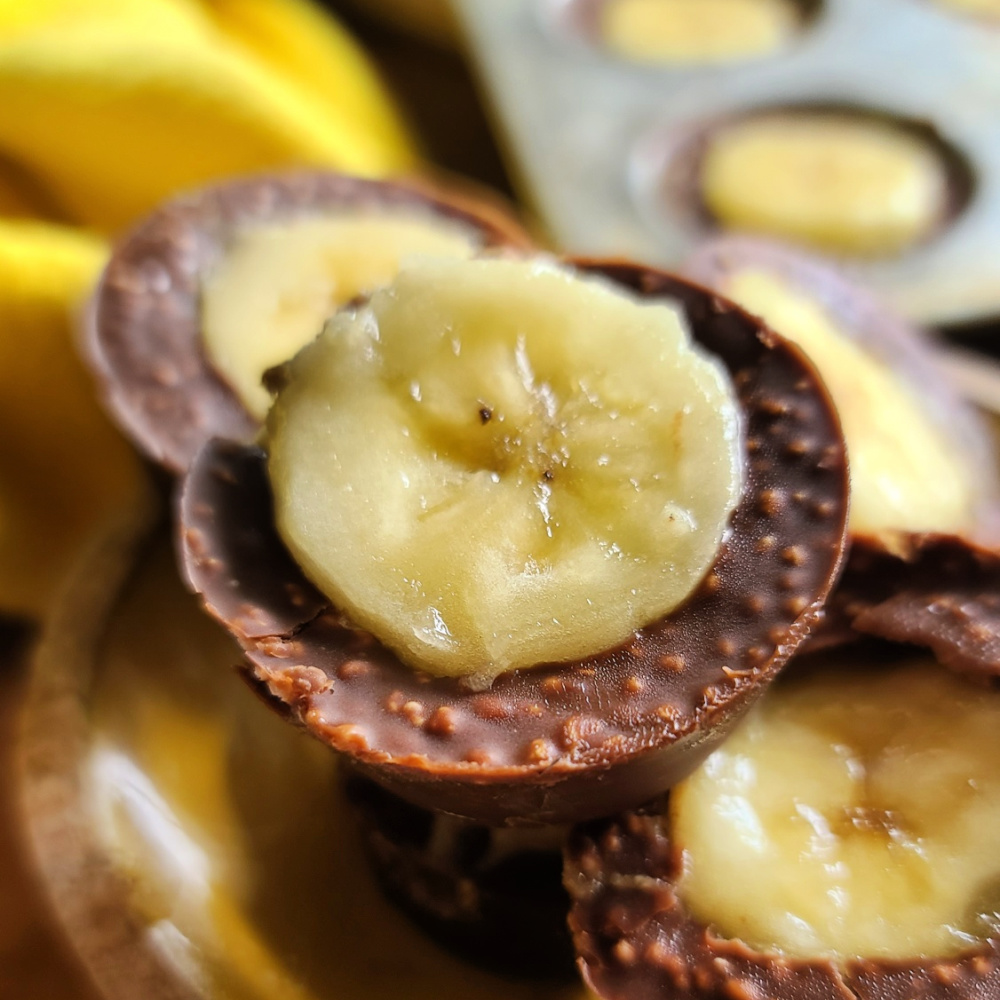
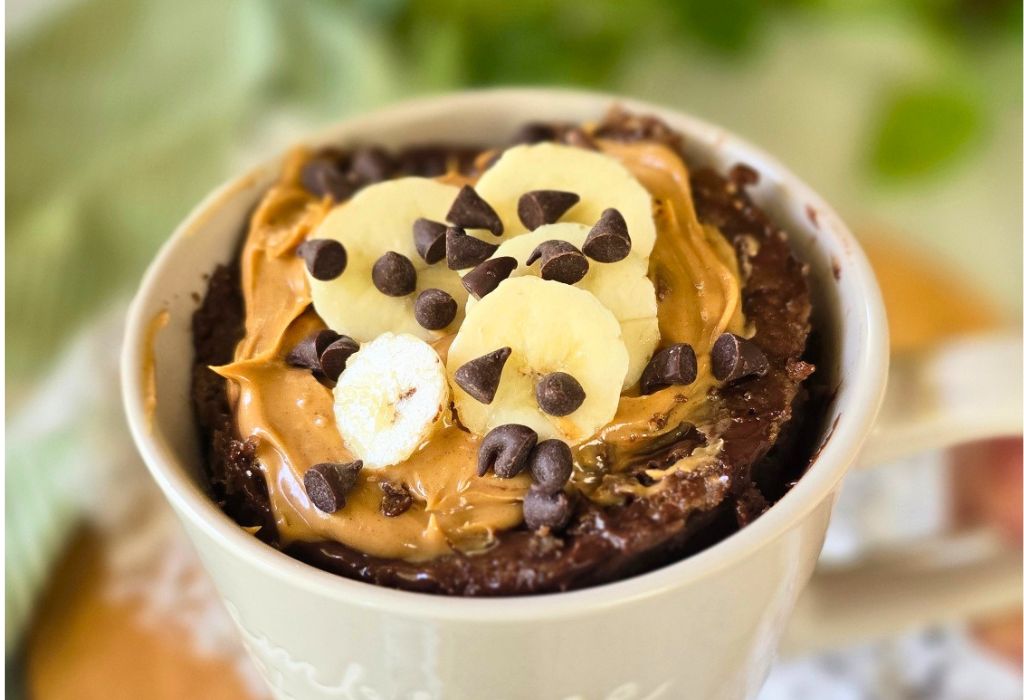
Chunky Monkey: A classic flavor combo that’s always a winner. The warm peanut butter gets deliciously melty, making every bite extra satisfying. Add your favorite peanut butter, banana slices and mini chocolate chips.
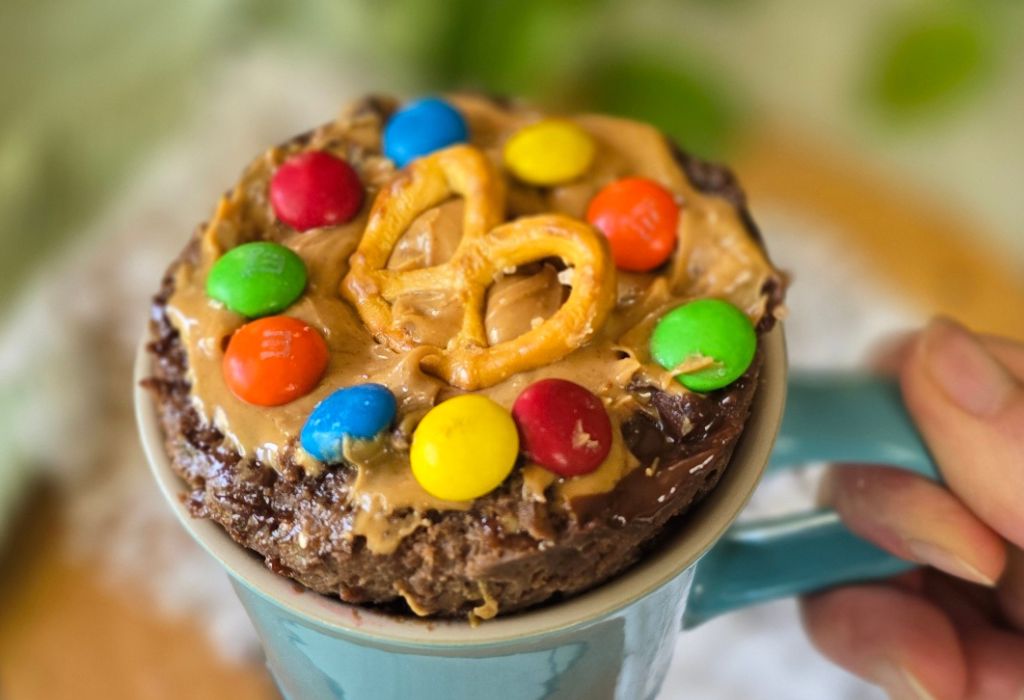
Trail Mix Crunch: For when you’re craving a little sweet, salty, and crunchy. The contrast of crunchy toppings on a warm mug cake is hard to beat. Crushed pretzels, with mini chocolate chips (or candy-coated chocolate bits), and chopped almonds, pecans, or walnuts.
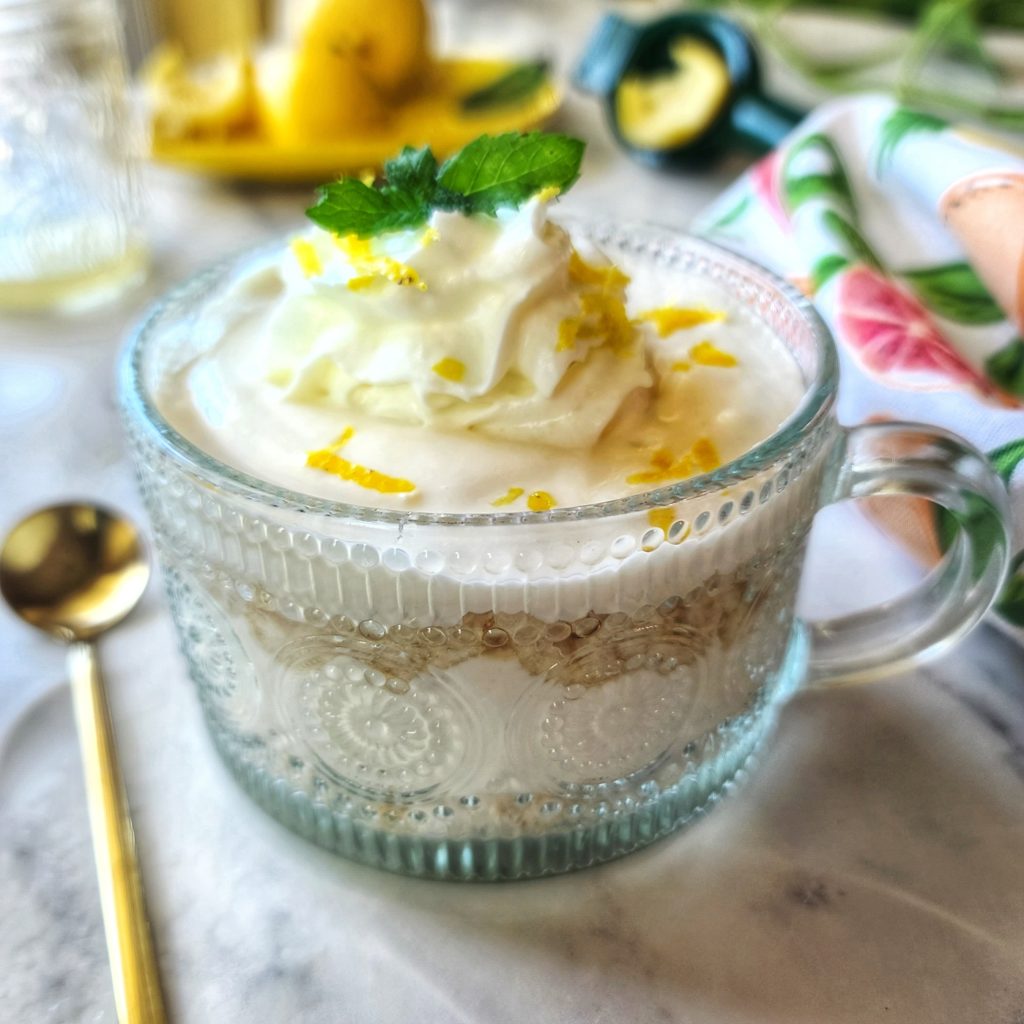
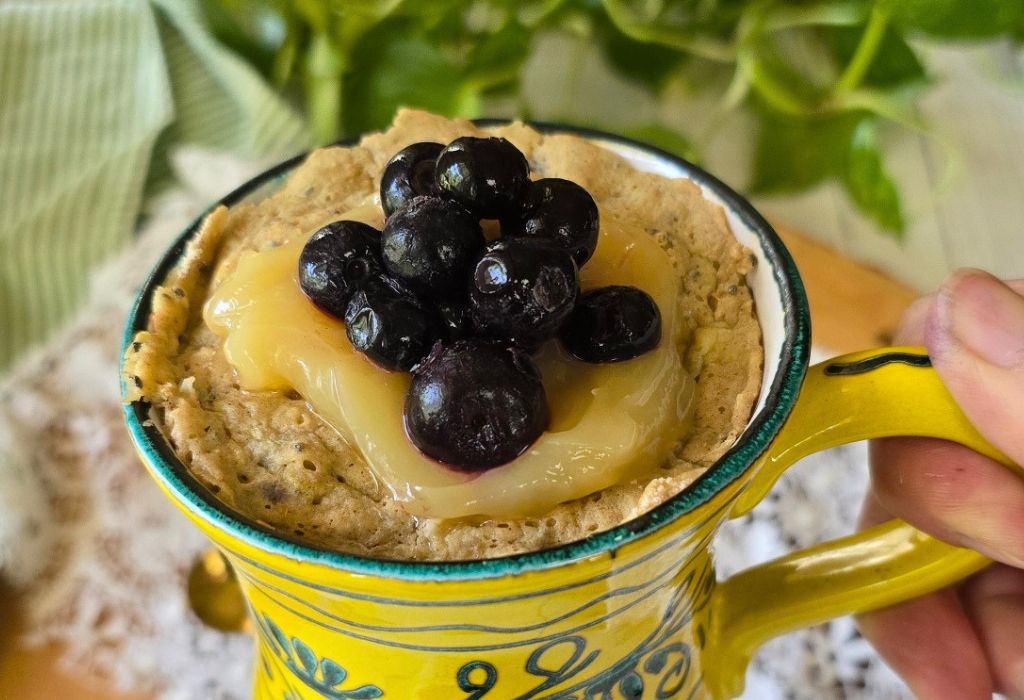
Blueberry Lemon: Bright, fresh, and just the right amount of tangy – bakery-worthy with almost no effort. Sugar-free lemon curd with fresh blueberries and optional lemon zest.
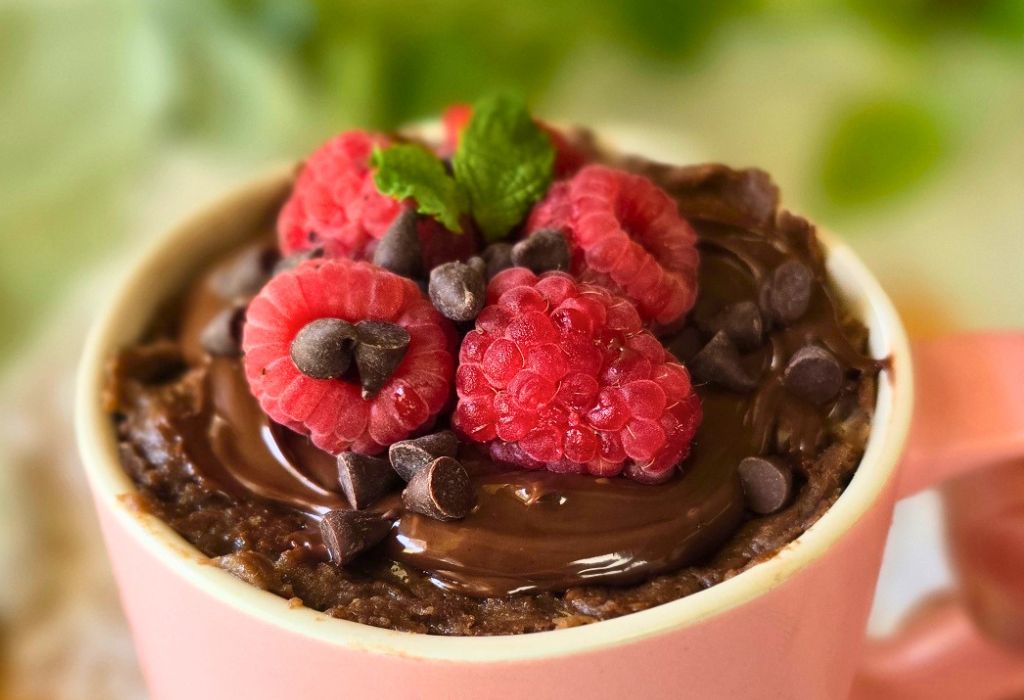
Raspberry Truffle: Rich chocolate meets tart berries. What’s not to swoon over?! Nutella (or a low-sugar chocolate hazelnut , spread), fresh raspberries and mini chocolate chips.
Cinnamon Roll: Everything you love about a cinnamon roll—in just minutes. If you’re feeling fancy, add chopped nuts. Cream cheese icing (I love using my protein cream cheese icing recipe.) Sprinkle of cinnamon

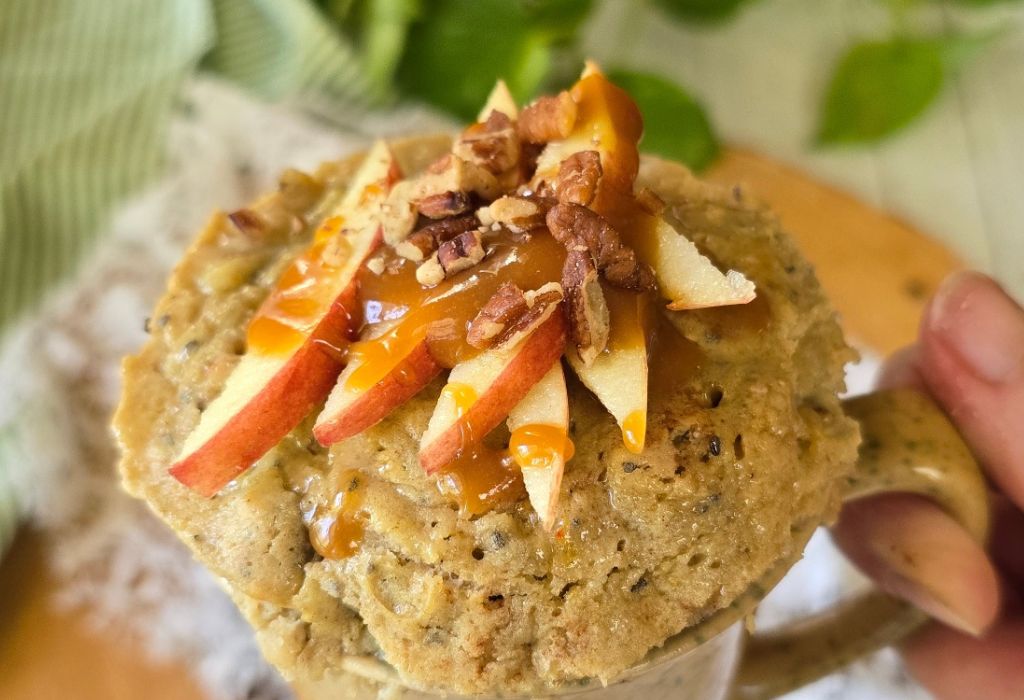
Caramel Apple Pie: All the cozy fall vibes, any time of year. So comforting and filling. Thin apple slices, Sugar-free caramel sauce, chopped pecans, dash of cinnamon.
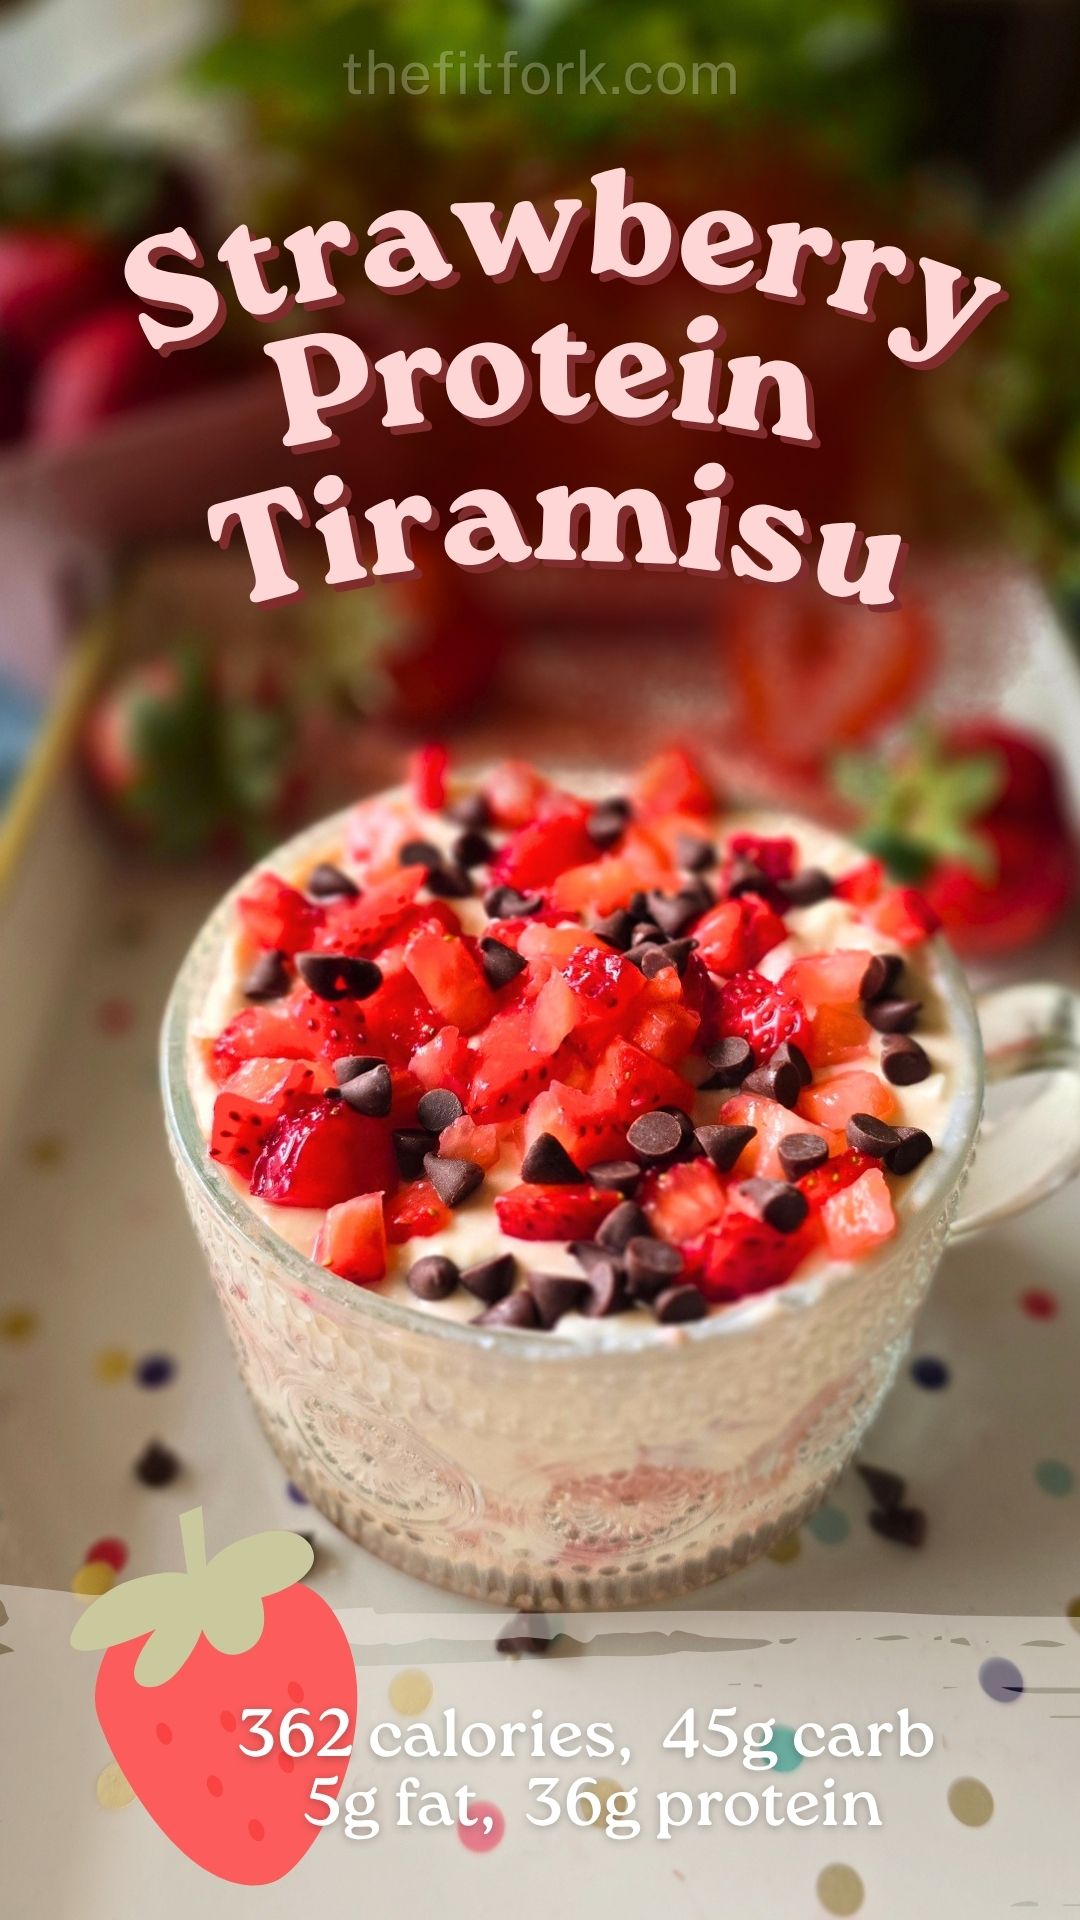
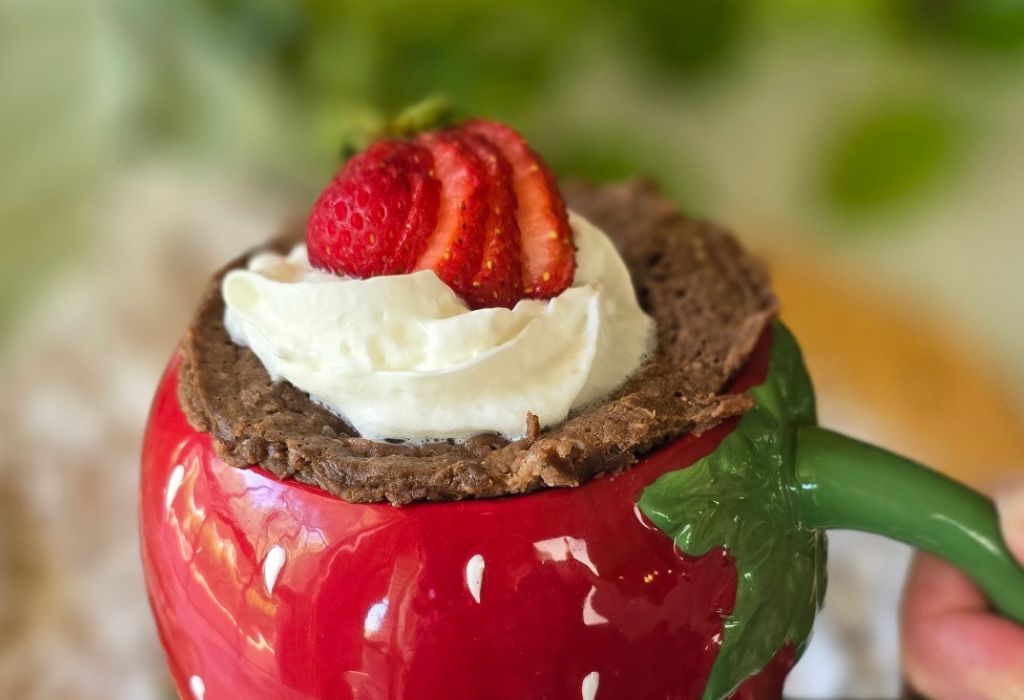
Strawberries & Cream: Simple, classic, and perfect for summer. A dollop of whipped cream (or whipped topping) + sliced strawberries
More Mug Cake Topping Ideas to Try
Once you start experimenting, the possibilities are endless. Here are a few more combinations worth trying:
- 🍑 Peach slices + vanilla Greek yogurt dollop + cinnamon
- 🍒 Cherries + dark chocolate chips
- 🥥 Toasted coconut + chopped macadamia nuts + whipped topping
- 🍪 Crushed graham crackers + protein frosting
- 🍫 Chocolate peanut butter drizzle
- 🍎 Apple butter + cinnamon
- 🥜 Almond butter + Jam
- 🍍 Pineapple + toasted coconut + protein frosting
- 🍪 Crushed protein cookie + whipped topping
Keeping a jar of Protein Mug Muffin Mix (I always have a Chocolate mix AND a Vanilla Mix on hand) in the pantry means you’re always just a few minutes away from a warm, homemade treat that actually helps you hit your protein goals. With a simple change of toppings, one recipe becomes dozens of different desserts—so you’ll never get bored.
I’d love to know your favorite combination! If you come up with a topping that’s too good not to share, leave it in the comments so everyone can give it a try.