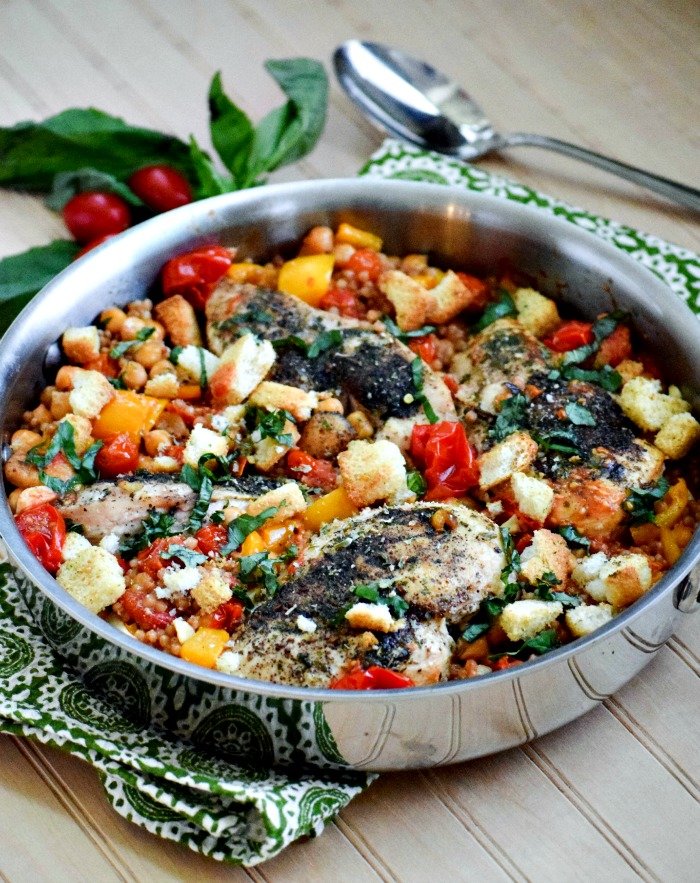
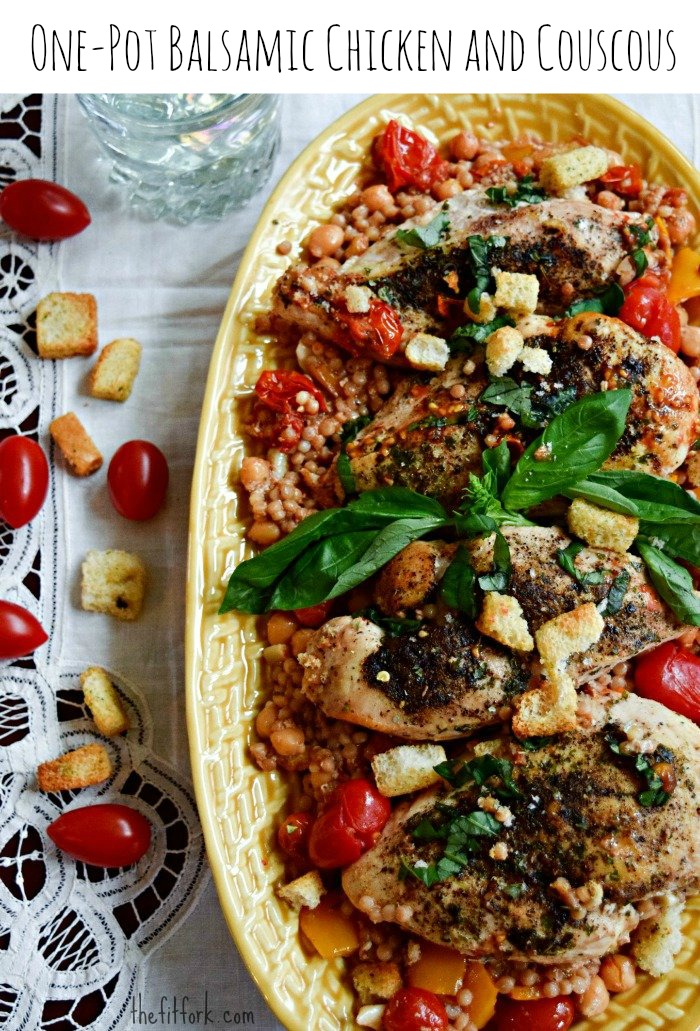
Do you ever look around after preparing a meal and feel like you’ve dirtied up EVERY pot, pan and bowl in your collection? No one ever seems to honor the “I cooked so you clean” rule on those nights when I create a bit too much chaos in the kitchen! But, wait until you see this delicious recipe I created for the Litehouse Foods blog — One-Pot Cream Balsamic Chicken and Couscous! It’s truly a busy-night blessing, only ONE dish and a couple utensils to clean up . . . and did I mention tasty?
This one-pot recipe is a well-balanced, nutritious meal inspired by Mediterranean cuisine, so pour yourself a glass of red wine if you must! Featuring colorful red tomatoes (I love the little Cherubs) and yellow peppers, everyone’s favorite chicken breasts, whole wheat couscous, creamy balsamic sauce and a finishing crunch or garlicky croutons, I seriously doubt you’ll have any leftovers to scrape out of that one single pot!!
So, what’s for dessert? I love having “dressed up” fruit for dessert like my Salted Honey and Ginger Broiled Grapefruit or Watermelon with Fruit Salsa. But if you’re looking for a quick and healthy dessert that won’t dirty up any dishes in the making, how about just sticking some dark chocolate chips into raspberries and eating right out of the carton!
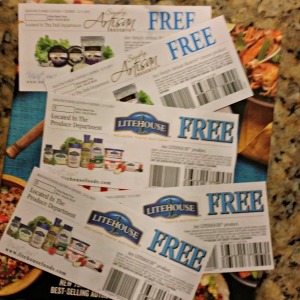
To encourage you to make some of these yummy recipes, I’m giving away five (5) coupons for Litehouse Food’s Products (they expire on 12/31/15). Litehouse Foods makes all sorts of fresh products like traditional salad dressings and vinaigrettes; Greek yogurt based dressings and dips; caramels and sweet dips, freeze-dried herbs; artisanal cheeses and more. You can find most of these products in the refrigerated section of your market’s fresh produce section and gourmet cheese area. Two of the coupons are specifically designated for the Artisan Reserve Cheeses including gorgonzola, blue cheese and feta. a Rafflecopter giveaway
Gluten-free baking, it can be a beast. If you’ve ever attempted your own gluten-free adventures in the kitchen, you know the oh-my-gawwwd-this-is-disgusting ogre of which I speak. This monster might eat dense bread, flat cakes and cookies that could double as hockey pucks, but none of my kiddos will come near the majority of my initial gluten-free experiments. Not that I’m trying dissuade you from doing your own gluten-free baking – it can be done up right if you have a reliable recipe and know the tips for success. I have a couple tried-and-true gluten-free goodies in my repertoire, Baked Honey Pistachio Donuts and Chocolate Chip Cranberry Pumpkin Bread , but many other recipes (like gluten free cookies) are not at all luscious and, frankly, lackluster. I’ve got a tough crowd to please with my three teen boy taste-testers – you’d think that they’d eat ANYTHING to fill up those hollow legs, put they’re surprisingly persnickety.
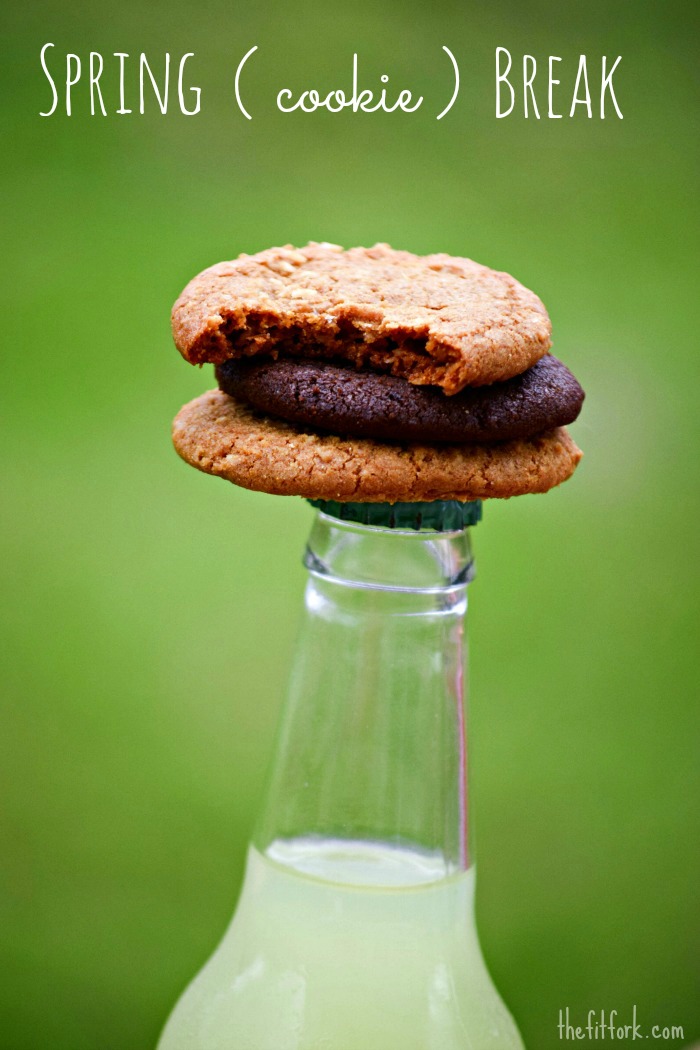
So, I’ve decided there’s no shame in buying cookies, no shame at all. Especially if they are OUTRAGEOUSLY DELICIOUS cookies— enter GinnyBakes.com into my life! Ginny Bakes creates outrageously delicious and certified organic, certified gluten-free, non-gmo cookies, bars and goodies that the whole family can enjoy. Ginny puts a lot of love and mindful attention into her products– all ingredients are grown without the use of pesticides, synthetic fertilizers, genetically modified organisms and ionizing radiation. I appreciate that she’s treating my family with the same care and concern that she gives to her own brood.
Lucy stole our Ginny Minis!
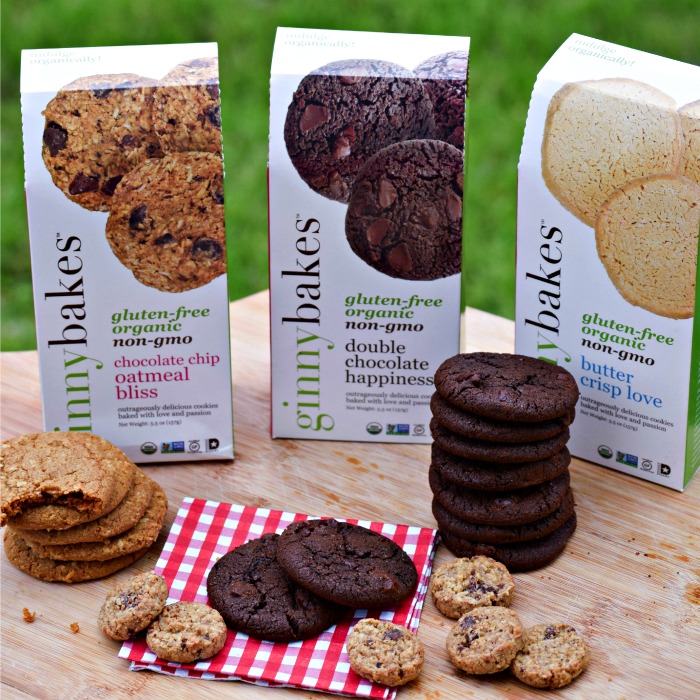
Cookies fanatics are going to appreciate the wide variety of flavors available, included are Chocolate Chip Love, Chocolate chip Macadamia Love, Chocolate Chip Oatmeal Bill, Coconut Oatmeal Bliss, Double Chocolate Happiness, Buttercrisp Love, Dreamy Vegan Delight and “Ginny Minis,” little bags of bite-sized cookies that are perfect for lunchboxes or purses.
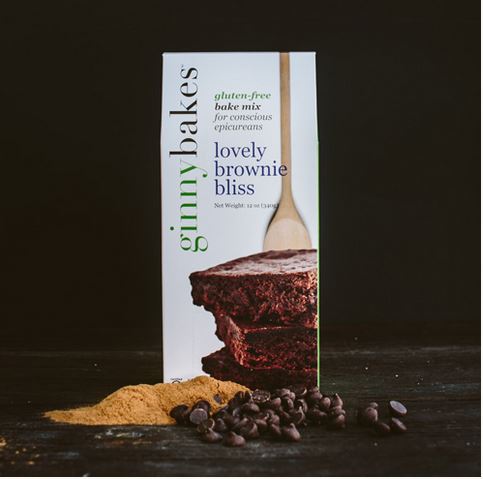
Oh, and if you do have the time to bake but are worried about getting “gluten-free” right or just want to make sure you have quality ingredients, GinnyBakes.com also makes several unbelievable baking mixes. I tried Lovely Brownie Bliss Baking Mix – let me just say between the organic dark chocolate chips, coconut oil and rich cacao powder, these decadent gluten-free brownie had to HIDDEN from the family for my own personal enjoyment.
I have a couple fun ideas for using the cookies – other than eating straight out of the box. Crumble them up on Greek yogurt, sandwich two around ice cream or decorate the buttercrisp cookies for whatever reason or season is at hand.
Greek yogurt, my homemade chia seed and strawberry sauce, and Ginny Bakes Oatmeal Chocolate Chip Cookie crumbled on top!
Ginny Bakes products are available online at GinnyBakes.com or at many of your favorite retailers like Target, Whole Foods and Natural Grocers – you can even print off a coupon. Time saved, better tasting, nutritious ingredients, kids happier, mindful munching –you MUST join me at winning at this healthy mom thing!
I enjoyed a one-of-a-kind, sorta-strange experience as only Austin can host at the Taco Takedown that was held this past weekend near the be-hip-or-go-home scene at SXSW (South by Southwest). I’ve been in quite a few cook-offs including the iconic Pillsbury Bake Off in Vegas with $1 Million prize (obviously I didn’t win), the Crisco Cook Off in Nashville as part of the Country Music Festival, and even many times in my home-town Hatch Green Chile Cook Off where I hold bragging rights as the 1st, 2nd and 3rd place winner.
The right to battle it off as a finalist in most of these showdowns required each recipe to make it through some sort of qualifying round, being made and examined in a test kitchen by professional chefs and pre-judged on factors like presentation, fit within a certain category, creativity, convenience, taste and so on. Typically, pages of rules, do’s and don’ts, and lists of disqualifications were also involved. However, not at the Taco Takedown – basically all the info I was given was just show up with your best taco. So, of course I started over analyzing and guessing at the non-existent details. And, in the end I decided to fly by the seat of my pants. I wondered what kind of taco would win – surely in Austin, a freaky taco would beat a traditional taco any day.
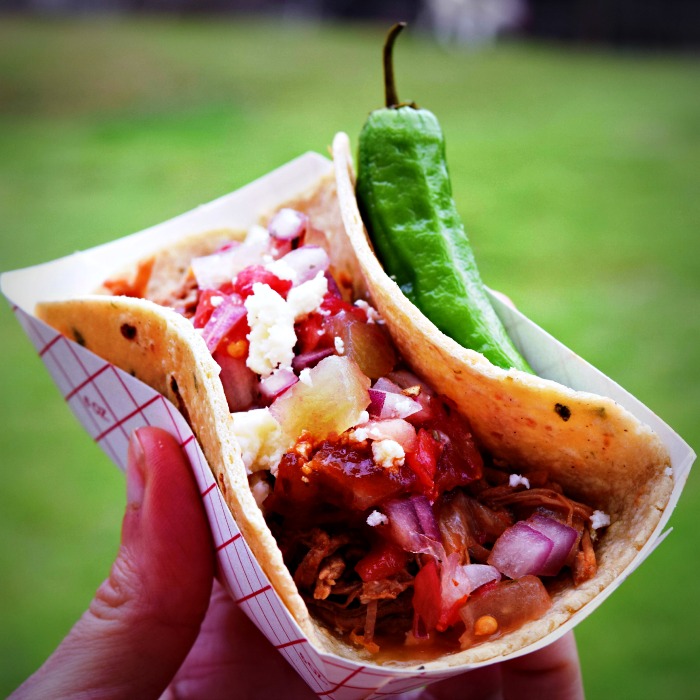
My Beefy Man Hunk Taco Model
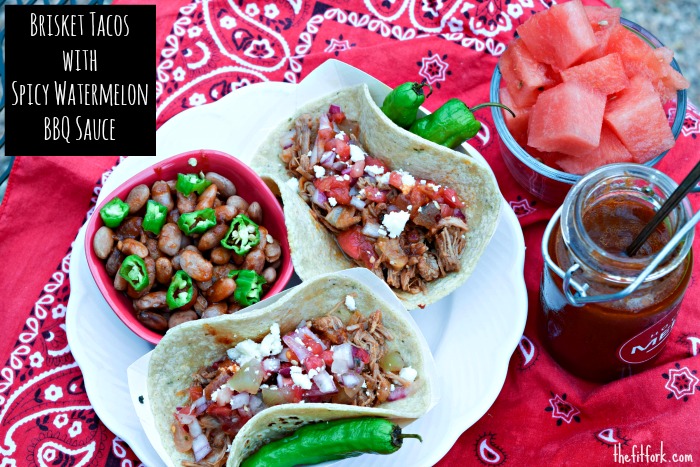
That’s why I wrapped all my loves, as strange as the combo might sound, in one tortilla – viola, a Beef Brisket Taco with Spicy Watermelon BBQ Sauce (and Pickled Rind Relish) recipe was born. Well, I guessed wrong because a Crispy Chicken with Avocado Taco dished up by Evin at Food Good, Laundry Bad took top honors. As partial as I was to my wacky yet wonderful watermelon beef taco, I have to admit, the winner was really, super-ultra-deluxe good – and it was fried, how could I compete with that?! But, I got to go home with the beefy man-hunk taco model — so, really, I was the WINNER!
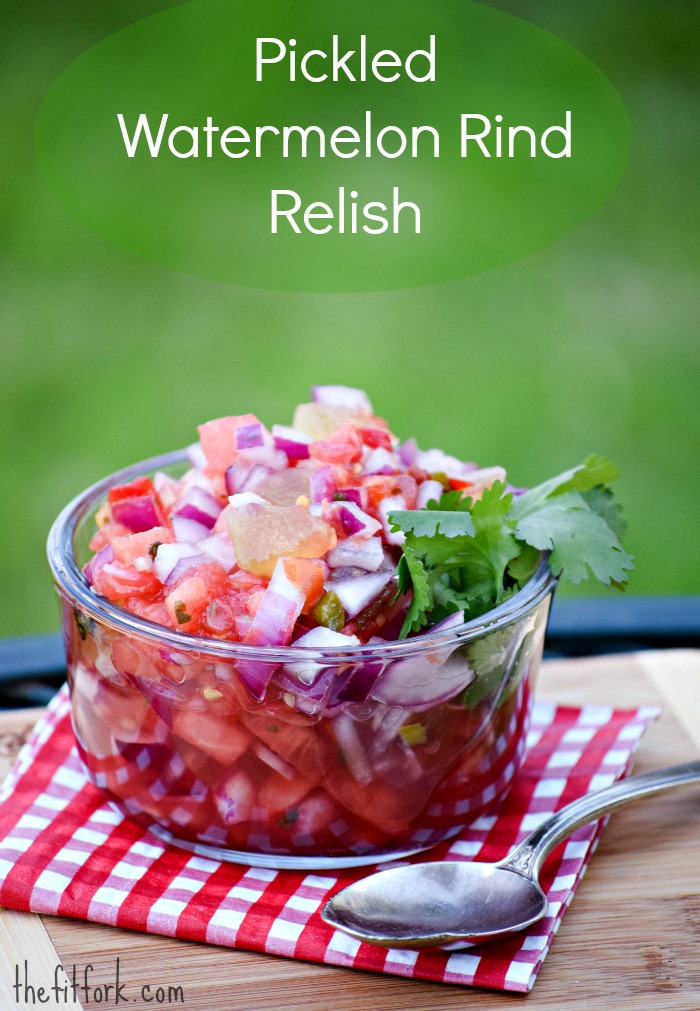
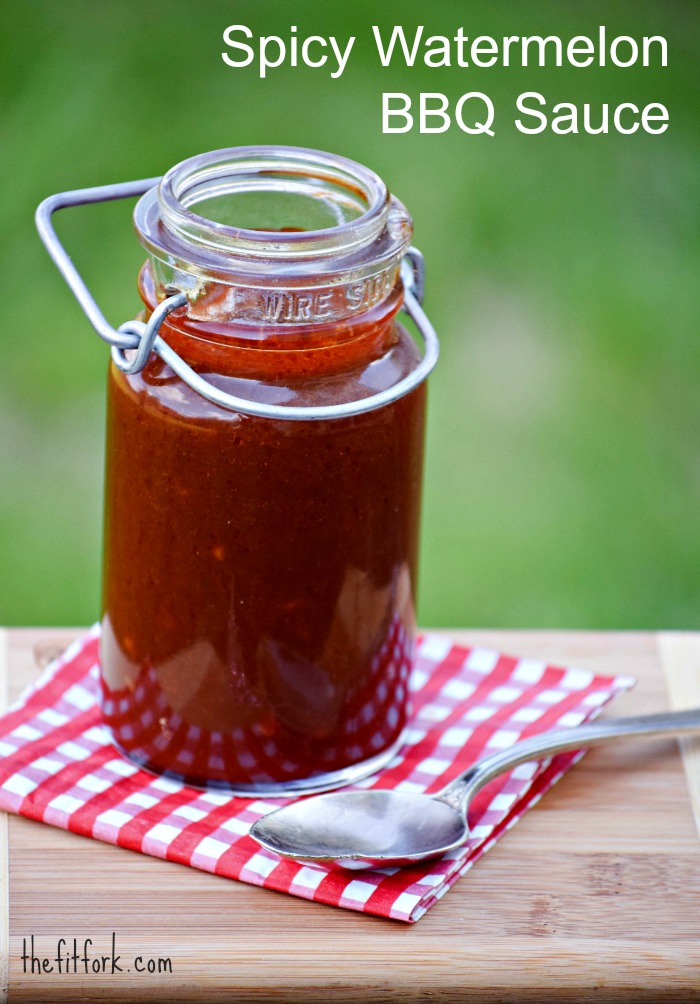
It’s no secret that I’m a fan of meaty beef, and summer-sweet watermelon and a surprise of spiciness, these are a few of my favorite things (is there a song here . . )? I knew these flavors would mingle together for a memorable taco –as they did. I didn’t want to smoke the brisket, so I had four massive slow-cookers breaking down the beef into the perfect tenderness for fork shredding. But, holy-moly, it took a long time to shred 27 pounds of brisket! The BBQ sauce was a not-too-vinegary, not-to-tomatoey sauce sweetened with watermelon just and spiced up with Sriracha. Probably the most unique thing going on was the pickled watermelon rind that was diced up in the salsa. A true southerner uses ALL parts of the watermelon. And, of course, I topped it all off with some salty, crumbly queso fresco cheese.
Use this Spicy Watermelon Barbecue Sauce on beef — but also on chicken, baked beans, fish, sausage, pork and more. I’ve also used it as a salad dressing!
Because you’re probably not cooking for a 250 person crowd, I’ve scaled down the recipe for you to feed about 8 and maybe some leftovers!
Beef Brisket Taco with Spicy Watermelon BBQ Sauce and Pickled Rind Relish
Prep Time
20mins
Cook Time
10hrs
Total Time
10hrs20mins
Beef Brisket Taco with Spicy Watermelon BBQ Sauce and Pickled Rind Relish -- a strange but good recipe that will rock your next backyard party.
Course:
Condiment, Main Dish
Cuisine:
American, Southern
Servings: 8servings
Ingredients
For Brisket:
2 lbs.Beef Brisketpreferably center cut
4cups watercan substitute beef broth or beer!
1 tbspgarlic powder
2 mediumsweet yellow onionsliced thinly
3jalapenosseeded and quartered
For Spicy Watermelon BBQ Sauce:
3/4cupwatermelon juice
1/4cupbalsamic vinegar
1/4cup apple cider vinegar
1/4 cupbrown sugar
1/4 cup soy sauce
2 tbspolive oil
2tbspDijon mustard
2cloves garlicminced
4ouncestomato paste
2tbspSriracha pepper saucemore or less, to taste
Pickled Watermelon Rind Relish:
1 cup diced watermelondrained of excess juice
1/2 cupdiced pickled watermelon rindhomemade or oldsouth.com
2tbspliquid from picked watermelon rind
2plum tomatoesseeded and diced
1jalapenoseeded and minced
2tbspminced fresh cilantro
Other:
16 tortillas
1/2 cupqueso fresco cheese, crumbled
Instructions
For Brisket:
Add ingredients for brisket into 6 - 8 quart capacity slow cooker. Cook on low setting for 10 hours. Remove brisket from cooking juices and strain out onions and peppers. Chop of onions and peppers, set aside. Cut excess fat of brisket and use fork or fingers to shred beef. Stir back in onions and peppers.
For Spicy Watermelon BBQ Sauce:
Prepare BBQ sauce by adding all ingredients together in medium sauce pan. Bring to boil over medium-high heat and reduce to low. Simmer for 20 minutes. Pour desired amount over beef, remainder may be stored in the refrigerator for a week. Makes about 2 cups.
For Picked Rind Relish:
To make relish, toss together all ingredients in medium bowl. Refrigerate until ready to use.
To Serve:
To serve, place sauced, shredded brisket in tortilla. Top with relish and queso fresco.
Married for 24 years and I havent’ killed him . . . yet!
Pulled together this post on the fly, since the sponsored one I had planned is being held up “in the legal department,” or that’s what I was told. I have my own legal department at home, also known as my hubby, which reminds me to let the world know that it is our 24th wedding anniversary. Yes, I got married in kindergarten.
Of course, we had to celebrate with beef – I killed my CrossFit 15.3 WOD today with 1st place age group South Central region. That was 200 wall balls and 701 jump ropes in 14 minutes, so I was totally in #beefmode afterward!
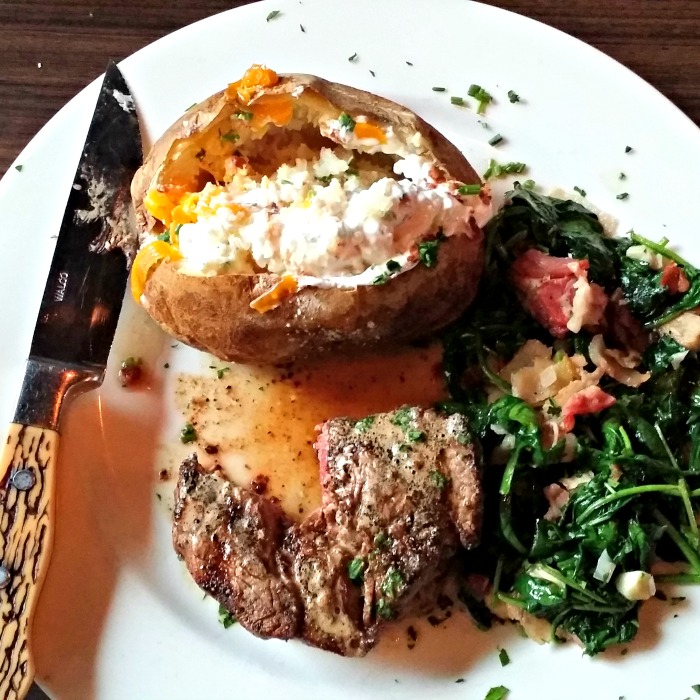
This is a shot of my husband’s delicious dinner from Steiner Steakhouse, he got the sautéed spinach as his side. What you don’t see is the asparagus on my plate that gobbled up before the obligatory food blogger photo.
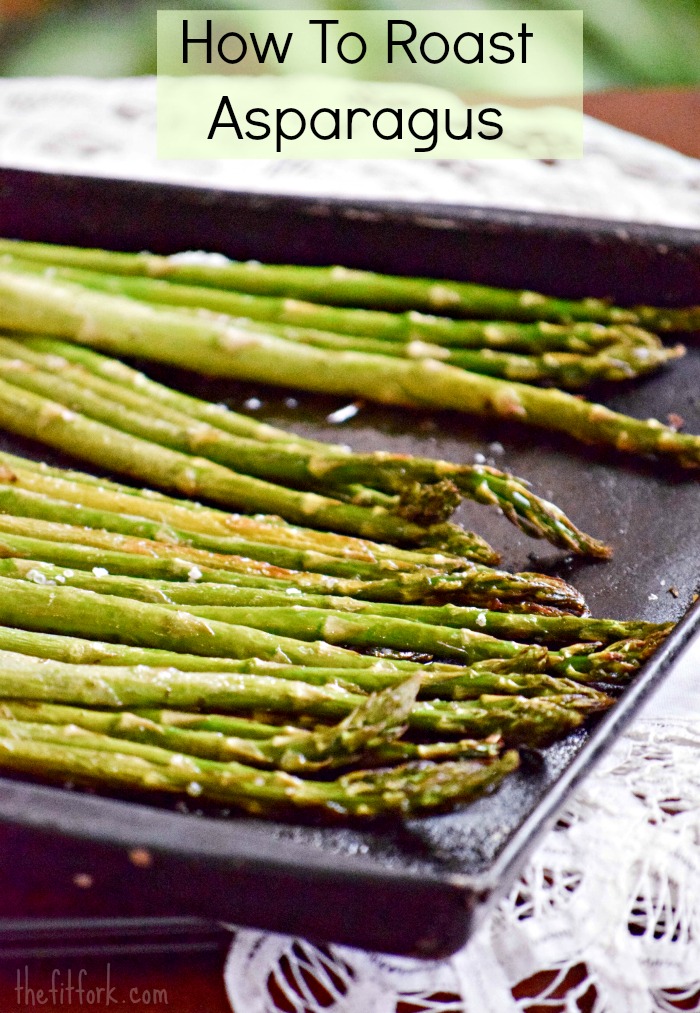
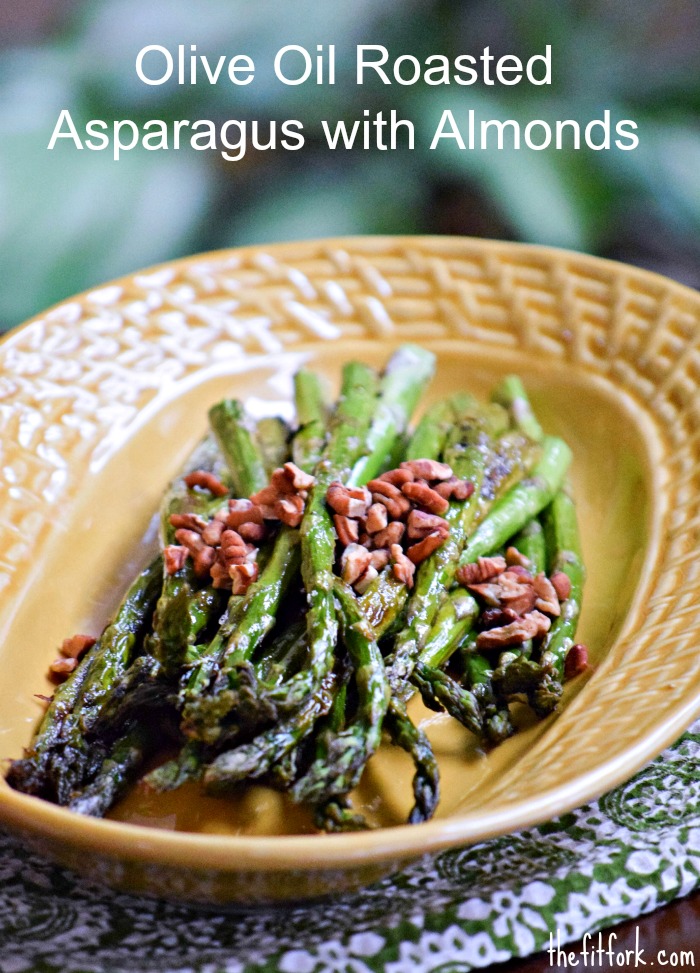
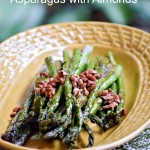
Eating at a fancy steakhouse can cost a pretty penny, but also am a pro at making restaurant worthy steaks and sides at home. A favorite is the pan-seared, oven-finished filet with balsamic tomatoes I did for BeefLovingTexas.com. I also make some amazing asparagus at home and will be making it frequently now that these fresh spears of spring have sprung up in the market. This vegetable recipe is super easy to make — it’s drizzled with olive oil, roasted in the oven, and topped with almonds, bacon or whatever your heart desires. Way better than mush steamed asparagus, in my opinion!
Some of the things I like best about exercising — the physical and mental challenge, the variety of workouts available (yet also the ritual of doing them), the endorphin rush, meeting short-term goals while safeguarding my health for the long haul, and the sweaty satisfying soreness following a tough session, the relaxing and winding down. That being said, I also look forward to the food fuel I need to top off my tank and keep my engine running properly.
Aside from the occasional cheat, I eat a higher-protein, lower carb diet. Although, I’ve never had a weight issue, I really noticed a change in my lean-to-fat ratio when making these tweaks – suddenly I had visible abs, back muscles and more without a change on the scale. I’ve even blogged about eating a higher protein, higher fat diet for marathon nutrition while embracing the need for some carbs for loading and recovery. For my active lifestyle, I aim to eat about 20-25 grams of protein at each of three meals and one to two snacks. Research has shown that incorporating protein into diet can help build lean muscle and boost the metabolism to more efficiently burn fat. Also, more protein in the morning has been shown to reduce junk food snacking later in the day
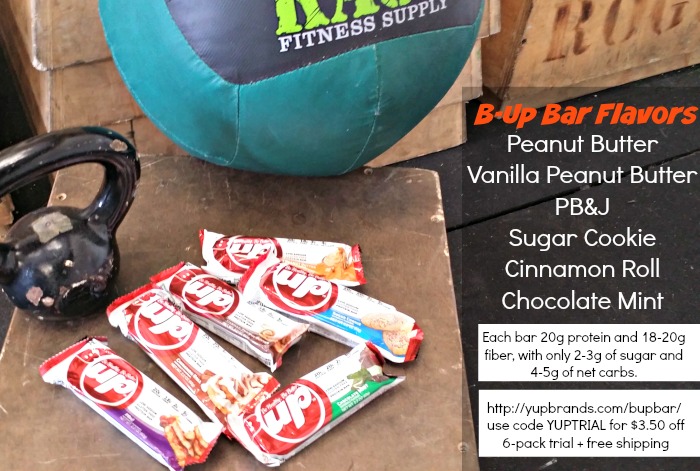
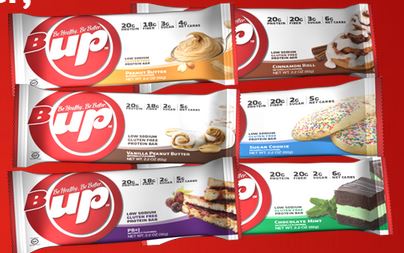
Anyway, it’s hard to pass up the opportunity to try a new protein bar – I’m definitely a protein junkie. So, I was thrilled to give B-Up Bars a test and was hoping they’d stand up to my non-negotiables in a bar (higher protein, lower carb, reasonable calories, taste). These soft bars (think nougaty marshmallow texture) each have 20g protein and 18-20g fiber, just 2-3g of sugar and 4-5g of net carbs, and come in six crazy-delicious flavors — Peanut Butter, Vanilla Peanut Butter, PB&J, Sugar Cookie, Cinnamon Roll, and Chocolate Mint. In addition to the higher protein profile, I also appreciate how B-Up Bars are made with no artificial flavors, sweeteners, or preservatives and are low sodium and gluten free. B-Up Bars also feature a plant-based fiber to offset carb intake. Be Healthy. Be Better. B-Up.
If you like indulgent snacks that are actually good for you and make a convenient breakfast on the go or snack to stash in your gym bag, head over to B-Up Bars at http://yupbrands.com/bupbar/ for one of two great offers.
Discount Code YUP29 for 12% discount on box orders on yupbrands.com + FREE shipping (not valid on 6-pack trial).
Discount Code YUPTRIAL for $13.99 six bar (6 flavor) Trial Pack (reg. price $17.49) plus FREE shipping.
I’m also sharing with you the Medicine Ball Workout I did yesterday (before I at my chocolate mint B-Up Bar)! I really enjoy exercising with a full-body med ball routine – compared to gym machines, it makes working out old-school easier yet tougher at the same time! Try out my Med Ball Workout, it’s perfect for improving explosive power, increasing strength and endurance and improving overall functional fitness – and all you need is a ball!
Wall Ball – Stand facing wall, hold ball close to chest. Lower into a partial squat and propel ball upward as far as possible, catch at chest on the way down while lowering into a squat.
Med Ball V-Ups – Lay on back, extend arms over head to rest on floor while holding ball. Engaging core, raise up arms and legs at the same time to meet in alignment above hips. Slowly lower to start position.
Med Ball Slams – Standing upright, hold med ball high overhead with both hands and throw to the floor with force, squatting down slightly. Catch ball on the bounce up and return the start position.
Med Ball Plank – Rest on forearms and place feet on medicine ball. Engage core and keep body position as straight as possible. Hold for designated time without breaking form.
Med Ball Jump Squats – Standing upright with feet shoulder-width apart, lower into squat position holding ball. Explosively jump upward keeping ball at chest.
Med Ball Wood Chop – Hold ball in both hands and stand with feet shoulder-width apart, knees slightly bent. Drop down slightly, moving the ball near right, then drive up through feet, swinging the ball up and across your body to the opposing side. Swing back down to start position.
And, if you are looking for an extra challenging med ball exercise, give this headstand med ball pick up a try. Oooh, it worked all the large and small group muscles of my body in my constant pursuit of keeping balance.
Do you eat protein bars? Describe your dream flavor! What is your favorite med ball exercise?
This post was sponsored by B-Up bars / YUP brands. However, however they did not tell me what to say or how to say it — all comments and opinions are my own.


 To encourage you to make some of these yummy recipes, I’m giving away five (5) coupons for Litehouse Food’s Products (they expire on 12/31/15). Litehouse Foods makes all sorts of fresh products like traditional salad dressings and vinaigrettes; Greek yogurt based dressings and dips; caramels and sweet dips, freeze-dried herbs; artisanal cheeses and more. You can find most of these products in the refrigerated section of your market’s fresh produce section and gourmet cheese area. Two of the coupons are specifically designated for the Artisan Reserve Cheeses including gorgonzola, blue cheese and feta.