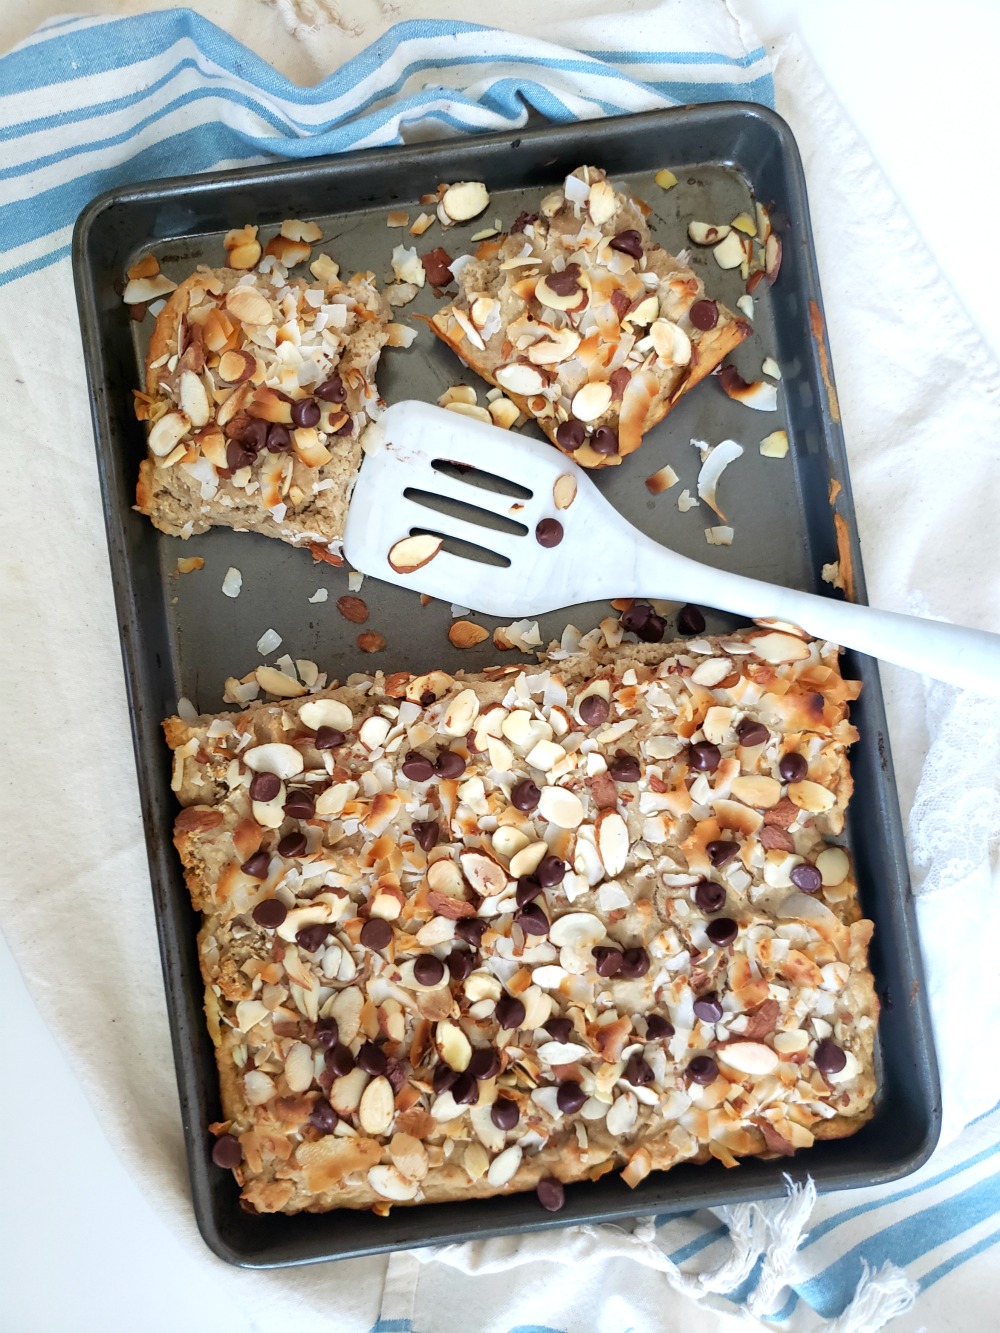
Hello, and welcome to possibly to the one millionth flavor combination of my beloved morning meal — Apple-Pecan Quinoa Oat Breakfast Bake. While it’s a traditional flavor pairing with apples, pecans, raisins, cinnamon, and hints of vanilla, the baked oatmeal base is a bit unique as it co-mingles with the ancient “grain,” quinoa.
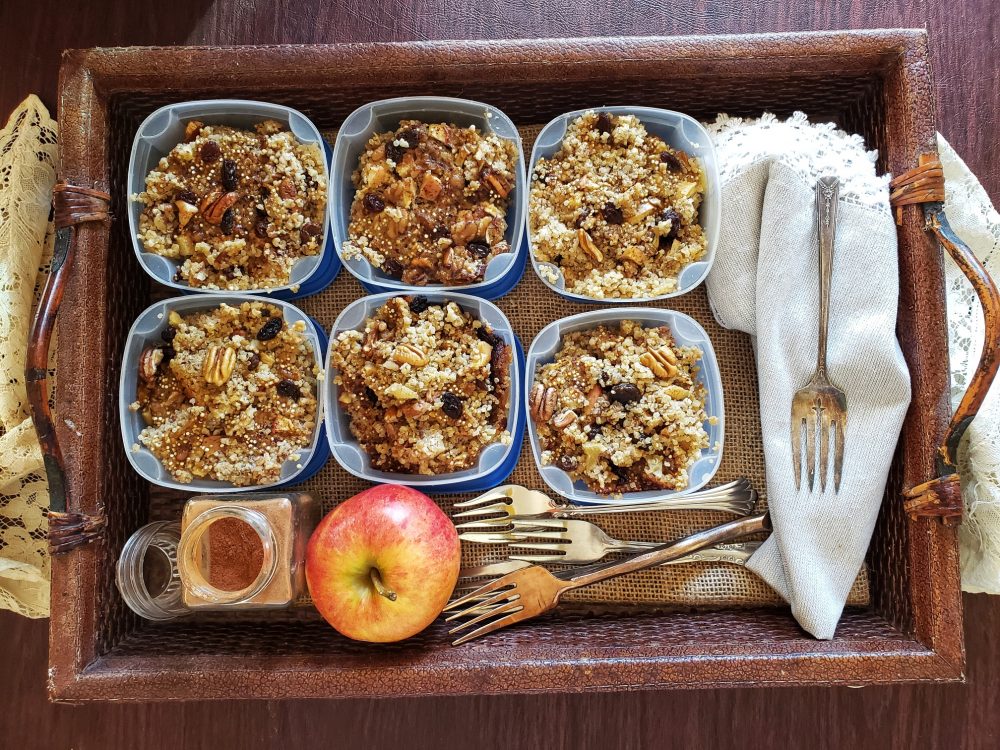
About 10 years ago, when I discovered that steel cut oats and quinoa cook up to the perfect, soft but slightly toothsome texture in the SAME amount of time, I started making these healthy grain breakfast bakes like an starved and obsessed woman. With every batch, a different combination of flavors (like the last was Pumpkin Peanut Butter Quinoa Oat Bake) – always delicious and great to cook ahead to have a balanced breakfast on had for busy mornings. Continue reading