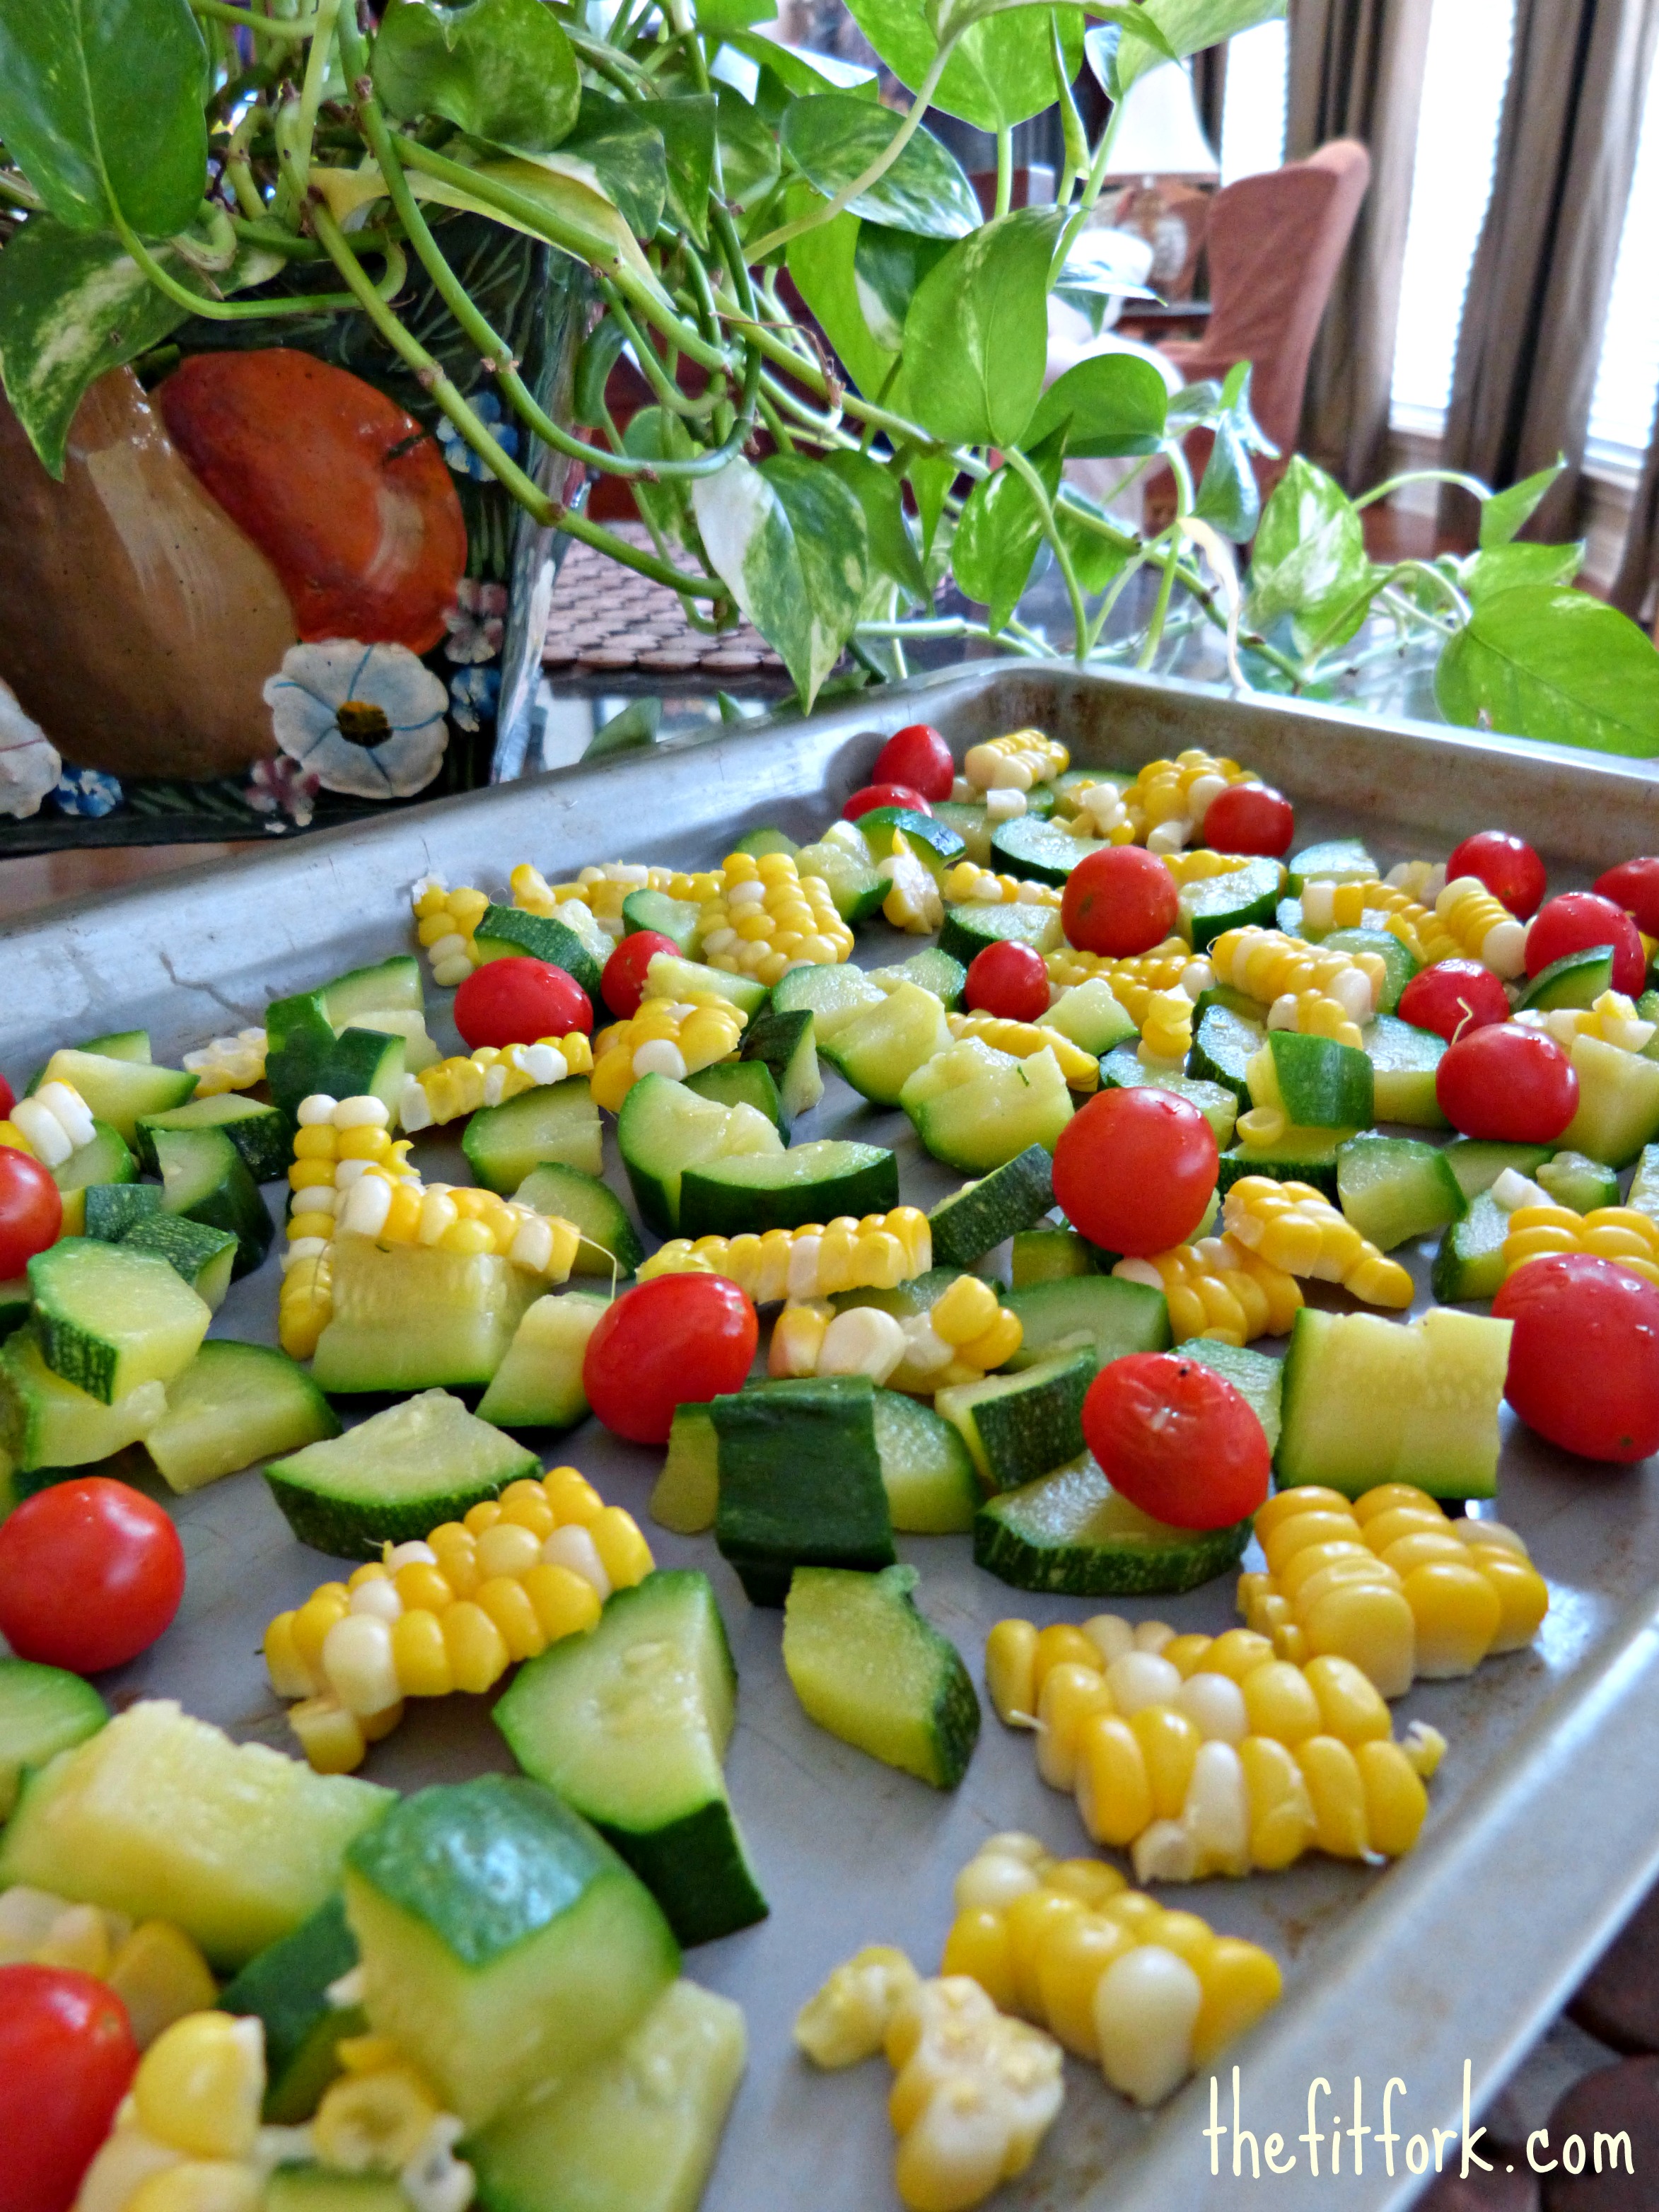
Even though the calendar has turned to September and I still am getting acclimated to our back-to-school routine, it certainly feels like summer every time I step out the door. Officially, it IS still summer until fall arrives on September 22nd and no one can stop me extracting every last kernel of enjoyment from the season. On these last warm-weather weekends, my family will eat our dinners al fresco, practice handstands barefoot the grass and usher in the autumnal equinox with our final trips to the lake.

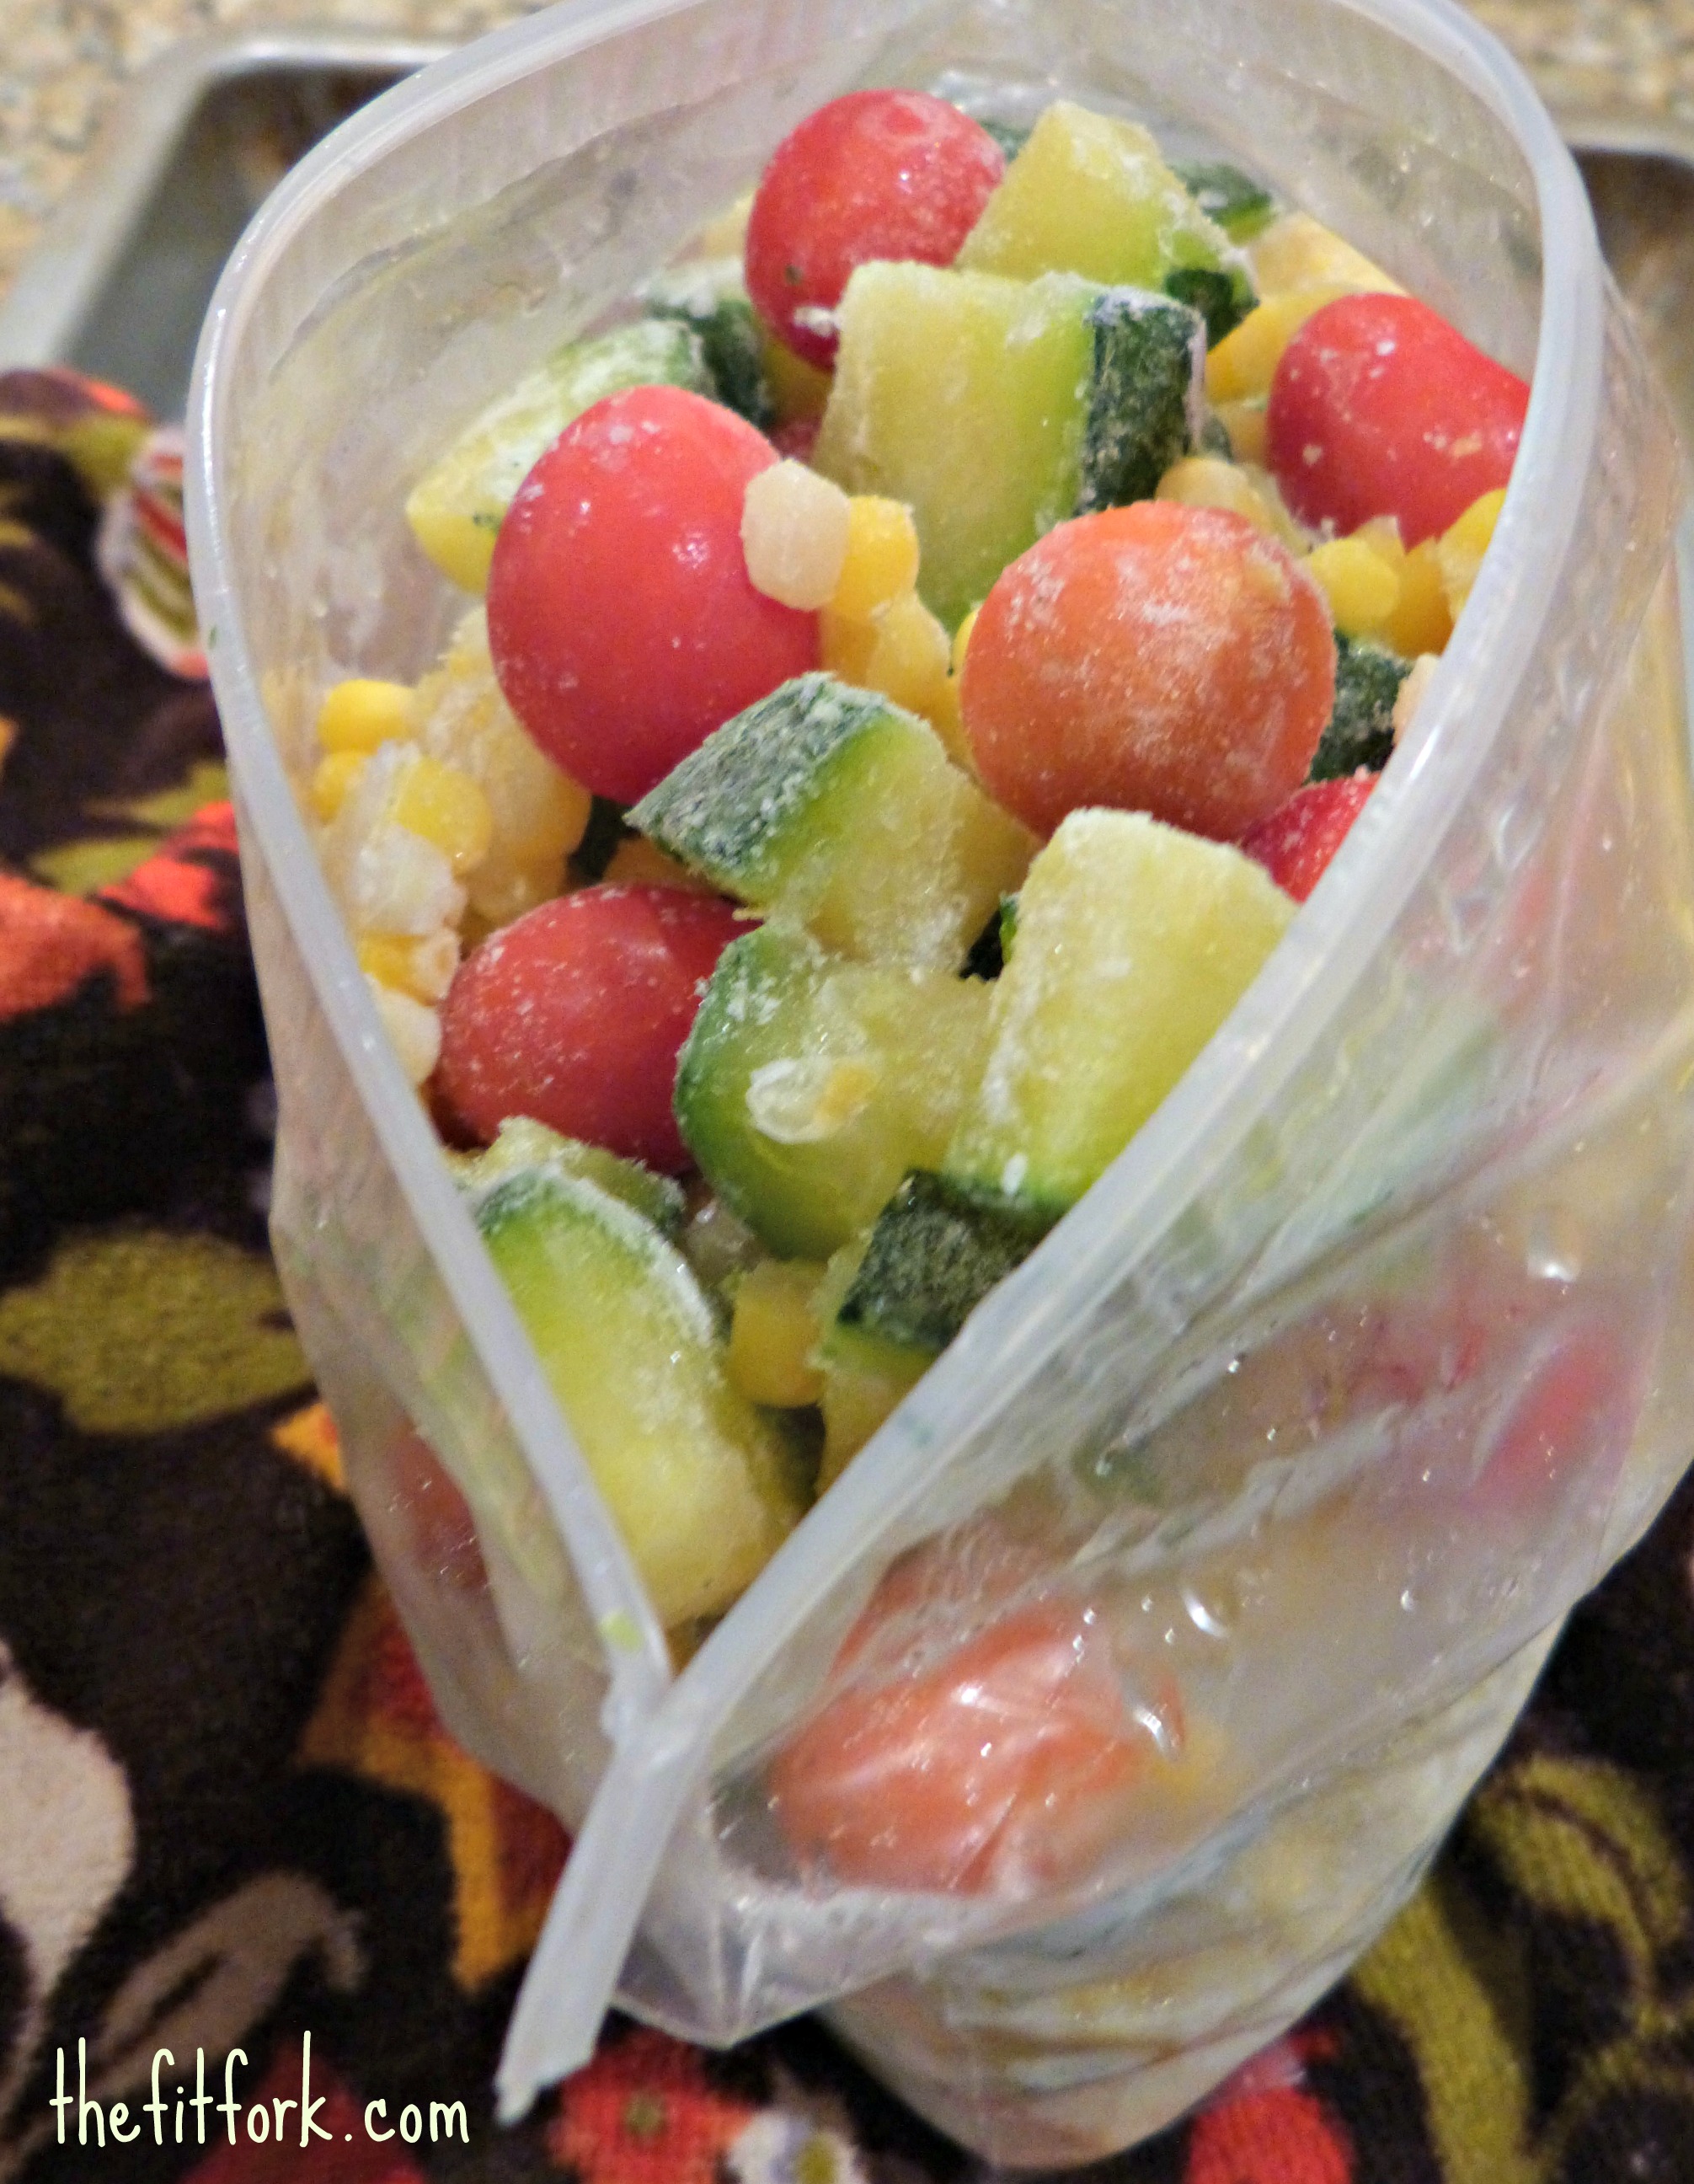
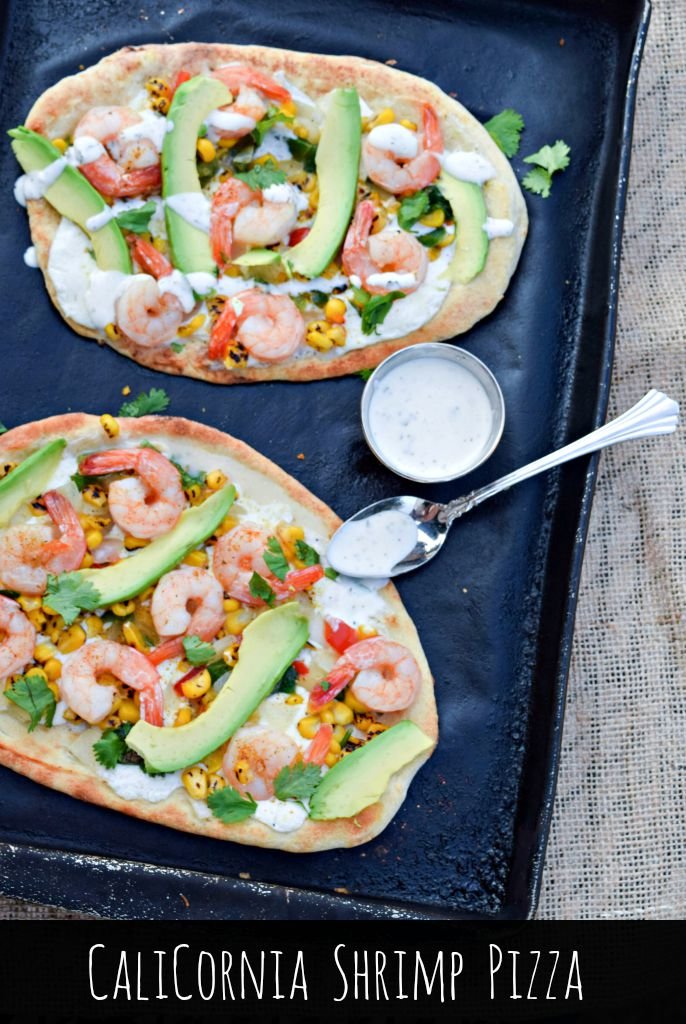
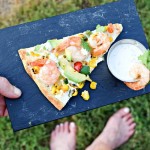
A fantastic outdoor meals for the end of summer or Labor Day weekend is CaliCornia Shrimp Pizza – this quick, easy and amazingly tasty pizza reminds me of the sunshine state with a laid-back vibe and showcase of Mother Nature’s best bounty. Succulent roasted shrimp, sweet corn and creamy avocado slices blend with melted fresh mozzarella and ranch dressing (I used OPA! by Litehouse™ Greek Style Yogurt Ranch Dressing). A crispy yet soft and chewy crust is easily “made’ with Naan bread or pre-baked crusts. Other convenience items like frozen shrimp and a southwestern roasted corn blend with peppers (found in freezer section), means I spend less time making meals and more time with my feet up on the chaise lounge recovering from the long run or workout of the day. And, if I’m lucky I can get one of personal pizza deliver guys (my sons) to deliver me a piece so I don’t have to move another muscle!
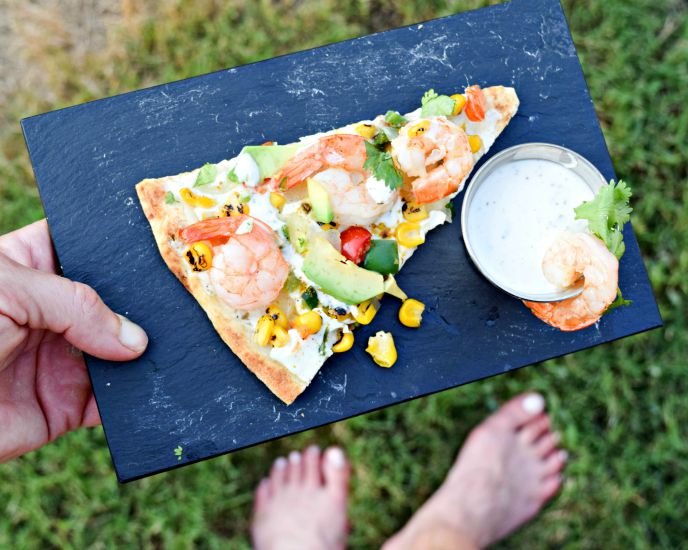
What are you eating during this long holiday weekend? Taking any dips in the ocean, lake or pool? Do tell! Share in the comments below! XOXO — Jennifer
- 1 lb frozen large pre-cooked, shelled and cleaned shrimp, thawed
- 2 tablespoons olive oil
- 4 slices naan bread or personal pizza crusts
- 3/4 cup lite ranch dressing (divided) I used OPA Greek Yogurt Ranch Dressing
- 1/2 teaspoon salt
- 1/2 teaspoon coarse ground black pepper
- 2 teaspoons chopped fresh cilantro
- 1 lb fresh mozzarella cheese, sliced into thin rounds
- 1 cup southwestern-style frozen corn, thawed with any liquid drained of excess liquid
- 1 large avocado, peeled pitted and sliced
-
Heat oven or gas grill to 400 F degrees.
-
In small bowl, toss together thawed shrimp with olive oil, cilantro, salt and pepper.
-
Place shrimp on rimmed baking sheet and heat up in oven for4 to 5 minutes. Or, skewer and heat up on grill for about the same amount of time, taking care not to overcook. Remove shrimp, but leave oven/grill on.
-
Spread each crust with approximately 2 tablespoons of OPA Greek Yogurt Ranch Dressing, reserve remaining to drizzle on top of finished pizzas.
-
Place slices of mozzarella on pizza and sprinkle with about ¼ up of thawed corn blend. Top pizzas with roasted/grilled shrimp.
-
Place pizzas in oven or on grill with lid closed and heat up for another 5 to 7 minutes or until cheese is bubbling and edges are turning golden brown.
-
Remove pizzas and top with sliced avocado and drizzle with remaining OPA Greek Yogurt Ranch Dressing.