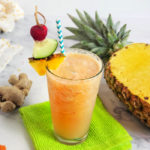
Pineapple Tart Cherry Bone & Joint Care Smoothie

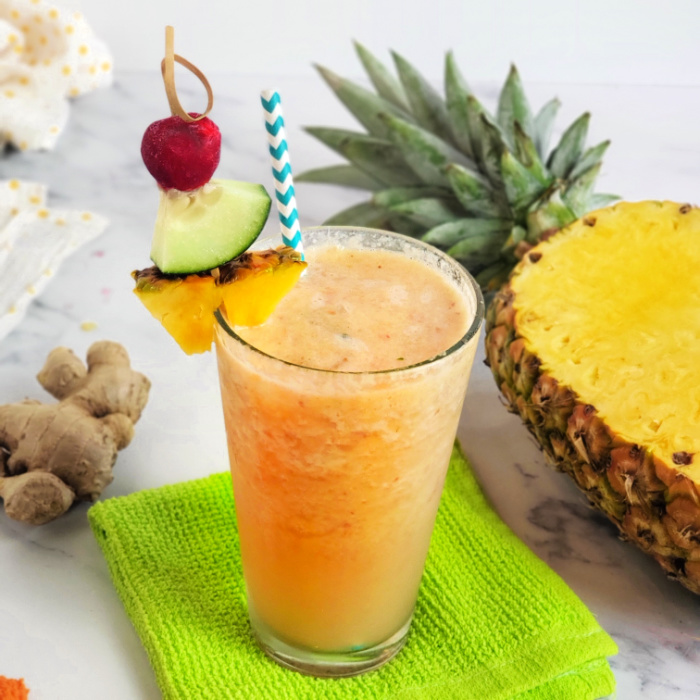
The weather is warming up, and so is my appetite for knocking out some intense outdoor workouts and refueling my efforts with a flavorful yet functional smoothie – my Pineapple Tart Cherry Ginger Smoothie for Joint and Bone Care is a favorite for a bevy of reasons.

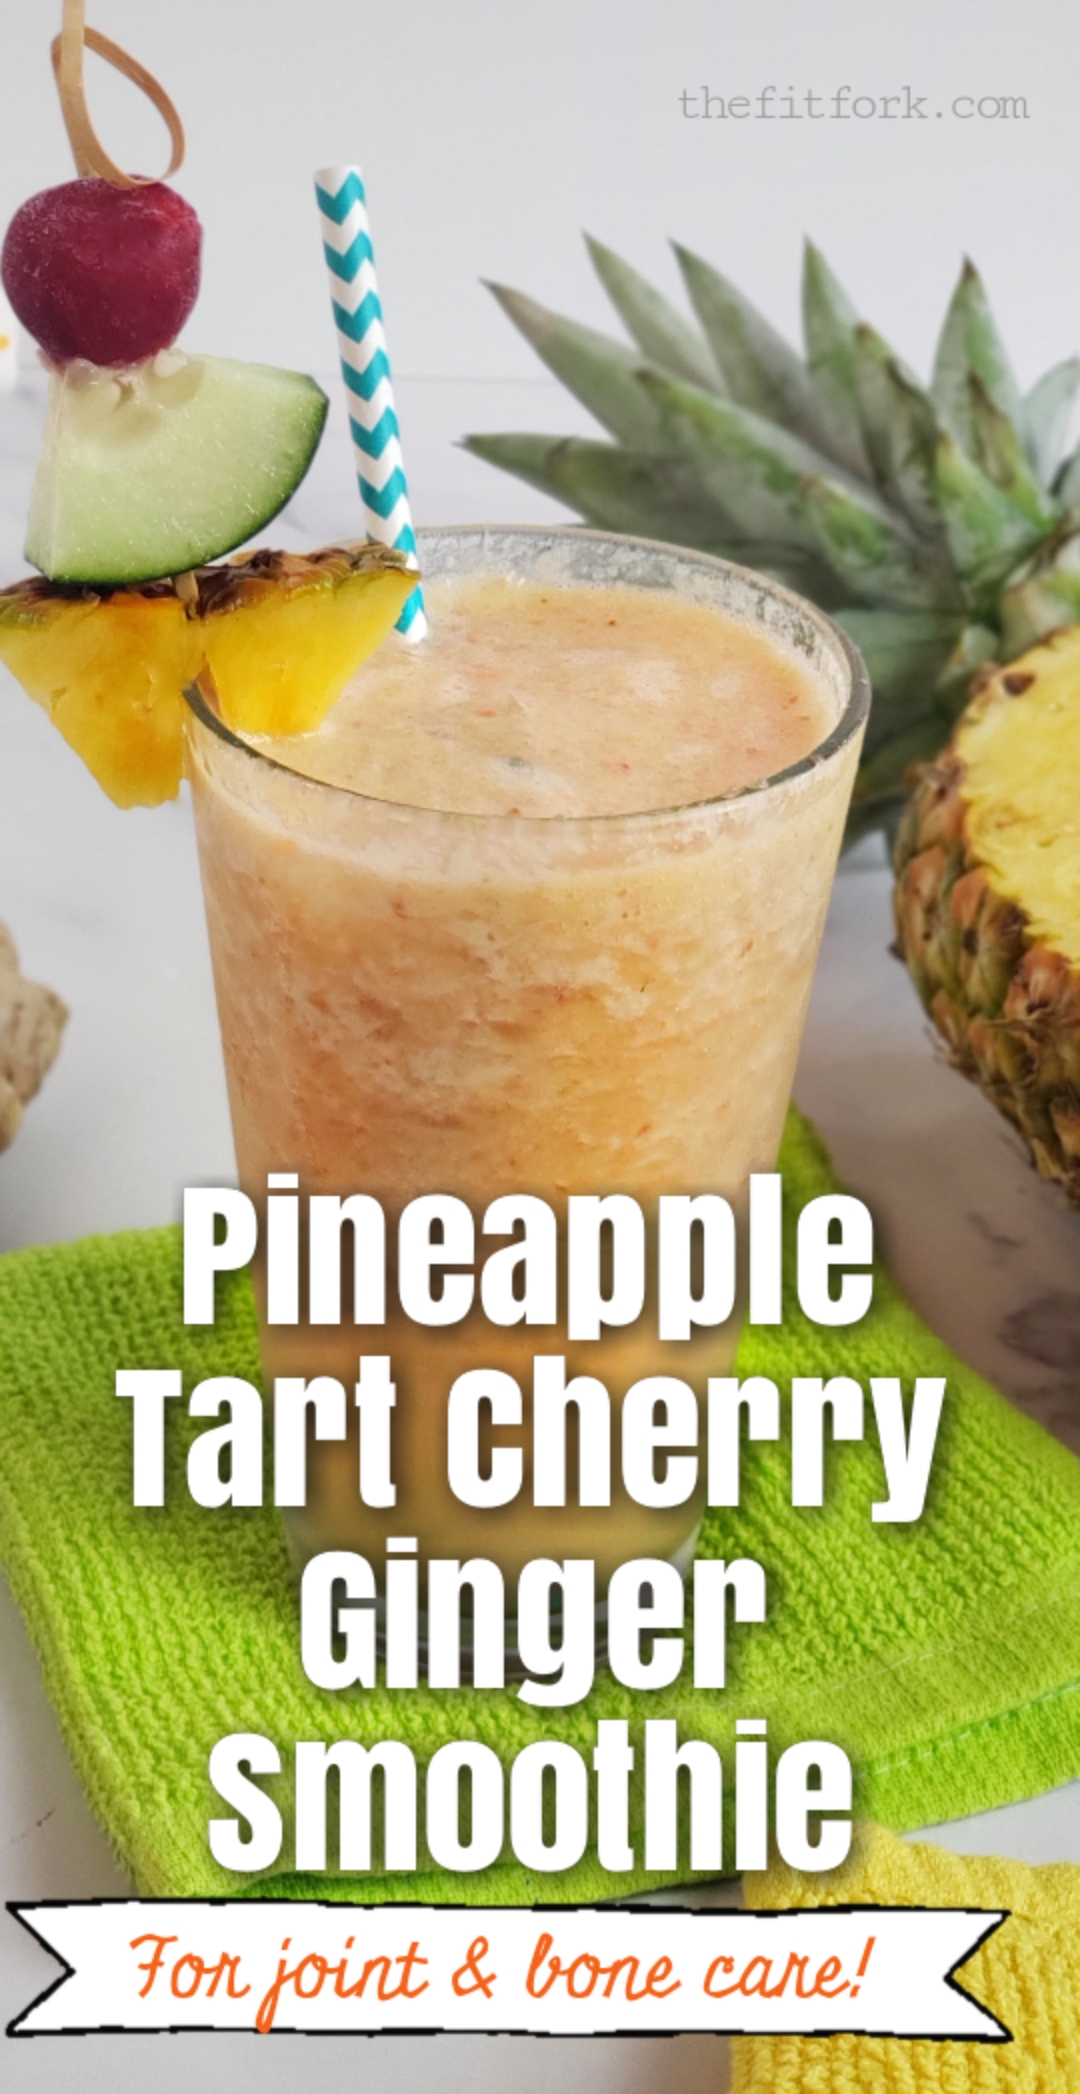
This anti-inflammatory Pineapple Tart Cherry Ginger smoothie provides joint and bone care thanks to bevvy of functional foods and boosters! Pineapple and tart cherry are great foods for combating inflammation – plus, I’ve incorporated three key bone and joint care supplements from including collagen peptides, liquid hyaluronic acid, and Vitamin D-3 drops!

Obviously, this anti-inflammation pineapple smoothie going to taste great, naturally sweetened with fruit. It also is made with whole fruits/veggies rather than juice, to offer more nutrients like fiber. This anti-inflammatory smoothie is also “light” enough to be tolerated well (and only about 200 calories) if eating a lot after exercise is unappealing – yet offers carbs, protein and other nutrients needed to top off your tank and set workout recovery in motion. One of the biggest perks of this pineapple cherry smoothie is that it’s filled with functional foods (and supplements) that help support healthy bones and joints. 

Let me give you a run down on the beneficial foods in this anti-inflammatory shake that includes bone and joint supplements:

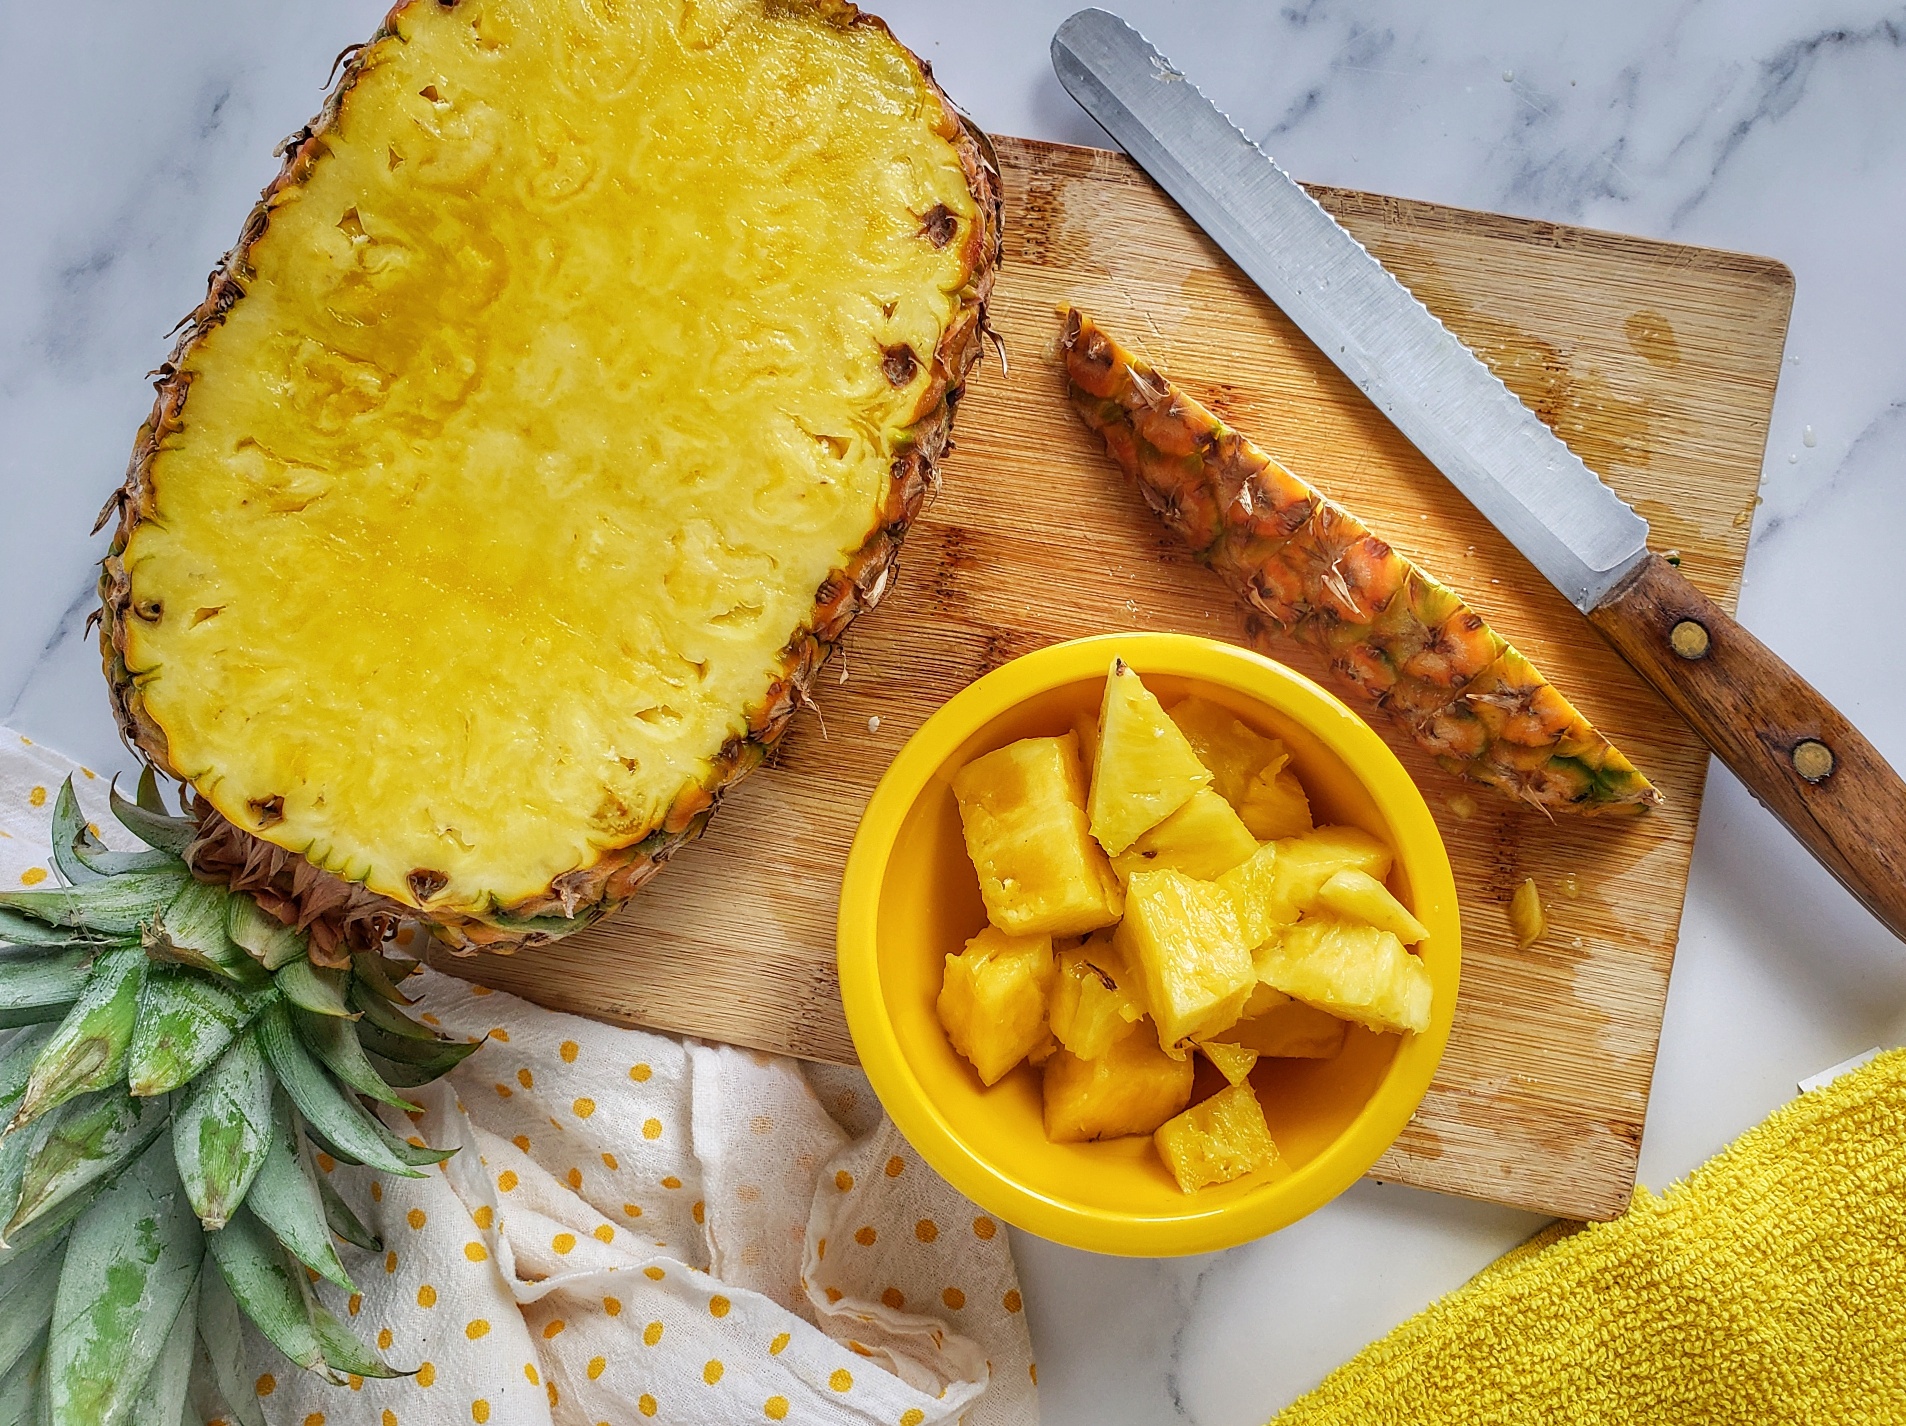
Pineapple: Pineapple adds natural sweetness and is known for the enzyme Bromelain which is found in the flesh and stem. Some research indicates bromelain may be helpful in the management of osteoarthritis and/or for muscle soreness and injury after exercise. It also helps break down proteins and aids in digestion.

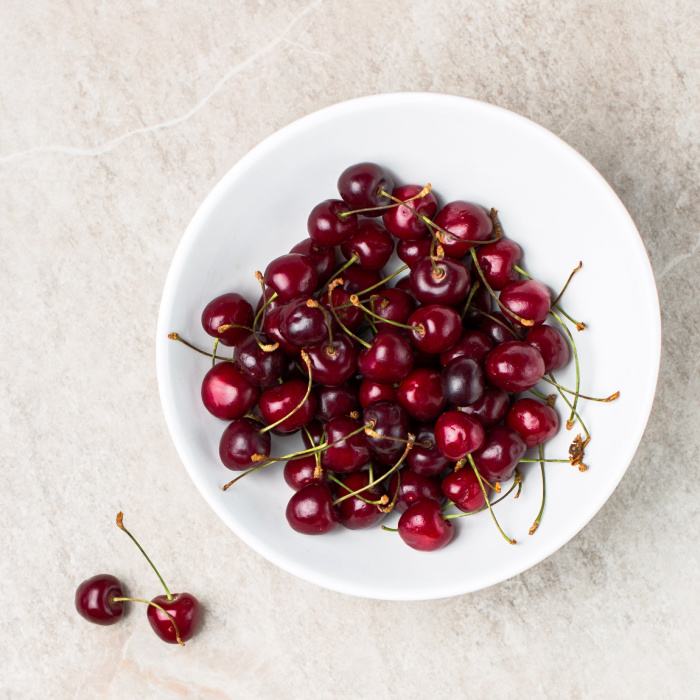
Tart Cherries:  Tart cherries (also called Montmorency cherries) add tangy, sweet flavor and have been shown to minimize arthritis pain and postexercise muscle soreness by reducing inflammation and oxidative stress. These benefits have been noted for both strength and endurance athlete, according to research.

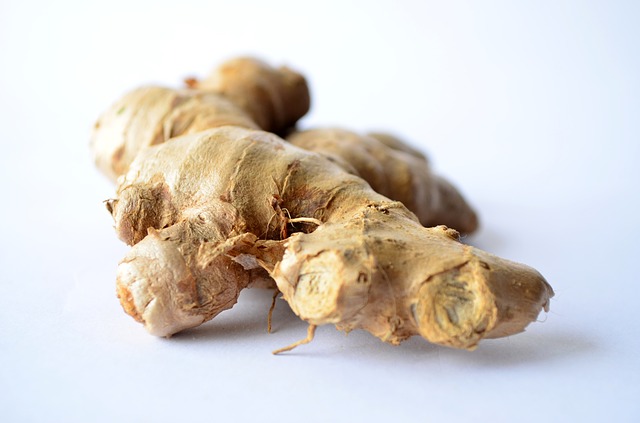
Ginger: Ginger adds zing to any fruit or green smoothie and research shows may help lessen the stiffness and joint discomfort associated with arthritis. Ginger may also may reduce the amount and length of exercise-related  muscle soreness. Ginger is also an easy home remedy for nausea and digestion which can be perks for hard summer workouts.

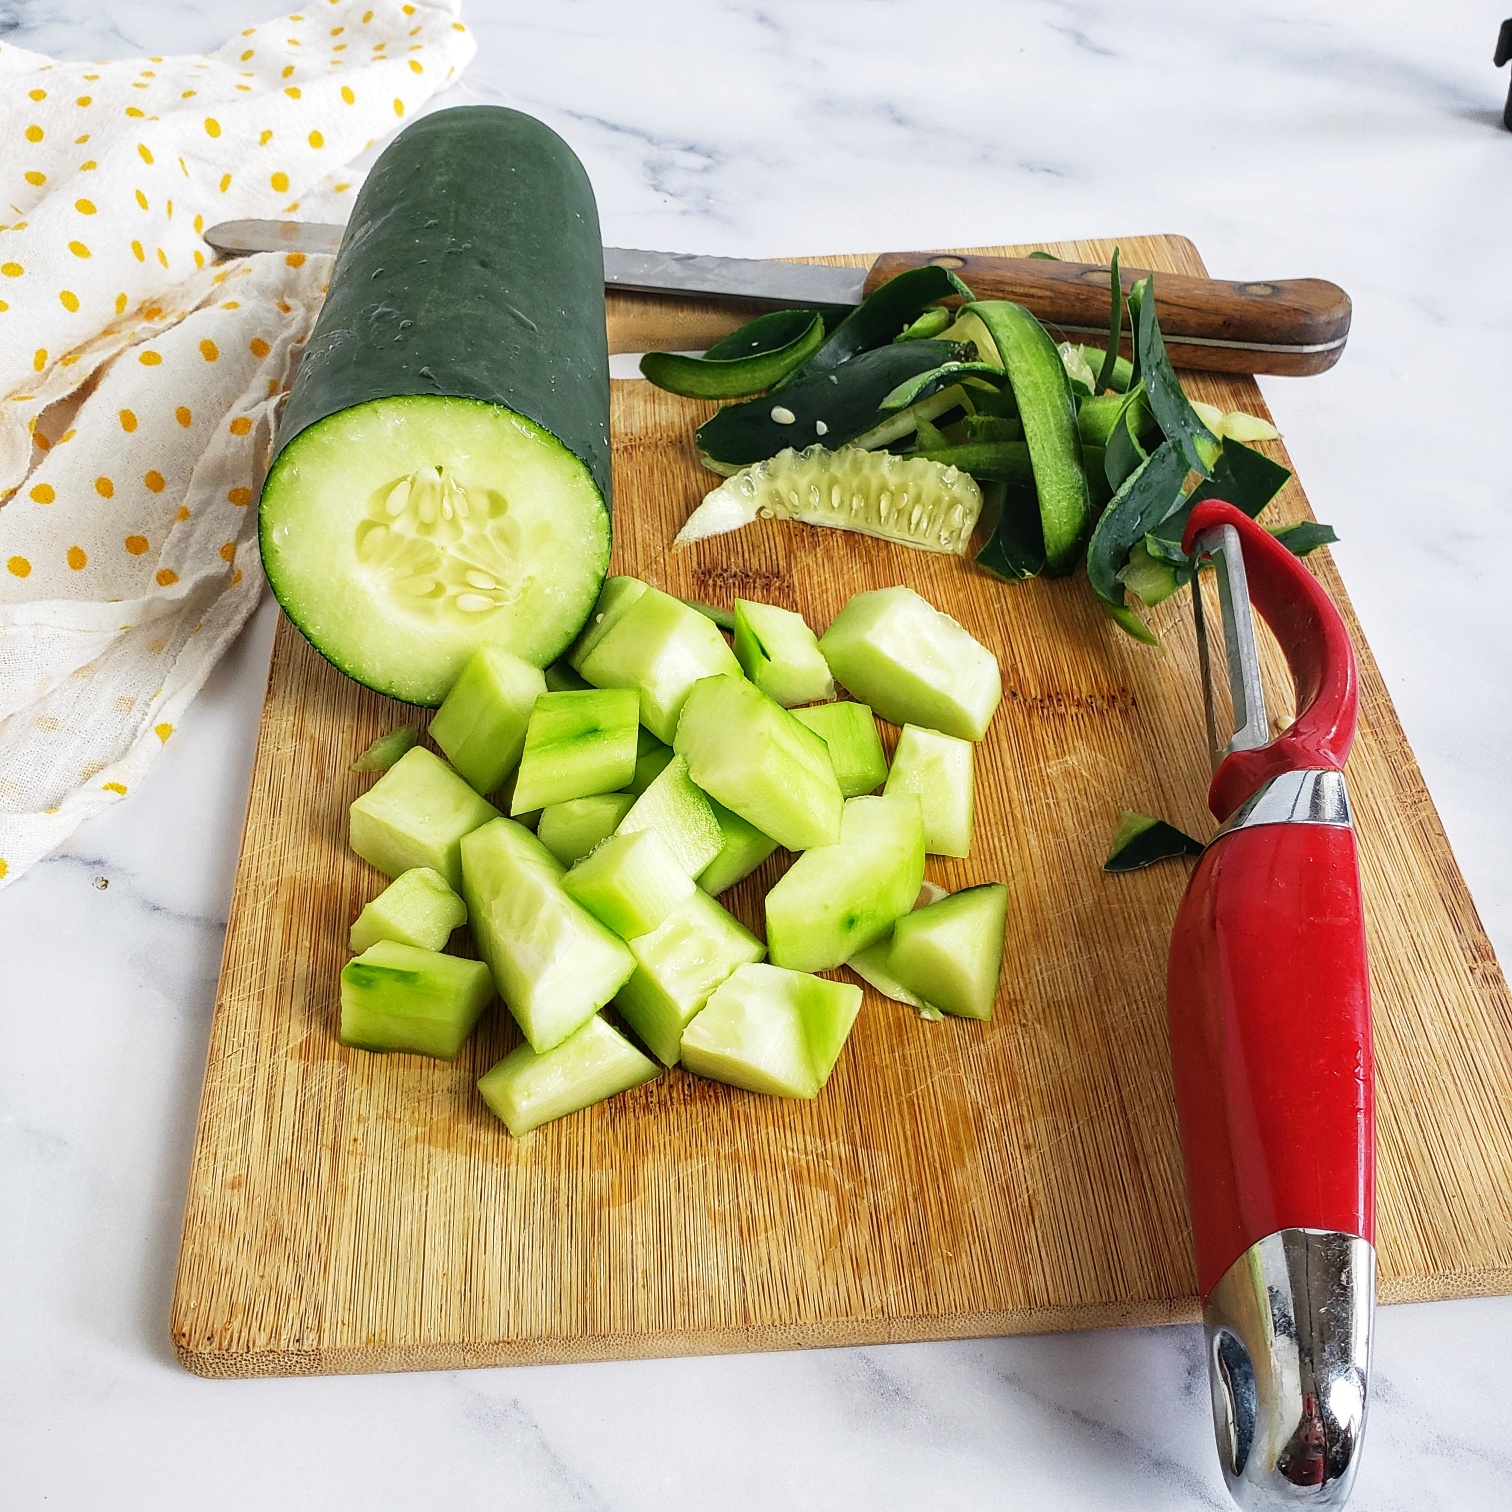
Cucumbers: Blending cucumbers into smoothies is a smart way to boost hydration (95% water) and add low-carb “volume” to balance out the fruit sugars from pineapple and cherries.  Cucumbers are also a good source of Vitamins A, B and C; and contain phytonutrients that provide anti-inflammatory and antioxidant benefits.

Almond Milk: Just like its core ingredient, almond milk is laden with nutrients which are great for joint, bone and overall health – and helps avoid diary which may be an inflammation trigger for some.  Magnesium, one of the minerals found in almonds and almond milk, also plays a role in the structural development of bone.

Save 10% Great Lakes Wellness collagen and products with code THEFITFORK

Collagen Peptides: Collagen peptides from types 1 and 3 bovine collagen are well-known for their roles in bone, joint and skin health. * As the most abundant protein in mammals, collagen makes up about 30% of the body’s protein. Studies indicate that hydrolyzed collagen may help to support strong bones and healthy joints as well as skin smoothness and hydration.*  I also like to include collagen in my post-workout smoothies because each serving gives me about 10g of additional protein I need in my day.

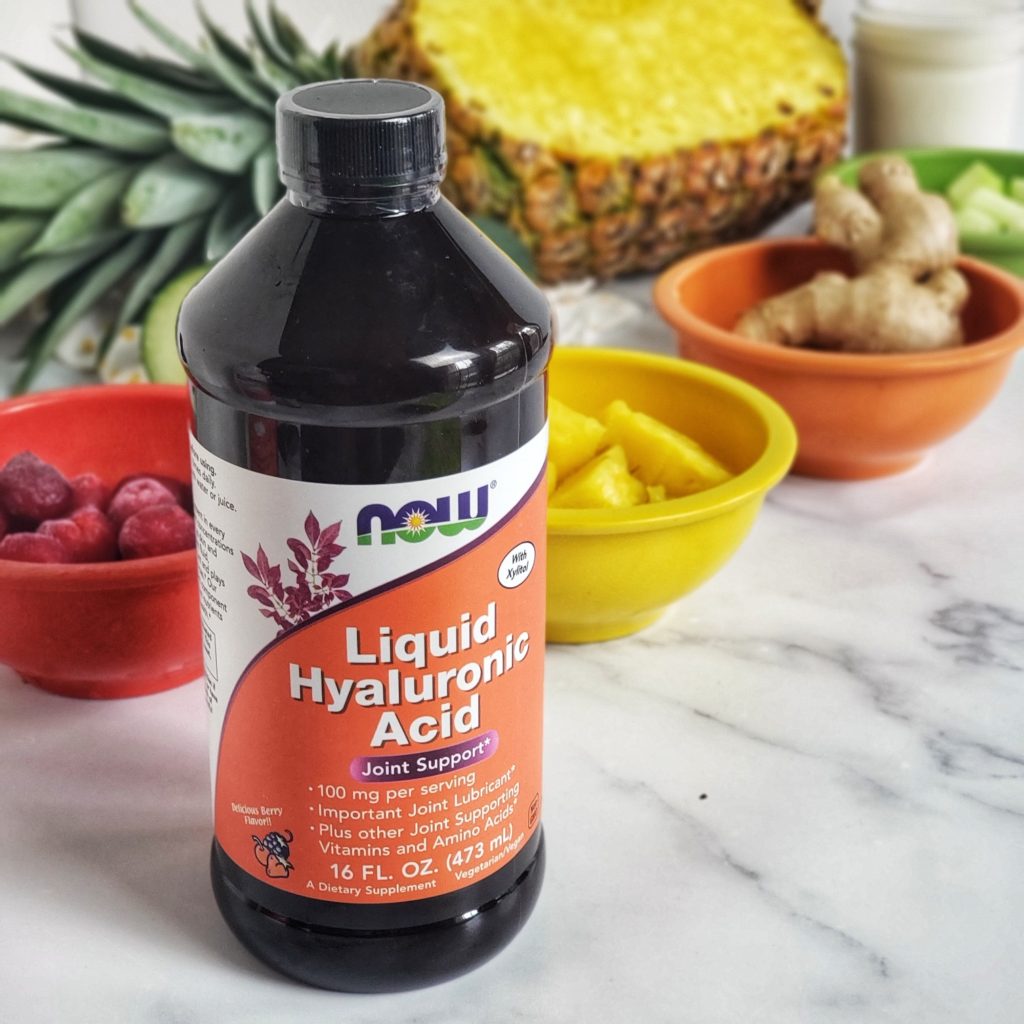
Hyaluronic Acid: Hyaluronic Acid is a joint-lubricating compound present in every tissue of the body, with the highest concentrations found in connective tissues such as skin and cartilage.* As a constituent of joint fluid, hyaluronic acid serves as a lubricant and plays a role in resisting compressive forces.* The liquid Hyaluronic Acid formula combines this critical joint component with Vitamin D and other important nutrients for the support of optimal joint health and is berry-flavored making it a yummy boost for this anti-inflammatory smoothie.

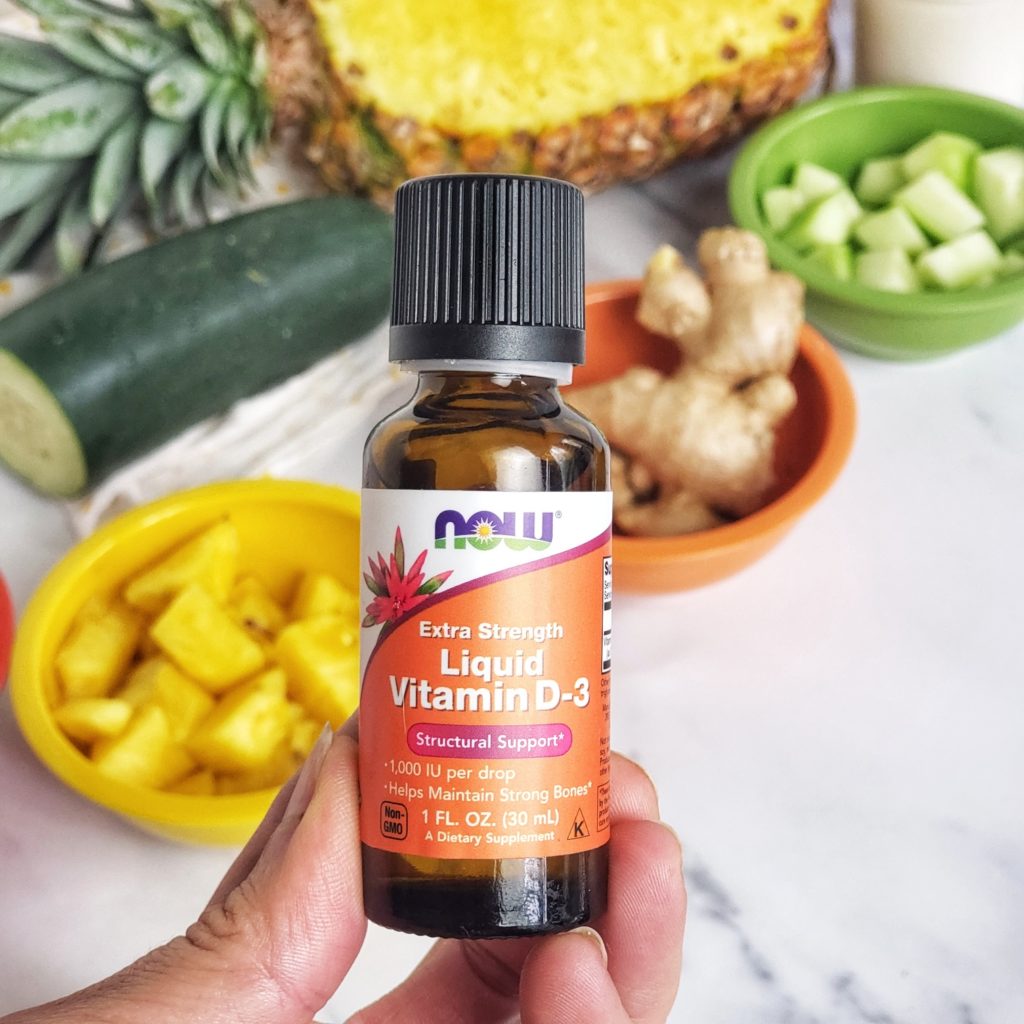
Vitamin D-3: NOW® Vitamin D-3 Extra Strength in liquid drop form is a quick and easy way to get this important nutrient that helps the body absorb calcium and maintain strong bones. Vitamin D also has anti-inflammatory, antioxidant and neuroprotective properties to support immune health, muscle function and brain cell activity. Many of us find ourselves low in Vitamin D due to purposefully-avoided sun exposure or diet challenges (Vitamin D isn’t naturally found in many foods), these extra-strength liquid format offers 1000 IU per drop!

This anti-inflammatory Pineapple Tart Cherry Ginger smoothie provides joint and bone care thanks to bevvy of functional foods and boosters! Pineapple and tart cherry are great foods for combating inflammation – plus, I’ve incorporated three key bone and joint care supplements from including collagen peptides, liquid hyaluronic acid, and Vitamin D-3 drops!
Pin this for later!
PINEAPPLE TART CHERRY GINGER SMOOTHIE for Joint and Bone Health
Prep Time
5 mins
Total Time
5 mins
 
Course: Breakfast, Snack
Keyword: inflammation, protein smoothie, workout
Servings: 1 serving
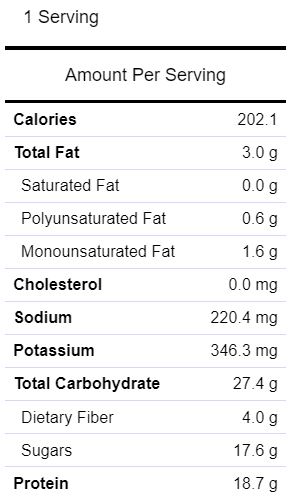
Calories: 202 kcal
Ingredients
  • ½ cup chopped fresh pineapple
  • ½ cup frozen tart cherries
  • ½ cup chopped seeded peeled cucumber
  • 1 to 2 teaspoons fresh grated ginger
  • 3 tablespoons collagen peptide powder, unsweetened
  • 1 tablespoon liquid hyaluronic acid from NOW Foods* or other brand
  • 2 to 5 drops Liquid Extra-Strength Vitamin D-3 from Now Foods* or other brand
  • 1 cup unsweetened almond milk
  • 5 to 15 drops liquid stevia or monk fruit drops to desired level of sweetness
  • Ices as needed
Instructions
  1. Add all ingredients to blender and process until smooth. Pour in tall glass and serve immediately.
Recipe Notes

*These statements have not been evaluated by the Food and Drug Administration. These products are not intended to diagnose, treat, cure or prevent any disease.


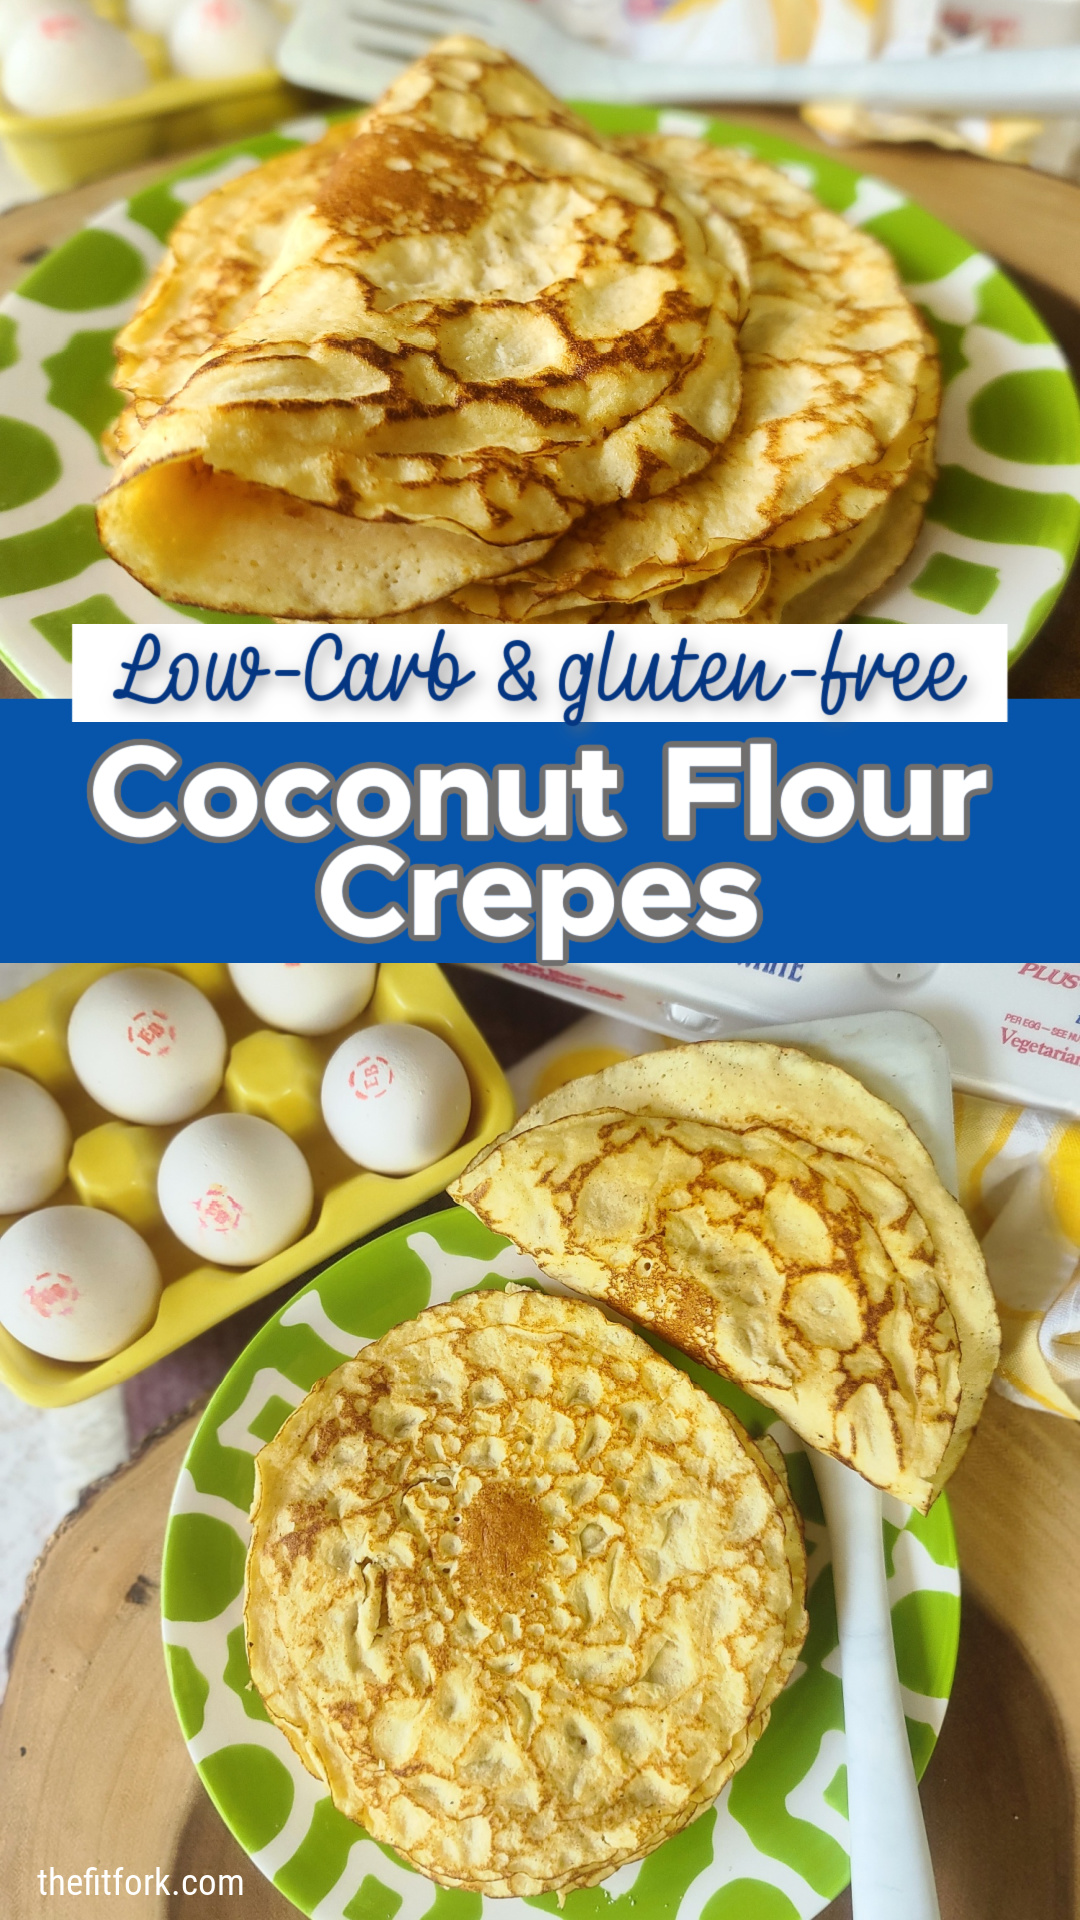
Low Carb Coconut Flour Crepes – 4 Simple Ingredients

Crepes, I love them! And, when I eat them, I feel so “ooohhh la la, French fancy”! However, truth be told, sometimes I’m looking for a breakfast, brunch or light lunch options that’s a little less carb-y.

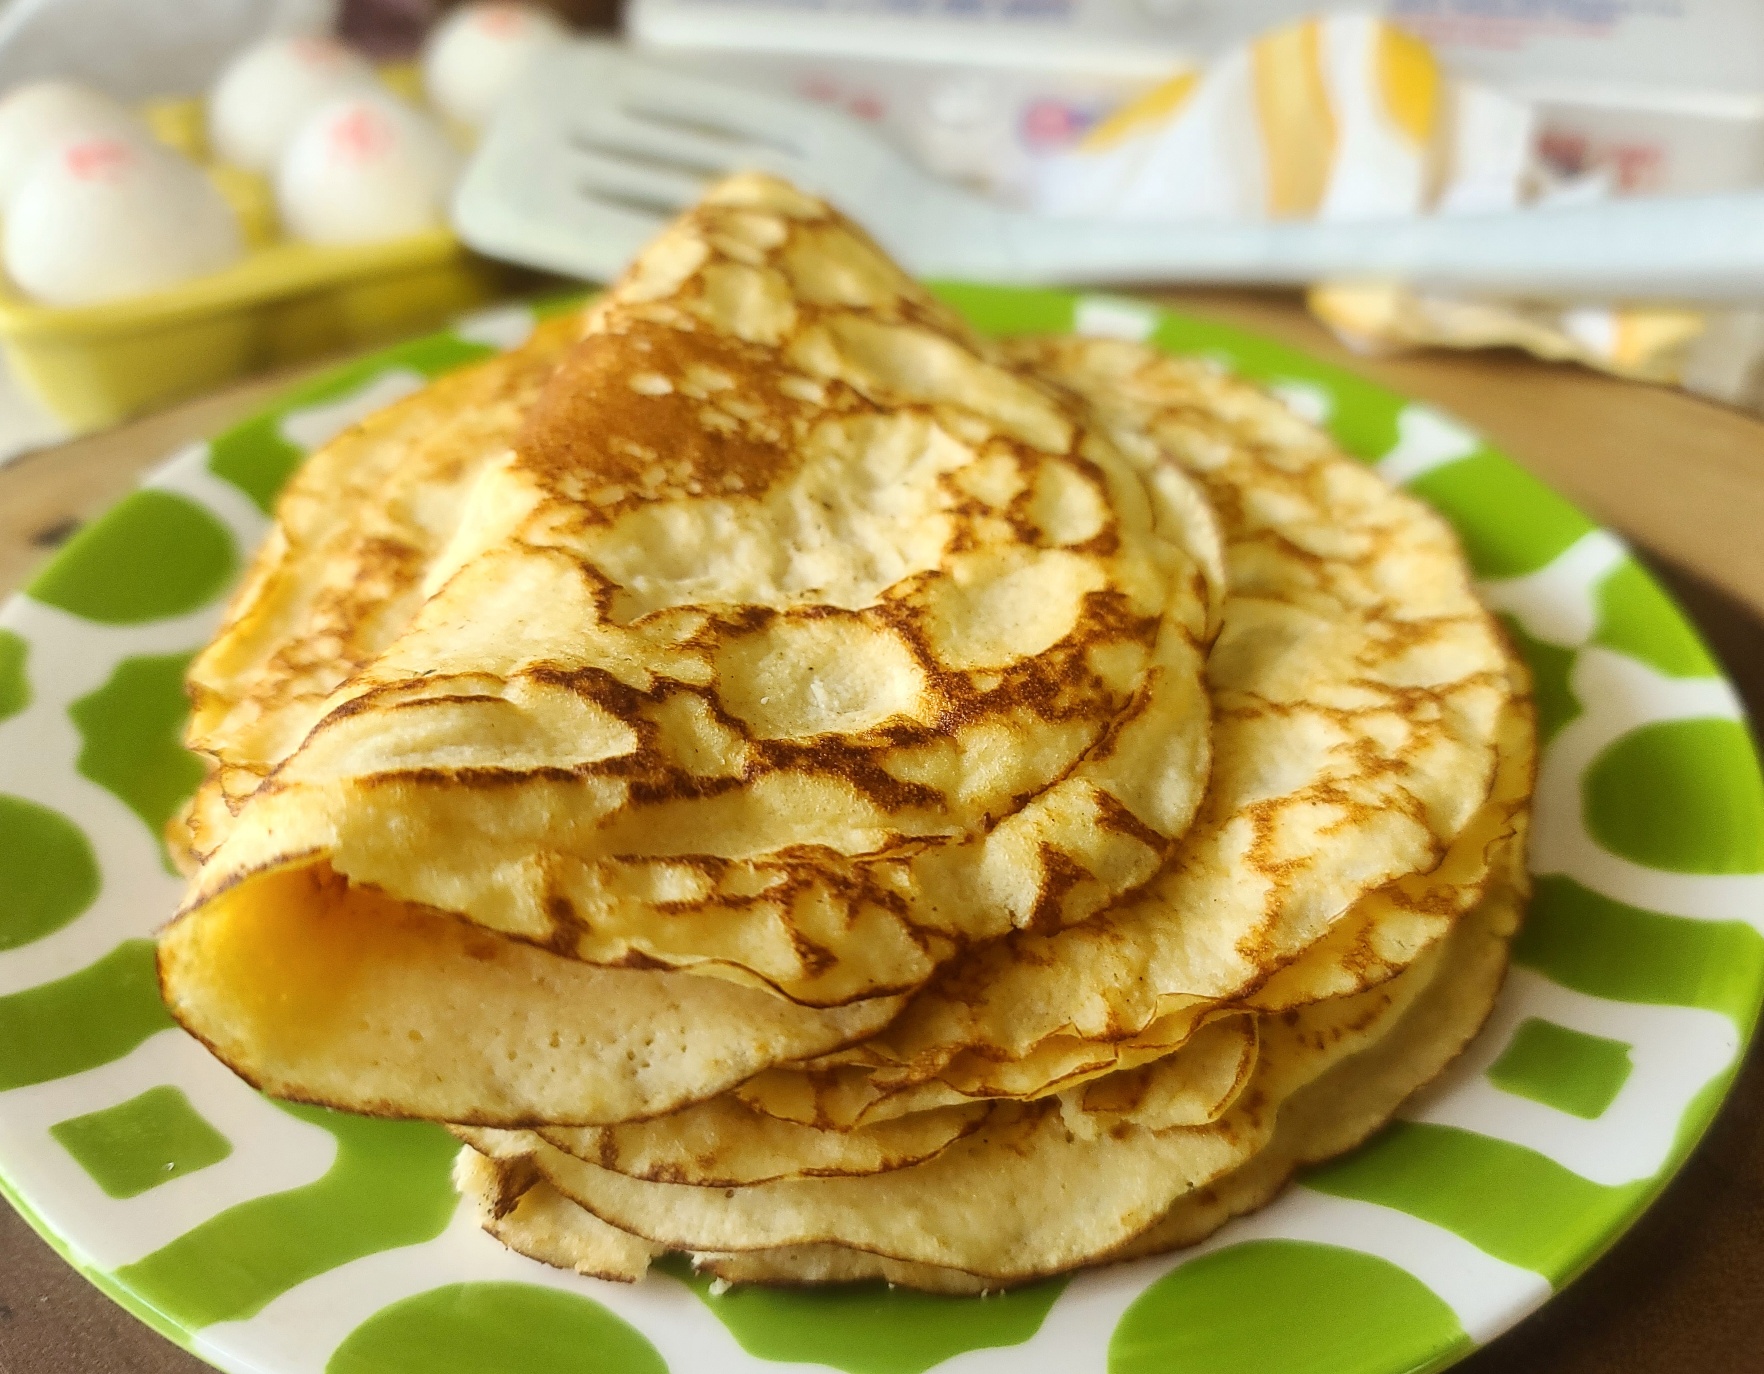
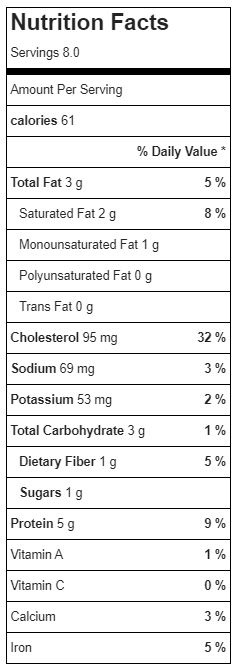
So, I tweaked my mom’s homemade crepe recipe to be just that — plus, they offer a nice pop of protein at 5g for only 61 calories per crepe! The carb count is 3g, with one of those being from dietary fiber.

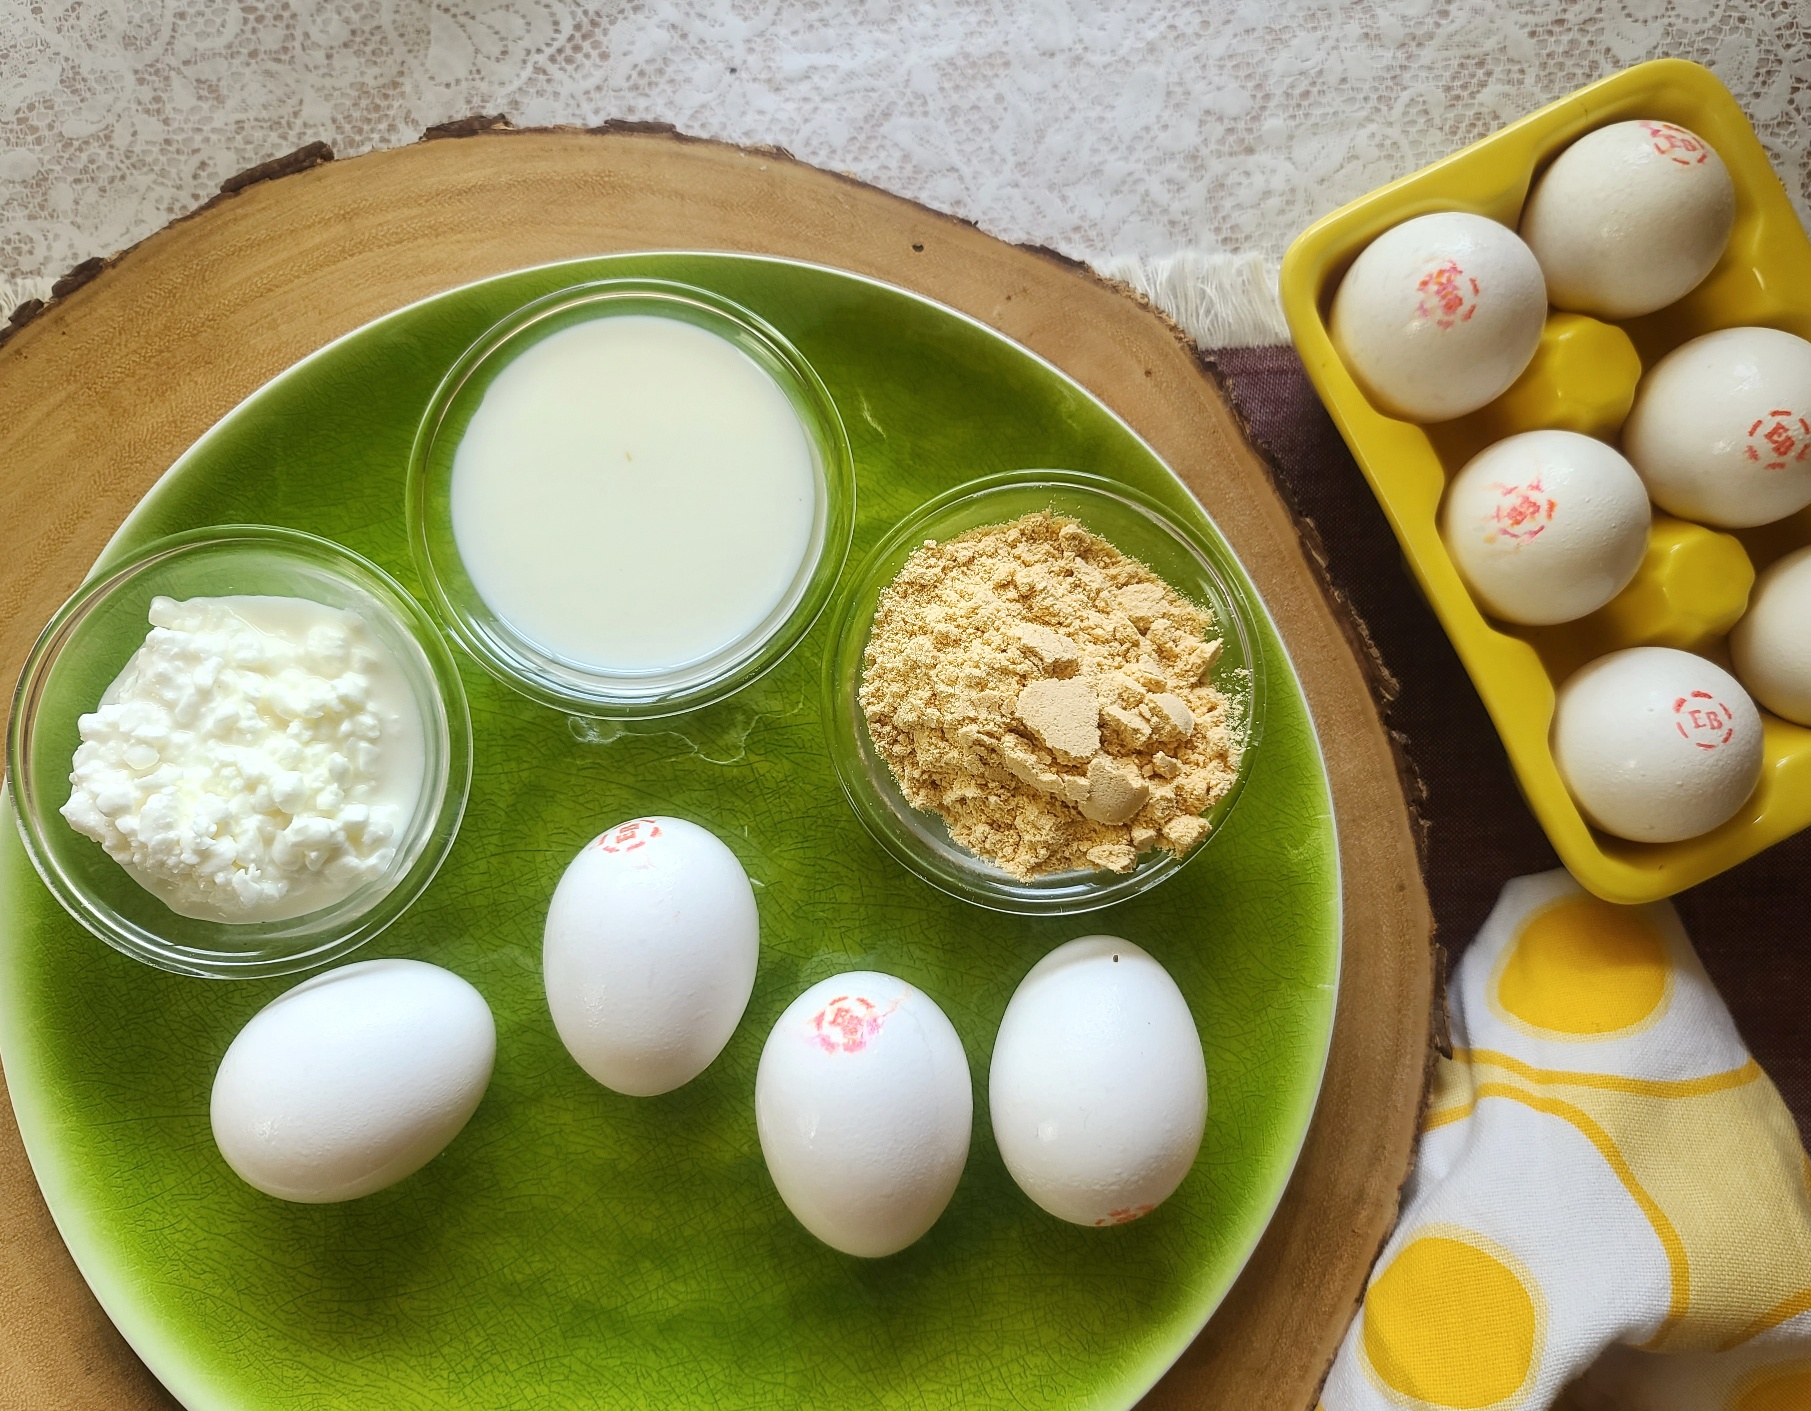
Drumroll, there are only FOUR ingredients in this low carb crepe recipe — eggs, cottage cheese, milk and coconut flour. THAT is a win, especially because it’s stuff I always have on hand (I love cooking with cottage cheese to add a bit extra protein to recipes).

A 4-ingredient recipe!

You’ll need an 8-inch crepe pan or regular 8″ skillet and the oil, butter, or cooking spray of your choice to help release the crepes for flipping. Honestly, this is the hardest part of making crepes– but once you get the hang of it, it’s easy-peasy. But, almost ALWAYS, my first crepe is a flop for photo-taking (but it still tastes good)!

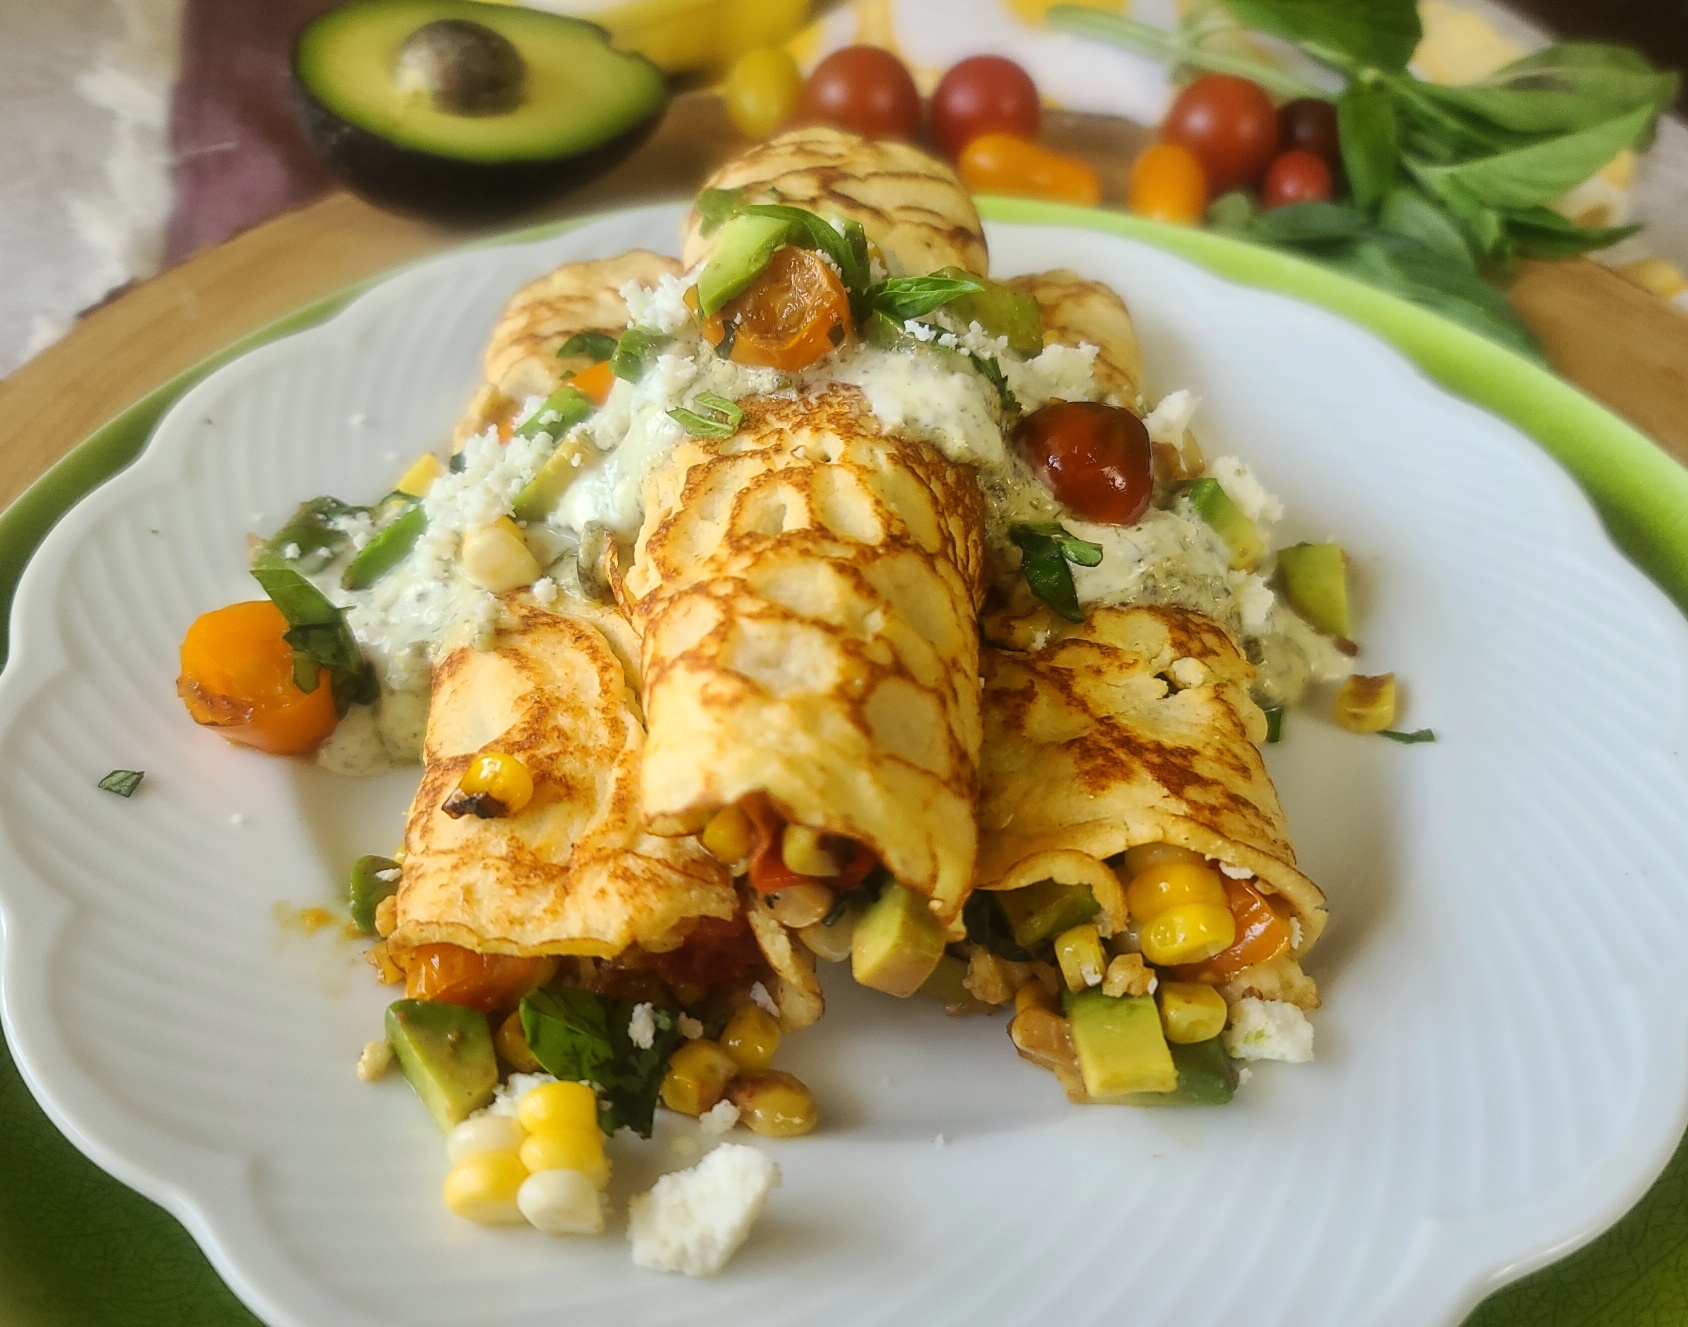
When it comes to filling or topping the crepes, there are no hold barred! Sweet, savory, spicy — you go for it! I recently made this batch with a summer veggie medley of tomato, avocado and corn that I tossed around with a little olive oil in the same pan — no need to get another dish dirty.

If you have leftover crepes, they should be just fine stored in an air-tight container or zip bag for about 4 days — or, you can freeze them! To reheat, just pop in the microwave for 15 seconds.

5 from 5 votes
This low-carb recipe is a must-make for breakfast, brunch or light lunch. Lower in carbs, higher in protein and gluten-free -- and easy, only 4 ingredients.
Low Carb Coconut Flour Crepes
Prep Time
10 mins
Cook Time
20 mins
Total Time
30 mins
 

These lower carb crepes are gluten free and feature nearly 5g protein per crepe. Fill them with your favorite sweet or savory ingredients.

Course: bread, Breakfast, brunch, lunch
Cuisine: French
Keyword: coconut flour, gluten free, low carb
Servings: 8 crepes
Calories: 60 kcal
Ingredients
  • ¼ cup cottage cheese
  • 4 large eggs
  • ¼ cup coconut flour sifted
  • ¼ cup milk of choice
  • Oil butter or cooking spray for the pan
Instructions
  1. Oil, butter or cooking spray for the pan
  2. In a small blender, combine cottage cheese, eggs, coconut flour and milk. Puree until and let rest for 5 minutes to allow flour to hydrate.
  3. Bring an 8-inch skillet to medium-low heat. Lightly coat skillet with oil, butter or spray to the skillet Once hot, add approximately 3 to 4 tablespoons of batter to the pan and into a thin layer that reaches almost to the edges, but not up the side of pan.
  4. Cook for about 1 to 2 minutes until edges are cooked and can be loosened with a spatula. Work the spatula under the crepe from all sides to loosen it from the pan. Then lift one edge gently and flip. Cook on this side for another 30 to 45 seconds, until lightly browned.
  5. Transfer crepe to plate, repeat process with remaining crepes. Will make approximately 8.
  6. Add the sweet or savory filling of your choice. Enjoy.
Recipe Notes

Easy Alfredo No Boil Pasta Bake – One Pot!

This no-boil pasta bake is a family favorite dinner – my boys just love it. This one pot pasta recipe fills them up, it’s simple to make thanks to jarred alfredo sauce, and easy to clean up with only a single pot dirtied.

Make an easy vegetarian dinner easy and earn cheers of “yum” from the family with this easy no-boil pasta bake that uses a jar of alfredo sauce, dry pasta, veggies and a little cottage cheese for extra protein.

The time-saving beauty is that you don’t have to pre-cook the pasta – you just dump in the dry noodles of choice in a casserole dish with all the other ingredients. The liquids in the recipe cook the pasta to a perfect al dente right in the oven!

Make an easy vegetarian dinner easy and earn cheers of “yum” from the family with this easy no-boil pasta bake that uses a jar of alfredo sauce, dry pasta, veggies and a little cottage cheese for extra protein.

I recommend a shorter pasta like penne, bow-tie, corkscrews, shells. Have partially used bags of pasta in the pantry that need to be used up? If the noodles are of a general similar size, you can even mix them together. This make and bake recipe is a really pantry clearer.

Here’s a flash tutorial!

I have a family with mixed dietary preferences – several meat eaters and a vegetarian. While this is a vegetarian pasta recipe, it still has a great offering of protein – 23g per serving. The extra boost is from a cup of cottage cheese mixed in.

Make an easy vegetarian dinner easy and earn cheers of “yum” from the family with this easy no-boil pasta bake that uses a jar of alfredo sauce, dry pasta, veggies and a little cottage cheese for extra protein.
This kiddo isn’t much for a vegetarian dish, so we mix in shredded chicken sometimes!

If the vegetarian isn’t home from college, I’ll mix in chopped rotisserie chicken or slow cooker shredded chicken I prep in big batch and keep in the freezer. For this recipe, I would suggest about 12 ounces to 1 pound.

Make an easy vegetarian dinner easy and earn cheers of “yum” from the family with this easy no-boil pasta bake that uses a jar of alfredo sauce, dry pasta, veggies and a little cottage cheese for extra protein.
Looks watery, but the liquids are absorbed by the pasta during cooking – the result is a creamy sauce!

As for pan choice, I suggest a 3.5-quart capacity Dutch oven with lid. If you don’t have a lid, you can seal a pot tightly with aluminum foil during the baking process. The pot will look very liquid-y before baking, but don’t worry — the pasta absorbs it all!

Make an easy vegetarian dinner easy and earn cheers of “yum” from the family with this easy no-boil pasta bake that uses a jar of alfredo sauce, dry pasta, veggies and a little cottage cheese for extra protein.
Pin this for later!
5 from 5 votes
Make an easy vegetarian dinner easy and earn cheers of “yum” from the family with this easy no-boil pasta bake that uses a jar of alfredo sauce, dry pasta, veggies and a little cottage cheese for extra protein.
Alfredo No-Boil Pasta Bake
Prep Time
10 mins
Cook Time
45 mins
Total Time
55 mins
 

This easy vegetarian pasta dish is made all in one pot for convenience and easy clean-up! It's a family favorite that is creamy, cheesy and comforting. If you'd like . . . stir in 1.5 cups of shredded cooked chicken breast for a heartier meal.

Course: entree, Main Dish, Pasta
Cuisine: Italian
Keyword: alfredo, one pot, pasta, rice noodles, vegetarian
Servings: 6 servings
Calories: 440 kcal
Ingredients
  • 1 tablespoon olive oil
  • 1 teaspoon ground black pepper
  • 2 teaspoons minced garlic from jar
  • 2 cups vegetable stock divided
  • 8 ounces button mushrooms sliced
  • 4 cups fresh baby spinach about 3 ounces
  • 1 15- ounce jar alfredo sauce
  • 1 cup 2% cottage cheese
  • 12 ounces uncooked pasta like shells, bowtie, penne, corkscrews *
  • 6 ounces shredded mozzarella
Instructions
  1. Preheat oven to 400 F.
  2. In a 3.5-quart Dutch oven, heat olive oil over medium high. Add mushrooms and chopped onions; sauté for 4 to 5 minutes until softened. Add garlic and pepper, cook another 1-minute stirring constantly.
  3. Lover heat to medium-low; add spinach and about ¼ cup of the vegetable stock. Add lid to pot for 1 minute to wilt spinach; remove lid and stir in with mushroom mixture.
  4. Add remainder broth, alfredo sauce, and cottage cheese. Stir until combined. Add dry pasta, stir around until mostly submerged.
  5. Bake in oven for 40 minutes (or until pasta al dente), stirring once at the half way point.
  6. Remove from oven, stir again and then sprinkle mozzarella cheese on top. Cover with lid and bake an additional 5 minutes, until cheese is melted.
Recipe Notes

Watermelon Raspberry Quinoa Salad with Ginger Mint Dressing

Summer is nearly here and this Watermelon, Raspberry, & Quinoa Salad with Ginger Mint Dressing is an easy-fix for upcoming pool parties, picnics and patio dining.

 Fully-loaded, this watermelon salad won’t leave you hunger a few minutes later. It’s actually quite hearty with quinoa, sunflower seeds, feta cheese, loads of greens, juicy watermelon and raspberries.

Pin this for later!

Why I love this watermelon salad, other that the amazing taste: Fresh ingredients to fuel my adventures, no cooking, stunning as a side dish but hearty enough for a main course (especially if you add some shrimp or salmon!).

I love how watermelon is a refreshing and delicious addition to salads, providing a burst of sweetness, hydration and nutrients.  It’s also a smart way to use up leftover watermelon, if you purchased a big one! By the way, check out this post on how to efficiently cut up a jumbo-sized watermelon fast.

Ginger Mint Dressing, so fresh and fragrant!

Let’s talk about the fresh, invigorating, and aromatic dressing. Ginger Mint Dressing is so simple to make with just a quick blast in a personal-sized blender. It’s also a smart way to tackle mint that likes to take over gardens this time of year. Now and then, I pull out my juice to make Ginger Juice (and store in small portions in my freezer). Check out my tips on Juicing Ginger Root. However, if I’m “out of stock,’ for convenience I just rely on bottled ginger juice or the little ginger juice shots you can buy in the fresh juice section of the produce department. 

This Ginger Mint Dressing also makes an amazing marinade for fish and shrimp.

Enjoy!

Note: This post contains affiliate links.

5 from 5 votes
Hydrate and invigorate with this juicy fresh salad featuring watermelon, raspberries and quinoa! The zingy ginger mint dressing is amazing. It’s a stunningly colorful side dish or add shrimp or salmon for a main dish.
Watermelon, Raspberry & Quinoa Salad with Ginger Mint Dressing.
Prep Time
15 mins
Total Time
15 mins
 

Hydrate and invigorate with this juicy fresh salad featuringwatermelon, raspberries and quinoa! The zingy ginger mint dressing is amazing.It’s a stunningly colorful side dish or add shrimp or salmon for a main dish.

Course: entree salad
Keyword: ginger, mint, quinoa, raspberries, summer, watermelon
Servings: 4 servings
Ingredients
  • 3 cups baby spinach leaves
  • 1 cup microgreens of choice
  • 2 cups chopped watermelon
  • ½ cup fresh raspberries
  • 1 cup prepared quinoa
  • ¼ cup crumbled feta
  • ¼ cup sunflower seeds
Dressing
  • 1 2- oz bottle ginger juice like Suja
  • 1 tbsp honey
  • 2 tbsp olive oil
  • 1 tbs lemon juice
  • ¼ cup mint leaves
Instructions
  1. Add salad ingredients to bowl. Then add all dressing ingredients to small blender and process until mostly smooth. If you don’t have ginger juice, you can sub watermelon juice (from the watermelon prep run off) and a ½ teaspoon of finely grated ginger. Pour dressing over salad and gently toss. Best eaten same day as dressed – serves 4 as a side.

Lemon Chia Seed Protein Snack Cake with Collagen

Lemon is flavor favorite of mine, especially around spring when I’m looking for a light, bright, sweet-tart taste so yummy for treats!

A light, bright, yummy snack cake featuring collagen protein. Only 142 cal per slice and 10g protein. This Lemon Chia Seed Protein Cake a treat for a healthy dessert, post workout snack or even breakfast.

My Lemon Chia Seed Protein Cake is a no-guilt option that is easy to whip up and offers 10 grams of protein, along with 12g net carbs, and6g fat for 142 calories per serving.

This lemon protein cake is great for a healthy dessert, post-gym snack, or anytime you are craving something sweet put looking to keep your lower-carb and strong. High protein low carb desserts like this Lemon collagen cake also makes a great breakfast.

I used Collagen from Great Lakes Wellness, my discount code will save you 10% – THEFITFORK15off

I’m a big fan, and have used it for years to optimize my wellness and boost my protein intake at the same time. If you ever have any questions about using collagen powder in recipes, shoot me an email.

TIPS FOR MAKING LEMON CHIA SEED CAKE WITH COLLAGEN:

  • I used a standard 9” round cake pan, but you can substitute an 8” square pan, or a 12-count cupcake pan (standard size, not jumbo)
  • Fresh lemon juice gives a bolder, brighter flavor. One larger lemon yields about ¼ cup (4 tablespoons) fresh juice, which is what this recipes calls for. However, in a pinch, you can substitute bottled lemon juice and skip the lemon zest (or use a dehydrated lemon zest).
  • Store leftovers in an air-tight container for up to 5 days, or “meal prep” by packaging up individually in zip-top baggies and stick in the freezer for a thaw, grab-and-go breakfast or snack on your busy days.
  • Lemon protein desserts can be customized into the citrus dessert of your choice by swapping out lemon juice for lime juice, grapefruit juice or orange juice in the cake and glaze parts of the recipe.
A light, bright, yummy snack cake featuring collagen protein. Only 142 cal per slice and 10g protein. This Lemon Chia Seed Protein Cake a treat for a healthy dessert, post workout snack or even breakfast.
Pin this for Later!

Note: This post contains affiliate links.

Lemon Chia Seed Protein Cake with Collagen
Prep Time
5 mins
Cook Time
20 mins
Total Time
25 mins
 

A light, bright, yummy snack cake featuring collagen protein. Only 142 cal per slice and 10g protein. This Lemon Chia Seed Protein Cake a treat for a healthy dessert, post workout snack or even breakfast.

Course: Breakfast, Dessert, workout
Keyword: cake, chia seeds, collagen, high protein, lemon
Servings: 8 servings
Calories: 142 kcal
Ingredients
  • 3/4 cup gluten-free baking flour
  • 1/2 cup unflavored collagen powder
  • 1 tsp baking soda
  • 1/3 cup granulated stevia blend
  • 1/4 tsp salt
  • 2 tbsp chia seeds
  • 2 large eggs
  • ¼ cup almond milk
  • 1/2 cup unsweetened Greek yogurt
  • 3 tablespoons fresh lemon juice
  • 2 tbsp olive oil
Glaze:
  • 1 tbsp collagen powder
  • 2 tbsp stevia blend preferably powdered
  • 1 tbsp lemon juice
  • 1 tsp lemon zest
Instructions
  1. Preheat oven 350F.
  2. Mix together dry cake ingredients: flour, collagen, baking soda, stevia, and salt, and chia seeds.
  3. In another bowl, whisk together eggs, milk, yogurt, lemon juice and oil. Pour into dry ingredients; stir until smooth.
  4. Pour batter into standard 9″ cake pan coated with cooking spray. Bake for 20 minutes. Let cool 10 minutes, invert from pan.
  5. In small bowl, mix glaze ingredients. Use a fork to make small prices in cake for glaze to settle. Pour glaze over top. Cut into 8 slices.; Enjoy!
  6. Note, if using an 8" square pan, baking time will be the same. IF using 12-count cupcakes, reduce time to 15 minutes.

Recipe Notes