Melon with Serrano Mint Syrup Recipe & How to Pick a Ripe Watermelon

Yes, I know –another watermelon recipe. But ‘tis the season for watermelon, cantaloupe, honeydew and all other delicious, juicy fruits of summer. Hurray!

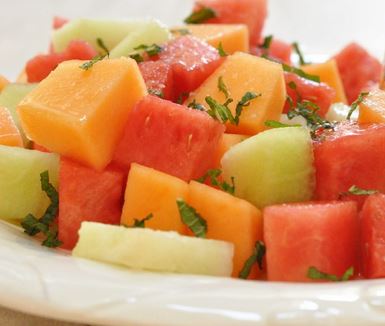
melon mint and serrano salad

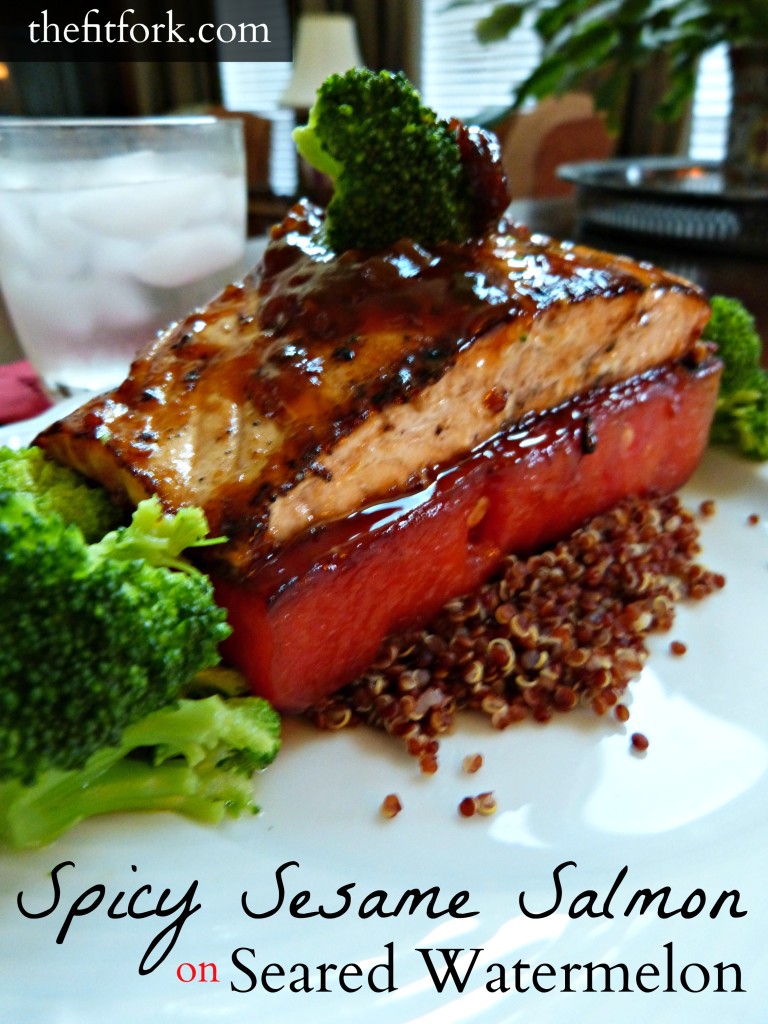
A reader (and husband) favorite was the Spicy Sesame Salmon on Seared Watermelon I posted last month. I just have to post the picture again because it was THAT good.

jennifer fisher - thefitfork.com - spicy sesame salmon seared watermelon

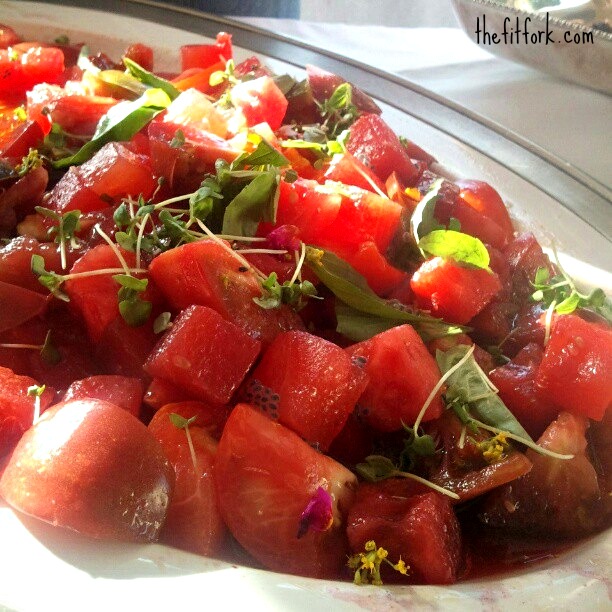
Oh, and I haven’t yet forgotten this Watermelon at Heirloom Tomato Salad.

watermelon heirloom tomato salad

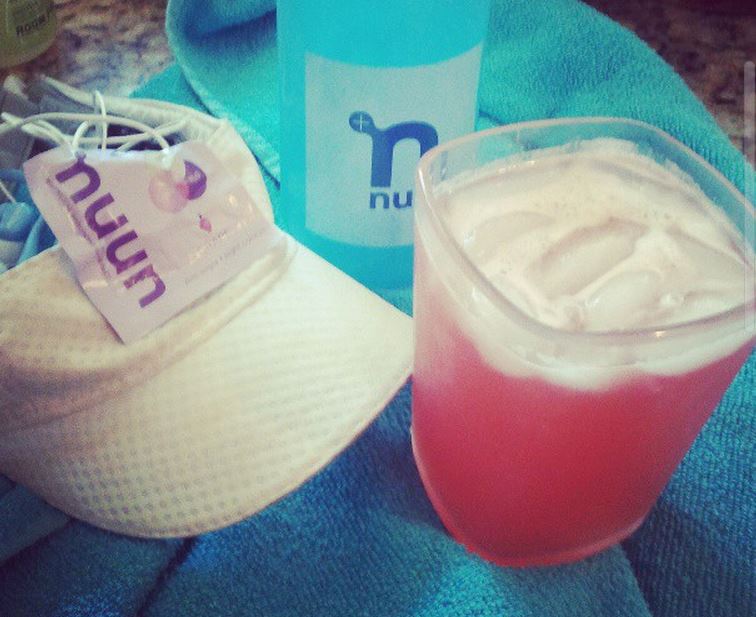
Yesterday, I rehydrated from my 9 mile run in 90-percent humidity with a glass of real watermelon juice. While watermelon is loaded with potassium, I stilled kicked up my drink with even more electrolytes thanks to a grape Nuun Hydration tablet. So crisp and refreshing; it was a runner-friendly aqua fresca!

nuun watermelon juice with grape

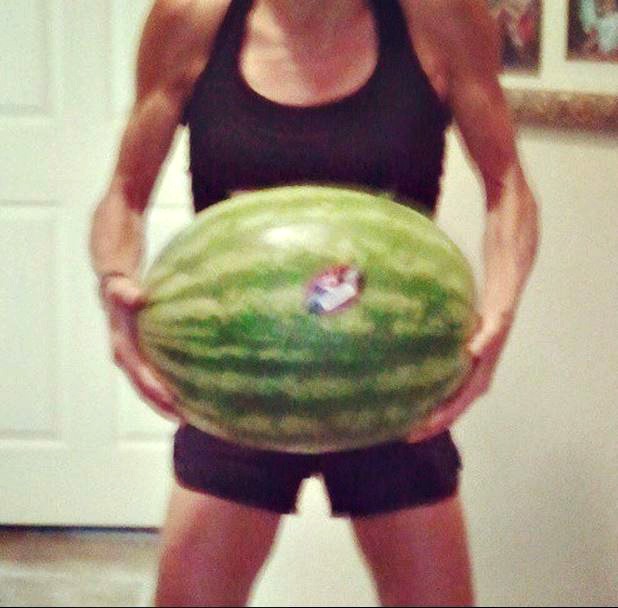
Wondering how to pick a good watermelon? I know all the tricks. First, look for a yellow, creamy spot on the bottom-side, this means it’s been ripening in the, as it should be! The deeper this “field spot,” the sweeter the melon. Second, a watermelon should have a dull finish (honeydews, too); if it’s super shiny, it won’t be ready to eat. Third, it should feel heavier than it looks.  Watermelons are over 90 percent water, and the ripest ones are the juiciest and, therefore, pack the most pounds. This watermelon I’m holding below weighed more than 35 pounds (even though it doesn’t really look like it) and it was the best one I’ve had this summer!

watermelon should feel heavy

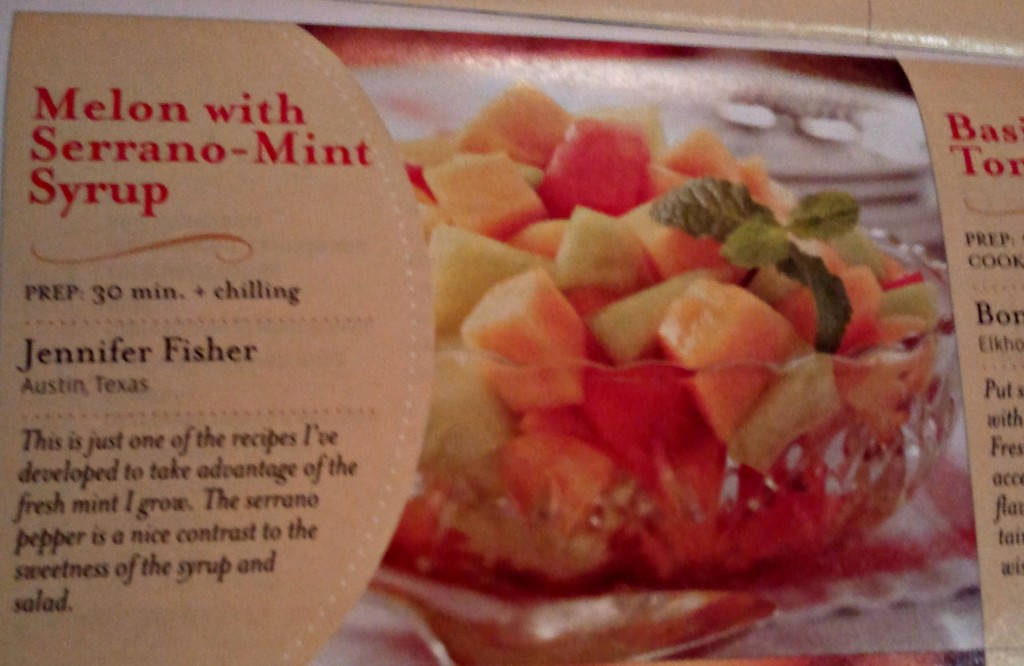
This Melon with Serrano-Mint Syrup Recipe is a recipe I created that ran in Taste of Home magazine way back in May of 2008. At the time, I was growing a mountain of mint and was looking for creative ways to use it. The spicy-sweet syrup was my solution!

SAMSUNG

Melon with Serrano-Mint Syrup Recipe

Prep: 30 min. + chilling

  • 1/3 cup sugar
  • 1/3 cup water
  • 1/4 cup lemon juice
  • 3 tablespoons honey
  • 1/2 teaspoon minced serrano pepper
  • 1/4 cup minced fresh mint
  • 1 tablespoon grated lemon peel
  • 4 cups each cubed watermelon, cantaloupe and honeydew

In a small saucepan, combine the sugar, water, lemon juice, honey and serrano pepper. Bring to a boil; cook for 3-5 minutes or until slightly thickened. Remove from the heat; stir in mint and lemon peel. Cool to room temperature.

Strain syrup; discard pepper, mint and lemon peel. In a large bowl, combine the melons. Add syrup; gently toss to coat. Cover and refrigerate for at least 2 hours, stirring several times. Serve with a slotted spoon. Yield: 12 servings.

Nutritional Facts1 cup equals 92 calories, trace fat (trace saturated fat), 0 cholesterol, 13 mg sodium, 25 g carbohydrate, 1 g fiber, 1 g protein. Diabetic Exchanges: 1 fruit, 1/2 starch.


Gone Grilling | Spice-Crusted Tenderloin Steaks and Street Corn with Chipotle Garlic Butter

jennifer fisher - thefitfork.com - ribeye filet grilled corn

It was a glorious day of grilling at our house last night, the aroma of succulent beef and sweet corn was drifting across the backyard thanks to an unseasonal but oh-so welcomed breeze. At one point I heard the neighboring carnivores come out of their caves to make whining, whimpering noises, but sorry folks, only enough meat to feed my famished five. Maybe next time I will invite YOU over for Spice-Crusted Tenderloin Steaks and Street Corn with Chipotle Garlic Butter!

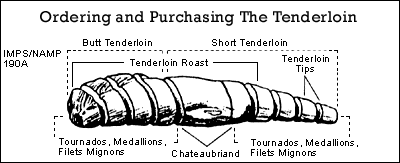
cuts of tenderloin

If you like a lean yet tender steak that doesn’t need much fussing, you’ll love my favorite cut of beef– tenderloin (flat iron steak is a close second). Before processed and carved into steaks, this long chunk of meat sits beneath the ribs near the backbone. The muscle does very little work in the life of a cow, that’s why it’s the tenderest cut available – it practically melts in your mouth! Sometimes, with all the interchangable names that are used for beef cuts, it can get confusing to understand what you are purchasing. The diagram above shows how the muscle is further butchered into the various products we buy at the market or order off the menu.

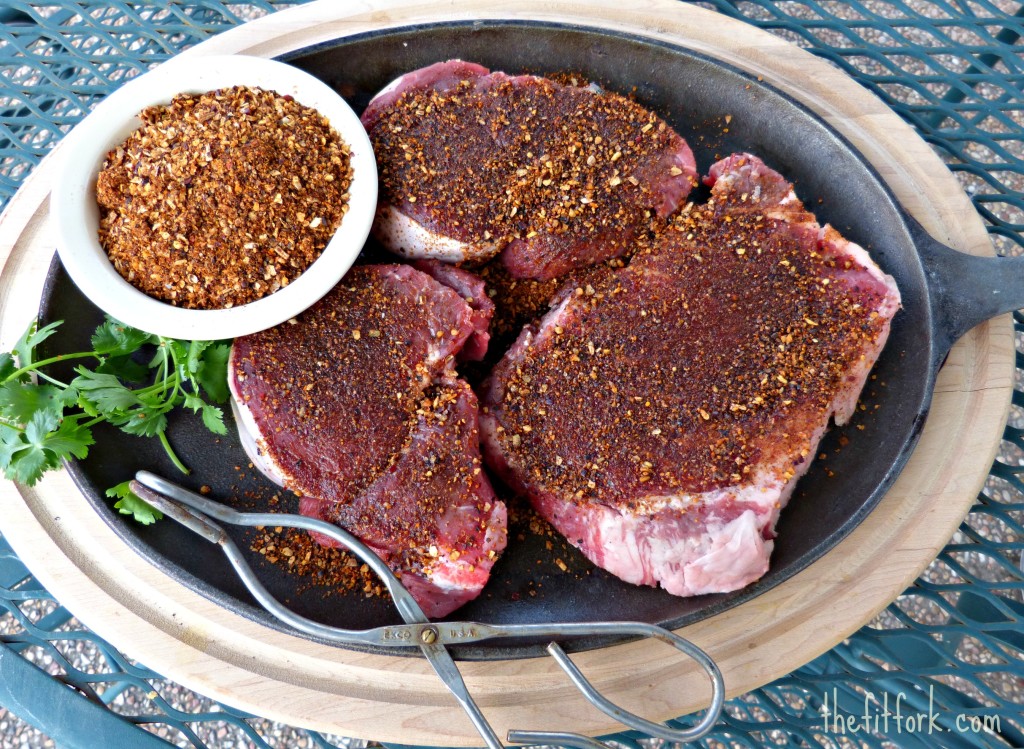
Steaks ready to hit the grill, rubbed with flavorful spices.

Steaks ready to hit the grill, rubbed with flavorful spices.

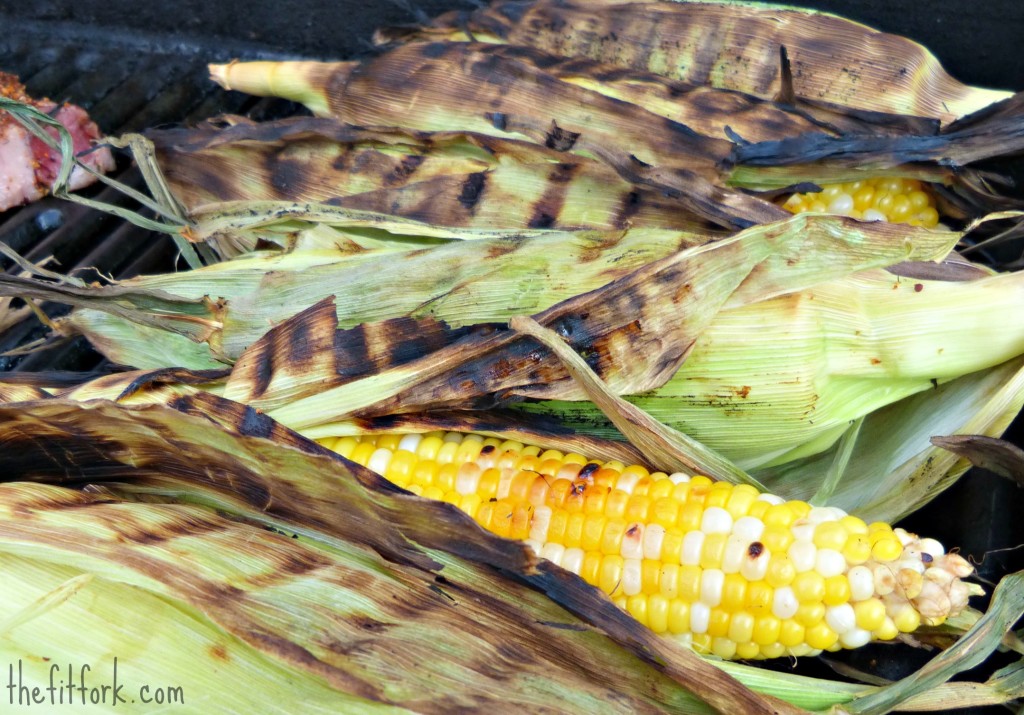
Because this portion of beef is so tender, there is no need to use a marinade. Instead, I use a homemade spice rub to create a flavorful crust that seals in natural juices. Since I had the grill already fired up for steaks, I decided to cook the whole dinner out on it. The kids voted for street fair style corn, the summer treat that smells so yummy roasting and is extra fun to eat.  Really, I can’t even tell you how good this meal was, not a leftover scrap in sight!

jennifer fisher - thefitfork.com - grilling corn


Spice-Crusted Tenderloin Steaks and Street Corn with Chipotle Garlic Butter

For Chipotle Garlic Butter:

  • ½ cup salted butter, softened
  • 1 tablespoon chopped fresh cilantro
  • 1 teaspoon minced garlic
  • 2 tablespoons minced chipotle (with adobe sauce from can)

For Rub:

  • 1 tablespoon kosher salt
  • 1 tablespoon ground black pepper
  • 1 tablespoon ground cumin
  • 2 teaspoons ground coffee
  • 1 teaspoon unsweetened cocoa powder
  • 1 teaspoon chipotle chili powder or “regular” chili powder
  • ½ teaspoon ground cinnamon
  • ½ teaspoon ground cloves
  • 4 6-ounce tenderloin steaks
  • 1 tablespoon olive oil
  • 4 ears corn, unhusked
  • 1 tablespoon salt

Directions

Prepare the compound butter first, so it has time to set up while corn and steaks are cooking.

In small bowl, mix together softened butter, cilantro, garlic and chipotle peppers (using a bit of the adobe sauce).  Transfer to ramekin and stick in the refrigerator to firm up while the rest of the meal is grilling.

Next prepare rub by combine all ingredients for rub in a small bowl or zip-top bag. Shake or stir well until thoroughly mixed.

Lightly brush both sides of each steak with olive oil. Press in approximately 1 tablespoon total of rub into both sides of steak. Let sit for 15 minutes.

While steaks rest with the rub, start preparing corn. Pull down outer husks on ears of corn to the base, taking care to rip them all the way off.  Pull off silk from each corn ear and discard. Pull husks back up and set in large tub of cold water mixed with 1 tablespoon of salt for 10 – 12 minutes.

Pre-heat grill to 400 F degrees.

Pull corn out of water and shake off water. Set corn, with husks still up, onto grates of grill. Cover and grill for 15 to 20 minutes, or until kernels are tender. Rotate ears once during grilling.

After corn has been started for about 5 minutes, throw steaks onto the same 400 F degree grill. Cook for approximately 4 to 5 minutes on each side or until meat thermometer inserted into thickest portion of the steak reads 135 F degrees. Let rest for 5 – 10 minutes; steaks will continue to cook on the serving platter and ultimately reach 140 to 145 F degrees (medium).

To serve, place a pat of Chipotle Garlic Butter on the husked ears of corn and center of steak.

Serves 4.

Bumper Crop Boogie | How to Blanch and Freeze Summer Vegetables

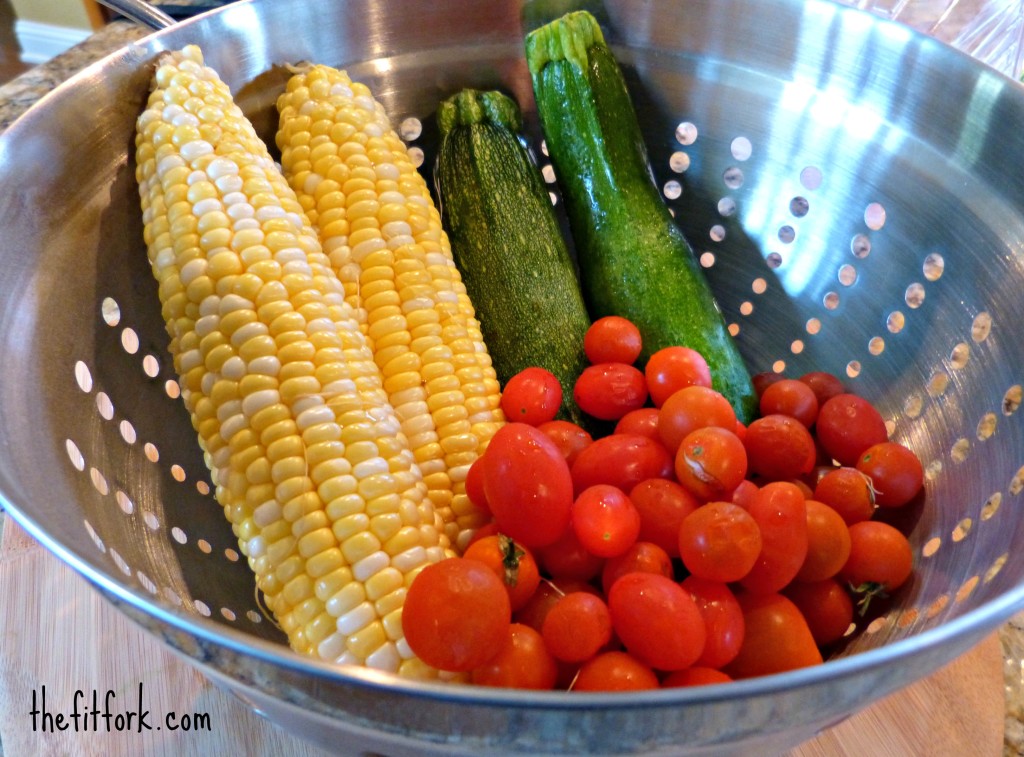
The sun-drenched colors, the succulent flavors; summer vegetables make me want to dance! In my opinion, a person can’t have too much of a good thing when it comes to summer season vegetables. But, often in the warmer months, even though I don’t have my very own garden, the produce bin in the fridge runneth over. When I see a sale on corn for under a quarter a cob, I can’t pass it up. When my parents bring me surplus zucchini from their urban community garden, I welcome the windfall. I can’t pass up a farmer’s market or roadside stand without pulling over to check out the local selections. You get the idea and it’s inspired a ton of great recipes, like my Green Chile & Pork Stuffed Zucchini.

jennifer fisher - thefitfork.com summer veggies

This week, I had more veggies on hand than my family could scarf down in a week. So, rather than sit there and watch them wrinkle and rot, I decided to take a few extra minutes and prep the abundance for the freezer. Not trying to go all Little-House-On-The-Prairie on you but “putting up your vegetables” for the winter, or whatever time of year, is a great way to reduce needless waste (did you know 40% of America’s food goes uneaten?) and enjoy the fresh flavors of the season later.

Getting your veggies ready for the freezer is easy; the main point to remember is that most vegetables (except for herbs, green peppers and, in my opinion grape tomatoes) will need blanching. Blanching is just another term for par-cooking vegetables in boiling water or steam for a short time. The process of blanching stops enzyme actions which can cause loss of flavor, color, texture and vitamins. The type of vegetable and how big of chunks it is cut up into (if at all) dictates the amount of time to blanch. The University of Colorado Extension Services has some good tips on how to prepare, blanch and pack your veggies for the freezer.

jennifer fisher - thefitfork.com - tray freezing veggies

How to Prepare a Jumble of Fresh Corn, Zucchini and Grape Tomatoes for the Freezer

  1. Husk and remove silk from corn.
  2. Rinse grape tomatoes and set aside. I skip blanching and put my grape tomatoes straight in freezer.
  3. Slice zucchini into 1/2 inch slices; cut slices into quarters.
  4. Boil large pot of water.
  5. Add corn and blanch (boil) for 5 minutes.
  6. After 1 minute, add zucchini and blanch for 4 minutes along with corn.
  7. While veggies are blanching, prepare a big bowl of ice water.
  8. Remove zucchini and corn with tongs or a slotted spoon and place in ice bath to stop cooking process.
  9. After a few minutes, remove veggies to clean towel to drain excess water.
  10. Use sharp knife to remove corn kernels from cob.
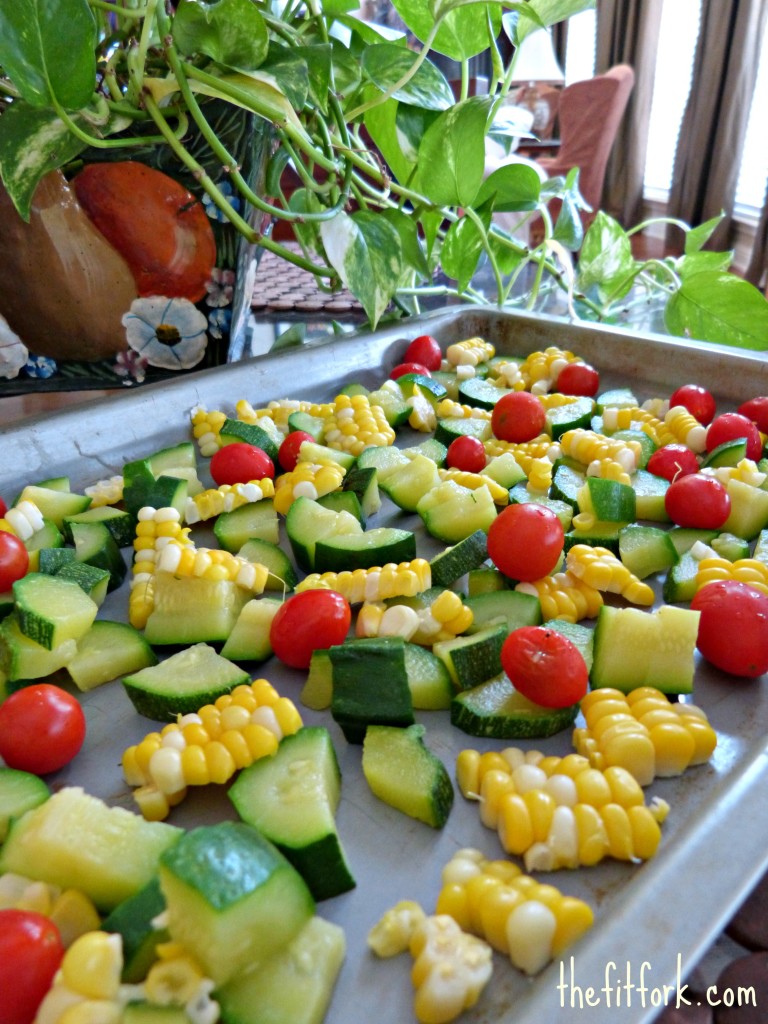
  11. Lay veggies (including tomatoes) in a single layer on a large rimmed baking sheet.
  12. Freeze vegetables for several hours, until hardened.
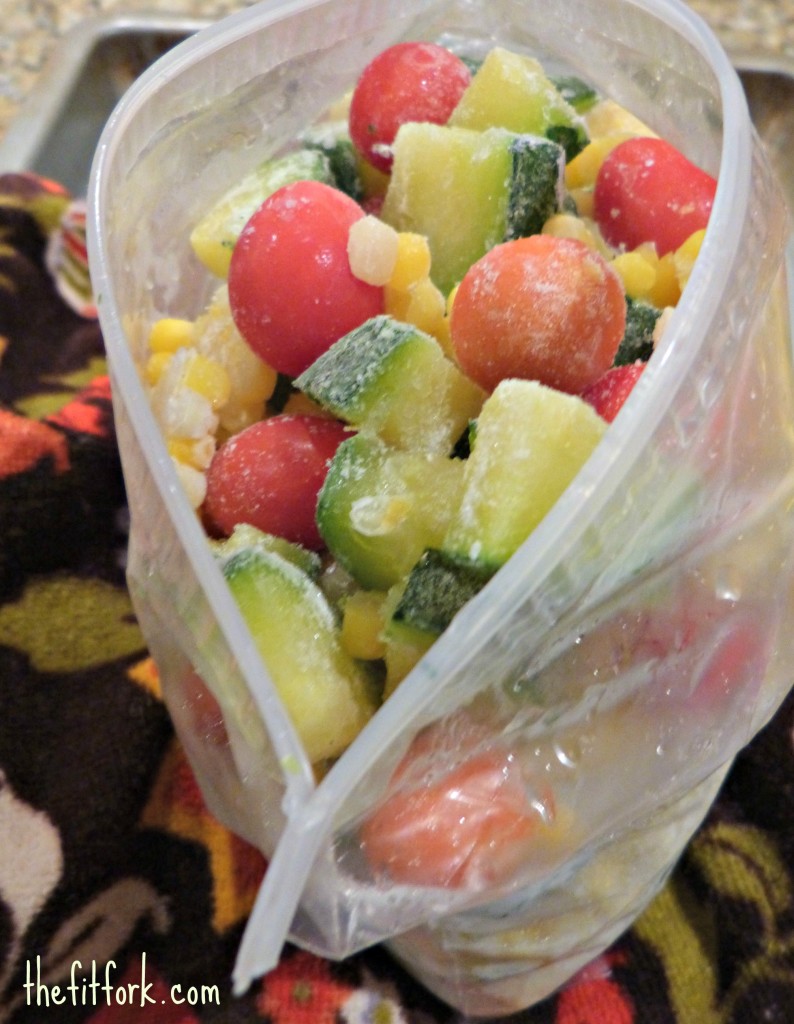
  13. Repackage vegetable mix into zip-top bags, leaving a little bit of room at the top for expansion.

jennifer fisher - thefitfork.com - frozen vegetables bag

Even though it might seem easy to dump blanched vegetables into a container for freezing, they’ll all end up hardened together into one big lump. That’s why tray freezing is so cool (pardon the pun) and totally worth the extra step involved. Whether you want a small portion or a large portion, you can scoop out exactly what you desire if you’ve tray frozen your vegetables before pouring into a freezer bag. Vegetables blanched and then frozen in this manner will have a life of at least 12 months in a freezer set to 0 degrees Fahrenheit.

Wondering how to cook this mix of tomatoes, corn and zucchini? Just thaw out a portion from your freezer stash and toss into a skillet that has been heated with oil good for sautéing. I like grape seed oil. Cook on the stove top for just a few minutes until heated through, but not overcooked and soggy. For flavor, toss in some garlic, chopped herbs and a dash of soy sauce. The mix also works great in other recipes and could easily be incorporated into my Crustless Calabacita Quiche!


Should You Be Taking a Daily Multi-Vitamin? #Vitafusion® MultiVite Review

Have you ever wondered if you should be taking a daily multi-vitamin supplement?  If I close my eyes, I can still hear my mom calling out from the kitchen, “Kids, don’t forget to take your vitamins.” So, even though mom almost always served a well-balanced menu with lean meats and fresh produce (lots from our own backyard), I swallowed that morning pill like a good girl, gagging as it sometimes got stuck on the way down, but complying none the less. Ironically, I stopped taking a multivitamin in college and my early twenties, a period when my nutritional intake was . . . how shall I say . . . less than ideal.

jennifer fisher - thefitfork.com - vitamins like whatever

Well, I’m back on multivitamins and have been for years. Any nutritionist you ask will say that eating a variety of fresh fruits and veggies, whole grains, lean proteins, and low-fat dairy products is the preferred way to get your daily dose of vitamins and nutrients to keep your body functioning at its best. However, even with the best intentions, it is not possible to “eat clean” all the time or even wolf down large enough portion sizes that would give you the complete Daily Recommended Value (DV) for every vitamin, mineral and trace nutrient you need. That’s why I think taking a daily multi-vitamin is like an insurance policy; an inexpensive and easy way to proactively safeguard your body against the expected wear and tear along with any unforeseen damage!    As a competitive runner and CrossFit enthusiast, I rely on a daily multi-vitamin to help by body perform . . . and recover!  A product I have really come to like is the Vitafusion® MultiVites, read on!

Modern Me: Vitamins keep me healthy and strong!

Modern Me: Vitamins keep me healthy and strong!

I will point out that I supplement with a few other vitamins, based on my life stage and activity level. A well-rounded daily dose like that found in the Vitafusion® MultiVites is a good place to start; however it is so important to educate yourself on what types of vitamins, minerals and trace nutrients YOU need, rather than just blindly swallowing (or chewing). For example, a pregnant woman has unique nutritional needs, starting in the first trimester, to ensure that the baby develops properly. Active and older women (and I’m putting myself in both categories) benefit from increased calcium, which can help prevent bone loss and fractures. Vegetarians also can benefit from taking extra calcium, iron, zinc, and vitamins B12 and D.  Oh, there is so much more . . . it’s a huge topic!

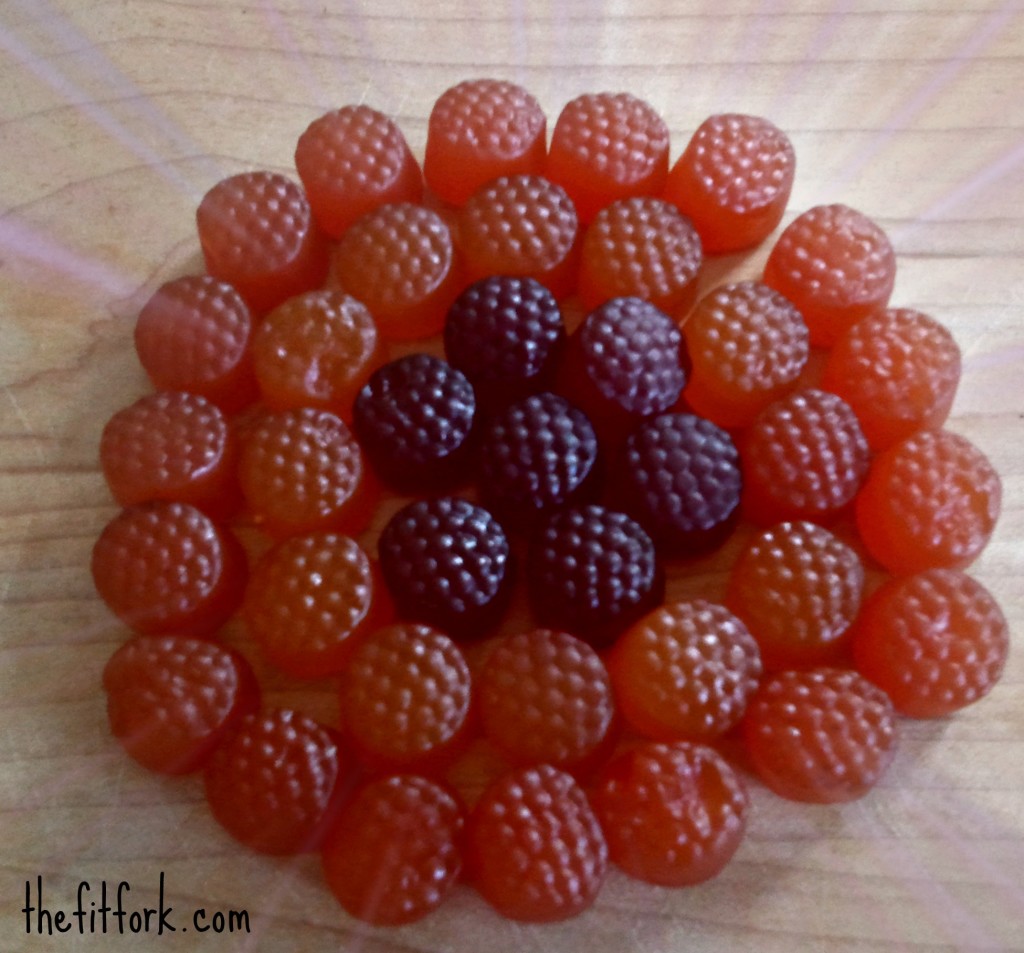
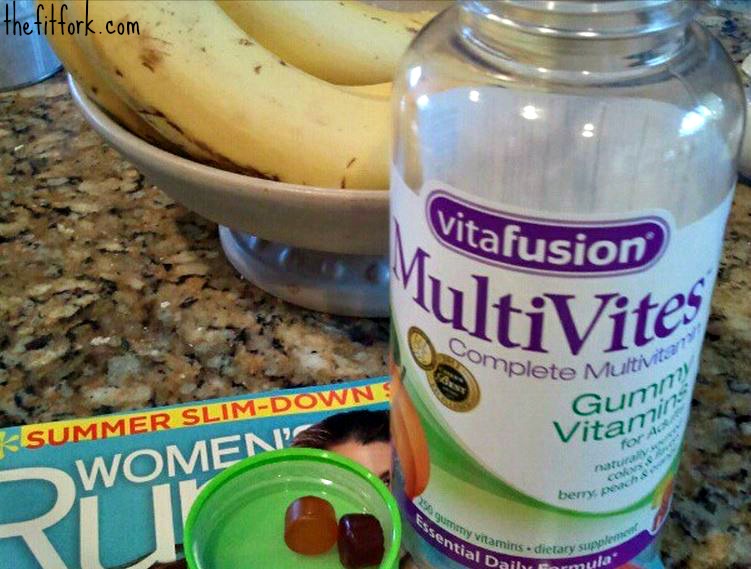
So back to my favorite daily dose, Vitafusion® MultiVites. I originally stocked up on this product because I thought it would encourage my older kids to partake in their daily dose – and it worked! The company also makes a product portioned for younger children called L’il Critters.  Because I was already familiar with the brand, I was more than happy to give them a review after being sent a complementary bottle. Featuring naturally-sourced colors and flavors like berry, peach and orange, taking these chewable gummy vitamins seems almost like a treat – you only get two per day, kids! For sure a great tasting alternative to hard-to-swallow pills (you don’t even need water); but the best part of Vitafusion® MultiVites is so much of the percent DV has been addressed to help fill in any gaps in my diet.

jennifer fisher - thefitfork - vitafusion banana

Vitafusion® MultiVites offers plenty of perks for the body, but here are a few of my favorite:

  •  Provides 200 percent DV for vitamin D3 which is as much as 3 ounces of salmon
  • Provides 50 percent DV of antioxidant both vitamins C and A
  • Supports immune health
  • An excellent source of vitamins B12, B6, folic acid and pantothenic acid
  • Provides as much vitamin A as one cup of broccoli

Vitafusion® MultiVites are gluten-free and made in the USA. You can find them nationally at drug grocery and mass merchandise stores for about $11 for 150 count jar. Heads up, I get mine in a 250-ct jar at Sam’s Club and it’s a great deal – only a couple bucks more than the 150-ct container.

www.gummyvites.com

Sensible Sweets | Salted Pistachio Chocolate Cookie Recipe #Paleo

The big news about being a semi-finalist in the Pillsbury Bake-Off Contest has had me in the mood to crank up the oven for some cookie making. By the way, have you voted for my Spicy Beef & Sweet Potato Samosas?  It’s an easy 1x vote through Thursday, June 27th  — look for the recipe and my name (Jennifer Fisher).

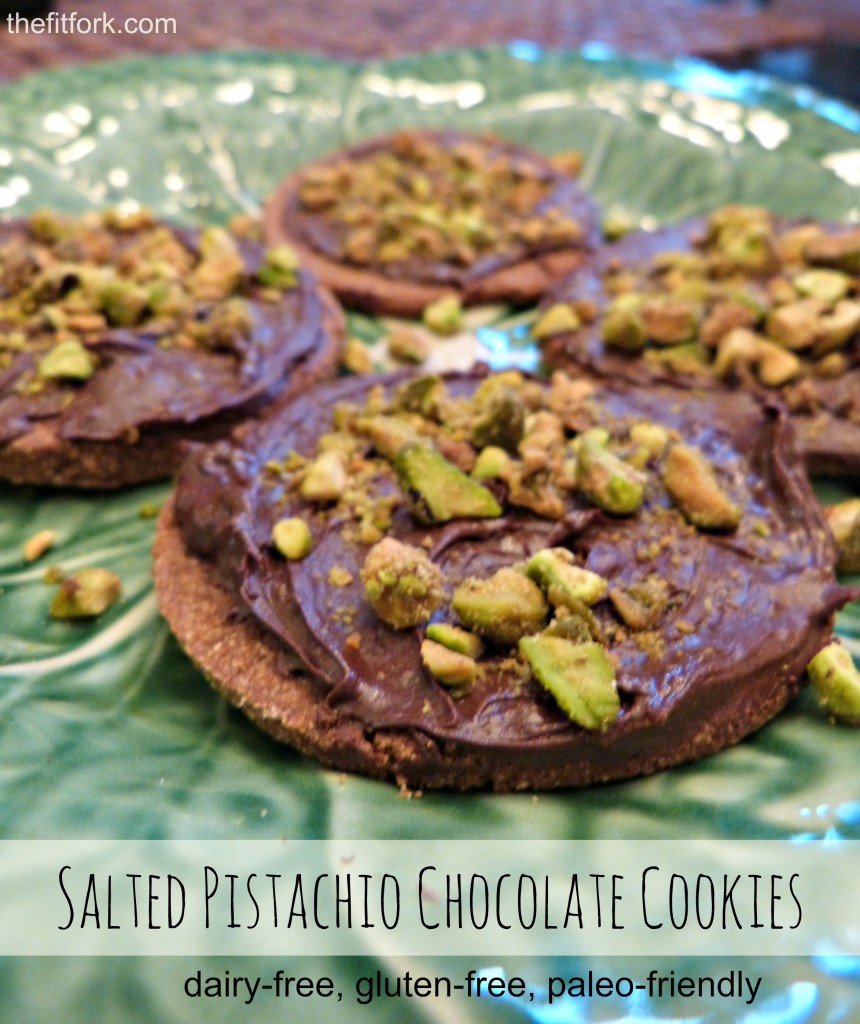
jennifer fisher - thefitfork.com - salted pistachio chocolate cookies

Okay, back to the cookies. While I love the Doughboy and am an eater of all things, these Salted Pistachio Chocolate Cookies are whipped up especially for my Paleo diet-following friends with more caveman and cavewoman-inspired eating habits.  The cookies are dairy-free, gluten-free with a sweet-salty surprise! If these cookies look familiar, that’s because they are the base cookie recipe from my White Chocolate Protein Ice Cream Sandwich recipe. That’s right people, double the recipe and keep the extras in the freezer for sustained snacking options –today it’s a simple but oh-so-good topping of chocolate and salty nuts and next week maybe the frozen protein filling! Oh, and the Paleo cookies are good plain too!

Salted Pistachio Chocolate Cookie Recipe

  • ¾ cup coconut flour
  • 2 tablespoons cocoa powder
  • ¼ cup coconut sugar
  • 1/3 teaspoon salt
  • ¼ teaspoon baking powder
  • ¼  cup coconut oil, melted
  • 1 large egg
  • 3 tablespoons almond milk
  • ½ cup dairy-free, organic chocolate chips
  • ¼ cup salted, roasted pistachios, coarsely ground

In a medium bowl, add coconut flour, cocoa powder, coconut sugar, salt and baking powder. Mix thoroughly.

In a separate bowl whisk together the melted coconut oil, eggs, and milk. Gradually add the wet ingredients to the dry and stir until thick dough is formed. Dough will be fairly crumbly at the beginning; use your hands to form it into one big ball.

On a clean work surface, roll out the dough to approximate ¼” thickness. Using a round 2 ½” diameter cookie cutter, cut out circles. Reroll dough scraps as necessary and continue cutting circles until all dough used. Dough should create enough for 16 cookies. Bake cookies on a lined baking tray at 350 for 10 minutes. Remove to wire rack to let cool completely.

With sharp knife or food processor, coarsely grind pistachios. Place in shallow bowl, set aside.

Place chocolate chips in microwave-safe bowl. Microwave 30 seconds at a time, stirring in between, until smooth, melted consistency achieved.

Spoon chocolate over top of a cookie and spread around with back of tablespoon. Immediately sprinkle with pistachios. Repeat for remaining cookies.

Makes 16 cookies.