Exercise is a smart choice for maintaining physical health and it also plays a role in promoting overall happiness and well-being. But, can exercise make a person more intelligent? Probably so say sports scientists from Finland who recently published some surprising findings on how the type and intensity of exercise may have a bearing on brain power?

The study compared pitted moderate-paced running, high-intensity interval training (HIIT) and weight lifting against each other to observe how these various forms physical exercise can increase hippocampal neurogenesis (e.g. the creation of new brain cells) in an already mature brain. The test subjects – rats! The running rodents were left to run on their cage wheels (a moderate jog, some up to several miles a day) with free will while the HIIT group was given a daily 15 minute regimen of repeated strenuous effort sprinting with jog recovery. And, the weight-lifting rodents climbed walls with little weights attached to their tails as a sedentary control group lounged around and watched. I laugh just thinking about this! 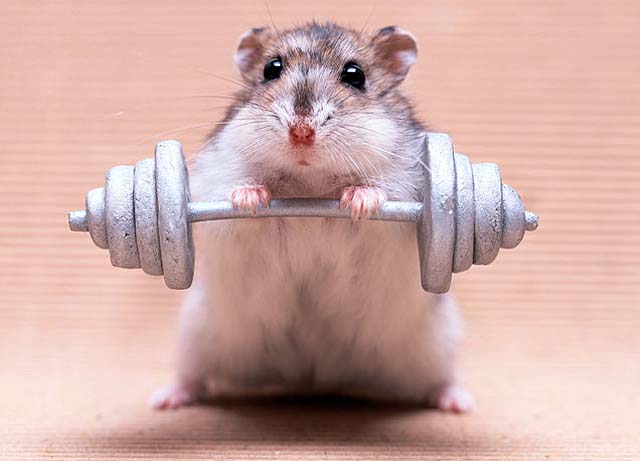
Whether mouse or man, it appears that the winning exercise for long-term brain health may simply be moderate running or “jogging” and, by my semi-educated extrapolation, other similar “aerobic and sustained” activities like biking, swimming and brisk walking. It seems wheel-jogging rodents had the most vigorous rates of new brain cell growth, significantly higher than the sedentary, lay-around rats. The hightailing HIIT group had some brain cell growth, but not as much as the aerobic joggers, with researchers hypothesizing that physical stress impedes neurogenesis. Interestingly, the resistance-trained rats were no different brain-wise at the end of the study – which keeps the status-quo on “muscle head” jokes!

Seriously though, all forms of exercise are beneficial for the body. Just like variety in diet is important for optimal health, so is mixing up the way you move. While jogging or easy running may boost brain cells, lifting weights strengthens muscles, bones and tendons, helping to improve every day work capacity. And, both resistance training and HIIT up the body’s metabolism, one of the keys to keeping a lean silhouette.
I think trail running and obstacle course races like Spartan are a great way to add “extra” to simply running – a well-rounded athlete is a smart athlete, too!
Below are some of my favorite running, HIIT and other workouts — pick your favorites and get strong, get smart!
Here are a week of workouts to get stronger and smarter:
- 20 Minute Kickboxing Workout to Kick Monday in the Face
- You Got Mad “Ups” Body Weight Workout
- Boom! Med Ball Workout
- Trail Run Tabata
- Fun Faster 800m-Lover Workout
- Sayonara Sprint Partner Run Workout
- Soccer Strong Workout – – also great for OCR Training
What is your favorite “type” of exercise to do? Do you mix it up, or single sport? Ever feel smarter after jogging (haha)? Please share in the comments — XOXO, Jennifer


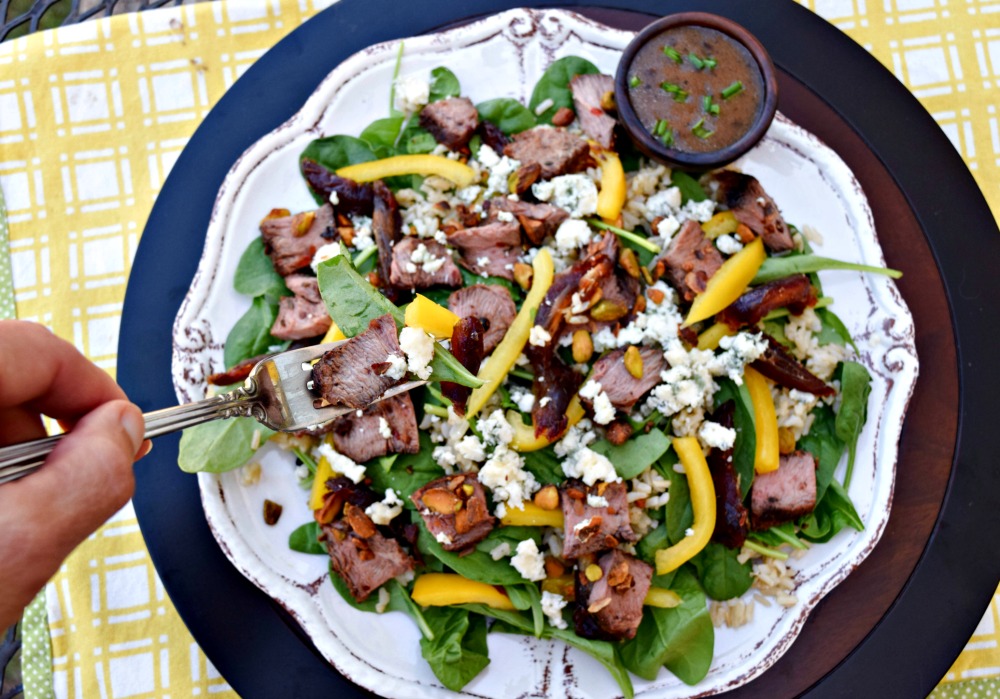
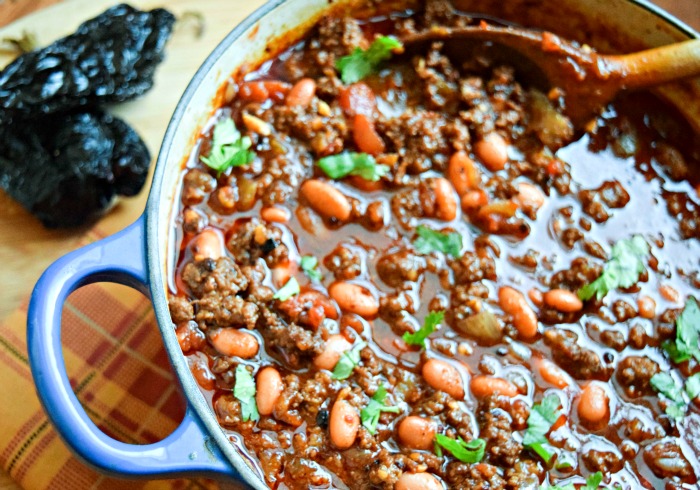
 Hopefully in your house, the crowd gathering for these (Slow Cooker) Beef Meatballs with Sriracha Lime Sauce will not be smaller than at the packed expo. Although, there WILL be a crowd (just sayin’) becase this super simple, slow cooker recipe is a real weekend AND weeknight winner. Just toss in a short list of ingredients into a Crock Pot, pour over a bottle of their new