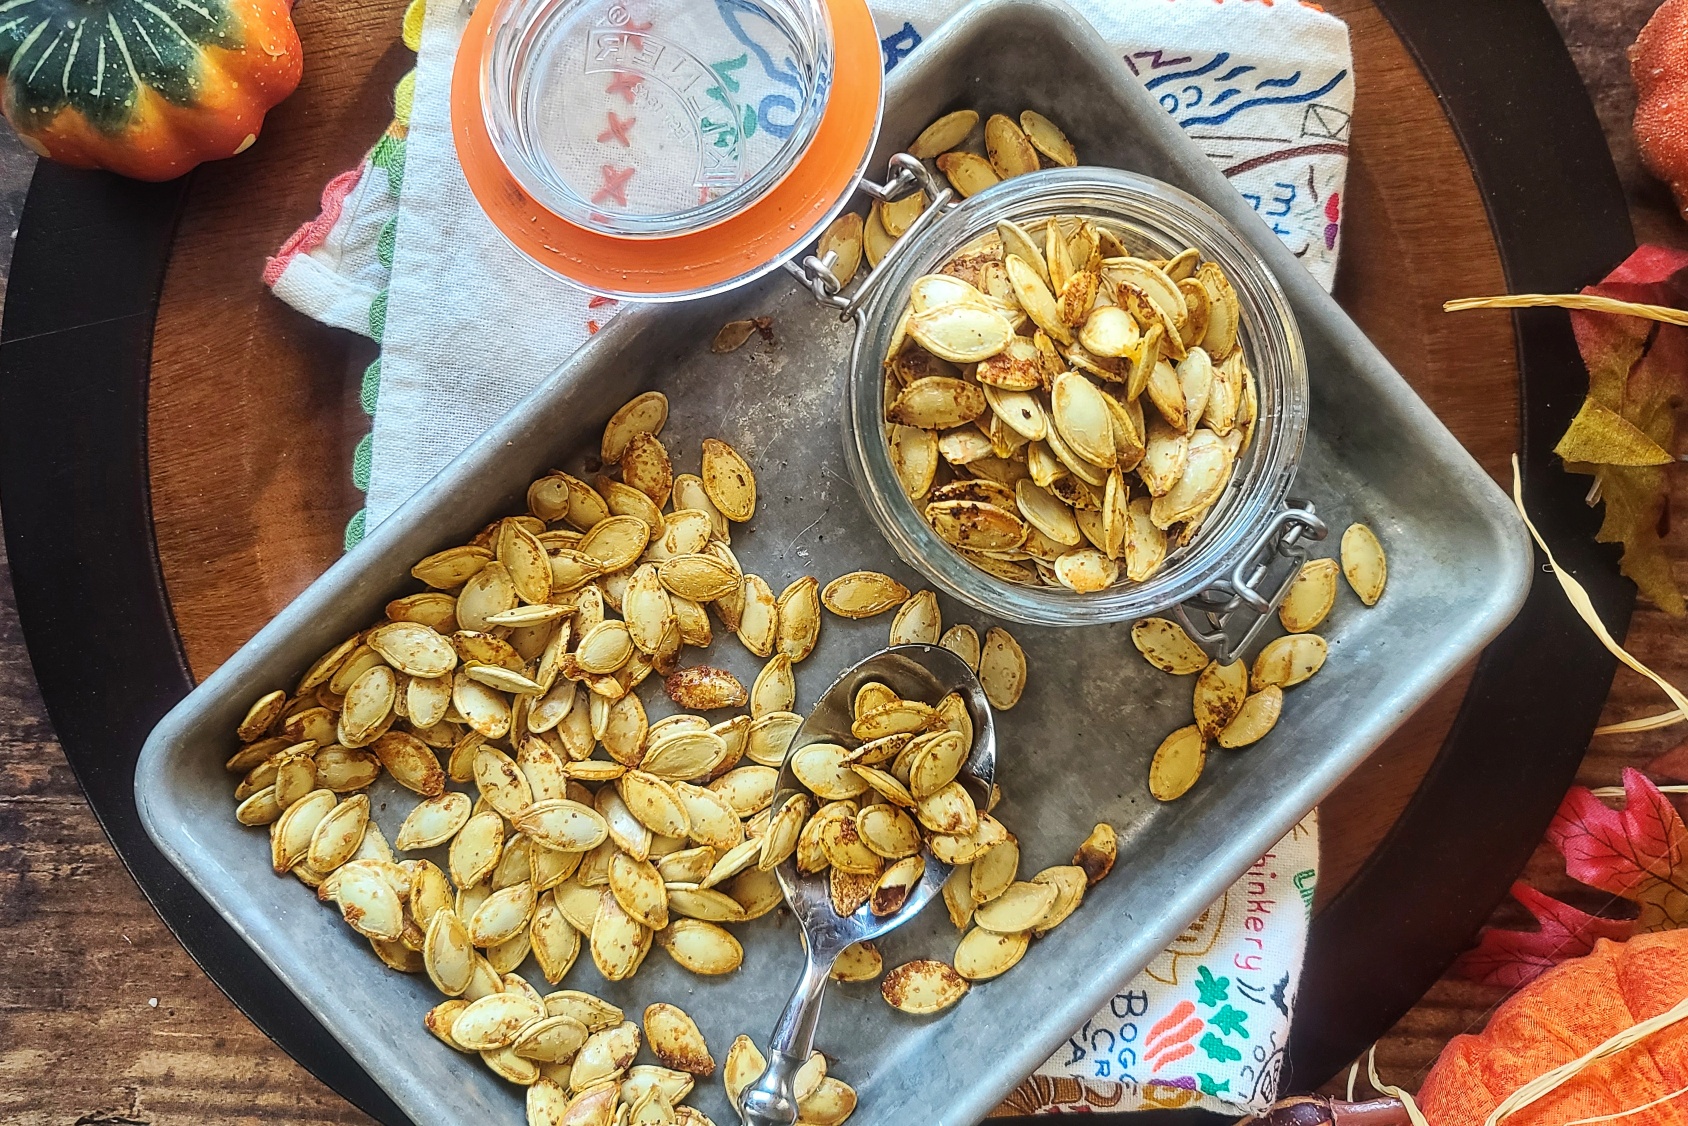
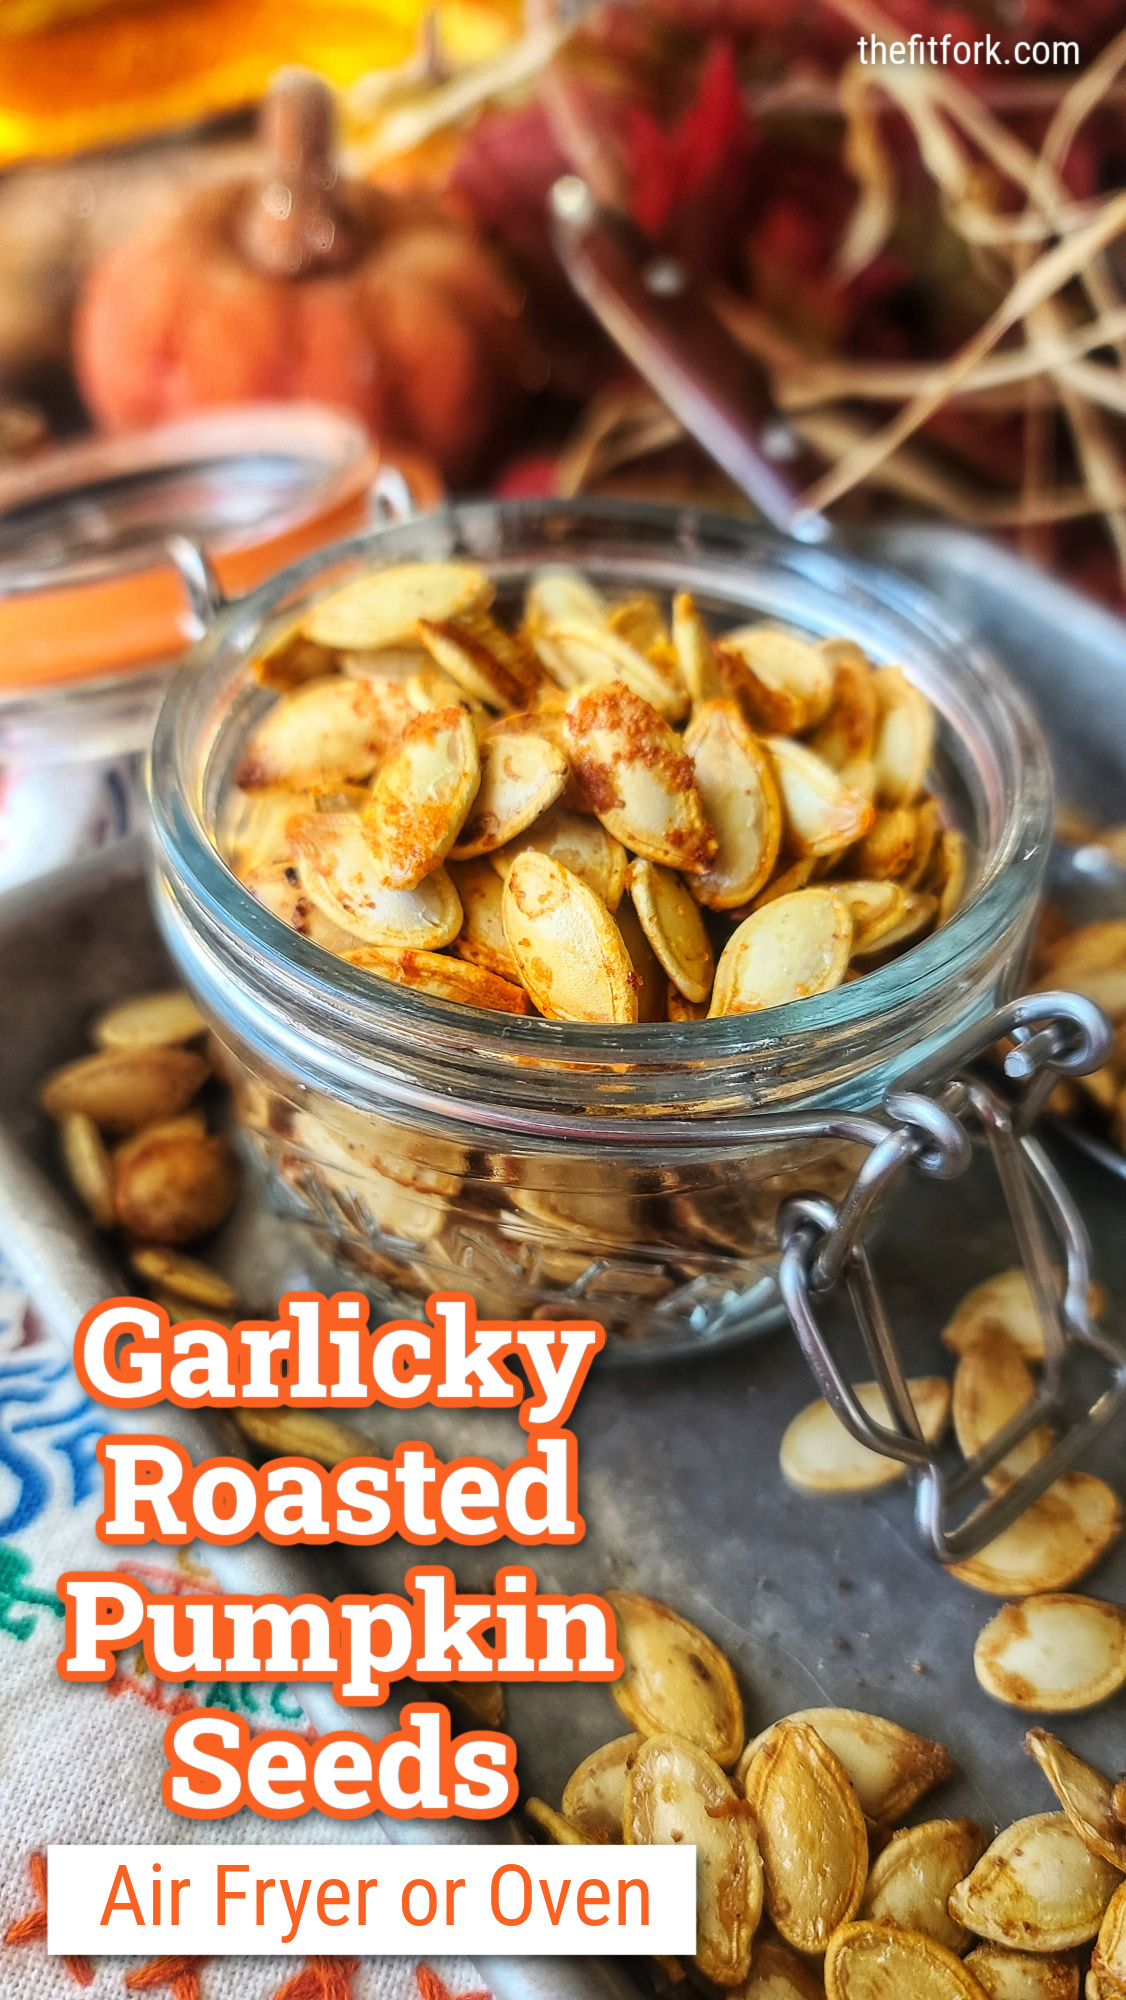
Life has been busy, and I’m a little late on sharing my recipe for Garlic Pumpkin Seeds in Air Fryer (or Oven). Halloween has come and gone, and you’ve probably already carved a pumpkin which is the perfect time to roast pumpkin seeds)!
BUT, if you still have a whole pumpkin sitting around or are getting one to process the flesh for Thanksgiving recipes, remember to SAVE THE SEEDS! You can keep the white pumpkin seeds raw in the fridge (in an air tight container) for a few days, if you don’t have a few minutes to spare to roast up in the air-fryer.
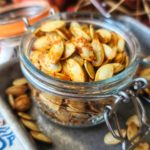
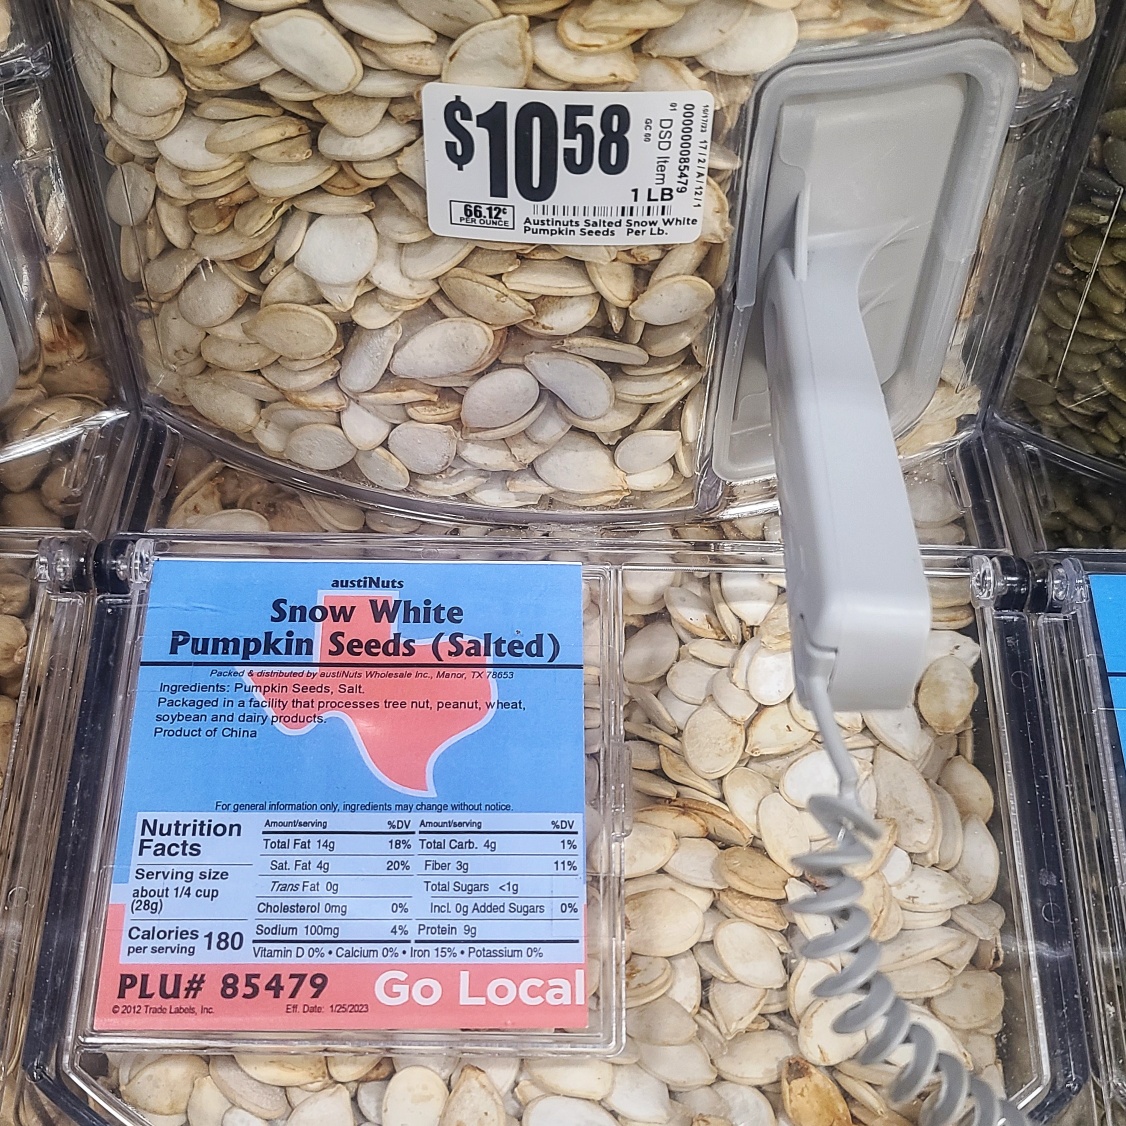
Roasted garlicky pumpkin seeds are a smart and healthy snack . .. and economical too if you already have the pumpkin on hand! You can basically make roasted pumpkin seeds for “free” . . . while they are big bucks in the bulk bin at the grocery store ($10.48/lb at my market).
A question I hear frequently – CAN I EAT THE WHITE OUTER SHELL? Yes, yes you can -it’s loaded with fiber and satisfyingly crunch after roasting. The shell and kernel are also a good source of minerals like iron and magnesium. The actual seed kernel is inside the white outer shell, you may recognize them as the little green pepitas that are so popular right now.
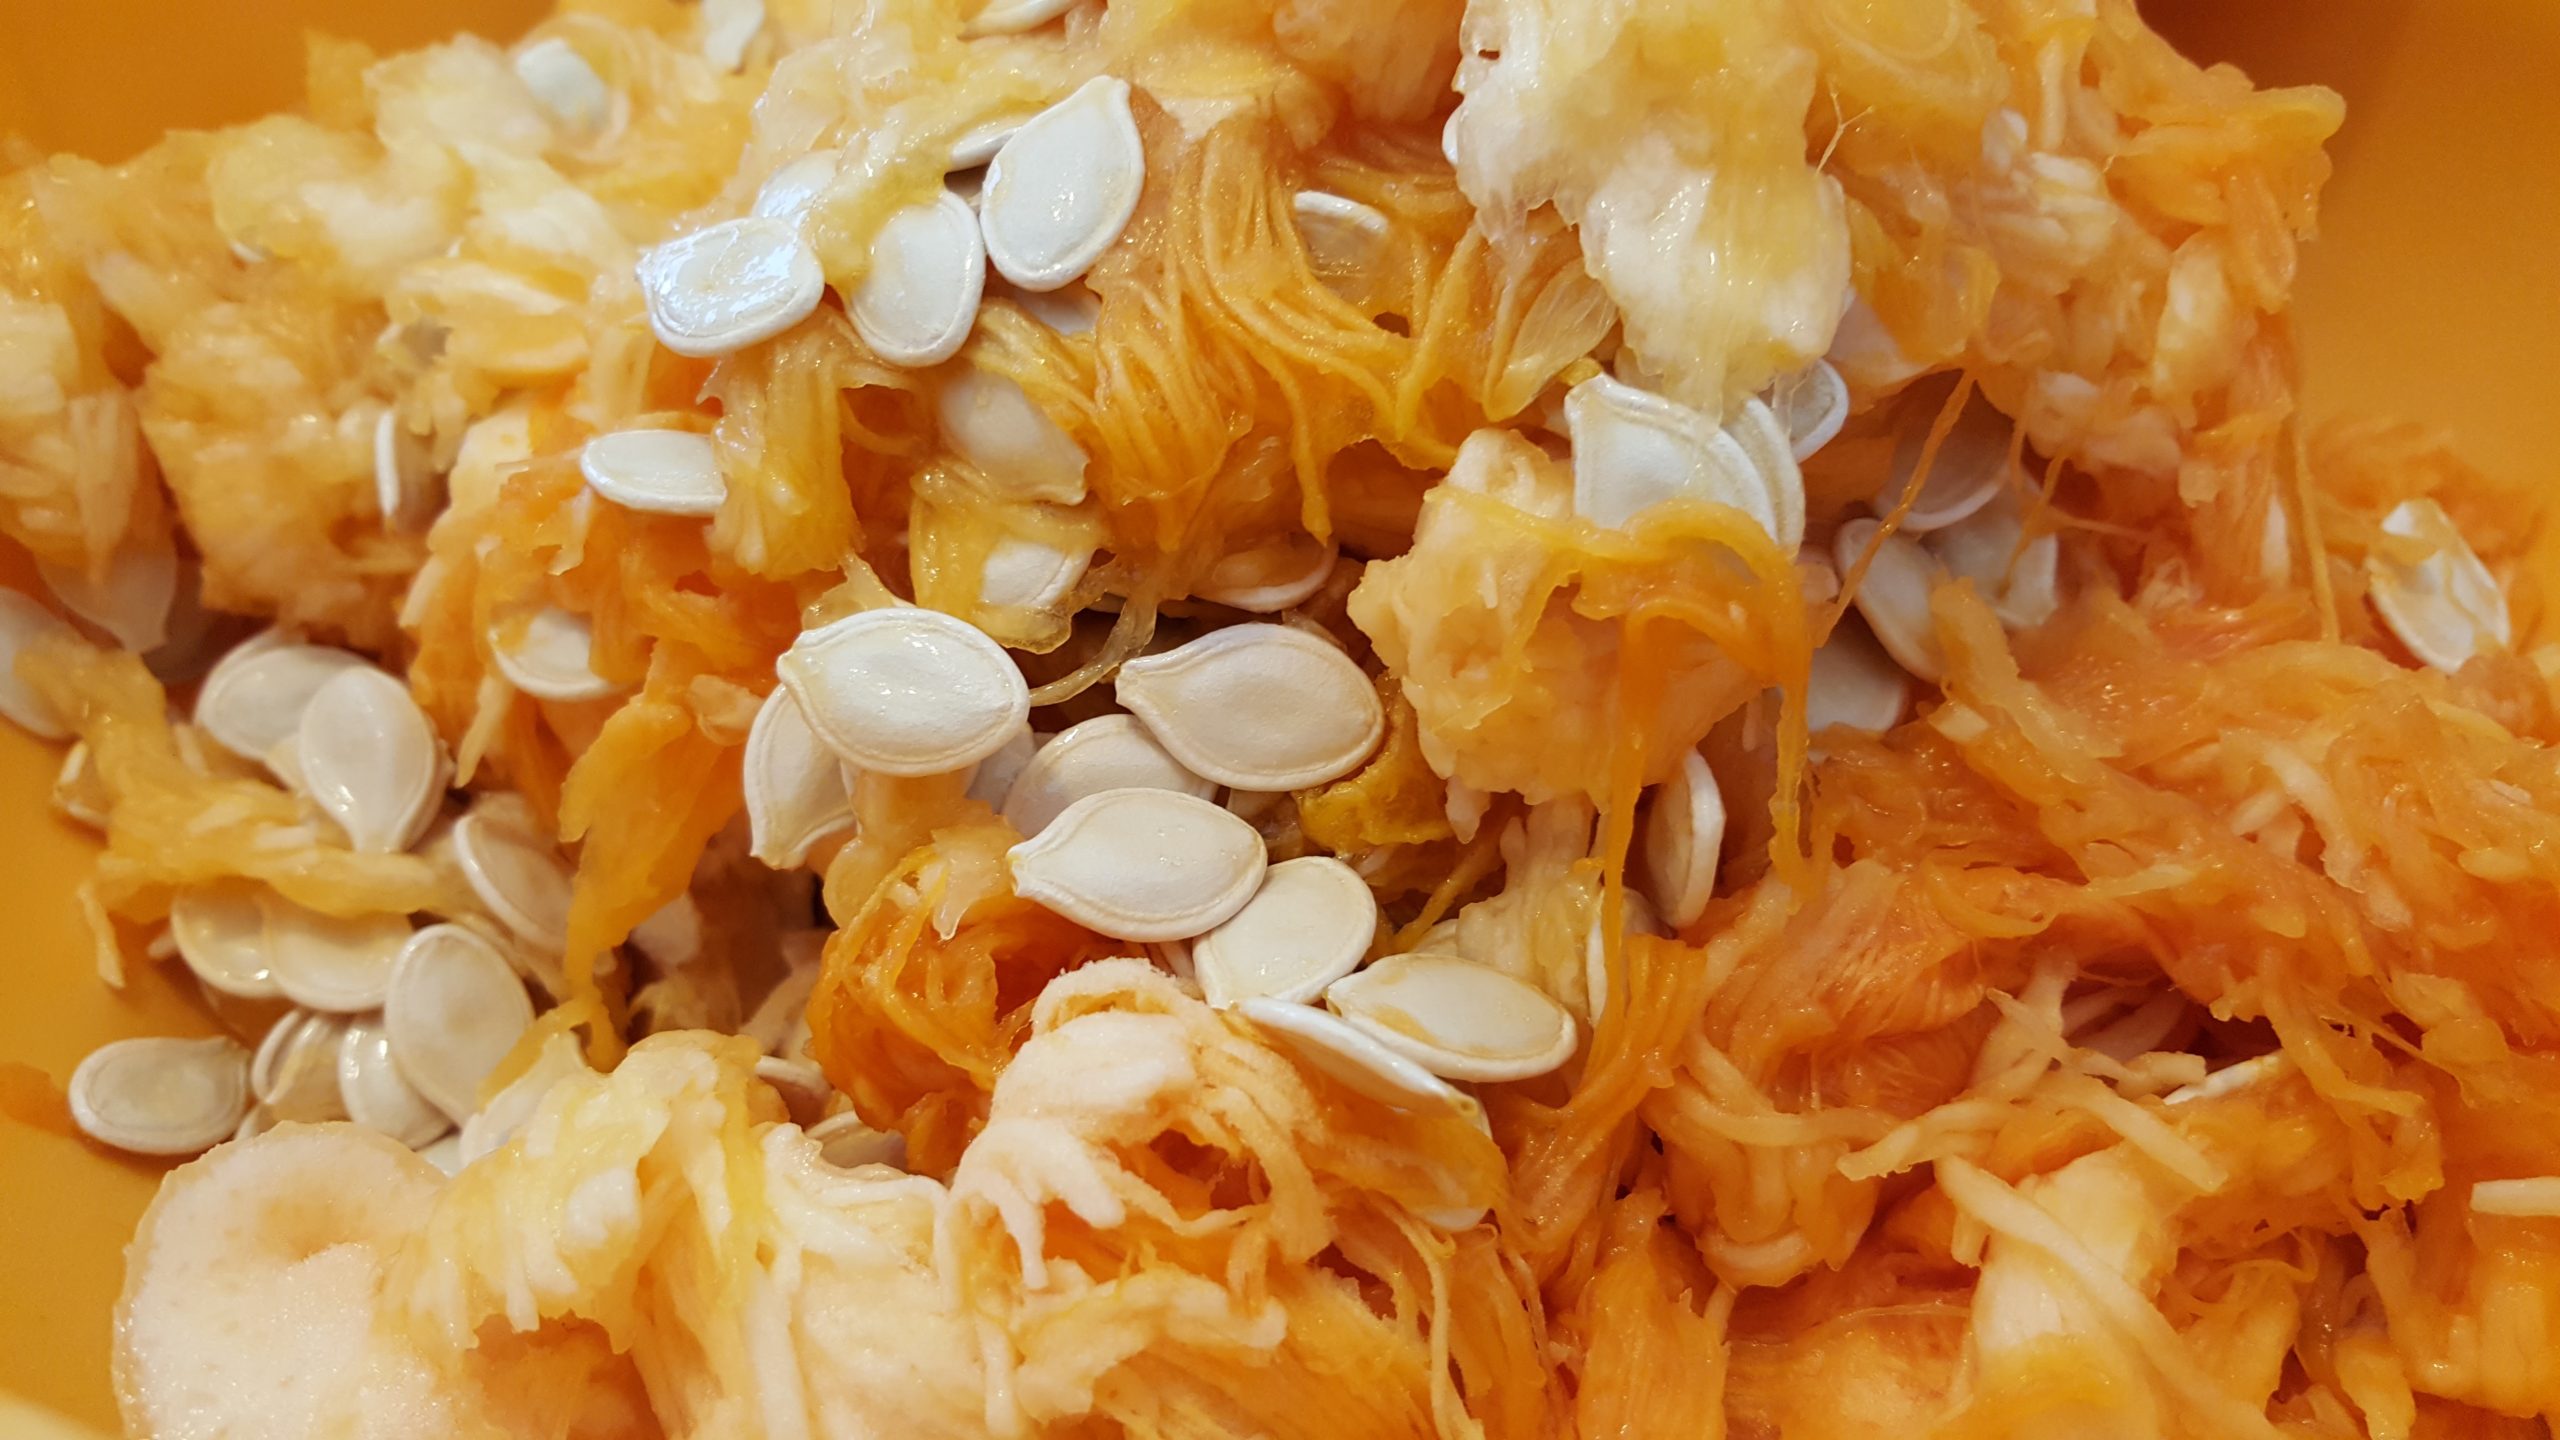
Making DIY roasted pumpkin seeds in the air fryer is so simple the kids can do it. Just pull out the seeds from the center of the pumpkin and as best you can, extract from the pulpy strands attached. Throw the seeds in a bowl to wash off the remainder of pumpkin pulp and then spread out on a paper towel to dry for 30 minutes or so. Then, for every on cup of pumpkin seeds in their shells, it’s just a matter mixing them up with 2 tsp olive oil and ½ tsp garlic salt (plus a pinch of chili pepper if you’d like), before spreading in a thin layer and air frying (in UNpreheated air fryer) at 360F for 12 minutes, shaking pan halfway through. You can roast in the traditional oven PREheated to 360, for about 12 – 14 total minutes.
This is not a sponsored post, but I feel compelled to tell you about the very best air fryer I’ve used. It’s the Omni Plus 19L/18Q Multi-Function Air-Fryer and honestly love it more than any appliance in my kitchen – we use this mini oven style air fryer numerous times a day. I can’t imagine life without it, lol.
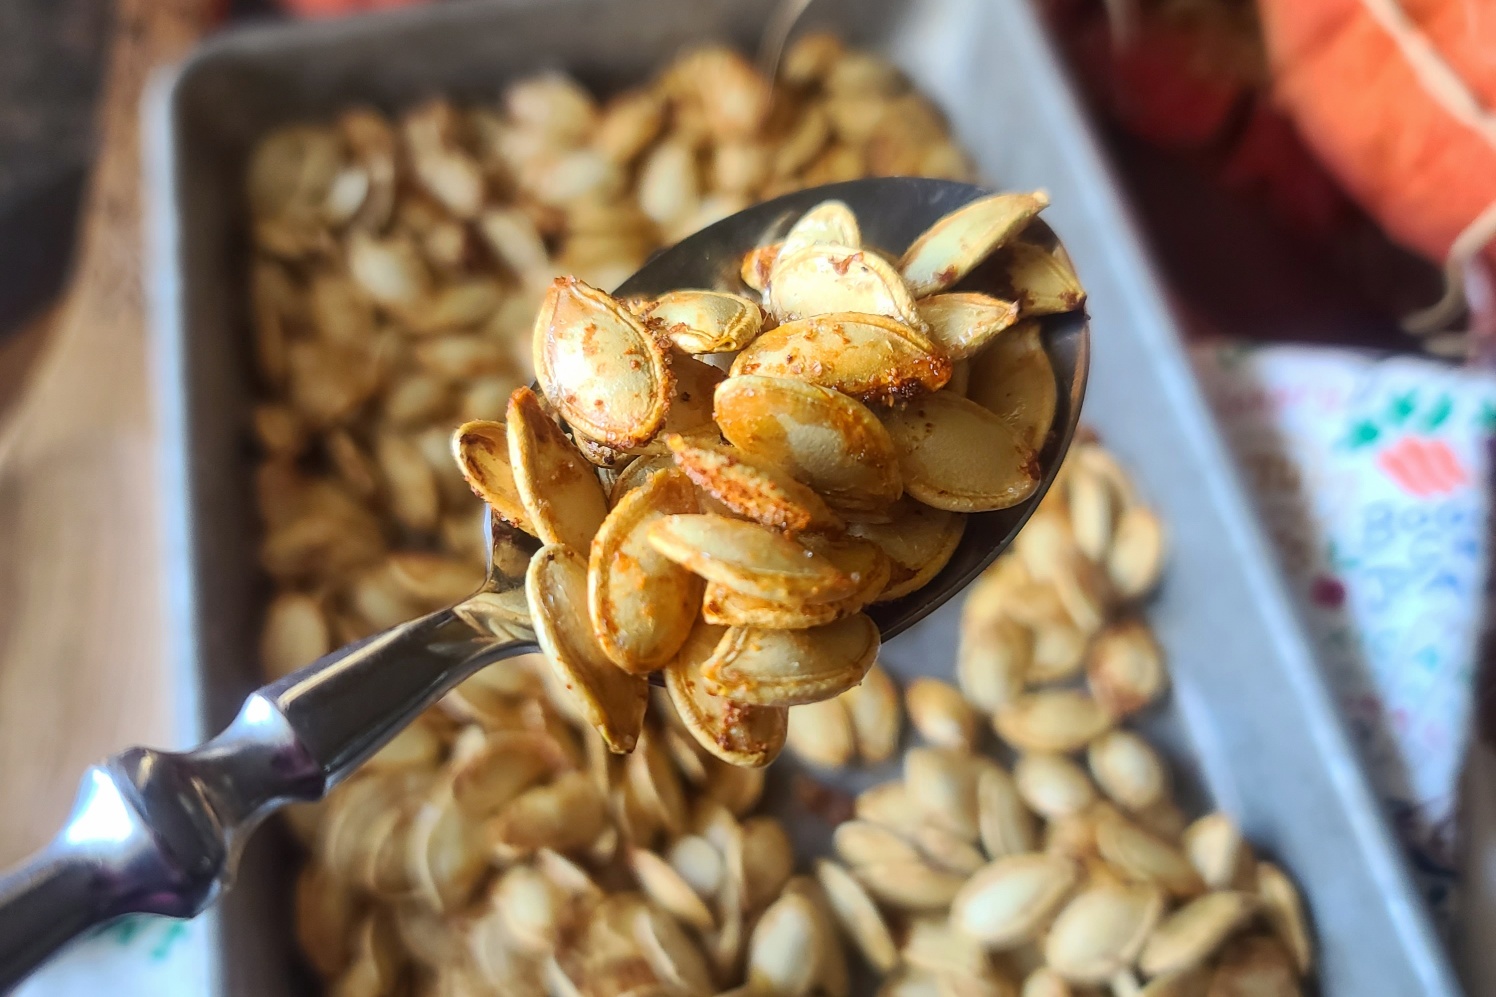
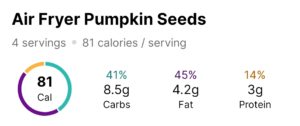
I like to eat roasted pumpkin seeds them as-is, or toss in a trail mix or on my salad. If you don’t care for garlic roasted pumpkin seeds, just use regular salt. A ¼ cup serving has 81 calories, 8.5g carb, 4.2g fat and 3g protein.
As an Amazon Influencer, I earn from qualifying purchases.