Watermelon Cutting Made Quick & Easy for the Win in Any Season

This post is sponsored by Watermelon.org.

We are well into the busy fall season and I just scored a big seedless watermelon at my local market, they were parked right next to the pumpkins outside and more inside! My day was MADE bringing this watermelon home – the sun was shining on me, literally and figuratively.
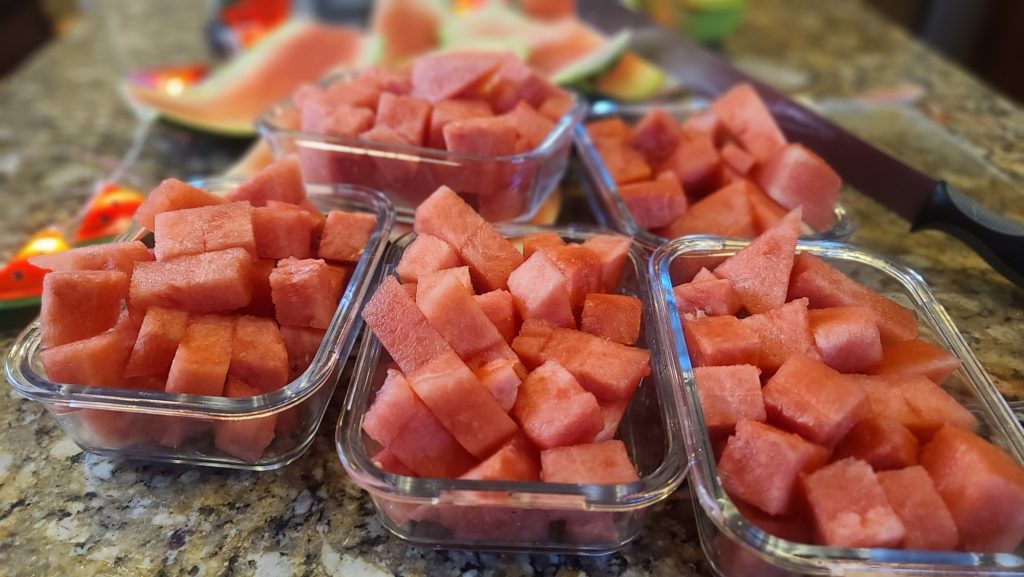
It felt like I was squeezing out extra summer from the year with my produce department find but actually watermelon is becoming more and more prevalent in grocery stores well outside warm-weather months.  In hindsight, I can’t believe I almost didn’t buy the watermelon – thinking I didn’t have the TIME to cut it up and store it away during the weekend’s whirlwind of activities.

But after I checked out the fresh cut watermelon in the produce department (the slices on Styrofoam trays and chunks in plastic tubs), I decided that my budget this month was more “cut it yourself” than “sheer convenience.” So, made a beeline back to the whole watermelon bins and picked out a beautiful looking 16-pound watermelon that felt nice and heavy and had that ripeness-telling creamy yellow spot on the bottom.

Check out how quick and easy it is to cut watermelon!

When my hubby saw me hauling the watermelon into the house (a great workout by the way), he was super excited that we’d be taking it along as great pre- and post-race snack for our obstacle course race this weekend.  He knows, from my years of gushing over watermelon and its frequent appearance on our family menu, that watermelon is fabulous for athletes – hydrating, has good carbs to provide energy, and a source of many important vitamins and minerals that we need.
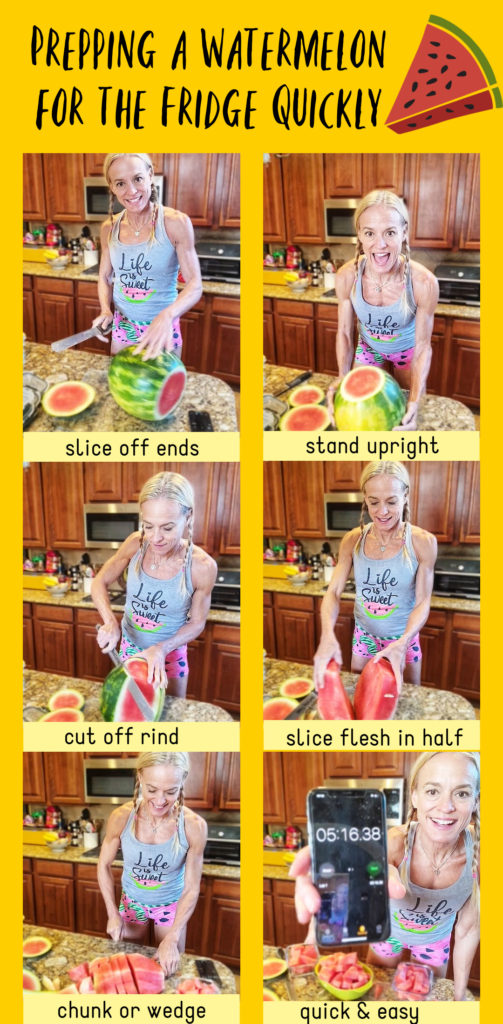
Pin this for later!

Didn’t have lot of time to spare before we headed out on our weekend excursion. I was wondering how long does it take to cut watermelon, exactly. I’ve done it countless times, but never really paid any attention – I do know my feeling is that “it’s easier than people think.” so, I decided to give this watermelon cutting session a timer – not to rush through, but to legitimately see how long it took using one of my favorite watermelon cutting methods.
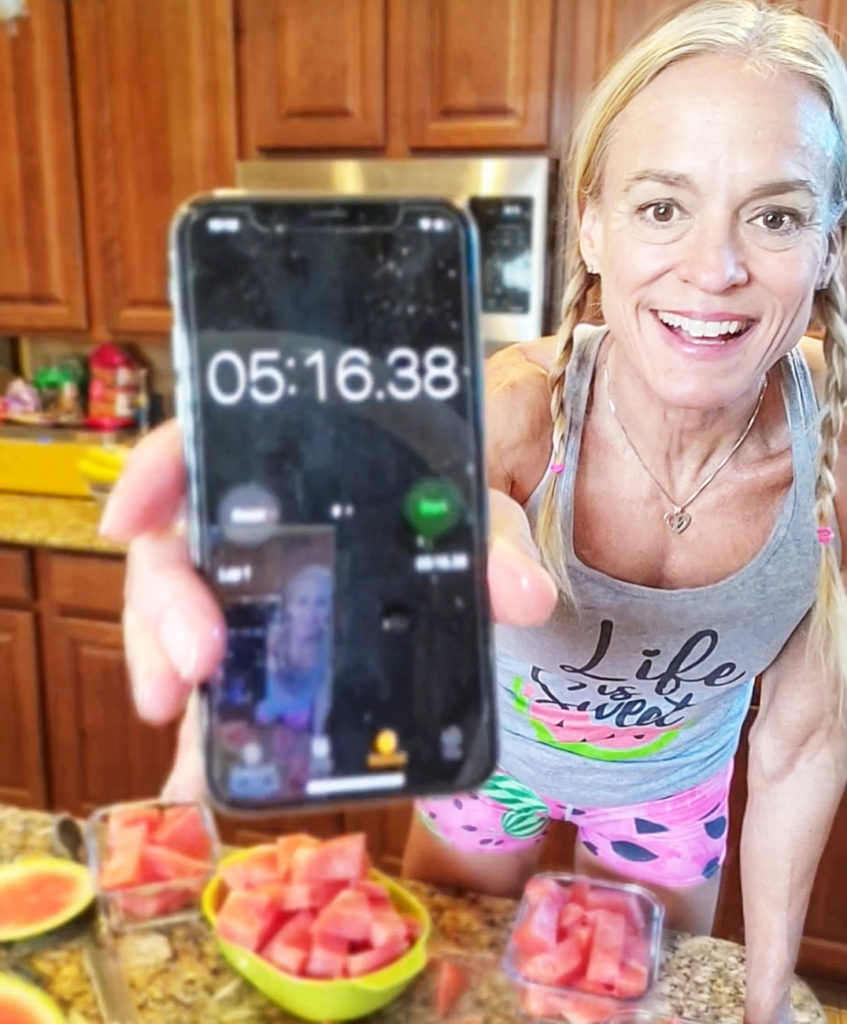
Just a little over 5 minutes to cut up my watermelon!

The result: My 16-pound watermelon* took 5 minutes and 16 seconds to cut and toss into storage containers. I wasn’t racing, but I wasn’t lollygagging or taking a ton of my usual watermelon snacking breaks – I was pretty focused on the task.  so, boom — 5 minutes — I have just overcome the time objection that I hear from some of you about getting the “big” watermelon. as, for storing a watermelon, which can sometimes be unwieldy to fit in a fridge whole, chunking it up and sealing in stackable storage containers can help you optimize valuable fridge real estate.

*The average seedless watermelon is 8- to 12-pounds. My cutting demo watermelon was 16-pounds and in Texas I’ve purchased seedless watermelon much, much larger (30+ pounds).

MY GO-TO QUICK & EASY WAY TO CUT WATEMELON

  1. Wash exterior of rind to prevent contaminants from dragging into flesh with each knife slice. I do this as soon as I bring home from store, so it’s not reflected in my 5-minute cutting time.
  2. Lay watermelon on side and slice off just enough of each end, sparing as much watermelon flesh as possible, so that it will stand stable when rotating upright.
  3. Stand watermelon upright and take large knife (I prefer a really large serrated knife), and make vertical cuts down the melon in one long motion, top to bottom, curving gently with the shape of watermelon. This is about 8 total cuts, more or less, depending on watermelon size
  4. While it’s still “standing up,” slice de-rinded watermelon lengthwise through the center, top to bottom, and lay one half down on the cutting board with the curved side up.
  5. If you desire “chunks”, make about 2 to 3 horizontal slices through the center of the half, depending on the largeness of your watermelon.  then slice top to bottom in in approximate 1” rows going each direction. if you want “sticks,” just skip the first horizontal cut mentioned in this step.
  6. Package up in air-tight containers and store in the fridge for 3 to 5 days.
  7. Compost the watermelon rinds, or use in a recipe – check out my Churro Watermelon Rind Fries in the Air Fryer.

Watermelon.org shows a very similar cutting method on their website.

Procrastinator’s Guide to OCR & Spartan Training

Save 20% on spartan race code: UBST24-TK88D27

Soooo, you signed up for a Spartan race — or other obstacle event like Warrior Dash or Tough Mudder — and now race day is looming near. Your date with destiny is coming up as quick as those breakfast tacos scarfed down before running to the gym in a last-minute panic.  Whether you’ve put off training as a passive-aggressive act, life just got in the way, or you’re a newbie who’s now just been “filled in” by so-called friends, the down and dirty news about your procrastination isn’t so discouraging. While you might not win the race, there is still time to lock in some mental and physical training that will get you to the finish strong and having fun! The Procrastinator's Guide to Spartan Training

Check out The Procrastinator’s Guide to OCR & Spartan Training, for all my 11th hour advice and also use my Spartan coupon code FFRAN to save 10% on any race.

Continue reading

How To Grill Avocados (That Don’t Turn Brown for Meal Prepping)!

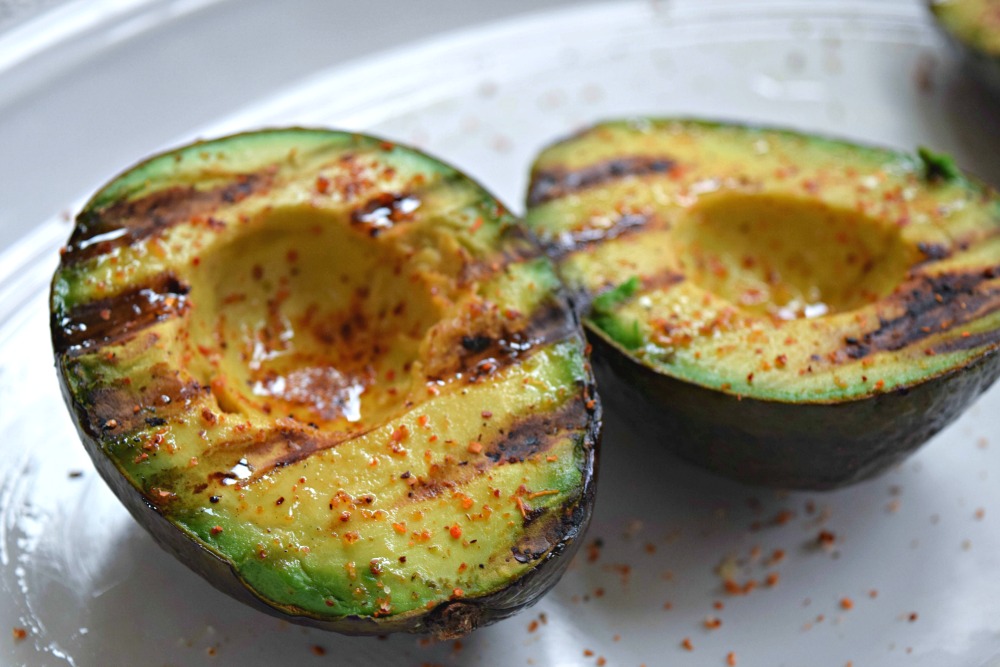
I have a “how to” today that might make even the most super freak avocado aficionado faint – GRILLED AVOCADOS! Grilled Avocado

AvocadOoooohemmmmgeee, you heard me right! It’s amazing simple and insanely appetizing to throw avocados on the grates of a backyard grill, range top grill, or even portable grill. Grilling this creamy, savory fruit gives it delicious bits of flame-kissed char and smoky swag that you just won’t find eating it in the typical fashion. Read on to get all the directions to this game-changing  avocado hack and find out why they take days (instead of minutes) to turn brown using this method.  Continue reading

How to Treat Sports Turf Burns + #YourSecretWeapon for Prevention

Giveaway at Bottom of Post!

I have three teenage boys . . . and they have all played soccer. I have seen a LOT of soccer and treated plenty of turf burns. Actually, I hate to say this, but I’m the most turf-burn prone and actually I have had some really bad ones just running at high speed. I’ve learned how to suck up the pain and treat them quickly – if kept clean and moist with an antibiotic cream and sterile bandage (changed frequently), the turf burns actually clear up amazingly fast!

One thing I have learned over the years (after going in for a kid’s health checkup with horrific road burn on my shoulder, arm and side) is that it’s NOT good to use hydrogen peroxide. Hydrogen peroxide can actually damage the tissue further and prevent healing – plus, it hurts like hell to pour it on there, am I right?!

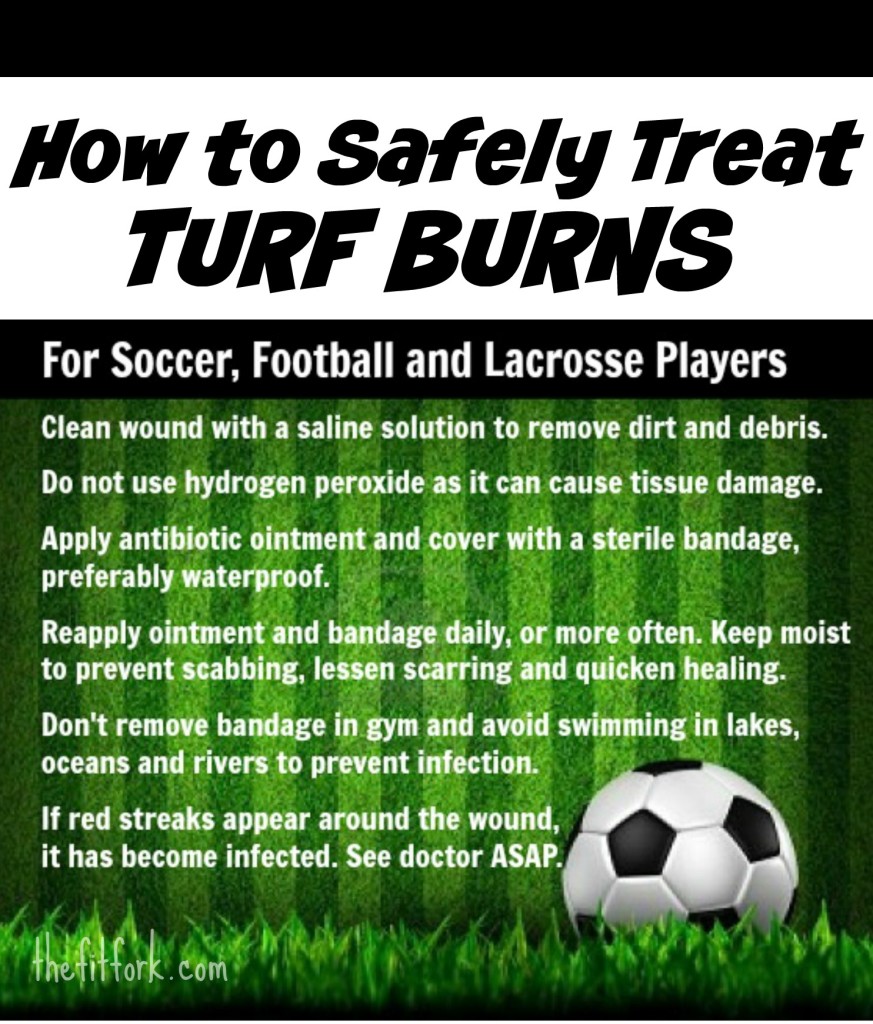
How to Safely Treat Turf Burn on Soccer, Football and Lacrosse Players.

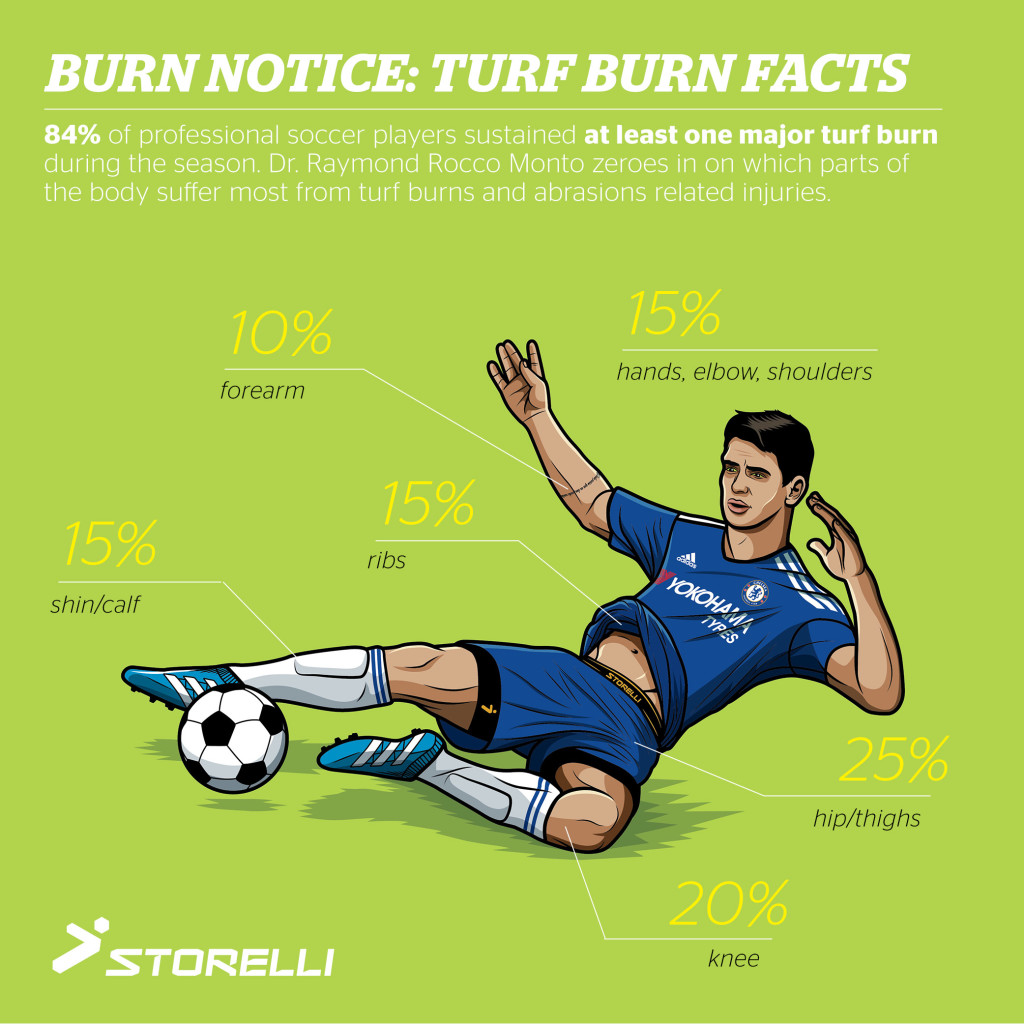
Check out my handy, printable reference on treating turf burn if you or your child to happen to get the big red raspberry of pain. Also, check out his Storelli blog post on Turf Burn Facts and Prevention

One way to prevent turf burn is to not get it at all. That sounds like a no-brainer, but when you’ve got the killer instinct and are completely focused on blocking a shot, kicking a goal or hauling down field to keep position, how rough and abrasive the turf can be isn’t really on the radar. Most players would easily take some nasty burn for the team . . or personal glory!

I’ve discovered BodyShield from Storelli. This Brooklyn, NY based company is one of the soccer industry’s most cutting-edge and exciting new brands. They use proprietary technologies (inspired by extreme sports gear) to create low-profile, high-performance protective gear that helps absorb impact, minimize and prevent abrasions, cuts and nasty bruises. When you have less fear of the game, you can be fearless! If found this to be especially true of one of my kids who isn’t as must as a risk-taker as the rest of the family.

Storelli Next Generation Soccer Injury Prevention GearMy 14 year old has been wearing BodyShield from Storelli for the last two seasons – he can be really fussy about what he wears and how it feels. He’s worn the protective undershirt and head wrap and filed sliders or on the way!

The report back from my sporty mini-me is that it’s easy to gear up in BodyShield, there’s no “weird rubbing” or “too tight” feeling, and  it doesn’t reduce mobility at all – in fact, he says that he usually forgets he’s even wearing the protective gear. And (so important to a middle schooler) it looks cool!

Where Turf Burns Happen Most on Body

The Field Player Sliders use 3mm thick foam technology to protect during tackles and slides without impeding movement. No more fear of abrasions or sudden impacts and no more turf burns on the side and hips (the most common place)!

Oscar Chelsea Soccer Player

Check out professional soccer player Oscar Chelsea sporting the BodyShield Sliders and Sleeveless Undershirt. Stare if you must.

TheFitFork.com SoccerStorelli can be #YourSecretWeapon against turf burns, too! Heck, I’m even thinking about suiting up head to toe for my next Spartan Race.

That’s why I ordered a pair of Women’s BodyShield Sliders designed specifically for female needs) and they finally arrived (see below0 If you use promo code, you can receive 15% off any of everything at Storelli.com – you’re going to want it all!


storelli shorts jennifer

Please check out Storelli’s BodyShield protective soccer gear and check out the informative articles on their blog – must-reads if you or a family member is an avid soccer player.50 visa gift card giveaway

Also, don’t forget to enter my giveaway for a $50 Visa Gift Card that you can use for your own Storelli gear, other soccer equipment or whatever you like – just hopefully not on bandages to treat turf burn!

a Rafflecopter giveaway

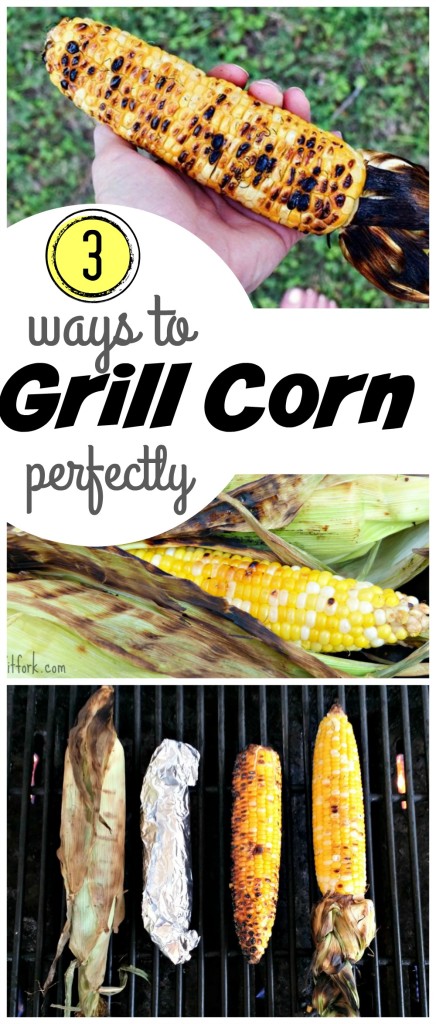
3 Ways to Grill Corn Perfectly this Summer

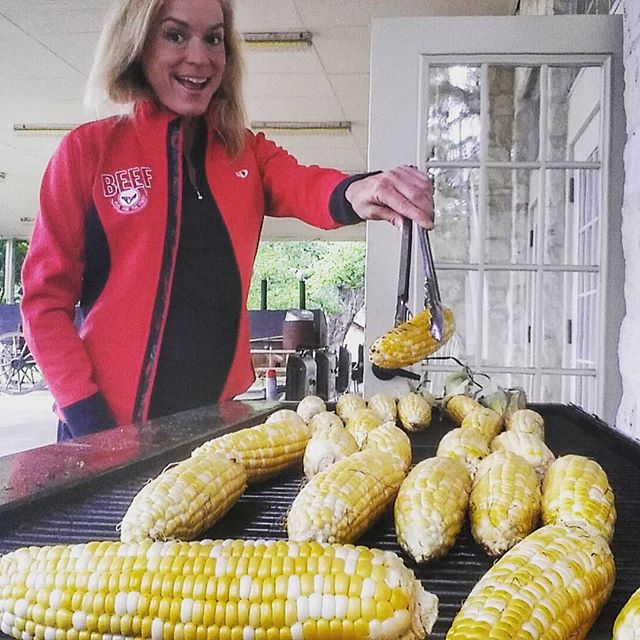
Raise your hand if you can’t resist corn on the cob !  Not only is this vegetable fun to eat, it’s usually super cheap in the summer season – I just bought a dozen plump, juicy organic ones at Whole Foods for $3 total! Making corn on the cob on the grill is super easy; it’s a must-have at our house for backyard barbecues and casual entertaining. You know it’s on my menu for all the big summer celebrations including Memorial Day, the Fourth of July and our big family reunion!    jennifer grilling cornThere are three main ways to cook a whole ear of corn on the grill, and I’m going to run you through them. But, first, you’ll want to find the freshest corn possible for the yummiest result. Corn sugars undergo enzymatic reactions after ears are picked, slowly converting into less tasty, mealy starches. So, the fresher the corn, the sweeter – all the more reason to make friends with your local farmers.

3 Ways to Grill Corn Perfectly -- the perfect side dish to any backyard BBQ or summer celebration!

Method 1 – Cook Corn in Husk

 Grilling an ear of corn in the husk is so simple and mess-free – the end part of the cob serves as a handle as your peel back the husk dig into the steamed kernels. Notice how I said “steamed” – that’s because this method actually uses water from all the parts of the corn to steam it into tenderness – the grill just serves as the heat source. If the corn is fresh, it won’t need a pre-soak in water. However, if the husk looks a bit dried out, soak the entire ear of corn in water for about 10 minutes before grilling.

How to: Simply place corn directly on the coals or grates of your grill or campfire (heated to about 400F degrees) and cook for approximately 10 to 15 minutes until tender (peel back husk if needed). The outside will be blackened, but inside it’s pure perfection. Peel back the husks; remove the silks and butter and season to your preferences. If you want to get fancy, you peel back husks without taking completely off, remove silks, butter and season and then pull back up the husks before grilling. But, I think this makes it too complicated (and the butter tends to drip out!)

Method 2 – Foil-wrapped

Grilling your corn wrapped in foil is a handy-dandy way to prepare it if you don’t want family and friends to be dealing with charred, messy husks. Again, you are actually steaming it with this method.  Plus, you can easily oil, butter or season your corn before cooking and the toppings won’t drip out . . . and you don’t have to deal with mess and logistics of setting out these perishable condiments if you have a large crowd.

How to: Shuck corn toss away silks and husk. Wrap the corn in heavy duty aluminum foil, with or without flavorings like butter, herbs, salt, pepper, grated cheeses, etc.  Grill right on top of hot coals, or on a grill grate set, turning a few times, about 10 – 15 minutes

Method – Naked

This is my favorite way to prepare corn on the grill because I like the nutty, smoked flavor that a bit of charring on the kernels brings. However, this method is not “steaming” like the other ways to grill corn, so the final result is not quite as juicy and, it can’t be cooked directly on coals. But, I feel like this is how we do it down here in Texas and it tastes so good — yeehaw!

How to: Pull back husks and remove completely or braid and tie off for a decorative effect. Pull away most of the silks – the remaining will burn away on the grill! Cook corn over a medium-hot grill (about 400F degrees) for about 10 to 15 minutes, rotating frequently to prevent burning and encourage all-over light charring. In the last few minutes you can brush with a flavored olive oil and sprinkle with herbs or do that while still warm before serving.

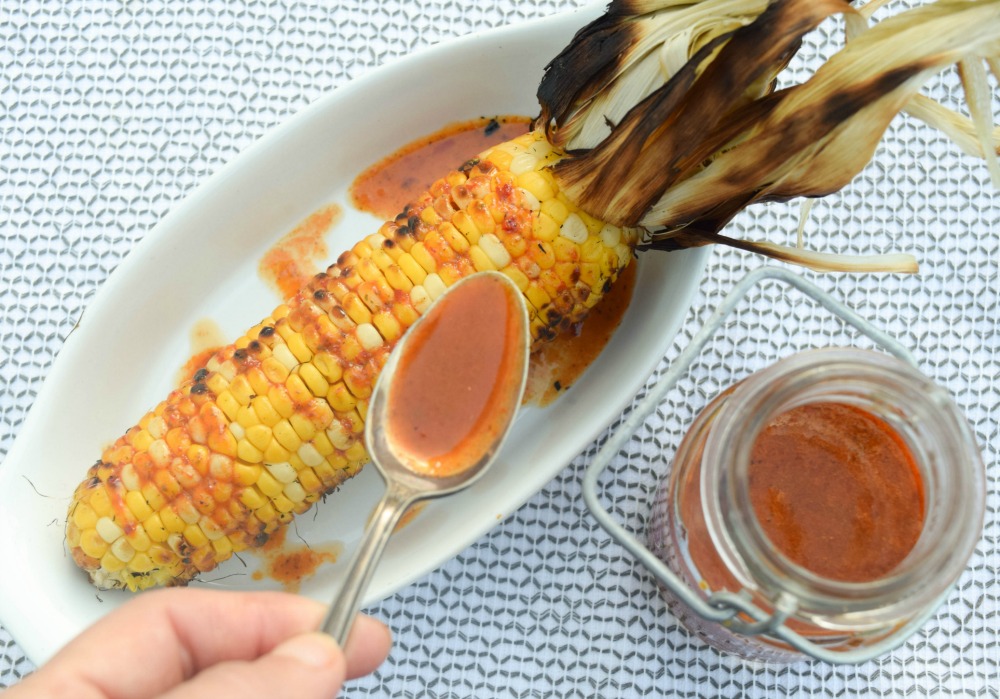
Grilled Corn with Ancho Vinaigrette is a southwestern inspired side dish for your next bbq or summer celebration.

I love serving my grilled corn with slightly spicy-sweet Ancho Vinaigrette – you can get my recipe here:

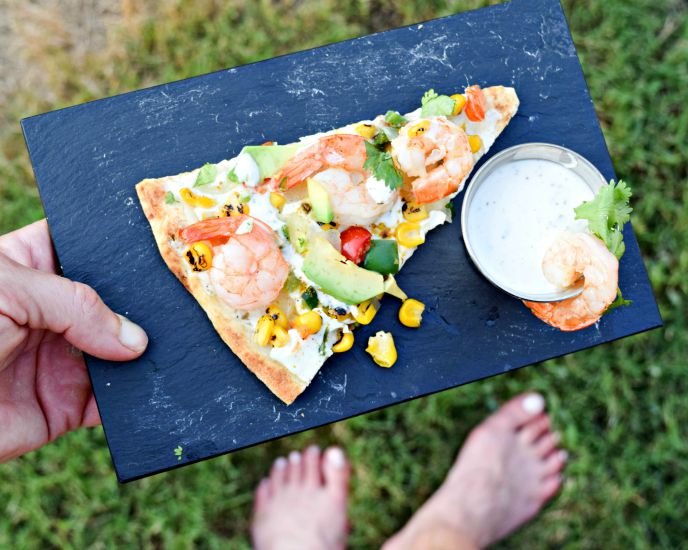
CalCornia Shrimp Pizza makes a speedy mead for busy weeknights - grill or make in the oven.

I’ve also been known to grill waaaaaaay to much corn and I’ll shear off the kernels and use in recipes like my Cali-Corn-ia Shrimp Pizza!

cooking light cornAlso, check out Cooking Light’s collection of in-season ideas for Cooking with Corn.

So, how do you usually make your grilled corn – foil, husked or naked? Also, do you use those little stab-in handle thingies or just eat right out of hand? Got any corny jokes? Please share in the comments below – XOXO, Jennifer