I’m super excited for National Pizza Day on February 9th and believe it should be celebrated and observed by all. Because quite frankly, who doesn’t love pizza? Yeah, even us workout and runner types – maybe ESPECIALLY us! Lol, check out this video of me trying to pick up some pizza skills from the 2-time World Champion of Pizza Dough Slinging!
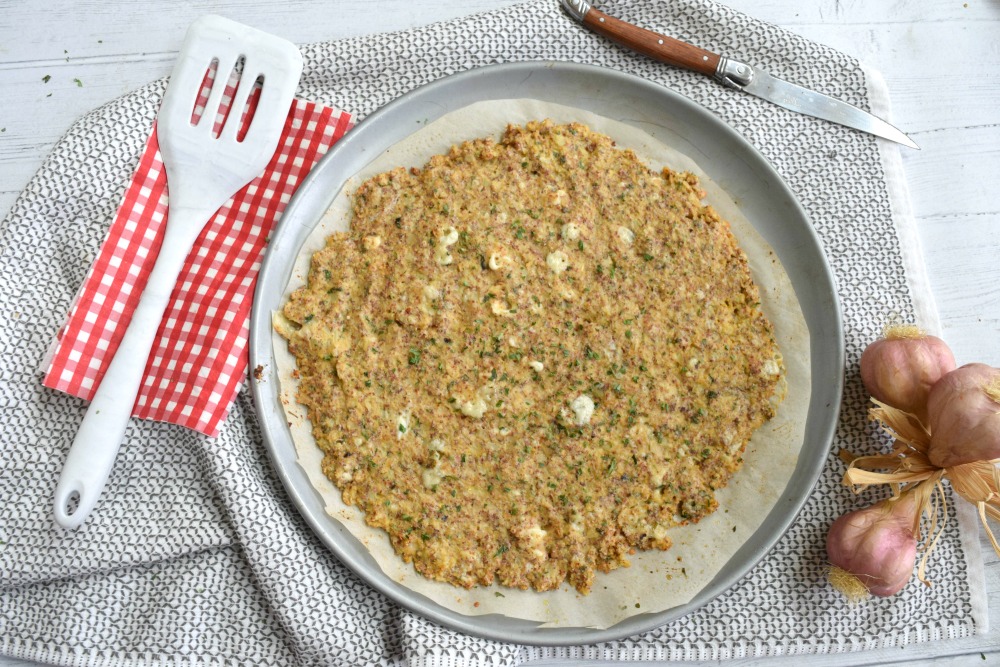
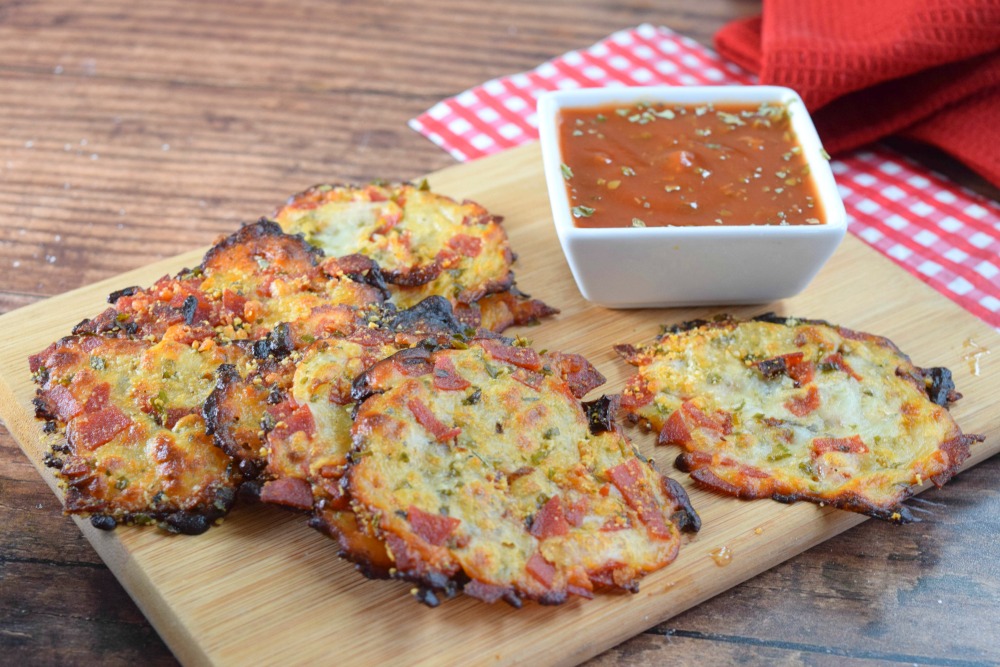
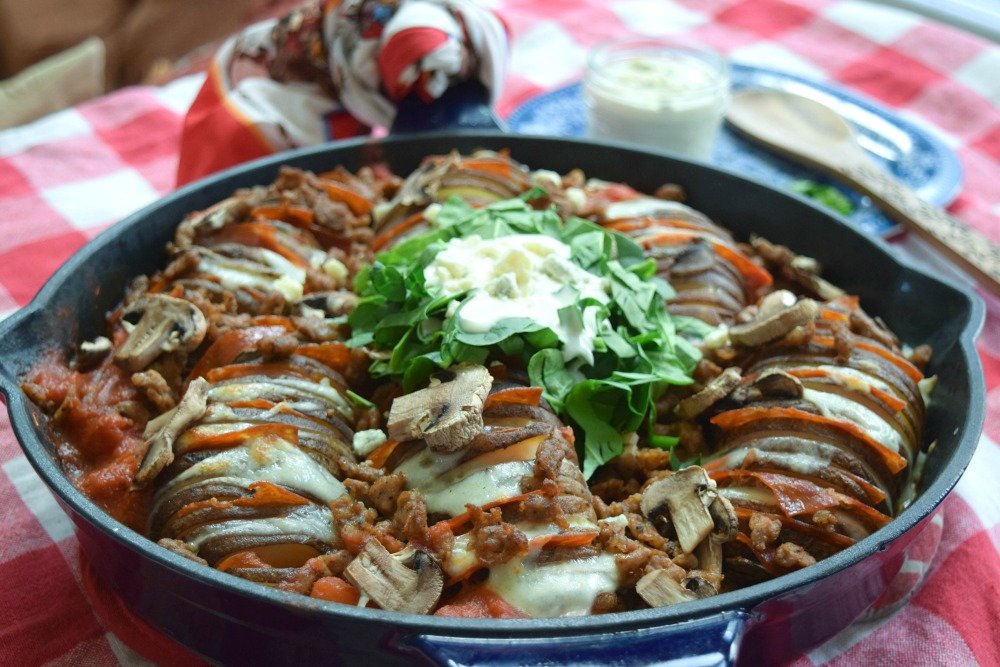
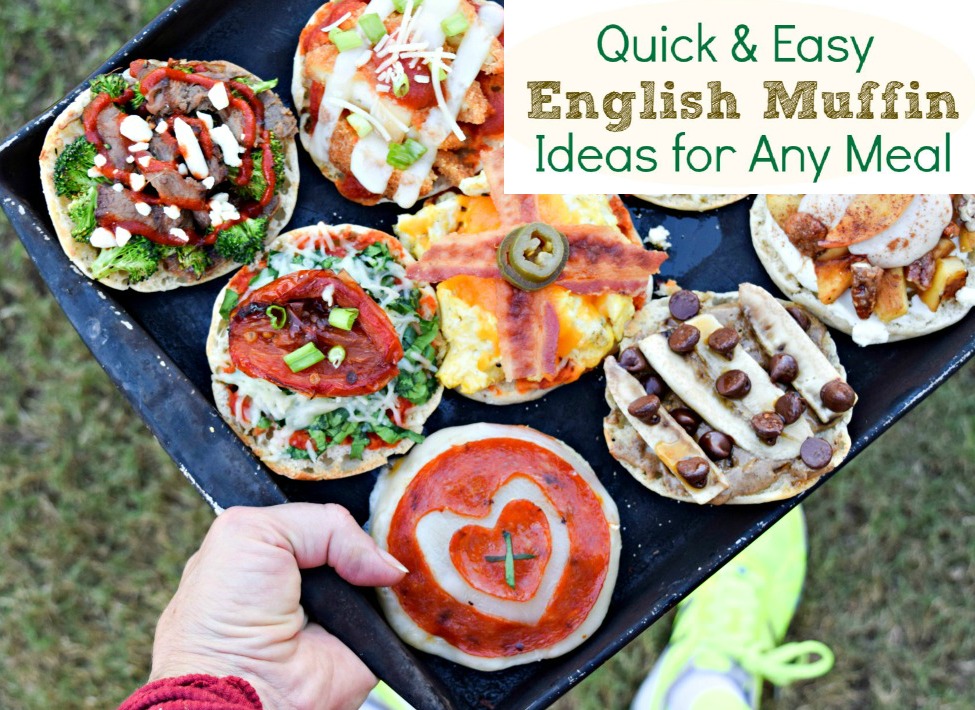
There are so many types of pie for us pizza lovers to embrace these days. From traditional pizza in deep dish, hand-tossed or thin crusts to alternative crust and no-crust keto pizzas. There are grain-free pizzas, gluten-free pizzas and vegan and dairy-free pizzas with alternative cheeses. Getting saucy with some pizza snacks or pizza gear is another fun way to rise to the occasion. Read on to PAGE TWO to discover my pizza finds and a few of my favorite pizza inspired recipes.