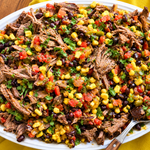
Mexican-Style Pot Roast: Easy Protein Meal Prep

If you love a fork-tender pot roast with big flavor but don’t love a recipe that requires a sink full of dirty dishes and an hour of chopping, this Mexican-Style Pot Roast needs to go on your list.
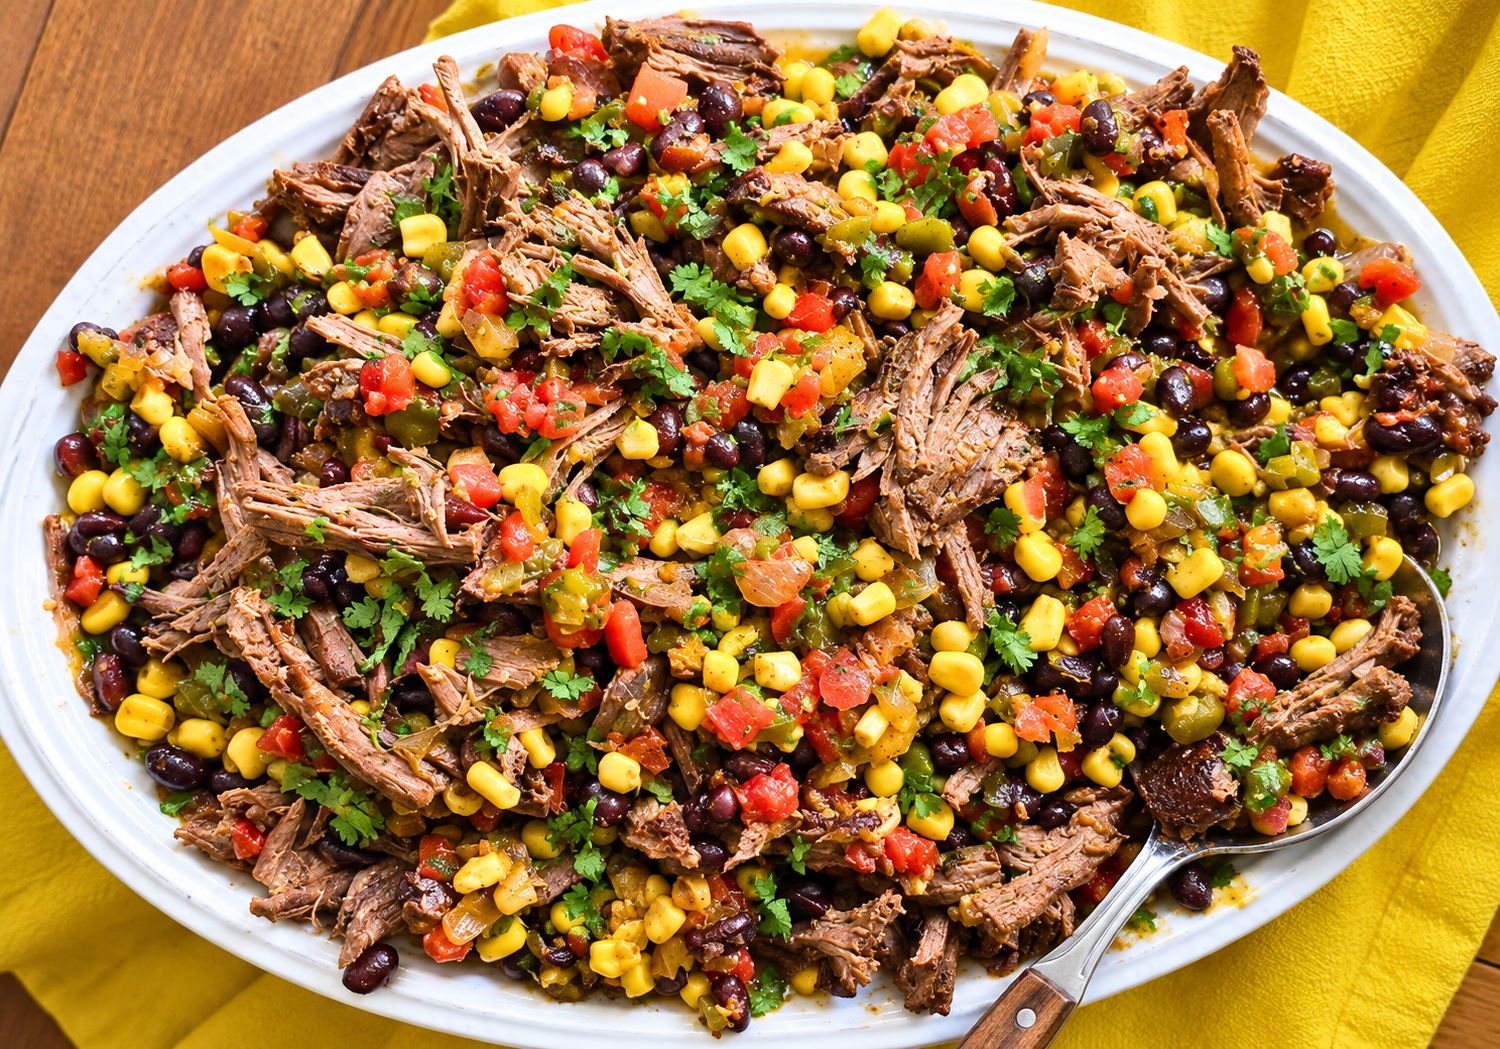
It’s hearty, delicious, protein-packed (30g per serving) and incredibly easy to make, thanks to a few smart shortcuts: canned corn, black beans and tomatoes, plus prepared pico de gallo and picante sauce. No chopping or tedious prep work required. Dust the beef with a seasoned flour, and brown in a Dutch Oven. Then it’s a dump-and-forget-about-it recipe – just cover and let it slowly braise until the chuck roast is tender enough to pull apart with a fork. That’s pretty much it.

And once you have that flavorful shredded beef, you’ve got the foundation for tacos, salads, bowls, loaded sweet potatoes and plenty more. It’s also an excellent meal-prep recipe, giving you a protein-packed option that can be reinvented throughout the week. Also, you can freeze it in meal-sized portions for up to six months.

Why This Pot Roast Works
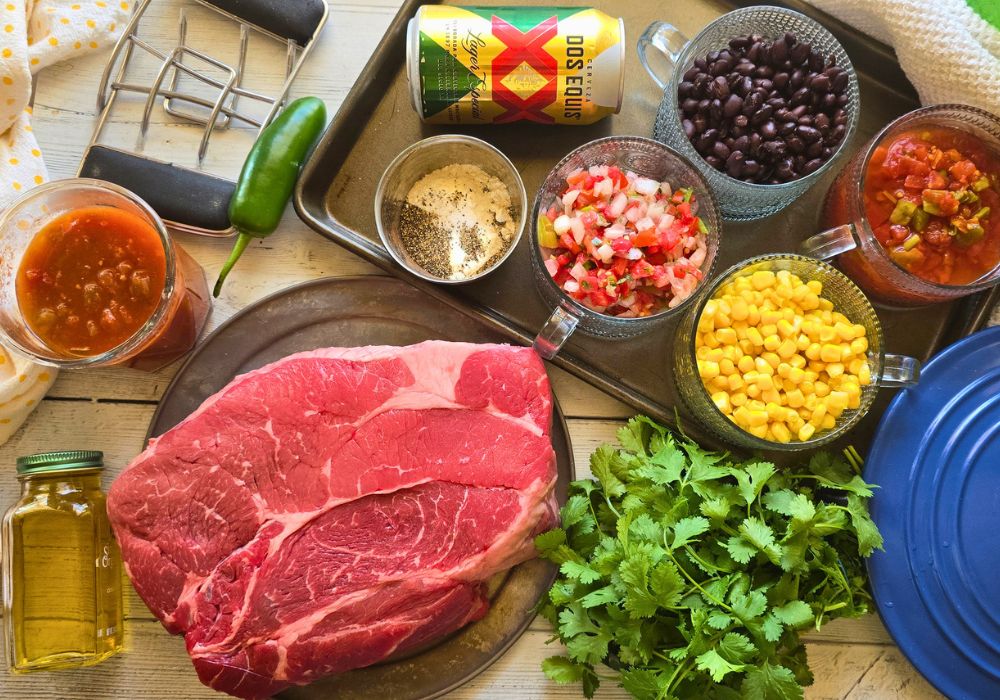
Pantry friendly: Canned corn, black beans and tomatoes are easy to keep on hand, while prepared salsa and pico add plenty of flavor without a lot of prep.

Minimal prep: No need to chop a mountain of vegetables or stand over a pan stirring.

Fork tender: Chuck roast is ideal for low-and-slow cooking. Given enough time, the connective tissue breaks down and the beef becomes tender and shreddable.

Versatile: Make tacos one night, a taco salad the next and a loaded sweet potato after that. One pot can become several completely different meals.

High protein: Beef provides high-quality protein along with nutrients such as iron, zinc and vitamin B12, making it a satisfying choice for an active lifestyle and supporting muscle maintenance and repair.

Choosing a Chuck Roast

I recommend a 2½- to 3-pound chuck roast for this recipe. It’s a good size for fitting comfortably in your pot while keeping the ratio of beef to the other ingredients just right. That said, a slightly larger roast will work, too. Just make sure your pot is large enough and allow additional cooking time if needed. The real test is tenderness: when you can easily pull the beef apart with a fork, it’s done.

Can You Make It in a Slow Cooker?

Absolutely, but with an asterick!*  Instead of braising the roast in the oven, add the ingredients to your slow cooker and cook on LOW for about 7–8 hours, or until the beef is tender enough to pull apart easily with a fork. Cooking time is a guideline rather than a hard deadline. If the beef isn’t shredding easily, give it more time. *You will not be able to brown the roast in a slow cooker per the recipe, but you have two choices: 1) skip the step, it will still cook and shred up fine without browning (just a little flavor will be lost). Or, 2) brown in a skillet before adding to the slow cooker (the only con is that it dirties another dish).

Easy Ingredient Swaps

This recipe is flexible, but there are a couple of things to keep in mind.

  • Fresh corn: Substitute fresh-shucked corn or frozen kernels for canned if you prefer.
  • Fresh tomatoes: Fresh chopped tomatoes and peppers can replace the canned.
  • Beans: Stick with canned beans or beans you’ve already cooked. Don’t use dry beans — there isn’t enough cooking liquid in this recipe to cook them properly.
  • Beer: Use whatever beer you prefer. If you don’t want to use beer, substitute an equal amount of beef or vegetable broth.
  • Flour: This pot roast browns in the first step with a bit of seasoned all-purpose flour. However if gluten-free swaps are needed, try rice flour or potato starch instead.

So Many Ways to Serve It
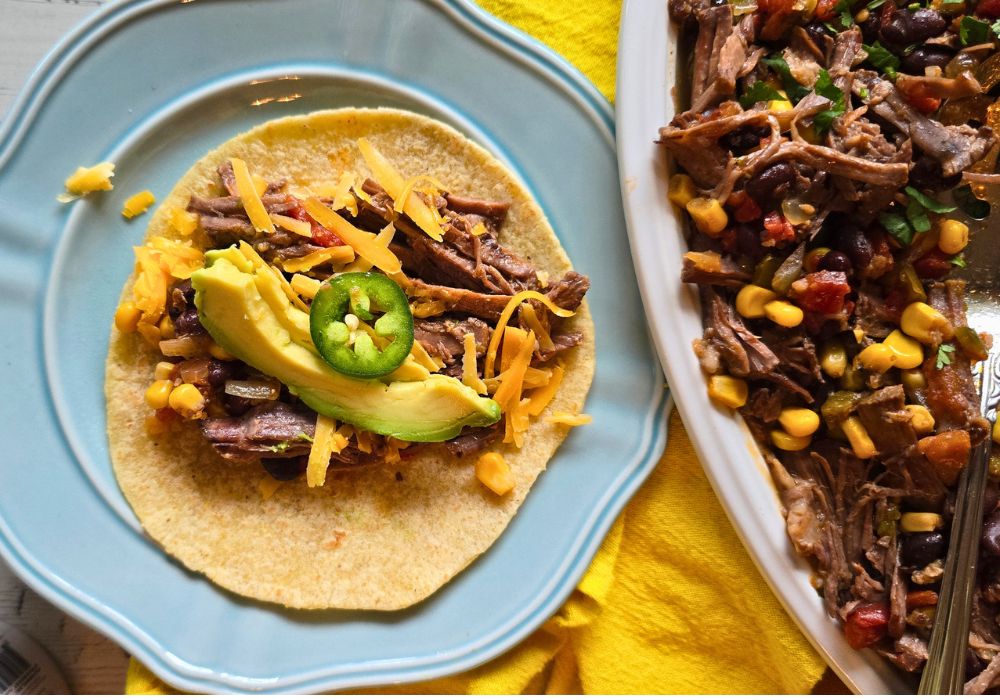
The original recipe calls for serving the shredded beef in flour tortillas with Mexican cheese, but don’t stop there. Basically, if it can hold shredded Mexican-style beef, you’re in business.

  • Tacos with avocado, cilantro, lime, cheese and extra salsa
  • Taco salad over greens with corn, beans, tomatoes and avocado
  • Loaded sweet potatoes topped with beef, salsa and avocado
  • Burrito bowls with rice, lettuce, beans, corn and your favorite toppings
  • Quesadillas with melted cheese and shredded beef
  • Nachos layered with beef, beans, corn and cheese
  • Stuffed peppers with the beef mixture and a little melted cheese

Why I Love It for Meal Prep
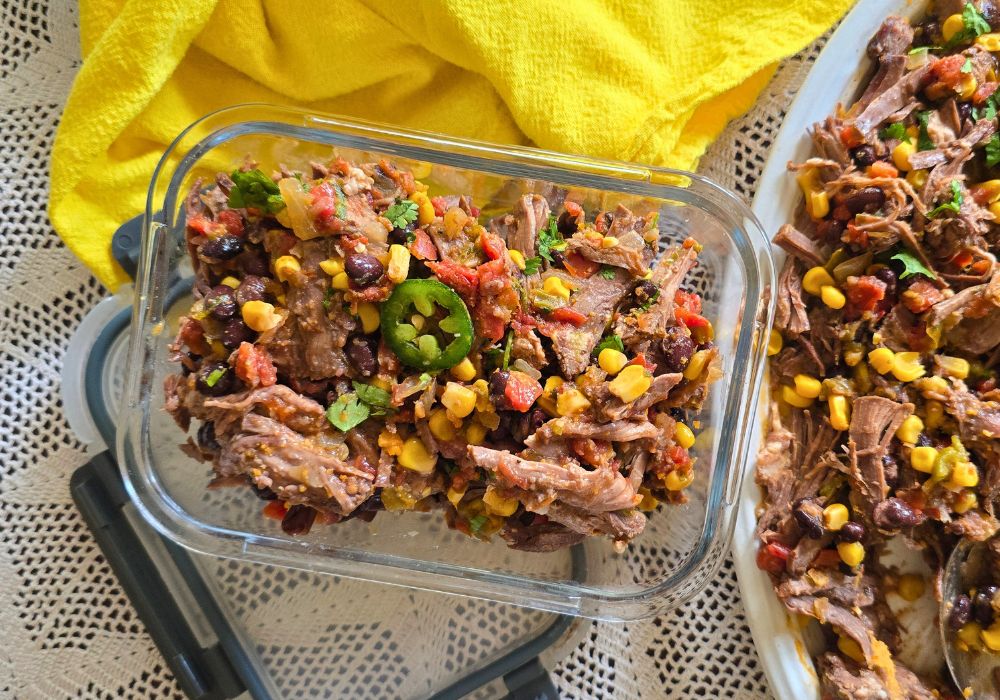
This is exactly the kind of meal prep I can get behind. Instead of making five identical meals and eating the same thing every day, make one big batch of really good beef and change how you serve it (see above).

Tacos on Monday. Salad on Tuesday. A loaded sweet potato on Wednesday. Burrito bowls later in the week. The beef is already cooked, seasoned and ready to go, so getting a satisfying, protein-rich meal on the table becomes much easier. And because chuck roast reheats beautifully, this is one of those recipes that may actually make you look forward to leftovers.

Tips for the Best Mexican-Style Pot Roast

  • Brown the roast first. That quick sear adds another layer of flavor.
  • Keep the shortcuts. Using prepared pico and salsa isn’t cheating — it’s what makes this recipe so easy.
  • Don’t cook dry beans in the pot. Use canned or previously cooked beans.
  • Don’t rush it. Low and slow is what transforms chuck roast from tough to fork tender.
  • Let the beef rest before shredding. A short rest makes it easier to pull apart and gives the juices a chance to settle.
  • Shred Test: Most importantly, don’t pull the roast out just because the timer says it’s done. If the fork doesn’t slide in easily and the meat won’t pull apart, it needs more time.
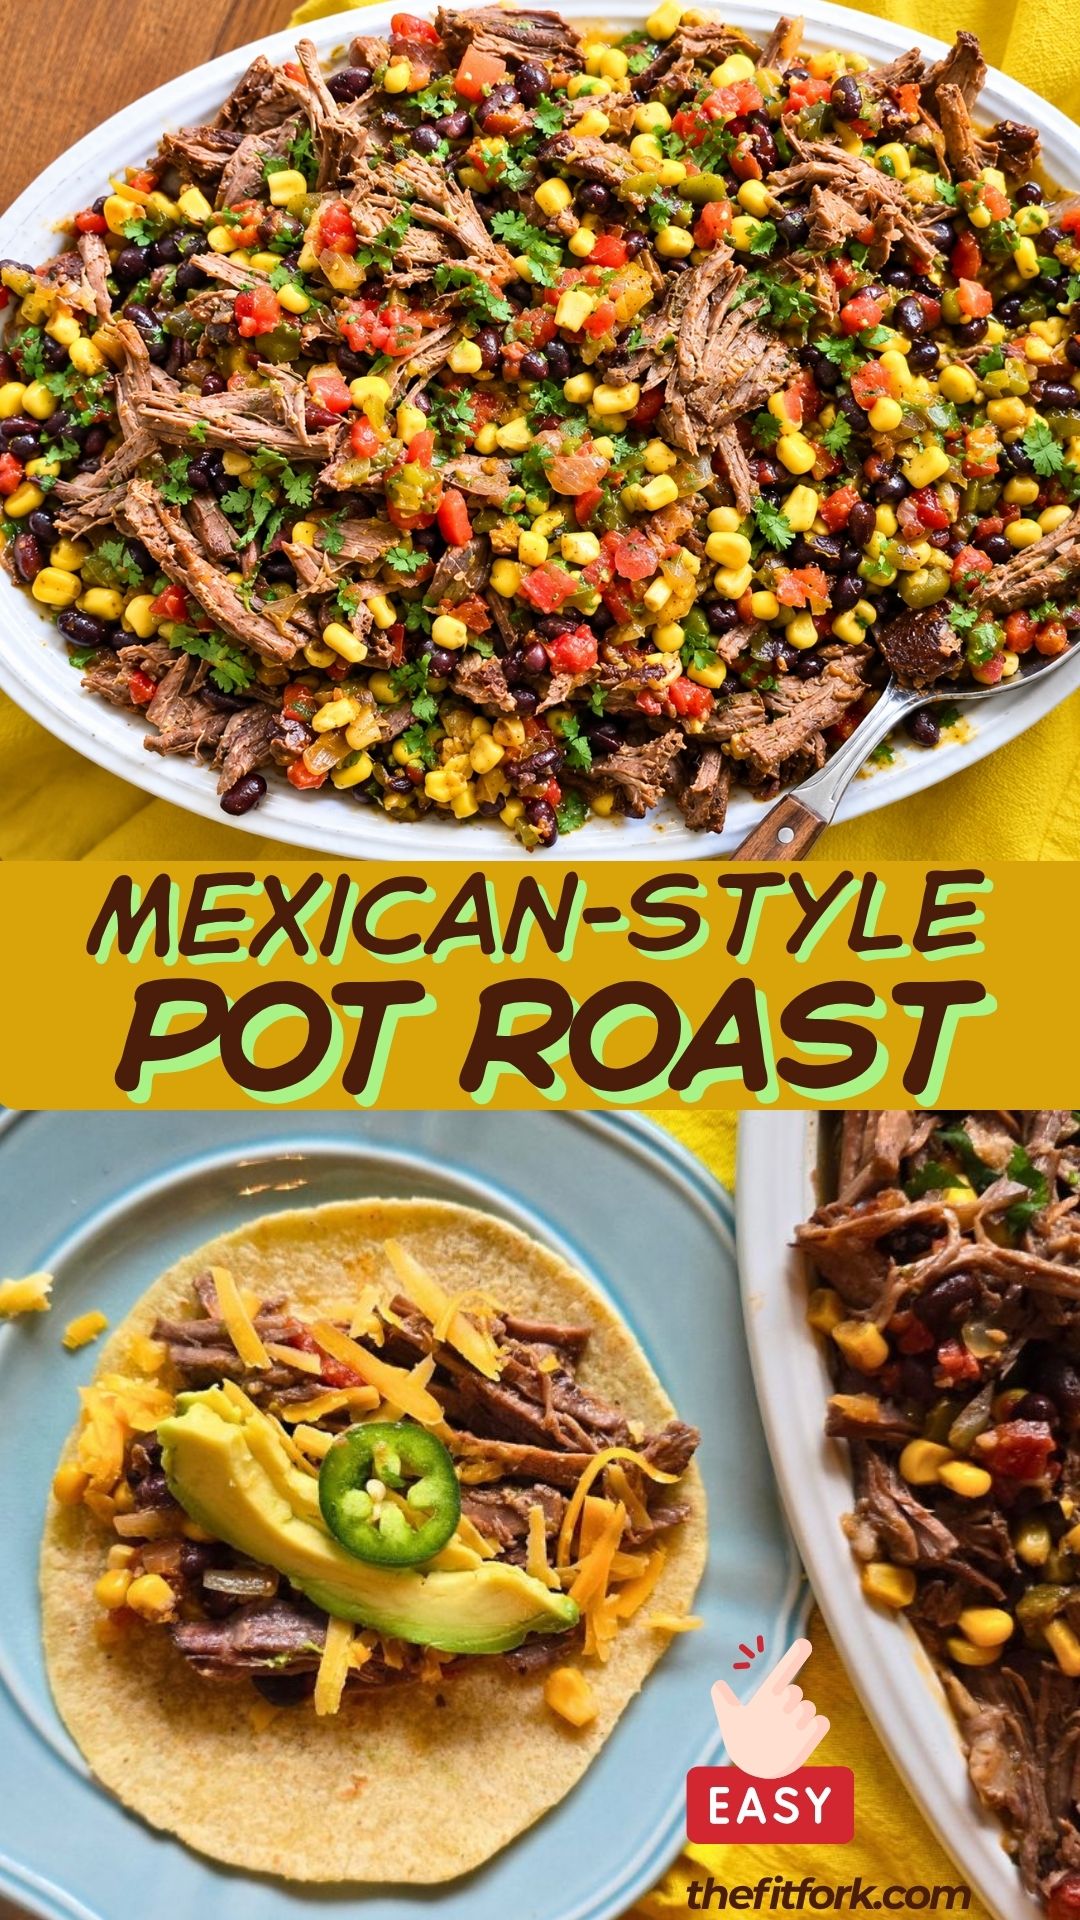
This easy Mexican-Style Pot Roast  turns a chuck roast and a handful of pantry-friendly ingredients into tender, flavorful shredded beef you can use ALL week. Tacos tonight, taco salad tomorrow, loaded sweet potato the next day. Now that's my kind of meal prep!
Mexican-Style Pot Roast
Prep Time
15 mins
Cook Time
3 hrs 15 mins
Total Time
3 hrs 30 mins
 
This easy Mexican-style pot roast is fork-tender, flavorful and protein-packed, with pantry-friendly ingredients and prepared salsa for minimal prep. (Adapted from BeefLovingTexans.com)
Course: dinner, entree
Cuisine: Mexican
Keyword: beef, one pot, pot roast
Calories: 400 kcal
Ingredients
  • 2 ½-3 lbs. Chuck Roast
  • 2 Tbsp. avocado oil or grapeseed or vegetable
  • 3 Tbsp. all-purpose flour or rice flour or potato starch if gluten-free
  • 1 tsp. salt
  • 1 tsp. black pepper
  • 1 tsp. ground cumin
  • 1 cup Mexican beer recipe tested with Tecate but use what you prefer or swap with broth
  • 1 can 10 oz. diced tomatoes and green chilies
  • 1 can 15 oz. corn, drained
  • 1 can 15 oz. black beans, drained and rinsed
  • 1 cup prepared pico de gallo
  • 1 cup prepared picante sauce
  • Taco optionals: tortillas shredded cheese, cilantro, avocado, sour cream, etc.
Instructions
  1. Preheat oven to 325°F. Heat oil in 3.5 to 5.5 quart Dutch oven over MEDIUM-HIGH heat, until hot.
  2. Combine flour, salt, pepper and cumin in small bowl and mix. Sprinkle/ pat onto roast and turn to coat evenly. Place roast in hot pan. Brown on both sides for 2-3 minutes each.
  3. Add beer, tomatoes, corn, black beans, pico de gallo and picante sauce. Cover tightly with lid and place in preheated oven. Cook 3 -3 ½ hours, or
  4. Remove from oven, allow to cool 10-15 minutes. Pull roast from pot and shred beef with fork, removing any remaining fat.
  5. Stir back in all of the cooking veggies and some of the liquid into pot roast. Season with additional salt and pepper as needed.
  6. For tacos, serve with tortillas, shredded cheese, chopped cilantro, avocado, sour cream and/or whatever you prefer.
  7. Store leftovers in air-tight container in fridge for up to 5 days or in freezer for up to 6 months.
Recipe Notes

Nutrition information per serving: 400 Calories; 180 Calories from fat; 20.3 g Total Fat (7.1 g Saturated Fat; 8.1 g Monounsaturated Fat); 110 mg Cholesterol; 674.8 mg Sodium; 20.1 g Total Carbohydrate; 4.7 g Dietary Fiber; 30.1 g Protein; 3.4 mg Iron; 430 mg Potassium; .1 mg Thiamin; 0.2 mg Riboflavin; 7.8 mg Niacin (NE); 0.3 mg Vitamin B6; 2.0 mcg Vitamin B12; 6.5 mg Zinc; 26.7 mcg Selenium; 112.9 mg Choline.
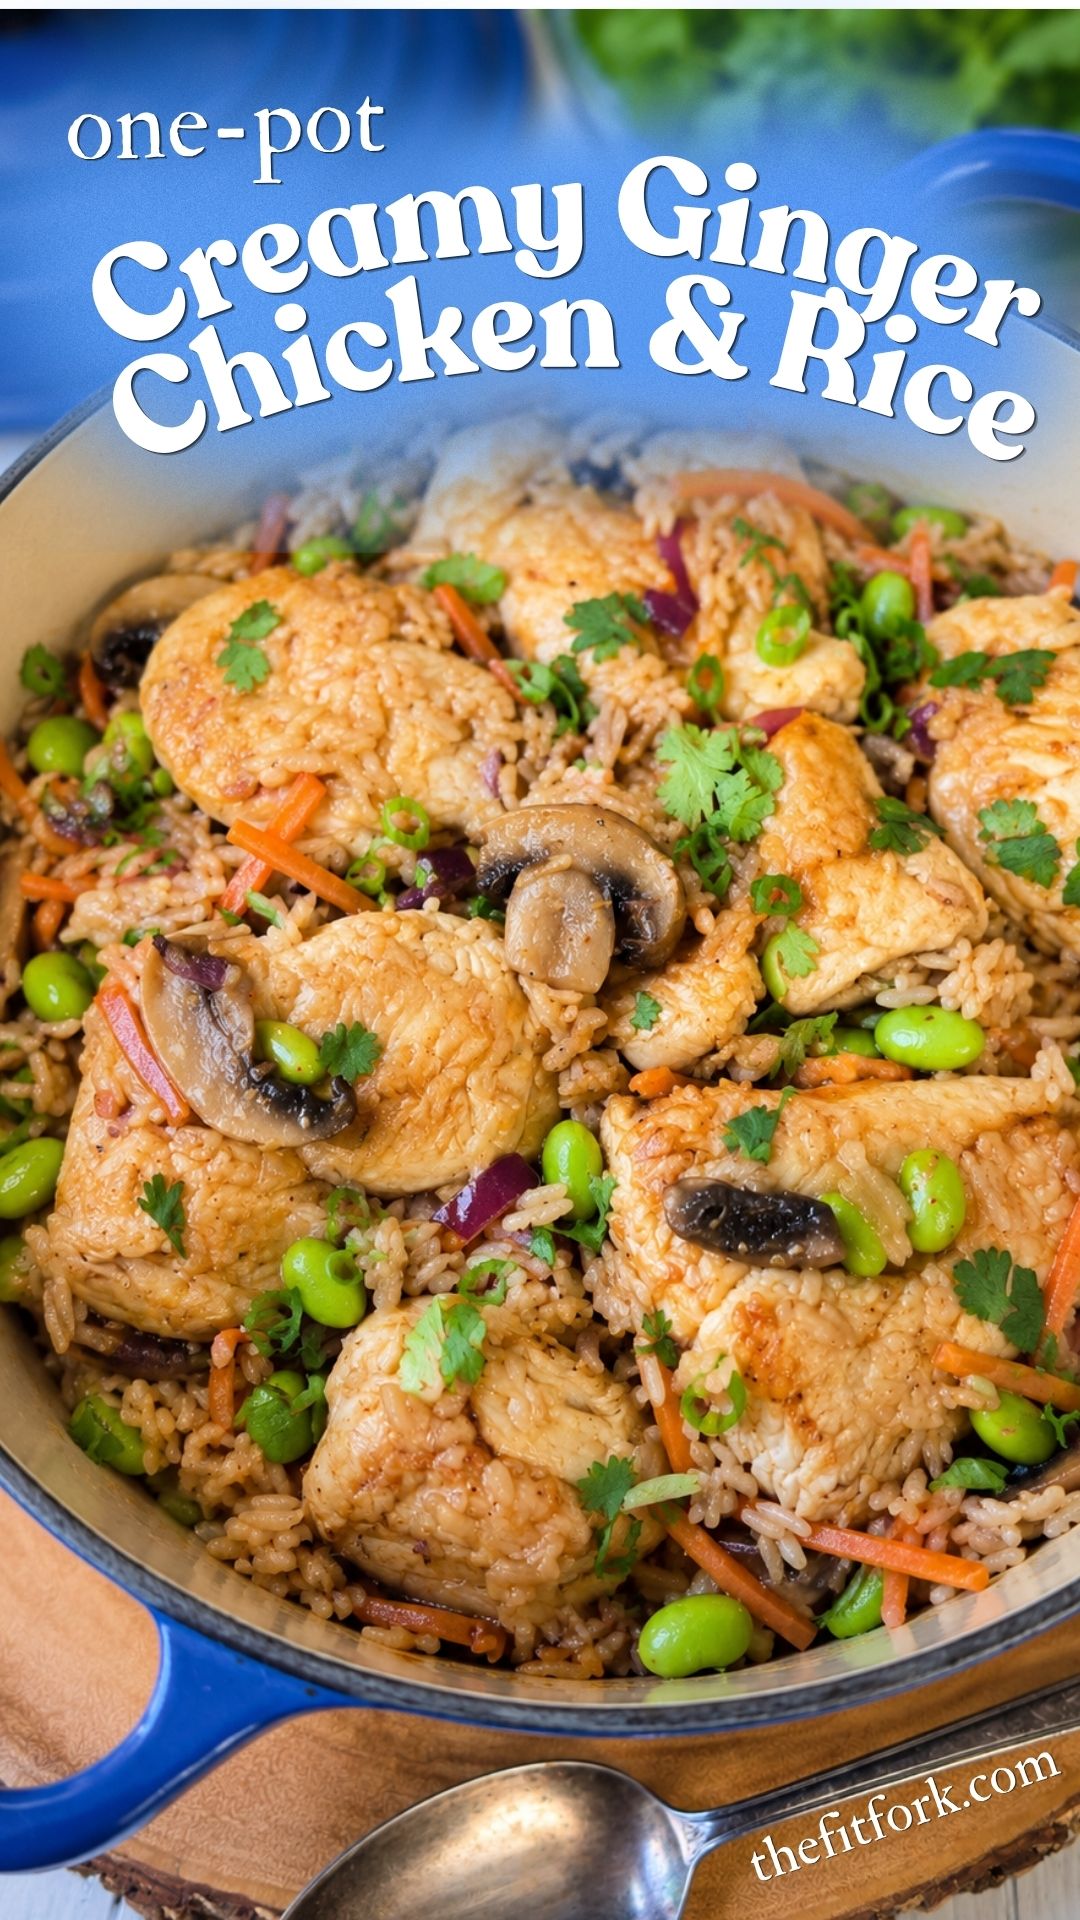
One-Pot Creamy Ginger Chicken and Rice (Easy Weeknight Dinner)

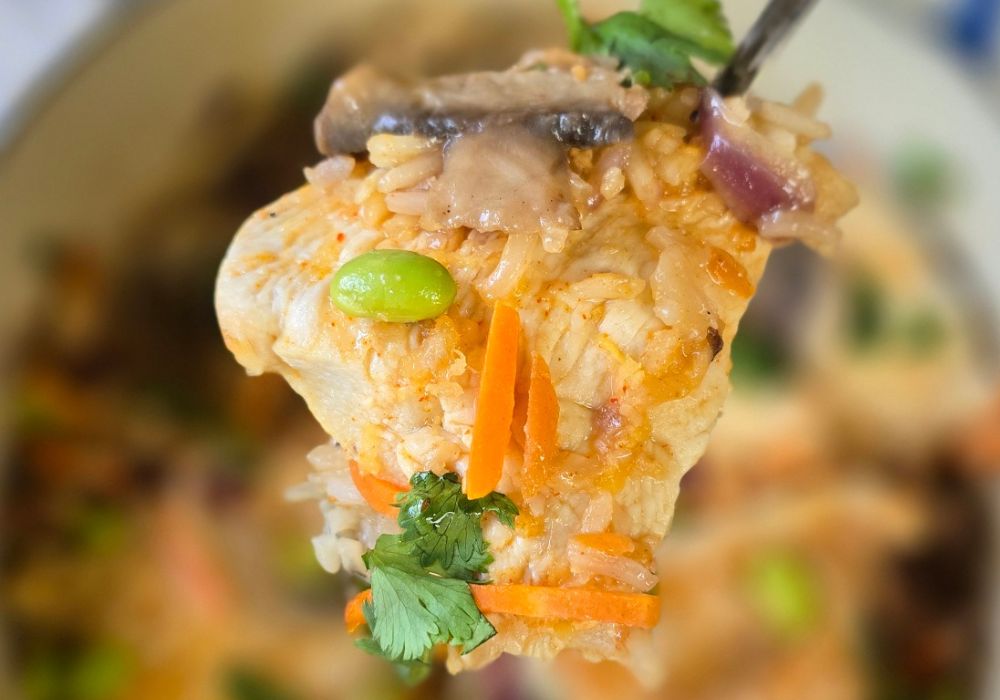
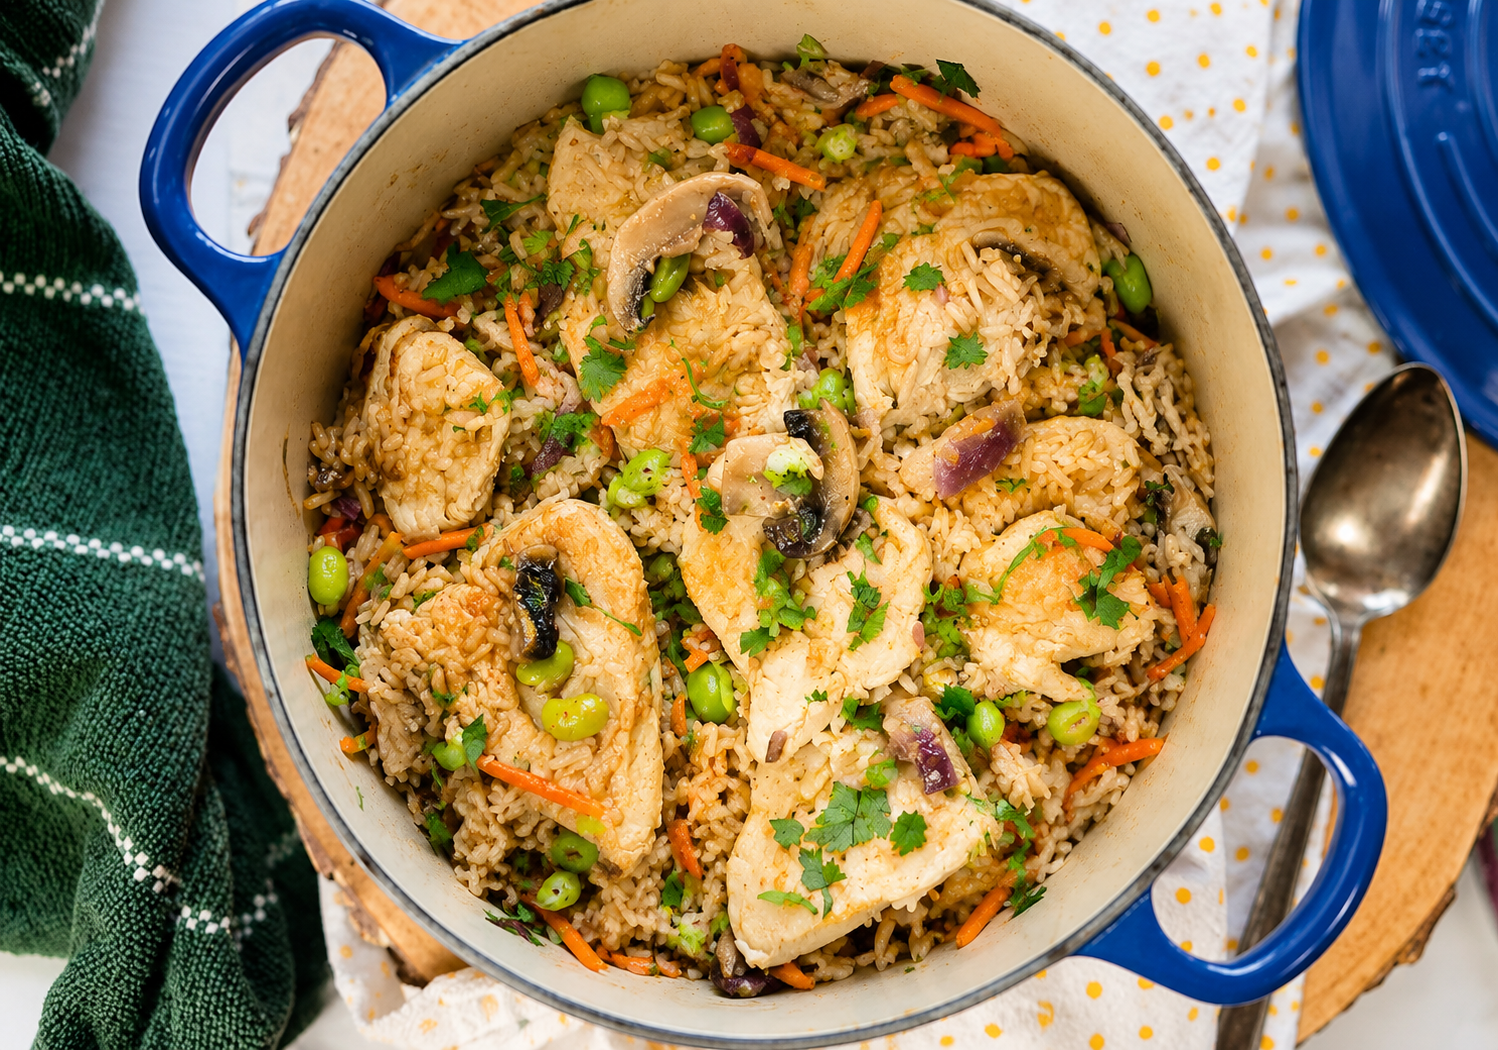
If you’re looking for an easy weeknight dinner with minimal cleanup, this One-Pot Creamy Ginger Chicken and Rice delivers. Tender chicken, fluffy rice, vegetables, and a rich, creamy ginger-infused sauce all cook together in a single Dutch oven pot, creating a comforting, flavor-packed meal with very little hands-on effort.

After just a few minutes of sautéing the vegetables and searing the chicken, the oven takes over, allowing all the flavors to meld while the rice cooks to perfection. While dinner bakes, you’ll have plenty of time to tend to any last dinner details or simply enjoy a well-earned break.

I love recipes like this because everything—protein, vegetables, rice, and sauce—is cooked together, making it a complete, balanced meal that’s perfect for busy weeknights. From prep to plate in about an hour, it’s an easy family dinner that’s as satisfying as it is convenient.

INGREDIENT & EQUIPMENT NOTES

  • OLIVE OIL: Olive oil or any vegetable oil for browning chicken and sautéing the veggies
  • GARLIC & GINGER: The cornerstone of flavor in this dish. I prefer to use minced garlic from a jar (to save time and smelly hands) but the ginger flavor is hands-down if your grate it from fresh.
  • VEGGIES: You can vary the variety (like shitake mushroom instead of button) or swap veggies suit your tastes. Coarse, sturdy veggies will need to be chopped and sauteed in the onion step before placing in oven.
  • RICE:  Jasmine rice is my go-to for this recipe – the cooking time and liquid amounts are tailored for this type of long-grain rice.
  • CHICKEN:  I’ve used skinless boneless chicken breast, cut in half and the thick pieces fileted for more even cooking. Boneless skinless chicken thighs can be substituted.
  • COCONUT CREAM:  Full fat coconut cream from a can (unsweetened) give the most luxurious texture and flavor. But if desired you can use regular (not light) coconut milk from a can (not carton).
  • COCONUT SUGAR: The signature hint of sweetness in the sauce comes from coconut sugar, but feel free to substitute brown cane sugar or even date sugar.
  • WHAT POT TO USE: This recipe works best in a cast-iron enamel  Dutch Oven with lid ( to 5 to 6qt). It’s big enough to hold the chicken and deep enough for the rice and cooking liquid. Plus, the cast-iron enamel of these cooking vessels are designed to hold heat, which helps the rice finish up after it’s removed from oven. If in a bind, you can use another 6-quart casserole dish or pot that is OVEN PROOF and, if no lid, cover very tightly with foil.
One-Pot Creamy Ginger Chicken and Rice
Prep Time
15 mins
Cook Time
40 mins
rest
5 mins
 

One pan, big flavor! This One-Pot Creamy Ginger Chicken and Rice is the ultimate comfort food dinner! Tender chicken, fluffy rice, veggies, and a creamy ginger sauce bake together in one dish for an easy family meal with minimal cleanup. Perfect for busy weeknights!

Course: dinner
Cuisine: Asian, family, thai
Keyword: chicken, coconut, dutch oven, one pot, rice
Servings: 6 servings
Ingredients
  • 3/4 cup coconut cream from can well blended
  • 1 medium lime zested and juiced
  • 2 Tablespoons minced garlic from jar
  • 2 tablespoons coconut sugar
  • 1 1/2 tablespoons fish sauce
  • 2 tablespoons soy sauce
  • 1.5 tablespoon grated fresh ginger you can use minced from jar, but the fresh grated REALLY makes the dish pop
  • 1.5 tablespoon Sriracha sauce
  • 1 1/2 pounds boneless skinless chicken breasts
  • 1 tablespoon salt divided
  • 2 teaspoons olive oil
  • 4 oz button mushrooms sliced thin
  • 1/2 large onion sliced into thin vertical slices
  • 2 cups chicken broth or stock
  • 1 1/2 cups long grain white rice rinsed and drained
  • 2/3 cup matchstick carrots
  • 2/3 cup frozen edamame beans thawed
  • 1/2 cup chopped cilantro
  • 2 medium green onions thinly sliced
Instructions
  1. In medium bowl, whisk together coconut cream, lime zest, lime juice, garlic, coconut sugar, fish sauce, soy sauce, grated ginger, and Sriracha sauce until smoot. Set sauce aside.
  2. Pat chicken breasts dry, and cut each breast into 2 portions. If needed, on the “thick” portion of breast, use sharp filet knife to cut through the middle crossways into two portions for more even cooking. Sprinkle both sides of chicken 1 teaspoon of the salt.
  3. Heat oil in a Dutch oven over medium high heat. Carefully add chicken in batches into the hot oil, making sure not to crowd the pan. Cook undisturbed until exterior is seared and lightly browning, about 3 minutes. Turn chicken and brown the other side in same manner. Transfer to a plate, and repeat the process with any remaining chicken pieces.
  4. Add onion and mushroom slices to the same Dutch oven and cook, stirring, about 3 minutes. Pour in chicken stock and stir up any browned bits from the bottom of the pan. Add rice and remaining salt, and stir to combine.
  5. Layer in carrots and thawed, shelled edamame beans, and set par-cooked chicken breasts on top. Drizzle 3/4 cup of the ginger sauce over the chicken pieces/
  6. Meanwhile, preheat the oven to 350F degrees and set an oven rack in the center of the oven.
  7. Place lid on Dutch oven and transfer into the center of the preheated oven. Bake until chicken is no longer pink at the center and the juices run clear, about 25 minutes. An instant-read thermometer should read at least 165 degrees F (74 degrees C).
  8. Transfer Dutch oven onto a wire rack and allow to stand, covered, until the rice is completely tender, about 5-10 minutes.
  9. Place chicken on a serving platter (or keep in pot to serve). Fluff the rice and vegetables with a fork, and stir in remaining ginger sauce and chopped cilantro. Garnish with thinly sliced green onions.

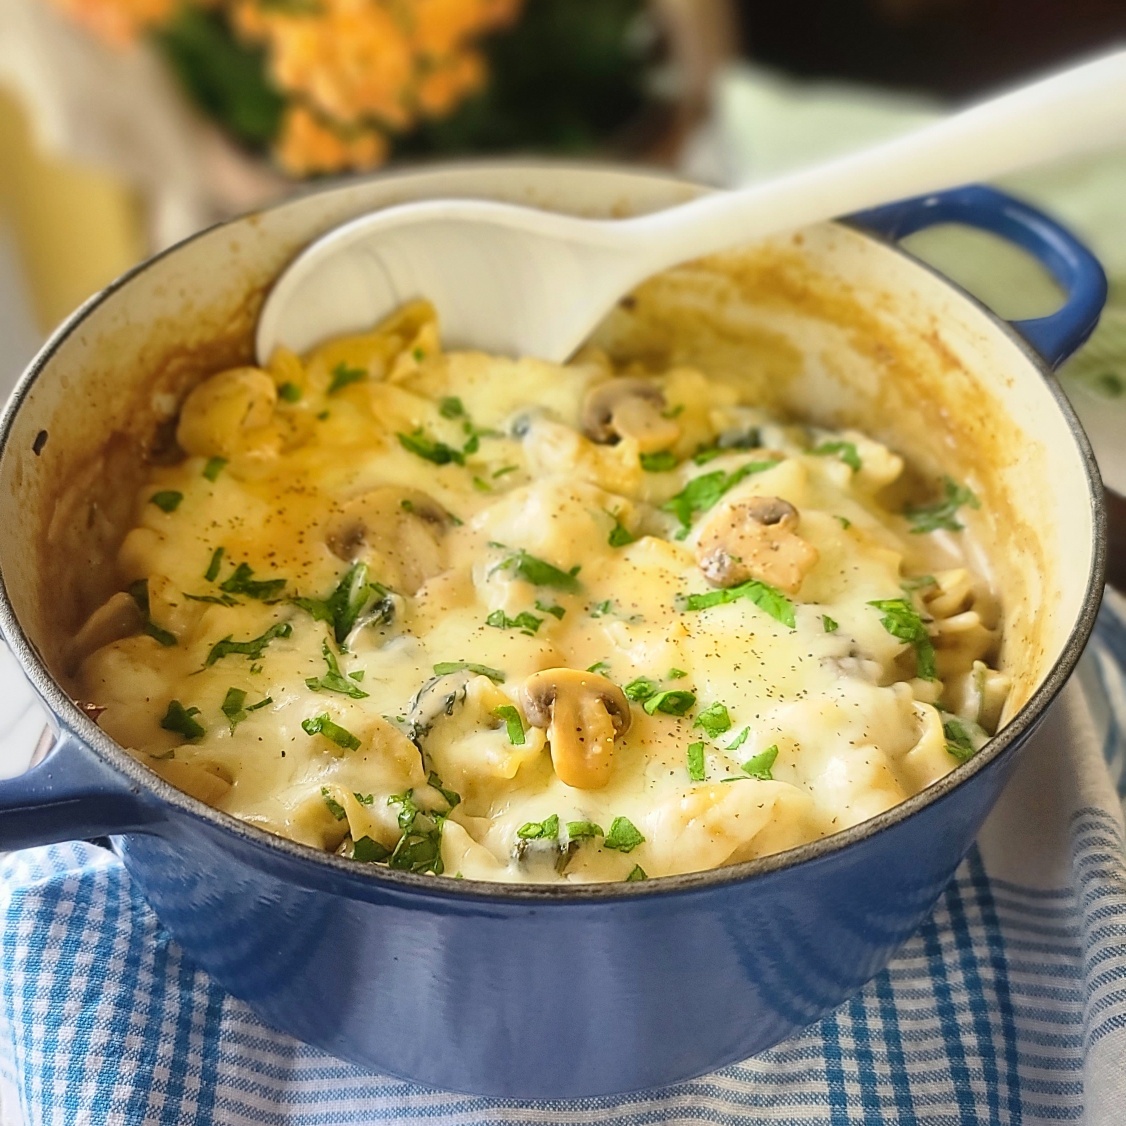
Easy Alfredo No Boil Pasta Bake – One Pot!

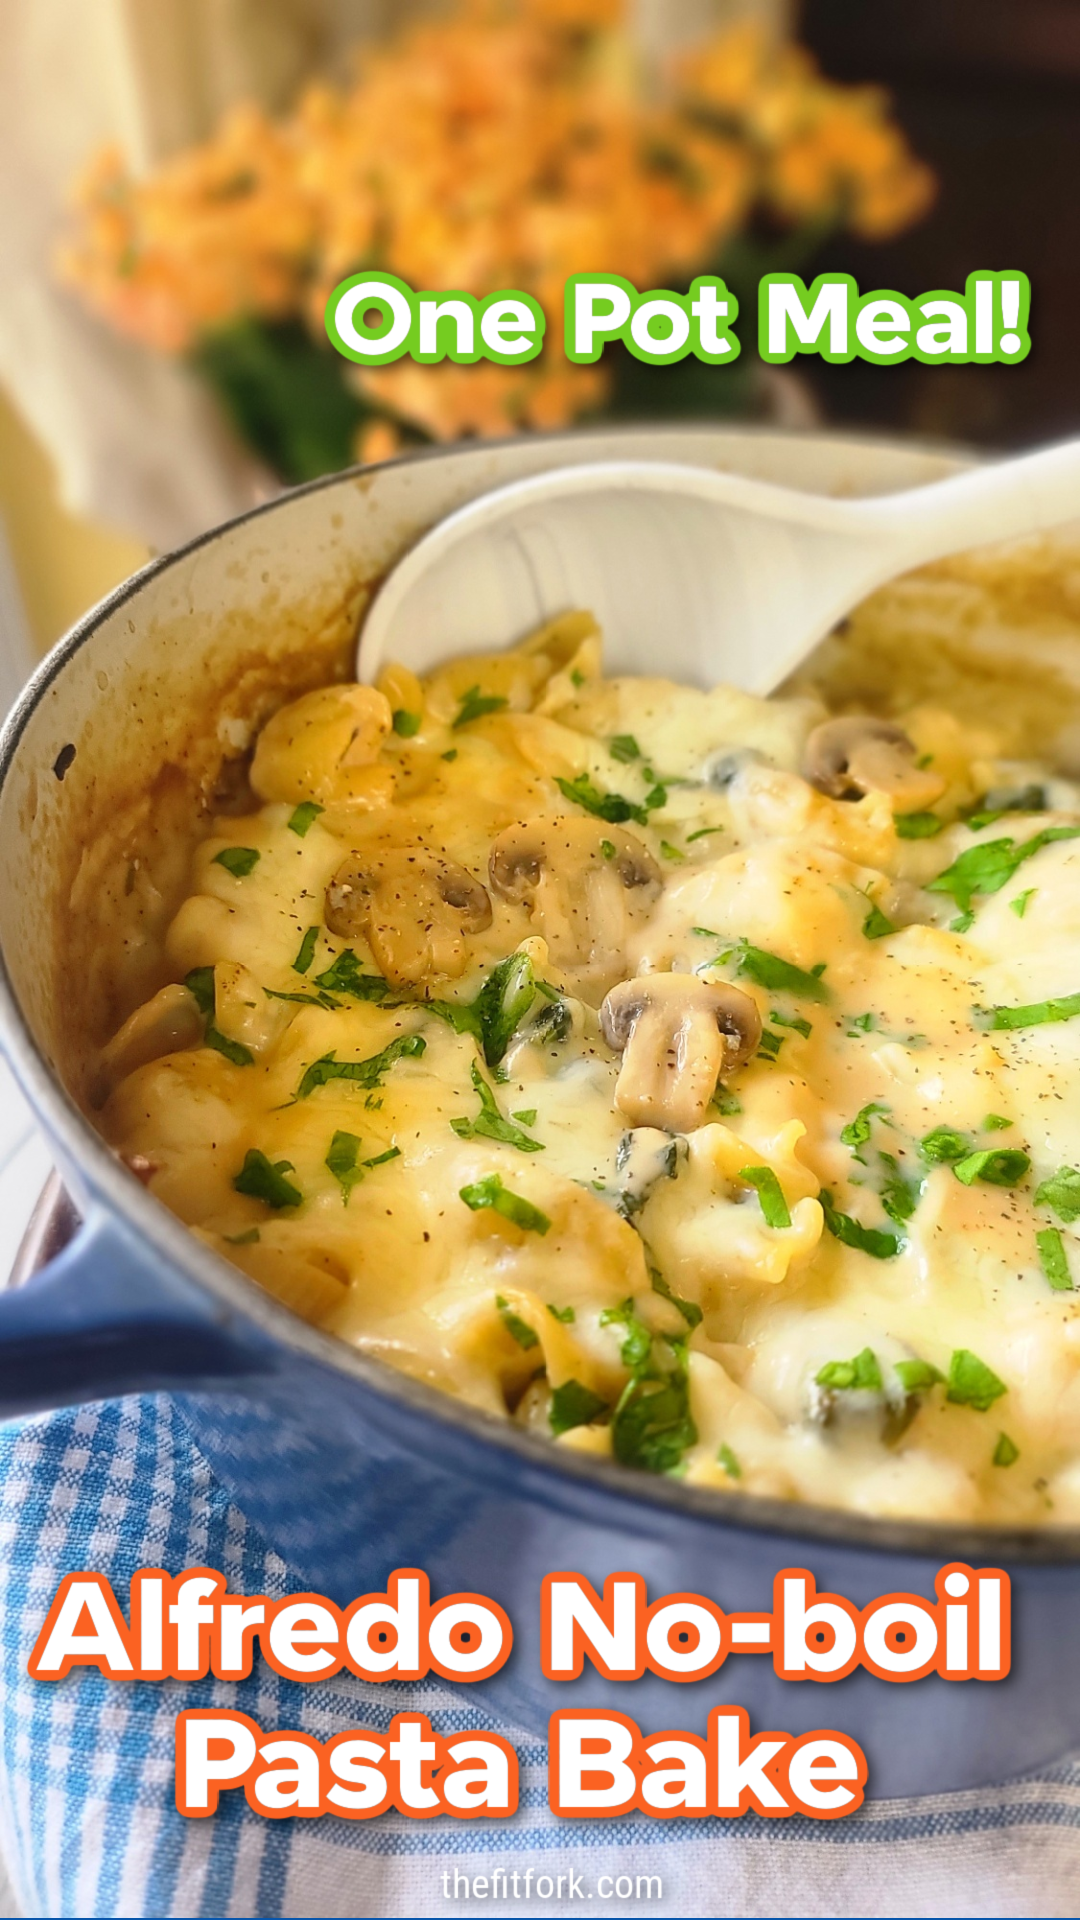
This no-boil pasta bake is a family favorite dinner – my boys just love it. This one pot pasta recipe fills them up, it’s simple to make thanks to jarred alfredo sauce, and easy to clean up with only a single pot dirtied.

Make an easy vegetarian dinner easy and earn cheers of “yum” from the family with this easy no-boil pasta bake that uses a jar of alfredo sauce, dry pasta, veggies and a little cottage cheese for extra protein.

The time-saving beauty is that you don’t have to pre-cook the pasta – you just dump in the dry noodles of choice in a casserole dish with all the other ingredients. The liquids in the recipe cook the pasta to a perfect al dente right in the oven!

Make an easy vegetarian dinner easy and earn cheers of “yum” from the family with this easy no-boil pasta bake that uses a jar of alfredo sauce, dry pasta, veggies and a little cottage cheese for extra protein.

I recommend a shorter pasta like penne, bow-tie, corkscrews, shells. Have partially used bags of pasta in the pantry that need to be used up? If the noodles are of a general similar size, you can even mix them together. This make and bake recipe is a really pantry clearer.

Here’s a flash tutorial!

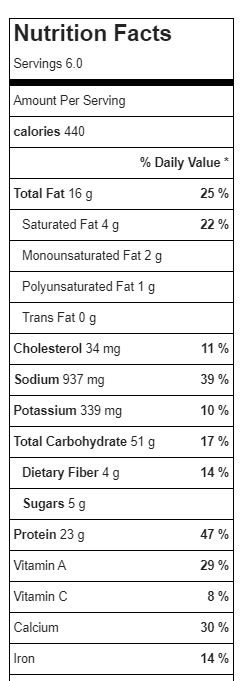
I have a family with mixed dietary preferences – several meat eaters and a vegetarian. While this is a vegetarian pasta recipe, it still has a great offering of protein – 23g per serving. The extra boost is from a cup of cottage cheese mixed in.

Make an easy vegetarian dinner easy and earn cheers of “yum” from the family with this easy no-boil pasta bake that uses a jar of alfredo sauce, dry pasta, veggies and a little cottage cheese for extra protein.
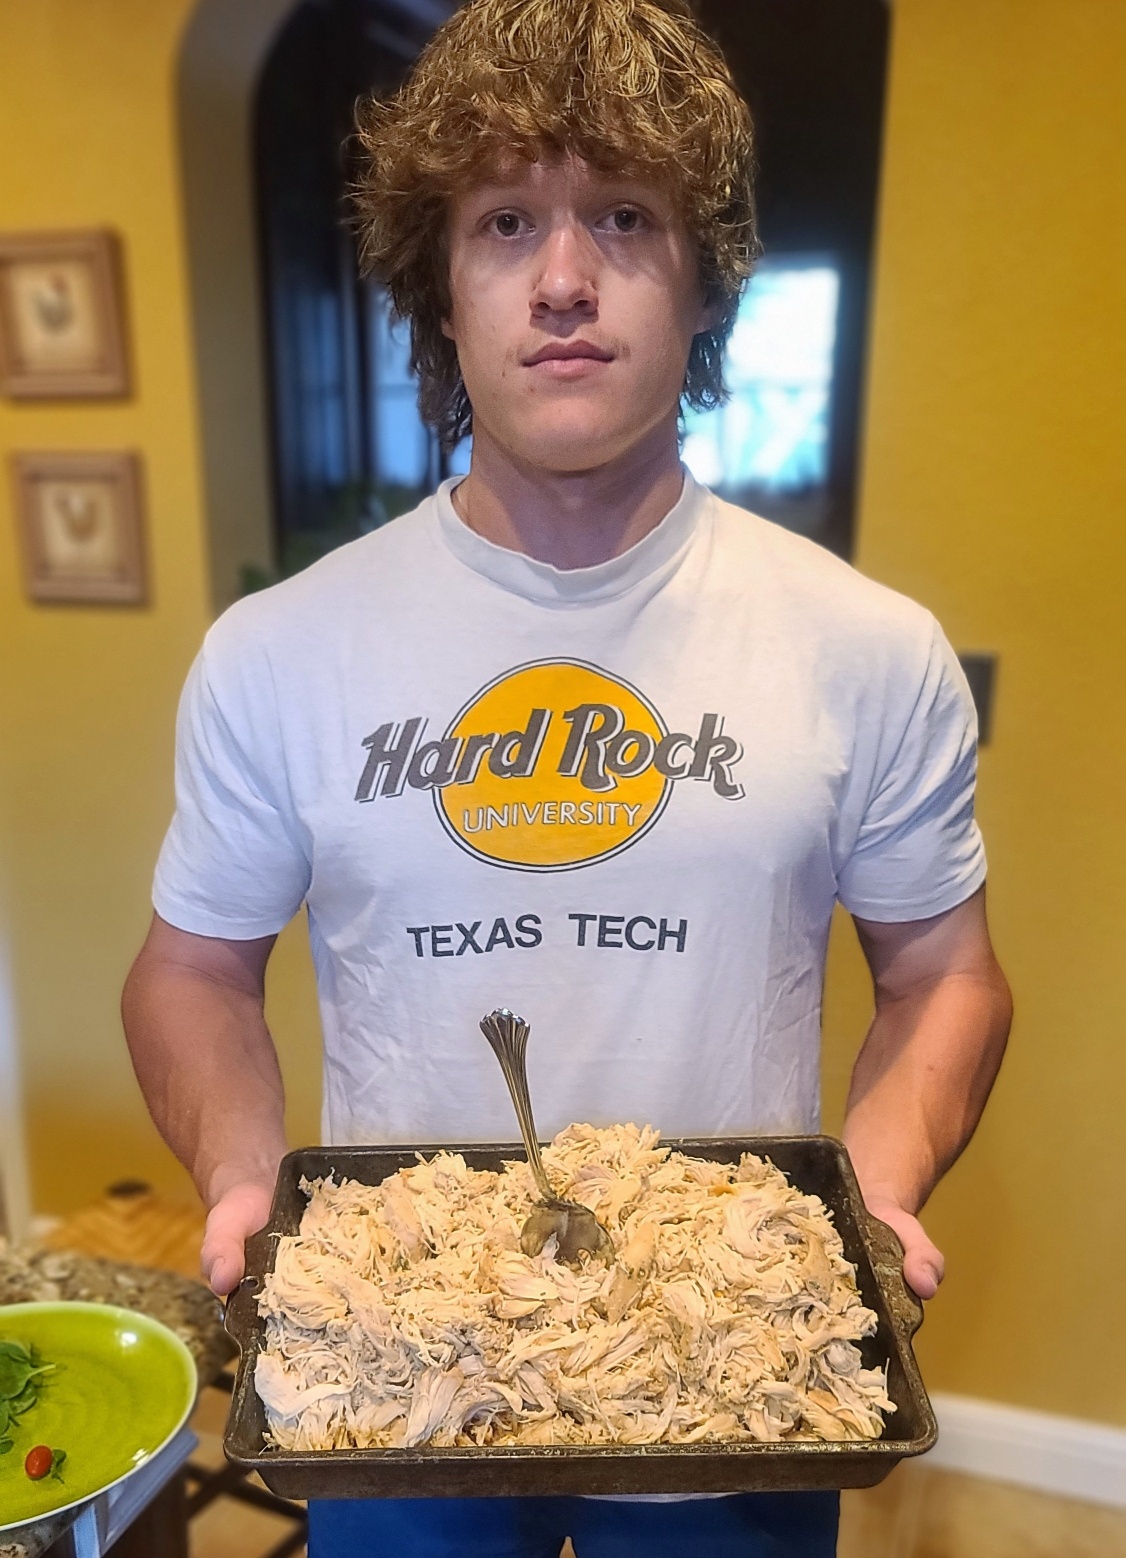
This kiddo isn’t much for a vegetarian dish, so we mix in shredded chicken sometimes!

If the vegetarian isn’t home from college, I’ll mix in chopped rotisserie chicken or slow cooker shredded chicken I prep in big batch and keep in the freezer. For this recipe, I would suggest about 12 ounces to 1 pound.

Make an easy vegetarian dinner easy and earn cheers of “yum” from the family with this easy no-boil pasta bake that uses a jar of alfredo sauce, dry pasta, veggies and a little cottage cheese for extra protein.
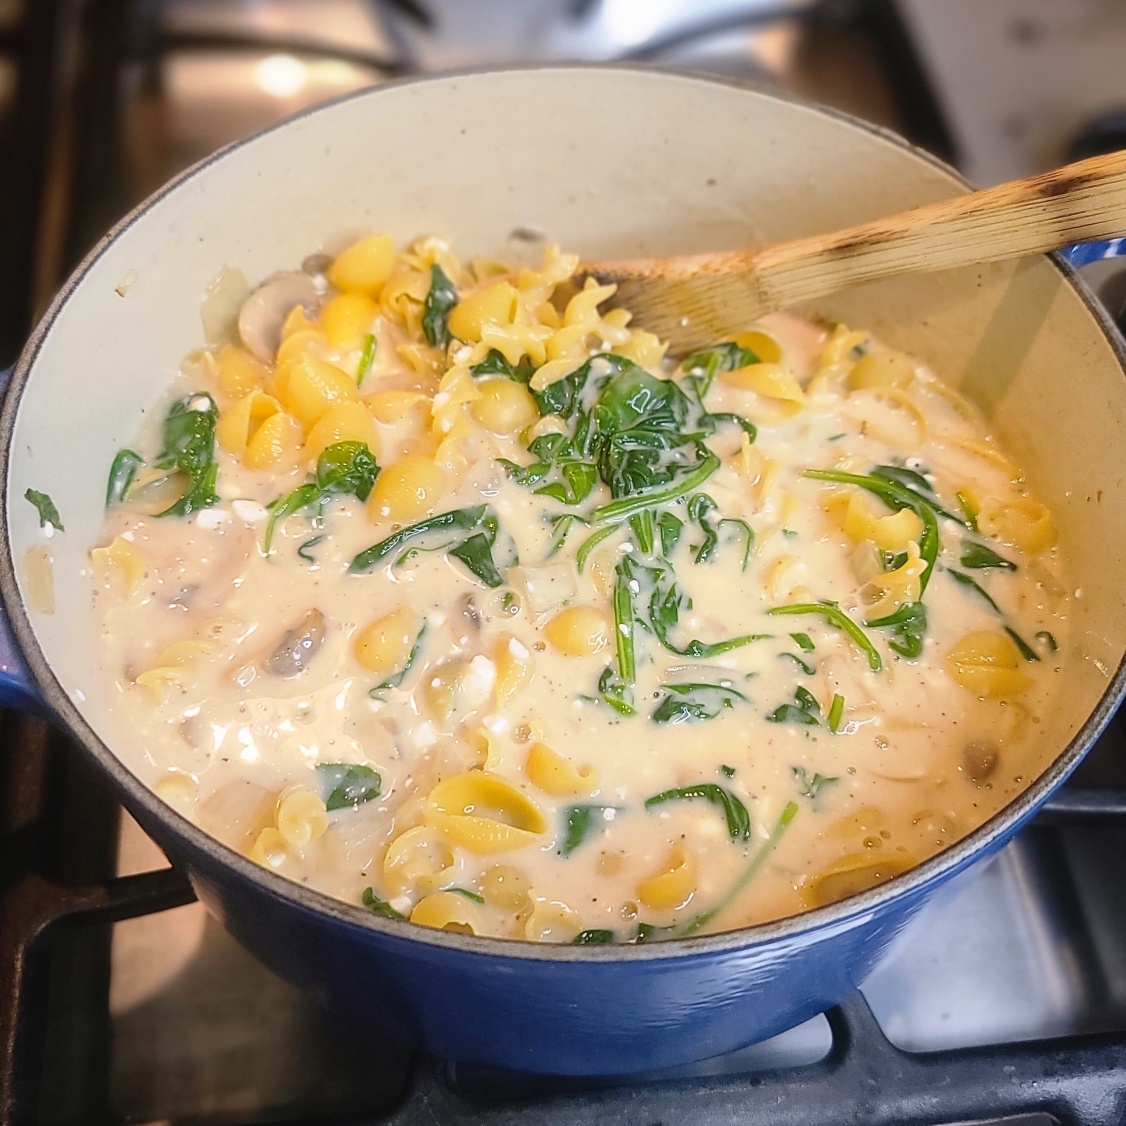
Looks watery, but the liquids are absorbed by the pasta during cooking – the result is a creamy sauce!

As for pan choice, I suggest a 3.5-quart capacity Dutch oven with lid. If you don’t have a lid, you can seal a pot tightly with aluminum foil during the baking process. The pot will look very liquid-y before baking, but don’t worry — the pasta absorbs it all!

Make an easy vegetarian dinner easy and earn cheers of “yum” from the family with this easy no-boil pasta bake that uses a jar of alfredo sauce, dry pasta, veggies and a little cottage cheese for extra protein.
Pin this for later!
5 from 5 votes
Make an easy vegetarian dinner easy and earn cheers of “yum” from the family with this easy no-boil pasta bake that uses a jar of alfredo sauce, dry pasta, veggies and a little cottage cheese for extra protein.
Alfredo No-Boil Pasta Bake
Prep Time
10 mins
Cook Time
45 mins
Total Time
55 mins
 

This easy vegetarian pasta dish is made all in one pot for convenience and easy clean-up! It's a family favorite that is creamy, cheesy and comforting. If you'd like . . . stir in 1.5 cups of shredded cooked chicken breast for a heartier meal.

Course: entree, Main Dish, Pasta
Cuisine: Italian
Keyword: alfredo, one pot, pasta, rice noodles, vegetarian
Servings: 6 servings
Calories: 440 kcal
Ingredients
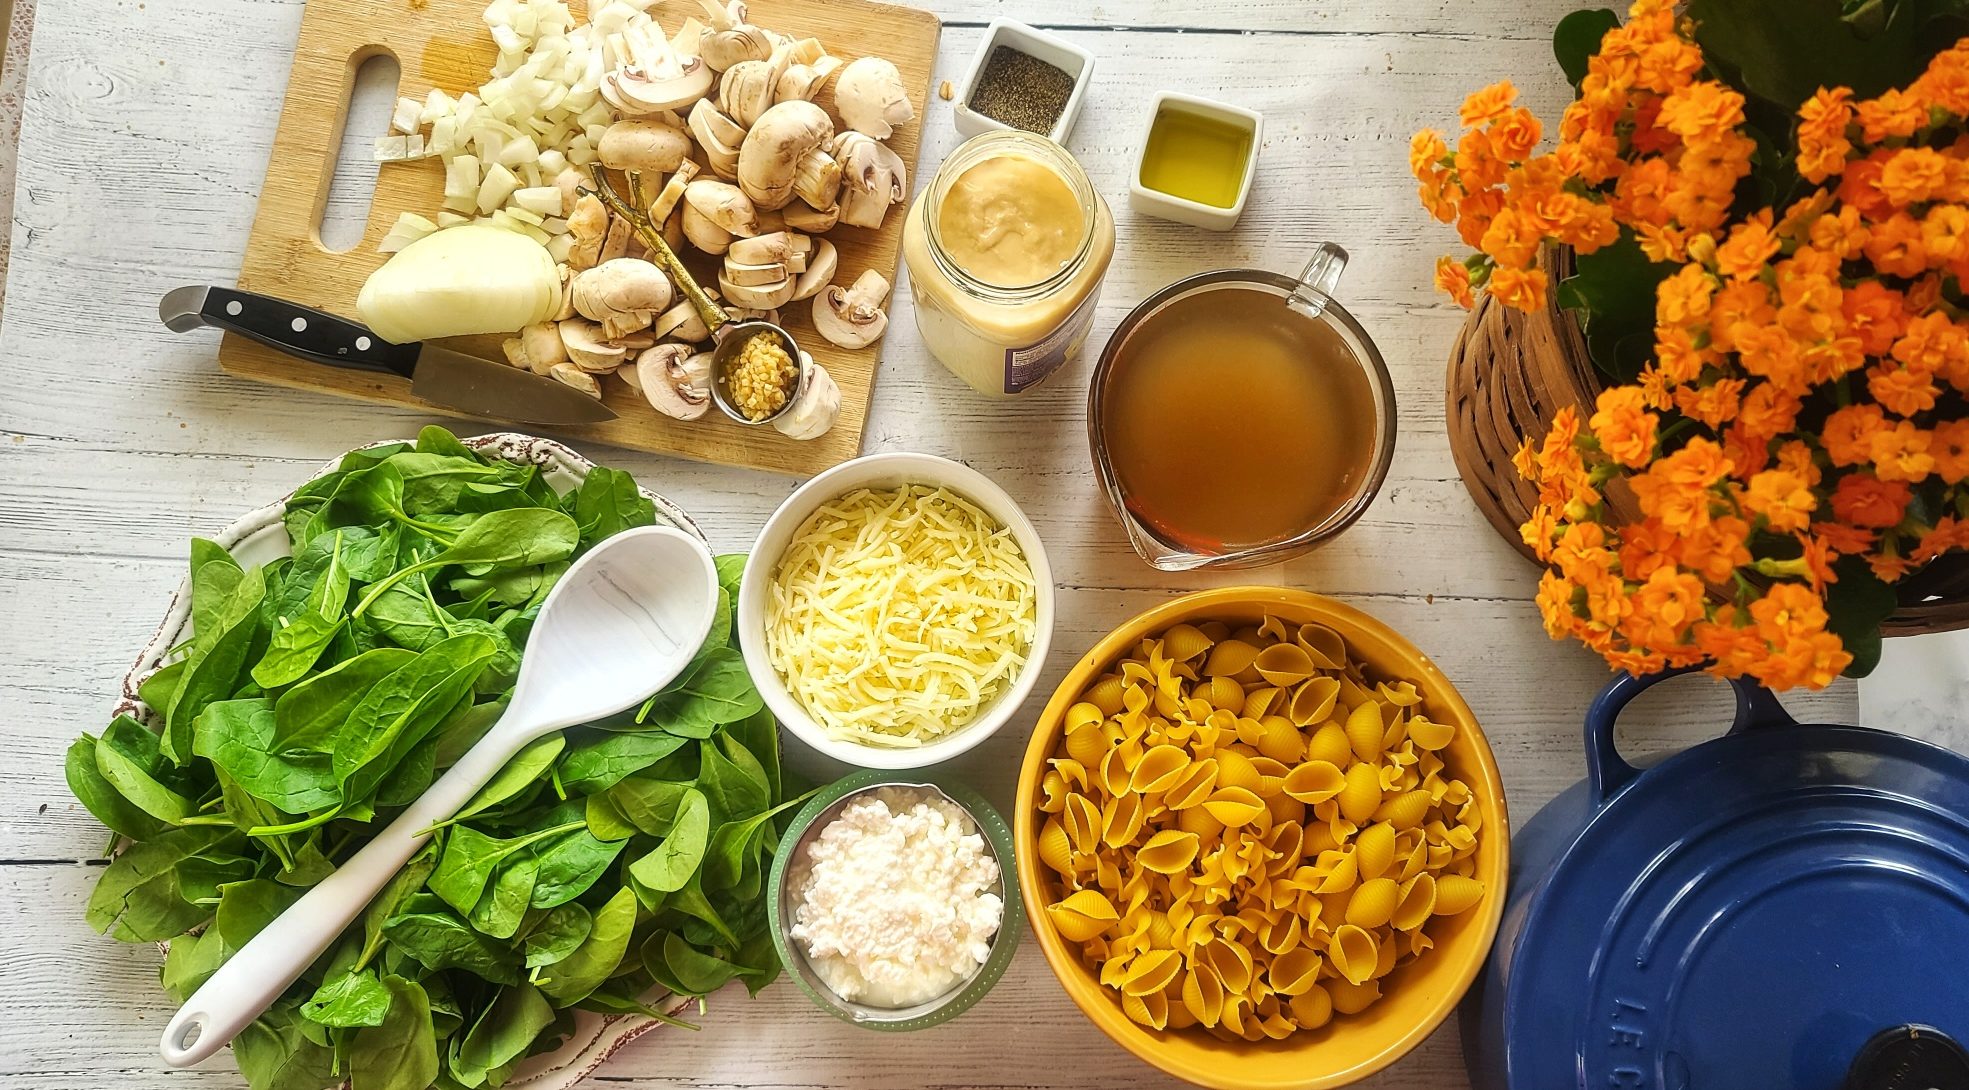
  • 1 tablespoon olive oil
  • 1 teaspoon ground black pepper
  • 2 teaspoons minced garlic from jar
  • 2 cups vegetable stock divided
  • 8 ounces button mushrooms sliced
  • 4 cups fresh baby spinach about 3 ounces
  • 1 15- ounce jar alfredo sauce
  • 1 cup 2% cottage cheese
  • 12 ounces uncooked pasta like shells, bowtie, penne, corkscrews *
  • 6 ounces shredded mozzarella
Instructions
  1. Preheat oven to 400 F.
  2. In a 3.5-quart Dutch oven, heat olive oil over medium high. Add mushrooms and chopped onions; sauté for 4 to 5 minutes until softened. Add garlic and pepper, cook another 1-minute stirring constantly.
  3. Lover heat to medium-low; add spinach and about ¼ cup of the vegetable stock. Add lid to pot for 1 minute to wilt spinach; remove lid and stir in with mushroom mixture.
  4. Add remainder broth, alfredo sauce, and cottage cheese. Stir until combined. Add dry pasta, stir around until mostly submerged.
  5. Bake in oven for 40 minutes (or until pasta al dente), stirring once at the half way point.
  6. Remove from oven, stir again and then sprinkle mozzarella cheese on top. Cover with lid and bake an additional 5 minutes, until cheese is melted.
Recipe Notes

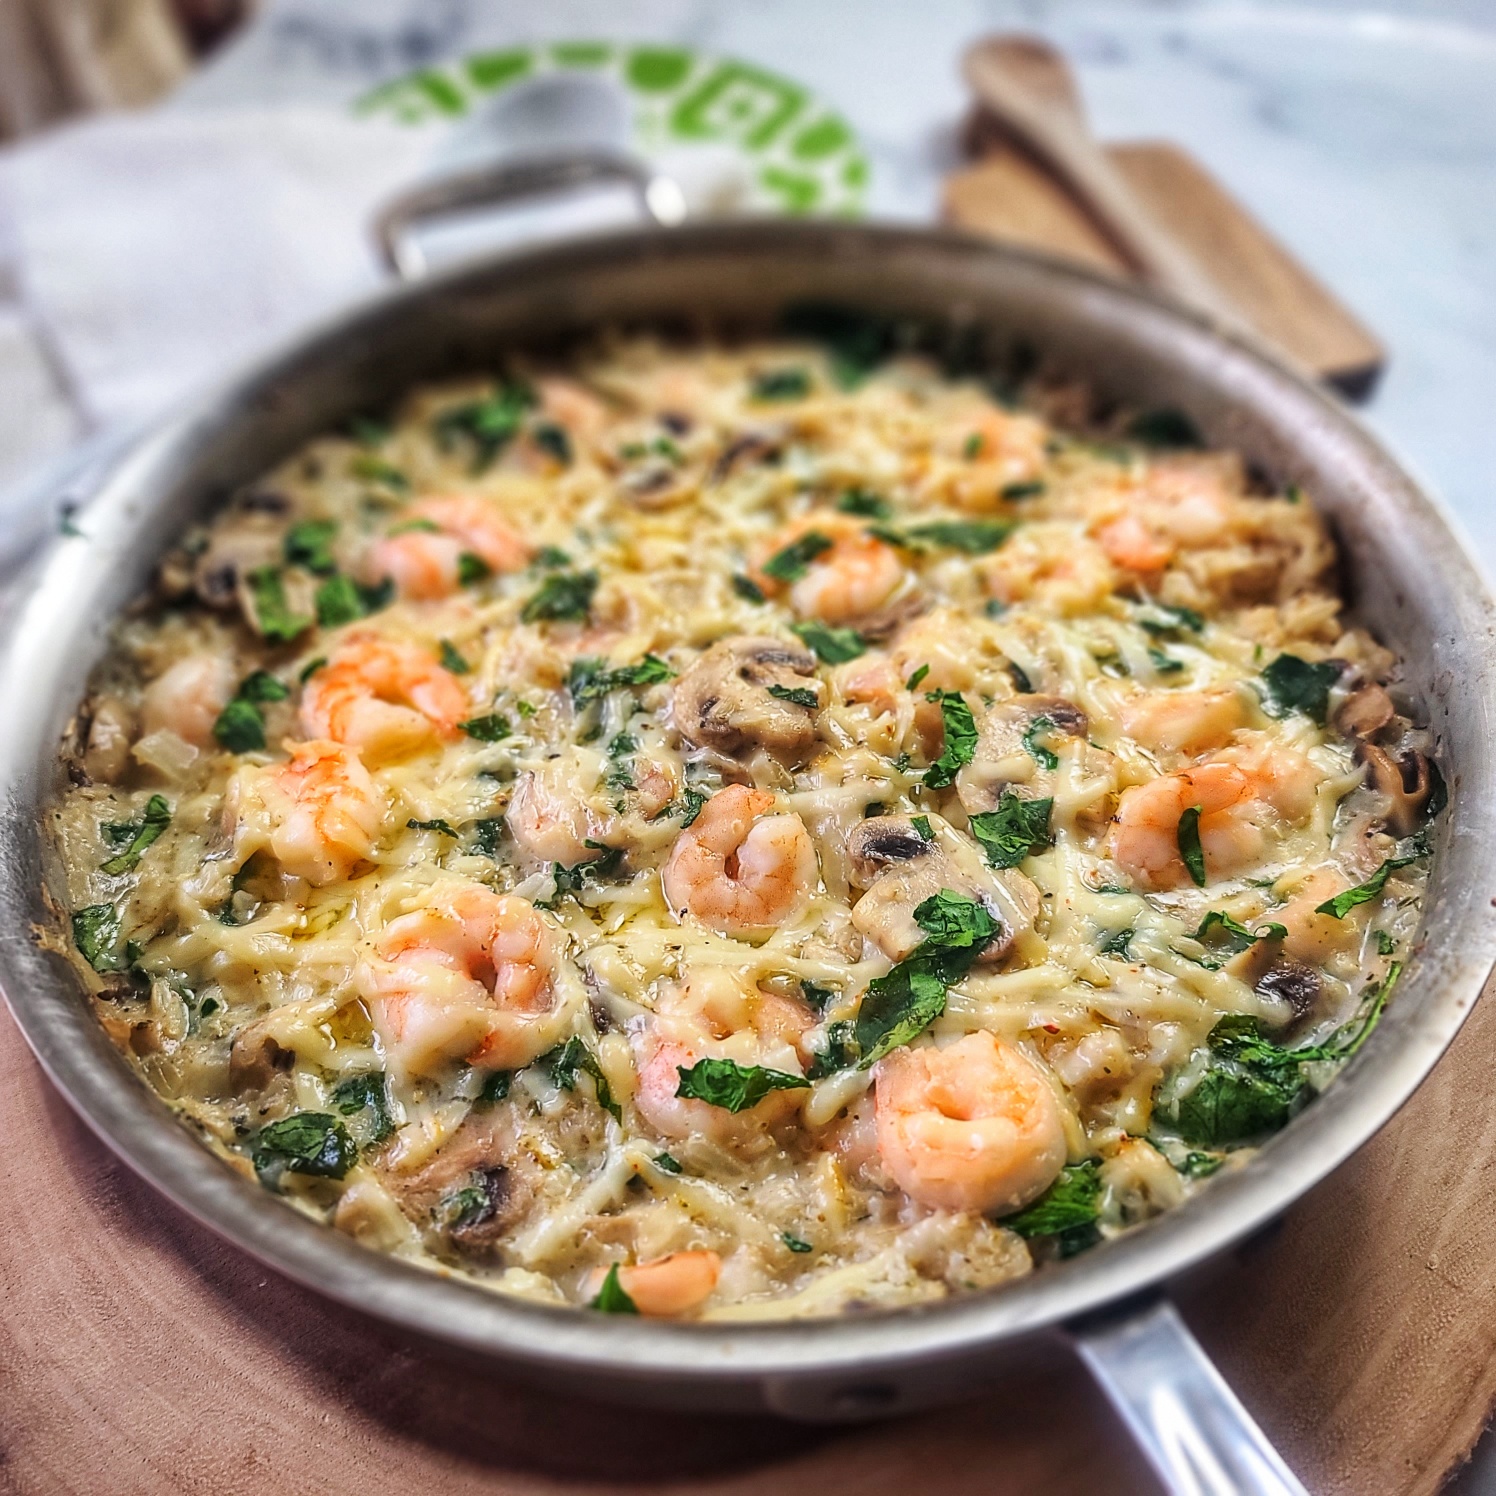
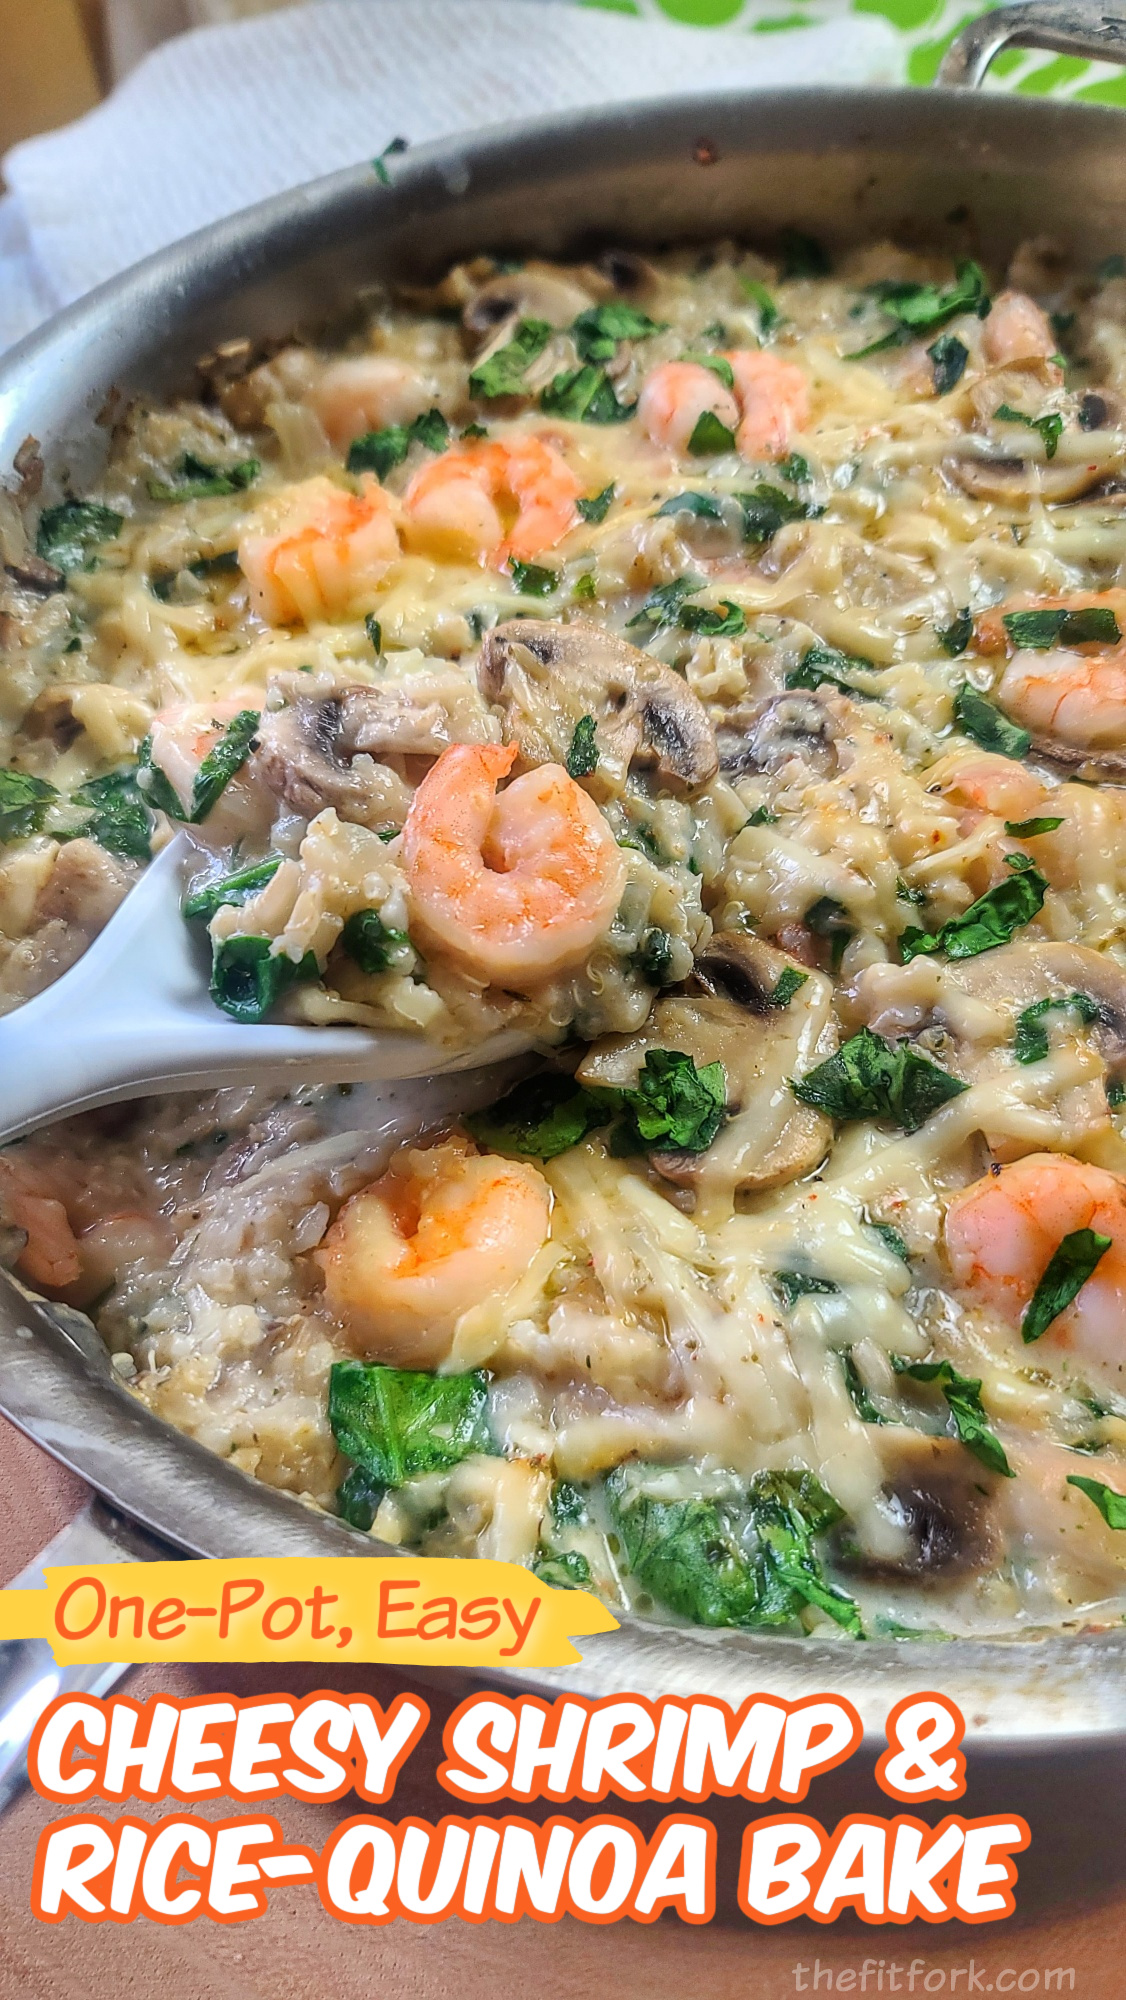
One Pot, Easy Cheesy Shrimp Quinoa-Rice Bake

One Pot, Easy Cheesy Shrimp Quinoa-Rice Bake makes mid-week seem mighty fine! Enjoy a shrimp that is low mess and low stress, taking only 30 minutes prep to plate!

Prep to plate in 30 minutes! You can also make ahead and store this shrimp casserole in the fridge until ready to bake. Loaded with protein, veggies and healthy whole grains in a comforting, cheddar cheese sauce.

Succulent shrimp with mushrooms, onions, and spinach marry in a creamy sharp cheddar sauce with a brown rice-quinoa providing the whole grains you need. It’s at once comfort food AND yet a beautifully balanced meal.

Made over a bit from the heavy, calorie and fat laden traditional shrimp rice casseroles, this version uses smaller amounts of dairy, lots of veggies, plenty of shrimp –and some quinoa in lieu of the typical “all rice” shrimp casserole.

You get a whopping 29g protein for only 360 calories. Full nutrition details in this 6-serving shrimp recipe.

Check out this quick 15-second tutorial!

I use an oven-proof 10” skillet with lid for this recipe, but you can also use a Dutch oven or a 2-quart casserole dish (you’ll have an extra dish to wash with this last option thought).

Don't overcook the shrimp

I use frozen (thawed) peeled, tail-off, deveined shrimp to make this recipe extra easy and convenient. When cooking the shrimp, it’s a “par cook,” meaning you saute in the skilled for just a couple minutes until the grey is gone and they have barely just turned pink – the remainder of cooking is done in in the oven. Just a heads up so you don’t get rubbery shrimp.

Prep to plate in 30 minutes! You can also make ahead and store this shrimp casserole in the fridge until ready to bake. Loaded with protein, veggies and healthy whole grains in a comforting, cheddar cheese sauce.
Pin this for later!

After sauteing the shrimp, the veggies, and making the cheesy sauce, the shrimp and quinoa rice blend are mixed in – and then it bakes at 325F degrees for about 15 minutes. However, this can also be a make-ahead casserole recipe by doing all steps up until the last baking step. Just prepped dish in in the fridge until ready to bake, and add on 5 or so extra baking minutes to compensate for starting it cold.

5 from 6 votes
Prep to plate in 30 minutes! You can also make ahead and store this shrimp casserole in the fridge until ready to bake. Loaded with protein, veggies and healthy whole grains in a comforting, cheddar cheese sauce.
One Pot Cheesy Shrimp Quinoa-Rice Bake
Prep Time
15 mins
Cook Time
15 mins
Total Time
30 mins
 

Prep to plate in 30 minutes! You can also make ahead and store this shrimp casserole in the fridge until ready to bake. Loaded with protein, veggies and healthy whole grains in a comforting, cheddar cheese sauce.

Course: dinner
Keyword: one dish, quinoa, shrimp
Servings: 6 servings
Calories: 360 kcal
Ingredients
  • 3 Tbsp Butter (divided)
  • 1 Tbsp. minced Garlic
  • 24 oz. large Shrimp peeled, tail-off, deveined
  • 1 cup chopped Onion
  • 8 oz. sliced Mushrooms
  • 2 tbsp all-purpose flour
  • 1 1/3 cup 2% milk
  • 1 tsp. Salt
  • 1 tsp. Italian Seasoning
  • 6 oz. shredded Sharp Cheddar Cheese divided
  • 3 cups Baby Spinach
  • 2 cups cooked Brown Rice
  • 1 cup cooked Quinoa
Instructions
  1. Pre-heat oven to 325F.
  2. Add 1 tbsp butter to 10” deep skillet or Dutch oven. Melt, cook shrimp over medium-high heat for just 2 to 3 minutes until barely pink (don’t over cook).
  3. Remove shrimp, set aside in bowl. Keep shrimp juices in pan, add 1 tbsp butter, onions, and mushrooms and saute for 2-3 more min until tender.
  4. Add last 1 tbsp. butter,to mushrooms, melt and sprinkle flour over. Stir around for 30 sec, pour in milk in a slow steady stream while stirring to incorporate smooth with mushroom mixture. Let bubble for 1 minute until milk hot, then stir in 4-oz. of cheese, salt, seasoning, stir until melted.
  5. Remove from heat, stir in baby spinach, cooked rice and quinoa, and the shrimp. Sprinkle remaining cheese on top and bake for 15 minutes until heated through, sauce bubbling, cheese melted.

  6. If needed, you can make up to the baking step and then keep covered in the fridge until ready. Then cook as directed adding about 5 to 7 more minutes to the baking time, bringing it to 20 to 22 minutes baking.

Recipe Notes

Pizza Hasselback Potatoes

One ooey-gooey, saucy, meaty taste of my Loaded Pizza Hasselback Potatoes and your family will be screaming “Gimme Amore” as in “give me some more”! And, yes, I admit that pun is as cheesy as the layers upon layers of loaded spud goodness of this amazing family-friendly, one-pot meal. Read on to get more details and the drool-worthy recipe:Loaded Pizza Hasselback Potatoes

Continue reading →