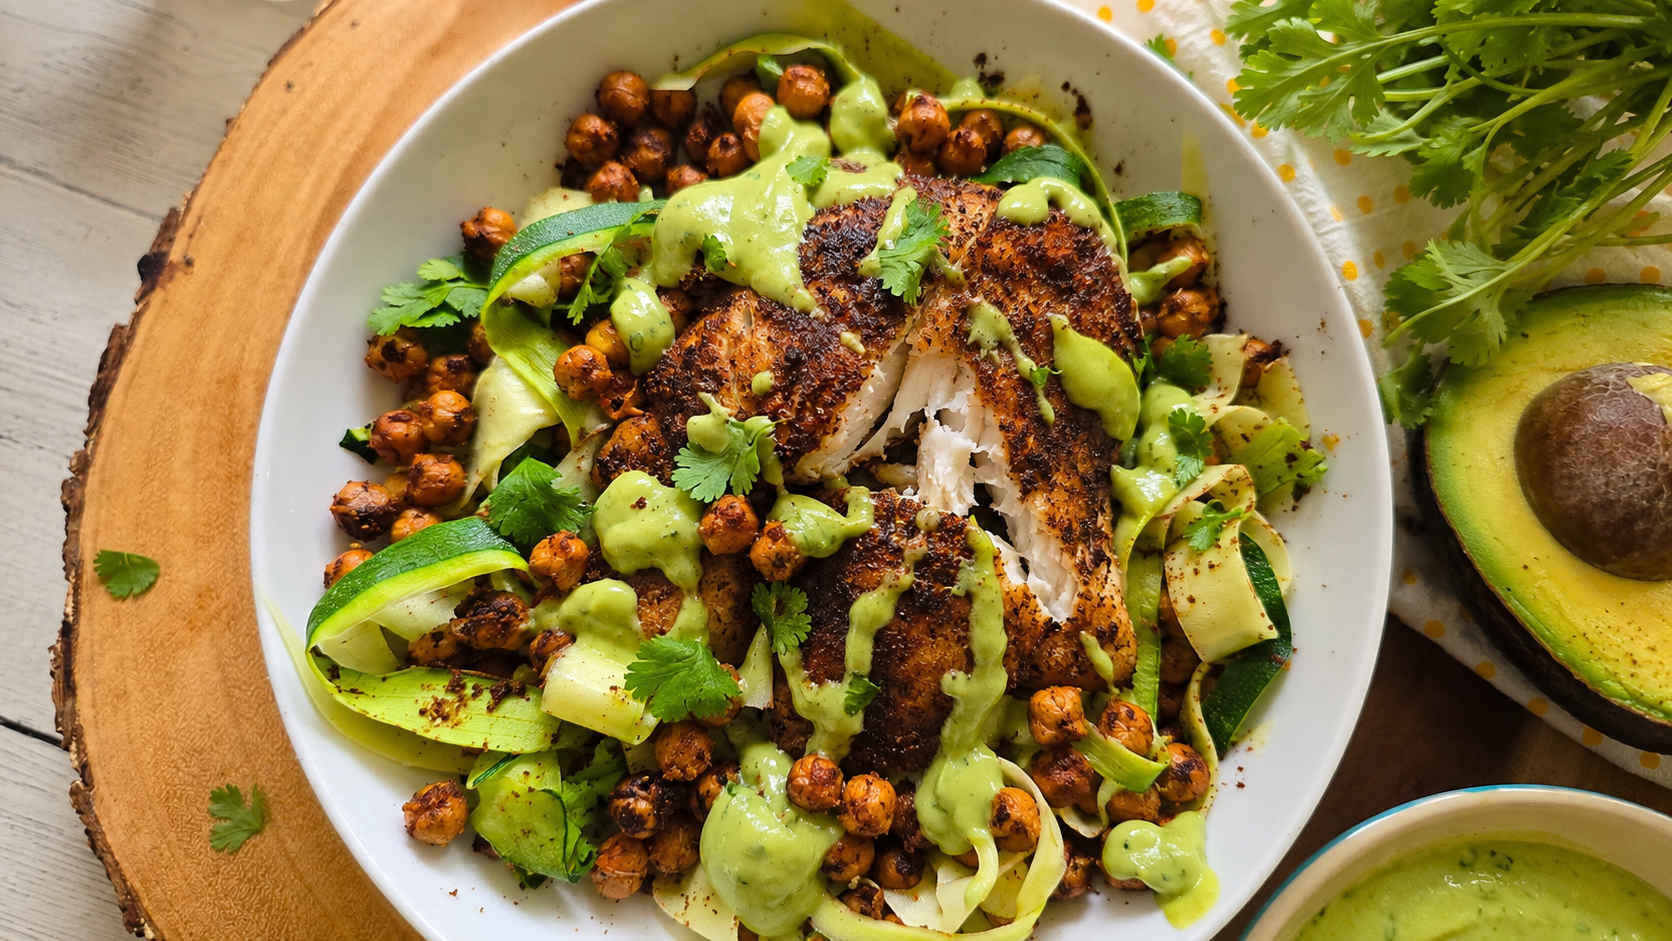
Easy Blackened Fish + Creamy Avocado Coconut Crema – Air Fryer or Oven

When the weather is hot—or life is just busy—I want meals that check all the boxes: quick, nutritious, packed with protein, and loaded with flavor. This Air Fryer Blackened Fish with Avocado Coconut Crema does exactly that. It’s a restaurant-worthy meal that’s surprisingly easy to make at home, and the air fryer means dinner is on the table fast without turning your kitchen into a sauna.

Why You’ll Love This Fish Recipe
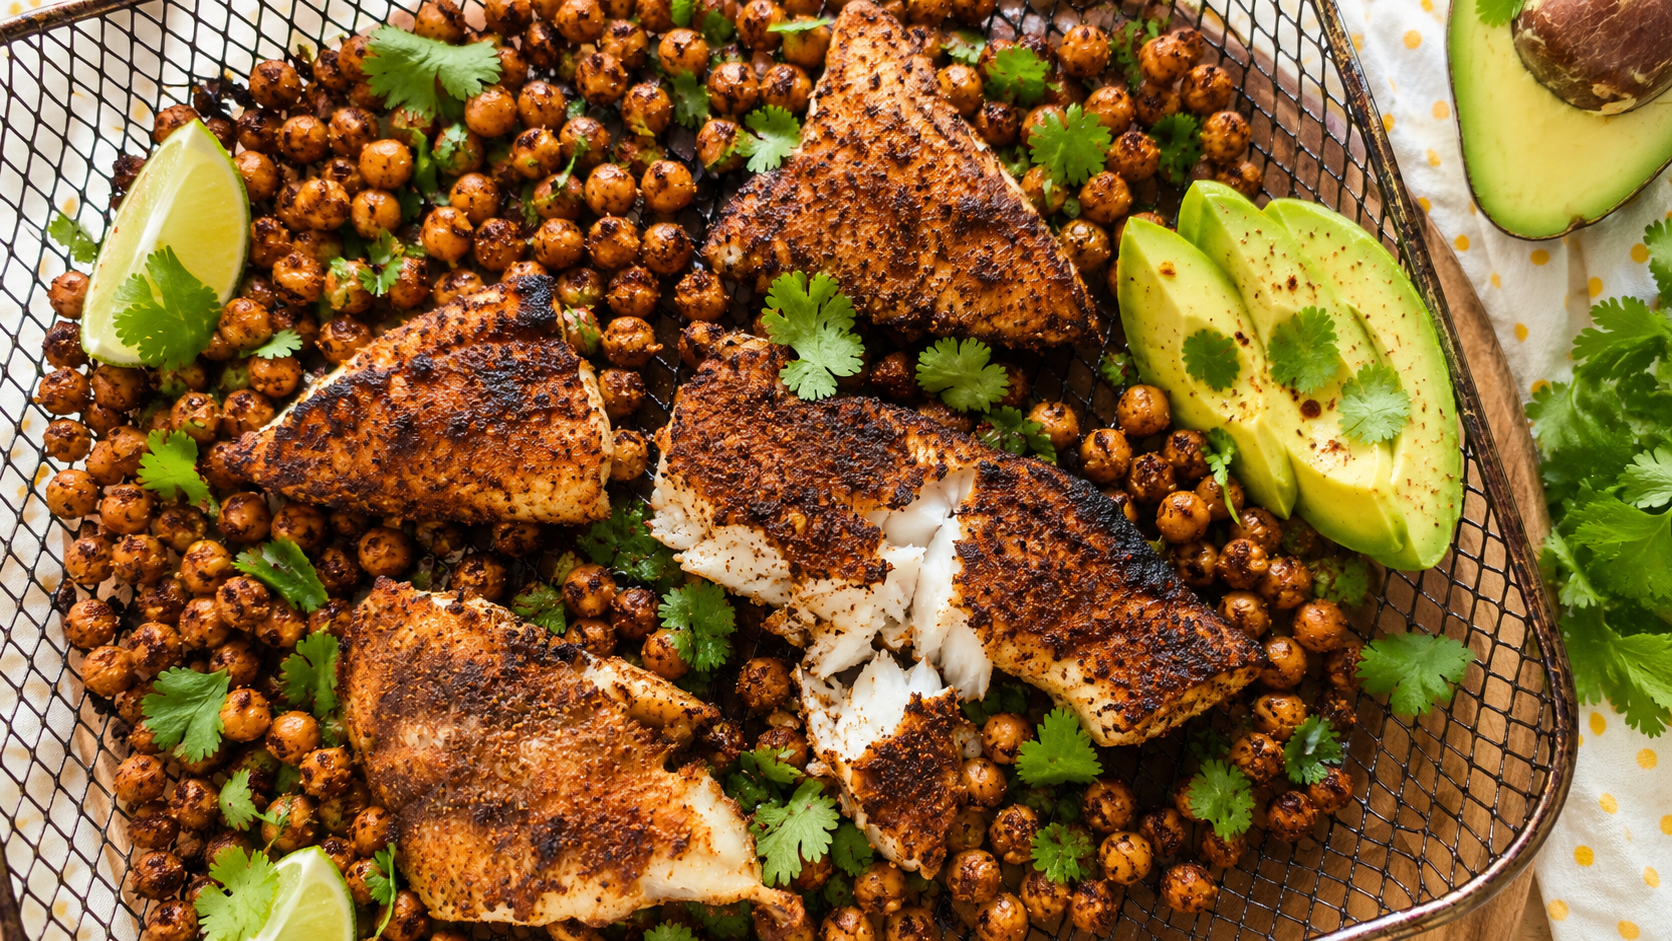
One of my favorite things about this white fish recipe is how effortlessly it fits into an active lifestyle. The fish cooks in just minutes in the air fryer (I love this oven-style air-fryer), developing a lightly crisp, flavorful blackened crust while staying tender and flaky inside. It’s proof that healthy eating doesn’t have to be complicated—or boring.

Even better, the air fryer keeps cleanup simple and eliminates the need to heat up the entire kitchen, making this an ideal meal during warmer months. But, you CAN also prepare in a traditional oven, all the details are in the recipe below.

A High-Protein Meal That Works Hard for You

Protein is one of the most important nutrients for maintaining muscle, supporting recovery after workouts, and helping you stay satisfied between meals. Whether you’re training for a race, lifting weights, or simply trying to eat a little healthier, this meal delivers quality protein in a delicious way. White fish is a solid lean protein choice and this recipe works well with cod, pollock, halibut or tilapia – use what you like!

The addition of chickpeas boosts both the protein and fiber, creating a balanced meal that provides lasting energy and helps keep you feeling full longer. Canned chickpeas (aka garbanzo beans) keep this a quick and easy recipe. Simply drain and rinse them off — also picking off any skins that come loose.

Creamy Without the Dairy
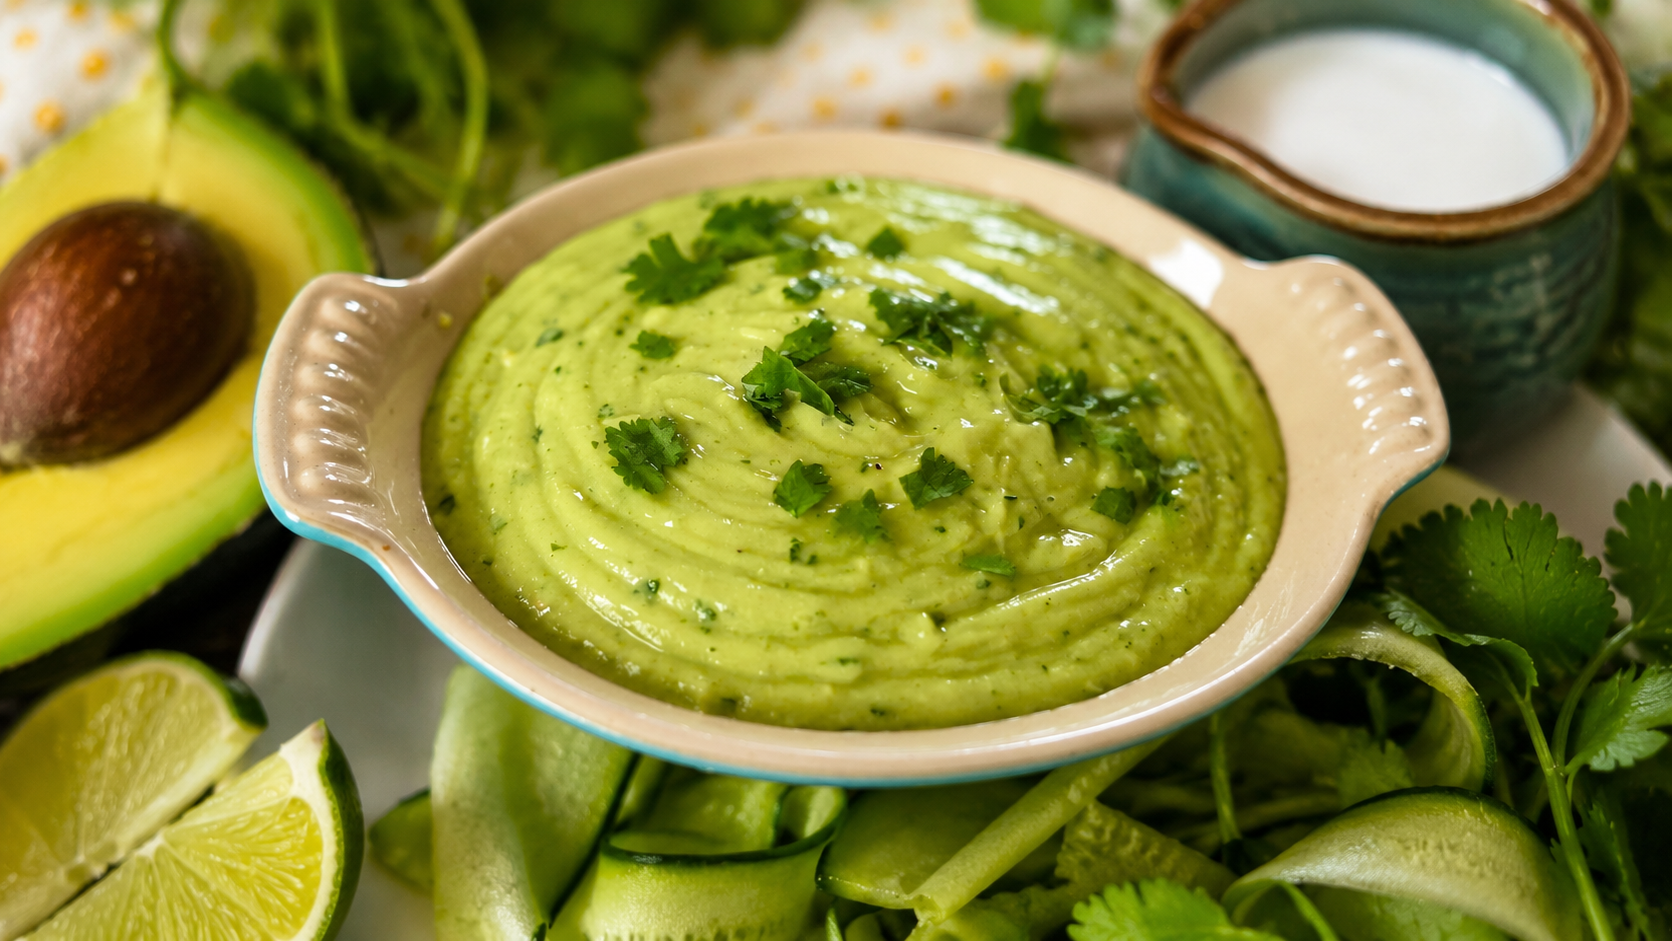
The avocado coconut crema may be my favorite part of this dish. Instead of relying on heavy cream or sour cream, it gets its silky texture from ripe avocado and rich coconut cream from a can. Fresh cilantro and lime juice brighten everything up, creating a sauce that’s creamy, fresh, and packed with flavor. It’s a great option for anyone who avoids dairy or simply wants a lighter, dairy-free alternative that doesn’t sacrifice richness.

Choosing the Best Fish for Blackened Fish

I used wild Alaskan pollock for this recipe, a neutral, flaky white fish with a firm texture that holds up beautifully in the air fryer. Pollock has a delicate flavor that pairs perfectly with bold blackened seasoning and the creamy avocado coconut crema without overpowering the dish. It’s also a budget-friendly, sustainable seafood option that’s easy to find.

That said, this recipe is incredibly versatile, so feel free to use your favorite firm white fish. Cod is another great choice with large, tender flakes, while halibut offers a thicker, meatier texture and a slightly richer flavor. Tilapia works well too for a mild, affordable option that cooks quickly. Other options like haddock, mahi mahi, or even grouper can also work depending on availability. The key is choosing a fish that you enjoy and adjusting the cooking time based on the thickness of the fillets.
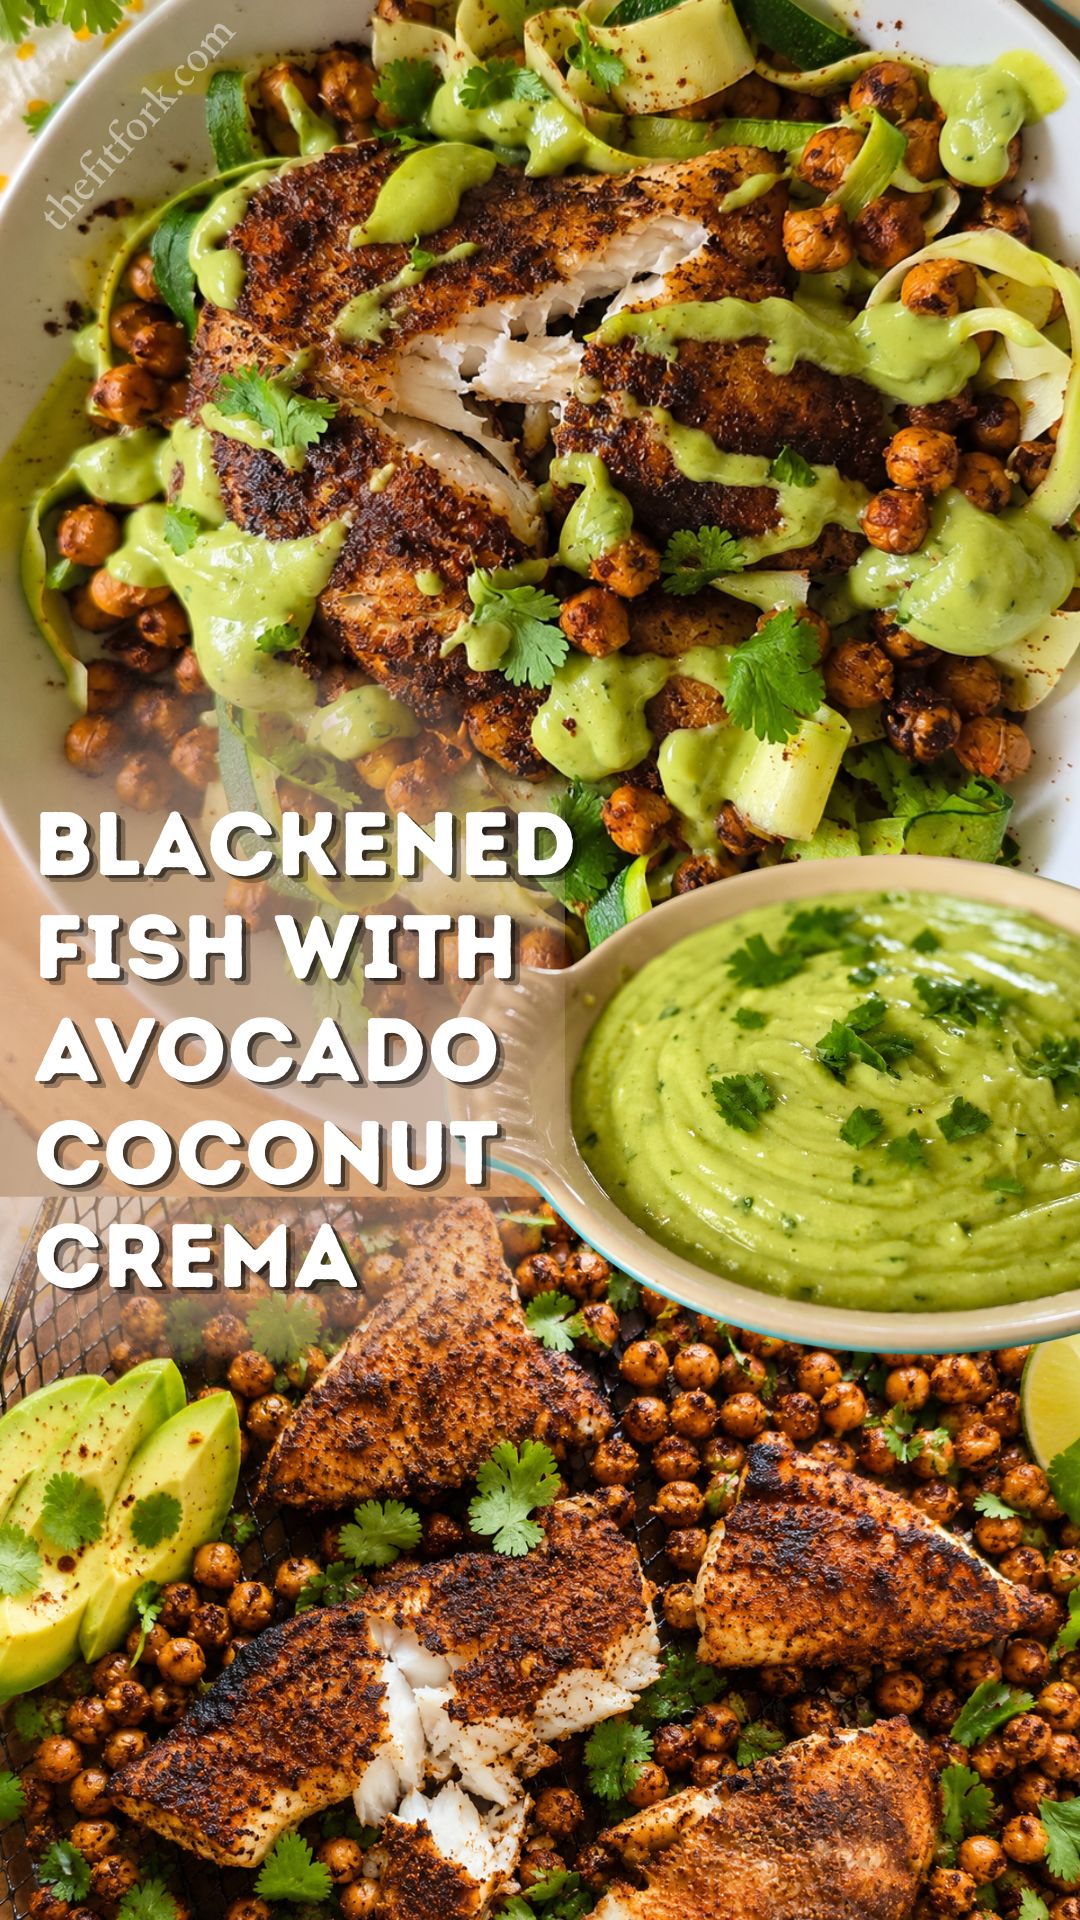
Endless Ways to Serve This Blackened Fish

This recipe is incredibly versatile, making it easy to customize based on your goals or whatever you have in the kitchen. Some of my favorite serving ideas include:

  • Zucchini noodles (zoodles) for a lighter, veggie-packed meal
  • Steamed rice or brown rice for a heartier dinner
  • Cauliflower rice for a lower-carb option
  • Quinoa for extra protein and fiber
  • Pasta when you’re craving comfort food
  • Mixed greens for a satisfying salad bowl
  • Warm tortillas for flavorful fish tacos
  • Grain bowls loaded with roasted vegetables

Perfect for Busy Weeknights

If you’re looking for a meal that’s fast enough for a weeknight but impressive enough for guests, this recipe delivers. The bold blackened seasoning, flaky fish, hearty chickpeas, and creamy dairy-free sauce create a combination that feels elevated without requiring much effort. It’s the kind of healthy dinner you’ll find yourself coming back to again and again—especially when you want maximum flavor with minimal time in the kitchen.
Blacked Fish & Chickpeas with Avocado Coconut Crema
Prep Time
8 mins
Cook Time
12 mins
Total Time
20 mins
 
Healthy doesn’t have to be boring! This Air Fryer Blackened Fish with creamy avocado coconut sauce is ready in minutes, naturally dairy-free, protein-packed, and perfect for fueling an active lifestyle
Course: dinner, southwestern
Cuisine: dairyfree
Keyword: avocado, dairy-free, fish, seafood
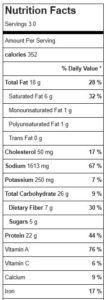
Servings: 3 servings
Calories: 352 kcal
Ingredients
For Avocado Coconut Crema:
  • 1 medium avocado about 6-7 ounces – pitted, peeled and coarsely chopped
  • 1/2 cup unsweetened coconut cream or can sub full-fat coconut milk from can
  • 2 tablespoons fresh lime juice
  • 1/3 cup fresh cilantro stems removed
  • 1/2 teaspoon garlic salt
For Fish:
  • 12 oz firm white fish like Pollock Cod, Halibut, even Tilapia
  • 15 oz can chickpeas drained and rinsed
  • 2 tablespoons olive oil divided
  • 1 tablespoon chili powder
  • 1 tablespoon paprika
  • 1 teaspoon cumin
  • 1 teaspoon garlic powder
  • 1 teaspoon onion powder
  • 1 teaspoon salt
Instructions
  1. Preheat oven-style air fryer to 380F or regular oven to 400F
  2. Combine all ingredients for crema in blender; process until smooth. If too thick, add just a bit more coconut milk/cream. Set aside.
  3. In small bowl, mix together the blackening spices: chili powder, paprika, cumin, garlic powder, onion powder and salt. Set aside.
  4. Pat fish filets dry with paper towel and lightly brush with some of the oil. Sprinkle about 1 teaspoon blackening spices (give or take, enough to rub into top and bottom of fish filets).
  5. Drizzle remaining olive oil and remaining blackening spices over chickpeas, stir until combined.
  6. Add fish and chickpeas to air fryer tray or rimmed baking sheet in single layer. Air fry for 12 minutes, flipping fish and tossing chickpeas halfway. Cook approx. 18 minutes in regular oven, flipping halfway.
  7. Serve over pasta, zoodles, roasted veggies, rice, etc along with the avocado crema.
Recipe Notes

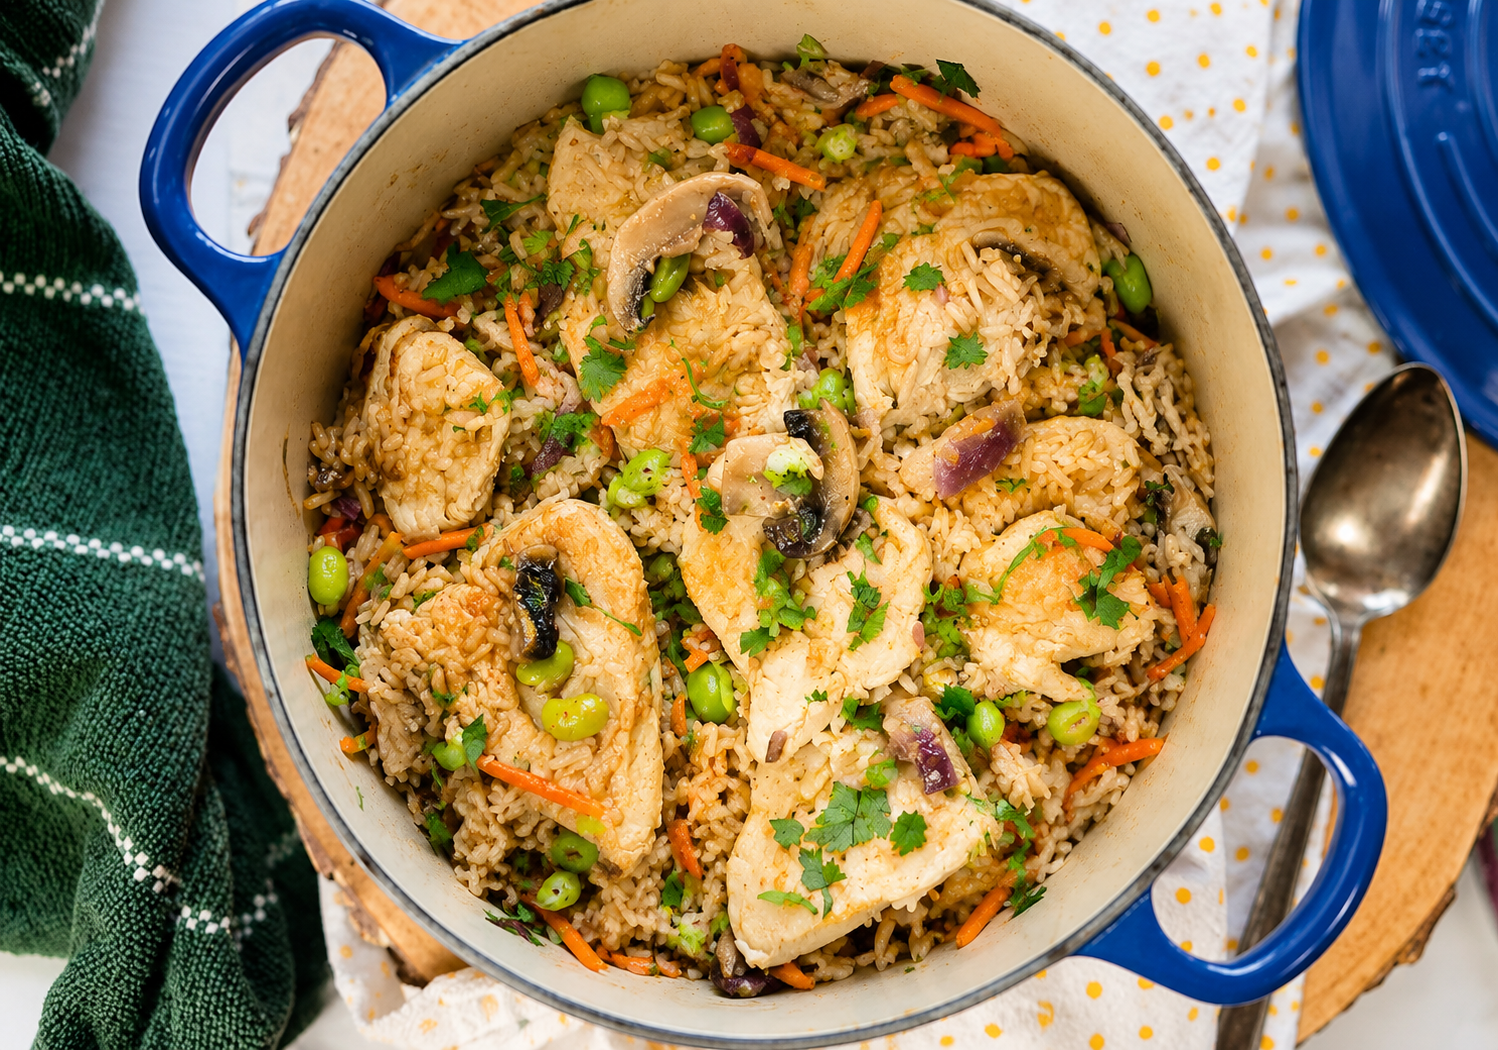
One-Pot Creamy Ginger Chicken and Rice (Easy Weeknight Dinner)

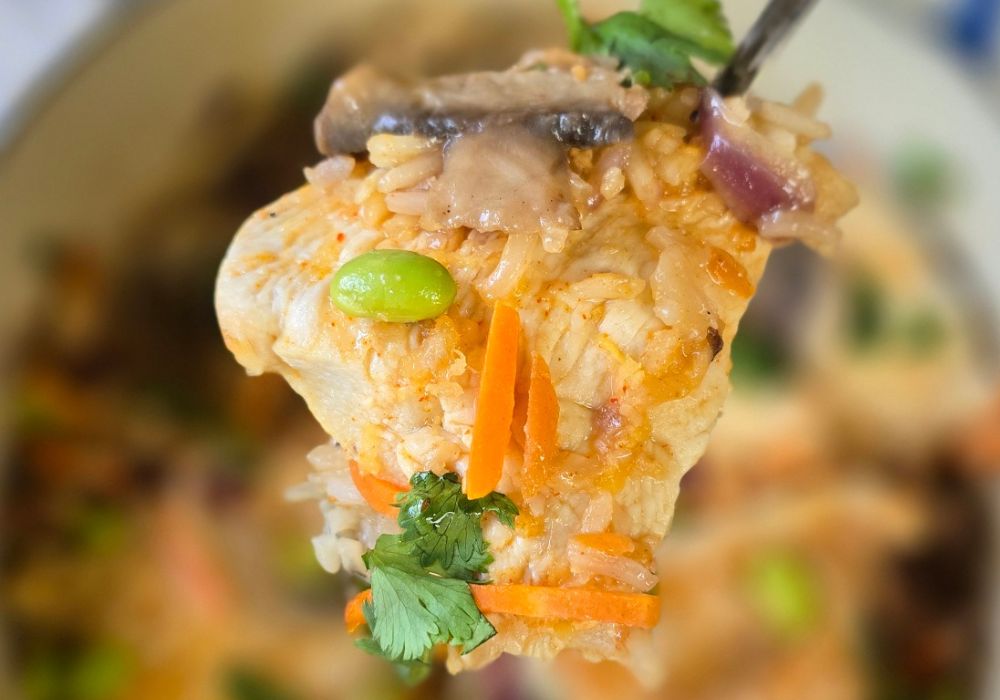
If you’re looking for an easy weeknight dinner with minimal cleanup, this One-Pot Creamy Ginger Chicken and Rice delivers. Tender chicken, fluffy rice, vegetables, and a rich, creamy ginger-infused sauce all cook together in a single Dutch oven pot, creating a comforting, flavor-packed meal with very little hands-on effort.

After just a few minutes of sautéing the vegetables and searing the chicken, the oven takes over, allowing all the flavors to meld while the rice cooks to perfection. While dinner bakes, you’ll have plenty of time to tend to any last dinner details or simply enjoy a well-earned break.

I love recipes like this because everything—protein, vegetables, rice, and sauce—is cooked together, making it a complete, balanced meal that’s perfect for busy weeknights. From prep to plate in about an hour, it’s an easy family dinner that’s as satisfying as it is convenient.

INGREDIENT & EQUIPMENT NOTES

  • OLIVE OIL: Olive oil or any vegetable oil for browning chicken and sautéing the veggies
  • GARLIC & GINGER: The cornerstone of flavor in this dish. I prefer to use minced garlic from a jar (to save time and smelly hands) but the ginger flavor is hands-down if your grate it from fresh.
  • VEGGIES: You can vary the variety (like shitake mushroom instead of button) or swap veggies suit your tastes. Coarse, sturdy veggies will need to be chopped and sauteed in the onion step before placing in oven.
  • RICE:  Jasmine rice is my go-to for this recipe – the cooking time and liquid amounts are tailored for this type of long-grain rice.
  • CHICKEN:  I’ve used skinless boneless chicken breast, cut in half and the thick pieces fileted for more even cooking. Boneless skinless chicken thighs can be substituted.
  • COCONUT CREAM:  Full fat coconut cream from a can (unsweetened) give the most luxurious texture and flavor. But if desired you can use regular (not light) coconut milk from a can (not carton).
  • COCONUT SUGAR: The signature hint of sweetness in the sauce comes from coconut sugar, but feel free to substitute brown cane sugar or even date sugar.
  • WHAT POT TO USE: This recipe works best in a cast-iron enamel  Dutch Oven with lid ( to 5 to 6qt). It’s big enough to hold the chicken and deep enough for the rice and cooking liquid. Plus, the cast-iron enamel of these cooking vessels are designed to hold heat, which helps the rice finish up after it’s removed from oven. If in a bind, you can use another 6-quart casserole dish or pot that is OVEN PROOF and, if no lid, cover very tightly with foil.
One-Pot Creamy Ginger Chicken and Rice
Prep Time
15 mins
Cook Time
40 mins
rest
5 mins
 

One pan, big flavor! This One-Pot Creamy Ginger Chicken and Rice is the ultimate comfort food dinner! Tender chicken, fluffy rice, veggies, and a creamy ginger sauce bake together in one dish for an easy family meal with minimal cleanup. Perfect for busy weeknights!

Course: dinner
Cuisine: Asian, family, thai
Keyword: chicken, coconut, dutch oven, one pot, rice
Servings: 6 servings
Ingredients
  • 3/4 cup coconut cream from can well blended
  • 1 medium lime zested and juiced
  • 2 Tablespoons minced garlic from jar
  • 2 tablespoons coconut sugar
  • 1 1/2 tablespoons fish sauce
  • 2 tablespoons soy sauce
  • 1.5 tablespoon grated fresh ginger you can use minced from jar, but the fresh grated REALLY makes the dish pop
  • 1.5 tablespoon Sriracha sauce
  • 1 1/2 pounds boneless skinless chicken breasts
  • 1 tablespoon salt divided
  • 2 teaspoons olive oil
  • 4 oz button mushrooms sliced thin
  • 1/2 large onion sliced into thin vertical slices
  • 2 cups chicken broth or stock
  • 1 1/2 cups long grain white rice rinsed and drained
  • 2/3 cup matchstick carrots
  • 2/3 cup frozen edamame beans thawed
  • 1/2 cup chopped cilantro
  • 2 medium green onions thinly sliced
Instructions
  1. In medium bowl, whisk together coconut cream, lime zest, lime juice, garlic, coconut sugar, fish sauce, soy sauce, grated ginger, and Sriracha sauce until smoot. Set sauce aside.
  2. Pat chicken breasts dry, and cut each breast into 2 portions. If needed, on the “thick” portion of breast, use sharp filet knife to cut through the middle crossways into two portions for more even cooking. Sprinkle both sides of chicken 1 teaspoon of the salt.
  3. Heat oil in a Dutch oven over medium high heat. Carefully add chicken in batches into the hot oil, making sure not to crowd the pan. Cook undisturbed until exterior is seared and lightly browning, about 3 minutes. Turn chicken and brown the other side in same manner. Transfer to a plate, and repeat the process with any remaining chicken pieces.
  4. Add onion and mushroom slices to the same Dutch oven and cook, stirring, about 3 minutes. Pour in chicken stock and stir up any browned bits from the bottom of the pan. Add rice and remaining salt, and stir to combine.
  5. Layer in carrots and thawed, shelled edamame beans, and set par-cooked chicken breasts on top. Drizzle 3/4 cup of the ginger sauce over the chicken pieces/
  6. Meanwhile, preheat the oven to 350F degrees and set an oven rack in the center of the oven.
  7. Place lid on Dutch oven and transfer into the center of the preheated oven. Bake until chicken is no longer pink at the center and the juices run clear, about 25 minutes. An instant-read thermometer should read at least 165 degrees F (74 degrees C).
  8. Transfer Dutch oven onto a wire rack and allow to stand, covered, until the rice is completely tender, about 5-10 minutes.
  9. Place chicken on a serving platter (or keep in pot to serve). Fluff the rice and vegetables with a fork, and stir in remaining ginger sauce and chopped cilantro. Garnish with thinly sliced green onions.

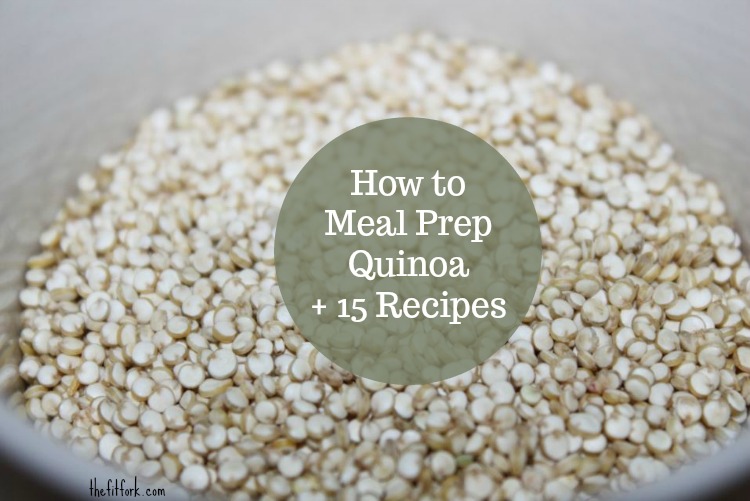
How to Meal Prep Quinoa + 15 Healthy Recipes

Want to know how to make meal time easier, more nutritious and with nearly unlimited potential for variety?  Meal prep a huge pot of quinoa, the healthy seed. Rather than a big batch of quinoa with seasonings, sauces or veggies already mixed in. Making plain quinoa is like a blank canvas for recipe inspiration as it strikes you, rather than being stuck with a dozen of the same exact pre-made meals in the freezer. How to Meal Prep Quinoa + 15 Recipes

And yes, cooked quinoa can be frozen for timesaving use later! This is a dinner hack you need to add to your arsenal STAT! Read on the get all the “how to” and serving suggestions! Continue reading

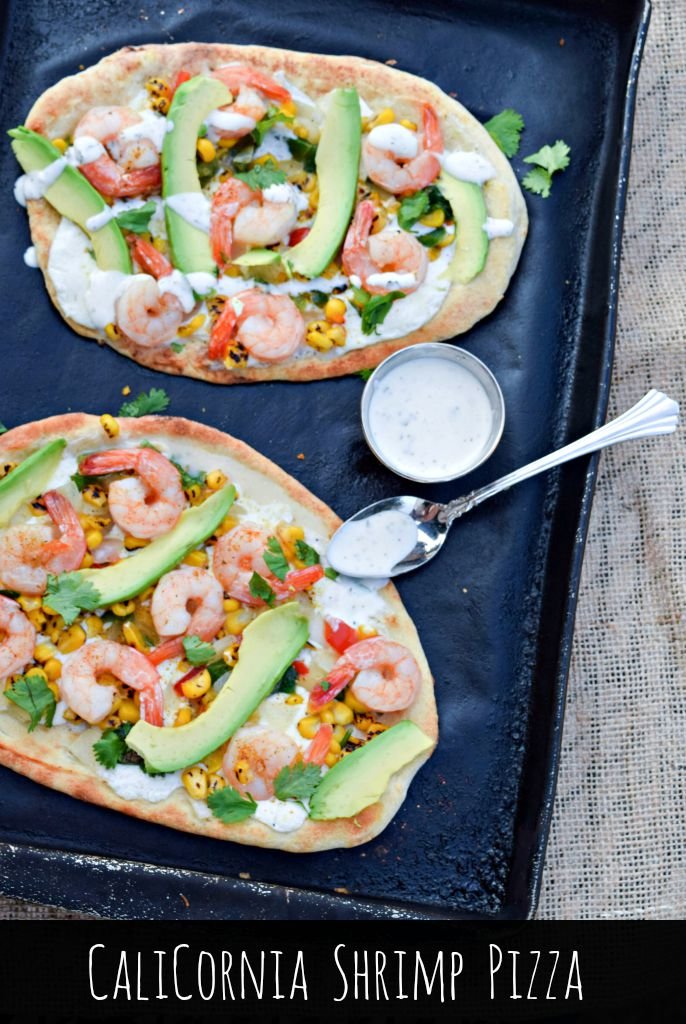
CaliCornia Shrimp & Avocado Pizza for Labor Day

CaliCornia Shrimp Pizza is a quick and easy meal solution made on Naan bread or pre-made crusts.

Even though the calendar has turned to September and I still am getting acclimated to our back-to-school routine, it certainly feels like summer every time I step out the door. Officially, it IS still summer until fall arrives on September 22nd and no one can stop me extracting every last kernel of enjoyment from the season.   On these last warm-weather weekends, my family will eat our dinners al fresco, practice handstands barefoot the grass and usher in the autumnal equinox with our final trips to the lake.

Handstand at Lake

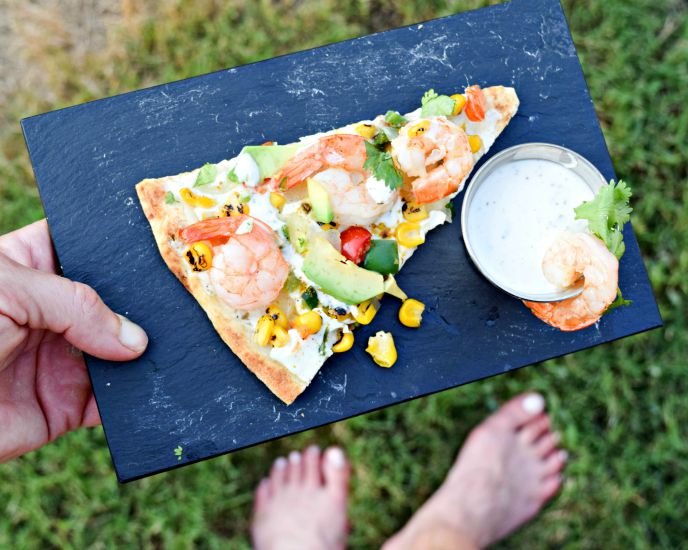
A fantastic outdoor meals for the end of summer or Labor Day weekend is CaliCornia Shrimp Pizza – this quick, easy and amazingly tasty pizza reminds me of the sunshine state with a laid-back vibe and showcase of Mother Nature’s best bounty. Succulent roasted shrimp, sweet corn and creamy avocado slices blend with melted fresh mozzarella and ranch dressing (I used OPA! by Litehouse™ Greek Style Yogurt Ranch Dressing). A crispy yet soft and chewy crust is easily “made’ with Naan bread or pre-baked crusts. Other convenience items like frozen shrimp and a southwestern roasted corn blend with peppers (found in freezer section), means I spend less time making meals and more time with my feet up on the chaise lounge recovering from the long run or workout of the day. And, if I’m lucky I can get one of personal pizza deliver guys (my sons) to deliver me a piece so I don’t have to move another muscle!

CalCornia Shrimp Pizza makes a speedy mead for busy weeknights - grill or make in the oven.


What are you eating during this long holiday weekend? Taking any dips in the ocean, lake or pool? Do tell! Share in the comments below! XOXO — Jennifer


CaliCornia Shrimp Pizzas
Prep Time
5 mins
Cook Time
12 mins
Total Time
17 mins
 
Enjoy these quick and easy shrimp pizzas from the grill for a relaxed weekend meal -- naan bread or pre-baked crusts save you time!
Course: Appetizer, Main Dish
Cuisine: American, Southwestern
Servings: 4 servings
Ingredients
  • 1 lb frozen large pre-cooked, shelled and cleaned shrimp, thawed
  • 2 tablespoons olive oil
  • 4 slices naan bread or personal pizza crusts
  • 3/4 cup lite ranch dressing (divided) I used OPA Greek Yogurt Ranch Dressing
  • 1/2 teaspoon salt
  • 1/2 teaspoon coarse ground black pepper
  • 2 teaspoons chopped fresh cilantro
  • 1 lb fresh mozzarella cheese, sliced into thin rounds
  • 1 cup southwestern-style frozen corn, thawed with any liquid drained of excess liquid
  • 1 large avocado, peeled pitted and sliced
Instructions
  1. Heat oven or gas grill to 400 F degrees.
  2. In small bowl, toss together thawed shrimp with olive oil, cilantro, salt and pepper.
  3. Place shrimp on rimmed baking sheet and heat up in oven for4 to 5 minutes. Or, skewer and heat up on grill for about the same amount of time, taking care not to overcook. Remove shrimp, but leave oven/grill on.
  4. Spread each crust with approximately 2 tablespoons of OPA Greek Yogurt Ranch Dressing, reserve remaining to drizzle on top of finished pizzas.
  5. Place slices of mozzarella on pizza and sprinkle with about ¼ up of thawed corn blend. Top pizzas with roasted/grilled shrimp.
  6. Place pizzas in oven or on grill with lid closed and heat up for another 5 to 7 minutes or until cheese is bubbling and edges are turning golden brown.
  7. Remove pizzas and top with sliced avocado and drizzle with remaining OPA Greek Yogurt Ranch Dressing.