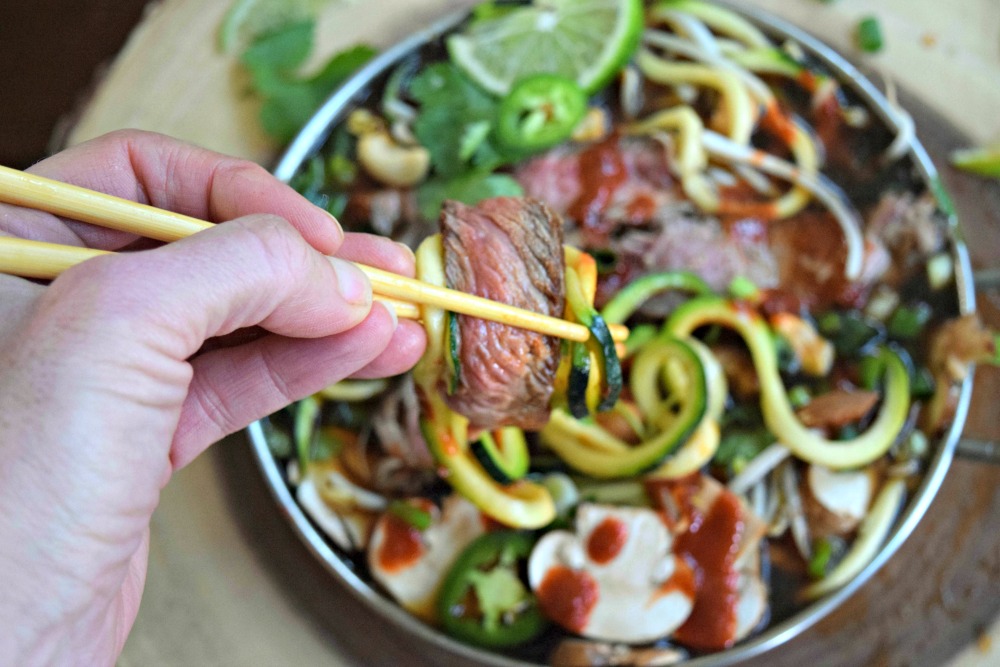
I have a “how to” today that might make even the most super freak avocado aficionado faint – GRILLED AVOCADOS! 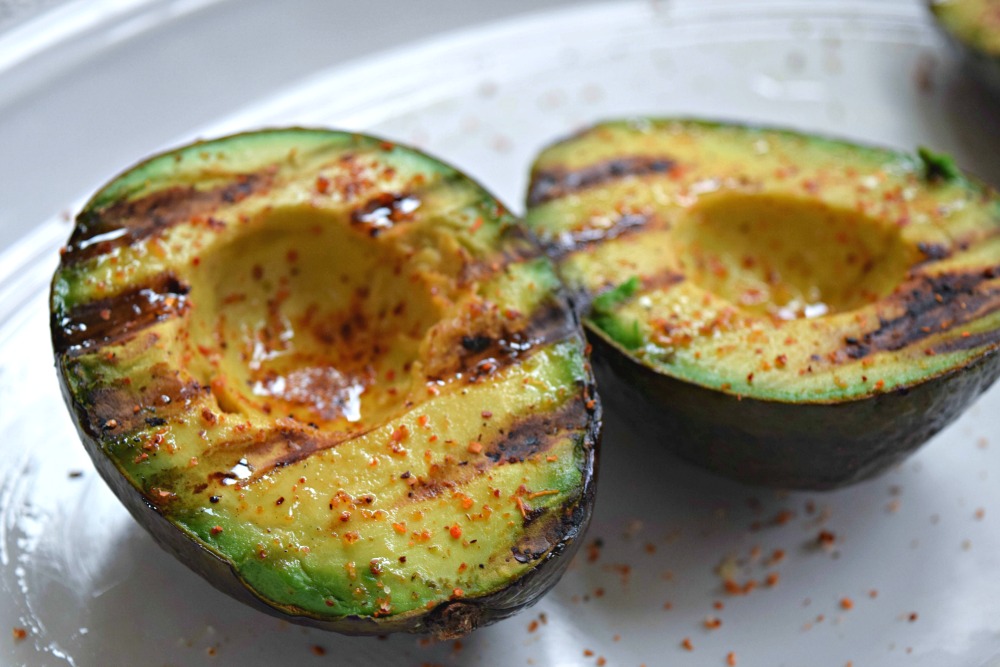
AvocadOoooohemmmmgeee, you heard me right! It’s amazing simple and insanely appetizing to throw avocados on the grates of a backyard grill, range top grill, or even portable grill. Grilling this creamy, savory fruit gives it delicious bits of flame-kissed char and smoky swag that you just won’t find eating it in the typical fashion. Read on to get all the directions to this game-changing avocado hack and find out why they take days (instead of minutes) to turn brown using this method. Continue reading