

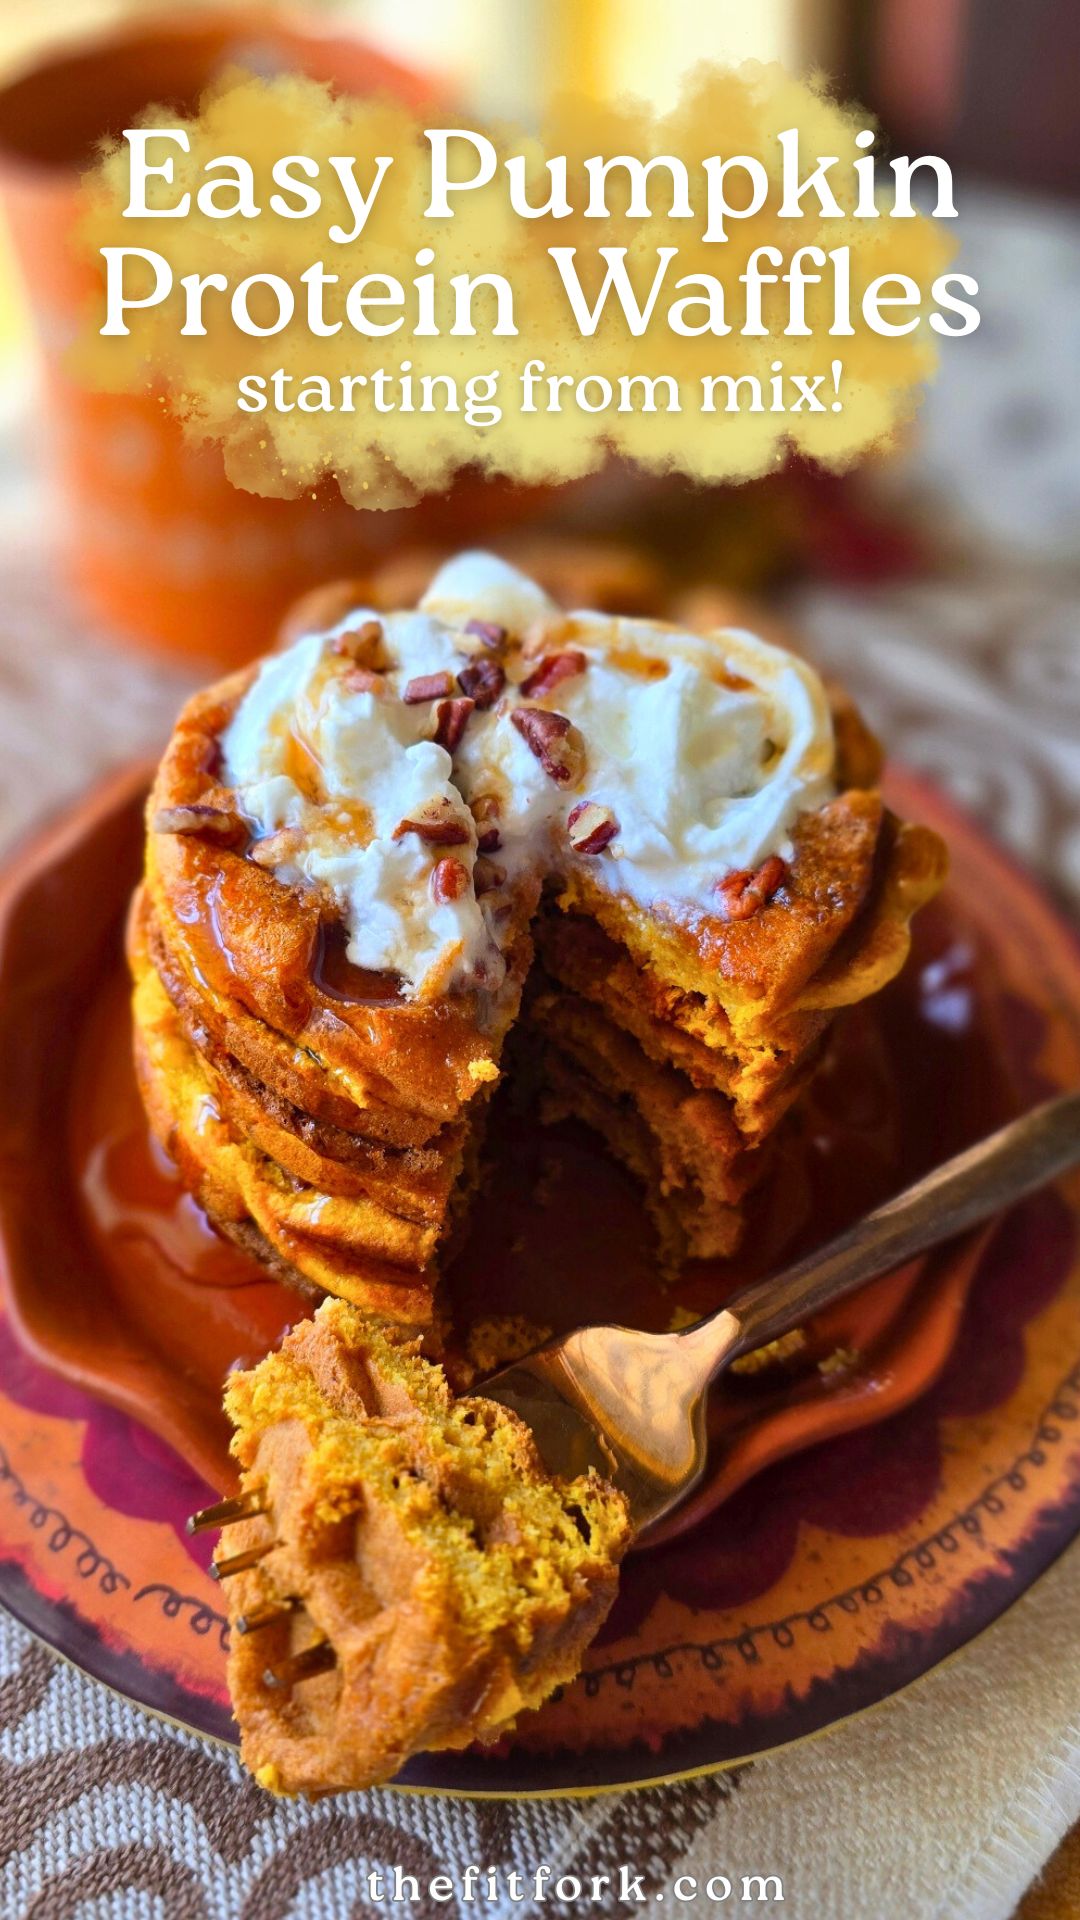
Eggnog Protein Waffles are a festive, high-protein twist on my reader-favorite cottage cheese protein waffles. By swapping traditional milk for eggnog and layering in warm cinnamon and nutmeg, these waffles deliver classic holiday flavor with balanced macros that actually fuel your day. Made with cottage cheese and protein powder, they’re fluffy, satisfying, and perfect for meal prep — whether you’re feeding a family or stocking your freezer for busy mornings, workouts, or brinner nights.

Why You’ll Love These Eggnog Protein Waffles
- Seasonal flavor, everyday fuel: All the cozy eggnog vibes without a sugar crash
- High-protein & filling: ~20g protein per serving helps support muscle and satiety
- Meal-prep friendly: Make once, eat all week — breakfast, lunch, or dinner
- Crispy when reheated: Even better after a quick air-fryer or toaster reheat
- Flexible & customizable: Works with different waffle irons and protein powders
Tips for Perfect Protein Waffles
Reheating Tip: For best texture, reheat in the air fryer for a few minutes — they come out extra crispy and may be even better than fresh.
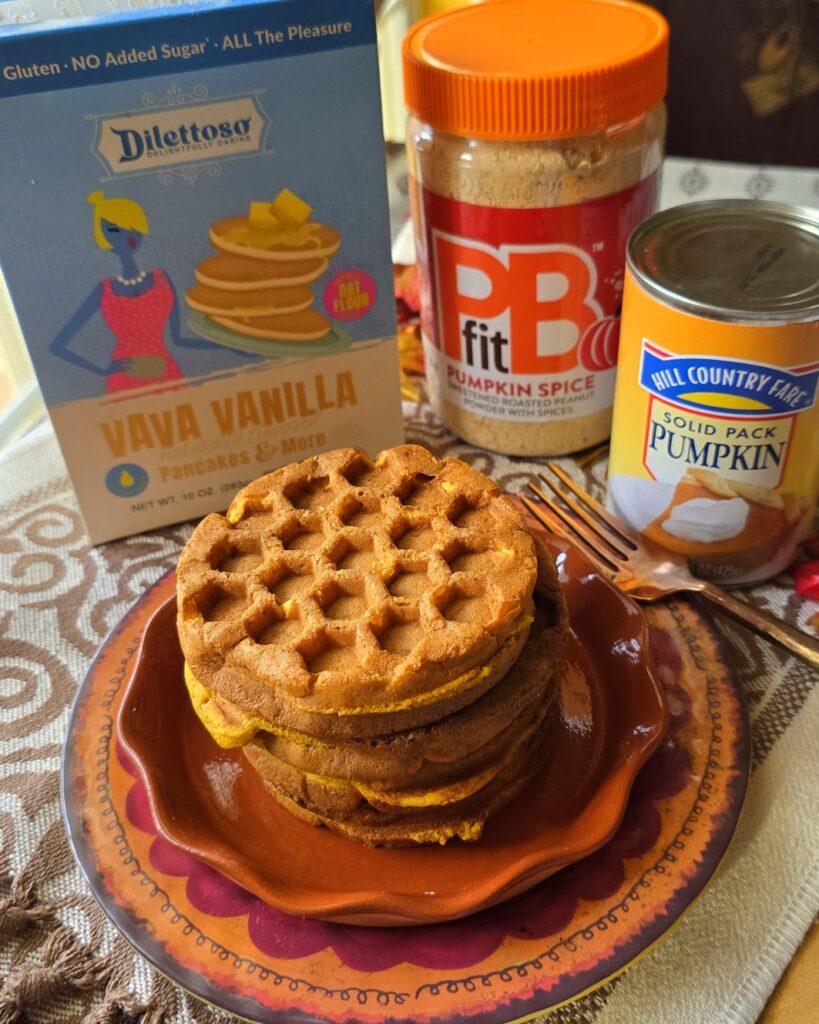
Waffle Iron Options: You can use a single-serve waffle iron (this batter makes about 12 mini waffles) or a standard 4-square waffle maker, which yields 3 large waffles that can be easily broken into 12 smaller squares.
Protein Powder Choice: Use your favorite protein powder — this recipe works well with both plant-based and whey protein. Texture and macros may vary slightly, but both deliver great results.
Keeping It Gluten-Free: To stay gluten-free, swap the all-purpose flour for a 1:1 gluten-free baking blend. 👉 Do not use almond flour or coconut flour — they’re too dense and will weigh the waffles down.

Eggnog Protein Waffles made with cottage cheese and protein powder. A festive, high-protein waffle perfect for meal prep, brinner, and busy mornings.
- 3 eggs
- 1/2 cup light egg nog
- ½ tsp vanilla extract
- 2 tsp olive oil or oil of choice
- ½ cup 2% cottage cheese
- ½ tsp ground cinnamon
- ¼ tsp ground nutmeg
- 1/4 tsp baking powder
- 1/2 cup vanilla protein powder or powder of choice 60 grams
- ½ cup all-purpose flour or gluten-free baking flour like bob’s red mill gluten free baking blend
-
n small blender, blend eggs with eggnog, vanilla and cottage cheese.
-
Add protein powder flour and baking powder. Mix into egg mixture a little bit at a time, or until incorporated You can also pulse wet and dry mixtures together in the blender until smooth.
-
Add baking powder, nutmeg and cinnamon to blender, pulse in.
-
Next blend in protein powder, then flour – scraping down sides as needed.
-
Heat waffle iron (either a mini waffle iron or larger 4-square iron).
-
Pour in batter and cook for several minutes, until indicator light goes off.
-
Repeat for remaining batter.
-
Should make 12 single waffles (or three 4-square waffles).


