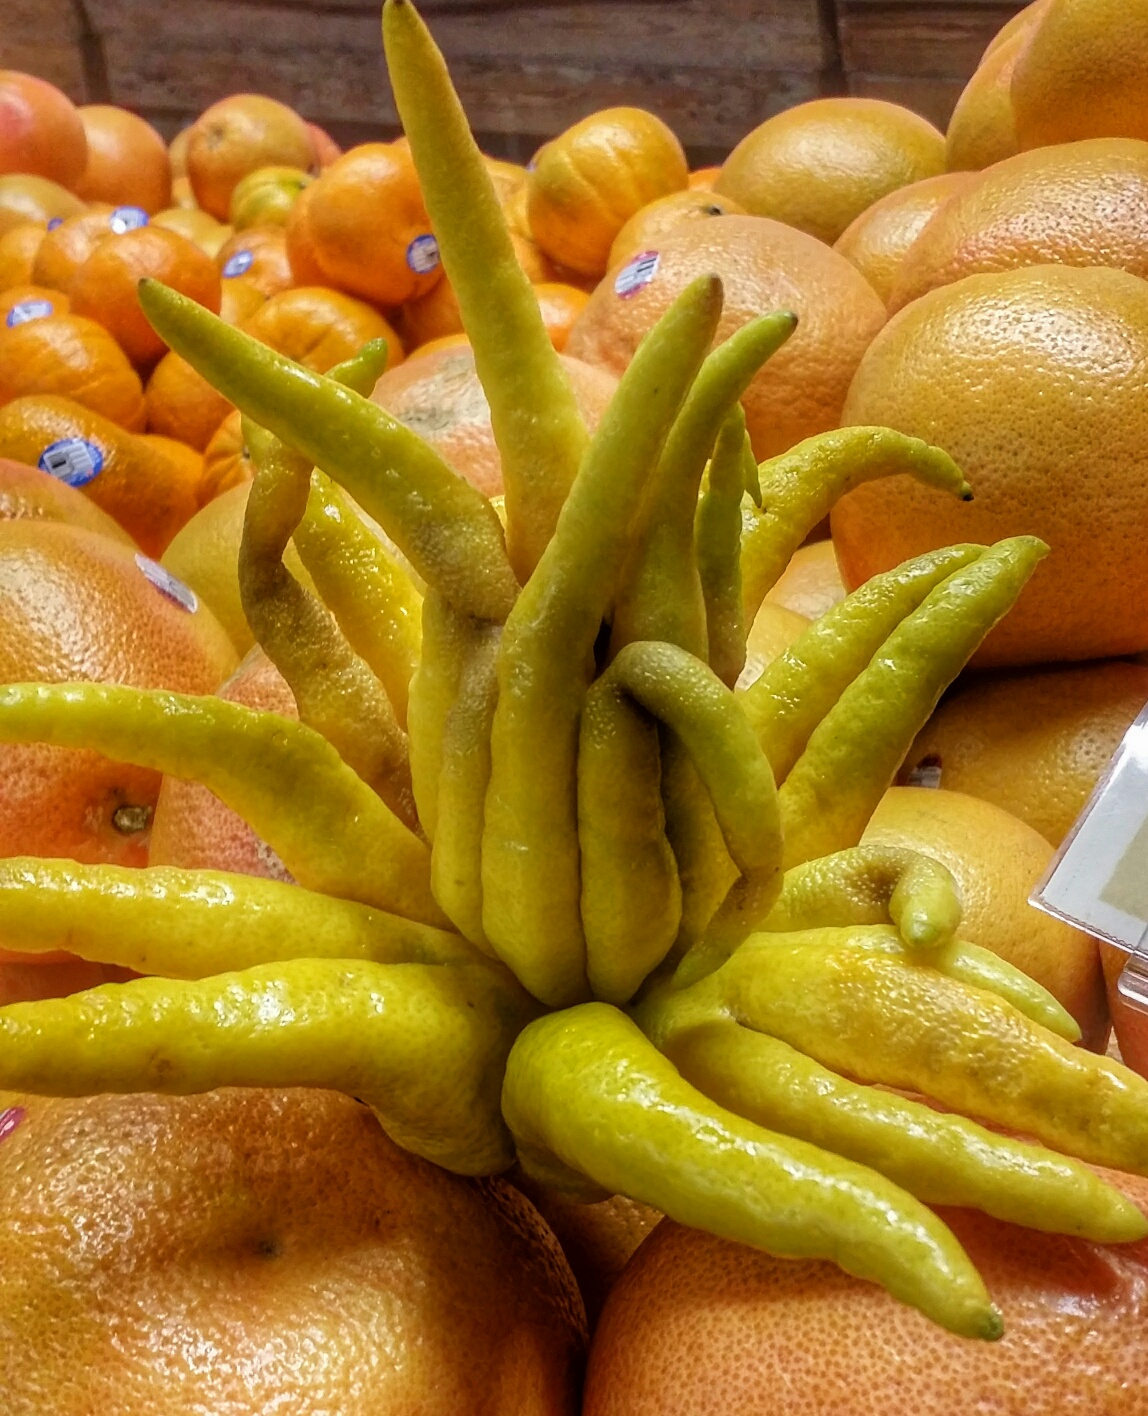
 The Buddha’s Hand may just be the strangest citrus fruit known to man and it’s definitely one of the oldest, dating back to the ancient Far East. While this citrus fruit resembles a lemon that exploded and tried heal itself, this strange fruit with splayed extremities is definitely not a deformity – it’s designed just the way Mother Nature intended! She is so creative!
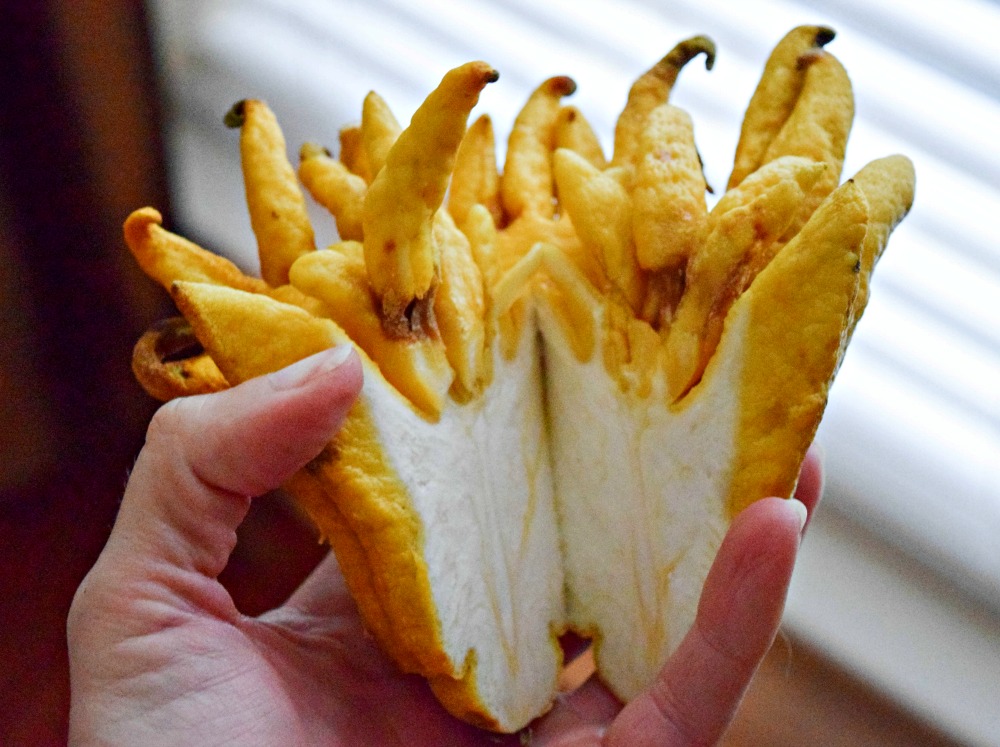 Also known as the Fingered Citron, and aptly described as a “lemon with fingers,” this freaky fruit is prized for its sweet floral fragrance and mild zest. Inside the fruit there is no flesh or juice to speak of — it’s all yellow rind and white pith. So, don’t try and buy the Buddha’s Hand isn’t for traditional snacking or juicing, it’s more an aromatic ornamental.
 However, the strange citrus IS actually edible, the sweet smelling rind can be used anywhere you would add lemon, lime or orange zest to a recipe. Ideas for consumption of Buddha’s Hand include using fresh zest in salad dressings, on fish, or in baked goods. The rind can also be sliced and used to infuse liqueurs, water, and vinegar. Frieda’s Produce also suggests using the bountiful rind to make candied citrus – the white pith is not bitter at all, so it requires no pre-soaking or pre-boiling like traditional candied peel recipes.
Buddha’s Hand, rich in Vitamin C, is also used as a healing agent and alternative to modern-day prescription medicine. Possible Health Benefits of Buddha’s Hand include:
- Boosts for Immune System
- Relief from Gastrointestinal Issues
- Quelling of Nausea
- Reduction of Menstrual Discomfort
- Lessened inflammation
- Lowered high blood pressure
If you are lucky enough to score a Buddha’s Hand, display it at room temperature for a few days and enjoy the fragrance. Then, try it as a zesty way to add flavor to a recipe. I think you’ll like my Creamy Greek Yogurt Buddha’s Hand Dressing that can be used on salads, fish, and veggies:
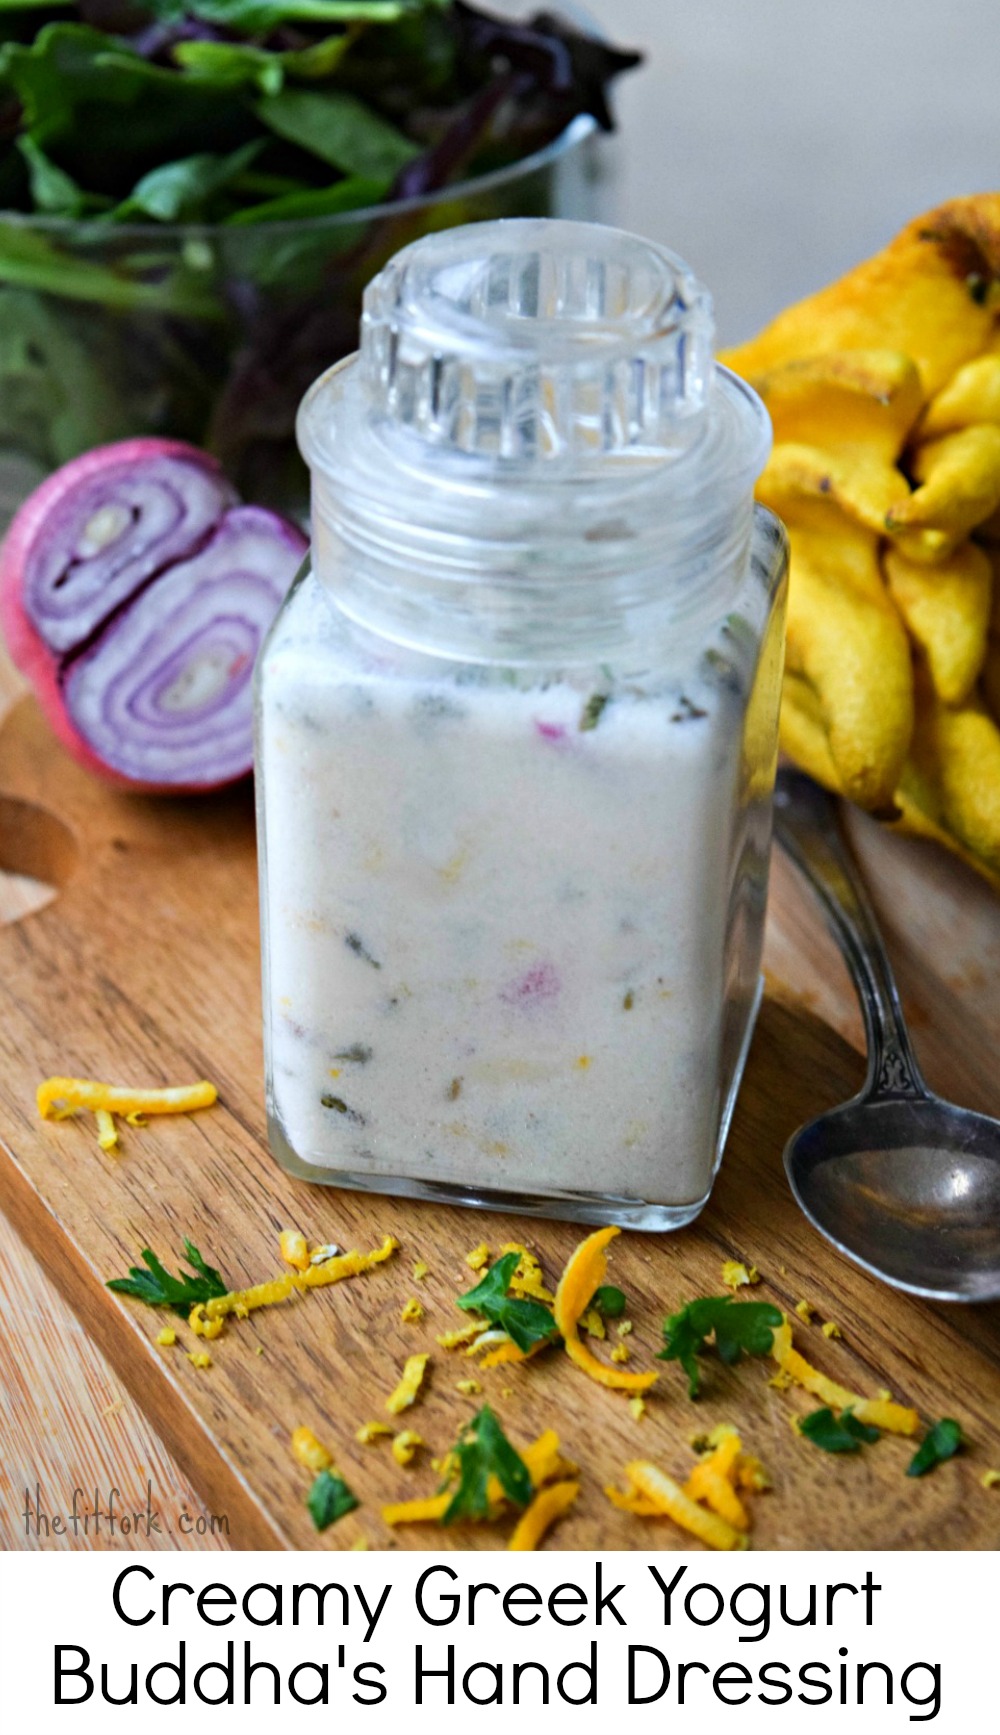
Creamy Greek Yogurt Buddha’s Hand Dressing Recipe
- 2 tablespoons finely diced shallot
- 2 Tablespoons Meyer Lemon juice
- 2 Tablespoons Frieda’s Buddha’s Hand, zested
- ½ teaspoon kosher salt
- ¼ cup olive oil
- 1 Tablespoon white wine vinegar
- 1/2 teaspoon fresh or dried thyme, minced
- 1 clove minced garlic
- 2 tablespoons Greek yogurt
Directions: Soak diced shallot in cold water for 5 minutes. Drain and allow to dry on paper towel. Add shallot and zest to small bowl and add lemon juice and salt. Let sit for 15 minutes. After 15 minutes, add olive oil, vinegar, thyme, garlic and yogurt. Whisk until combined and use to dress vinaigrette salad greens, on fish or as a sauce for vegetables.Makes ½ cup dressing.
Have you ever seen or used a Buddha’s Hand? What is your favorite citrus fruit? Big weekend pans? Please share in the comments — XOXO, Jennifer