3 Ways to Chow a Cherimoya + My #MustHaveBox

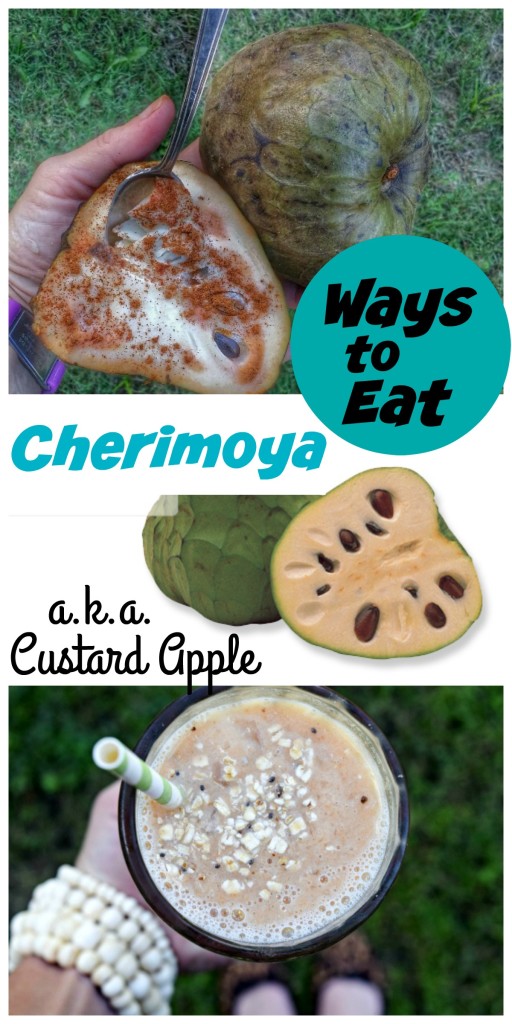
Just when I think I’ve tasted every type of fruit and vegetable there is to eat (ever been to Produce Convention), I realize that a tasty treat has slipped past my radar – the Cherimoya. Mark Twain once likened the cherimoya “deliciousness itself!”  – how did I ever miss the memo on this quite large and armored lizard-skinned looking fruit!

Discover easy, tasty ways to eat a Cherimoya (also known as a Custard Apple)

Cherimoya

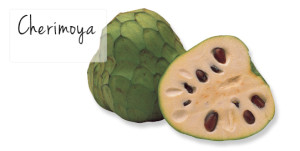
Once set aside solely for ancient Incan royalty, this “King of Fruit” is still a prized possession – they are delicious and hard to find . . . and usually fairly big-bucks if you do. But, so worth the investment as you will gobble up this healthy treat in a single sitting, especially if you have a friend sitting nearby with a spoon. The flesh inside is amazingly fragrant, soft, sweet and scoopable – there some seeds inside, but they aren’t too hard to flick away.  When selecting afruit, pick a cherimoya that is still green but showing minor signs of turning brown soon. Like an avocado, the fruit is ripened with the flesh yields to a gentle touch. So, if your fruit is still green and hard, let it ripen on the counter for up to three days – or stick in a paper bag to speed the process along.  Check out my friends at Frieda’s for other great Cherimoya Recipes and Tips.

So, my top 3 ways to chow a cherimoya are:
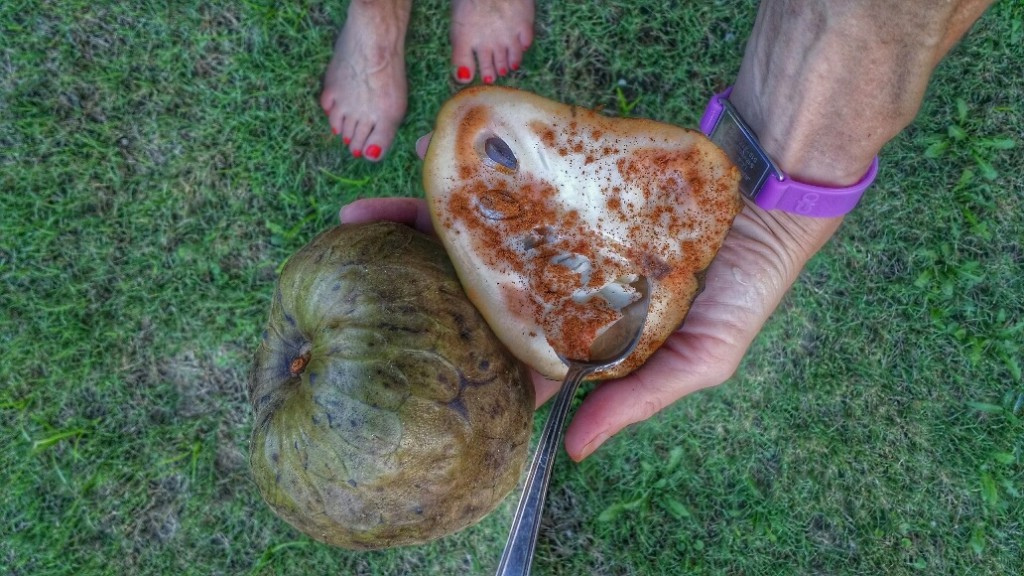
Cherimoya sprinkle with cinnamon and nutmeg1)  Sprinkle with Spices: Sliced in half and sprinkled with cinnamon, dash of nutmeg and a bit of honey drizzle – I swear it tastes just like apple pie. My kids think it tastes more like a pineapple and banana that got married and laid a big prehistoric egg.  Either way, it’s a taste bud winner – haha!
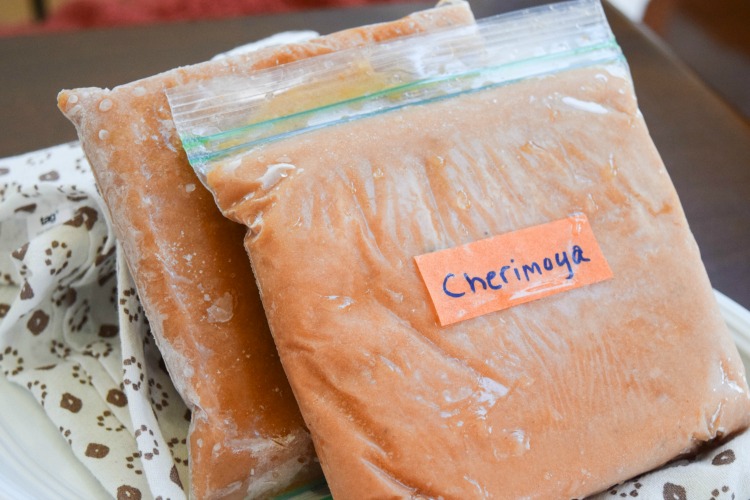
Pureed Frozen Cherimoya - Smoothie and Meal Pret2) Mixed into Oatmeal: I put chunks or puree of cherimoya in my morning oatmeal.  This is a great way for me to boost up the vitamin C, potassium, and in my fiber in my daily diet. If I find the fruit on sale or can’t eat what I’ve purchased before going too ripe, I simply puree the fruit in the blender with a tiny splash of lemon juice and freeze in heavy-duty zip-top bags (above picture). This will keep in the back of your freezer for 6 months! You can also sub in for 1/2 the oil in baked goods as you would applesauce, pumpkin or another fruit puree.

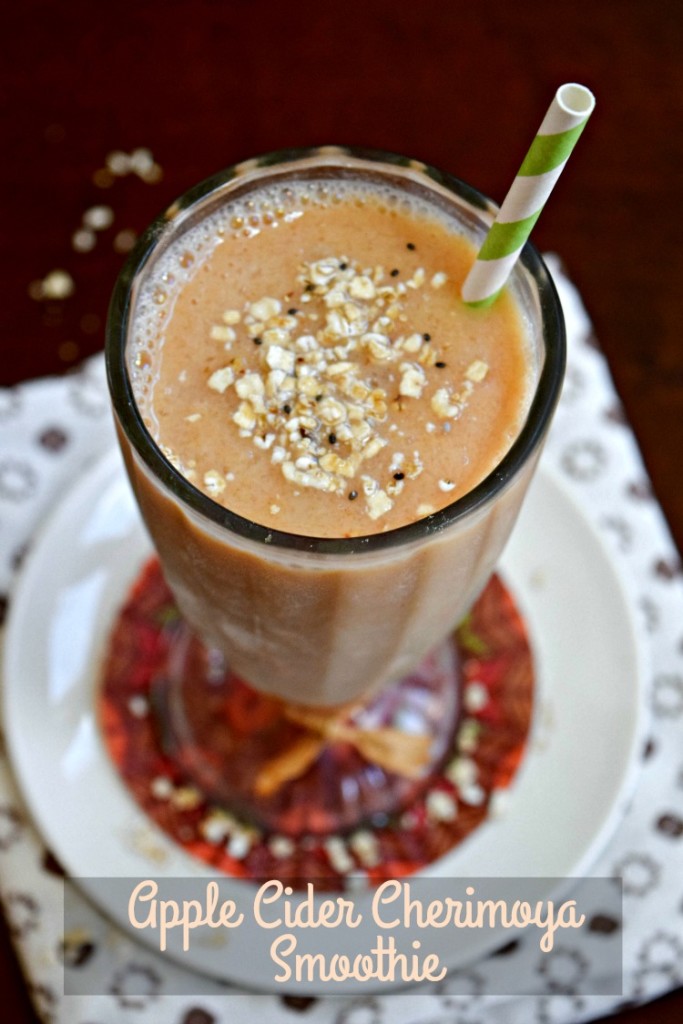
Apple Cider Cherimoya Smoothie is loaded with fall flavor, fiber, vitamin C and more!

3) Blended into Smoothie: Blending cherimoya with orange juice is traditional but my recipe for Cherimoya Apple Cider Smoothie is super yummy.  I use one of the delicious, cold-pressed, 100% juice apple ciders from Litehouse Foods — so fresh you need to look for it in the produce department!

Directions: Add 2 tablespoons oats to bottom of blender, pulse for a few seconds to grind up. Add ½ cup cherimoya puree (preferably frozen) or fresh chunks, 3/4 cup unsweetened vanilla almond milk, ½ cup apple cider, ½ teaspoon cinnamon and 1 tablespoon honey (or sugar-free alternative) to blender and blend for 1 minute, adding a few ice cubes to achieve desired consistency. Serves 1.

Must Have Box from POPSUGAR

Also, I want to share with you my favorite little luxury each month – it’s the PopSugar #MustHaveBox from POPSUGAR.  The Must Have Box is a specially-curated monthly subscription that is filled with full-sized products across fashion, beauty, home décor, upscale edibles and more. I absolutely have adored everything that’s come in my monthly box – often they are splurges that I would never buy myself (but am oh-so happy to have) or fabulously off-beat, quirky things that I never knew I needed until I have in my hot little hands – and then I’m hooked!

The Fit Fork - POPSUGAR Must Have Box

Must Have Box from POPSUGARThe October box included a book, Power Your Happy, by POPSUGAR founder Lisa Sugar, a gorgeous umbrella from Henri Bendel (along with a shopping discount card), Dark Drinking Chocolate (by My Cup of Cocoa) and a Rise & Shine Diner Mug (by Morning Culture). The Lalicious Bubble Bath, Revlon Eye Pen and Makeup Eraser Mini really spoke to my girly side, that’s a nice treat when a mom of three boys!  Check out some of the past Must Have Boxes  and sign up for a subscription that suits you – save $5 on your first box with code SHOP5.  Whoohoo!

What is your MUST HAVE this month? Tip me off on your new, most favorite, most awesome find! Oh, and have you ever tried a Cherimoya?! Please share in the comments – XOXO, Jennnifer 


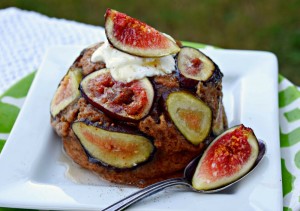
Fig Cardamom Protein Mug Cake (Stevia-Honey Blend) #UseNectar

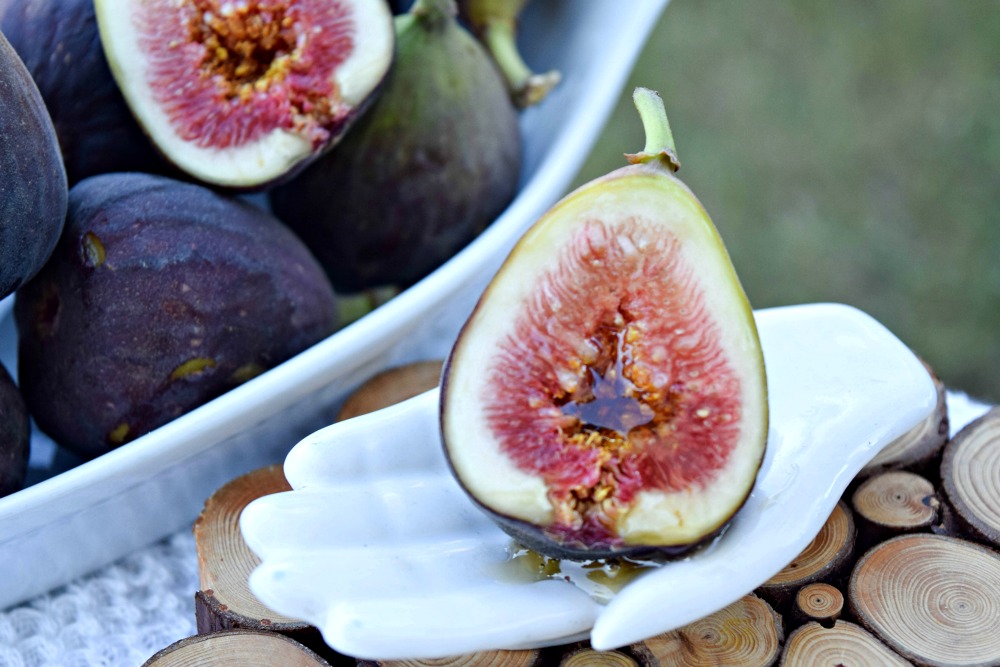
I make no excuses, I have a sweet tooth. Almost daily I eat chocolate, coated on almond for balance. Ha ha! I love fruit just as much as chocolate, and in my dream life would have a personal chef at my beckoned call to serve me sliced watermelon and pineapple drizzled with passion fruit. Oh, and figs. Give me all the figs, especially figs with honey. Fresh Figs with Truvia Nectar - a stevia-honey blend that is a great replacement for whole honey, sugar and agave.

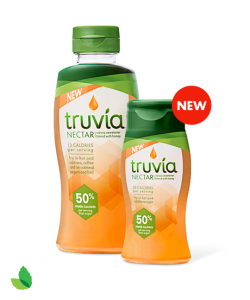
Truvia NectarHowever, even too much of Mother Nature’s “candy” can start to rack up the calorie and carb count and that’s why I have fallen in love with a new product from a brand we all know, Truvia® .  Truvia® Nectar is a blend of stevia and honey that makes a great substitute agave, sugar, and honey – and it only has 10 calories and 2g carbs per serving.

Since I love having my “sweet” protein things for breakfast – protein shakes, mug cakes, fruit-speckled oatmeal and such, decided to make a protein mug cake using Truvia® Nectar – I’m calling it ‘Stevia-Honey Blend’ Fig Cardamom Protein Mug Cake and it works equally well for a healthy dessert as it does a protein-packed, lower-carb breakfast.

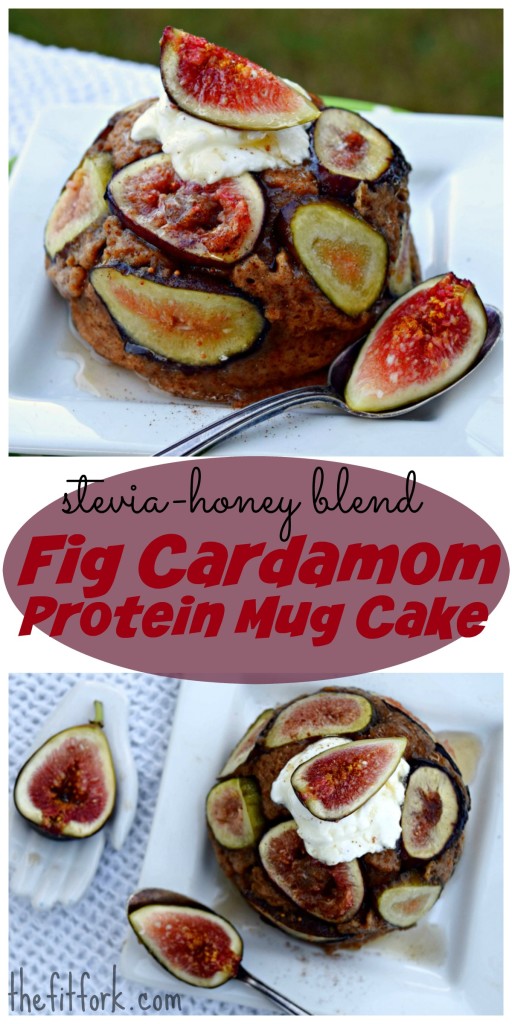
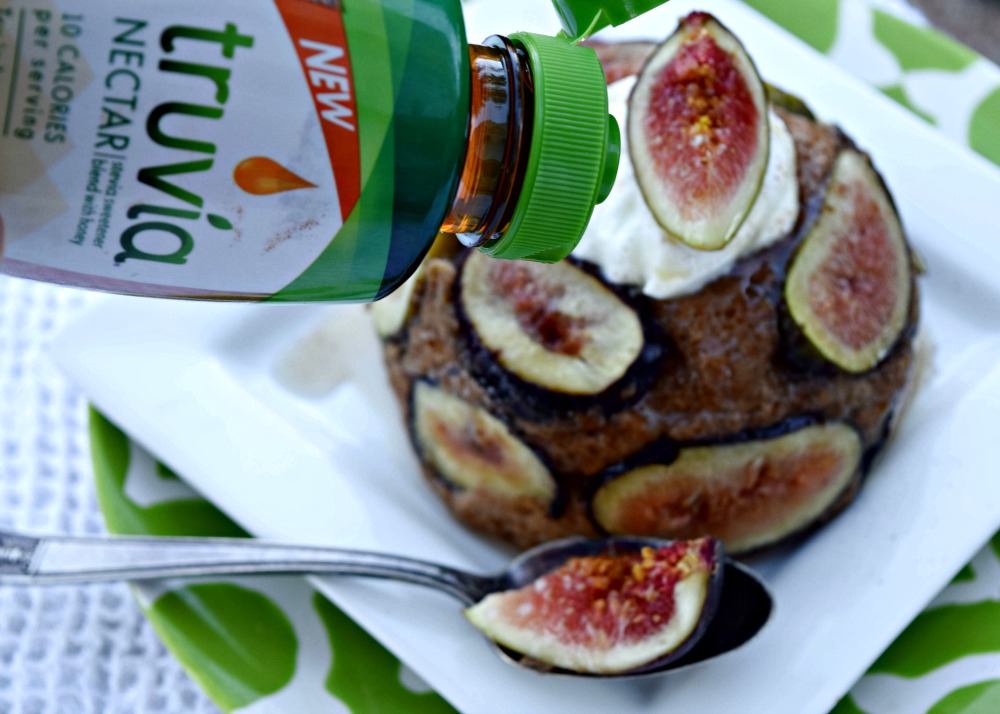
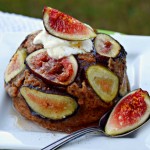
(Stevia Honey Blend) Fig Cardamom Protein Mug Cake makes a great breakfast or healthy dessert.

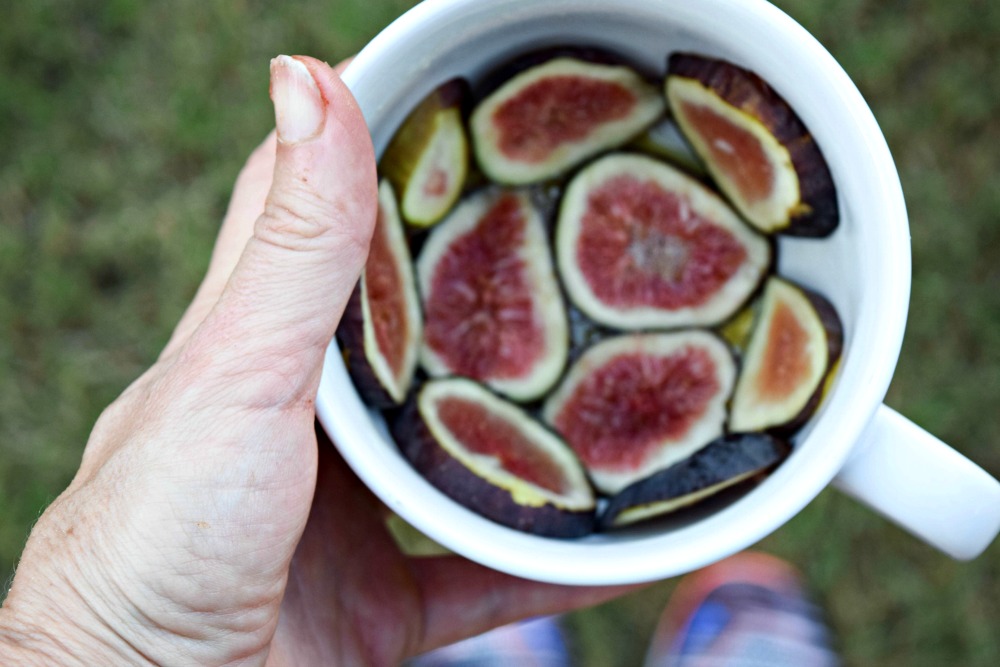
This recipe is as simple as lining a 16-ounce coffee mug with sliced fresh figs, adding a drizzle of the stevia-honey blend and then topping with my go-to recipe for a vanilla protein mug muffin (that has been sweetened with Truvia® Nectar and spiked with cardamom, cloves and cinnamon). You can use the protein powder of your choice and a regular flour or gluten free mix. The, just pop in the microwave for about 90 seconds and get your figgy jig on! Figs in Mug

Fig Protein Mug Muffin using Truvia NectarAfter “baking” in the microwave, you can enjoy this sweet treat right out of the mug with a spoon, but I prefer to serve it upside-down cake style and invert it only a dessert plate so that I can see the beautiful figs on top.  A dollop of Greek yogurt, extra slice of fig and drizzle of Truvia® Nectar make this mug cake recipe extra special.  Truvia Nectar on Fig Cake

Truvia® Nectar reasonably priced at about $6 per 300 gram bottle (120 servings!), I found mine at Target. You’ll also find all of the other stevia-based sugar alternatives that Truvia sells.

Honey and Lemongrass Broiled Grapefruit - TheFitFork.comI thought the taste was fantastic and have also used it to sweeten my coffee,  stirred into plain Greek yogurt topped with nuts, and in other recipes like this Salted “Honey” and Ginger Broiled Grapefruit. Truvia® Nectar is truly a sensible way to replace honey’s calorie content without sacrificing sweetness. Truvia Nectar

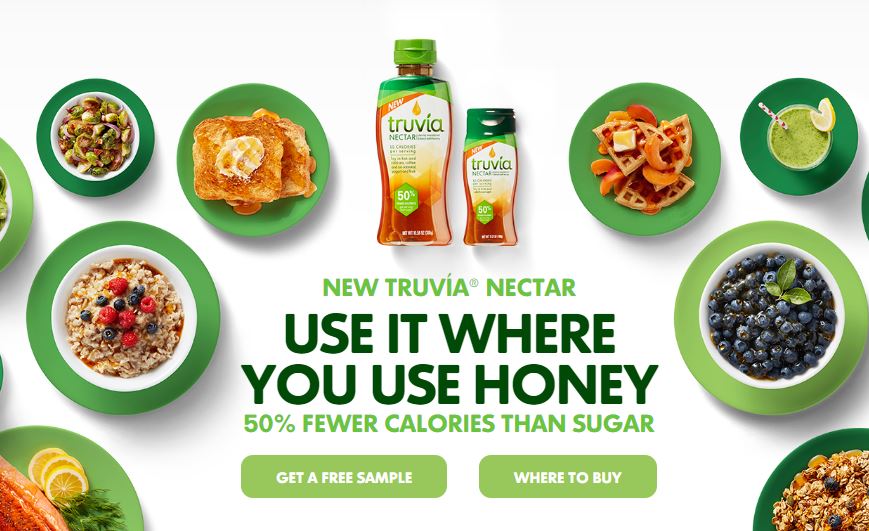
So, sweeeeeeeeeet! Truvia is offering a free sample of Truvia® Nectar, make sure to get your free sample today!

Are you a sweet or savory person in the morning? Are you getting your 25 to 30 grams of protein for breakfast? How would you use Truvia Nectar? Please share in the comments below – XOXO, Jennifer

(Stevia-Honey Blend) Fig Cardamom Protein Mug Cake
Prep Time
3 mins
Cook Time
2 mins
Total Time
5 mins
 
Keep breakfast or dessert lower carb & higher protein with my sweet, succulent & super quick recipe for Fig Cardamom Mug Cake that uses stevia-honey blend.
Course: Breakfast, Dessert, Fruit
Cuisine: American
Servings: 1 serving
Ingredients
  • baking spray
  • 2 large figs (any variety), sliced crosswise
  • 4 teaspoons Truvia Nectar (divided)
  • 2 tablespoons vanilla protein powder your favorite
  • 1/4 cup gluten-free baking blend
  • 1/4 teapoon baking soda
  • 1/4 teaspoon ground caradmom
  • 1/4 teaspoon ground cinnamon
  • 1/4 teaspoon ground cloves
  • 1 large egg
  • 6 tablespoons unsweetened vanilla almond milk
  • Garnish - Greek yogurt, more Truvia Nectar, more figs optional
Instructions
  1. Spray a large microwave-safe 16-ounce coffee mug with cooking spray. Line figs in bottom of mug and halfway up sides, drizzle figs with 1 teaspoon of Truvia Nectar. Set aside.
  2. In small bowl, combine protein powder, gluten-free baking mix, baking soda, cardamom, cloves and cinnamon. Stir together until combined well.
  3. Whisk in egg, almond milk and remaining Truvia Nectar until combined.
  4. Pour into sprayed coffee mug, over figs, and microwave 1 minute 30 seconds, or until cooked through. Microwave times may vary depending on your appliance. Cake will rise above rim and then “fall” once removed from microwave.
  5. Remove mug and invert onto plate, gently slide out cake. Let cool for 2 minutes. Top with Greek yogurt, additional figs and Truvia Nectar drizzle, if desired.

Healthier Maple Pumpkin Pecan Popcorn + More Fall Favs

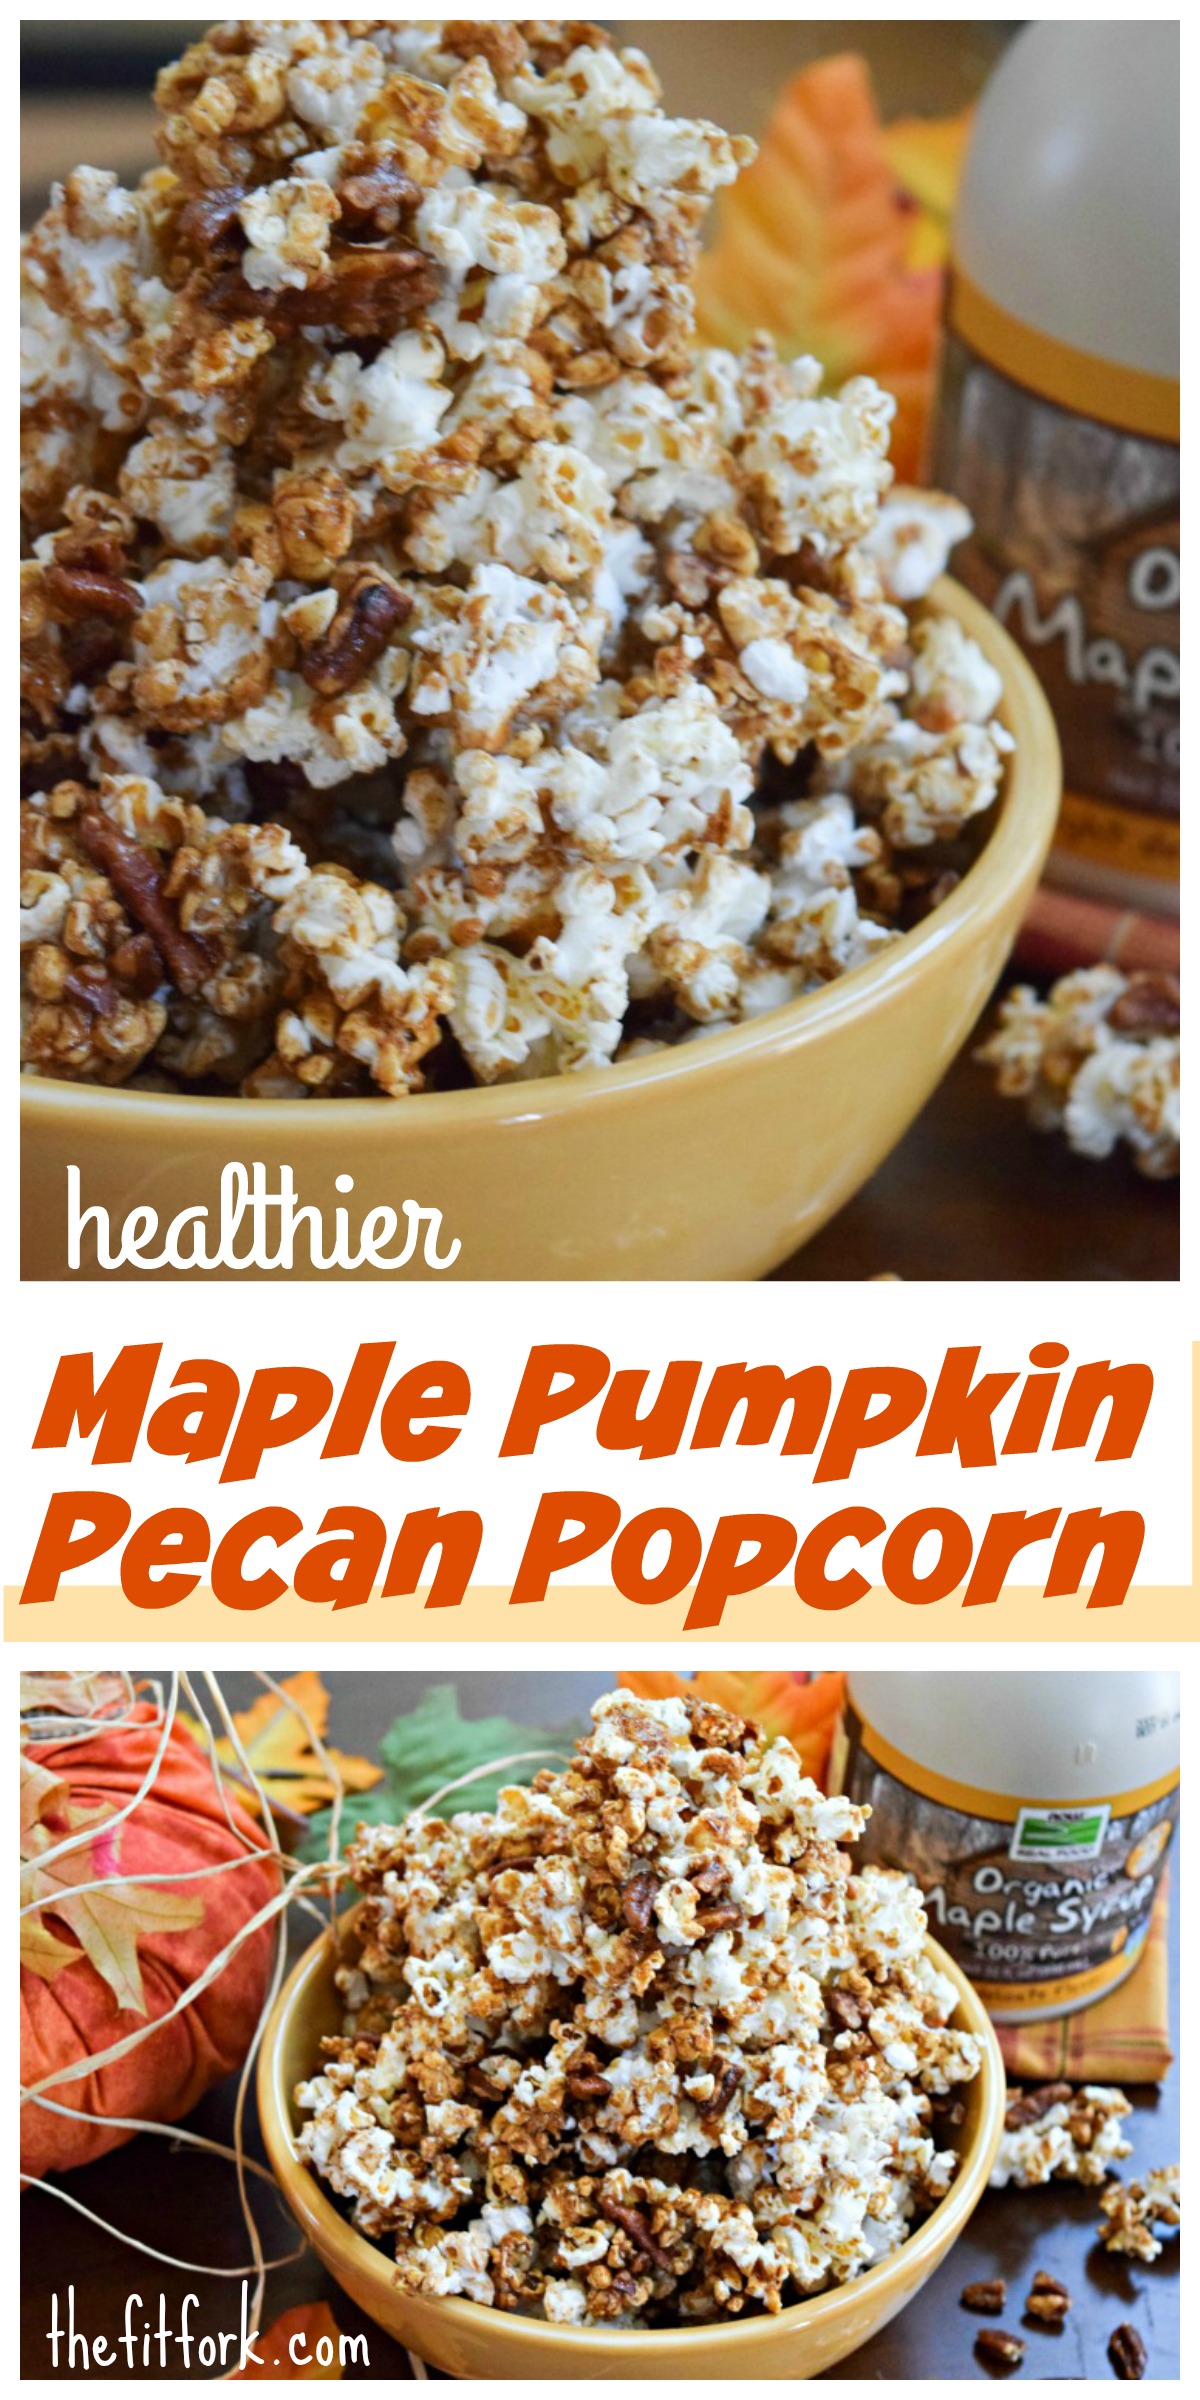
Maple Pumpkin Pecan PopcornMaple Pecan Pumpkin Popcorn: So much goodness here, this is a delicious and easy-to-make fall snack. Forget about Cracker Jacks, make your own healthier autumn-inspired version with real maple syrup, a bit of butter and real pumpkin along withthe right spices. Also, did you know you can make your own “clean” popcorn right in the microwave with nothing more than a brown paper lunch sack – that’s how I’ve been doing it for years!  Also, do NOT use maple FLAVORED syrup for this recipes, that would be a nasty, corn-syrupy shame. I love the 100% Organic Maple Syrup from NOW Real Food – it’s a light and delicate-tasting amber syrup that makes me think of a crisp, cool breeze and rustle of leaves with every taste! Recipe for the Healthier Maple Pecan Pumpkin Popcorn at the bottom of the post!

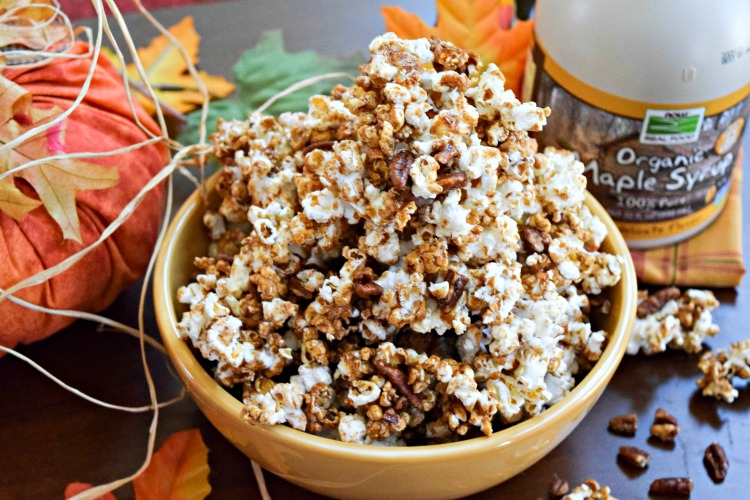
Maple Pumpkin Pecan Popcorn features all the flavors of fall an healthier sugar alternatives!

September PopSugar Must Have Box

September PopSugar Must Have Box

Also wanted to shout out some other this I’m loving this fall season. First, yay for the POPSUGAR, they sent me the September Must Have Box and, it’s definitely a must have! This awesome lifestyle subscription box always knows how to win me over with products that I’ll obviously love (like the GFB Dark Chocolate Coconut Bites) to unexpected surprises (like the Jack & Lucy Black Felt Hat) that I never knew I needed, but now wonder how I ever lived without! And this specially curated box of goodies even makes the practical contents (like the MANI E.R. purse manicure repair kit) super hip and cool.

Jack & Lucy Hat - TheFitFork.com Jennifer Fisher

Jack & Lucy Hat – TheFitFork.com Jennifer Fisher

If you are looking for a unique gift that gives for a month or e even all year, consider giving your bestie a subscription to the POPSUGAR Must Have Box. Use code SHOP5 (which never expires) at checkout to save $5 off your FIRST Must Have Box!

Tommie Copper Compression elbow sleeve

Second, I’m loving Tommie Copper Compression, again . . . as usual!  But this time I’m focused on their compression “sleeves” made for nearly every part and parcel of our limbs! Sometimes I ask a little too much of my bod and not even a rest day can  resolve my minor aches and pains. However, I really dislike being sidelined from training – – that’s why you’ll typically see me in some sort of compression gear. If you’ve ever seen my Instagram feed, you’ll see that I’m a huge fan of compression socks. But I also wear compression sleeves for ankle, knee, wrists, elbow and quads when needed for both during exercise support and post-workout recovery. Personally, I really like the Tommie Copper brand – the targeted compression sleeves are low-profile, unobtrusive and make my muscles, tendons and joints feel good (or at least lessen the feeling that I’ve been run over by a truck)!

Tweet “Maple Pecan Pumpkin Popcorn + Fall Faves @nowfoods @tommiecopper @PopsugarMH #ad”]

Of all the fall foods, what is your favorite? Or at least, favorite fall flavor? Ever try compression gear for anywhere other than your legs or rear? Please share in the comments, XOXO — JEnnifer

Healthier Maple Pumpkin Pecan Popcorn + More Fall Favs
Prep Time
5 mins
Cook Time
1 hr
Total Time
1 hr 5 mins
 
Fall into fall with Maple Pumpkin Pecan Popcorn, it freatures nearly every iconic flavor of the season! Healthier than store bought caramel corn thanks to wholesome ingredients like maple syrup and stevia baking blend. Also, find out two companies that I've been loving later.
Course: Dessert, Snack
Cuisine: American
Servings: 10 servings
Ingredients
  • 1/2 cup 100% real maple syrup
  • 1/3 cup measure for measure stevia baking blend
  • 2 tablespoons butter
  • 2 tablespoons pumpkin purree can omit if not available (pumpkin pie spice adds a lot of flavor)
  • 1 1/2 teaspoons pumpkin pie spice
  • 1/2 teaspoon salt
  • 1/4 teaspoon baking soda
  • 10 cups air popped popcorn about 1/2 cup kernals
Instructions
  1. Preheat oven to 250 F degrees.
  2. In small saucepan over medium high, add sugar and syrup and heat for 1 minute until combined. Continue to heat and add butter, pumpkin, salt and pumpkin pie spice, stirring until butter melted and spices incorporated.
  3. Bring to boil, reduce heat and let simmer for approximately 2 minutes until slightly thickening but not turning dark brown
  4. .Add baking soda and stir. It will foam up a bit, continue to stir over the heat for 1 minute.
  5. Remove from heat and immediately pour into large bowl containing popped popcorn. Add pecans. Stir well to coat as evenly as possible.
  6. Spread out mixture on Silpat or parchment covered rimmed baking sheet. Bake at 250F degrees for approximately 45 minutes or until crunchy.
  7. Let cool for 10 minutes and transfer to serving bowl. Store leftovers in airtight container.

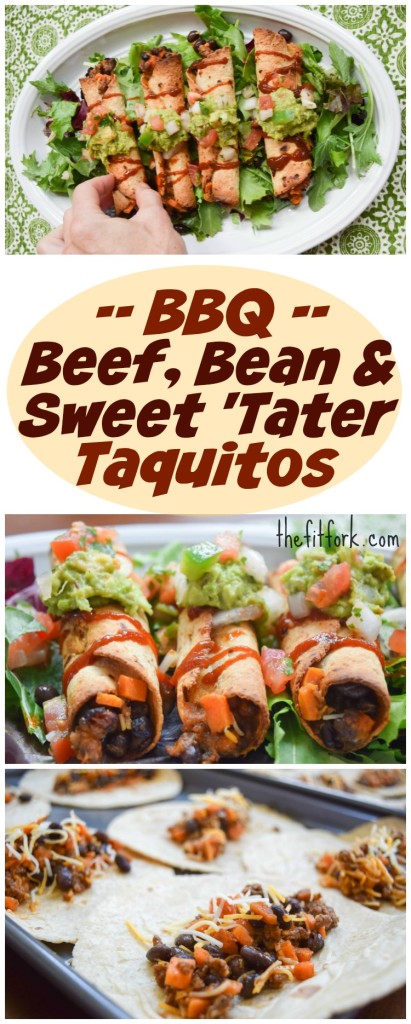
BBQ Beef Bean & Sweet ‘Tater Taquitos #TexMexAndFlex

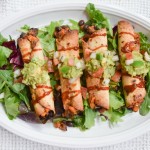
BBQ Beef, Black Bean and Sweet Potato Taquitos are baked and filled with wholesome ingredients. We are up to our chin guards in football season, so I’ve kicked up my family-friendly, meal-prepping madness into overtime. With just a little “overtime” work on Sunday, I can prepare a couple batches of my BBQ Beef, Black Bean and Sweet ‘Tater Taquitos and have enough for a couple quick-fix, weeknight dinners and leftovers for snacking on the big game day. By the way and sorry for the questionable rhyming (haha), I originally developed these onfleek-o taquitos for BeefLovingTexans.com, so check it out!

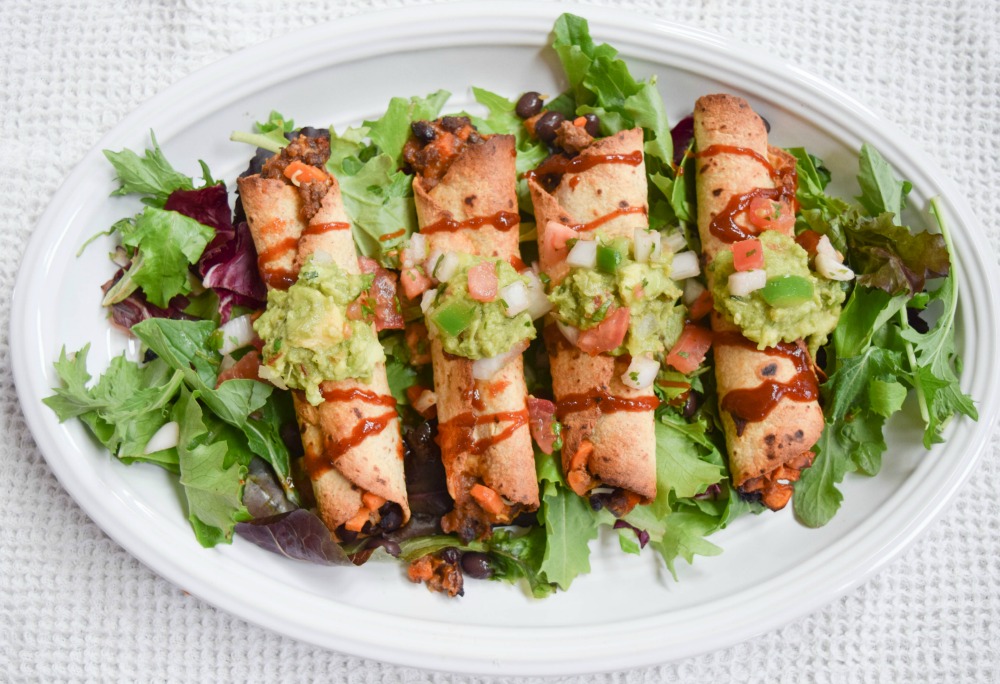
BBQ Beef, Black Bean and Sweet Potato Taquitos make a quick and easy dinner solution. Baked, not fried, and filled with wholesome ingredients to fuel an active lifestyle. Meal prep a couple batches for the freezer for busy weeknight meals or football game day snacks.

While my teenage boys and their always-hungry friends are munching what they assume to be merely crispy, crunchy, cheesy, beefy taquitos (rolled small tacos by any other name!), I snicker in silent satisfaction knowing I’ve snuck in some wholesome nutrition to fuel their busy, active bodies. Lean beef for muscle-making protein and iron, beans for even more protein plus fiber, and sweet potato in a whole grain tortillas for a double-whammy of healthy complex carbs for long-lasting giddy-up-and-go.  As Guy Fieri would say in his own punderful way, “You can’t beato these taquitos!”

These tasty taquitos can be devoured right out of the oven, or freeze a batch and then just toss in the oven (or toaster oven!) on those endless days that have gone into double overtime. This is an easy way to pass the proverbial ball over to the kids and let them do some quarterbacking in the kitchen.

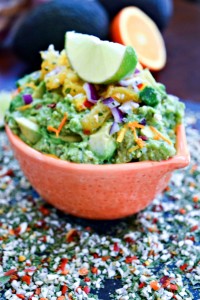
mojo-citrus-guacamole-1Just add a simple side salad and your favorite Texas-style condiments like guacamole, sour cream, pico de gallo and barbeque sauce.My Mojo Citrus Guacamole makes a tasty team up!


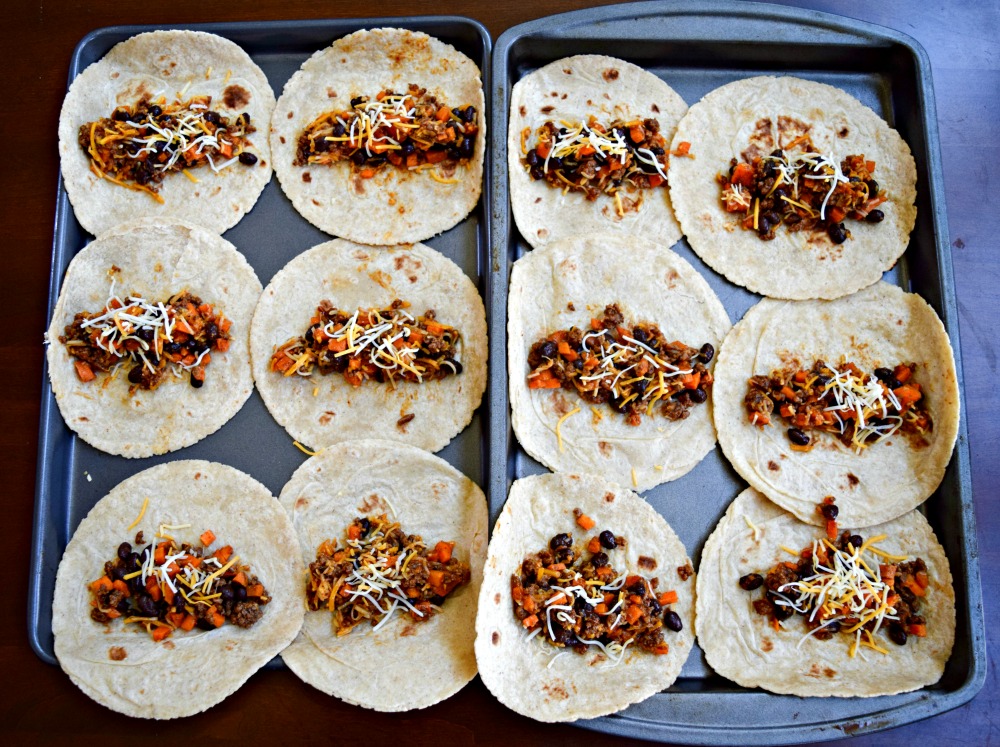
bbq-beef-black-bean-and-sweet-tater-taquitos-preppingOne the taquito innards are made, assemble by adding a spoonful in the middle of a whole grain tortilla, rolling up and baking (no frying here and they are still super crunchy). While corn tortillas are traditional for taquitos, I’ve found that the corn-flour “mix” tortillas are more pliable and less prone to crack. If needed, insert a toothpick to keep tortillas secure, but don’t forget to remove before serving!

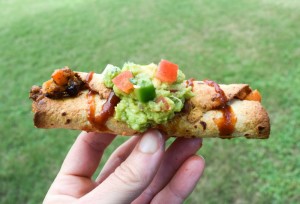
beef-black-bean-sweet-tater-taquito-holding-singleEnjoy!

Favorite football team? Any football players on the family roster this year? Favorite thing to roll in a tortilla? Please share in commets! XOXO , Jennifer 

BBQ Beef, Black Bean & Sweet 'Tater Taquitos
Prep Time
20 mins
Cook Time
20 mins
Total Time
40 mins
 
Roll up healthy dinner plans pronto with fit and fresh BBQ Beef, Bean &Sweet Potato Taquitos - a quick dinner or snack solution. Double batch for freezer!
Course: Main Dish
Cuisine: American, Mexican, Southwestern
Servings: 6 servings (20 taquitos total)
Ingredients
  • 1 pound lean ground beef
  • 1 teaspoon minced garlic
  • 1 packet taco seasoning
  • 2 teaspoons chili powder
  • 2 tablespoons water
  • 1 tablespoon additional olive oil for serving
  • 1 medium sweet potato, finely chopped (approx. 2 cups)
  • `1 15-oz can black beans, drained and rinsed
  • 1/3 cup spicy bbq sauce
  • 8 ounces Mexican Blend shredded cheese (2 cups, divided)
  • 20 count corn-flour “mix” tortillas, 8" to 9” diameter
  • baking spray
  • Optioan Garnish: guacamole, bbq sauce, sour cream, etc
Instructions
  1. Preheat oven to 400 degrees F.
  2. In large skillet, brown ground beef over medium-high heeat, add minced garlic in last 2 minutes of cooking. Drain fat and excess water. Mix in packet of taco seasoning and chili powder and 2 tablespoons of water (do not add amount of water taco season packet calls for). Stir and cook for an additional 2 minutes. Transfer cooked beef mixture to large bowl.
  3. Add olive oil to same skillet (okay if beef residue stays in there). Bring to medium-high heat and saute diced sweet potatoes for 4 to 5 minutes or until softened and browning. Add sweet potatoes to bowl with beef mixture.
  4. Add rinsed and drained beans to beef bow. Make sure beans have drained well to prevent soggy taquitos. Let entire mixture cool down for 5 to 10 minutes.
  5. Gently stir in BBQ sauces and 1 ½ cups of cheese.
  6. Working one at a time, transfer tortilla to a work surface; place scant 1/3 cup beef mixture into center of tortilla. Bring the bottom edge of the tortilla tightly over the filling, rolling from bottom to top until the top of the tortilla is reached. Secure with toothpick. Repeat with remaining tortillas and filling.
  7. Place taquitos onto rimmed sheet sprayed with baking spray. Spray tops of taquitos with baking spray and bake until crisp and cheese has melted, about 12-15 minutes.
  8. To reheat from frozen, heat oven to 375 F degrees and place taquitos on rimmed sheet sprayed with baking spray. Lightly cover tops of taquitos with foil and bake for 15 minutes. Remove from oven and spray tops of taquitos with baking spray, increase heat to 400 and bake for another 5 to 10 minutes until crisp, cheese has melted and tops are brown.

Lower-Fat Blue Cheese & Fire-Roasted Tomato Queso – Good Game Day Grub!

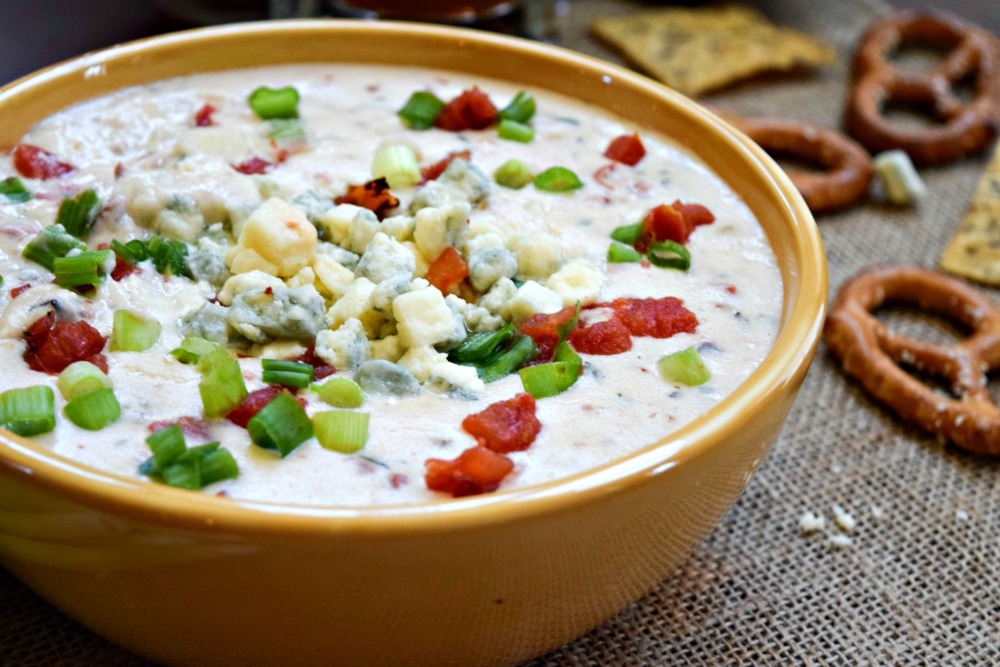
Lower-Fat Blue Cheese Queso makes a great football game day snack served with baked chips, pretzels or veggies.Football parties, tailgating and fall season gathers require dip to draw people together. Just think of all the great gossip, high-fiving and friendly smack talk that has gone down in, what I like to call, the “Chip and Dip Zone.”

But, maybe you hesitate to enter the ZONE for fear of the cheesy dip – is it made of mystery processed “cheese,” loaded with fat upon fat, or just boringly bland?  I’ll admit, these thoughts cross my mind, especially flashbacks of tepid fake orange stadium cheese on stale round tortilla chips.  That’s why I came up with my Lower-Fat Blue Cheese & Fire-Roasted Tomato Queso – it’s bold and it’s better for you made with REAL ingredients.

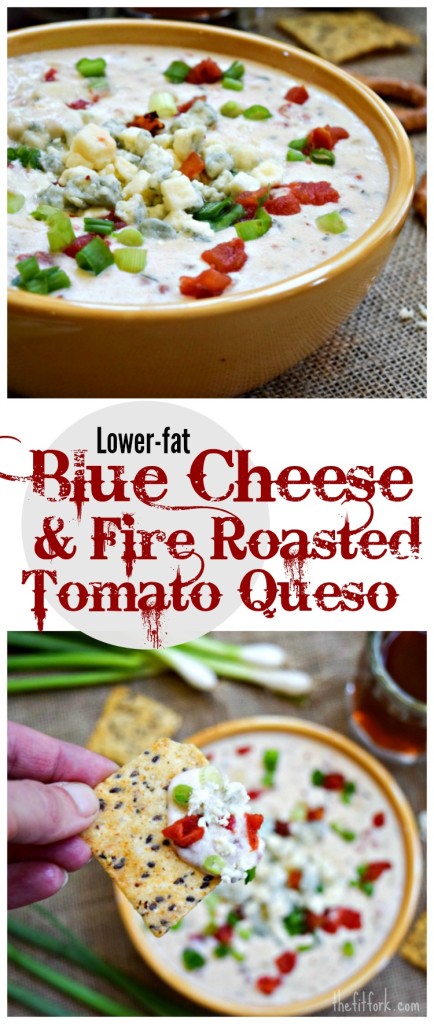
Lower-Fat Blue Cheese & Fire Roasted Tomate Queso makes a great football game day snack served with baked chips, pretzels or veggies.

I think you’ll definitely widen your mind (and mouth) in appreciation for my Blue Cheese & Fire-roasted Tomato Queso. This unique cheese dip marrieds the audacious attitude blue-cheese with the smoky laid-back goodness of tomatoes roasted over flames. I’ve used my fav brand of blue cheese (Simply Artisan Reserve Blue Cheese Crumbles) and canned fire-roasted tomatoes which.  Of course, canned tomatoes are convenient and taste great in recipes, but did you know that they contain more lycopene (a free-radical destroying antioxidant) than those fresh off the vine? It’s true!

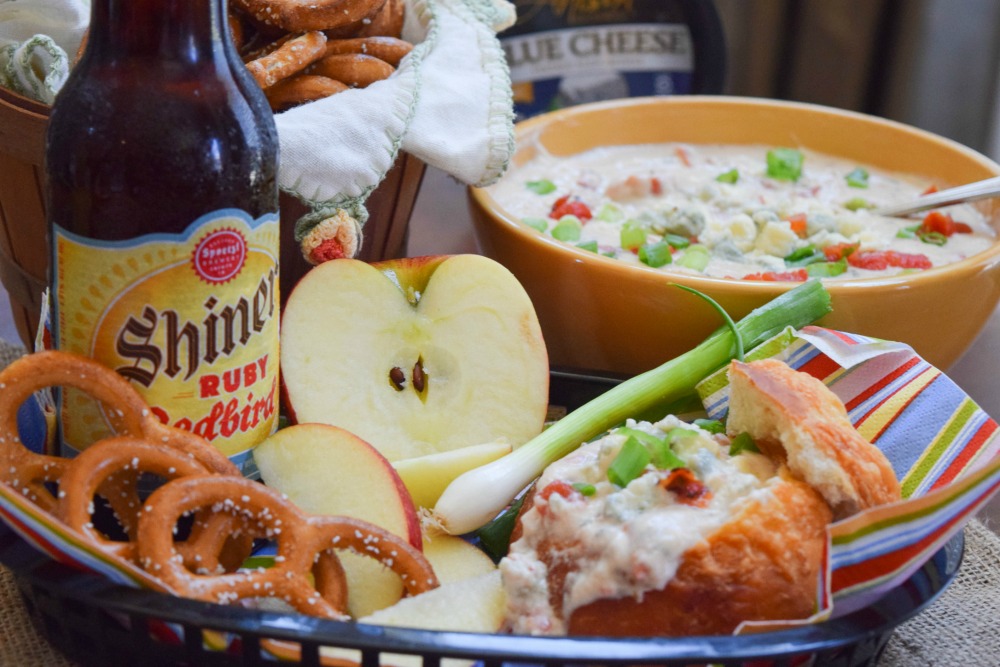
litehouse-blue-cheese-queso-snack-tray-beer-day

While this cheese dip recipe requires a whisk, it’s quite easy prepare, coming together in just 15 minutes or less– and you can keep it warmed for a party but pouring into a small slow cooker. It was first whipped up to celebrated International Beer Day with Litehouse Foods.  Using low-fat dairy products help keep this snack sensible in moderation and, if you are on a gluten-free diet, it is easy to swap out flour used in the roux with a gluten-free flour blend (I use Living Now Gluten-Free All-Purpose Baking Flour, it’s inexpensive and provides the right texture for my recipe)

Serve Lower-Fat Blue Cheese & Fire-Roasted Tomato Queso with veggie sticks, artisan chips, or chunks of crusty bread. I’ve even reheated the leftovers and poured over cooked zoodles and topped with shrimp for an impromptu “pasta” dinner.

If you are hosting a huge football party, you might want to consider adding my Healthy Snack Stadium to your spread of snacks, appetizers and game-day grub.

Healthy Snack Stadium - TheFitFork.com

[Tweet Not yer stadium cheese dip! Lower-Fat Blue Cheese & Fire-Roasted Tomato Queso #fitfluential #livinglitehouse”]

What football team(s) are you rooting for this season? Are you typically an at-home or stadium spectator? Please share in comments, xoxo Jennifer

Blue Cheese & Fire-roasted Tomato Queso
Cook Time
15 mins
Total Time
15 mins
 
Up your game day grub with this lightened up queso featuring the bold flavors of blue cheese and flame-kissed tomatoes. It's even a winner at dinner served over zoodles or pasta!
Course: Appetizer, Pasta
Cuisine: American, Italian
Servings: 10 servings
Ingredients
  • 2 1/2 cups reduced-fat 1% milk
  • 2 tablespoons butter
  • 2 tablespoons all-purpose flour can sub gluten-free all purpose blend
  • 4 ounces crumbled blue cheese
  • 1 tablespoon Itlalian herb blend
  • 1/2 teaspoon dried red pepper flakes
  • 1/2 cup thinly sliced green onions, both white bulbs and green tops
  • 15 ounce can petite cut tomatoes, drained
  • Sea salt and freshly ground black pepper, to taste
  • 6 ounces shredded low fat mozzarella
Instructions
  1. In a medium saucepan over medium-low heat, warm milk (without boiling), stirring occasionally.
  2. At the same time, heat butter in a large, heavy-bottomed saucepan over medium heat until melted. Add flour to melted butter and whisk continuously, cooking until it is bubbling and has turned lightly golden brown, 3 to 4 minutes.
  3. Stream in heated milk, whisking continuously, and continue to cook over medium heat until mixture bubbles and thickens slightly. Add cheeses and whisk well until melted smooth and incorporated. Add Italian Herb Blend, dried red pepper flakes, green onions and drained tomatoes, stirring until combined.
  4. Season with salt and pepper to taste. Pour into serving bowl and garnish as desired.