Sugar-free Chocolate Chip Cottage “Cheesecake” – no bake, lower carb)

Jump to Recipe

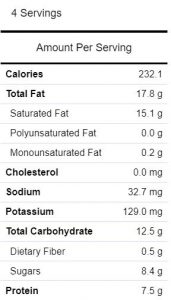
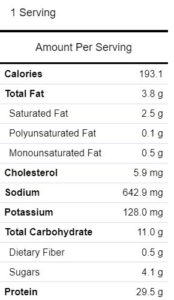
Craving dessert? My Sugar-free Chocolate Chip Cottage “Cheesecake” is a smart, no-added-sugar, single-serve solution to soothing a sweet tooth. And, it’s loaded with more than enough protein to stand alone as a quick meal thanks to cottage cheese and collagen powder (193 calories, 11g carb, 29.5g protein per serving).
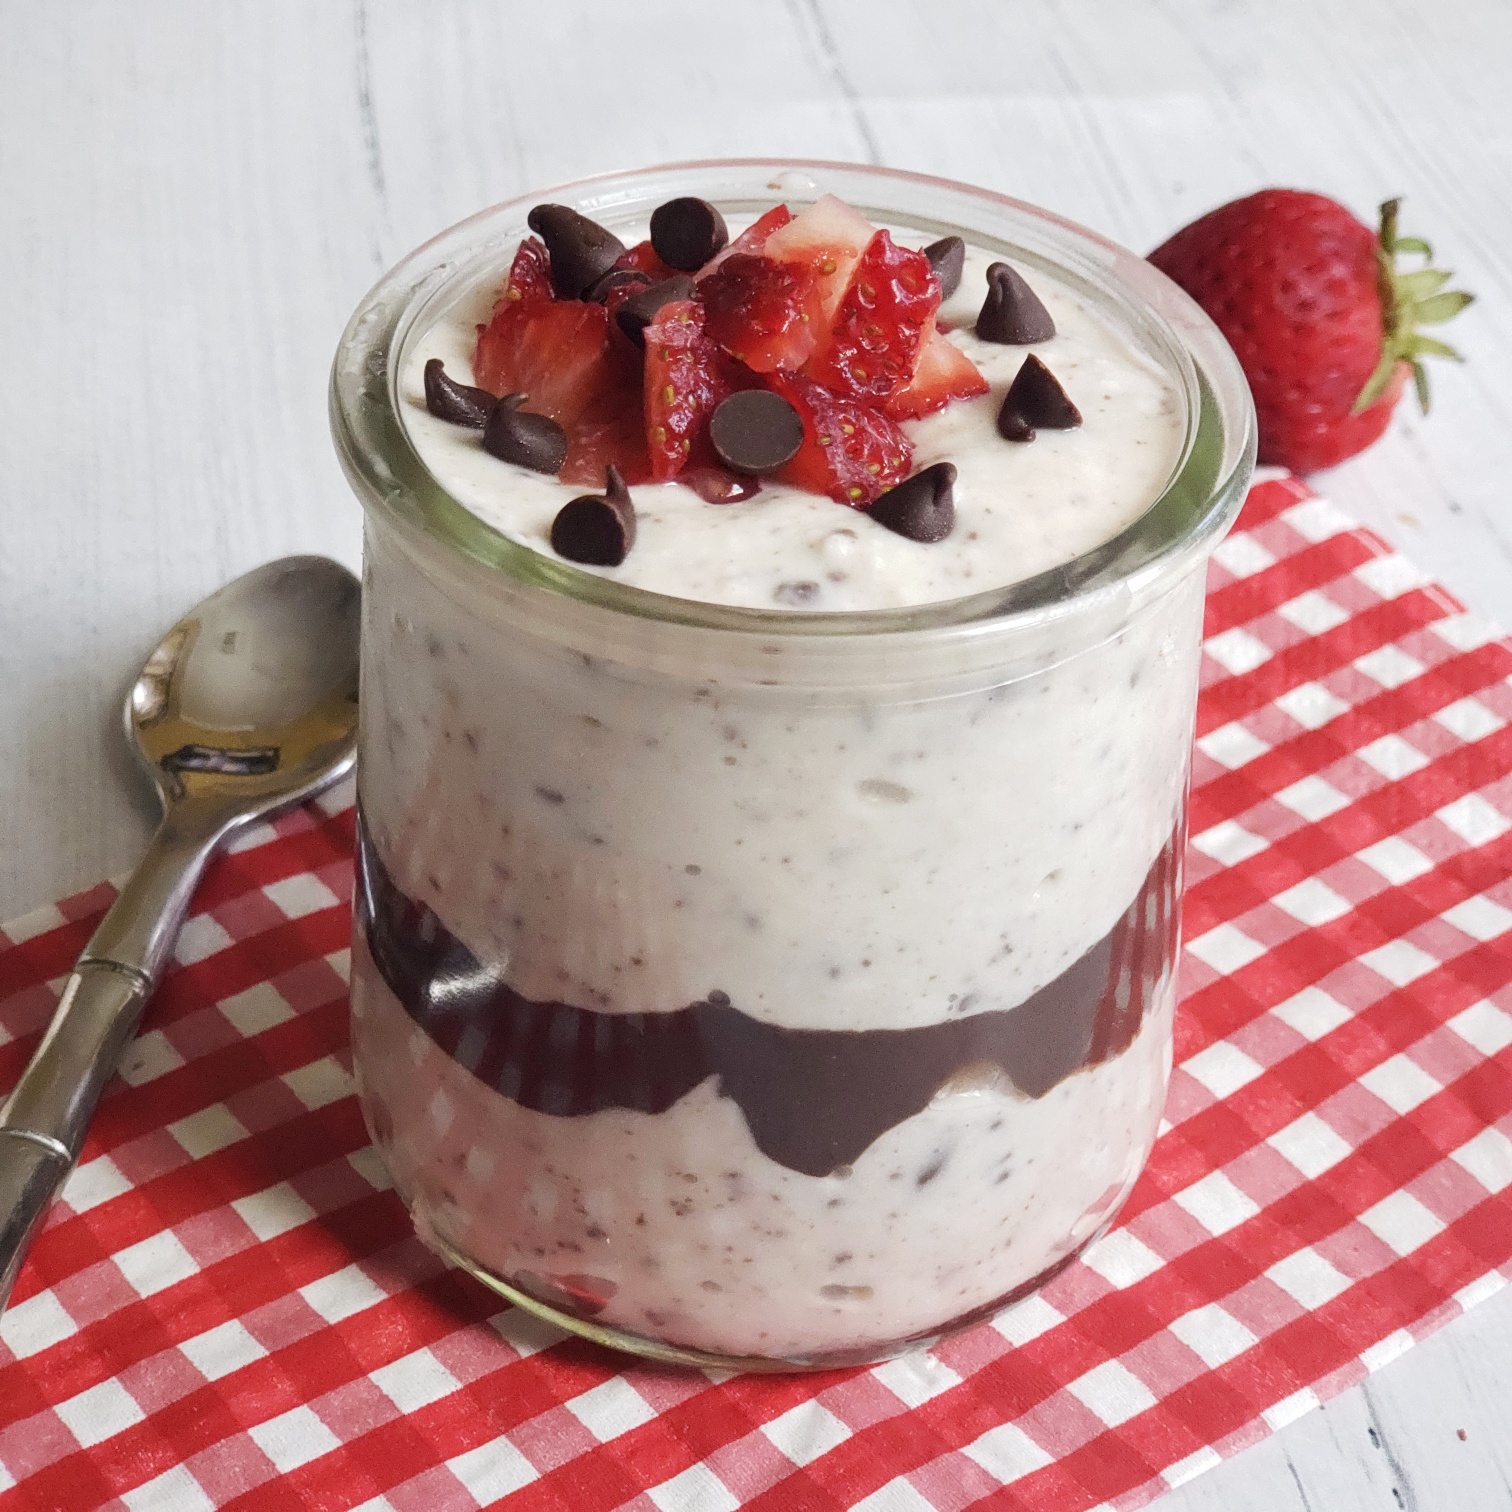
This sugar-free cheesecake dessert features blended collagen and cottage cheese to create a high-protein, lower carb healthy dessert with no added sugar. Great for post workout snack or bedtime snack.

The secret to making a high-protein cheesecake dessert is to process cottage cheese in the blender until creamy. I also add a serving of collagen hydrolysate powder to up to protein and reap the additional health benefits — for me particularly that is joint and bone health as well as overall wellness.
Save 10% on great lakes  gelatin collagen with code THEFITFORK10OFF at bit.ly/ShopGreatLakesGelatin
Collagen helps to boost protein and provide health benefits for skin, joints & overall wellness!

This is a single-serve dessert recipe, which is nice when I want a healthier dessert and want to stay out of my hubby and kid’s ice cream and Oreos, lol! However, if you want to meal prep a few (it will keep for several days in an air-tight container), simple multiply the ingredient list by however many servings you need.
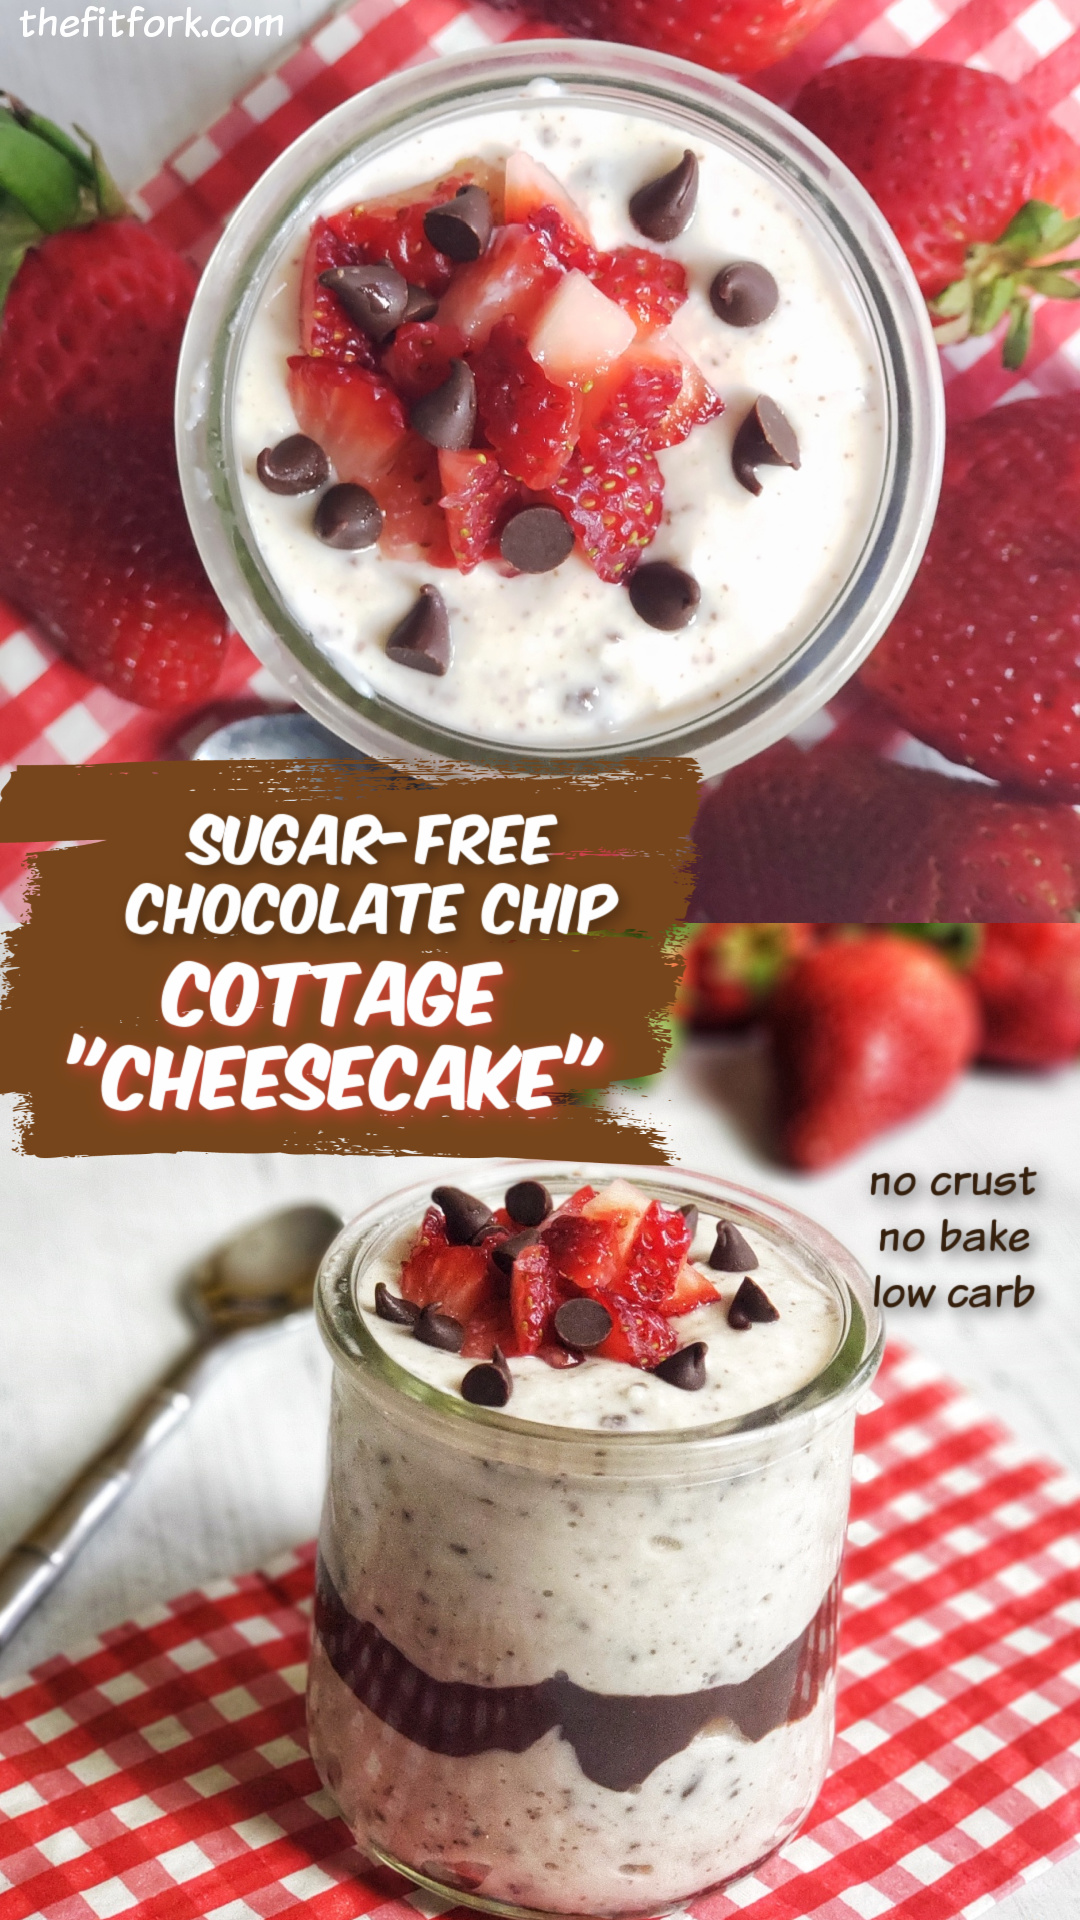
This single-serve, sugar-free dessert incorporates cottage cheese and collagen blended smooth to create a healthy cheesecake experience -- sugar-free chocolate chips and diced strawberries make it extra yummy! Get this no-bake recipe that supports workout recovery, health joint and bone support, and overall wellness at thefitfork.com
Pin this for later!

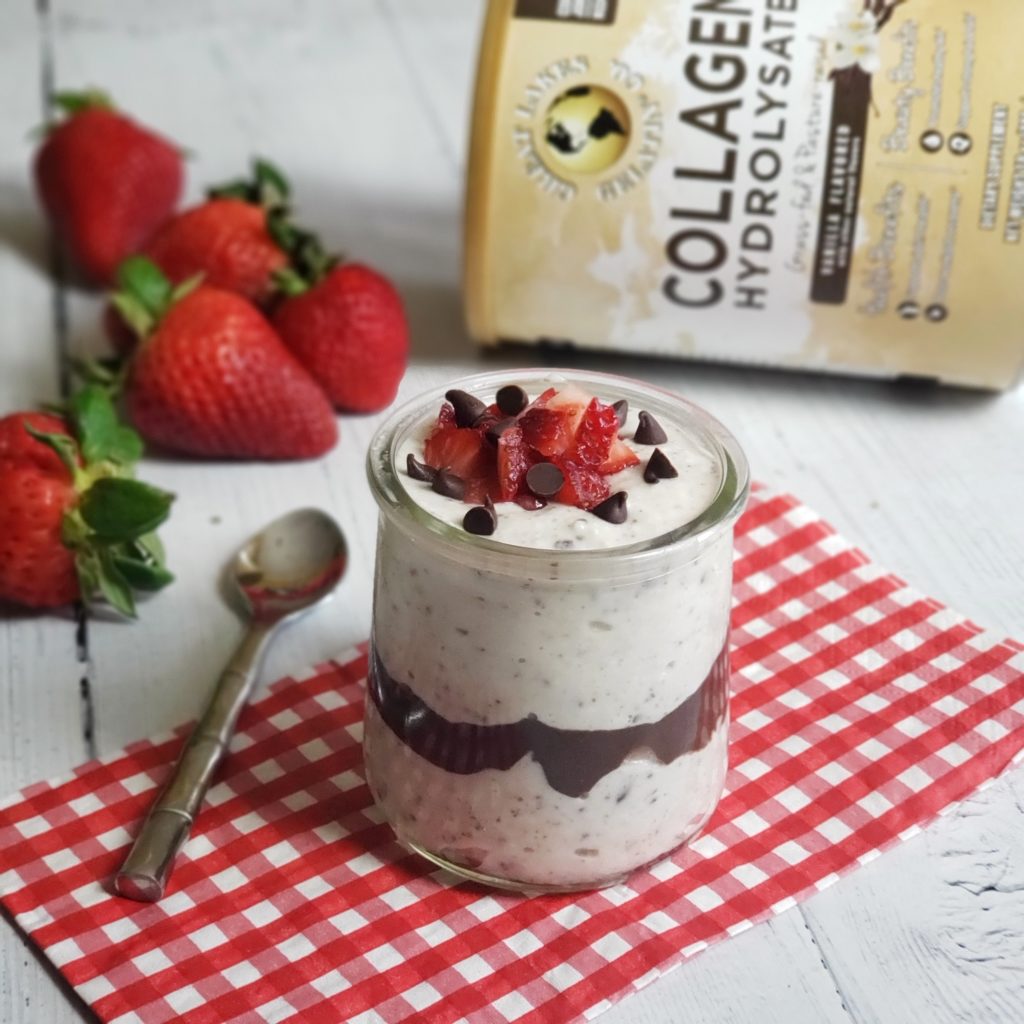
As for the collagen, I used the Collagen Powder from Great Lakes Wellness– I used the vanilla flavor, but unflavored works too, just add a splash of vanilla extract and a packet or two of stevia for sweetness.  I’ve been using this brand for three years, and love it – you can use my discount code THEFITFORKto save 10% on your order.
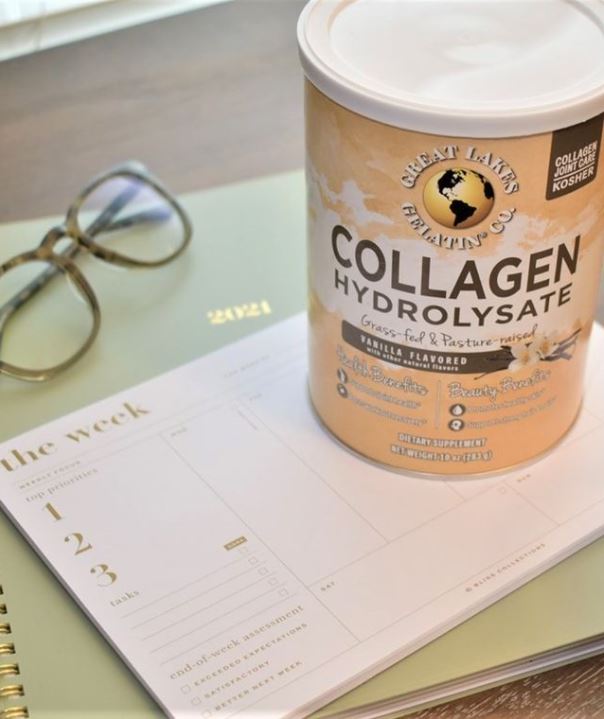
Great Lakes Gelatin collagen hydrolysate -- vanilla flavored  Use code THEFITFORK to save 10% off your order

Sugar-free chocolate chips are also key – you just toss them right in the blender with the collagen cheesecake mixture and they chop up into smaller bits.

YUM, hope you enjoy this high protein cheesecake dessert! It makes a great post-workout snack as well as bed time snack. In fact, dairy products contain help to encourage sleep (tryptophans!) . . . and collagen has been show to support a good night’s rest too. And the protein helps to keep you satiated through the night and support muscle recovery/gains – so win-win for this collagen cheesecake with cottage cheese!

Disclaimer: This post contains affiliate links. I may earn a small commission on sales, but price to you remains the same. Proceeds help to offset operating expenses for The Fit Fork. Thank you!
5 from 5 votes
This no added sugar cheesecake dessert features cottage cheese and collagen blended until creamy -- sugar free chocolate chips and strawberries put this no-bake, no crust, lower carb, single-serve recipes over the top.
Sugar-free Chocolate Chip Cottage “Cheesecake” – no bake, no crust, very easy
Prep Time
5 mins
Total Time
5 mins
 

This sugar-free cheesecake dessert features blended collagen and cottage cheese to create a high-protein, lower carb healthy dessert with no added sugar. Great for post workout snack or bedtime snack.

Course: Dessert, Snack, workout
Keyword: cheesecake, chocolate chips, collagen, dessert, high protein, low carb, no bake, sugar-free, workout snack
Servings: 1 serving
Calories: 193 kcal
Ingredients
  • 2/3 cup 2% cottage cheese
  • 2 tbsp. vanilla collagen powder if substituting plain collagen, add 1 little packet stevia and 1/4 tsp vanilla extract
  • 1 tbsp sugar free chocolate chips
  • 1 tbsp sugar-free chocolate syrup
  • 1 small strawberry, diced
Instructions
  1. Add cottage cheese and collagen to blender, process. Mixture will be thick and you will have to stop blender once or twice to scrape down sides — keep blending until smooth.

  2. Add chocolate chips to this mixture and blend for 30 seconds or until they are chopped up a bit.

  3. Spoon 1/2 of the cheesecake mixture into a small container, drizzle with chocolate sauce. Add remaining cheesecake mixture on top and add diced strawberry and extra chocolate chips if desired.

  4. To make more than one serving, multiply recipes accordingly. Will keep in fridge, covered, for up to 3 days.
Recipe Notes

save 10% on great lakes gelatin collagen and other products with code THEFITFORK10OFF
Save 10% code: THEFITFORK10OFF

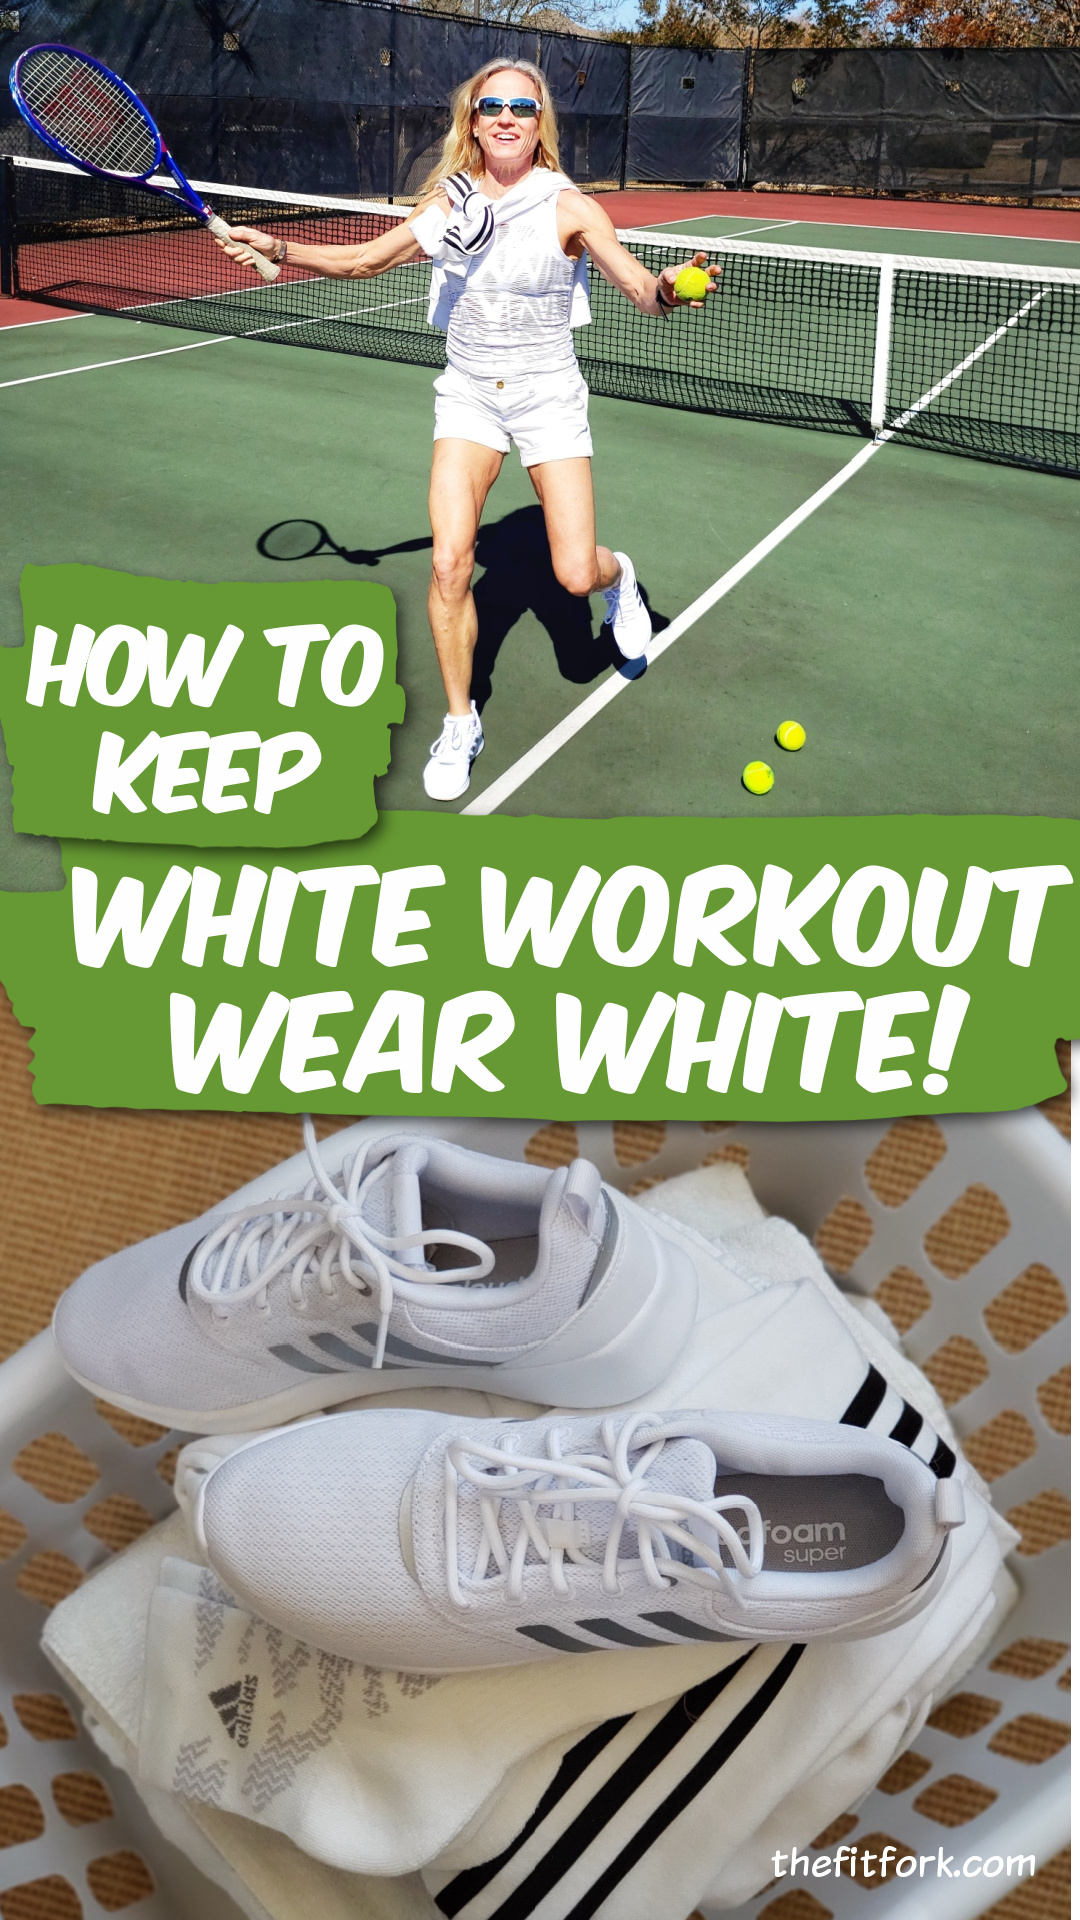
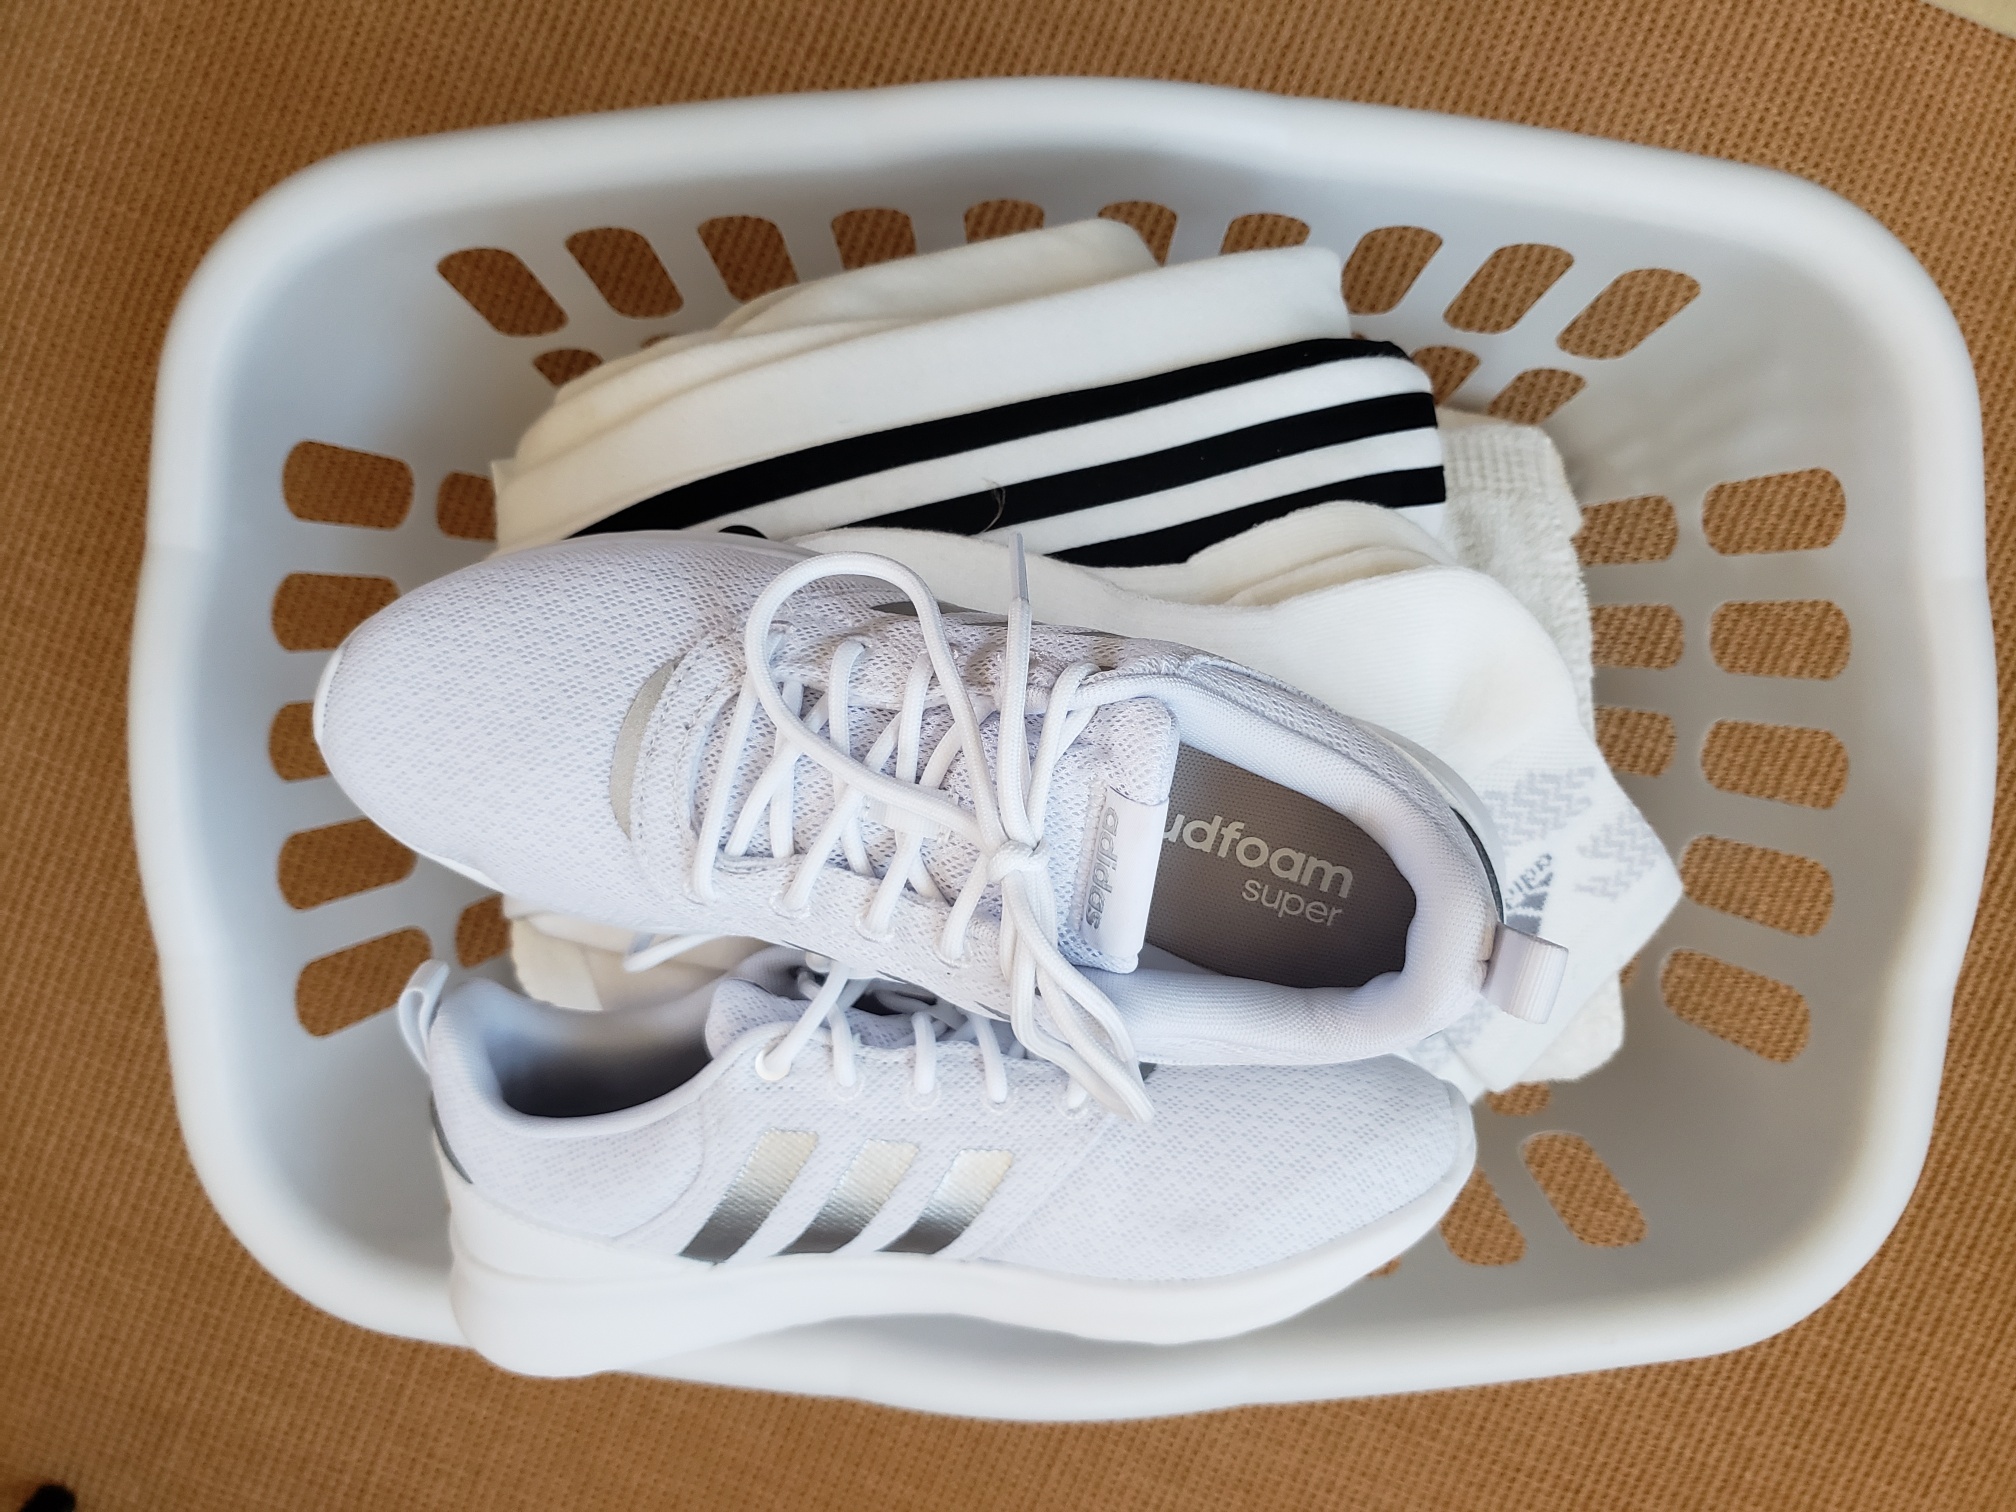
How to Keep White Workout Wear and Fitness Gear White: Laundry Stain & Stink Tips

Updated 10/13/2023

Nothing is as clean and fresh as a new pair of white sneakers or white fitness wear. The clean, pristine look of white workout clothing really pops and makes you feel fine. That is, until you get the fabric stained or it turns a dingy grey from laundering. Or, because you spilled a berry smoothie down the front — that would be me!

Tips on how to keep white workout wear and fitness gear white -- remove dingy grey and stains.

Find out how to keep your whites white, these white laundry tips will let you keep that pristine look going on at the gym, on the courts, in fitness class or wherever you like to wear your white gear!

The main reason white items become dull is due to incorrect sorting. Maybe you don’t have enough solid white items to make up a full load, so you just toss what you have in with darks or colors. Certain fabrics, like cotton, aren’t colorfast which means that a little bit of the dye seeps out in the water with each wash and sinks, most noticeably, on lighter items. Dingy whites can also be caused by washing heavily soiled white items (like nasty socks from a trail run) with very lightly dirtied items, like that cute workout top you wear to yoga class. In addition to co-mingling colors and levels of dirtiness, the quality of water in your home can also affect the whiteness of whites. For example, water with high levels of iron or hard water, loaded with minerals, make detergents less effective and can be a perpetrator of staining.

Get tips on how to keep white workout wear, athletic shoes and fitness gear bright white! Learn all the secrets of how to remove stains and dingy grey. Learn more at thefitfork.com

BASIC TIPS for keeping white laundry white:

  1. Wash whites in their own separate load, always. Not negotiable.
  2. Use the hottest water that the care label says is advisable. Make sure you actually read the care label!
  3. Look for “bleach alternative” and/or “enzymes in the laundry detergent you purchase.
  4. Don’t skimp on detergent, use the exact amount (and not more) than recommended on the back of bottle. The detergent helps keep the removed dirt suspended in the water during the washing cycle, lessening its ability to settle back in on the fabric. The use of too much though, becomes hard to wash out in one cycle.
  5. For stubborn stains and dinginess, soak fabrics in a solution of water and oxygen bleach before laundering, according to package directions.
  6. Never put a stained item in the dryer until you are satisfied with the progress you have made removing the stain. The heat will “set” it in. While the item is still damp, soak, spot treat, scrub — or whatever is needed — and then rewash again.
  7. If possible, do not dry whites, allow them to air dry. If running tight on hanging space, a fold out clothes drying rack that mounts to wall is perfect for sports bras, running shorts, and such. OR, if you can, drying outside in the sun is a great option, the sunlight offers natural lightening abilities.
  8. And ½ to 1 cup white vinegar distilled vinegar to rinse cycle to help in stain and odor removal. For synthetic workout wear, you can use a specifically designated laundry soap (like this one I use), to help keep fitness clothing bright and odor-free. I give WIN Detergent a big thumbs up!
  9. Install a water softener to help remove minerals from your water supply and thusly fabric mineral stains and dinginess from your white fabrics.

SPECIFIC TIPS for stain removal on white clothes and white workout wear:

  1. Perspiration and greasy stains: Use a clean toothbrush to rub clear-colored detergent or dishwashing liquid into stain. Sweat has a lot of iron in it, and that’s why it can discolor fabric so easily.
  2. Blood stains:  The sooner you can attend to a blood stain, the better. Treat area carefully by pouring a little hydrogen peroxide directly on the stain, also treated reverse side of the stain too (flip fabric over).  After it bubbles up, add clear detergent and scrub with a clean toothbrush, rising with cold water.
  3. Colored stains: From sports drink and yellowed underarms, apply undiluted liquid oxygen bleach directly to fabric right before washing. You can try a homemade baking soda paste and (2 parts warm water to 1 part baking soda) and scrub into affected area before laundering. For an extra stain removal boost, allow baking soda paste to dry in sun before washing off.
  4. Grass Stains: Treat with baking soda paste (as described at all); rinse; rub in vinegar with a clean toothbrush; launder with an enzyme or oxygen based bleach detergent.
  5. HANDY HACK: I discovered that refillable dauber bottles with sponge or mohair tips (like those you might use in crafting / painting) make excellent, inexpensive containers to hold various homemade stain solutions like bleach water, baking soda water, vinegar water.

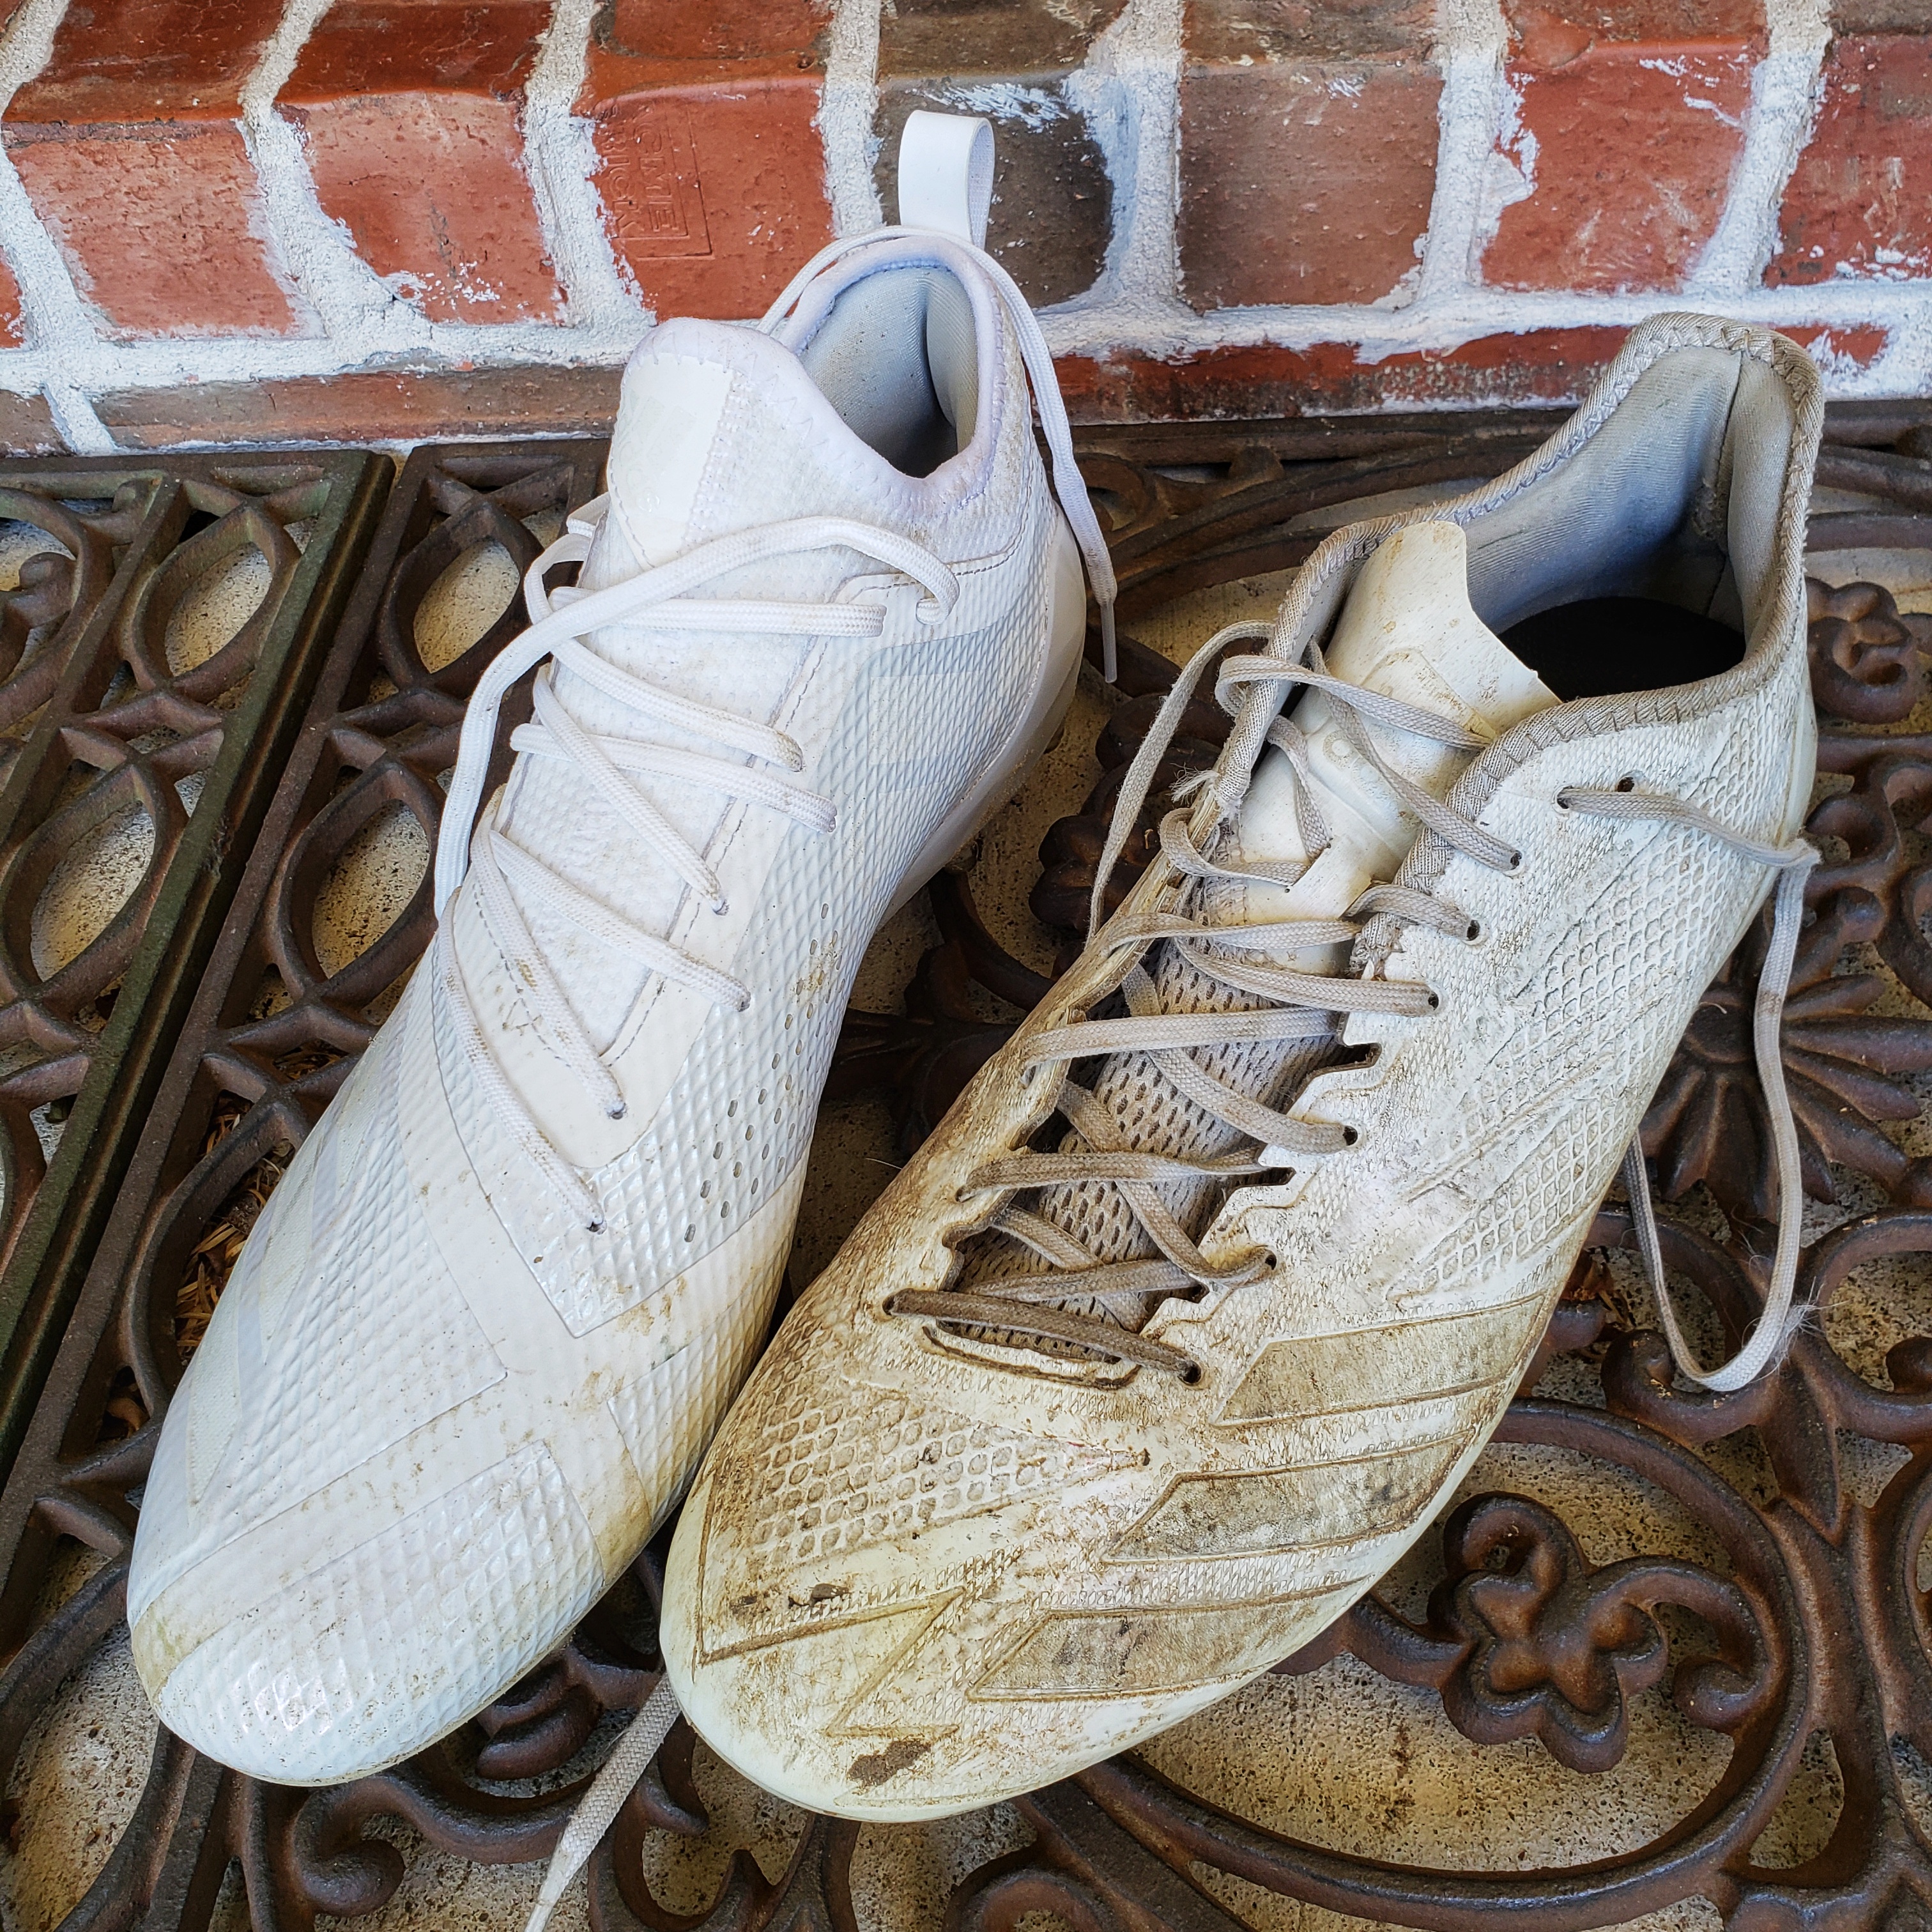
before and after adidas cleats

HOW TO clean white athletic shoes:

  1. To clean white leather shoes: Use a dry toothbrush to remove and dried mud and debris. Next add several drops of liquid dish soap to a cup of warm water and use this to scrub shoes uppers and soles. Wipe down with a wet paper towel. If stains remain, use an eraser sponge to gently treat the area. Let air dry completely. Any scuffs can be covered with dab-on white shoe polish at this point.
  2. To clean white mesh shoes: Use dry brush to remove dirt and mud on soles. Mesh uppers need to be treated more carefully than leather uppers. Use several drops of clear liquid laundry soap in water and gently rub uppers with circular motion with white wash cloth. Periodically rinse wash cloth to prevent spreading dirt. Use a soft bristled tooth brush to work on more stubborn stains. Carefully rinse shoes under the faucet, taking care not to totally submerge. Use a dry towel to pat off excess water and let air dry. For non-leather shoes, you can speed up the drying process with a mesh shoe dryer bag that attached to the inside door of your drying.
  3. To clean all-white shoelaces:  After knowing how to clean white sneakers, you need to make the laces pop, too! For all white shoelaces, use a solution of 3 tbsp. bleach to one gallon of water. Soak laces for 5 minutes, remove and rinse, and then let air dry.

HOW TO clean white hats, caps and visors:

  1. To clean white caps and visors: Do not place in the dishwasher as some suggest. This can leave your cap misshapen. Use a cotton swab, paper towel or white cloth to apply hydrogen peroxide to the stain. Then use a clean toothbrush to work in in, let set and then rinse. If hat is dirty all over with sweat stains, soak it for up to 30 minutes in a bowl filled with warm water, a bit of oxygen-based bleach and laundry detergent. Rinse thoroughly with warm water, dab dry with clean white towel, and air dry with paper towels wadded up to keep the caps shape.
How to keep white tennis clothes and other sports apparel white! Laundry, stain and care tips. Learn more at thefitfork.com

Note: This post contains Amazon affiliate links. Please visit my Amazon Storefront for more finds I love and use to support an active and healthy lifestyle.

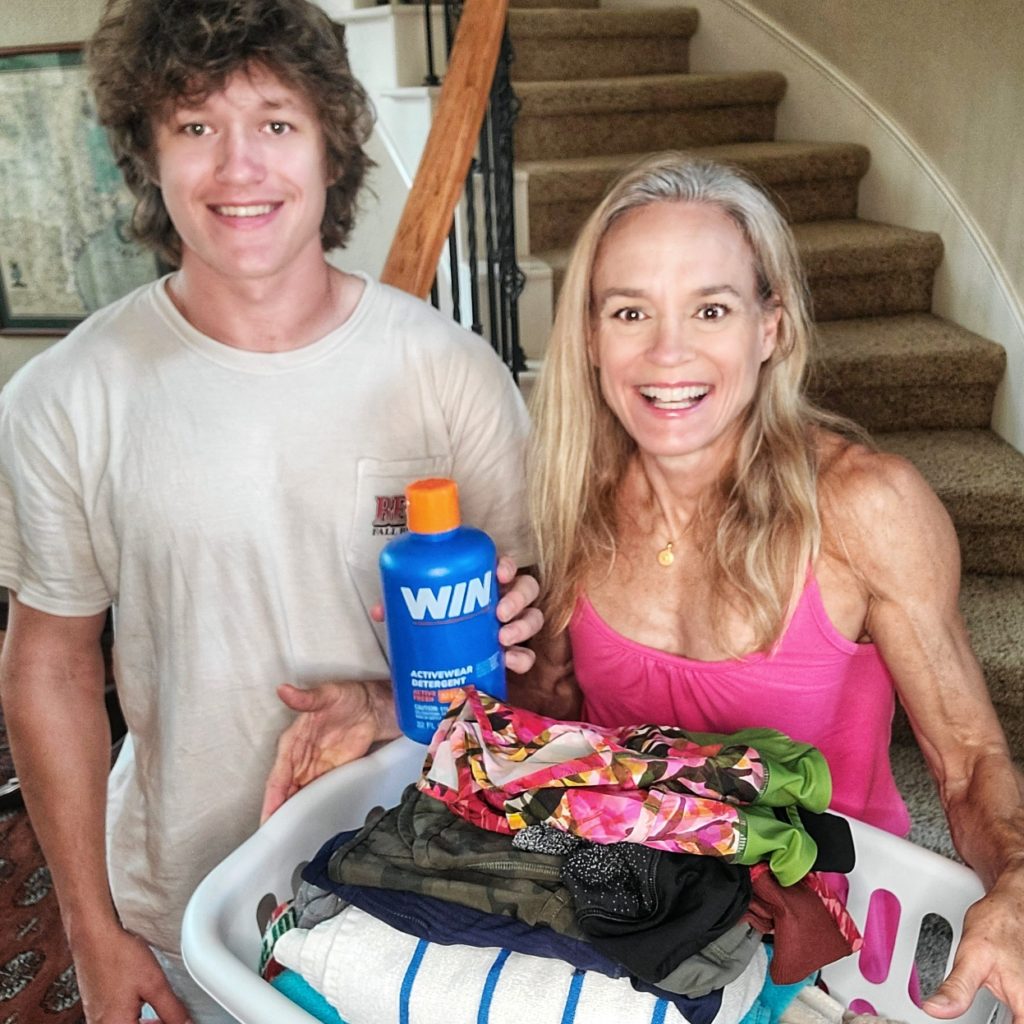
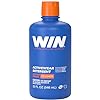
I’m a fan of WIN Detergent to keep our activewear clean and stink-free!

You can find WIN Activewear Detergent on Amazon. Raising three active boys (and being an athlete myself), it’s been a huge help keeping sports uniforms and workout clothes clean and odor-free. WIN for the win!

Note: This post contains affiliate links. I may earn a small commission on purchases which helps me run The Fit Fork. For more of my favorite products, visit my Amazon Shop.

Chocolate Mint Protein Smoothie – A Super Shamrock Shake!

This post is sponsored by Optimum Nutrition and contains affiliate links.

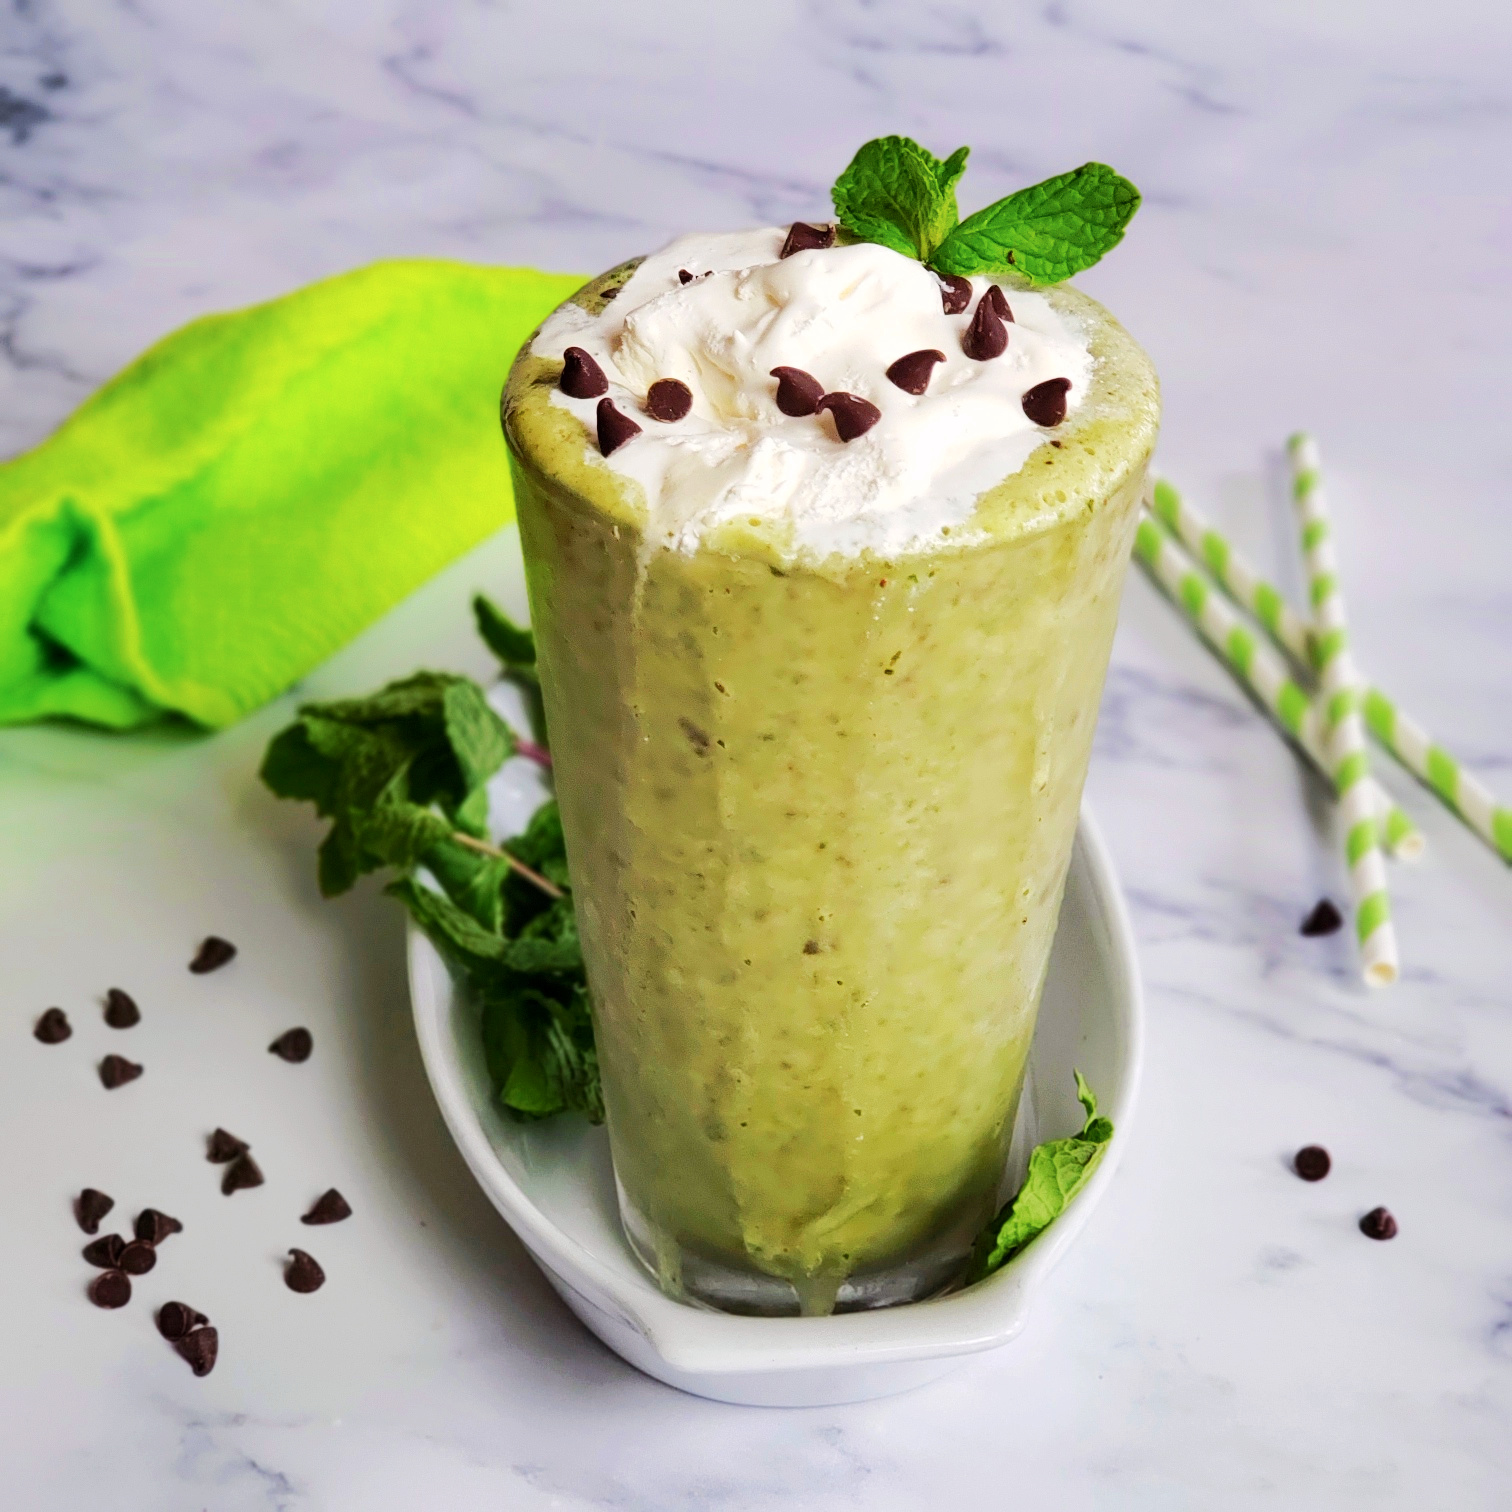
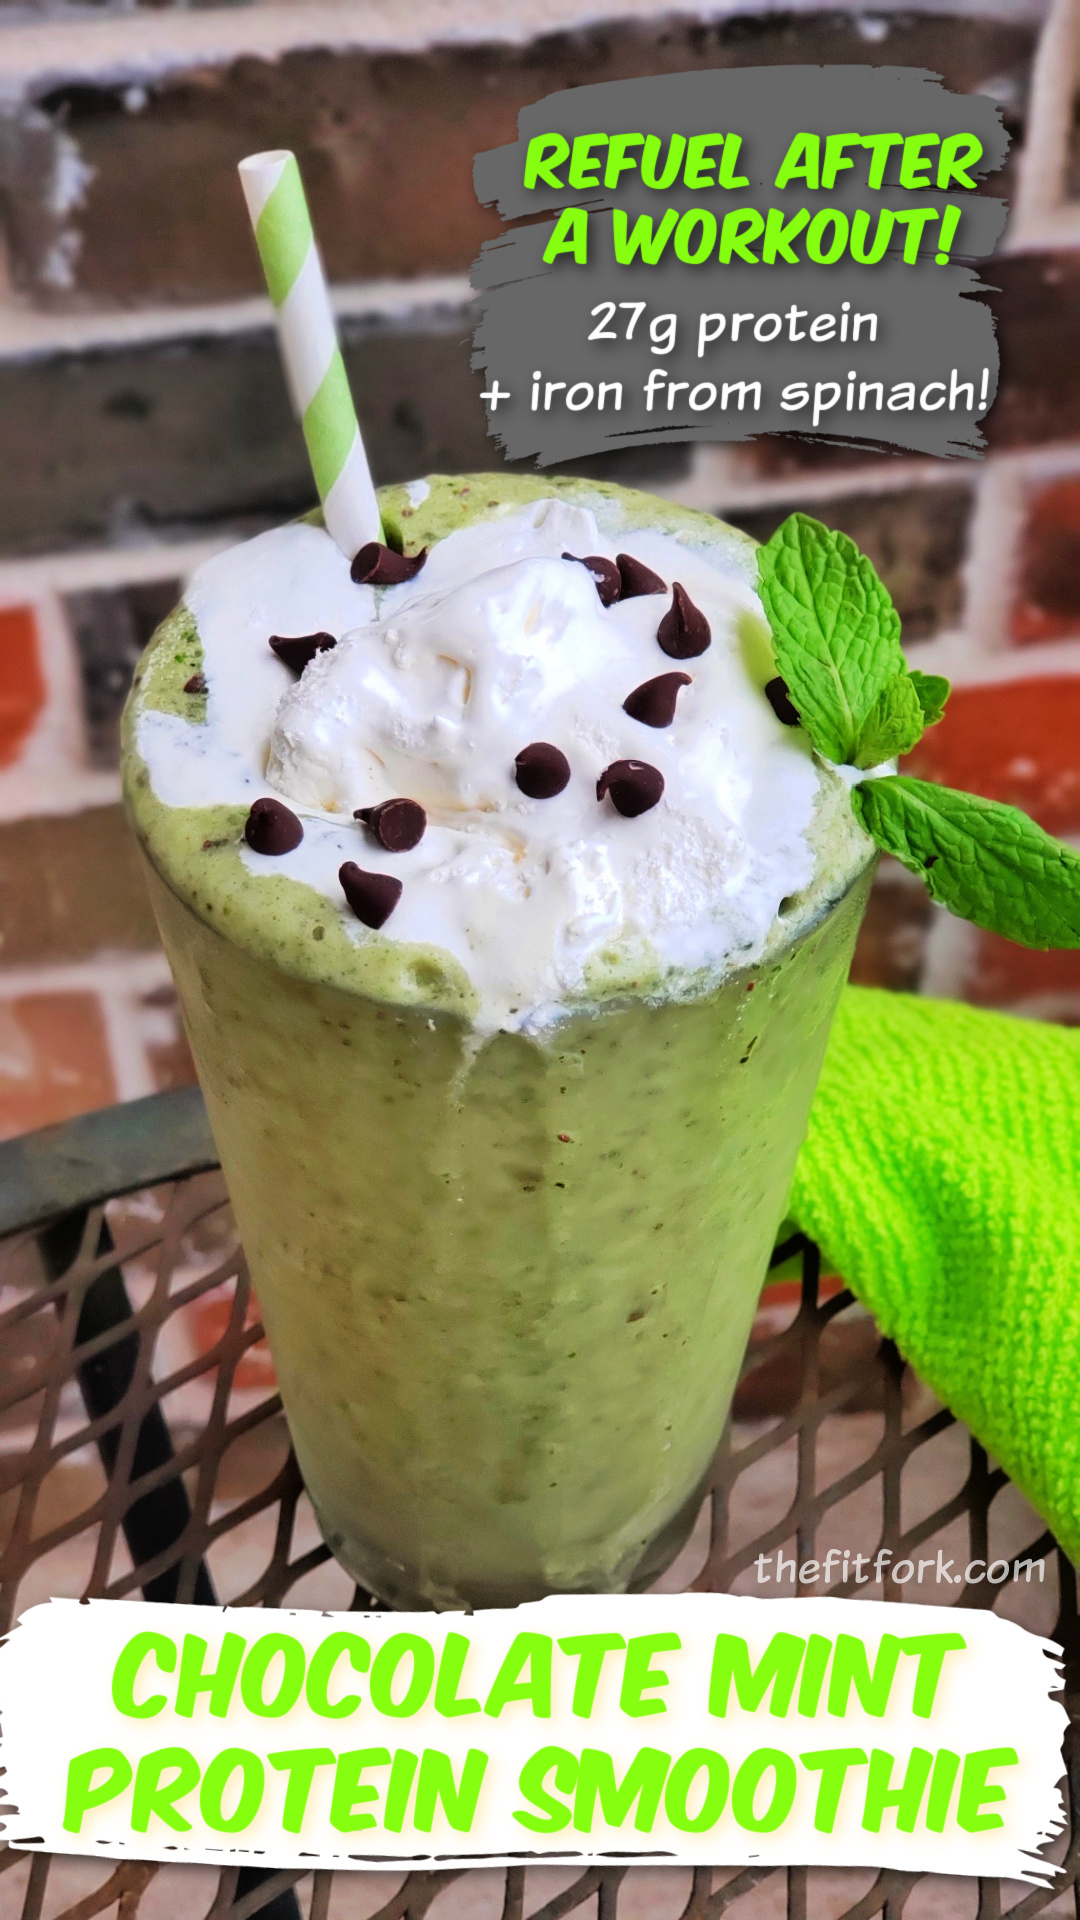
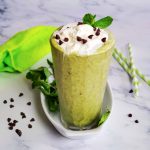
St. Patrick’s Day or ANY DAY, my pumped-up version of a Green Shamrock Shake with protein powder is sure to satisfy post-workout recovery needs with 27g protein for muscle management.

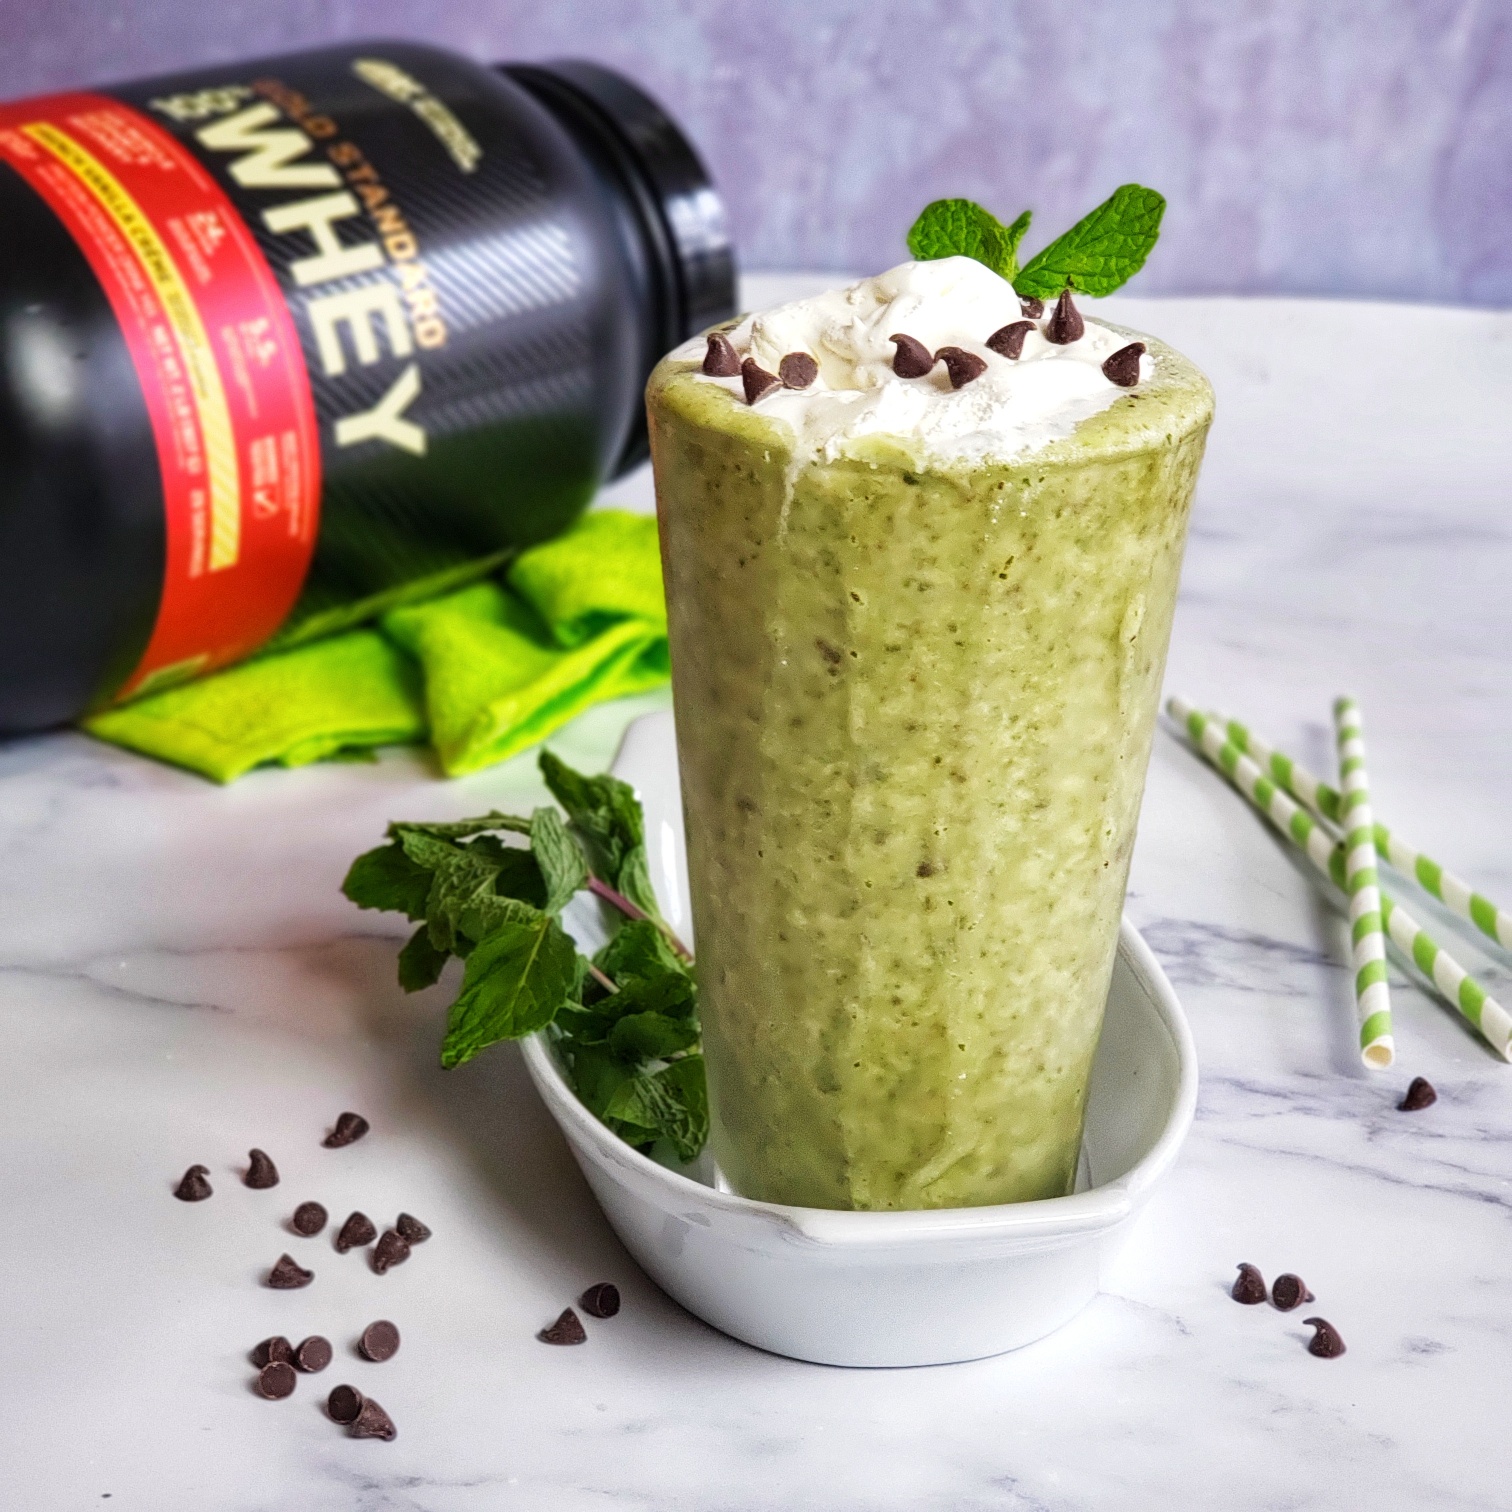
This delicious, creamy Chocolate Mint Protein Smoothie features fresh mint and spinach, sugar-free chocolate chips. My protein choice today is Optimum Nutrition’s Gold Standard 100% Whey protein (in French Vanilla Creme) which offers 24g high-quality whey protein per serving and 5.5g naturally-occurring BCAA to help endurance and recovery.

Enjoy St. Patrick's Day or any day with this better-for-you version of a green shamrock shake -- featuring fresh spinach and mint plus other key ingredients like protein powder and a few sugar-free chocolate chips! A great post-workout snack or breakfast on the go. Get more clean eating recipes at thefitfork.com
Pin this for later!

BTW, I’ve actually visited the HQ and manufacturing facilities for Optimum Nutrition and it was very impressive with so many safety protocols– it made it obviously clear why this product line is the “world’s best-selling whey protein powder” and why I trust it in my green mint protein smoothie (as well as so many other protein powder recipes).

I’m such a food manufacturing nerd, I could have watched the production line at Optimum Nutrition all day long!

Enjoy St. Patrick's Day or any day with this better-for-you version of a green shamrock shake -- featuring fresh spinach and mint plus other key ingredients like protein powder and a few sugar-free chocolate chips! A great post-workout snack or breakfast on the go. Get more clean eating recipes at thefitfork.com

This protein shamrock smoothie with Optimum Nutrition Gold Standard Whey Protein was my post-workout snack after an intense sweat session the other day, but with 320 calories it would also make a great breakfast or light meal on the go.

EmpowerMINT mint smoothie with protein powder

Of course, you can trim it down a little by skipping the whipped topping and sugar-free chocolate chips — I’ve made it that way many times too!

“Shamrock Shake” Chocolate Mint Protein Smoothie
Prep Time
5 mins
Total Time
5 mins
 

Enjoy St. Patrick's Day or any day with this better-for-you version of a green shamrock shake — featuring fresh spinach and mint plus other key ingredients like protein powder and a few sugar-free chocolate chips! A great post-workout snack or breakfast on the go. Get more clean eating recipes at thefitfork.com

Course: Beverage, smoothie
Keyword: chocolate mint, green bean, protein powder, protein smoothie, shamrock shake, smoothie
Servings: 1
Calories: 320 kcal
Ingredients
  • 8 oz. unsweetened almond milk
  • 1 small banana about 6” in length
  • 3 Tbsp fresh mint leaves
  • ½ cup fresh spinach leaves
  • 1 scoop Optimum Nutrition’s Gold Standard 100% Whey protein French Vanilla Cream
  • 1 tablespoon sugar-free chocolate chips save a few for the garnish
  • 2 tablespoons sugar-free non-dairy whip
Instructions
  1. Add almond milk, banana, mint, spinach, protein powder and chocolate chips to the blender and process until smooth. Blend in a few ice cubes, if needed, to achieve desired consistency. Add whipped topping and a few extra chocolate chips for garnish.
Recipe Notes

320 calories, 27g protein, 9g fat, 9g dietary fiber, 28g net carb.

15-minute Shrimp with Hatch Chile Green Sauce (Keto, Low Carb, Gluten-Free)

Jump to Recipe

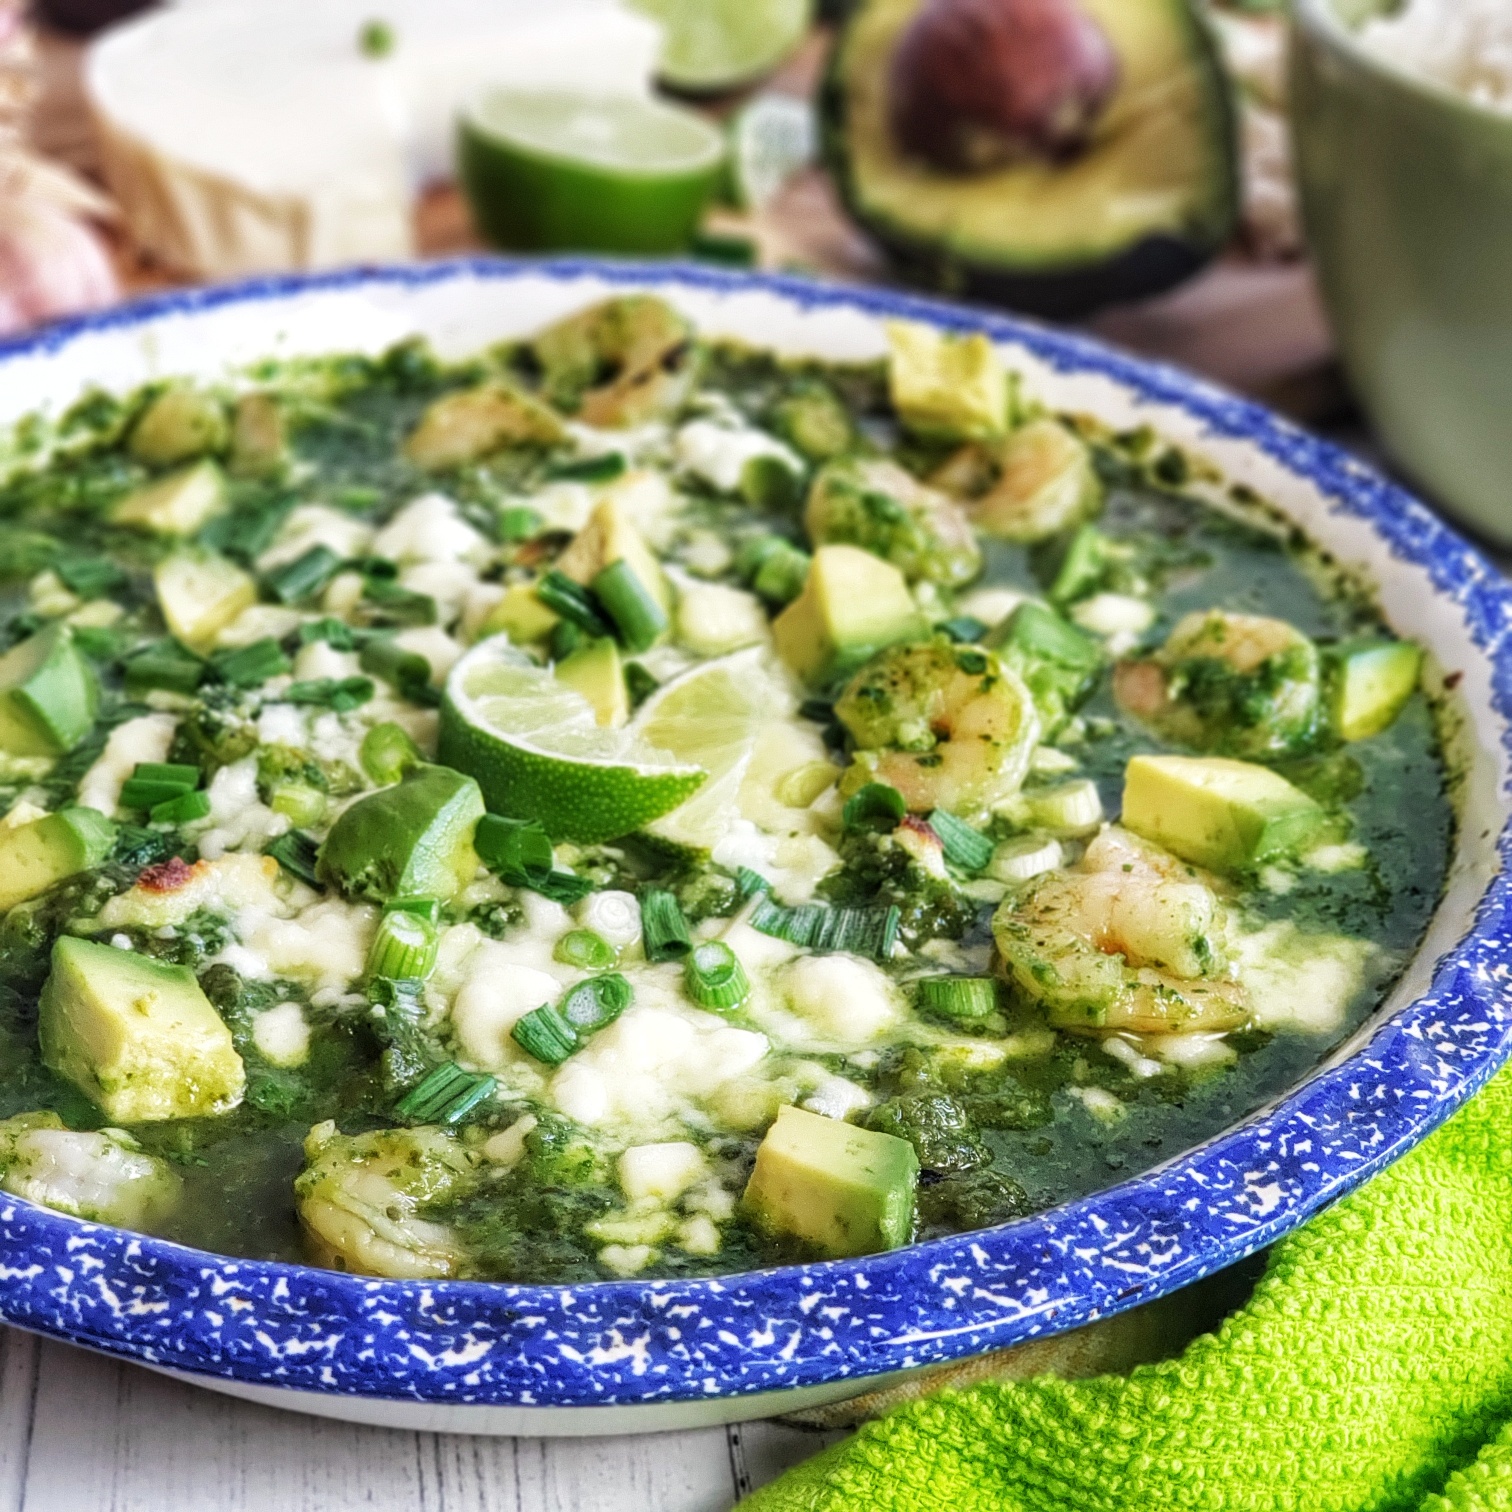
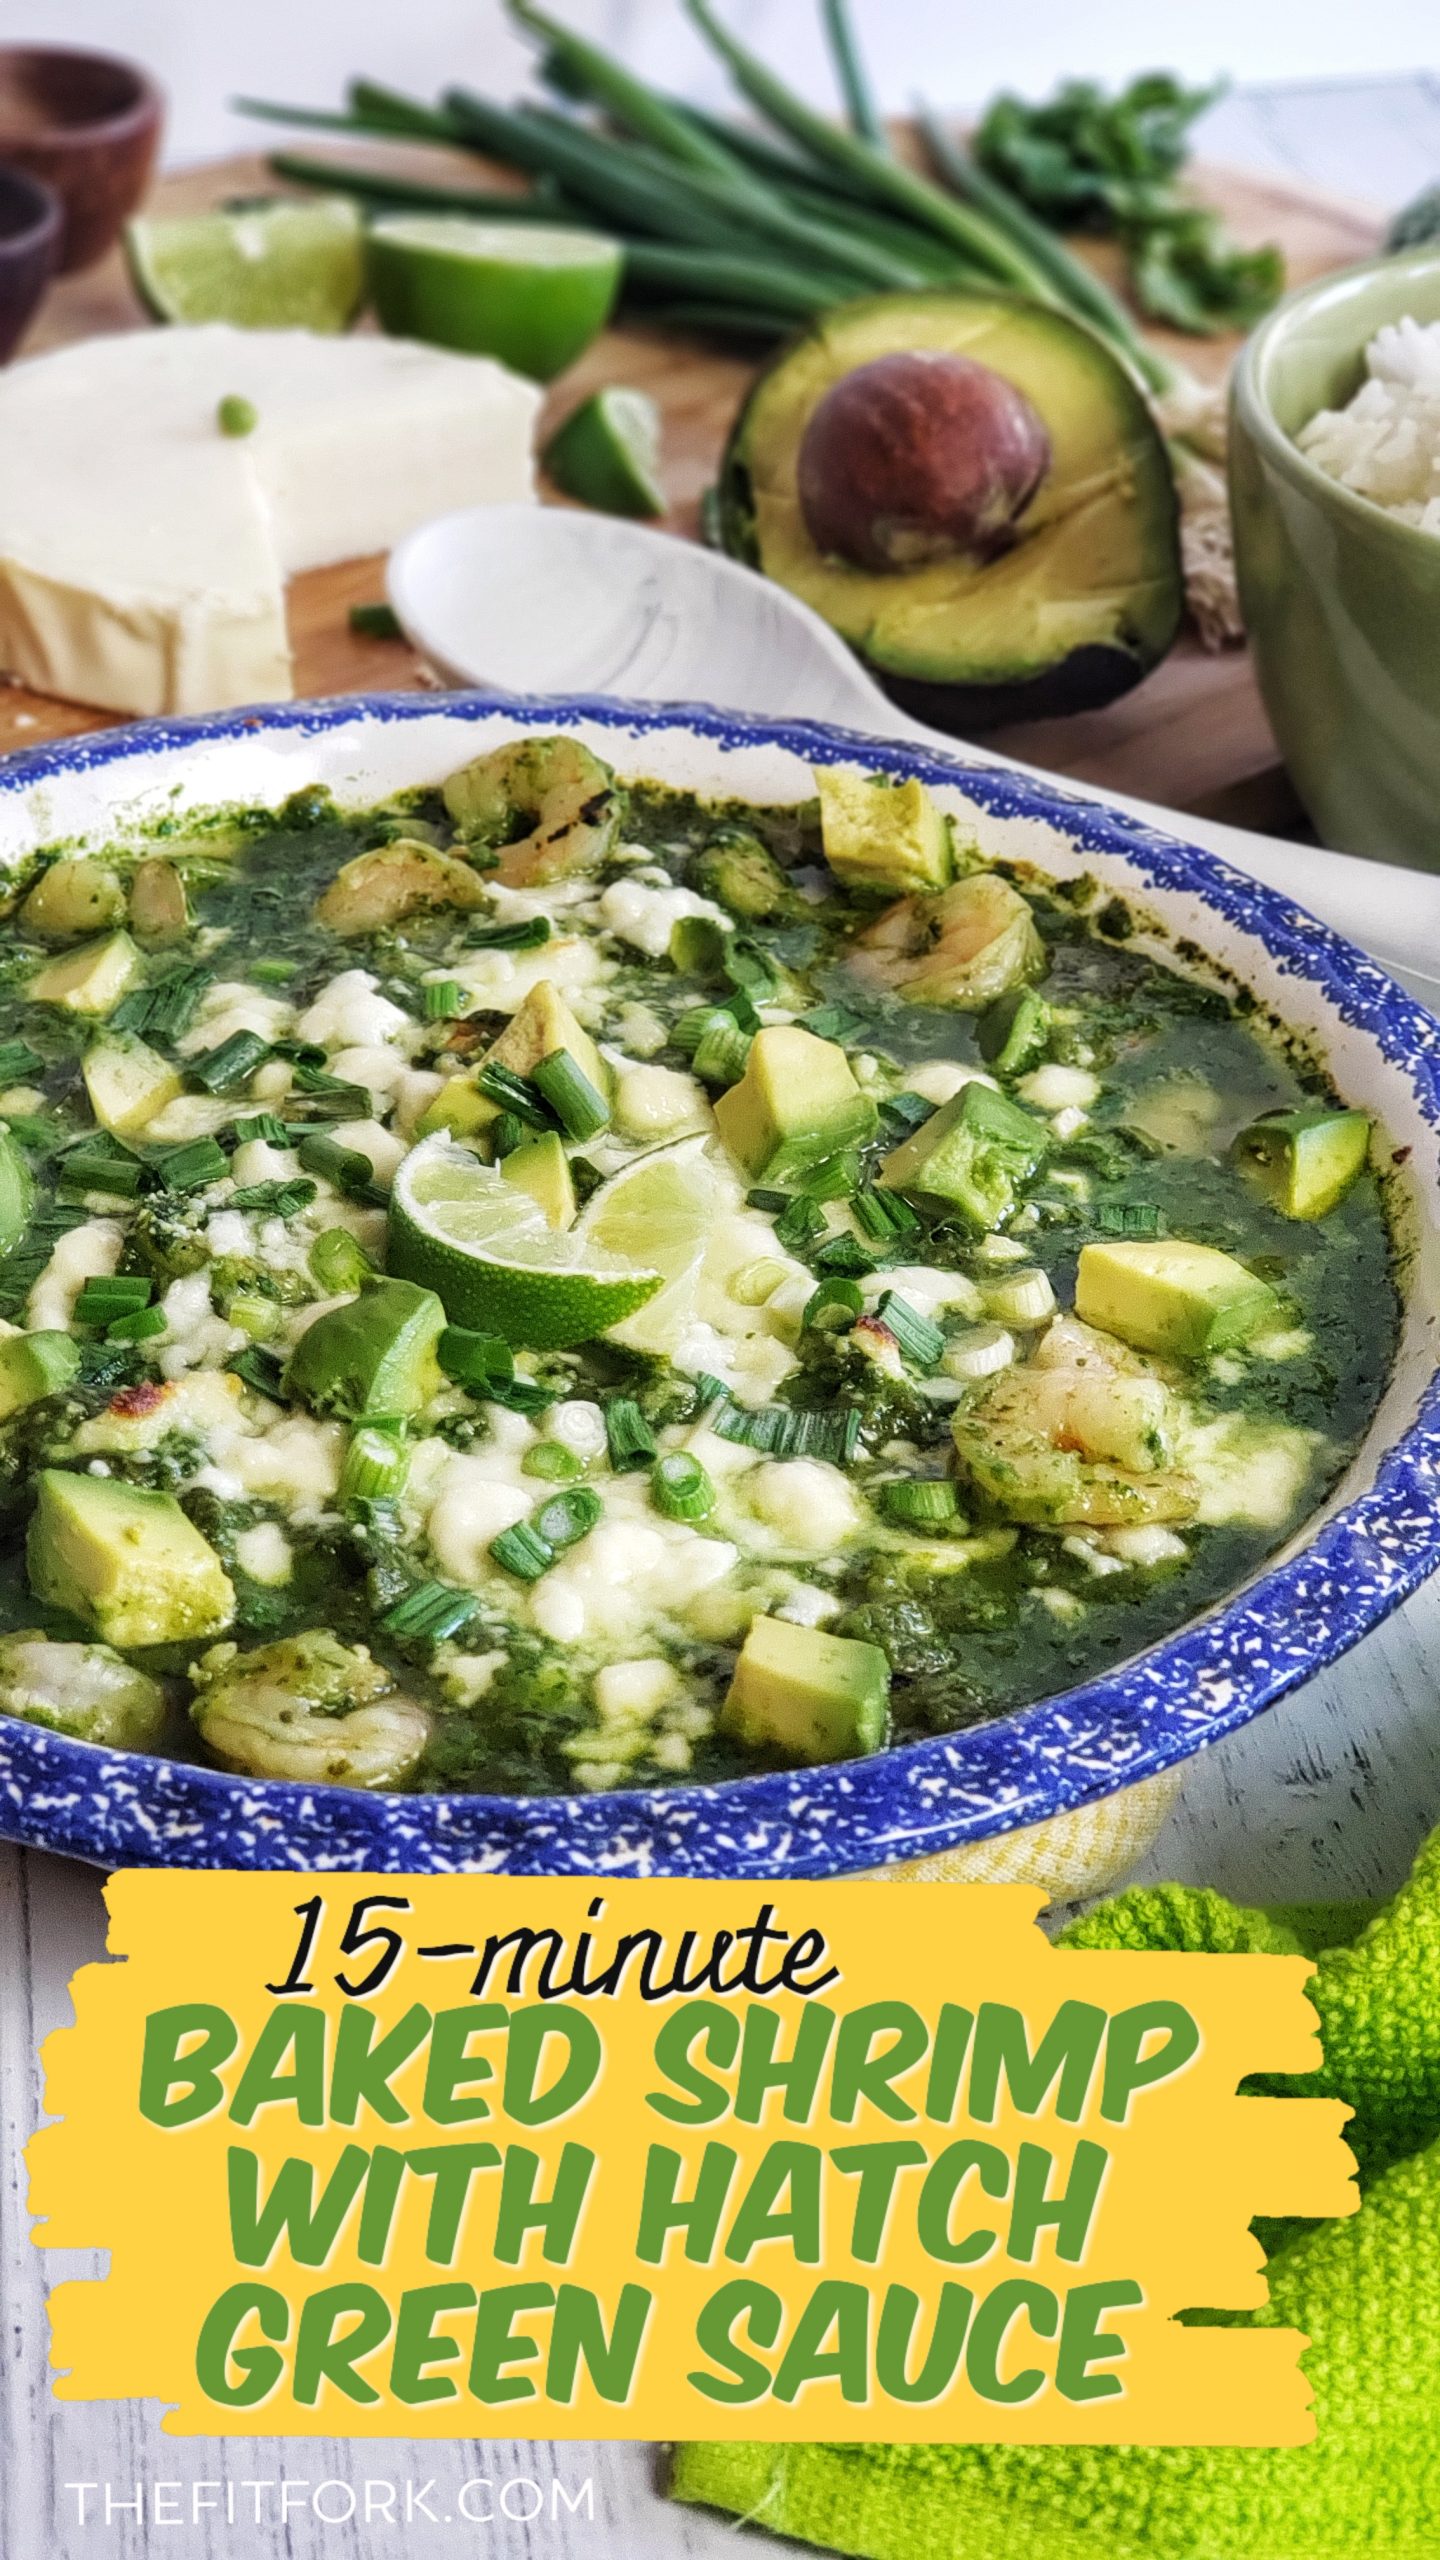
So green and so good and so glee-fully easy to make and clean up, my recipe for 15-mintue Shrimp with Hatch Chile Green Sauce, makes a speedy southwestern-inspired meal made with one of my favorite ingredients, Hatch Green Chiles. Suitable for keto and low-carb diets with 3.6g net carb per serving.

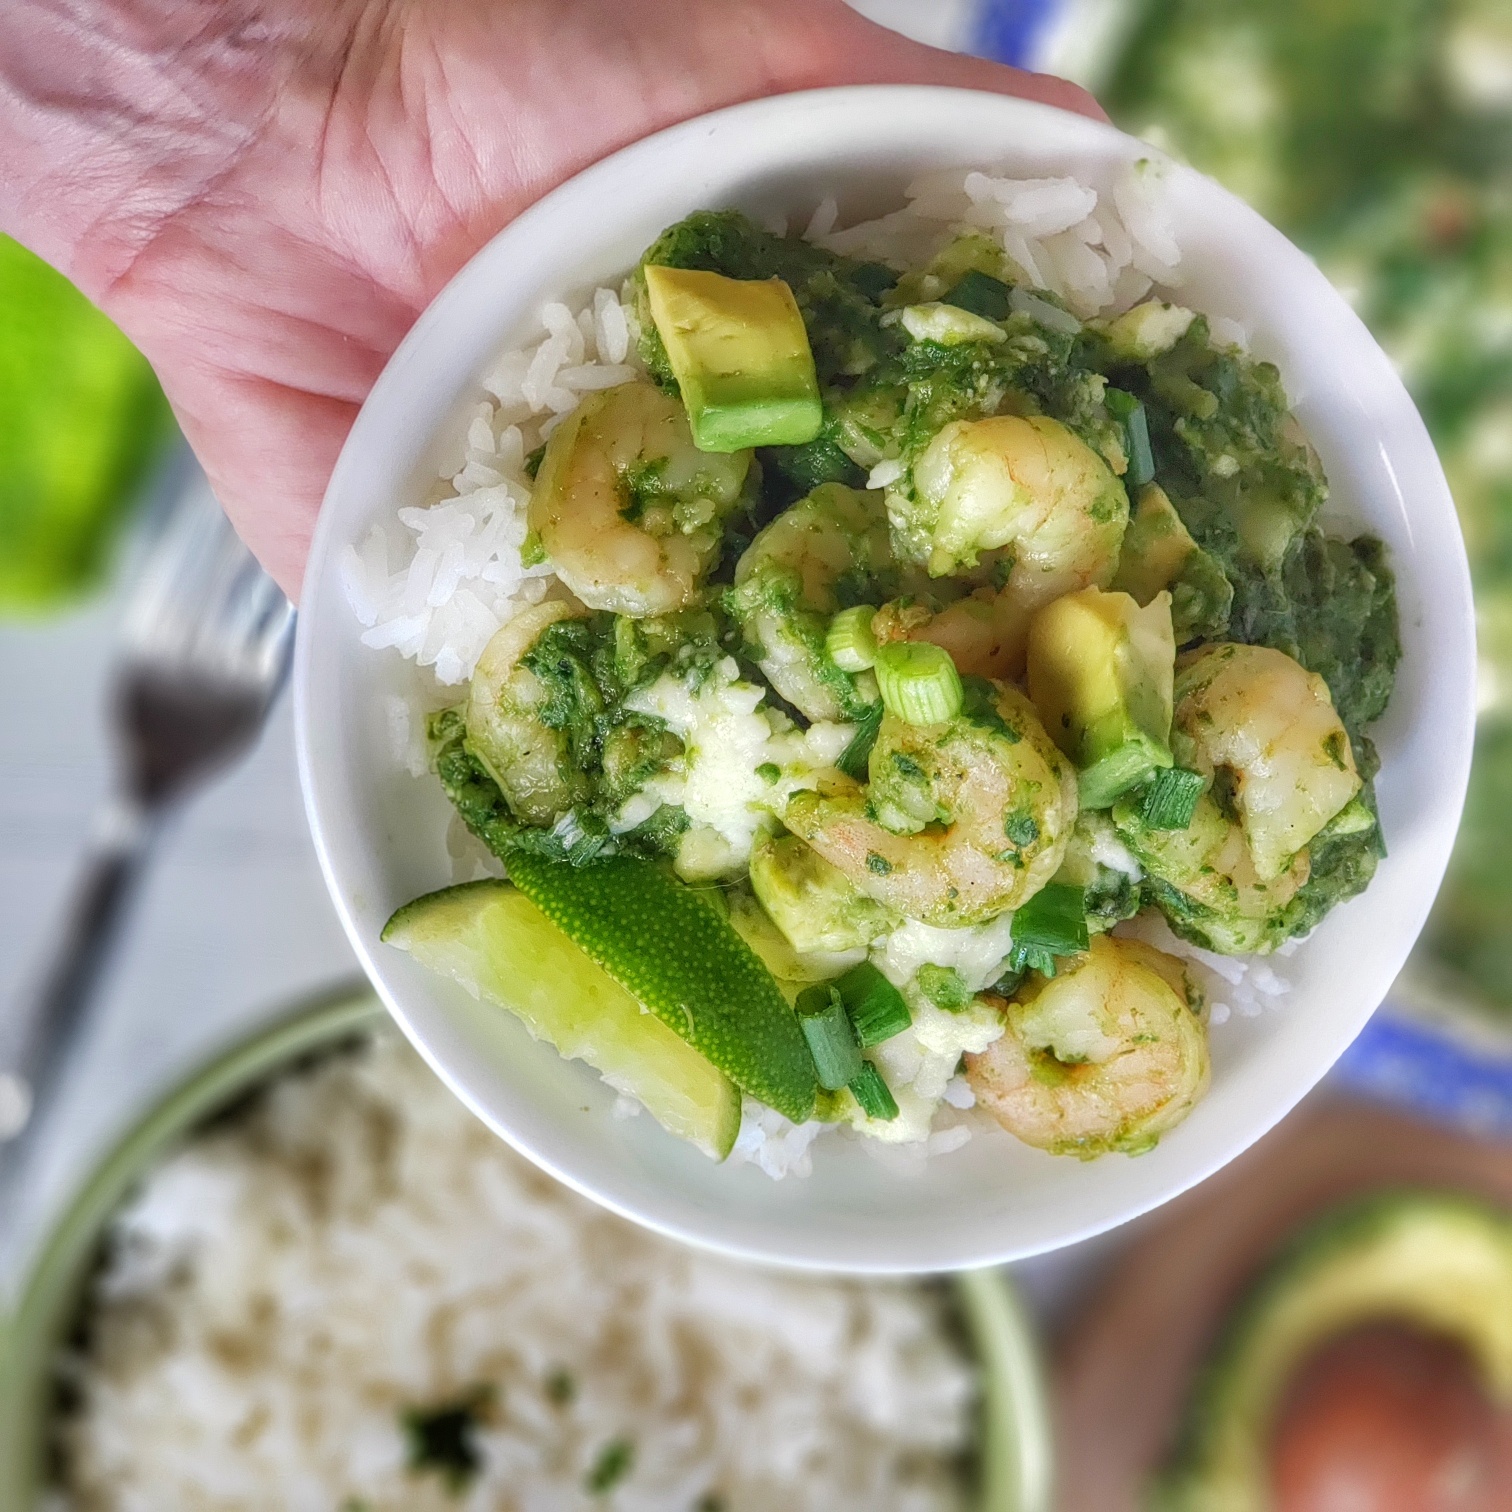
This baked shrimp dish can be on the dinner table in 15 minutes -- a quick blender sauce with Hatch green chilies, spinach and cilantro is poured over thawed, cooked shrimp, cooked and garnished with avocado, green onion and crumbled queso fresco cheese!

If fact, I love these mild-to-hot green peppers that hail from Hatch New Mexico so much that I hold the title of Hatch Green Chile Champion in a local Austin cook off (and have been runner up a couple times too). You can find my Hatch green chile cookoff recipes in a past post, 101 Ways to Use Hatch Green Chiles.

I was looking to make a bright green sauce for an entrée, like BOOM . . . GREEN! So, I knew I needed a protein that could cook fast at a high heat so the vibrant green of the blended hatch peppers, cilantro and spinach didn’t start to turn to a darker green – that’s what happens when you cook green stuff too long. I knew shrimp would be the perfect “fast cook” protein to help me avoid blah, deep green sauce . . . and I even short-cut my Hatch green chile recipe even further by using frozen shrimp that had been shelled, deveined and pre-cooked.

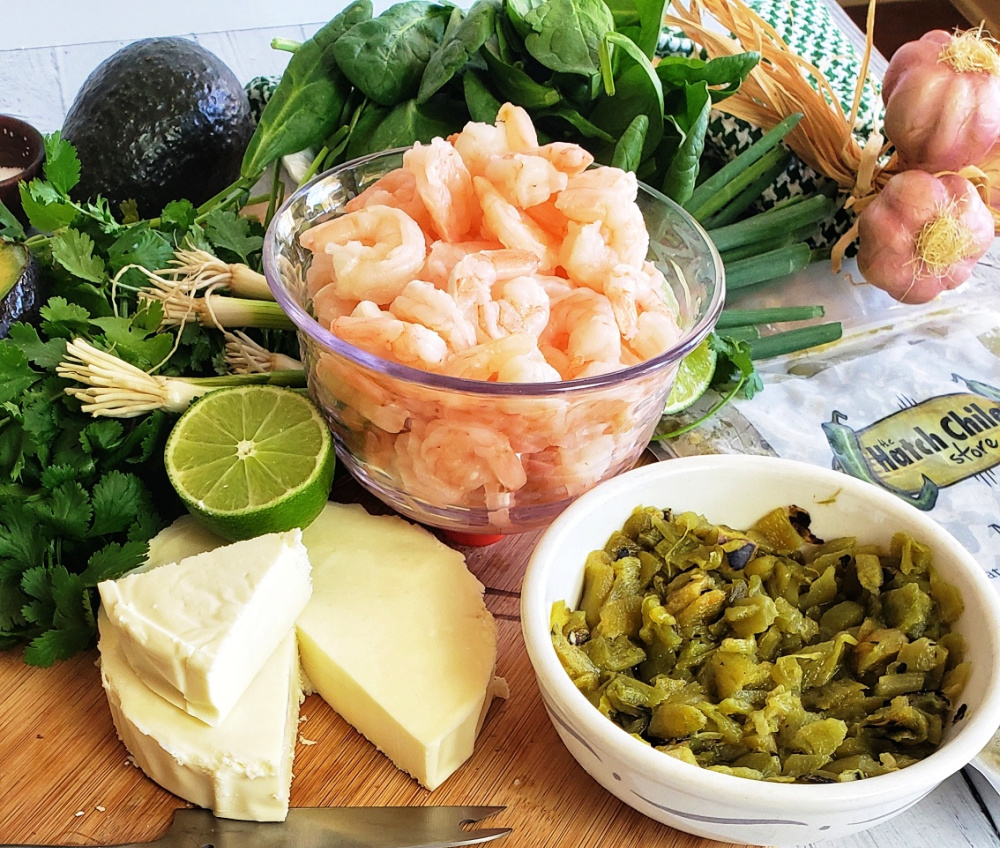
If fresh Hatch green chiles are not in season, order from Hatch-Chile-Store.com

After blending my fresh Hatch chile green sauce ingredients (cilantro, spinach, green chiles, garlic, etc) for about 30 seconds, the only task that remained was to dump those thawed shrimp in a baking dish, cover with the sauce and sprinkle of queso fresco, and bake in the oven at 475F degrees for 10 to 12 minutes – just until the sauce bubbling and cheese starting to get slightly browned on top.

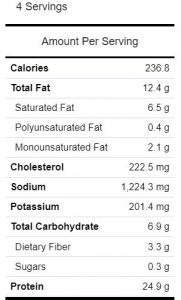
Garnish with green onions and avocado hunks to kick up green! If you put on a pot of noodles or rice at the start of this recipe, you’ll have a hearty base to pile on all this green magic! Who doesn’t love a 15 minute meal that is nutritious and tastes great?!  Each serving has 236 calories, 12g fat, 3.6g net carb, and 25g protein making it work for those looking for low carb Hatch green chile recipes and Keto Hatch green chile recipes.

This baked shrimp dish can be on the dinner table in 15 minutes -- a quick blender sauce with Hatch green chilies, spinach and cilantro is poured over thawed, cooked shrimp, cooked and garnished with avocado, green onion and crumbled queso fresco cheese! For more quick, easy and healthy dinner inspo, visit thefitfork.com

If you are looking for Hatch green chile and it’s not August (the short season for this much coveted pepper), you have a couple options. Head over to the Hatch Chile Store and order a bunch of roasted, skinned, seeded and chopped Hatch chiles to be delivered to your door flash-frozen. I get the 1 lb. zip-top bags that are frozen “thin” (like the thickness of a magazine) which makes it easy to pop open the freezer and just break off what you want (even without thawing first). Second, you can substitute canned green chiles, which in some cases can be a reasonably decent substitute (like for stews and such), but this super-fresh tasting shrimp hatch chile recipe turns out much better with fresh or flash-frozen Hatch chiles.

This baked shrimp dish can be on the dinner table in 15 minutes -- a quick blender sauce with Hatch green chilies, spinach and cilantro is poured over thawed, cooked shrimp, cooked and garnished with avocado, green onion and crumbled queso fresco cheese!

Disclaimer: This post contains affiliate links.


5 from 5 votes
15-minute Shrimp with Hatch Chile Green Sauce
Prep Time
1 hr 5 mins
Cook Time
10 mins
Total Time
15 mins
 

Green and so good for you, this speedy super is a slightly-spicy lip-smacker thanks to mild Hatch green chiles! Suitable for keto, low carb and gluten-free diets.

Course: dinner, entree
Cuisine: Southwestern
Keyword: fish, black cod, sablefish, merken, spicy, tangerine, 20 minute, gluten free, green bean, hatch green chile, keto, peppers, shrimp
Servings: 4 servings
Ingredients
  • 1 lb. frozen medium pre-cooked shelled shrimp (thawed)
  • ¾ cup roasted mild Hatch green chile thawed (I get mine from Hatch Green Chile store)
  • 2 cups packed fresh spinach
  • 1 cup fresh cilantro upper tender stalks okay, but discard bottoms
  • 2 tbsp. avocado oil
  • ¼ cup seafood or chicken stock
  • ½ teaspoon salt
  • 6 oz. queso fresco cheese crumbled
  • 3 green onion stalks whites and greens chopped
  • ½ avocado diced
Instructions
  1. Pre-heat oven to 475F degrees.
  2. Add Hatch chiles, spinach, cilantro, oil, salt and stock to blender; blend for approximately 20 to 30 seconds.
  3. Pour out thawed, drained shrimp into 8”x8” baking dish or 9” round baking dish.
  4. Pour sauce over top of shrimp to cover and sprinkle to with crumbled queso fresco cheese.
  5. Bake for 10 to 12 minutes or until cheese starting to brown a bit on top and sauce bubbling.
  6. Remove and garnish with chopped green onions and diced avocado.
  7. Great served on rice or noodles of any kind (traditional, gluten-free, zoodles, etc)
Recipe Notes

“Shake It Up” Paleo Watermelon Ice Cream

This post is sponsored by Watermelon.org, however all opinions, comments and enthusiasm remain my own!

Jump to Recipe

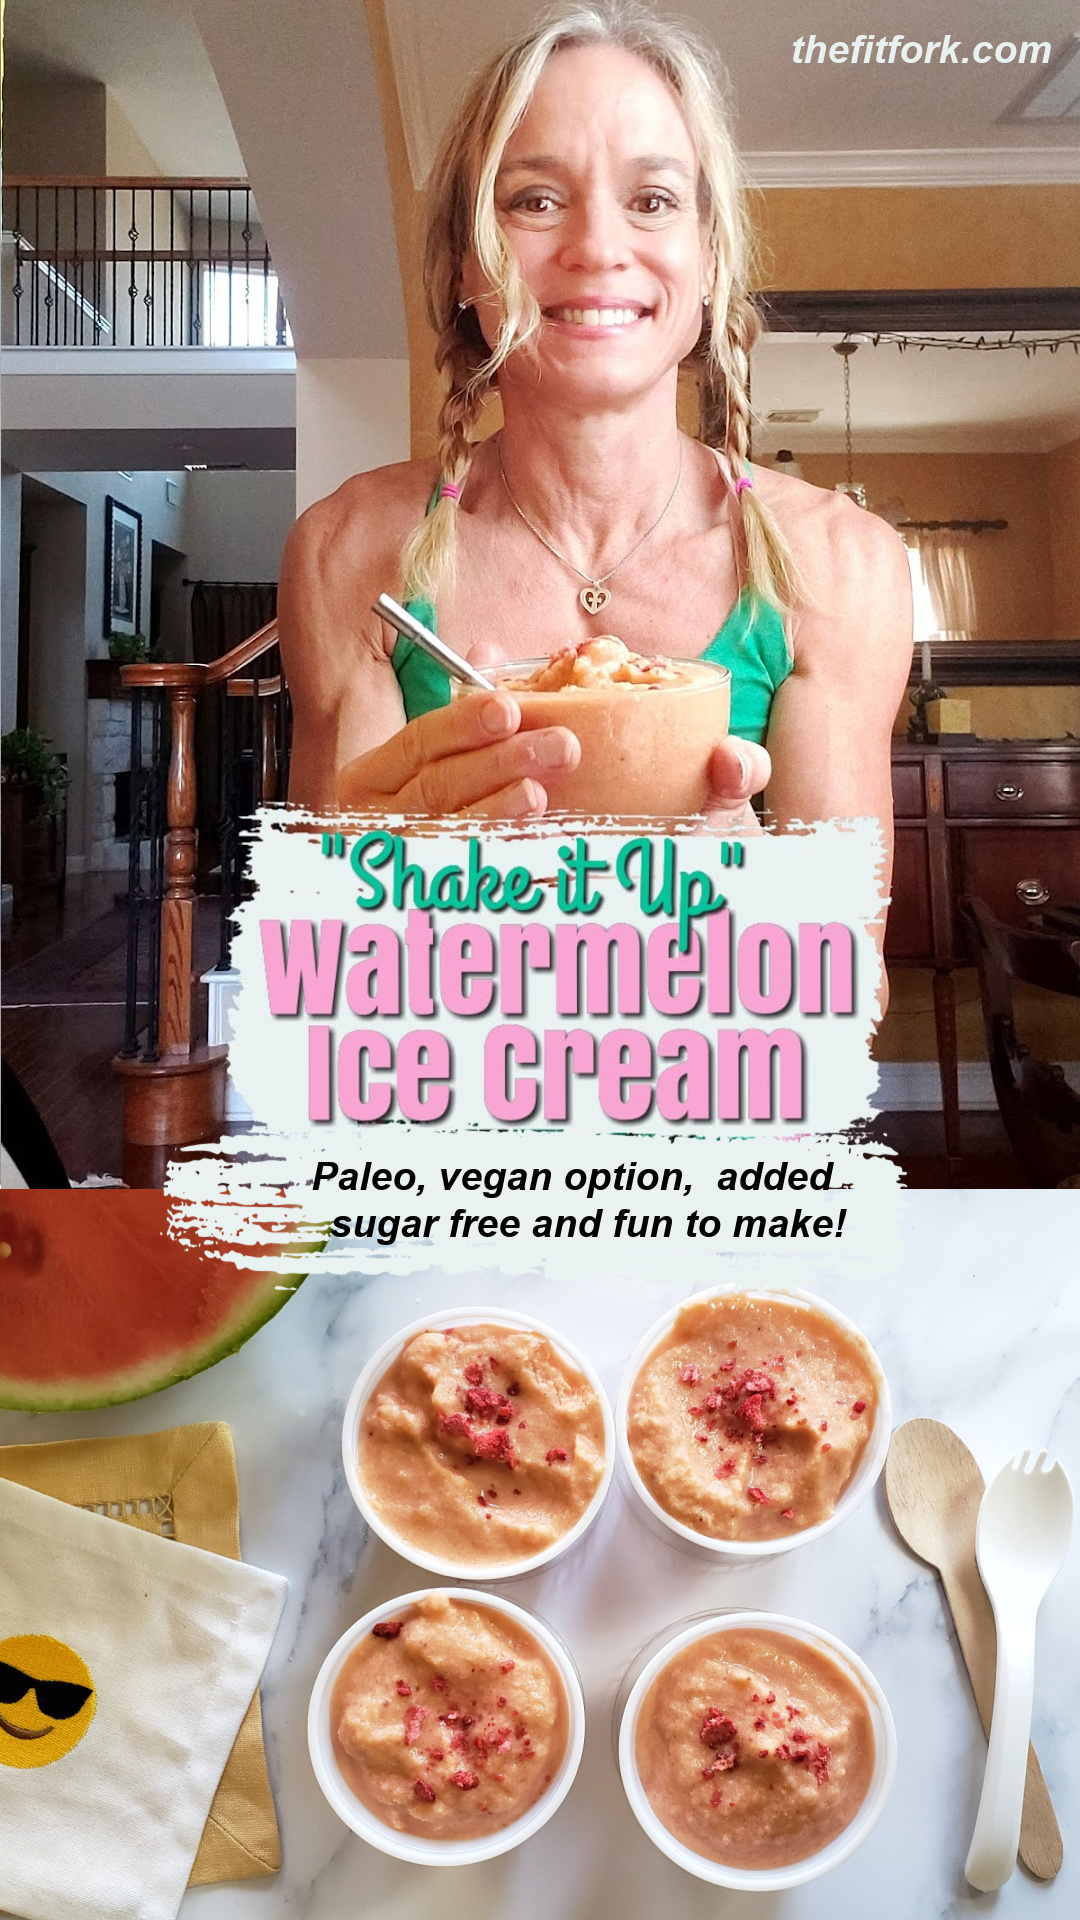
Warmer weather is on the way and I’m craving all the watermelon things and quite literally working my appetite up! Check out my “Shake It Up” Paleo Watermelon Ice Cream that is fun to make as it is to eat! 

Do you have memories of making “kick the can” ice cream at summer camp or spring break gathering as a kid? Back in the day, my mom would pour in the ingredients for ice cream into a can and then stick that can into a bigger can filled with ice and salt. Then my brother and I would kick, roll and throw that can around until a creamy sweet treat formed from our hard work!

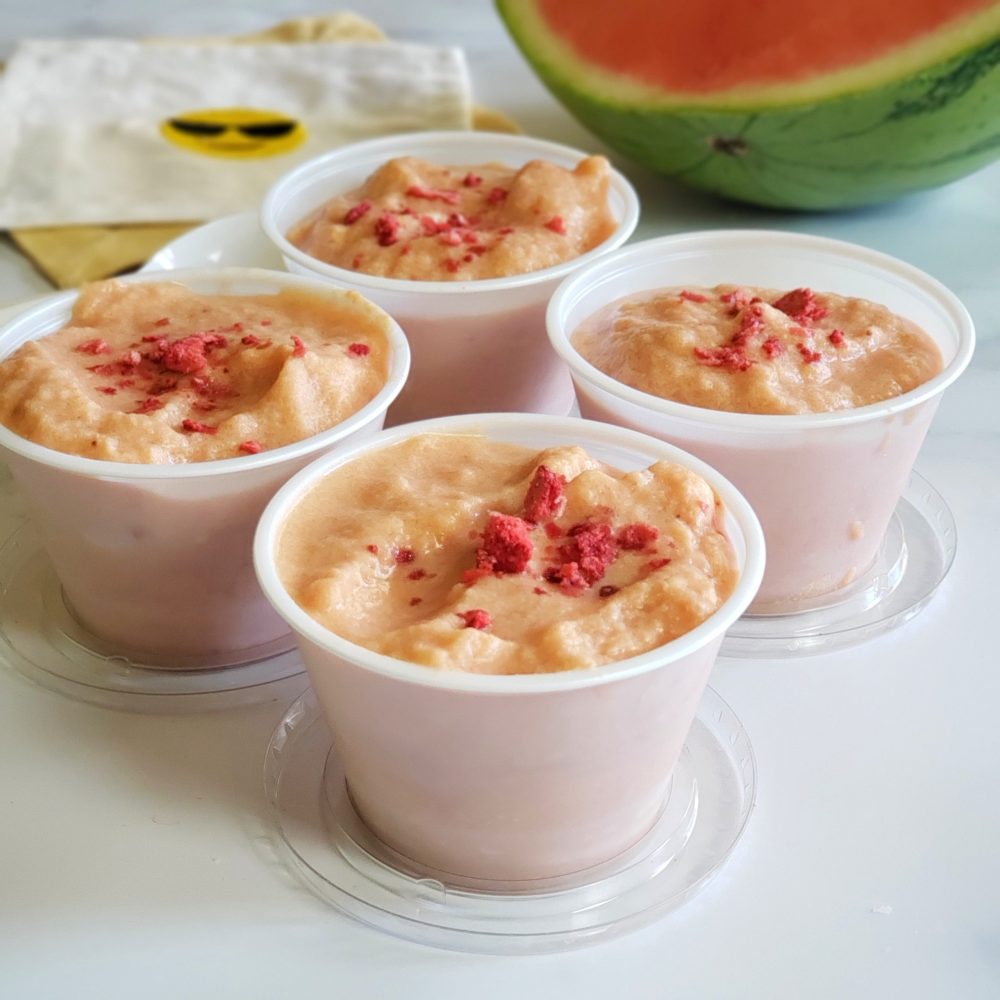
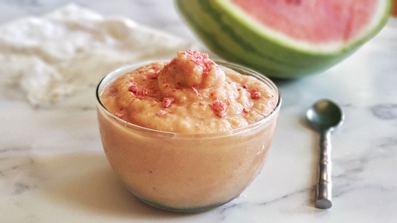
“Shake It Up” Paleo Watermelon Ice Cream - no ice cream machine or freezer necessary. Simple ingredients poured into a zip-top baggie and then place into a container with ice and salt. Then, it’s a 15-minutes of shake-shake-shaking to create a creamy frozen dessert treat that is added sugar free, lower carb, Paleo-friendly and with a vegan option. A fun family activity and way to sneak exercise into your day. #Ad
Pin this for later!

I took the same idea for this no-machine-needed, no-churn ice cream and turned it into a healthier version with fewer carbs and suitable for Paleo diets – and, of course, it features my favorite fruit – WATERMELON! Plus, you get a little 15-minute workout during the human-powered freezing process.

3 cups of watermelon has only 120 calories!
3 cups of chopped watermelon has only 120 calories!

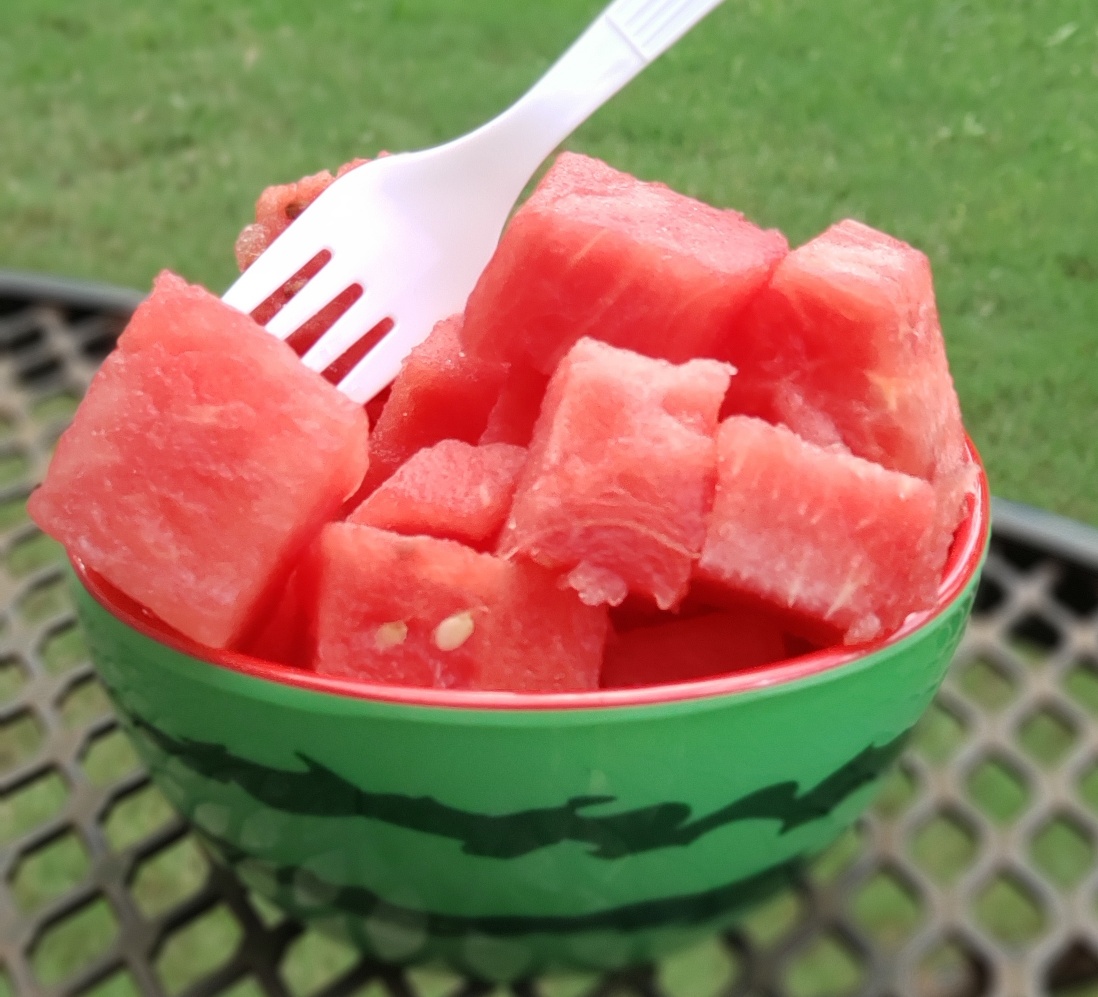
Technically, you can make “kick the can” ice cream (or in this case, “shake the container” ice cream) with any type flavor profile you desire. However, for me, watermelon was a non-negotiable featured ingredient – the amount and volume of watermelon used (3 cups cubed) helped me to cut some of the extreme richness and displace some of the calories used with the second main ingredient – full-fat coconut cream. Did you know that three cups of cubed watermelon have just 120 calories?!  

Watermelon also adds natural sweetness and a bumper crop of health benefits for my active lifestyle like vitamin C and A, lycopene for heart health, and the amino acid l-citrulline which studies show may help move blood through the body, lower blood pressure, and help lessen muscle soreness after a workout. Plus, watermelon always puts me in a happy mood.

Watermelon is deliciously sweet, but I added a few drops of stevia to bring up the coconut cream. Collagen powder from Great Lakes Wellness (save 10% code: THEFITFORK) is also added for a protein boost and other functional nutrition.

For me specifically as an older runner and athlete, I use collagen to help support my joints, ligaments, bones and overall wellness. Collagen combined with the l-citrulline in watermelon is a big win-win for my workout recovery. Feel free to use an animal or plant-based collagen powder depending on your dietary needs – or, the collagen powder can be omitted completely without any change to the recipe.

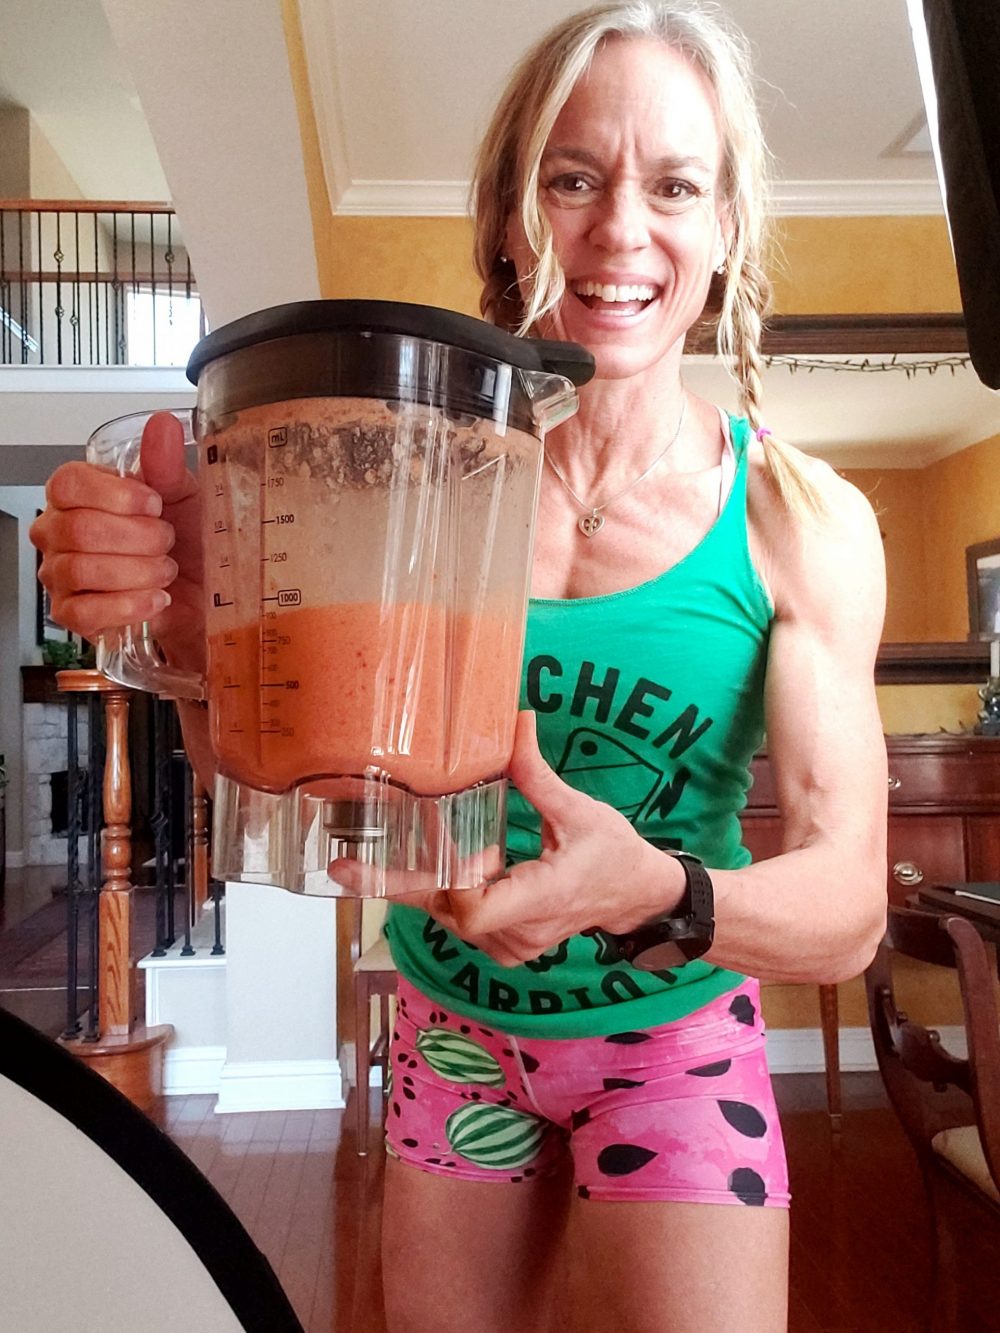
This low carb watermelon ice cream is super easy to make – let the kids make their own batch and have a family “shake off” to see who can get theirs to freeze first! Simply toss cubed watermelon in a blender with full-fat coconut cream, and puree it all up.

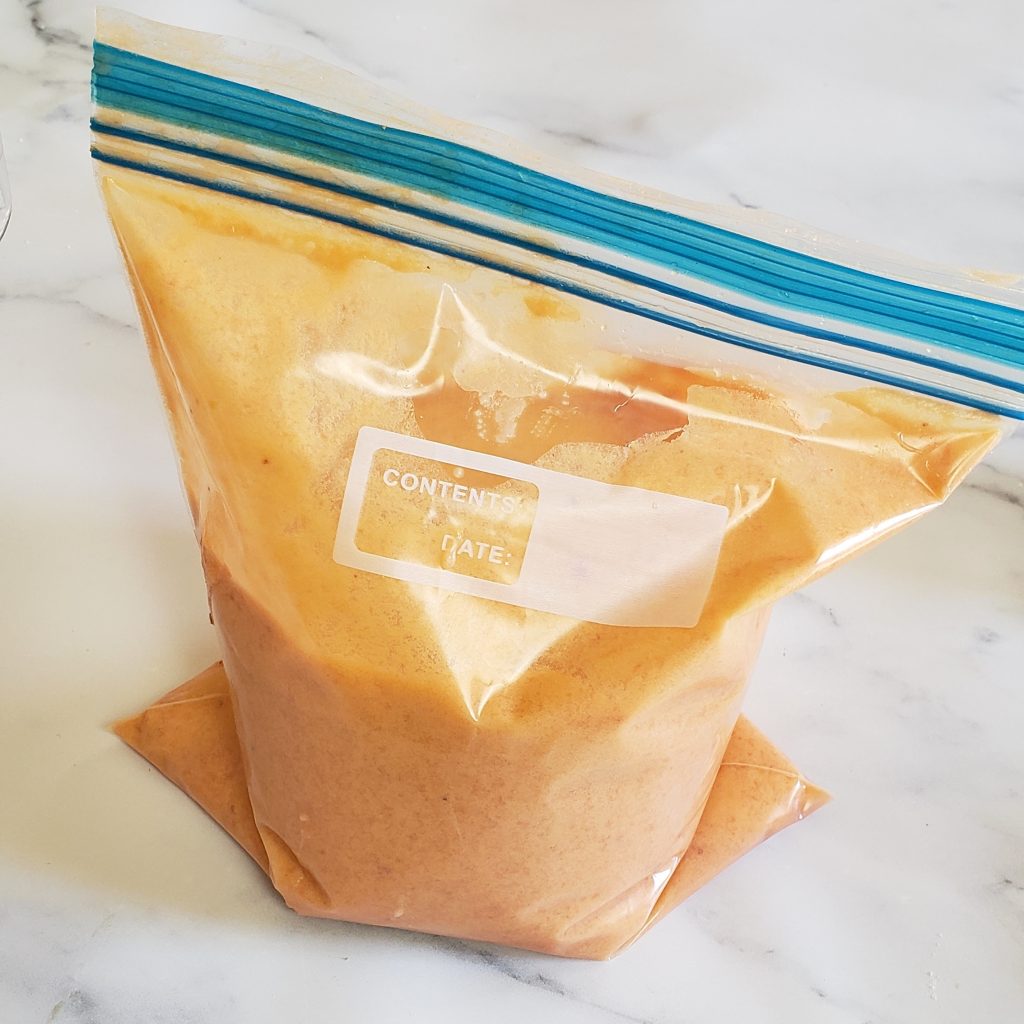
Next, pour watermelon coconut ice cream mixture in a heavy-duty zip-top bag and set inside a larger container filled with ice and 1/2 cup salt. Salt will typically be labeled “ice cream salt” or “rock salt,” in in a pinch you can use COARSE sea salt (but not regular table salt). I had to go this route as the rush on rock salt cause by the recent Texas storm. Now it is in the 80s – crazy Texas weather!

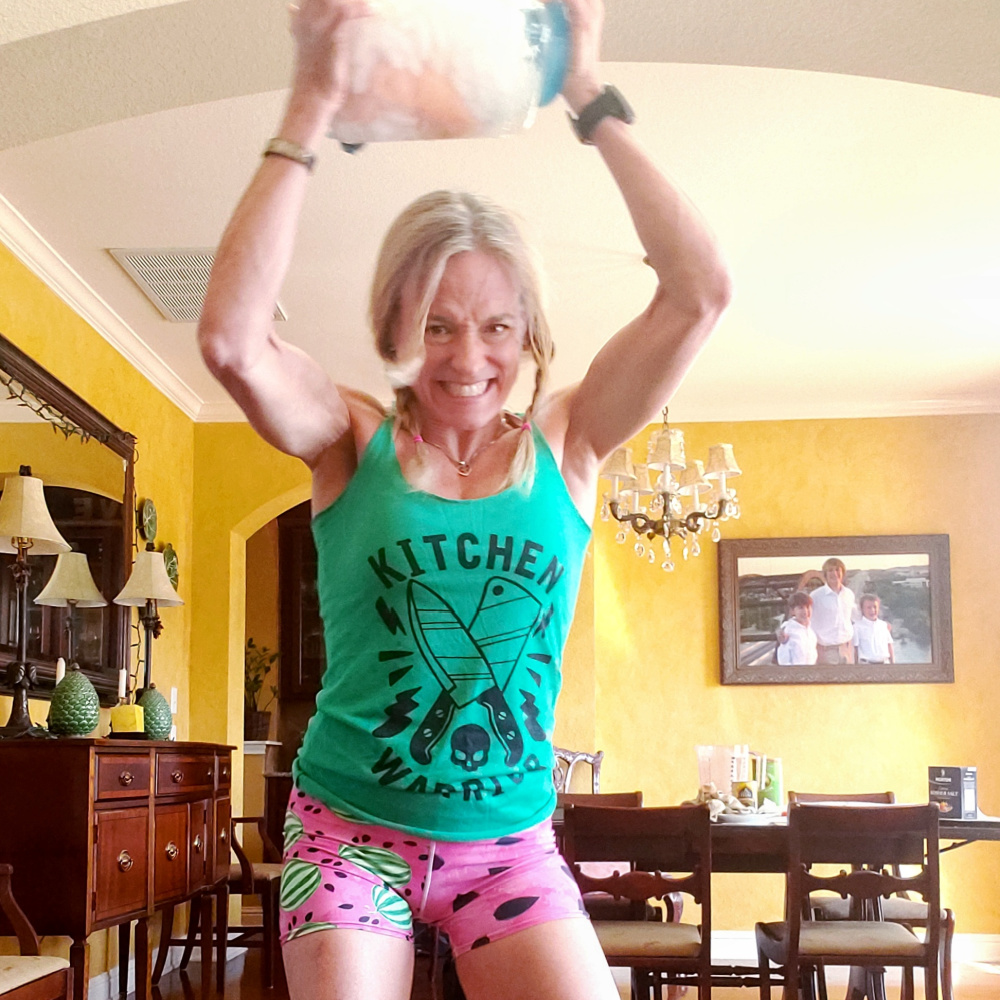
When choosing your container, you can use a big old coffee can like my mom did (if they even sell coffee like that anymore). I preferred to use a big-mouthed water jug with handle so that I could swing it around! In a pinch, you can also put the ice and salt in a bigger gallon-sized baggie.

Then all that’s left is shaking, swinging, kicking or rolling it around for about 15 minutes until the coldness of the ice (kept colder by the salt) and constant motion of the container creates a creamy sweet reward for your work!

“Shake It Up” Watermelon Ice Cream Exercise Ideas

Shake it Up Watermelon Ice Cream is a fun activity for kids of all ages — sneaking that exercise in is a win-win. Stock the freezer with frozen watermelon cubes for year-round enjoyment.

For a complete demo on how to make Shake it Up (Kick the Can) Watermelon Ice Cream, watch my IGTV video HERE.

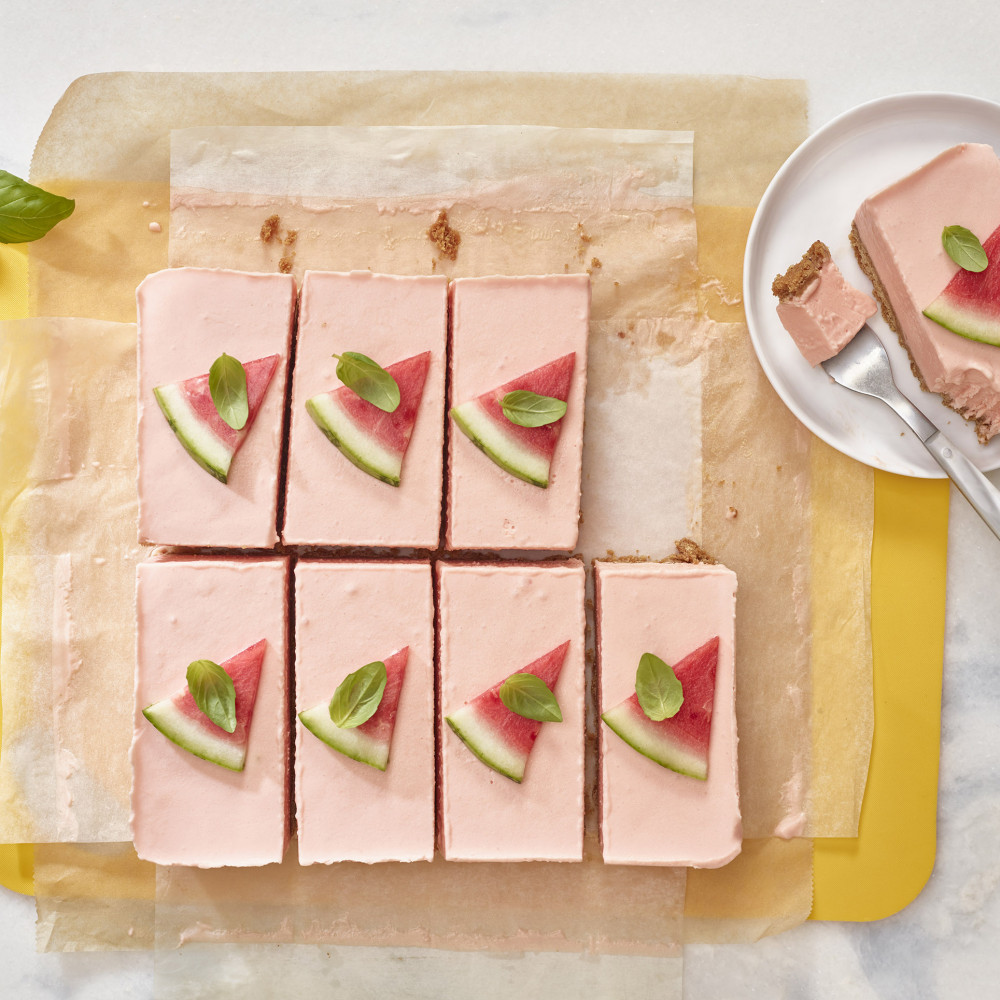
Check out the other amazing and creative watermelon recipes at Watermelon.org like Creamy Watermelon Sherbet  and Watermelon Ice Cream Bars.

watermelon ice cream bars
5 from 3 votes
“Shake It Up” Paleo Watermelon Ice Cream
Prep Time
5 mins
Cook Time
15 mins
Total Time
20 mins
 
Work up a hunger for this simple and naturally sweet watermelon ice cream that is friendly for lower carb and Paleo diets. No churning required, simply shake the ice and salt filled outer container for 15 minutes until you create a sweet reward! Fun for kids and whole family.
Servings: 4
Calories: 232 kcal
Ingredients
  • 3 cups chopped watermelon frozen if you want a head start, but not necessary
  • 1 13.5-oz can full-fat unsweetened coconut milk
  • ½ cup unflavored collagen powder optional
  • 5 – 15 drops liquid stevia
  • 5 to 6 cups ice cubes
  • ½ cup rock salt or coarse salt
  • Topping of choice
Instructions
  1. Add chopped watermelon to blender. Use cold watermelon chunks or if you want a head start, use frozen chunks.
  2. Add full-fat coconut milk to pitcher. Other milk options can be used (like almond milk, light coconut milk, or whole milk), but will create a less creamy result.
  3. If desired, add a plant-based or animal-based unflavored collagen powder to blender. This may be omitted completely without need to swap for another ingredient.
  4. Blend everything up until smooth, about 30 seconds. Taste test the mixture and add stevia drops to achieve your level of sweet preference.
  5. Pour mixture into a 1-quart freezer-style zip-top baggie; seal tightly.
  6. Fill container with half of the ice and salt. Use a container similar to a large coffee can, handled wide-mouth jug, or even gallon sized heavy-duty zip-top bag.
  7. Add tightly sealed smaller baggie of watermelon mixture in center. Top with remaining ice and salt. Close container lid or seal tightly.
  8. Shake vigorously for approximately 15 minutes, constantly moving the ice around ice cream mixture.
  9. Remove ice cream bag from container and snip off end. Pipe into four small bowl or cones. Enhance with toppings as desired (I used crushed freeze-dried strawberries).
Recipe Notes

Save at GreatLakesGelatin.com with code: THEFITFORK10OFF
Save 10% Code: THEFITFORK10OFF