This post is sponsored by Kevin’s Natural Foods as part of a blogger recipe challenge.
Hmmm, how to save dinner on the craziest of pre-holiday prep days?! I had so much shopping, wrapping, decorating, and last-minute elf-ing around that “what’s for dinner” was the last thing on my mind. Plus, I was just plain tuckered out.
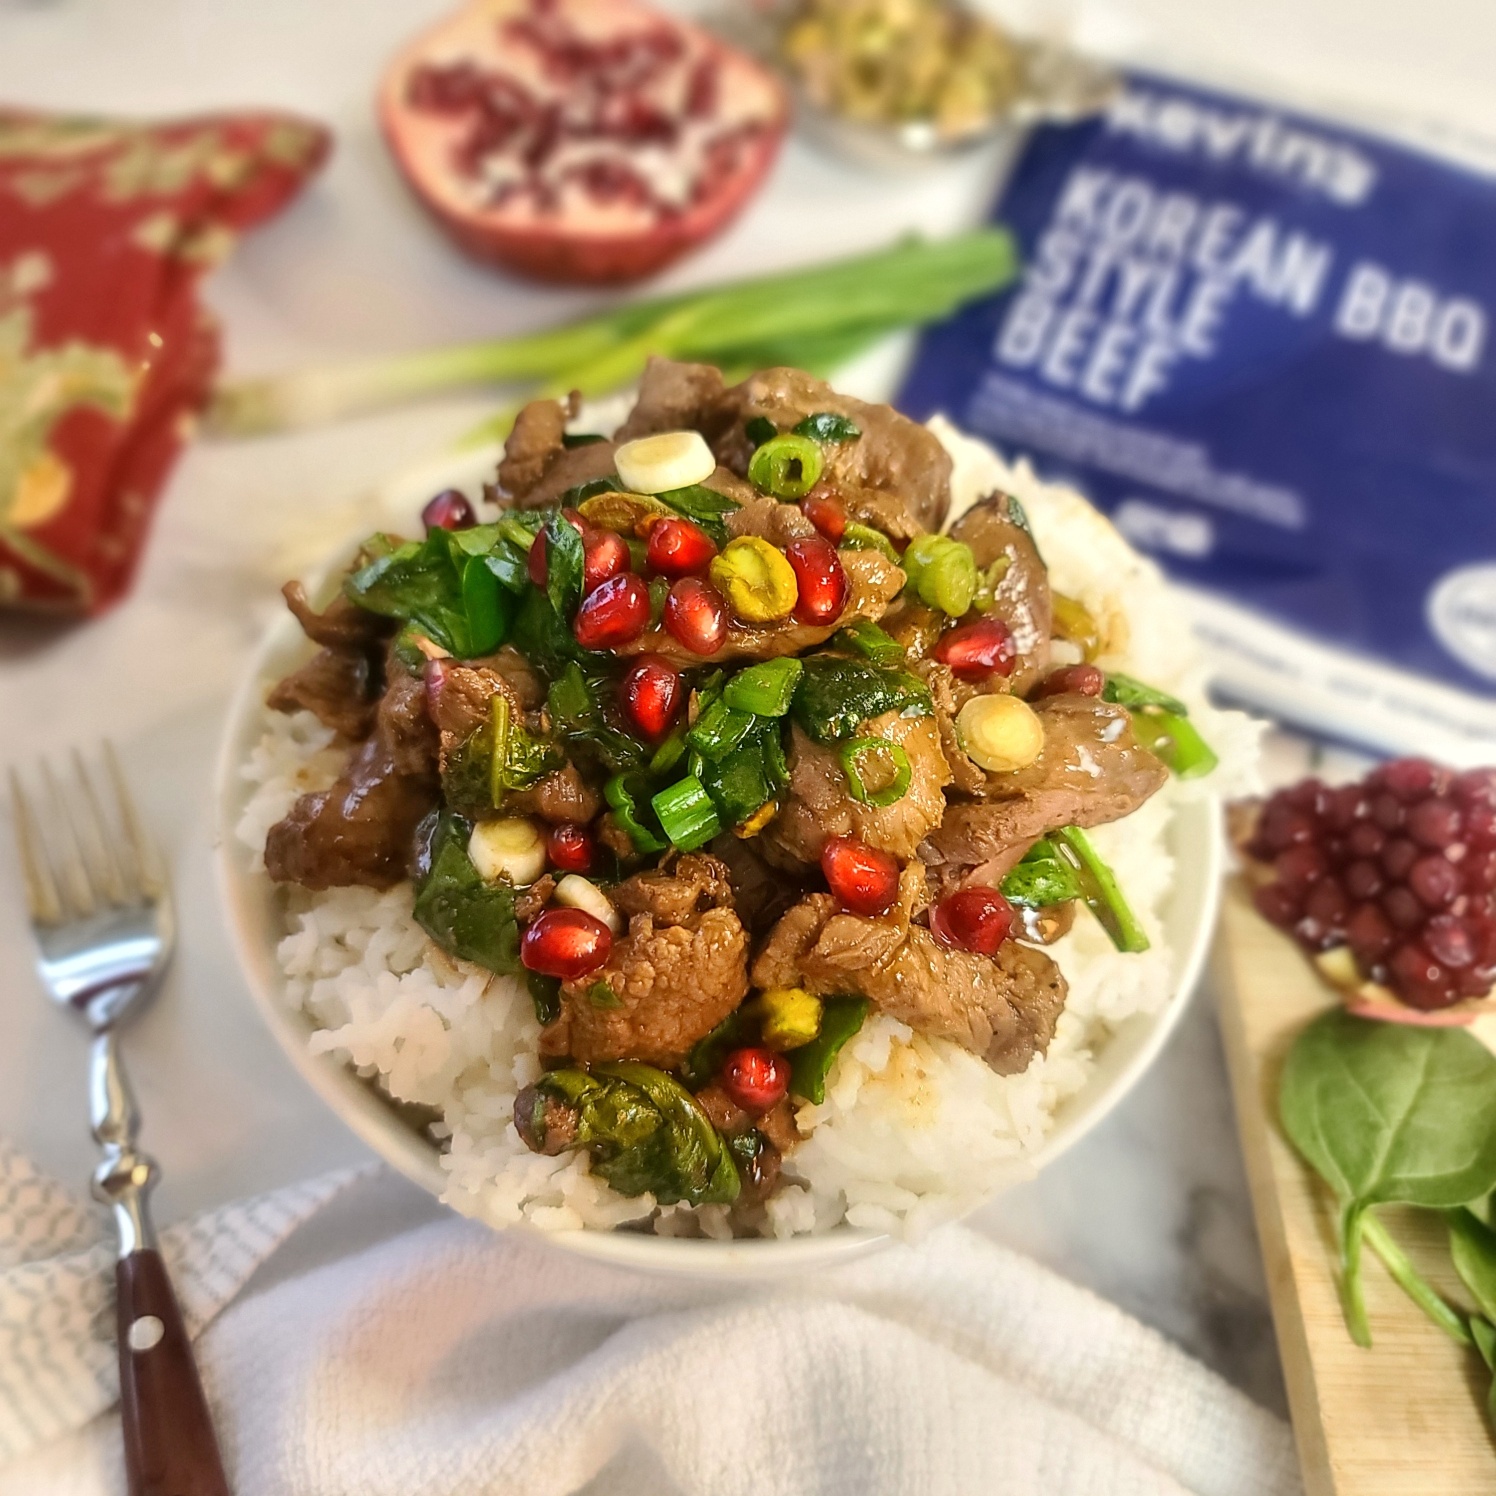
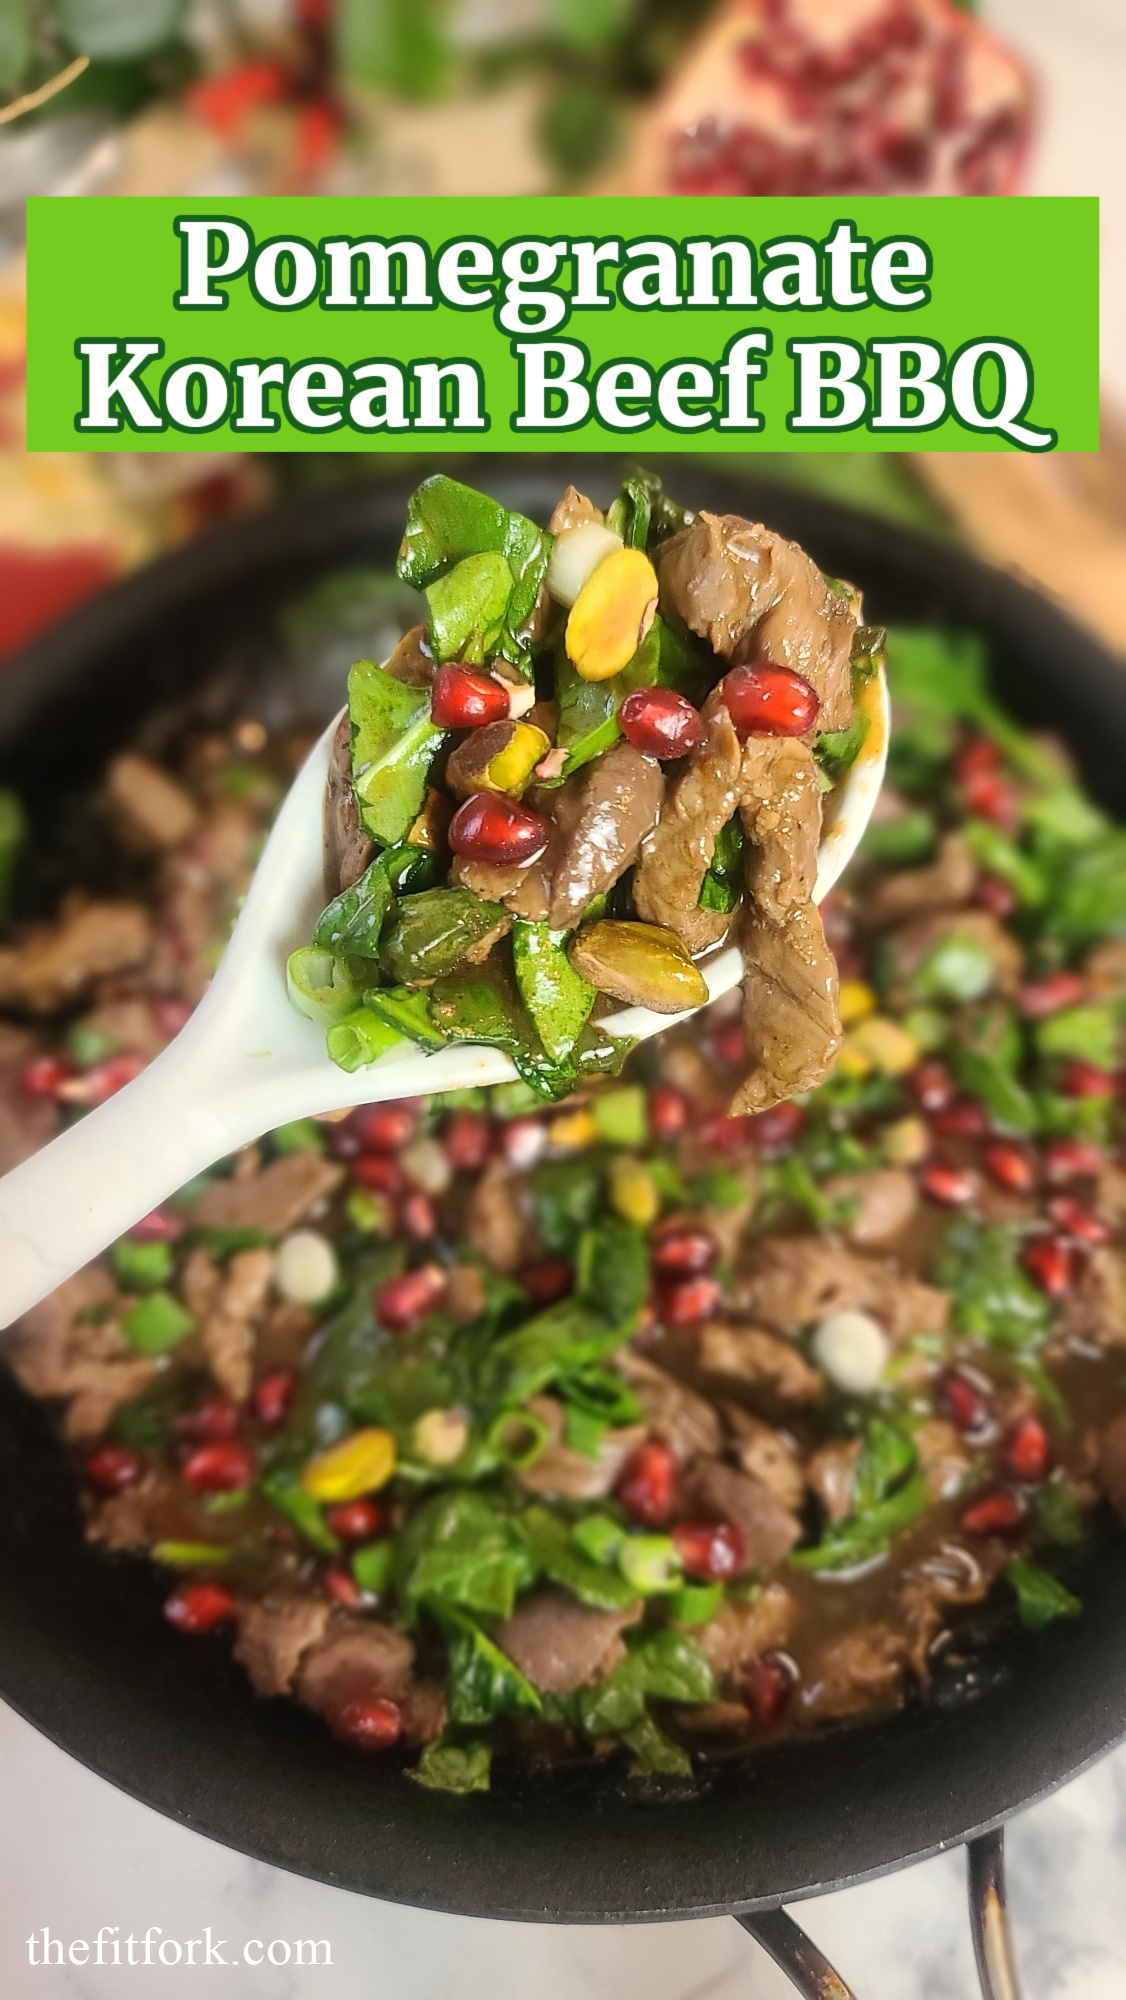
But the quick and easy meal pouches from Kevin’s Natural Foods were the fit foundation for some last-minute refueling and feasting! I used the Korean Beef BBQ to make a holiday-inspired meal — 10-Minute Pomegranate Korean Beef BBQ.
This 10-Minute Pomegranate Korean Beef BBQ recipe is made with a Kevin’s Natural Foods meal pouch that includes sous vide cooked beef and Bulgogi-style sauce. I put my own spin on the already delicious meal by adding a little pomegranate juice and ginger to the sauce and adding pomegranate arils, spinach, and pistachios. SO DARN EASY and it makes an easy-peasy, beautiful, flavorful and festive holiday meal (which also makes dinner any day of the year). I served this pomegranate bulgogi inspiration on rice (use a frozen rice pouch to keep it quick – I actually batch cook my rice and grains and freeze in the portions I need to save time and $$). But, if you’re not into rice, this festive bulgogi recipe is also yummy on cauliflower rice, smashed sweet potatoes, or with veggie noodles of your choice.
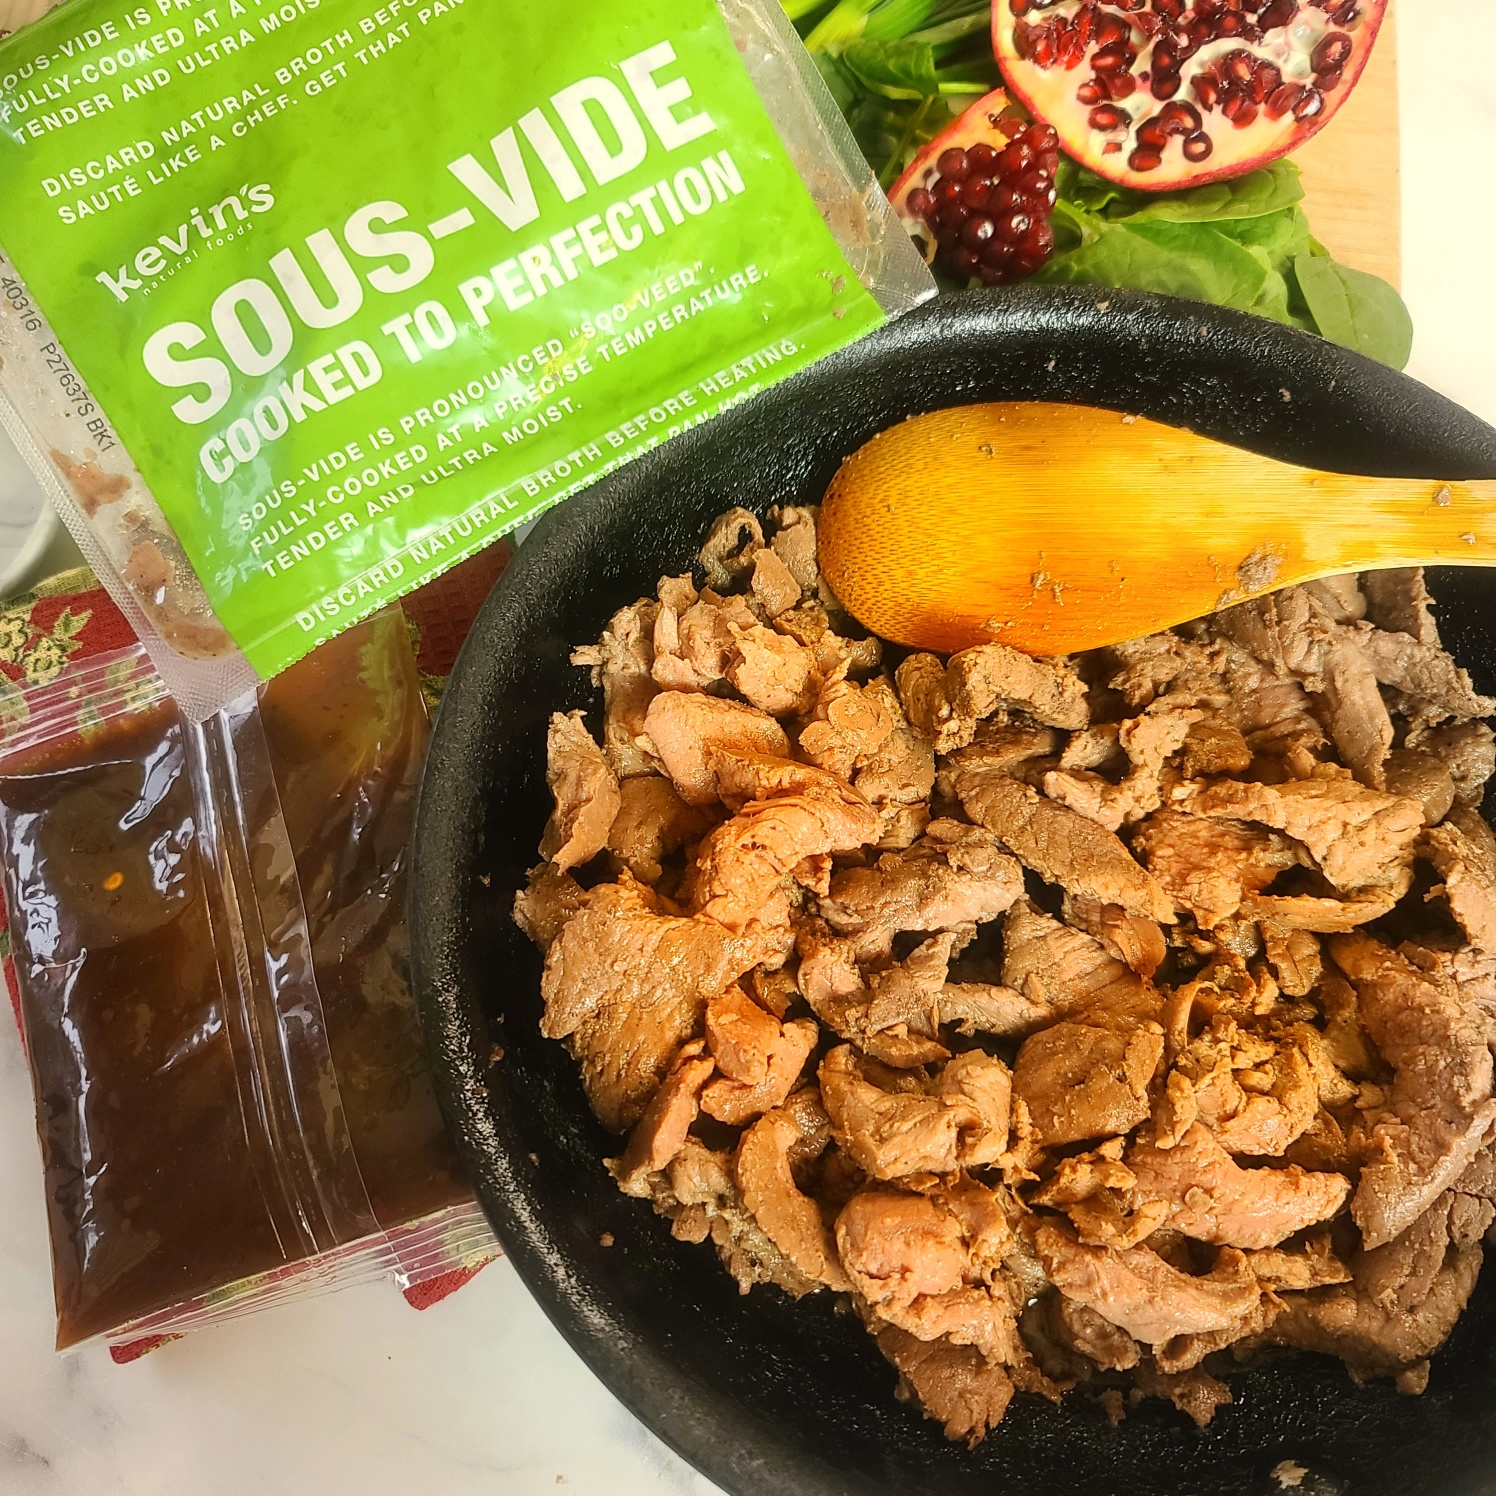
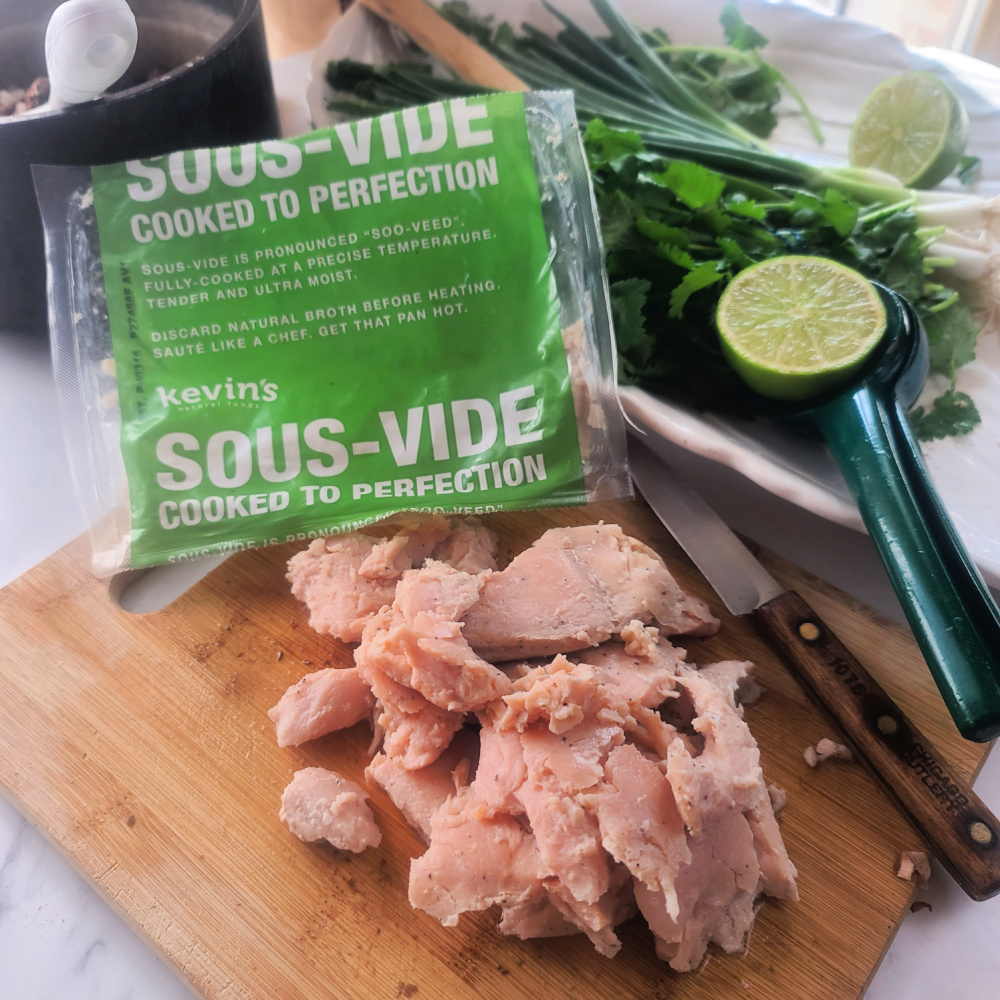
Real talk: I have been eating and enjoying the chicken meals from Kevin’s for a while but have shied away from trying a beef meal kit. Why? Because I’m definitely a beef snob and was worried that the beef steak tips would be stringy and chewy, as the beef cuts in these types of convenience meals usually are. But, color me IMPRESSED! The beef steak tips remain super tender thanks to the sous-vide cooking method that is used to prep them. Just a couple minutes in the skillet to warm up and they are still juicy and tender. The beef that Kevin’s natural foods recipes source 100-percent pasture-raised, grass-fed, and grass-finished.
In the past, I’ve picked up my meals from Kevin’s Natural Foods at my local grocery store. But now the meals can be ordered in bundled assortments from the comfort and convenience of your home online. And, actually you can order from whatever vacay adventure you may be crushing so that they are delivered straight to your door, frozen in a cooler, when you roll back from the airport or road trip. No worrying about getting to the grocery store STAT or caving into fast take-out food because you’re starving.

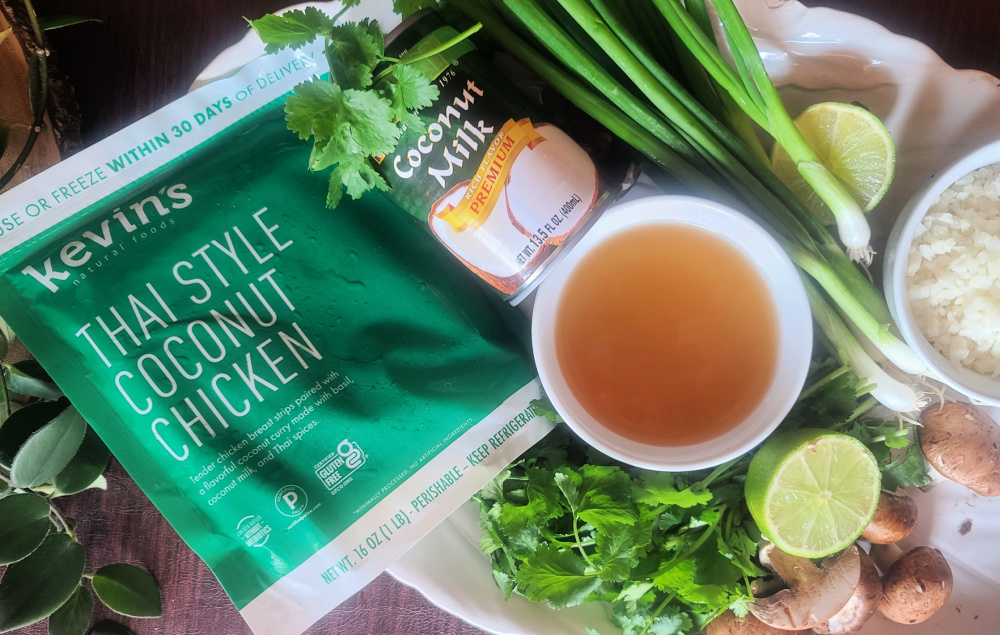
Today’s recipe used the Korean BBQ-style Beef meal pouch, but there are SO MANY varieties like and Creamy Coconut Chicken and Cilantro Lime Chicken. It’s never boring and ALWAYS easy and delicious. Plus, all meal pouches from Kevin’s are nutritionally built to be compliant with keto, paleo and gluten free diets too!
Check out the Creamy Chicken Coconut Soup (like Tom Kha Gai) recipe I came up with using their Thai-style Coconut Chicken meal kit.

Find additional details about Kevin’s Natural Foods their backstory, and their amazing clean-eating focused products (entrees, sides, sauces, stir-frys and more!) which can find a place in your diet – whether Keto, Paleo, Gluten-free . . or Mediterranean, like me! Order online or find in a store near you.
Also check them out on Facebook, Instagram and Pinterest! AND – give my 10 minute recipe for Pomegranate Korean Barbeque a try, it’s so delicious and festive!
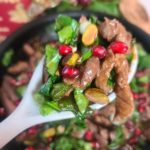
Succulent beef tips with spinach in a slightly sweet, slightly spicy sauce that is bejeweled with pomegranate arils and pistachios! It's festive, flavorful and a fit for your clean eating meal.
- 1 pouch Korean Beef BBQ from Kevin’s Natural Foods
- 2 teaspoons olive oil
- 1 teaspoon finely minced or grated ginger
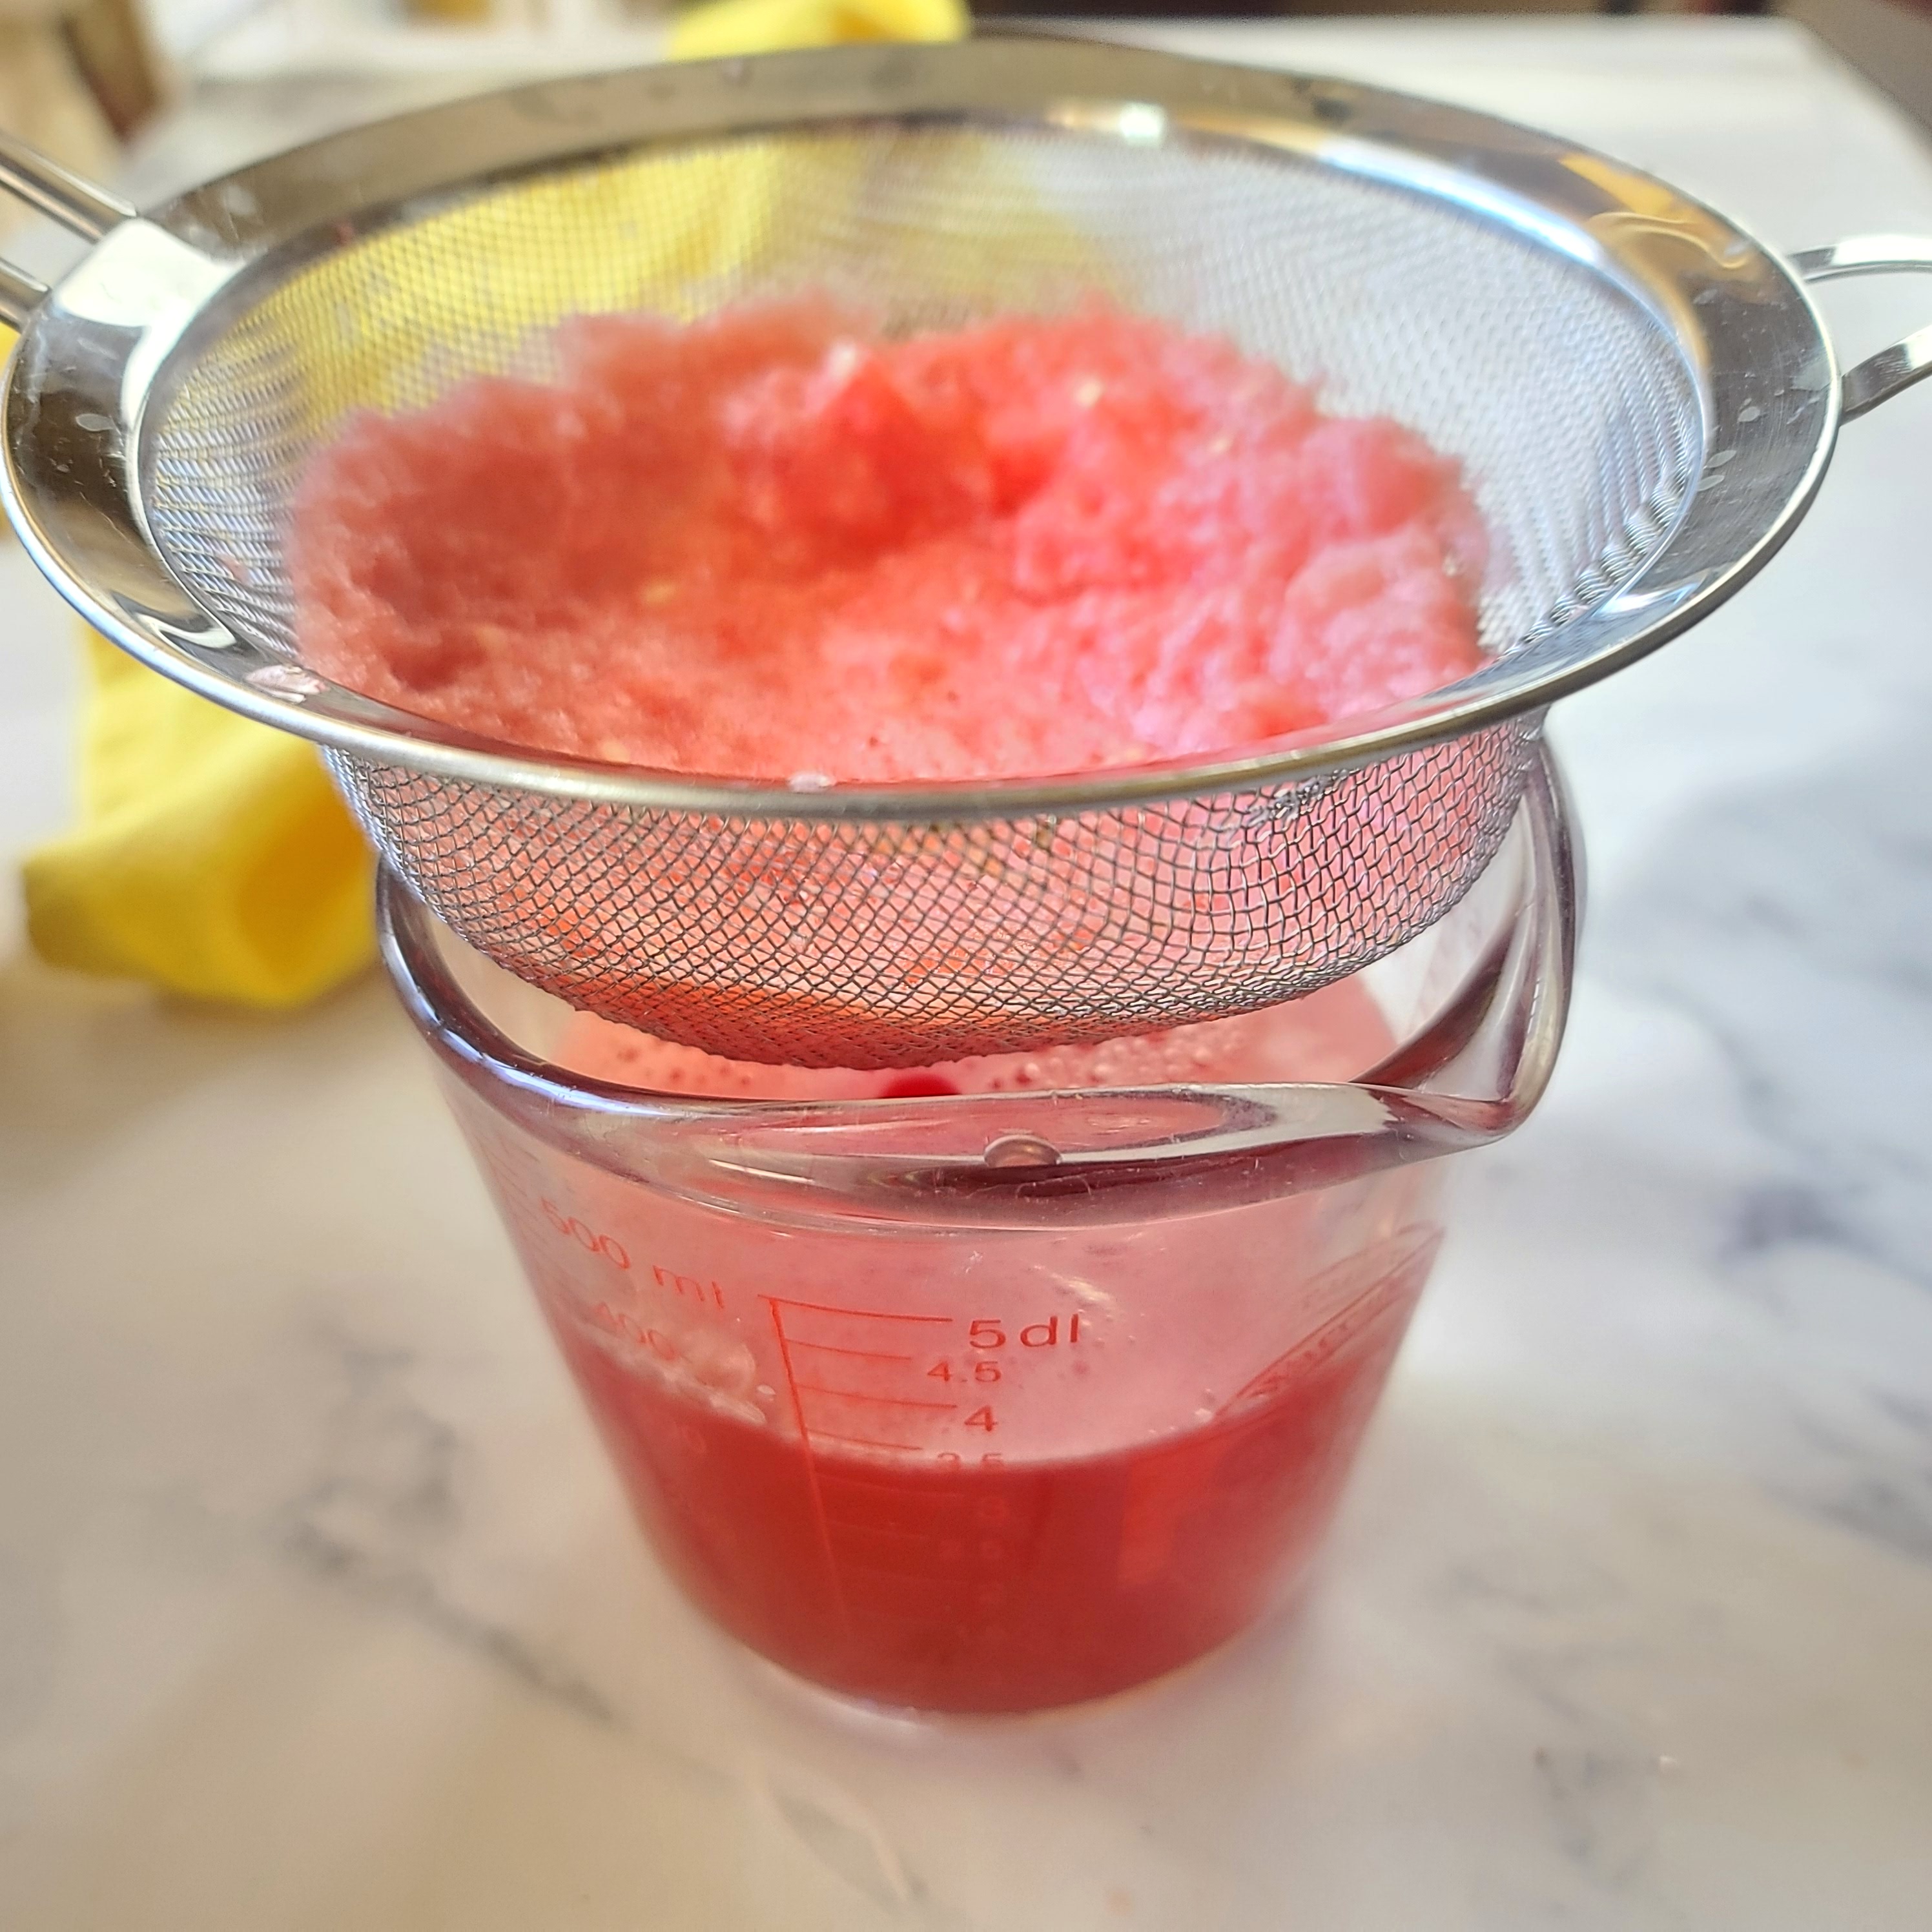
- 2 tablespoons 100% pomegranate juice *hack: if using a ready-to-eat tub of arils, just drain off the juice for this use.
- 3 cups chopped fresh baby spinach
- 1/3 cup pomegranate arils
- 3 scallions both white bulbs and greens finely sliced
- 3 tablespoons chopped pistachios
- 3 cups pre-cooked rice white, brown, cauliflower rice, etc
-
Open sous-vide pouch of beef and drain of broth from beef tips.
-
In medium skillet, heat olive oil over medium high; add beef tips and stir-fry for 2 minutes.
-
Reduce heat to medium and add ginger, pomegranate juice, and SAUCE POUCH from meal kit, and simmer uncovered for 2 minutes, until slightly reduced.
-
Stir in baby spinach and pomegranate arils and stir around for 30 to 60 seconds until spinach is par-wilted.
-
Remove from heat and sprinkle with pistachios. Serve with rice or other desired side.
-
Serves 3.