This easy-to-make chocolate nut butter candy will have your heart at first bite! It’s a small batch dessert recipe, but there is plenty to share with your sweetheart (or not)! And, only three ingredients! Visit the 15-sec video HERE!

Rich, creamy, and studded with your favorite granola (use plain packaged granola, a fancy granola with all the fixings, or your special homemade granola recipe).
Basically, a no-bake dessert (except melting chocolate chips in the microwave for about 1 minute), you’ll find this is a quick, easy, and uncomplicated way to soothe a chocolate-lover’s sweet tooth. Plus, you may already have all the ingredients in your pantry!
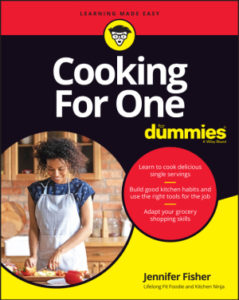
This small-batch recipe is featured in my newest book, Cooking for One for Dummies (which can be pre-ordered NOW, and releases March 8, 2023).
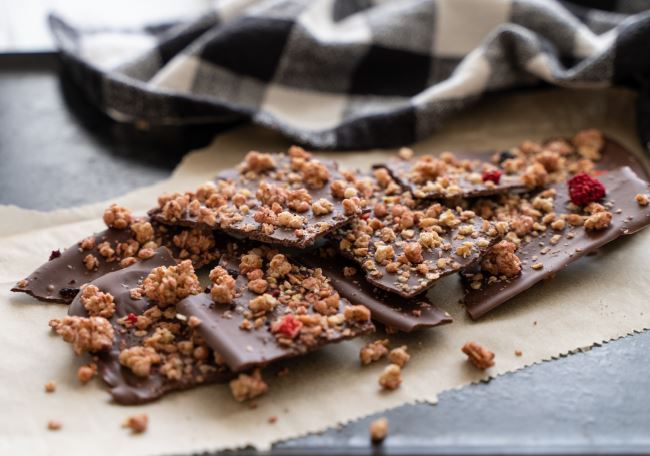
In the cookbook, I show the Granola Chocolate Bar spread out thinly, using a silicone sheet or parchment-lined loaf pan or free-form on a lined cookie sheet.
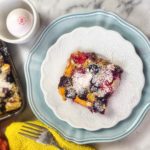
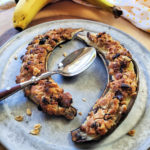
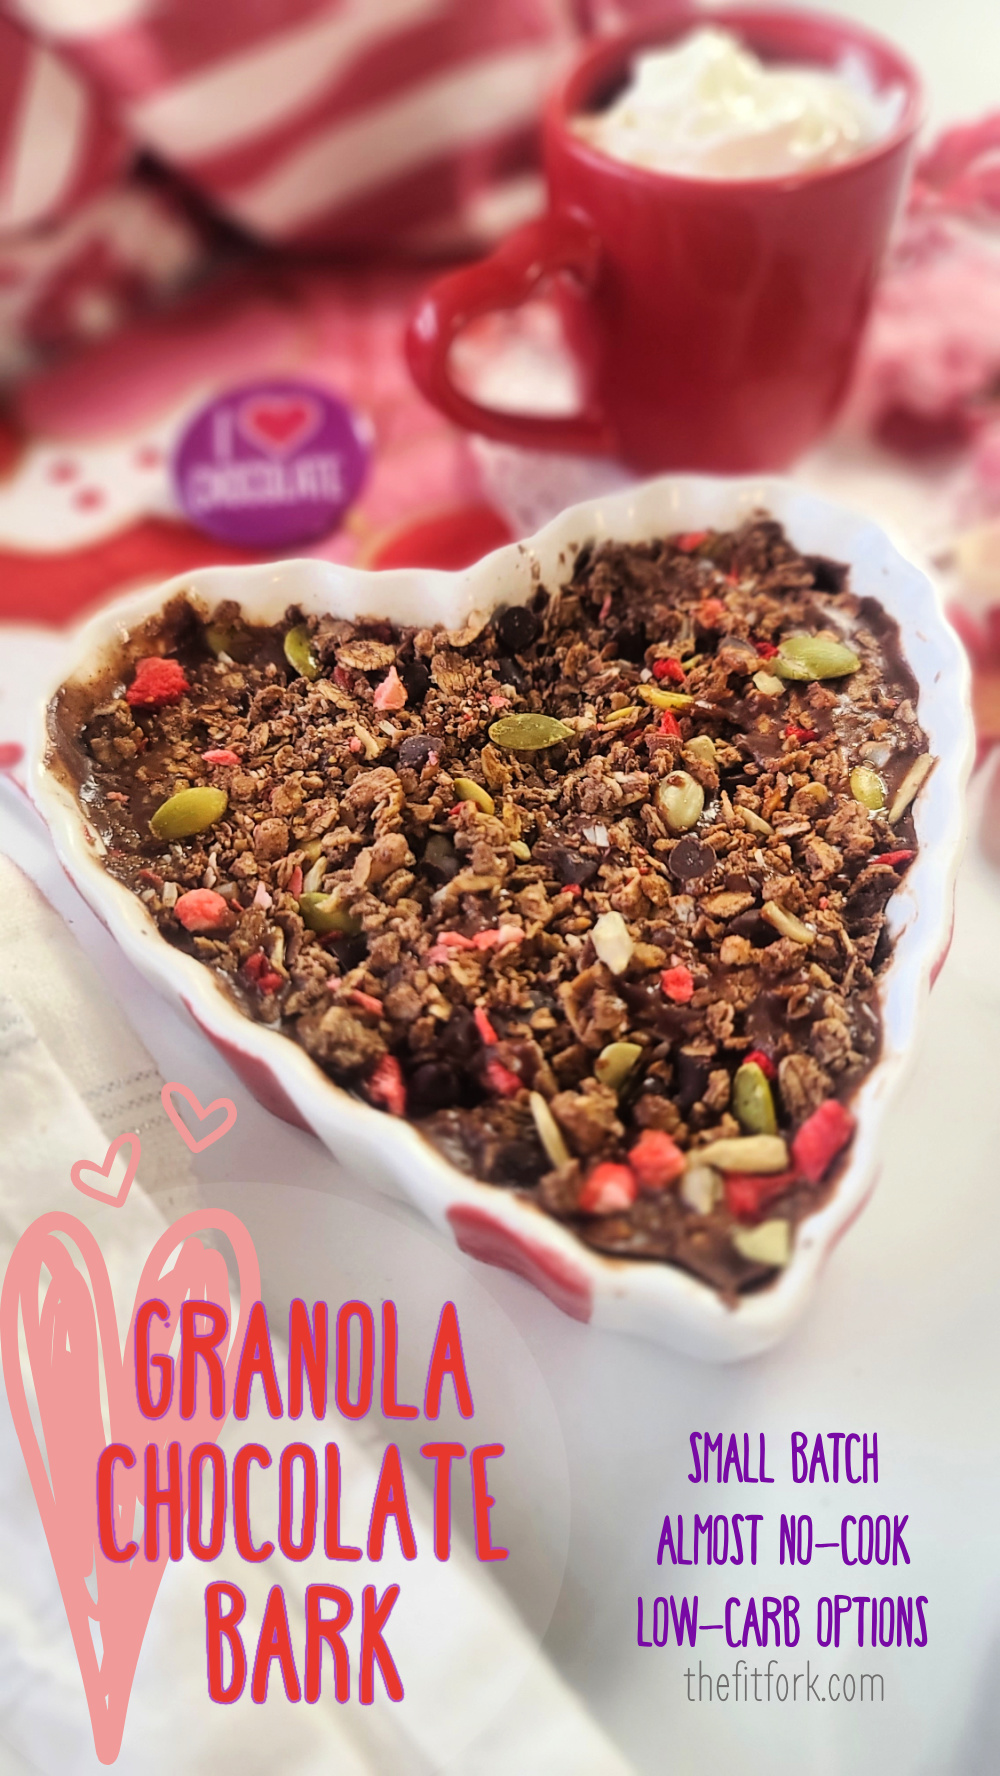
Today, for a Valentine’s treat, I thought it would be cute to do in a heart-shaped ramekin! This creates a “thicker” result. If going this route, use an approximate 10-oz Crème Brulé-style ramekin or two smaller 6-oz low-side ramekins. I’m kinda a ramekin collector freak, they are so fun and can be used for lots of smaller-scale recipes for one or two; using to hold prepped ingredients while making a recipe; for holding your everyday snacks for portion control.
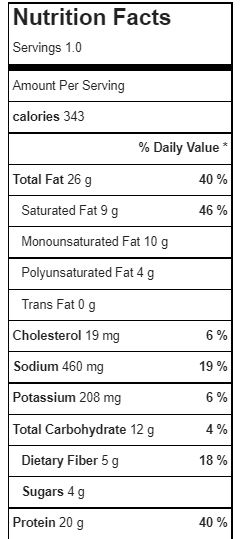
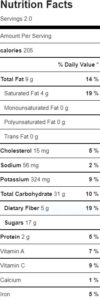
Approximate macros for sugar-free chip version (will vary some based on nut butter and granola choices): 191 calories, 13g fat, 14g net carb, 3g protein
PRO TIPS FOR GRANOLA CHOCOLATE BARK
Tip 1: There is so much flexibility, you can mix and match ingredients to suit your dietary preferences (for example there are lots of swaps if looking for low carb dessert ideas):
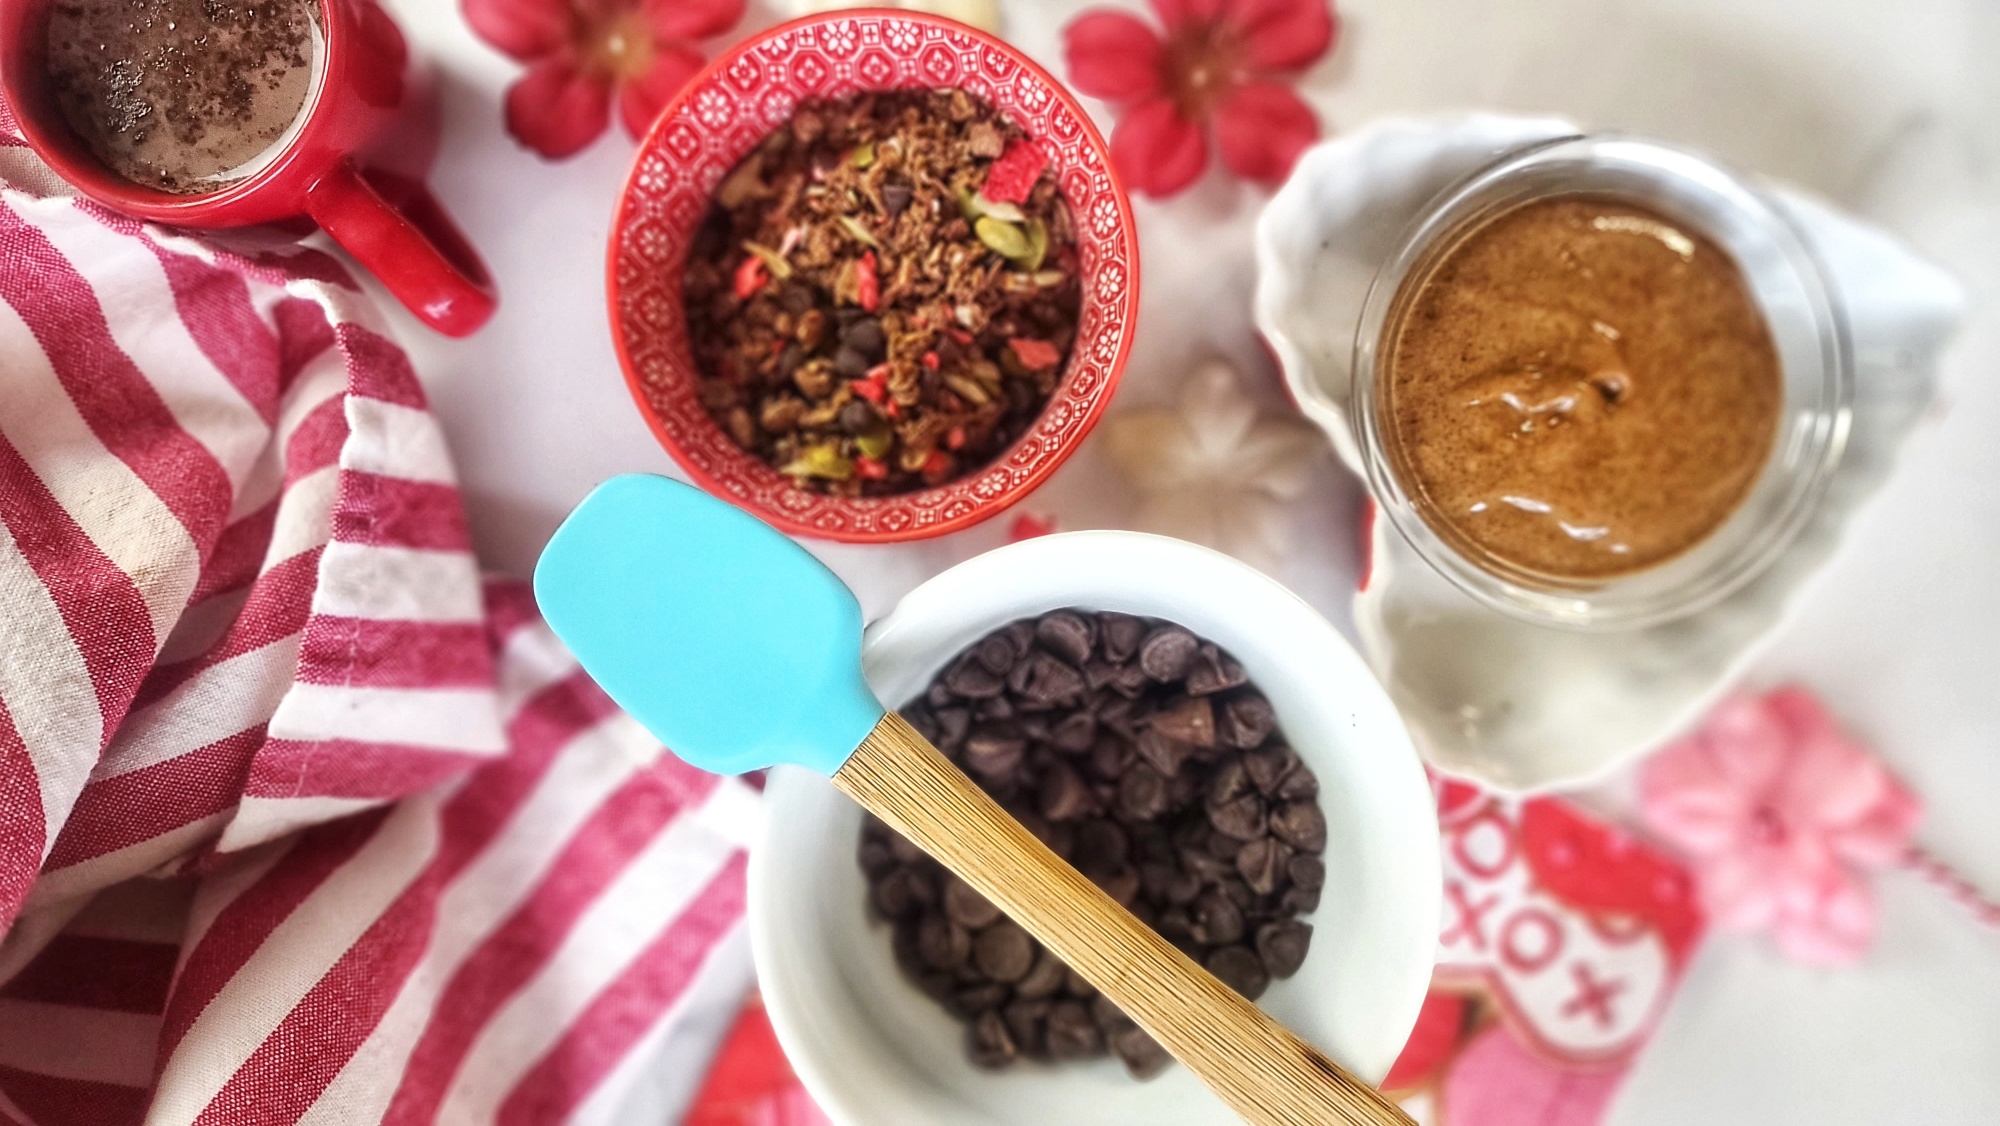
- Chocolate: I used sugar-free dark chocolate chips, but feel free to substitute traditional chocolate chips. Also, try milk chocolate, white chocolate, cinnamon chip and all the other flavors out there!
- Nut Butter: The only real requirement is to use a natural-style nut butter and NOT the solid kind with hydrogenated fats and sugars. I used a cinnamon-flavored almond butter in my recipe today, but peanut butter, walnut butter, cashew butter, protein-boosted nut butters and most all types of blends will work!
- Granola: For convenience, use packaged granola from your favorite brand. Of course, homemade granola is excellent too! If you don’t want to use granola, swap in an equal portion of things like coconut shreds, toasted chopped nuts, dehydrated or freeze-dried fruit pieces, little candies of choice, etc.
Tip 2: For less mess making granola bark, it’s highly recommended to oil the ramekin or, if using a baking sheet, use parchment paper or a silicone matt. You can also make in silicone candy molds, but I haven’t personally experiment with that.
Tip 3: Don’t skip the sticking in freezer step to firm up the chocolate bark before eating. Store leftovers in fridge.
Disclaimer: This post contains affiliate links.
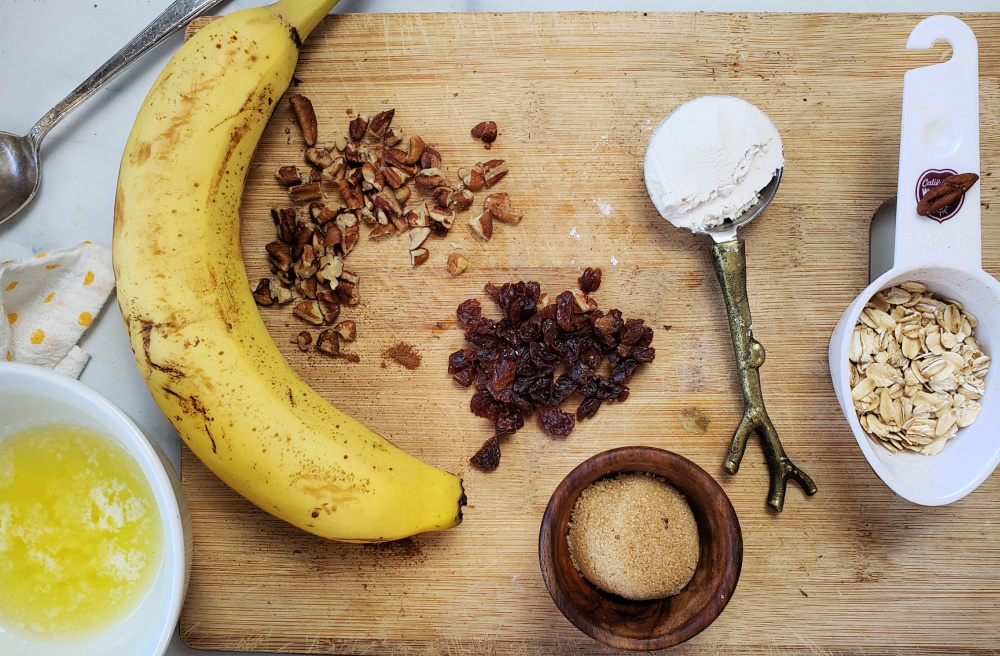
Treat yourself (and a sweetheart) to this share-sized dessert that features only three ingredients (chocolate, nut butter, and granola)! Easy-peasy, the only ‘cooking’ is melting chocolate chips in the microwave! A fun Valentine’s Day treat, or for chocolate bark any day of the year! Low carb and sugar free options, very flexible.
- 1/3 cup chocolate chips sugar-free, if desired
- ¼ cup natural-style nut butter peanut, almond, cashew, etc.
- ½ cup of your favorite granola any type or your own toppings
-
In a small microwave-safe bowl, melt the chocolate chips on high in 30-second intervals, stirring between each, until the chocolate is melted and smooth.
-
Stir in nut butter until smooth. Pour the chocolate mixture into a 10 to 12-ounce low ramekin*
-
Sprinkle granola evenly over the top of the chocolate mixture and press down lightly so that it stays put. Freeze for 30 minutes to 1 hour, or until the bark has firmed up.
-
Slice into pieces; store the leftovers in the refrigerator.
* Instead of a ramekin, spread chocolate mixture out thinly on a silicone mat (on baking sheet) before topping with granola. After freezing, break up into free-form pieces. You can also use silicone baking and candy molds for a different effect.
Approximate macros for sugar-free chip version (will vary some based on nut butter and granola choices): 191 calories, 13g fat, 14g net carb, 3g protein