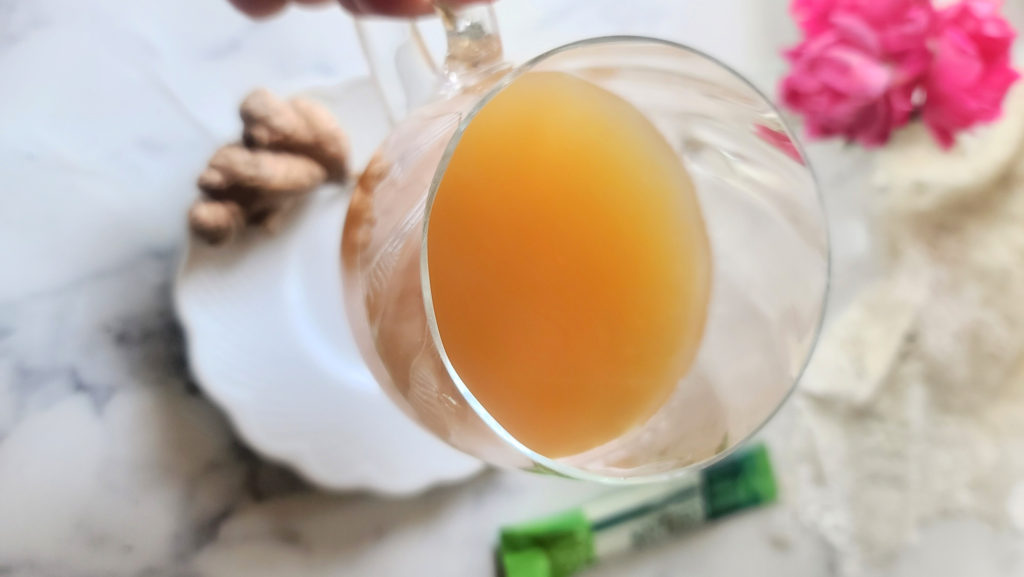
It’s definitely hot beverage season! A mug of Super Ginger Green Tea with Collagen with warm you up from the inside out while providing numerous other body benefits with every sip.
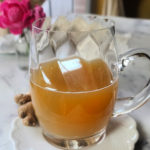
The trifecta of ginger juice, green tea and collagen in this recipe creates a simple but seriously good-for-you concoction that can help you recover from workouts . . . or just a busy day in general!
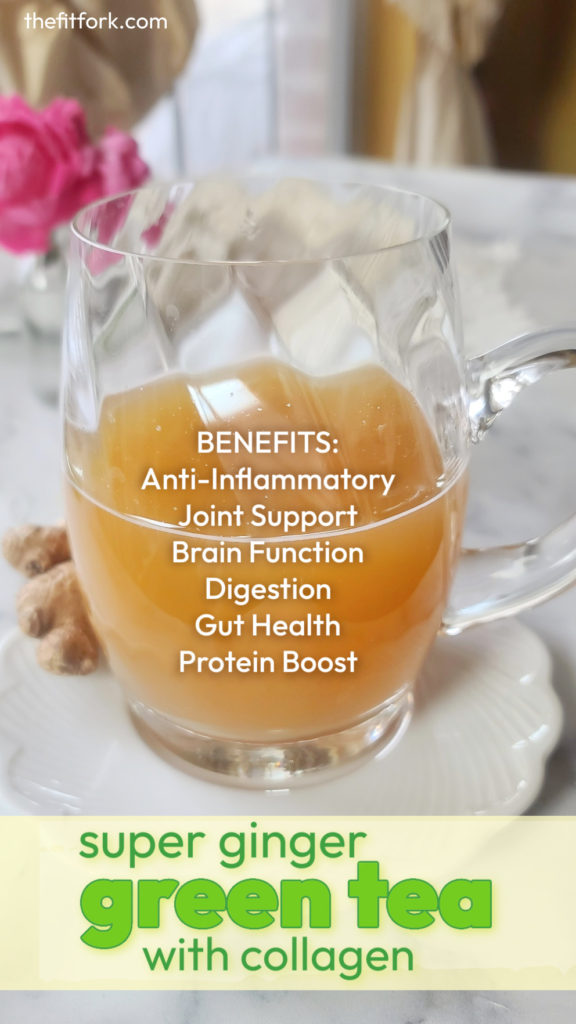
This hot ginger tea drink helps minimize inflammation and supports your joints, is good for a mood boost and over all brain function, is good for your digestion and gut health, and adds an additional 11g protein to your day.
There is basically no caffeine, so it’s ideal for a cozy, alcohol-free beverage before bed. And, if you’re having a hot flash . . .. or it’s the middle of summer, collagen ginger tea is yummy and refreshing served over ice.
Whipping up this ginger tea with collagen is easy-peasy, just steep a green tea bag into almost boiling hot water for about 3 minutes.
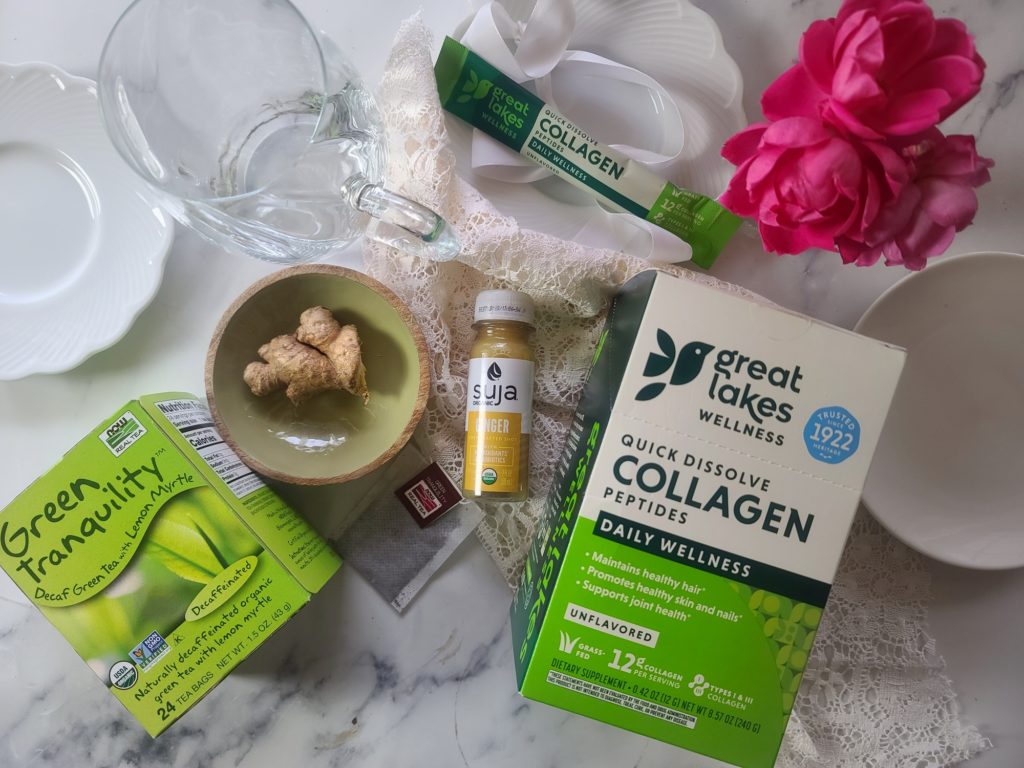
Then stir in 2 tablespoons of unflavored collagen powder, my go-to brand is Great Lakes Gelatin. I have the big tubs in my pantry and the single-sized sachets (as seen here in the video) are so perfect for travel.
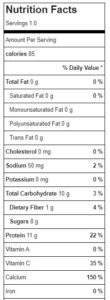
I love that spicy profile of the ginger juice in this collagen tea drink so much! It’s lightly sweet, but sometimes I’ll add a few drops of a liquid stevia or monkfruit sweetener. A serving has 85 calories, with 9g net carb, 0g fat and 11g protein, and 150% of DV for calcium.
Super Ginger Green Tea with Collagen is a delicious hotbeverage that warms you up and provides many health benefits — includingsupport for joints, gut, brain, muscles and more!
Course:
Beverage
Keyword:
collagen, ginger, tea
Servings: 1serving
Calories: 75kcal
Ingredients
1green tea bag
12ozboiling water
1 2-ouncebottle ginger juice
2tbsunflavored collagen hydrolysate
optional additional sweetener
Instructions
Add boiling water to mug or boil in mug, in microwave. Add tea bag and steep for 3 minutes.
Remove tea bag and stir in ginger juice. (if not using purchased ginger juice, search 'how to make ginger juice" at thefitfork.com
Stir in collagen powder. Great Lakes Wellness collagen dissolves perfectly into hot and cold liquids.
Taste. If needed, add a couple drops of liquid stevia or liquid monk fruit sweetener, to taste.
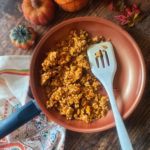
Whether you’re a runner, triathlete, gym-going fitness enthusiast or simply seeking a comforting, nutritious breakfast to jump start an active day, these Pumpkin Scrambled Oats are sure to hit the spot.
With the flavors of fall, sustaining whole-grain carbs, and a protein boost that’ll keep you going, it’s an easy oat recipe you’ll want to revisit time and time again during this splendid season of cooler temps and endless outdoor adventures.
Why Make Pumpkin Scrambled Oats?
Fall Flavor Fusion: Pumpkin is the quintessential fall ingredient. It’s warm, earthy notes complement the creaminess of oatmeal beautifully – plus for the ½ cup used in this recipe, you get a lot of nutrition for about 45 added calories — plant-based carbohydrates with no added sugar, virtually no fat, a good source of vitamins (especially vitamin A / beta carotene), and minerals athletes need more of like iron and potassium.
Protein Powerhouse: If you’re an active individual or simply looking to boost your protein intake, this recipe is a game-changer. Oats and eggs provide a solid protein base that’s perfect for muscle recovery and sustained energy. Often, I will use these protein oats to add even more a boost.
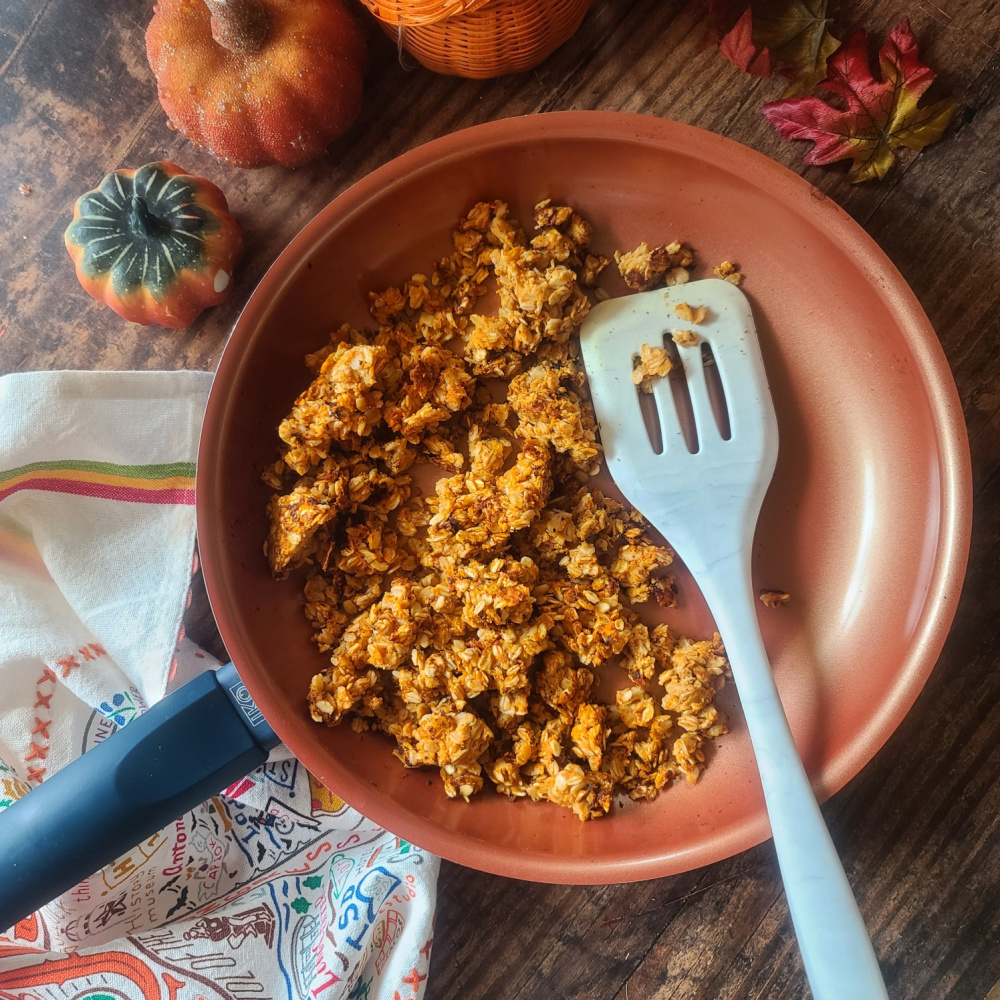
Quick and Easy: This pumpkin breakfast recipe reminds me of a cross between traditional oatmeal with pumpkin to skillet granola – really, it’s like a soft pumpkin granola that you don’t have to bake. Whip this pumpkin oat recipe up in a non-stick skillet in under 10 minutes – I feel like the process is just the same as making scrambled eggs (hence the name).
How to Serve and Store: Eat warm or room temperature. Delicious plain, or add your favorite nuts/seed (I added sprouted pumpkin seeds) or add as a “crumble” topping on your yogurt, cottage cheese or smoothie bowls. Store leftovers, in air-tight container in fridge for up to 5 days. Reheat in an air-fryer or toaster oven for 3-4 minutes.
As an Amazon Influencer, I earn from qualifying purchases.
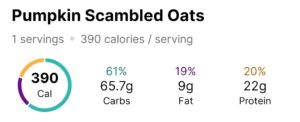
Pumpkin Scrambled Oats are a comforting and nutritious way to jumpstart fall mornings. A quick breakfast, only 10 minutes max to make in a skillet — simple, wholesome ingredients and 22g protein so you don't get hungry later!
Course:
Breakfast, Snack
Keyword:
breakfast, oats, pumpkin
Servings: 1serving
Calories: 390kcal
Ingredients
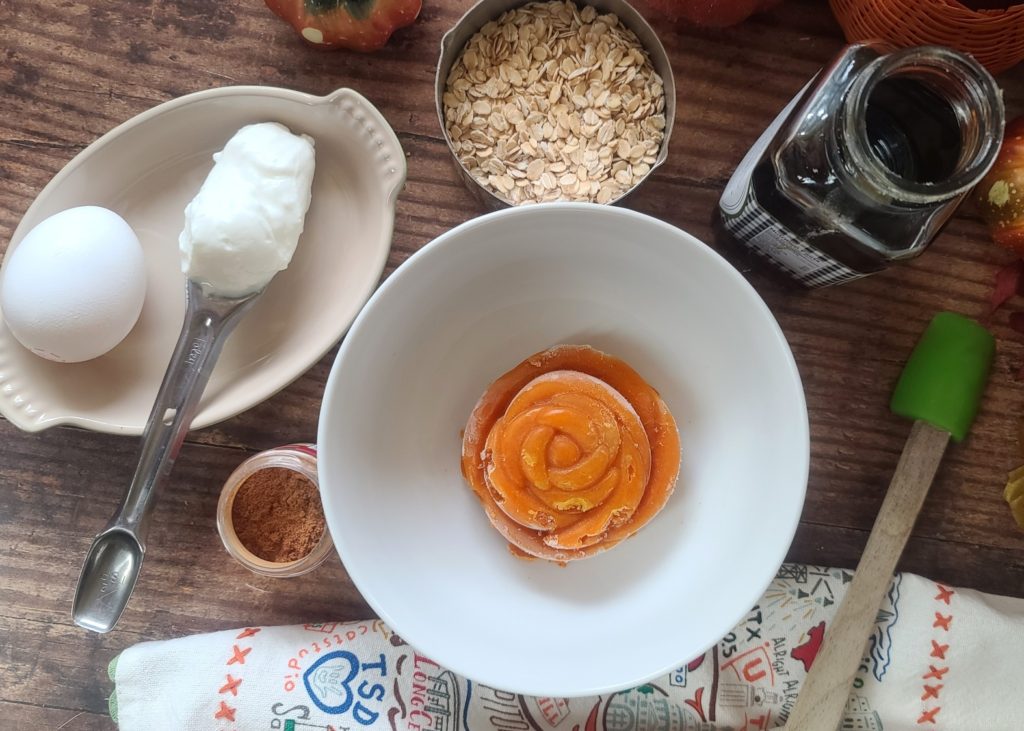
1/2cupcanned pumpkin
2tbsp0% fat Greek yogurt
1large egg
1tbspmaple syrupcan omit or use a syrupy substitute if moderating carbs
3/4cuprolled oatsI used @oatsome protein oats
1/4tsppumpkin pie spice
Optional extras: nutsseeds, dried fruit
Instructions
Mix everything up in a bowl.
Bring nonstick skillet to medium heat (not too high if using the maple syrup, you don’t want the sugars in it to burn).
Spread out batter in skillet, about 1/3” thick, let cook for a few minutes, then use spatula to turn over in big chunks. Cook forc a few more minutes before using spatula to “chop up” … just imagine how you would do for scrambled eggs! Cook a few more minutes, tossing frequently, until mixture drying out some.
Finished product will be turning golden brown on the outside and still a bit soft — like a cross between oatmeal and skillet granola.
Add mix-ins of choice, if desired. Serve warm or room temperature – either plain, in milk, on top of yogurt or cottage cheese, etc.
The weather is warming up, and so is my appetite for knocking out some intense outdoor workouts and refueling my efforts with a flavorful yet functional smoothie – my Pineapple Tart Cherry Ginger Smoothie for Joint and Bone Care is a favorite for a bevy of reasons.
Obviously, this anti-inflammation pineapple smoothie going to taste great, naturally sweetened with fruit. It also is made with whole fruits/veggies rather than juice, to offer more nutrients like fiber. This anti-inflammatory smoothie is also “light” enough to be tolerated well (and only about 200 calories) if eating a lot after exercise is unappealing – yet offers carbs, protein and other nutrients needed to top off your tank and set workout recovery in motion. One of the biggest perks of this pineapple cherry smoothie is that it’s filled with functional foods (and supplements) that help support healthy bones and joints.
Let me give you a run down on the beneficial foods in this anti-inflammatory shake that includes bone and joint supplements:
Pineapple: Pineapple adds natural sweetness and is known for the enzyme Bromelain which is found in the flesh and stem. Some research indicates bromelain may be helpful in the management of osteoarthritis and/or for muscle soreness and injury after exercise. It also helps break down proteins and aids in digestion.
Tart Cherries: Tart cherries (also called Montmorency cherries) add tangy, sweet flavor and have been shown to minimize arthritis pain and postexercise muscle soreness by reducing inflammation and oxidative stress. These benefits have been noted for both strength and endurance athlete, according to research.
Ginger: Ginger adds zing to any fruit or green smoothie and research shows may help lessen the stiffness and joint discomfort associated with arthritis. Ginger may also may reduce the amount and length of exercise-related muscle soreness. Ginger is also an easy home remedy for nausea and digestion which can be perks for hard summer workouts.
Cucumbers: Blending cucumbers into smoothies is a smart way to boost hydration (95% water) and add low-carb “volume” to balance out the fruit sugars from pineapple and cherries. Cucumbers are also a good source of Vitamins A, B and C; and contain phytonutrients that provide anti-inflammatory and antioxidant benefits.
Almond Milk: Just like its core ingredient, almond milk is laden with nutrients which are great for joint, bone and overall health – and helps avoid diary which may be an inflammation trigger for some. Magnesium, one of the minerals found in almonds and almond milk, also plays a role in the structural development of bone.
Collagen Peptides: Collagen peptides from types 1 and 3 bovine collagen are well-known for their roles in bone, joint and skin health. * As the most abundant protein in mammals, collagen makes up about 30% of the body’s protein. Studies indicate that hydrolyzed collagen may help to support strong bones and healthy joints as well as skin smoothness and hydration.* I also like to include collagen in my post-workout smoothies because each serving gives me about 10g of additional protein I need in my day.
Hyaluronic Acid: Hyaluronic Acid is a joint-lubricating compound present in every tissue of the body, with the highest concentrations found in connective tissues such as skin and cartilage.* As a constituent of joint fluid, hyaluronic acid serves as a lubricant and plays a role in resisting compressive forces.* The liquid Hyaluronic Acid formula combines this critical joint component with Vitamin D and other important nutrients for the support of optimal joint health and is berry-flavored making it a yummy boost for this anti-inflammatory smoothie.
Vitamin D-3: NOW® Vitamin D-3 Extra Strength in liquid drop form is a quick and easy way to get this important nutrient that helps the body absorb calcium and maintain strong bones. Vitamin D also has anti-inflammatory, antioxidant and neuroprotective properties to support immune health, muscle function and brain cell activity. Many of us find ourselves low in Vitamin D due to purposefully-avoided sun exposure or diet challenges (Vitamin D isn’t naturally found in many foods), these extra-strength liquid format offers 1000 IU per drop!
PINEAPPLE TART CHERRY GINGER SMOOTHIE for Joint and Bone Health
Prep Time
5mins
Total Time
5mins
Course:
Breakfast, Snack
Keyword:
inflammation, protein smoothie, workout
Servings: 1serving
Calories: 202kcal
Ingredients
½cupchopped fresh pineapple
½cupfrozen tart cherries
½cupchopped seededpeeled cucumber
1 to 2teaspoonsfresh grated ginger
3tablespoonscollagen peptide powder, unsweetened
1tablespoonliquid hyaluronic acid from NOW Foods*or other brand
2 to 5drops Liquid Extra-Strength Vitamin D-3 from Now Foods*or other brand
1cupunsweetened almond milk
5 to 15drops liquid stevia or monk fruit dropsto desired level of sweetness
Icesas needed
Instructions
Add all ingredients to blender and process until smooth. Pour in tall glass and serve immediately.
Recipe Notes
*These statements have not been evaluated by the Food and Drug Administration. These products are not intended to diagnose, treat, cure or prevent any disease.
Granola Honey Sweet Potato Fries! Pre-race carb loading (or every day munching) at it’s finest – all the good stuff, so easy! Based on a single-serve recipe on page 215 my Cooking for One for Dummies cookbook that can be ordered now on Amazon, Barnes & Noble, or your other fine book retailer online or in person.
Baked or air-fryer sweet potato fries are one of my go-to side dishes the night before a big workout or race. Those healthy carbs from the sweet potato and honey give me energy and the prep method doesn’t make me feel heavy and gross with added oils I don’t need.
I was inspired to add honey and coarse sea salt to my fries after eating a similar dish at a steak house years ago before a 50 miles race!!! So yummy, and I know helped me make it through many of those miles in the first half.
Adding granola was just an “ah-ha” moment, when I was curious about adding a little extra texture and crunch. A box of salty-sweet granola made with oats, ancient grains, pecans and cinnamon was sitting out, so I sprinkled some on and it was like magic. You can use any granola you want, I just happed to have THIS ONE on hand.
Sometimes I’m the only one in the family who wants a sweet potato for one, so I came up with this single-serve sweet potato fry recipe. With 368 Calories, 11g fat, 64g carb, 8g fiber, 5g protein, it’s pretty generous sized and can be split with a friend if not as hungry as I usually am!!
Granola Honey Sweet Potato Fries for Air Fryer (or Oven)
Prep Time
5mins
Cook Time
12mins
Total Time
17mins
Looking for a quick and easy granola sweet potato recipe? Simple ingredients come together in minutes in an air fryer (or conventional oven) tomake the tastiest, crunchiest, salty-sweet (swalty) fries around!! You’ll love recipe for one (or two)!
Course:
Appetizer, Side Dish
Keyword:
granola, honey, sweet potato
Servings: 1
Ingredients
10ouncesweet potatoapprox
2teaspoonsolive oil
2teaspoonhoney
¼teaspoonHimalayan Sea salt
2tablespoonsalty-sweet granola of choice
Instructions
Preheat oven to 400F or Air fryer to 360F.
Wash, dry and cut sweet potato into 1/3” thick fry-sized pieces. Place wedges in pile on baking sheet and drizzle with olive oil; toss to coat. Spread out in even layer on pan or transfer to Air fryer basket.
Bake for 25 min in oven or 12 min in air fryer, flipping half way. Will be done when turning crispy brown around edges and soft in center.
Let cool a couple minutes. Sprinkle with salt and drizzle with honey, toss gently. Sprinkle with granola!
Air Fryer Crispy Chickpeas make snack time a happy time and a healthy experience, especially when that craving for something salty-crunchy hits but are trying to stay away from chips.
If you’re like me, you’ll want to eat theses roasted chickpeas warm, right off the air-fryer and pop the lightly-seasoned, crispy delights into your mouth, one after one! Definitely one of my favorite single-serve snack ideas!
The good news is that unlike typical crunchy snack foods, you control the fats, the sodium, and the flavor. Nothing is processed or yucky, it’s just the goodness of garbanzo beans (the other common name for this legume) simply dressed up with a hint of flavor.
This quick snack recipe for one makes a single serving (as hinted, lol) and uses ¾ cup of chickpeas (also called garbanzo), about half a can. To use up the other half of the can, check out this Small Batch Hummus recipe (or just easily double the ingredient list for the Air Fryer Crispy Chickpeas below).
PRO TIPS:
Remove Skins: Often canned chickpeas still loosely have their “skins” on. Most fall off during rinsing but any remaining can be removed by patting dry on a paper towel and loosely rubbing around until removed. You CAN eat chickpeas with the skins still hanging on, there is no harm! But removing helps the oil and spices cling onto the legume better in this recipe and for hummus recipes, it creates a smoother outcome.
Oven Option: If you don’t have an air fryer (I LOVE my Omni Pro Plus 18L), the general rule of thumb for crisping up garbanzo beans in the regular oven is to use the same temperature, but double the cooking time (shaking pan around every 10 minutes to promote even cooking).
Seasonings: Instead of smoked paprika, try curry powder, chili powder, Italian seasoning, Everything Bagel spice, or any other spice or blend you can dream up. Even homemade gingerbread spice with a pinch of stevia would make a delicious, unique chickpea snack.
How to Serve: Of course, eating warm off the pan is the obvious way to serve roasted chickpeas! They are also delightful tossed on a salad for extra nutrition and texture. Also try soups (instead of croutons) and as a garnish atop dips (like hummus) or your main entrée (like so yummy with salmon and greens)
How to Store: To maintain crunch, store roasted chickpeas covered at room temperature, for up to a couple days. If desired, pop back into a pre-heated 350F air fyer for 1 to 2 minutes to warm and re-crunch.
Crunchy, crispy and addictive! This fun and easy-to-make snack offers lots of dietary fiber and also is a good source of plant protein, iron, folate and other essential nutrients. Note: If you want to use up the entire can 15-ish ounce can of chickpeas, just double the recipe!
Course:
Snack
Cuisine:
healthy, Indian, Mediterranean
Keyword:
air fryer, chickpeas, garbanzo beans, legumes
Servings: 1serving
Ingredients
¾cupcanned chickpeasabout half a 15.5-ounce can
2tspolive oil
1/2tsplemon juice
1/8teaspoonsalt
¼teaspoonground black pepper
½teaspoonsmoked paprika
Instructions
Pre-heat air fryer to 390 F degrees.
Drain and rinse chickpeas.
Pour out on paper towel and dry, gently rubbing to release any skins; discard skins.
Add chickpeas to small bowl and drizzle on olive oil and lemon juice, stirring to coat evenly.
Sprinkle with salt, pepper, and smoked paprika and stir around to adhere to chickpeas.
Pour chickpeas out on rimmed baking sheet that fits in air fryer.
Stick in preheated air fryer for about 15 minutes, stopping to shake around once halfway through. Chickpeas should be toasted and crunchy when finished. IF needed (because air fryer models vary in heating), cook for another 2 to 4 minutes.
Remove and let cook a couple minutes before eating. Store leftovers in air-tight container at room temperature, for up to 3 days. If desired, you can warm up in air fryer preheated to 350 for 1 to 2 minutes.
Note: For a conventional oven, cook at 390-400F degrees for 30 minutes, or until golden brown and crispy, stirring up every 10 minutes.