Black-eyed peas have long been tied to New Year’s traditions, symbolizing luck, prosperity, and abundance for the year ahead. And while they’re often served simmered with greens or tucked into classic comfort dishes, this crunchy, roasted version gives the tradition a modern, snack-worthy upgrade.
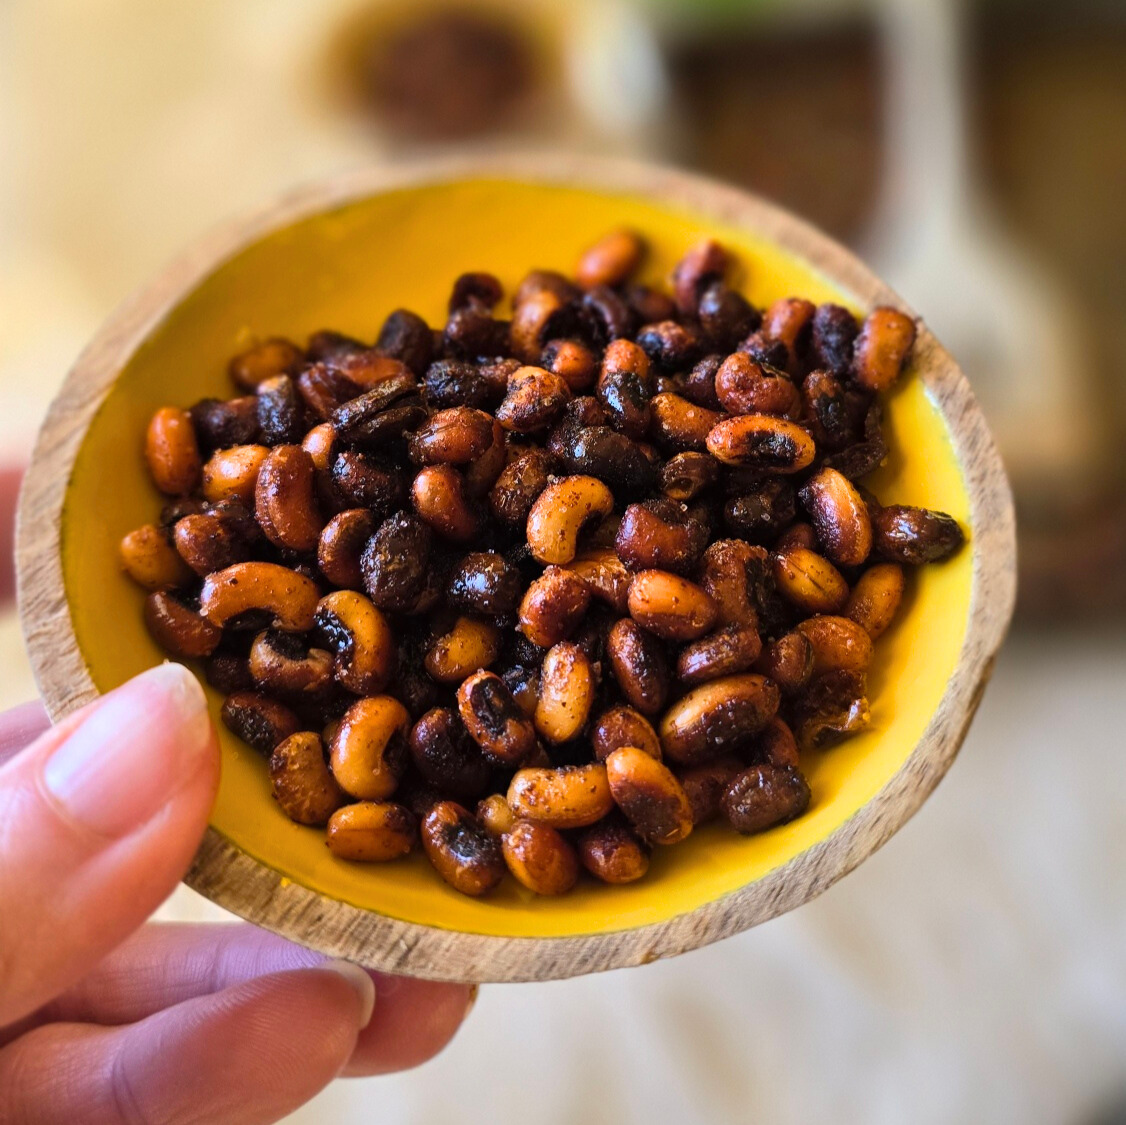
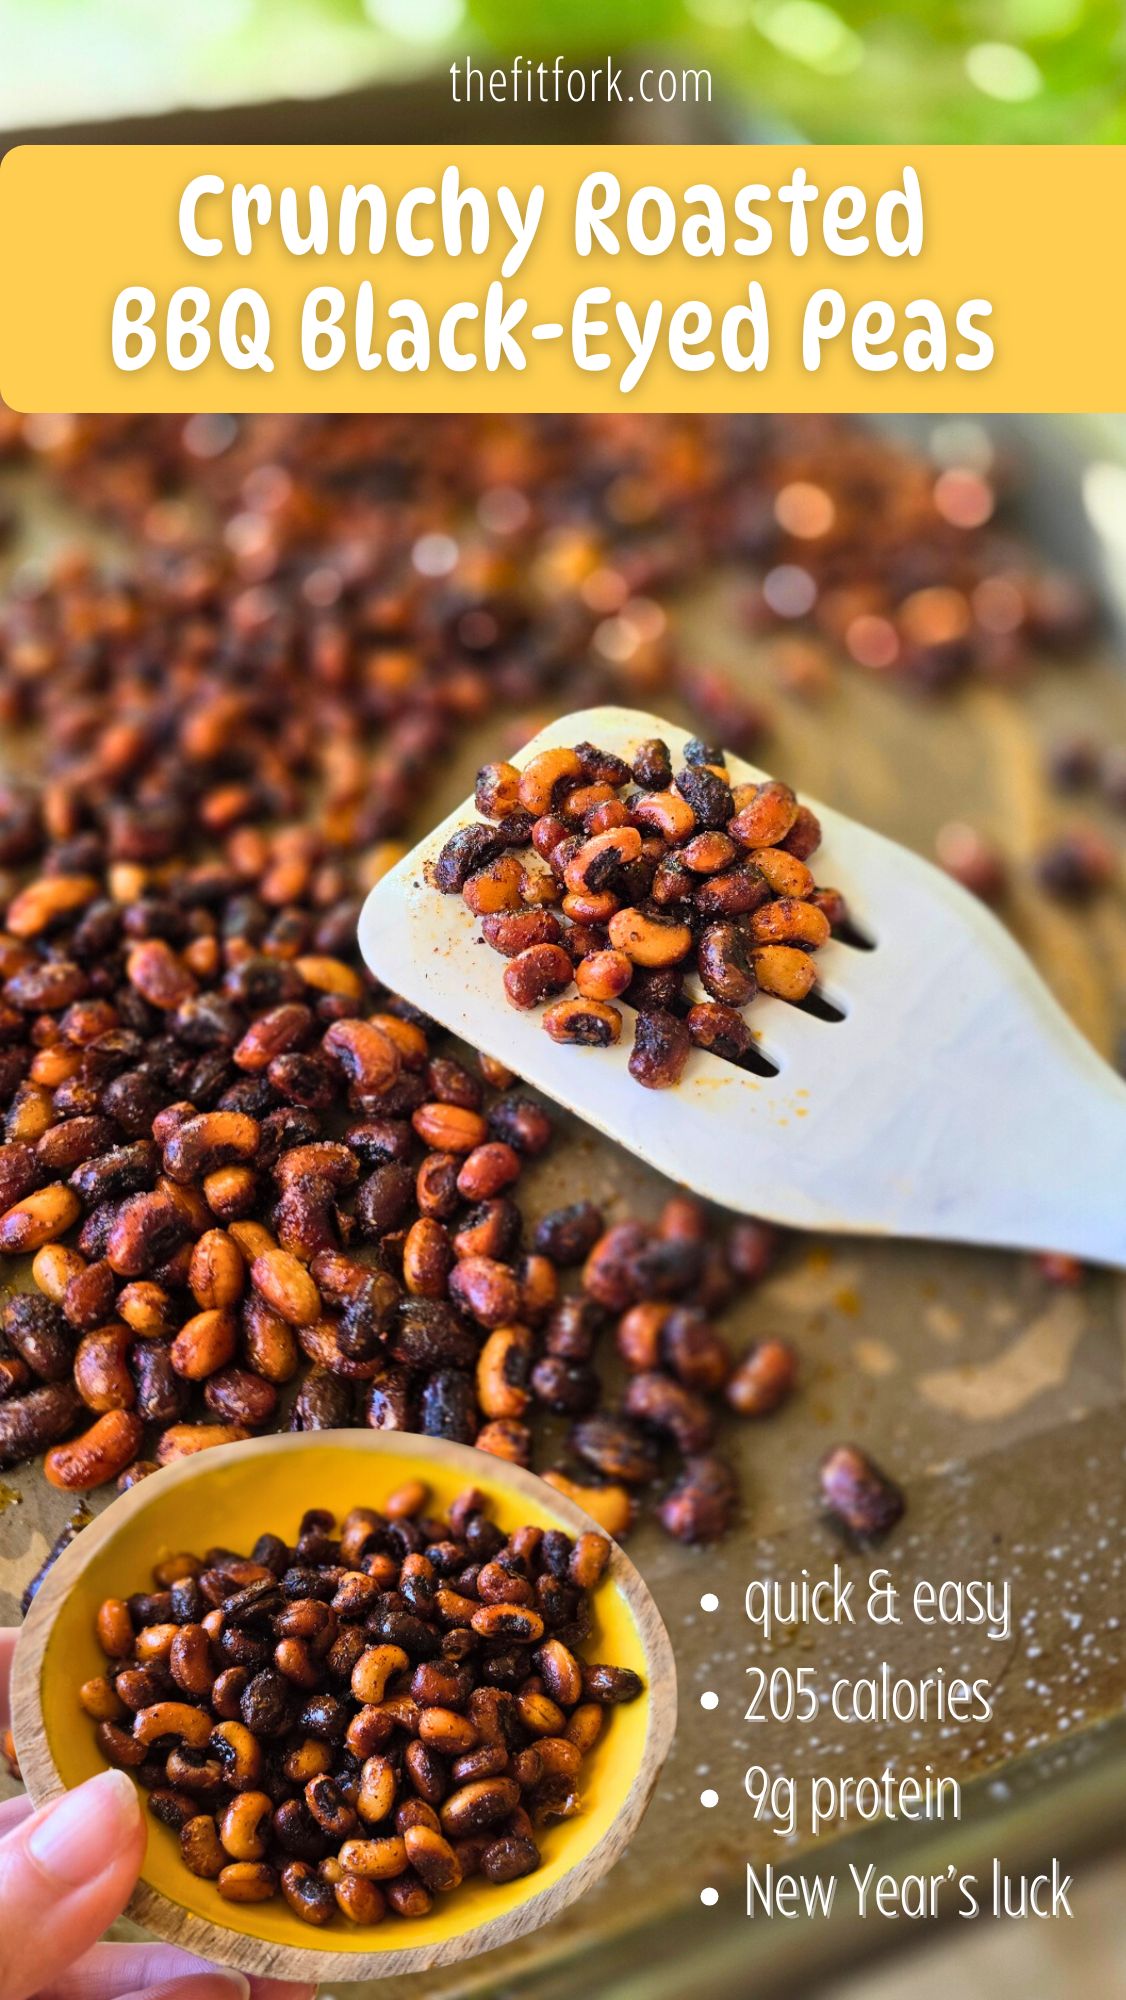
Think: roasted chickpeas… but with a Southern soul and a spicy-sweet BBQ vibe. Roasted with olive oil and a BBQ seasoning that’s easy and economical to mix up from basic spices in our pantry. Black eyed peas transform into a snack that hits all the notes – crunchy, savory, salty-sweet!
Why We Eat Black-Eyed Peas on New Year’s Day
Across the Southern U.S., black-eyed peas are a staple on New Year’s Day, representing coins or wealth – a hopeful, nourishing start to the year. Whether you’re deeply rooted in the tradition or just love a meaningful food moment, this recipe lets you honor the symbolism without feeling tied to a heavy or time-consuming dish.

Health Benefits of Black-Eyed Peas
Beyond the good-luck lore, black-eyed peas are a nutritional powerhouse, making them a smart choice for active lifestyles and everyday eating.
- Rich in plant-based protein, helping with satiety and muscle repair
- High in fiber, supporting digestion and steady energy
- Packed with complex carbs, ideal for fueling workouts, hikes, and busy days
- Naturally low in fat, while still deeply satisfying
Tips for Roasting Black-Eyed Peas
- Use fresh, shelled, pre-soaked black eyed peas. Canned black-eyed peas will be too mushy. Fresh black-eyed peas great for this recipe can typically be found in the produce section and must remain refrigerated until use.
- Pat dry. If there is any moisture or condensation on the black-eyed peas, pat dry before beginning recipe so that oil and spices will adhere.
- Sugar substitutions: I used coconut sugar, but you can easily replace that for brown sugar, date sugar — or skip all together.
- Easy clean-up. Line pan with parchment paper preferably, or foil before adding peas.
- Single layer. When spreading out on the baking sheet, make sure that peas are not piled up. They must be in a single layer to promote even cooking.
- Check often. Check 10 minutes or more to turn up with a spatula and rotate pan in the oven. Near the end, keep a close eye so they don’t burn.
How to Serve Roasted Black-Eyed Peas
- Straight-up snack – like popcorn, but with protein and fiber
- Salad or bowl topper – adds crunch and smoky flavor without croutons
- Soup “crunchies” – sprinkle over chili, veggie soup, or stew
- Trail or hike fuel – lightweight, shelf-stable, and satisfying
- Lunchbox or road-trip snack – no refrigeration required
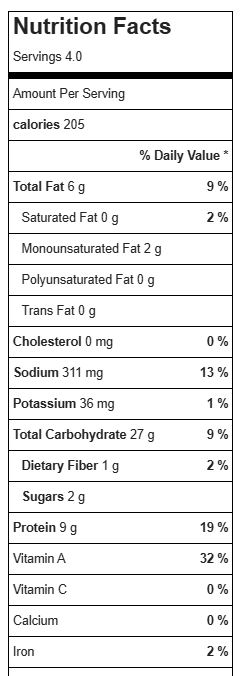
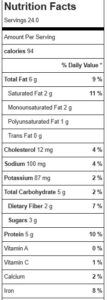
Crunchy Roasted BBQ Black-Eyed Peas put a modern twist on aNew Year’s good luck tradition. A healthy, high-fiber snack that’s perfect forsalads, soups, or on-the-go fuel.
- 10 oz fresh shelled black eyed peas not canned or dried
- 2 tsp olive oil
- 2 tsp coconut sugar or can sub brown sugar
- 1 tsp smoked paprika
- 1 tsp chili powder
- 1 tsp garlic powder
- ½ tsp salt
-
Pre-heat oven to 400F.
-
Pat any moisture off black eyed peas with a paper towl. Add to bowl. Toss with olive oil.
-
Mix together spices and sprinkle into bowl and stir to ensure all peas are coated.
-
Spread out in single layer on rimmed baking sheet and roast in the oven for 25-35 minutes, stirring them up every 10 minutes or so. Keep a close eye near the end so they don’t burn.
-
Serve warm or room temp. Store leftovers in air-tight container for 3-4 days.