

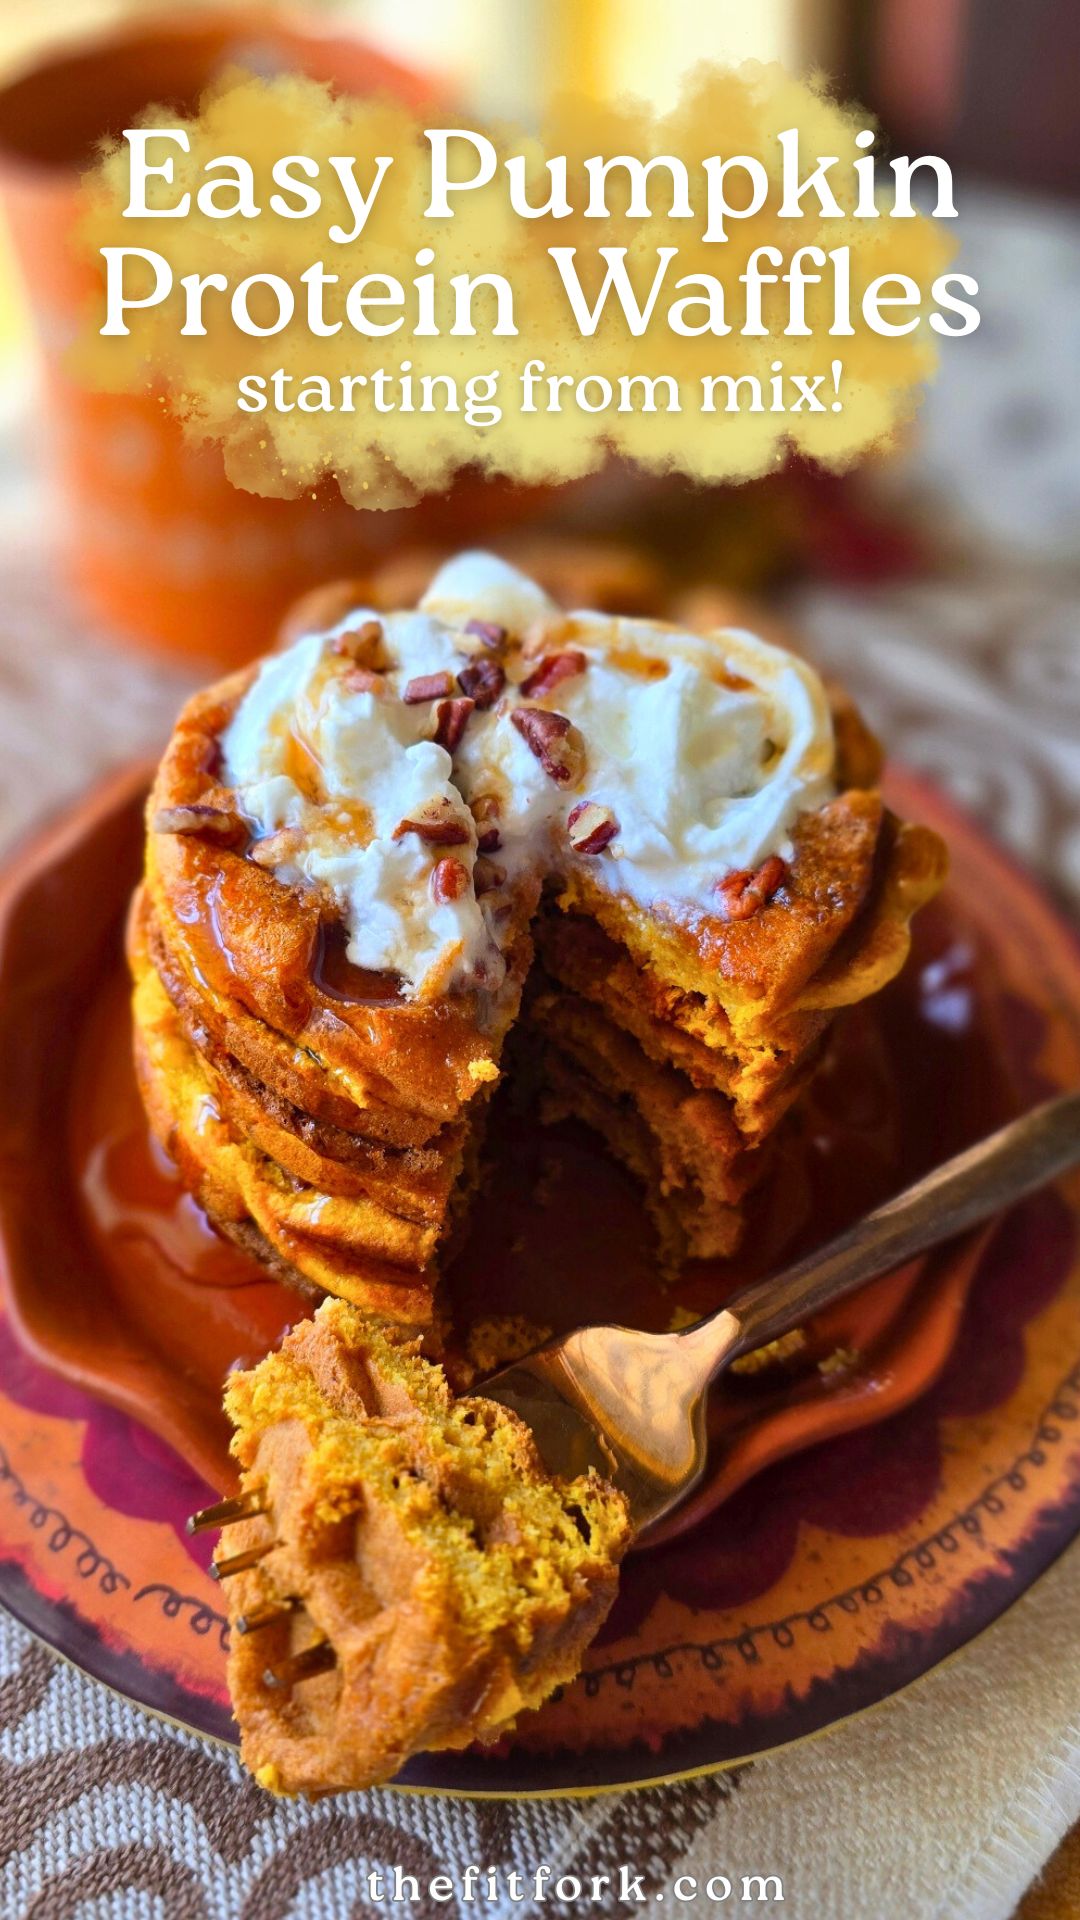
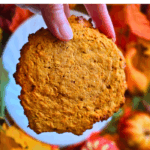
There’s something about the cozy aroma of pumpkin spice that makes fall mornings feel extra special. These Easy Pumpkin Protein Waffles are the perfect way to celebrate the season — warm, fluffy, and packed with a little extra protein to keep you satisfied all morning long. The best part? They start with a simple boxed pancake or waffle mix, so you can whip them up in minutes!
Why You’ll Love This Recipe
Whether you’re hosting a festive weekend brunch, making breakfast for holiday guests, or just want something delicious to grab on busy weekday mornings, these waffles fit the bill. They’re easy, freezer-friendly, and can be made with your favorite traditional or gluten-free boxed mix.
💡 Note: This recipe hasn’t been tested with low-carb mixes (like those made with coconut or almond flour), as they behave differently and may not yield the same fluffy texture.
The Protein Boost Trick: Mix or Flour to Protein Powder Ratio
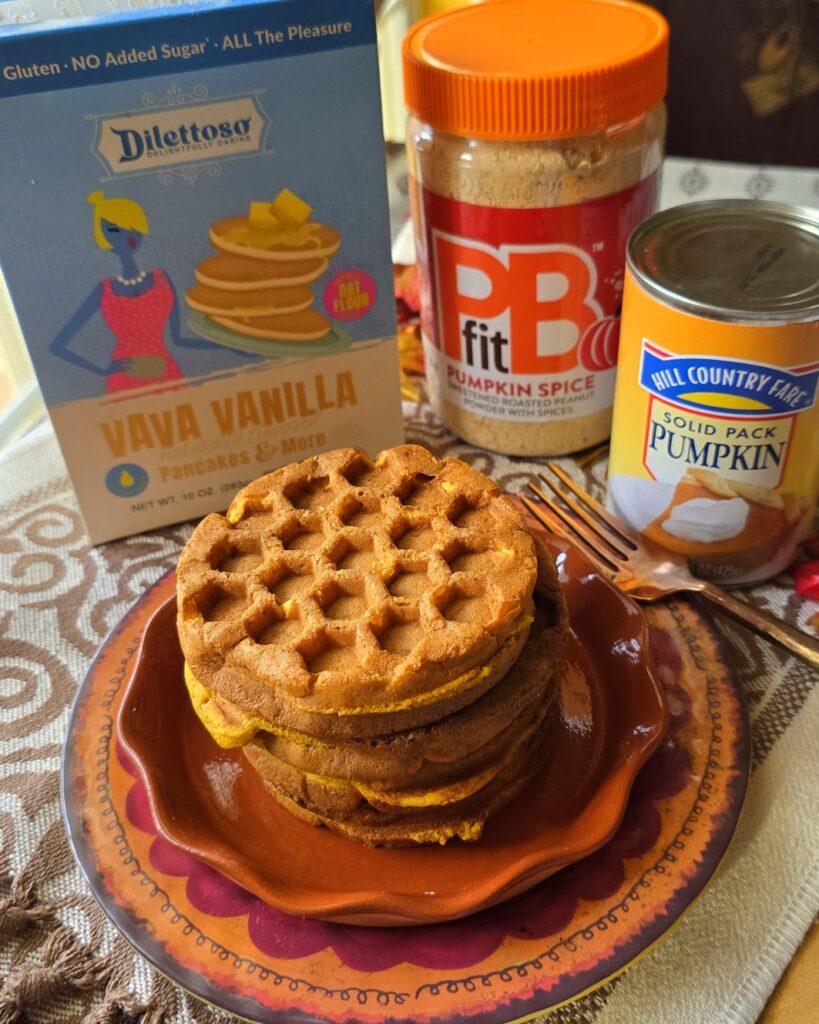
No need to splurge on pricey “protein waffle” mixes — you can make your own in seconds! For every 1 cup of boxed mix or flour, simply swap up to ¼ cup of it for your favorite protein powder. (That means ¾ cup mix + ¼ cup protein powder = 1 cup total.) This simple 3:1 ratio adds staying power to your waffles without changing the flavor or texture much at all. You can also use a peanut butter powder, like PBfit, as an alternative to the protein powder.
Make It Richer & More Flavorful
Instead of the standard water and oil usually listed on the box, try using milk and melted butter for a richer, more indulgent waffle. Then, for those cozy season vibes, stir in canned pumpkin puree and some pumpkin pie spice (or at least ground cinnamon) to bring out that classic fall flavor.
How to Cook Pumpkin Protein Waffles
Mix your batter according to your waffle iron’s size and cook per the manufacturer’s instructions. I love my Mini Dash Waffle Iron for single servings, but for big brunch batches, my four-square waffle maker gets the job done fast.
How to Serve Protein Pumpkin Waffles
Dress them up however you love:
- Warm maple syrup (I like sugar-free maple syrup)
- A dollop of whipped cream
- A sprinkle of chopped pecans or walnuts
- Or even a spread of almond butter and banana slices for a wholesome twist
Make Ahead & Freeze
These waffles freeze beautifully! Make a big batch, let them cool completely, and store them in an airtight container or freezer bag. On busy fall mornings, just pop one in the toaster or oven to reheat — instant cozy breakfast!
EasyPumpkin Protein Waffles made from a boxed mix — quick, cozy, andprotein-packed! Perfect for fall brunches, holidays, or make-ahead breakfaststo freeze and reheat.
- 2 cups pancake or waffle mix gluten-free, if needed
- ½ cup + 2 tablespoons vanilla protein powder*
- 1.5 tsp baking powder
- 2 tsp pumpkin pie spice
- 3 large eggs
- 1 15 oz can pumpkin puree
- 3 tbsp melted butter or oil of choice
- 1.5 cups almond milk or milk of choice – or even water
- Cooking spray or oil for your waffle iron
-
Preheat waffle iron and lightly grease it with cooking spray or oil.
-
In large bowl, mix together waffle mix, protein powder, baking powder, and pie spices.
-
In another bowl, whisk eggs and stir in pumpkin puree, melted butter, and approximately 1 1/4 cup of the milk (reserve remaining milk for final batter prep)
-
Add pumpkin mixture to bowl and dry ingredients and stir together until just combined. If batter seems too thick (which it could, as boxed mixes vary), stir in remaining milk, a couple tablespoons at a time until a thick, but pourable consistency is achieved. If it still seems too thick, start adding a little water, a tablespoon at a time.
-
Pour some batter into hot waffle iron, using the amount suggested by manufacturer’s instructions.
-
Cook waffles until golden brown and crispy. Serve warm with your favorite toppings, such as maple syrup, whipped cream, chopped nuts and/or a dusting of cinnamon.
*You can also use peanut butter powder instead of protein powder. OR, if you don’t want either, just replace with the same amount of waffle mix.


