
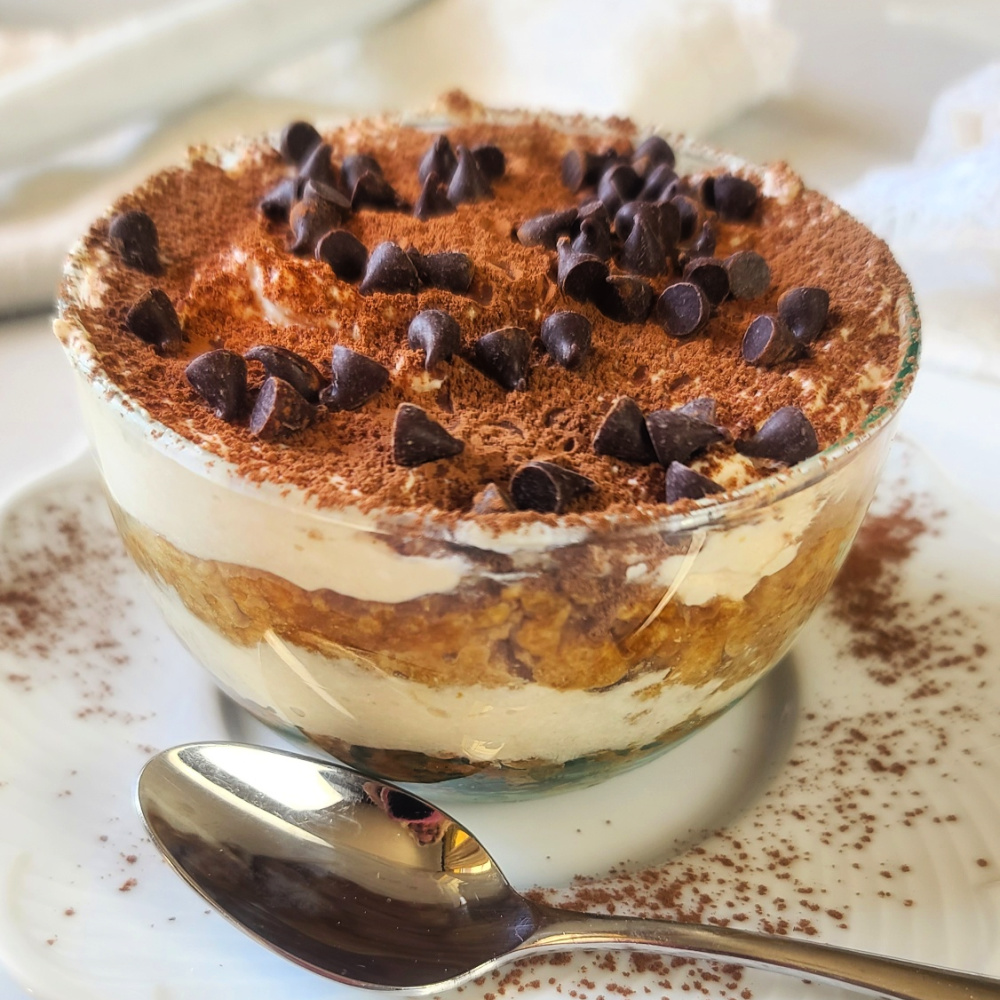
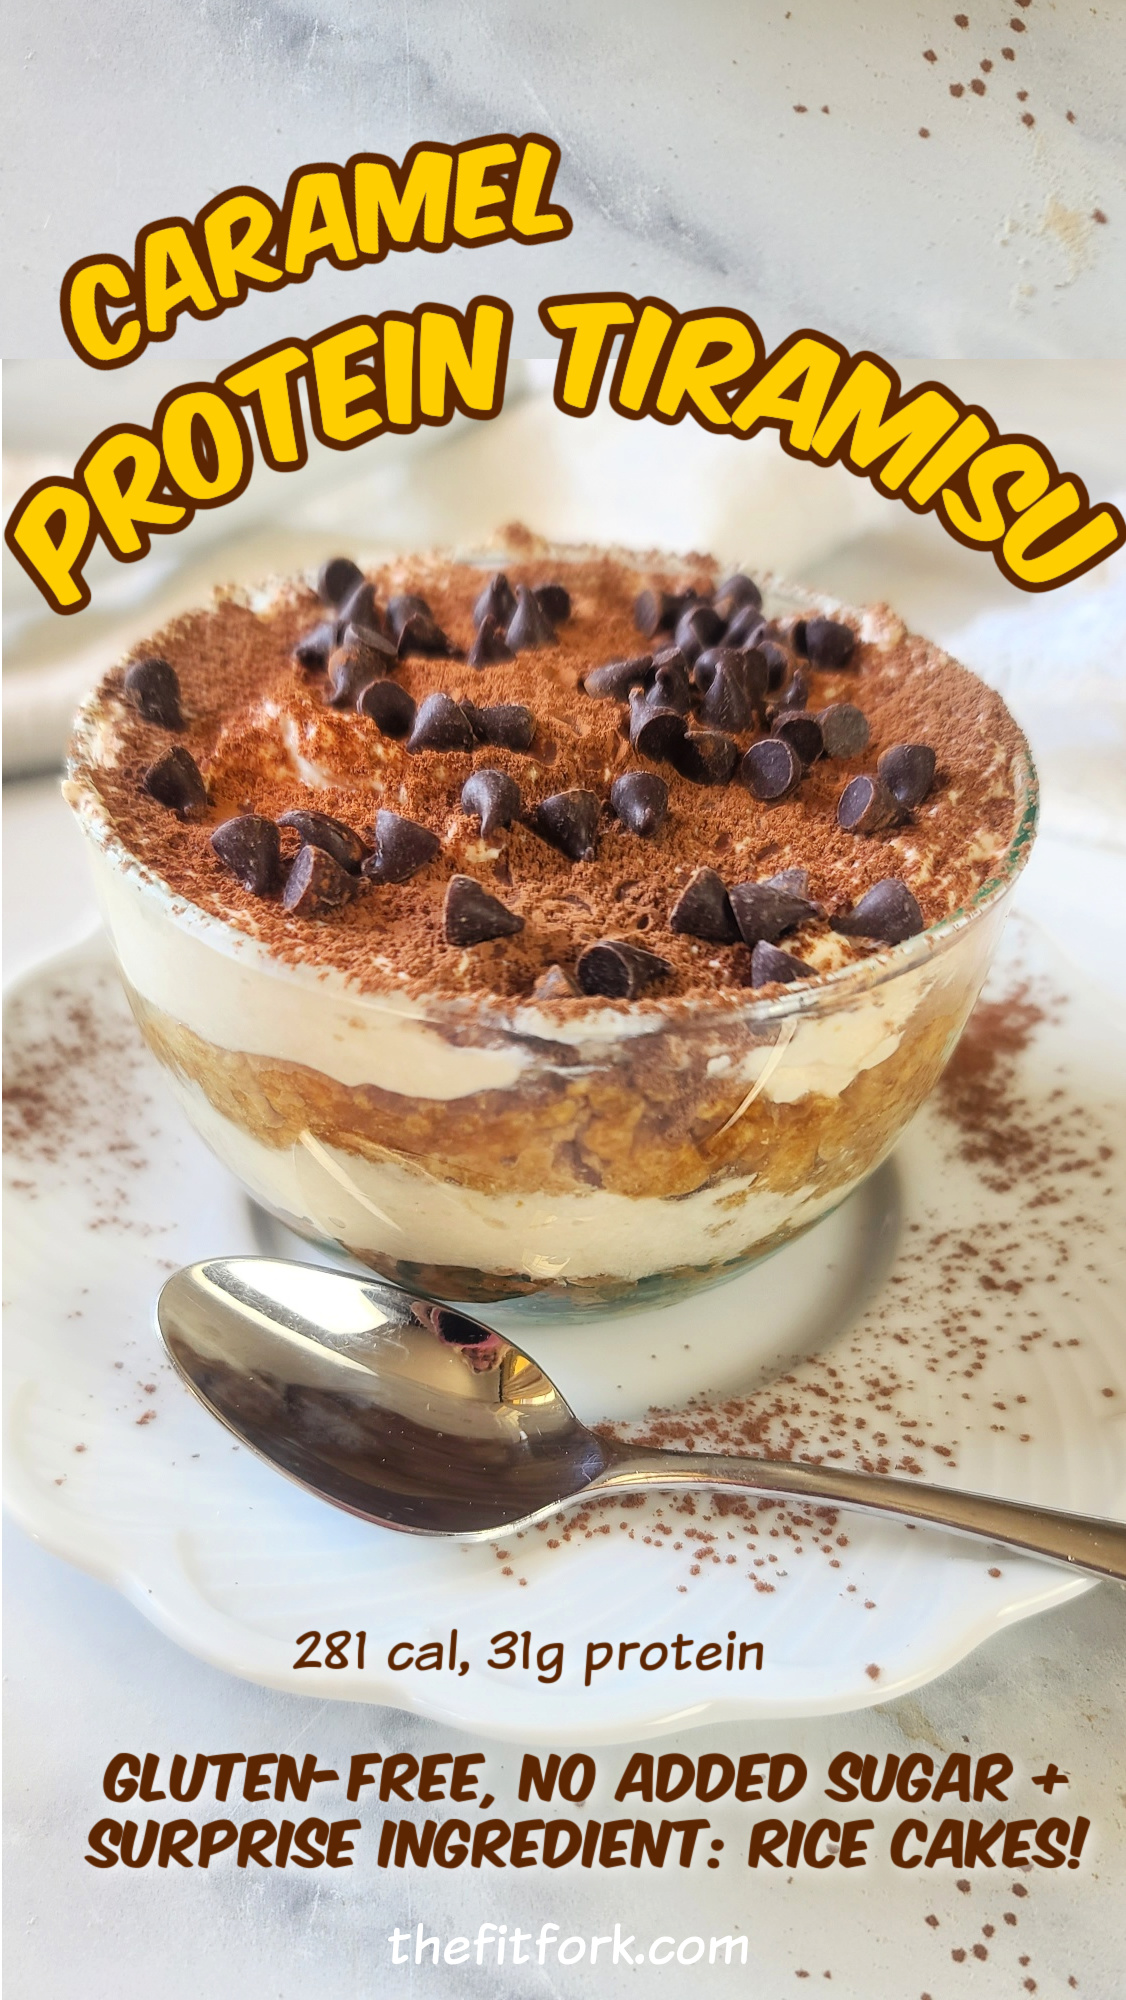
The 2024 Paris Summer Olympics were memorable for many reasons—stunning performances, world records, and of course, the food that fueled the athletes. Among the buzz in the Olympic Village was a particular treat that athletes couldn’t get enough of: the chocolate muffins. These fudgy, ooey-gooey delights quickly became a hot commodity, with athletes scooping them up for breakfast, snacks, and even post-workout recovery.

But these weren’t just any muffins; they were more like decadent, personal-sized cakes, rich in flavor but also rich in less desirable nutrients. The original recipe, while delicious, wasn’t exactly the healthiest option with its higher fat and sugar content. That’s why I took on the challenge to give these muffins a makeover—because champions deserve a treat that’s not only indulgent but also supports their health goals.
This revamped version of the viral chocolate muffins is gluten-free, has less fat, less sugar, and a significant boost of protein, making them an ideal snack for anyone leading an active lifestyle. These muffins are literally food for champions, whether you’re competing at an elite level or just trying to stay fit and healthy.
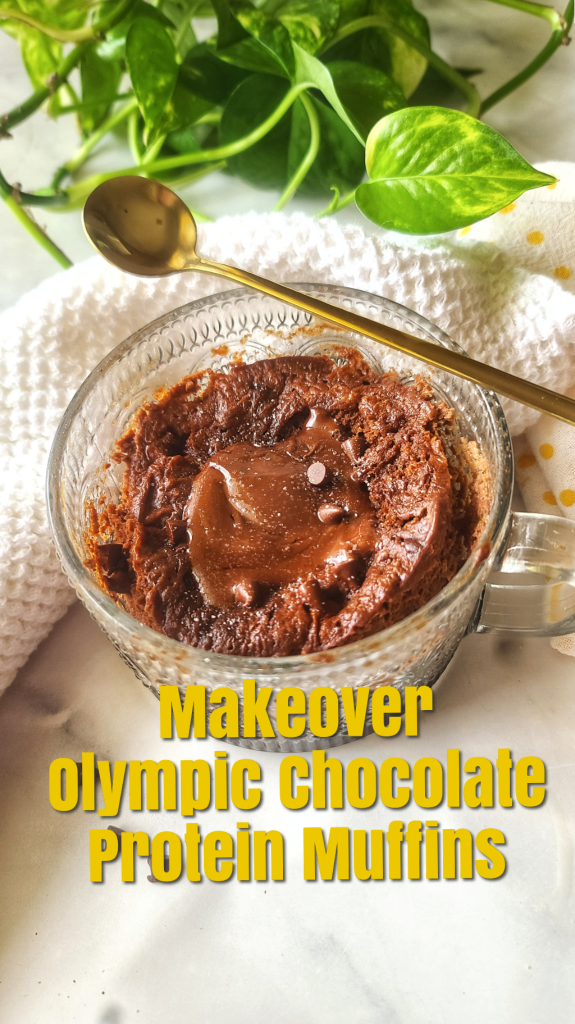
With my single-serve version of the viral Olympic muffin is made quickly in a mug, you won’t have to sacrifice flavor for nutrition. This chocolate mug protein muffin retains the glorious, rich goodness that made them a hit among the world’s top athletes, but with a cleaner ingredient list that aligns with your fitness goals. Enjoy this gluten-free chocolate mug muffin as a guilt-free as part of your balanced diet, knowing you’re fueling your body like a true champion.
VIRAL OLYMPIC CHOCOLATE MUFFIN MAKEOVER DETAILS & TIPS:
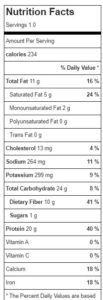
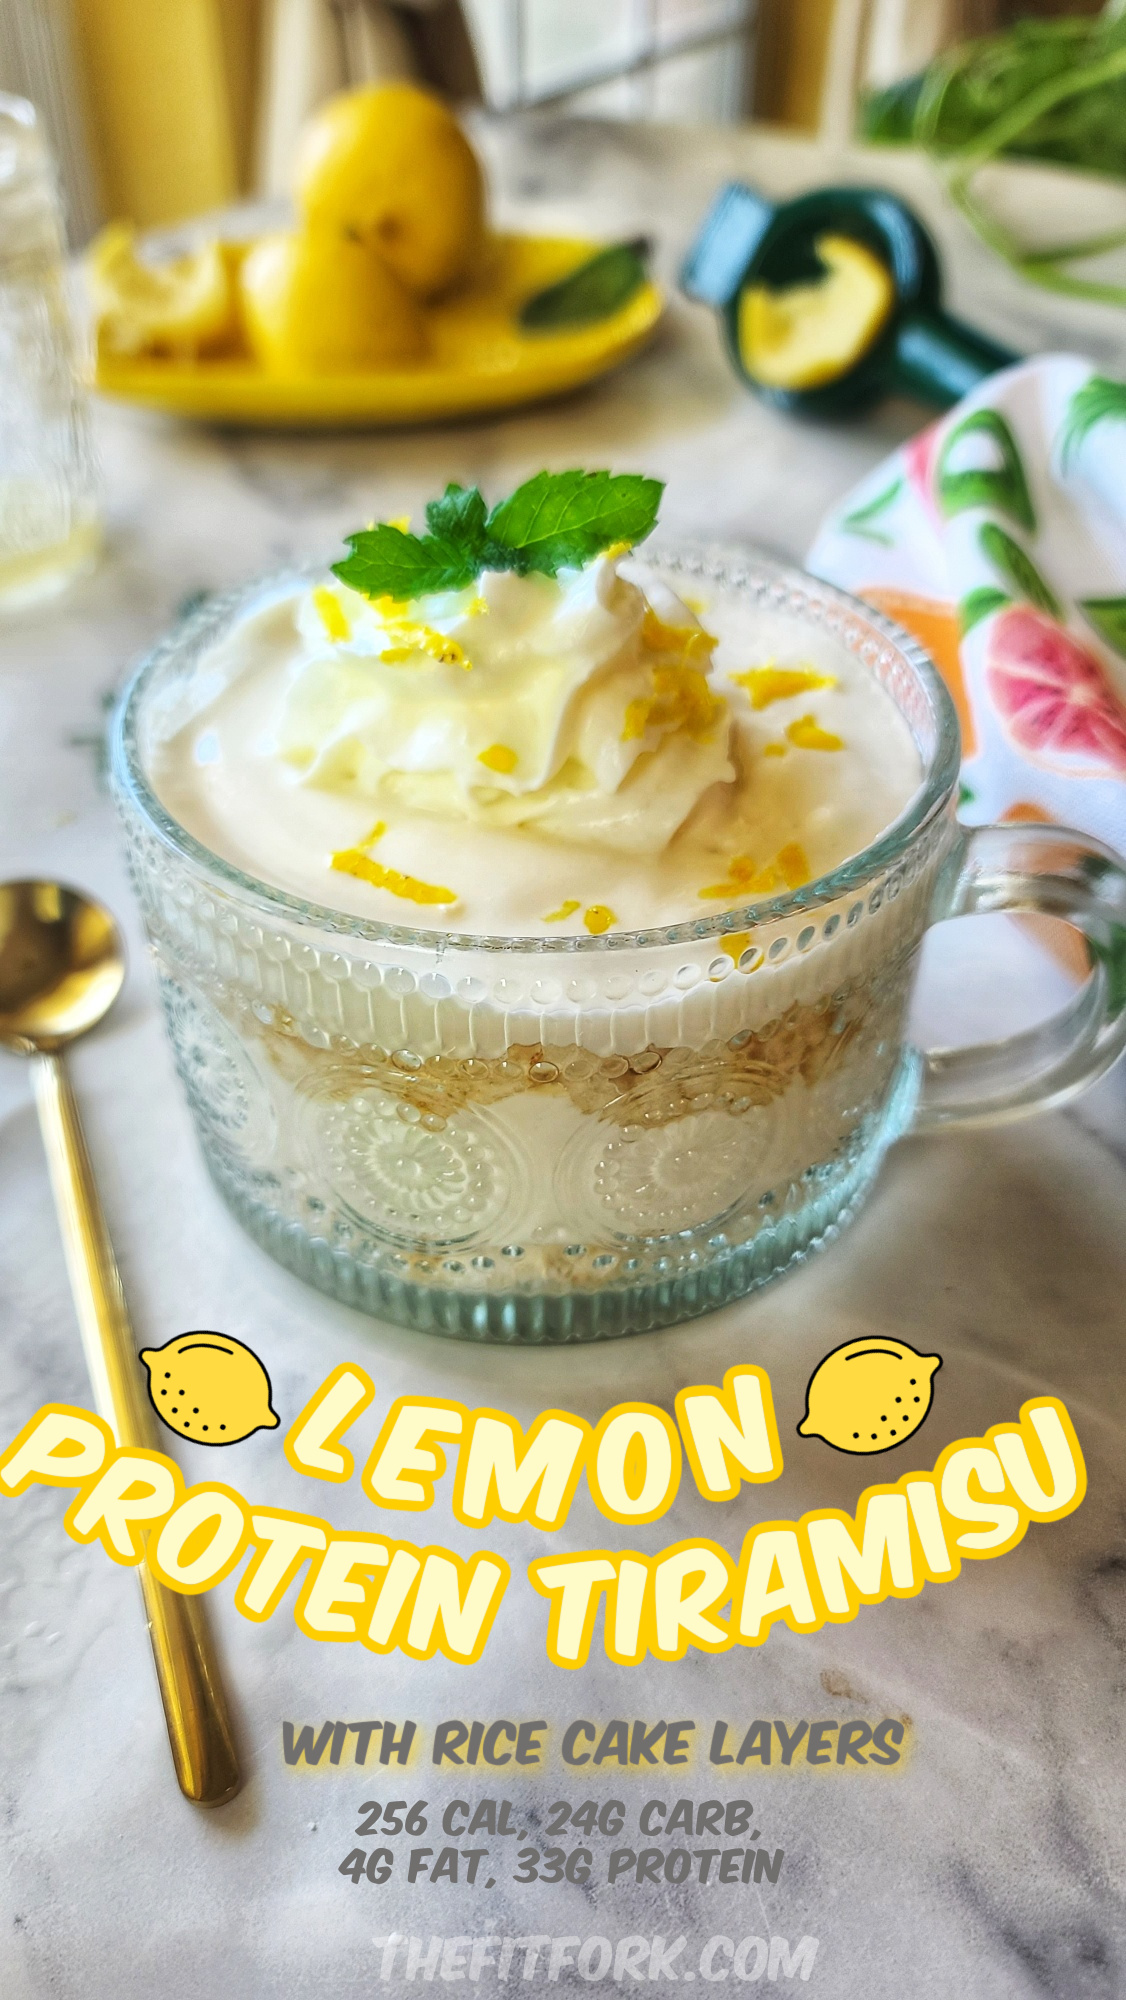
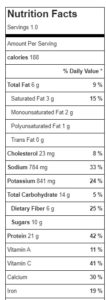
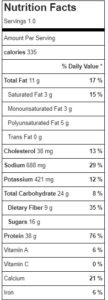
Macros: 234 cal, 14g net car (24g total carb), 10g fat, 20g protein – please not that nutrition details will change based on specific brands of ingredients used or substitutions made.
Mug: Please use a microwave-safe, 16-ounce mug or similar-sized bowl. Love this vintage-style, embossed glass mug that I used in the photo – it even has a bamboo lid and cute serving spoon.
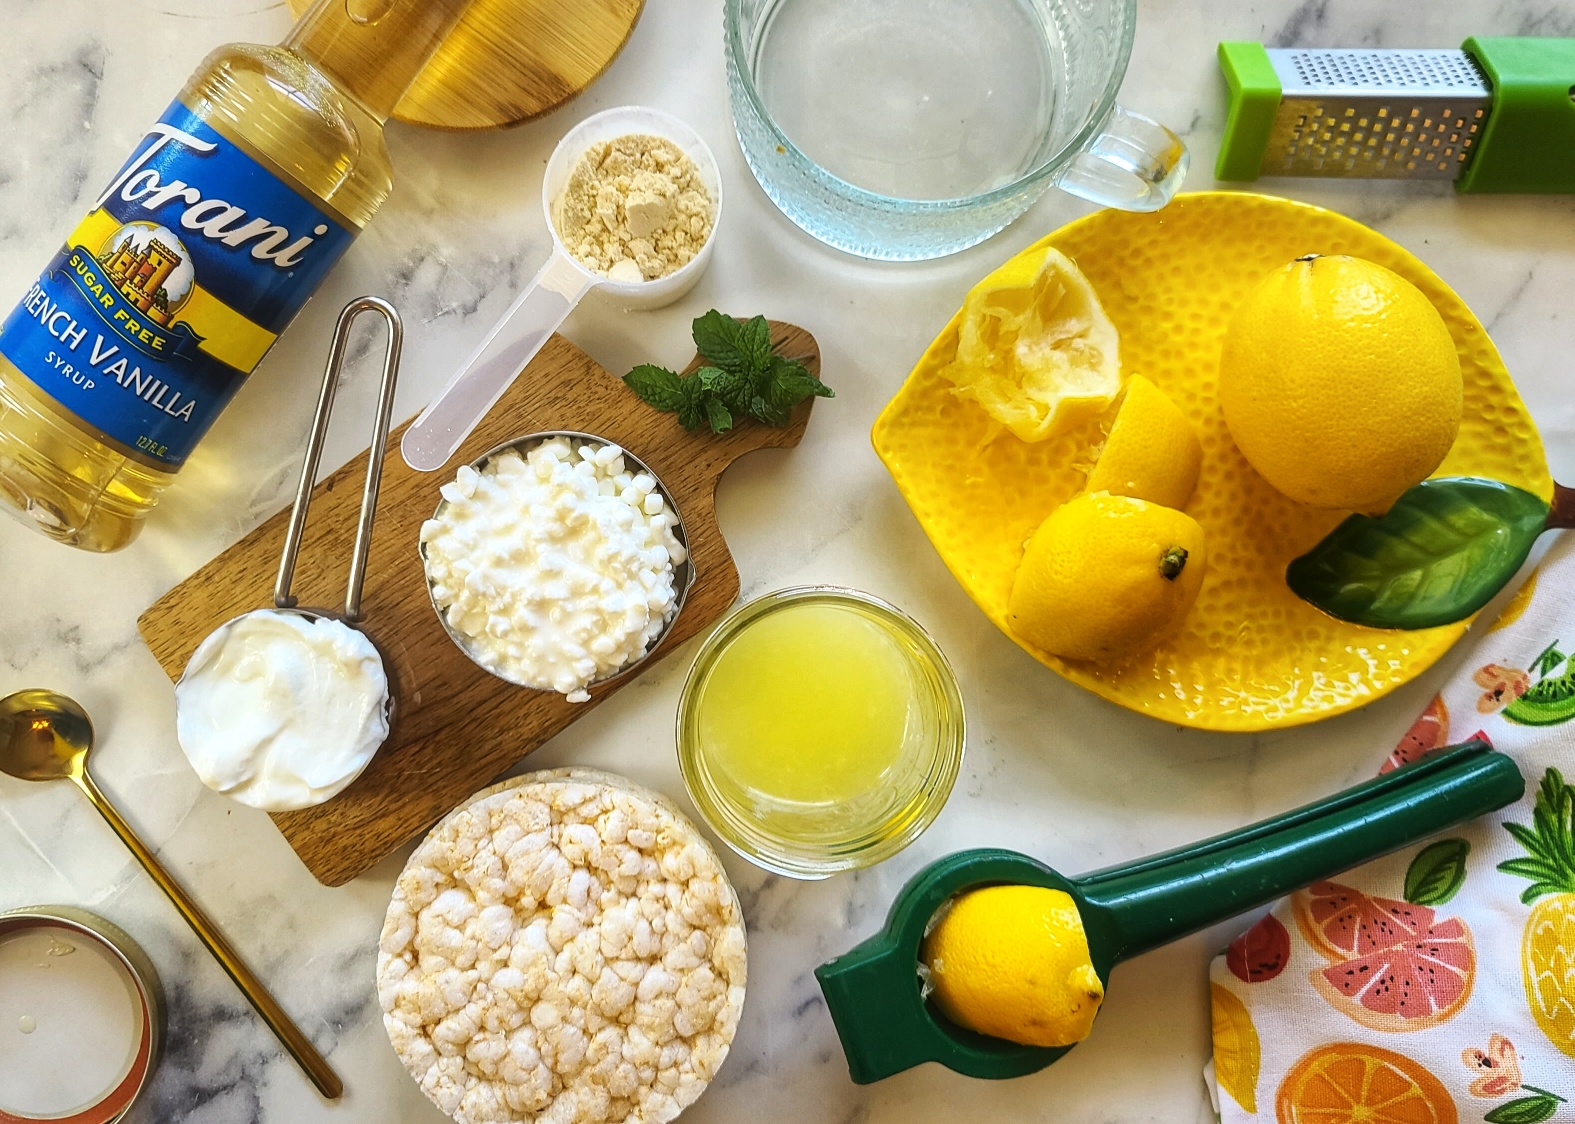
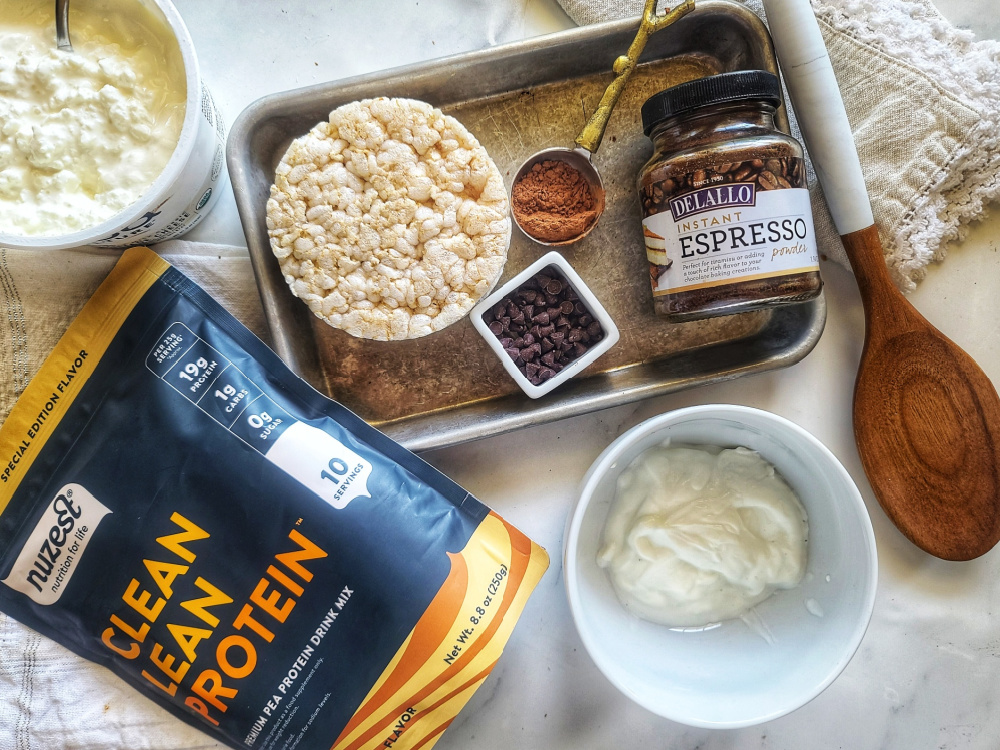
Flour: I really love Peanut Flour Blend as an alternative flour for baking – it gives recipes a light texture when making gluten-free recipes. It also offers 10g protein per serving and has significantly less fat than almond flour. If you want to make a substitution, I’d suggest oat flour in a 1:1 swap.
Chocolaty Center: Look for a no-added-sugar chocolate hazelnut spread, there are several brands out there I love, like ChocZero and the Choco Hazel from Good Good . Depending on your tastes, you can use a dark, milk or white chocolate center. And, if you’d rather add some fruity goodness, substitute no-added-sugar fruit preserves.
Note: This post contains affiliate links. I earn a small commission on purchase, proceeds help offset operating costs for The Fit Fork. Thank you!
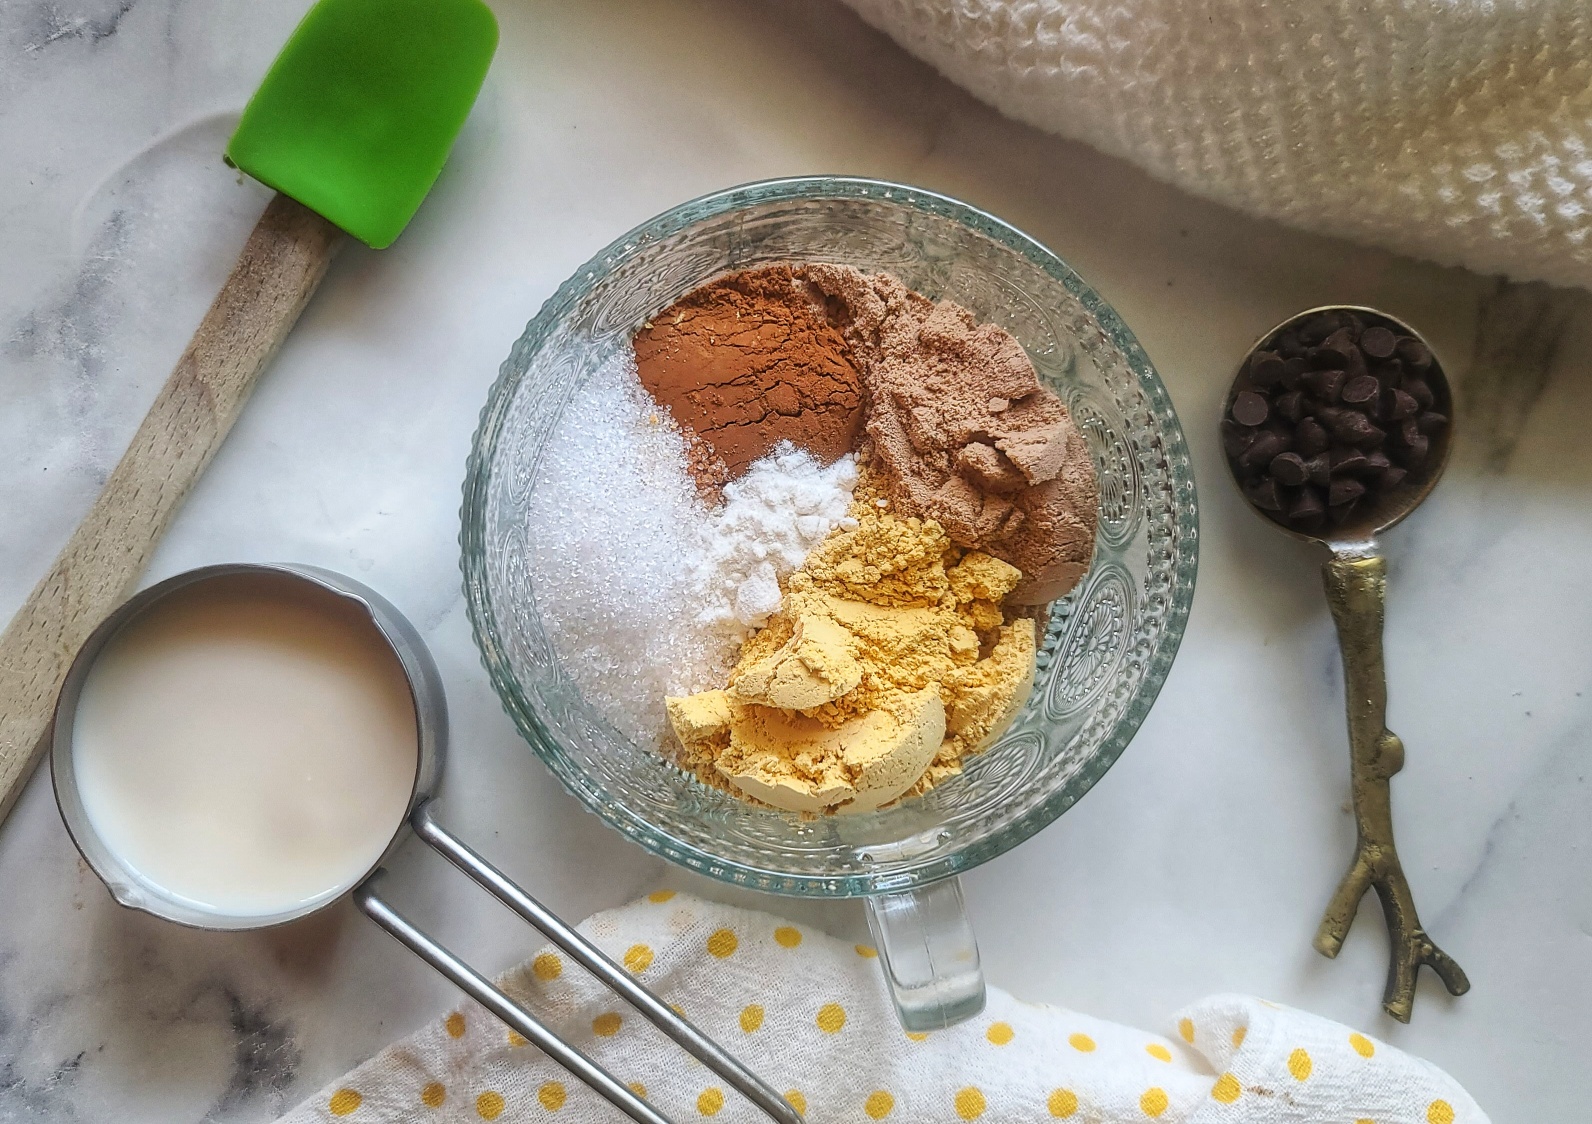
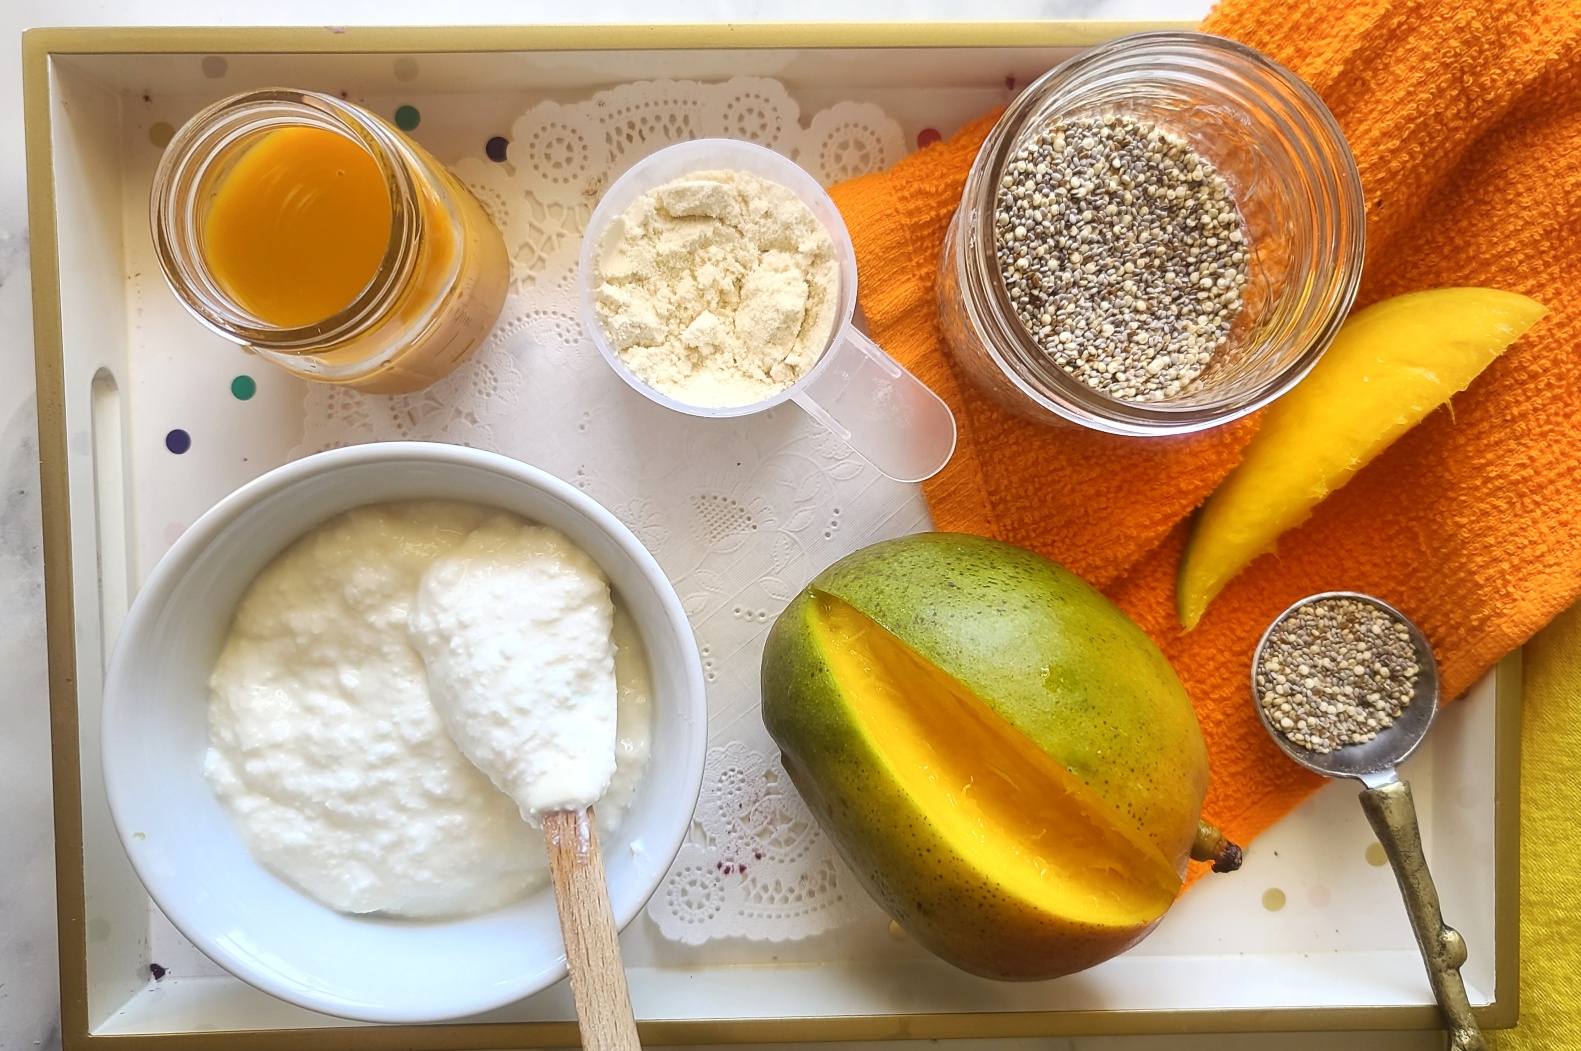
- 3 tbsp peanut baking blend flour or can sub oat flour*
- 2 tbsp chocolate whey protein powder
- 1 tbsp unsweetened cocoa powder
- 1 tbsp sugar-free sweeter with 1:1 measure ratio or can swap another granualted sweetener or sugar*
- ¼ tsp baking powder
- 1/4 cup unsweetened almond milk
- 2 Tbsp zero-fat Greek yogurt
- 3 tbsp sugar free mini chocolate chips
- 2 tsp sugar-free chocolate hazel nut spread
- optional: sea salt flakes
-
In 16-oz microwave-safe mug, stir together peanut flour blend, whey protein, cocoa powder, stevia, and baking soda.
-
Next, stir in almond milk and Greek yogurt, mixing just until a thick batter is formed. Stir in chocolate chips.
-
Microwave on HIGH for 90 seconds (or until center mostly set). Microwave in 10-second increments if it doesn’t look set yet.
-
Remove from microwave and mug muffin will sink down a bit, creating a small well in the center.
-
Add the chocolate hazelnut spread to center indention. Sprinkle with a tiny bit of salt on top.
*ingredient swaps will change macros


