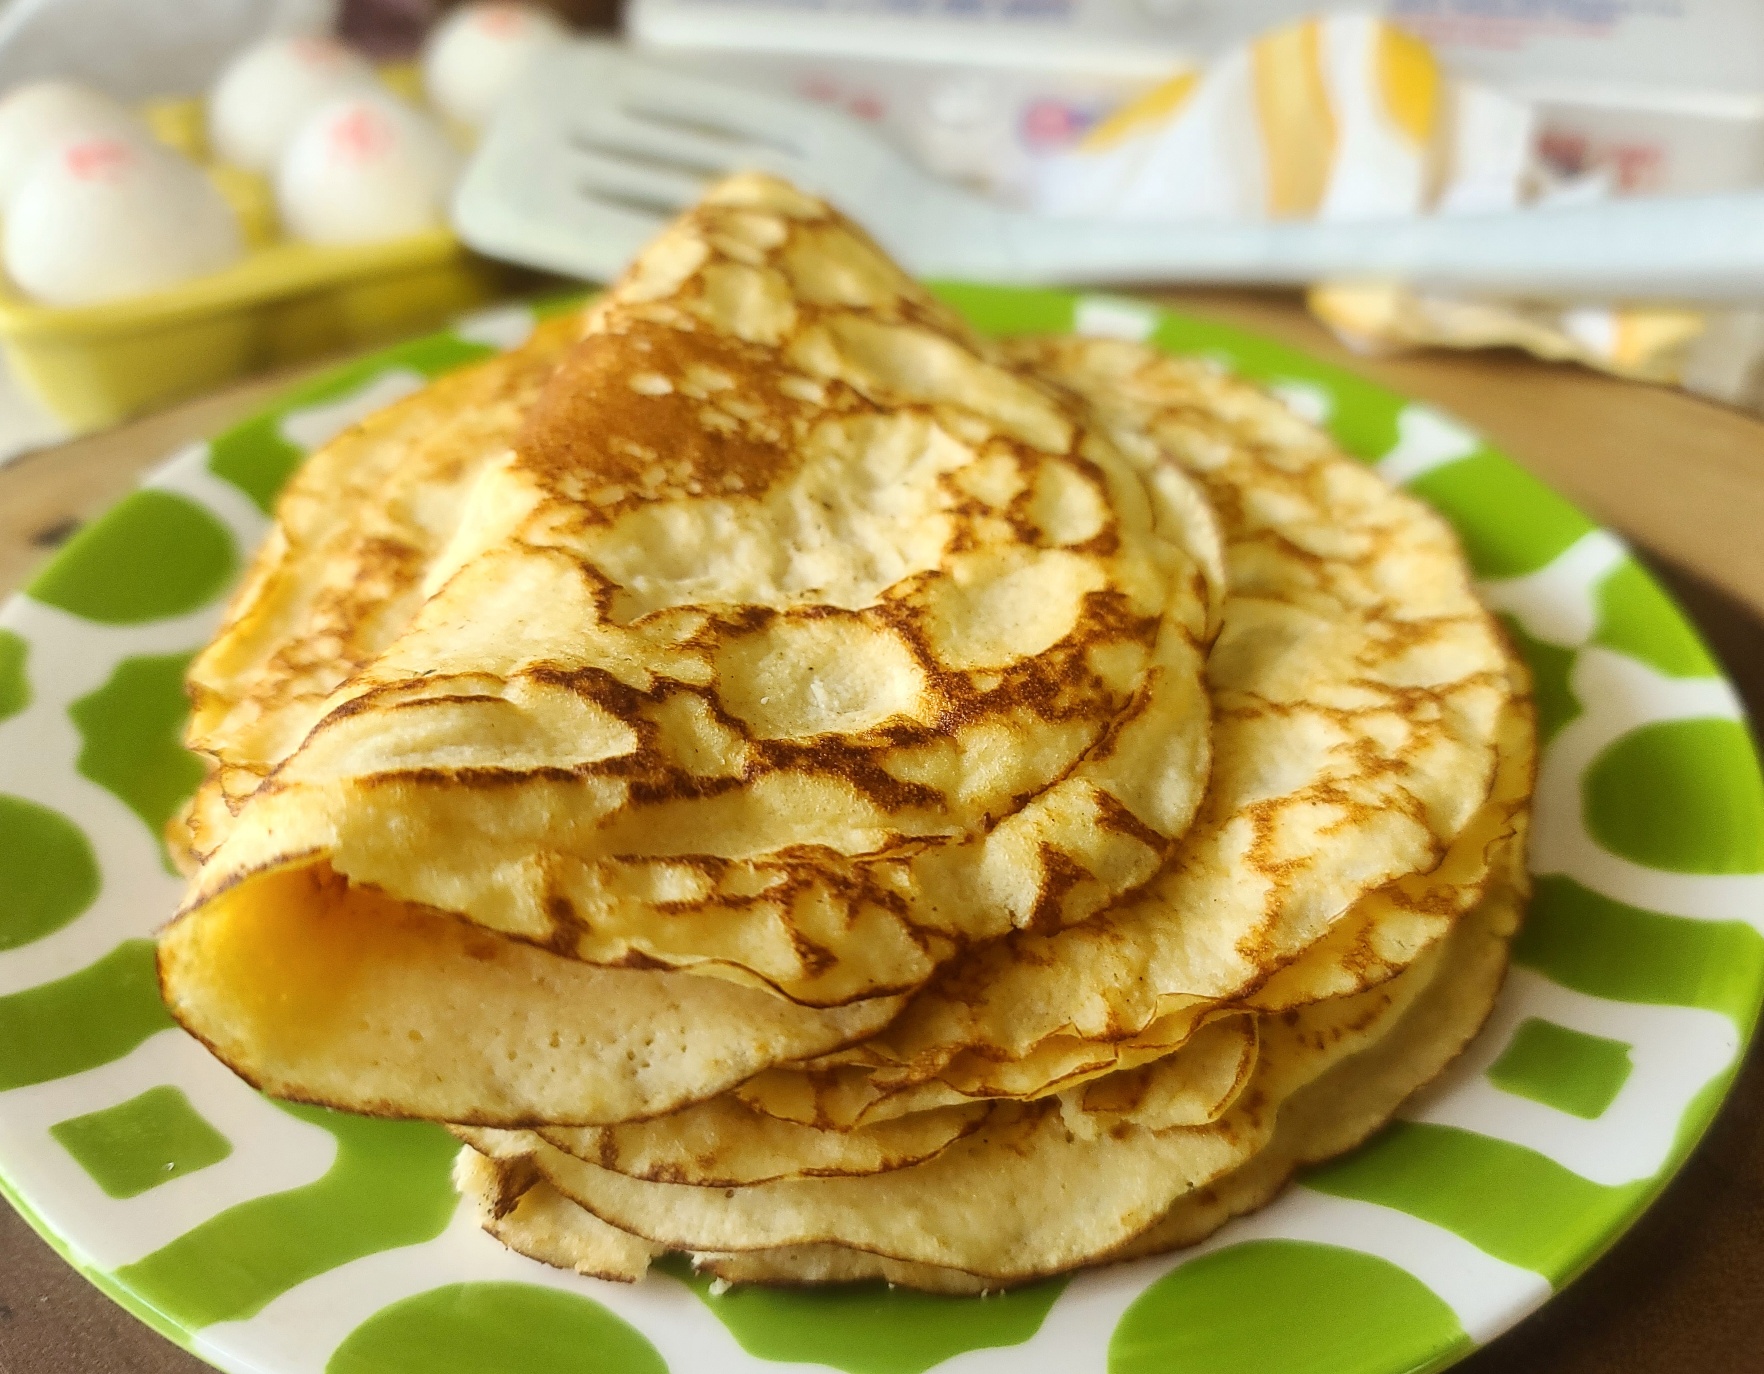
Crepes, I love them! And, when I eat them, I feel so “ooohhh la la, French fancy”! However, truth be told, sometimes I’m looking for a breakfast, brunch or light lunch options that’s a little less carb-y.
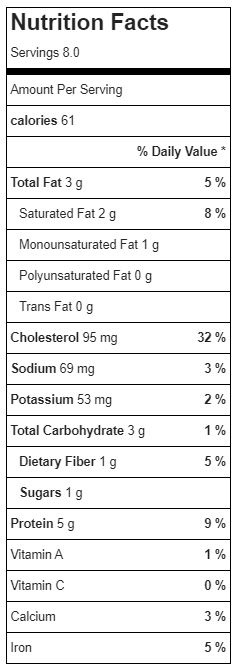
So, I tweaked my mom’s homemade crepe recipe to be just that — plus, they offer a nice pop of protein at 5g for only 61 calories per crepe! The carb count is 3g, with one of those being from dietary fiber.
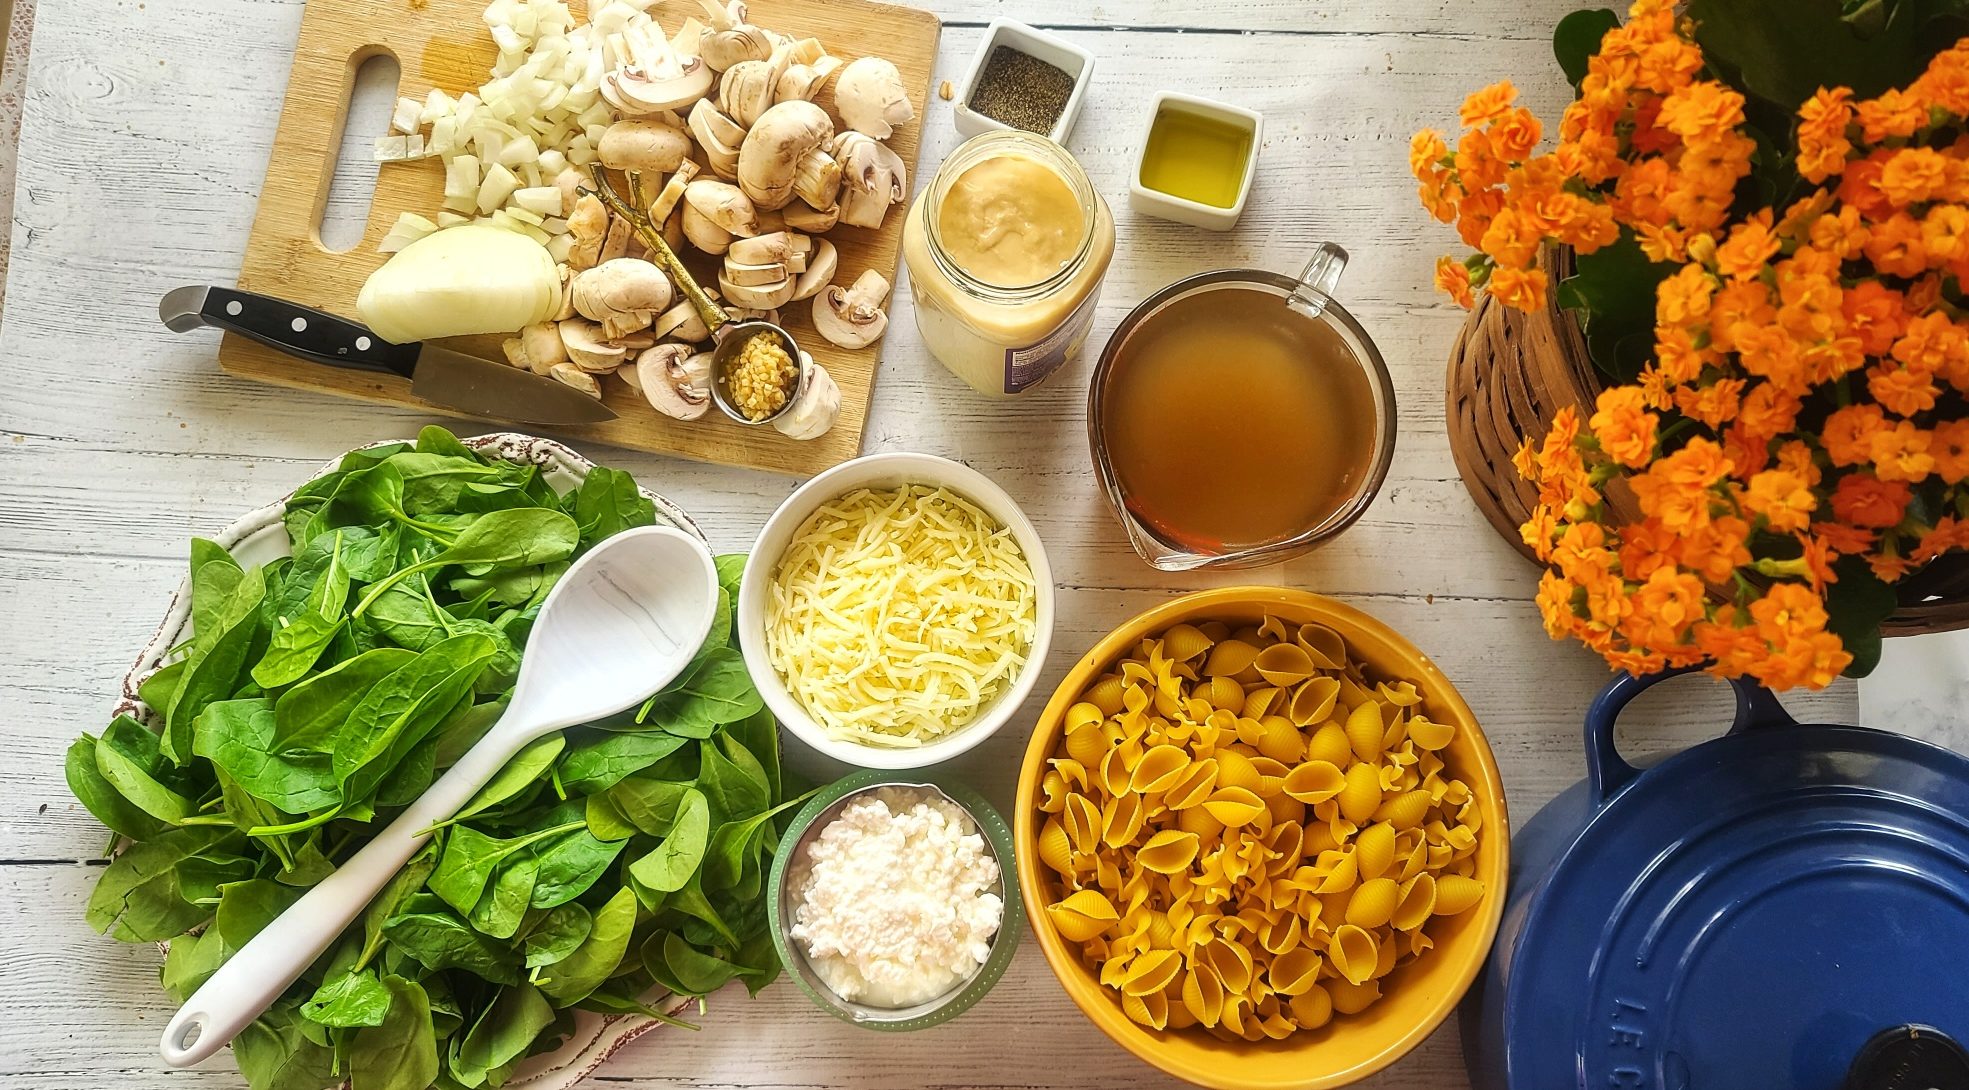
Drumroll, there are only FOUR ingredients in this low carb crepe recipe — eggs, cottage cheese, milk and coconut flour. THAT is a win, especially because it’s stuff I always have on hand (I love cooking with cottage cheese to add a bit extra protein to recipes).
A 4-ingredient recipe!
You’ll need an 8-inch crepe pan or regular 8″ skillet and the oil, butter, or cooking spray of your choice to help release the crepes for flipping. Honestly, this is the hardest part of making crepes– but once you get the hang of it, it’s easy-peasy. But, almost ALWAYS, my first crepe is a flop for photo-taking (but it still tastes good)!
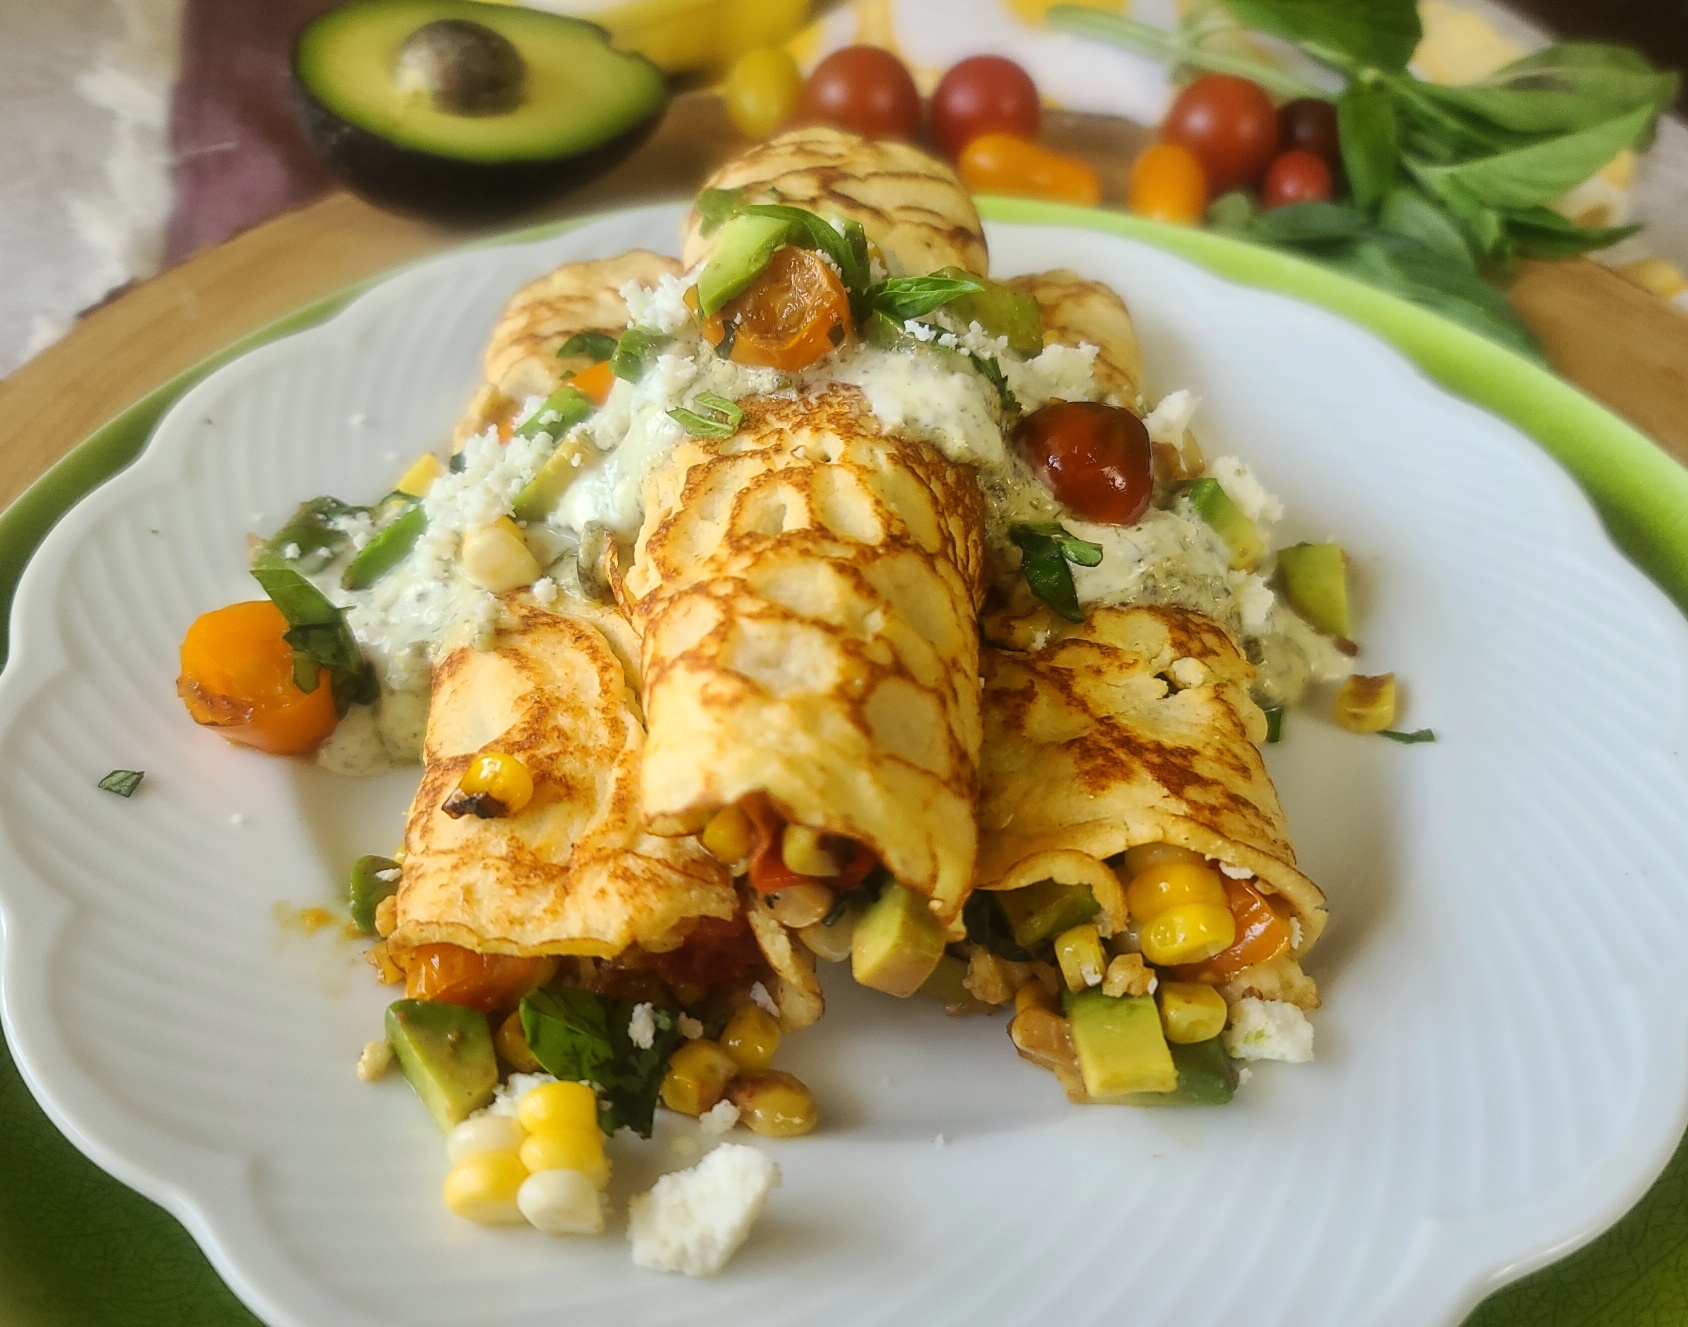
When it comes to filling or topping the crepes, there are no hold barred! Sweet, savory, spicy — you go for it! I recently made this batch with a summer veggie medley of tomato, avocado and corn that I tossed around with a little olive oil in the same pan — no need to get another dish dirty.
If you have leftover crepes, they should be just fine stored in an air-tight container or zip bag for about 4 days — or, you can freeze them! To reheat, just pop in the microwave for 15 seconds.
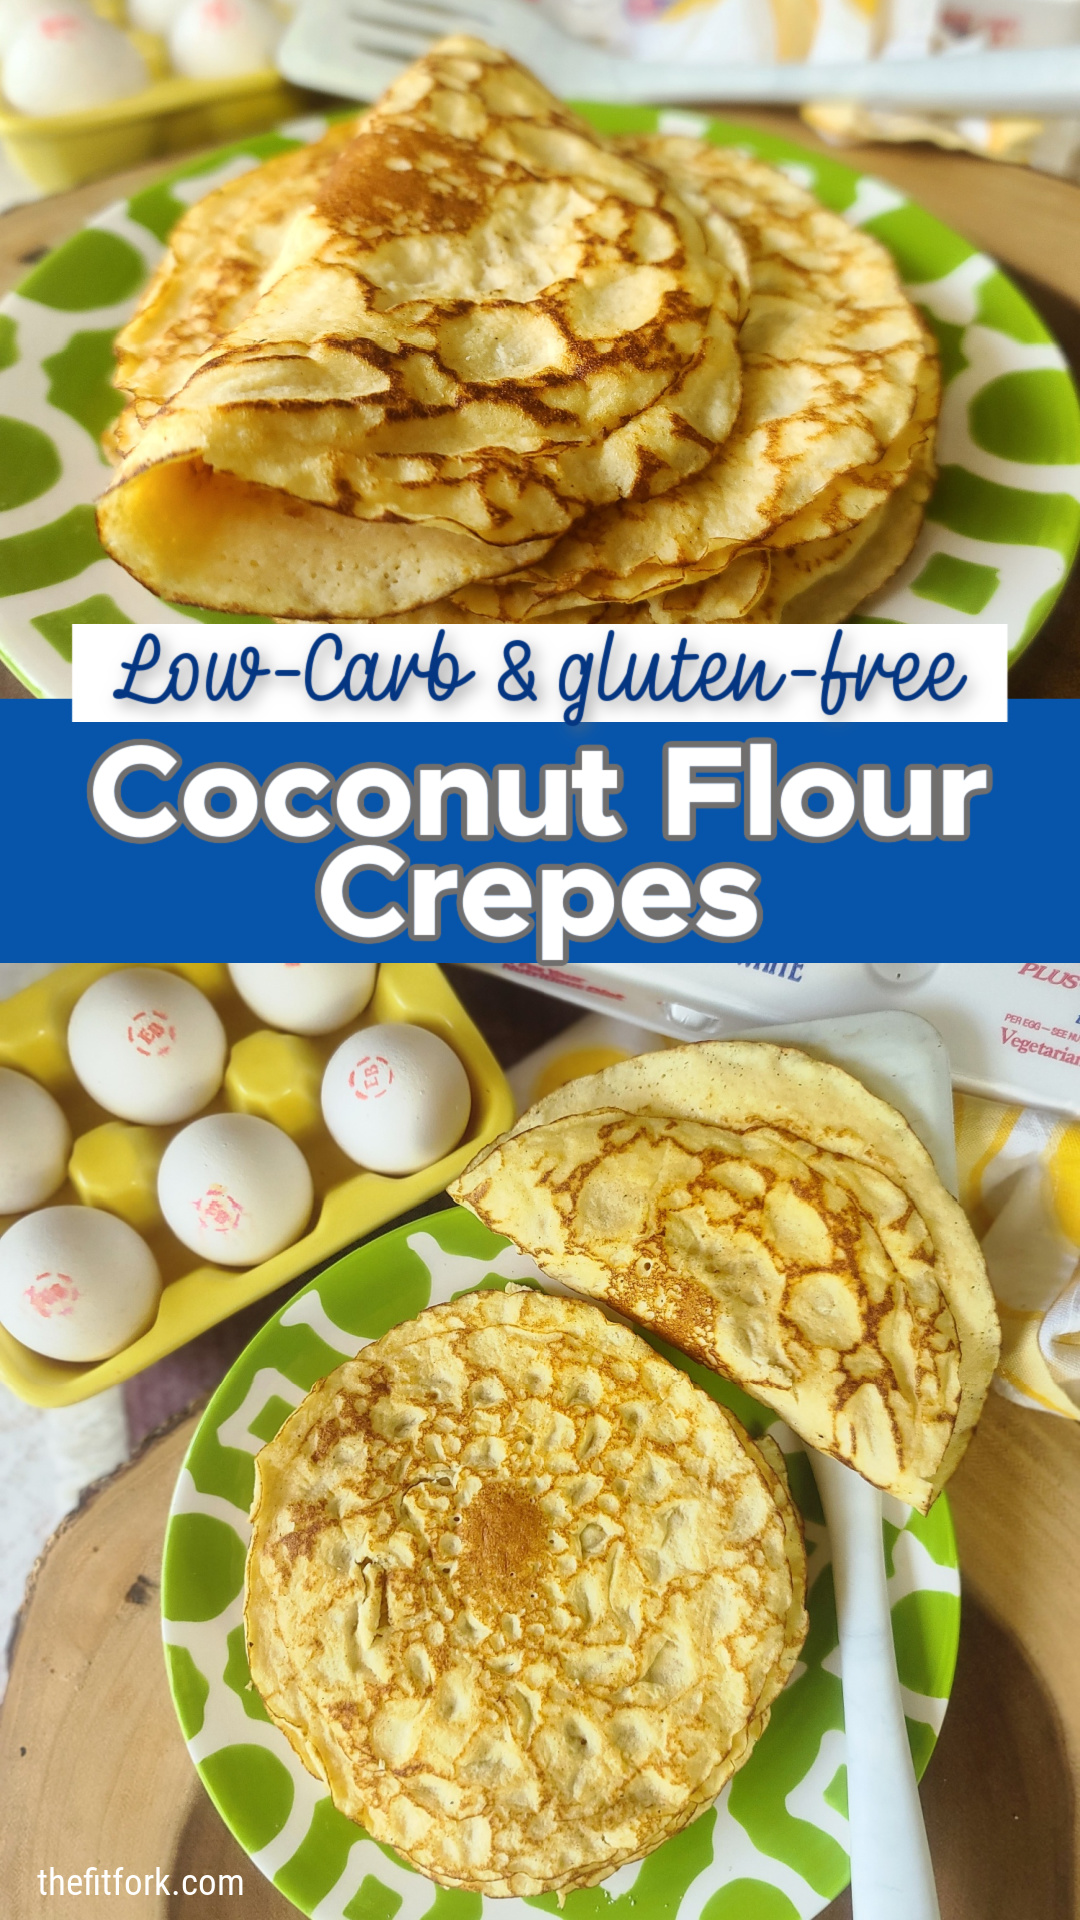
These lower carb crepes are gluten free and feature nearly 5g protein per crepe. Fill them with your favorite sweet or savory ingredients.
Course:
bread, Breakfast, brunch, lunch
Cuisine:
French
Keyword:
coconut flour, gluten free, low carb
Servings: 8crepes
Calories: 60kcal
Ingredients
¼cupcottage cheese
4large eggs
¼cupcoconut floursifted
¼cupmilk of choice
Oilbutter or cooking spray for the pan
Instructions
Oil, butter or cooking spray for the pan
In a small blender, combine cottage cheese, eggs, coconut flour and milk. Puree until and let rest for 5 minutes to allow flour to hydrate.
Bring an 8-inch skillet to medium-low heat. Lightly coat skillet with oil, butter or spray to the skillet Once hot, add approximately 3 to 4 tablespoons of batter to the pan and into a thin layer that reaches almost to the edges, but not up the side of pan.
Cook for about 1 to 2 minutes until edges are cooked and can be loosened with a spatula. Work the spatula under the crepe from all sides to loosen it from the pan. Then lift one edge gently and flip. Cook on this side for another 30 to 45 seconds, until lightly browned.
Transfer crepe to plate, repeat process with remaining crepes. Will make approximately 8.
Add the sweet or savory filling of your choice. Enjoy.
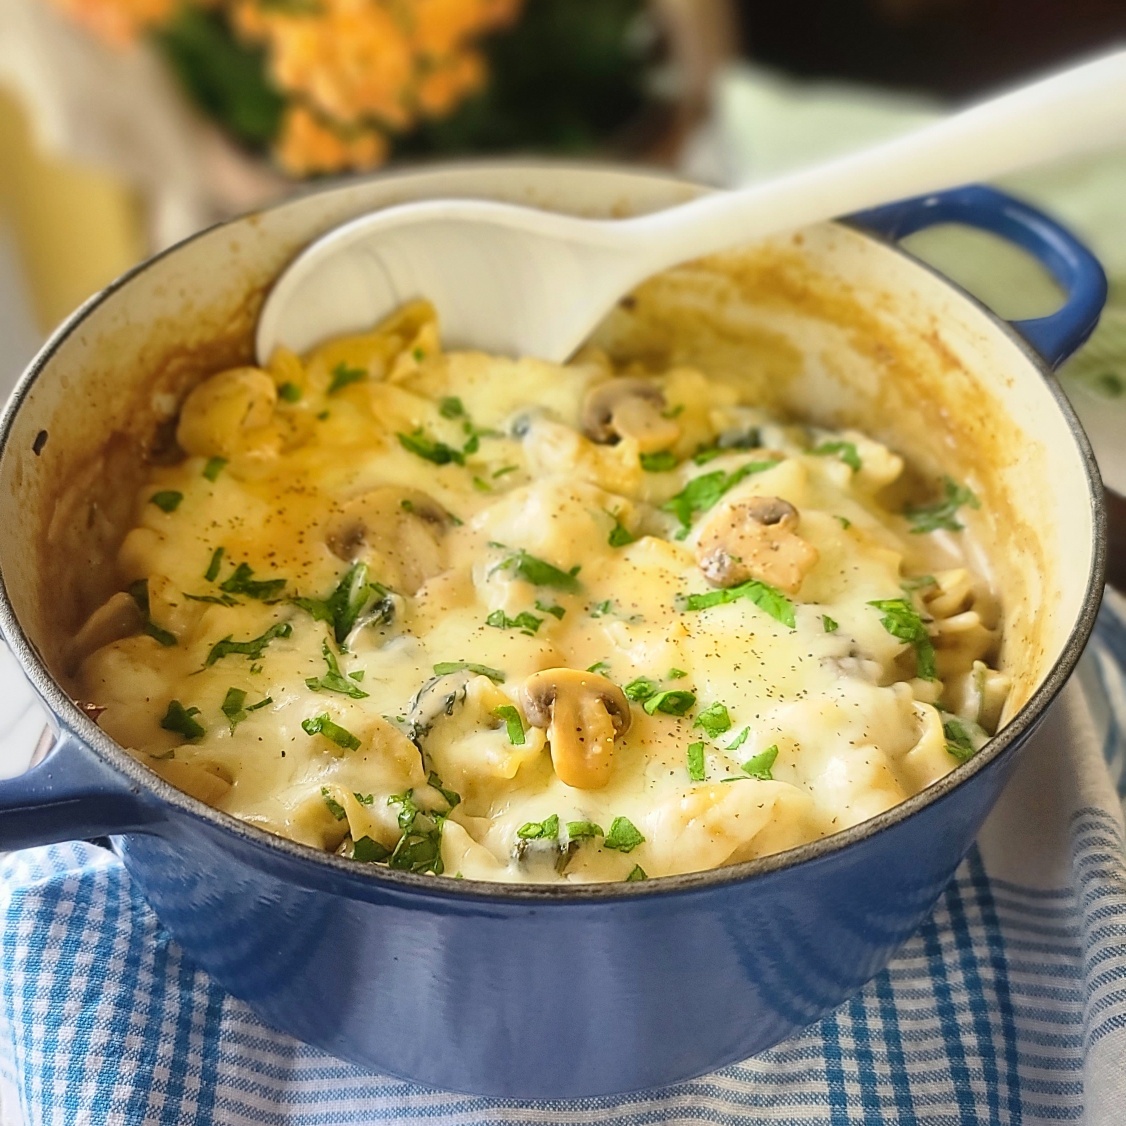
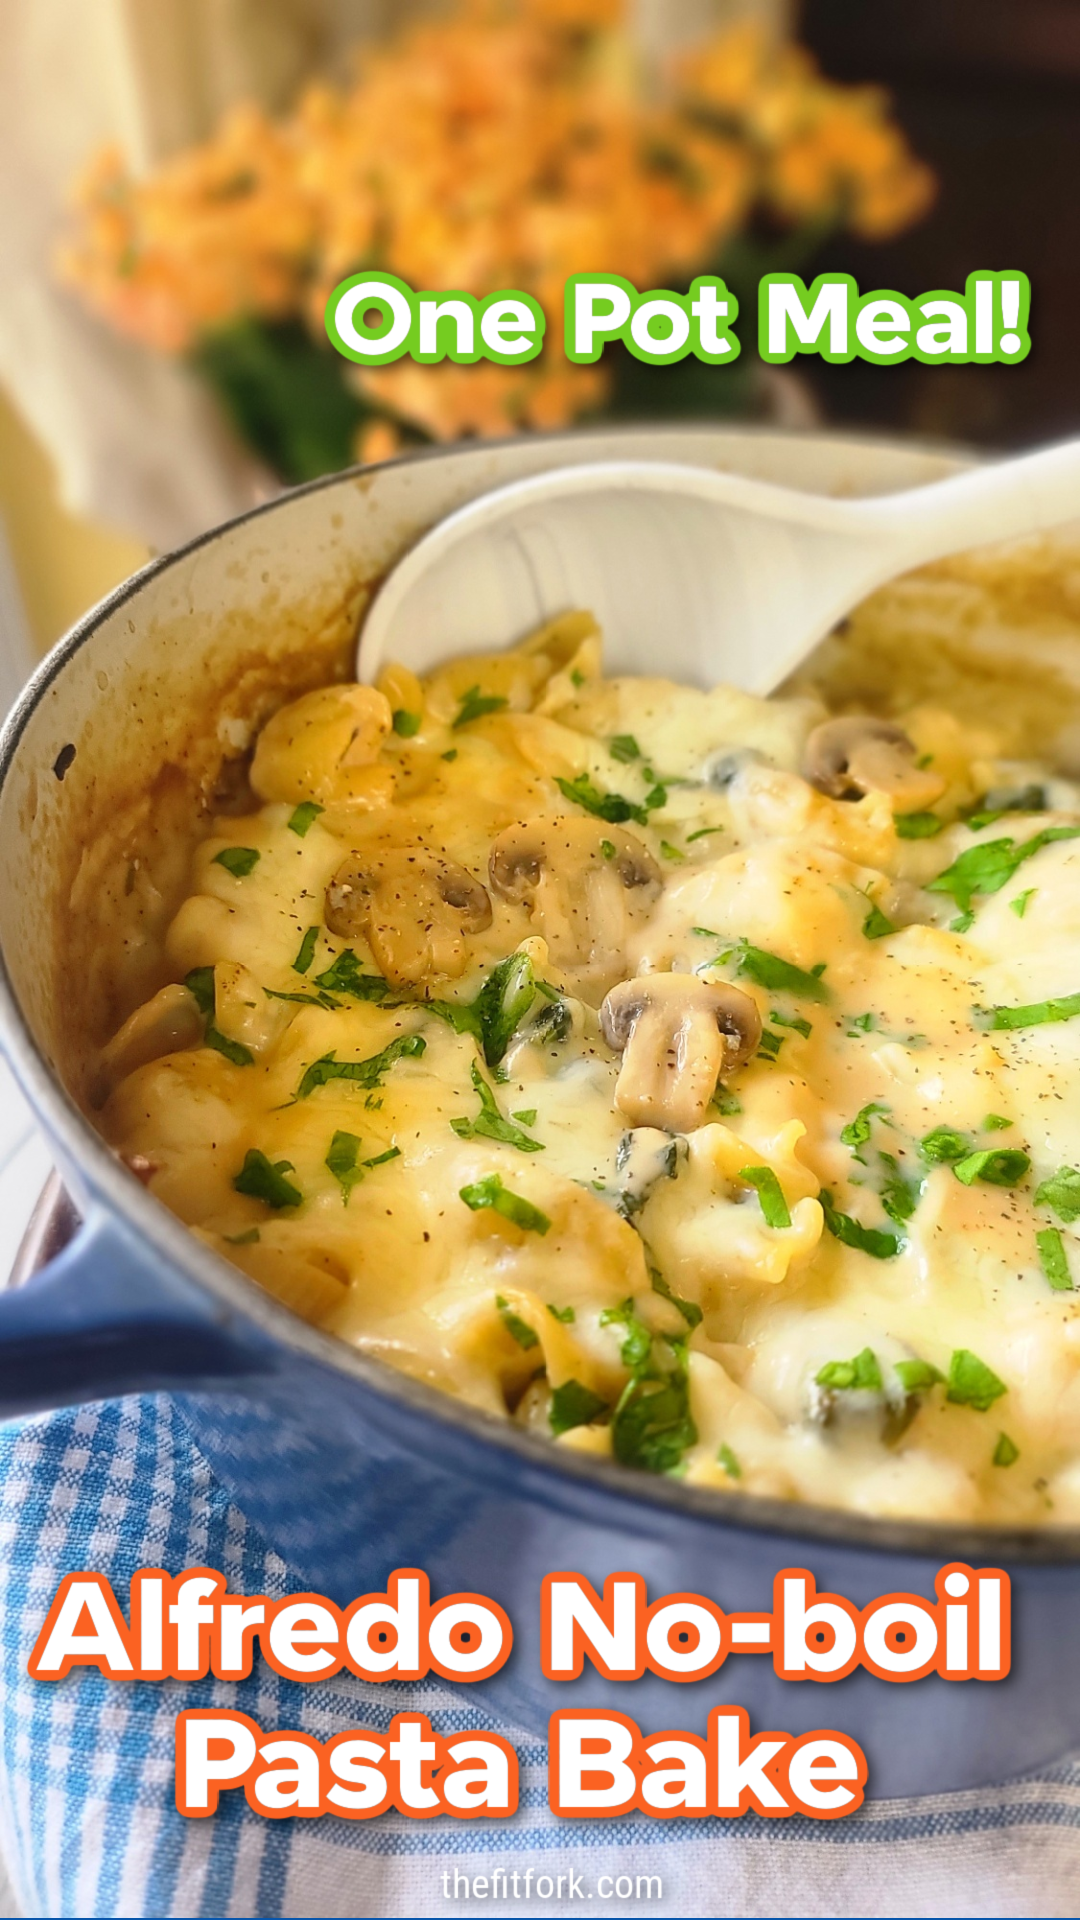
This no-boil pasta bake is a family favorite dinner – my boys just love it. This one pot pasta recipe fills them up, it’s simple to make thanks to jarred alfredo sauce, and easy to clean up with only a single pot dirtied.
The time-saving beauty is that you don’t have to pre-cook the pasta – you just dump in the dry noodles of choice in a casserole dish with all the other ingredients. The liquids in the recipe cook the pasta to a perfect al dente right in the oven!
I recommend a shorter pasta like penne, bow-tie, corkscrews, shells. Have partially used bags of pasta in the pantry that need to be used up? If the noodles are of a general similar size, you can even mix them together. This make and bake recipe is a really pantry clearer.
Here’s a flash tutorial!
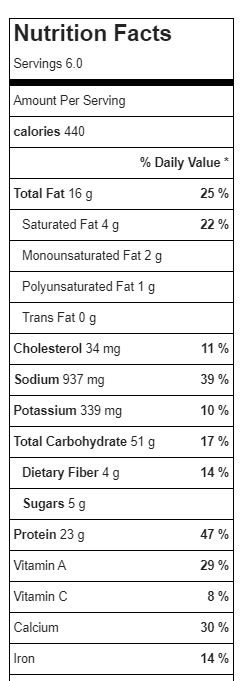
I have a family with mixed dietary preferences – several meat eaters and a vegetarian. While this is a vegetarian pasta recipe, it still has a great offering of protein – 23g per serving. The extra boost is from a cup of cottage cheese mixed in.
This kiddo isn’t much for a vegetarian dish, so we mix in shredded chicken sometimes!
If the vegetarian isn’t home from college, I’ll mix in chopped rotisserie chicken or slow cooker shredded chicken I prep in big batch and keep in the freezer. For this recipe, I would suggest about 12 ounces to 1 pound.
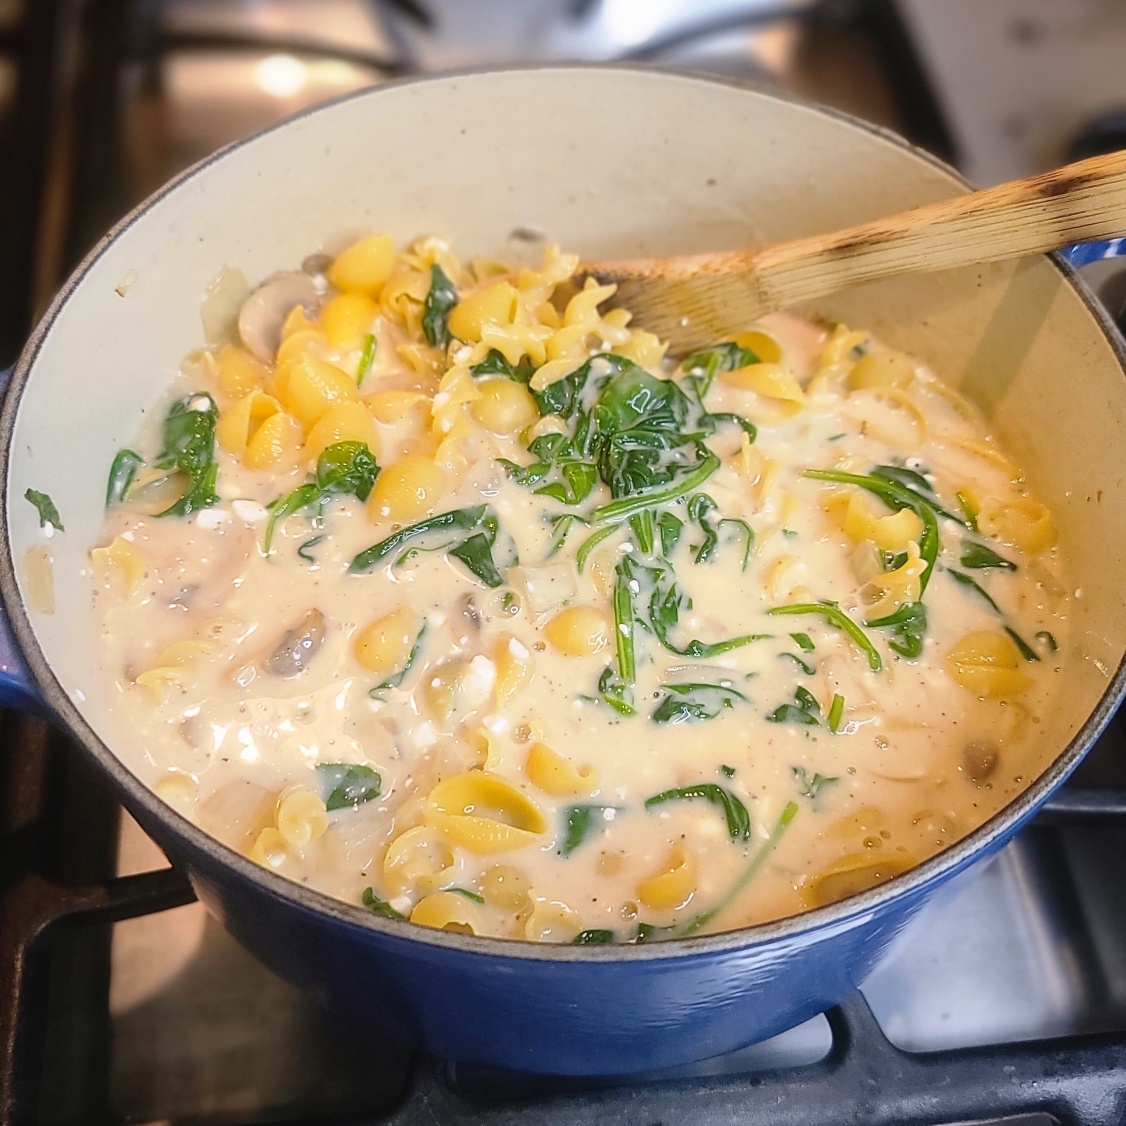
Looks watery, but the liquids are absorbed by the pasta during cooking – the result is a creamy sauce!
As for pan choice, I suggest a 3.5-quart capacity Dutch oven with lid. If you don’t have a lid, you can seal a pot tightly with aluminum foil during the baking process. The pot will look very liquid-y before baking, but don’t worry — the pasta absorbs it all!
This easy vegetarian pasta dish is made all in one pot for convenience and easy clean-up! It's a family favorite that is creamy, cheesy and comforting. If you'd like . . . stir in 1.5 cups of shredded cooked chicken breast for a heartier meal.
Course:
entree, Main Dish, Pasta
Cuisine:
Italian
Keyword:
alfredo, one pot, pasta, rice noodles, vegetarian
In a 3.5-quart Dutch oven, heat olive oil over medium high. Add mushrooms and chopped onions; sauté for 4 to 5 minutes until softened. Add garlic and pepper, cook another 1-minute stirring constantly.
Lover heat to medium-low; add spinach and about ¼ cup of the vegetable stock. Add lid to pot for 1 minute to wilt spinach; remove lid and stir in with mushroom mixture.
Add remainder broth, alfredo sauce, and cottage cheese. Stir until combined. Add dry pasta, stir around until mostly submerged.
Bake in oven for 40 minutes (or until pasta al dente), stirring once at the half way point.
Remove from oven, stir again and then sprinkle mozzarella cheese on top. Cover with lid and bake an additional 5 minutes, until cheese is melted.
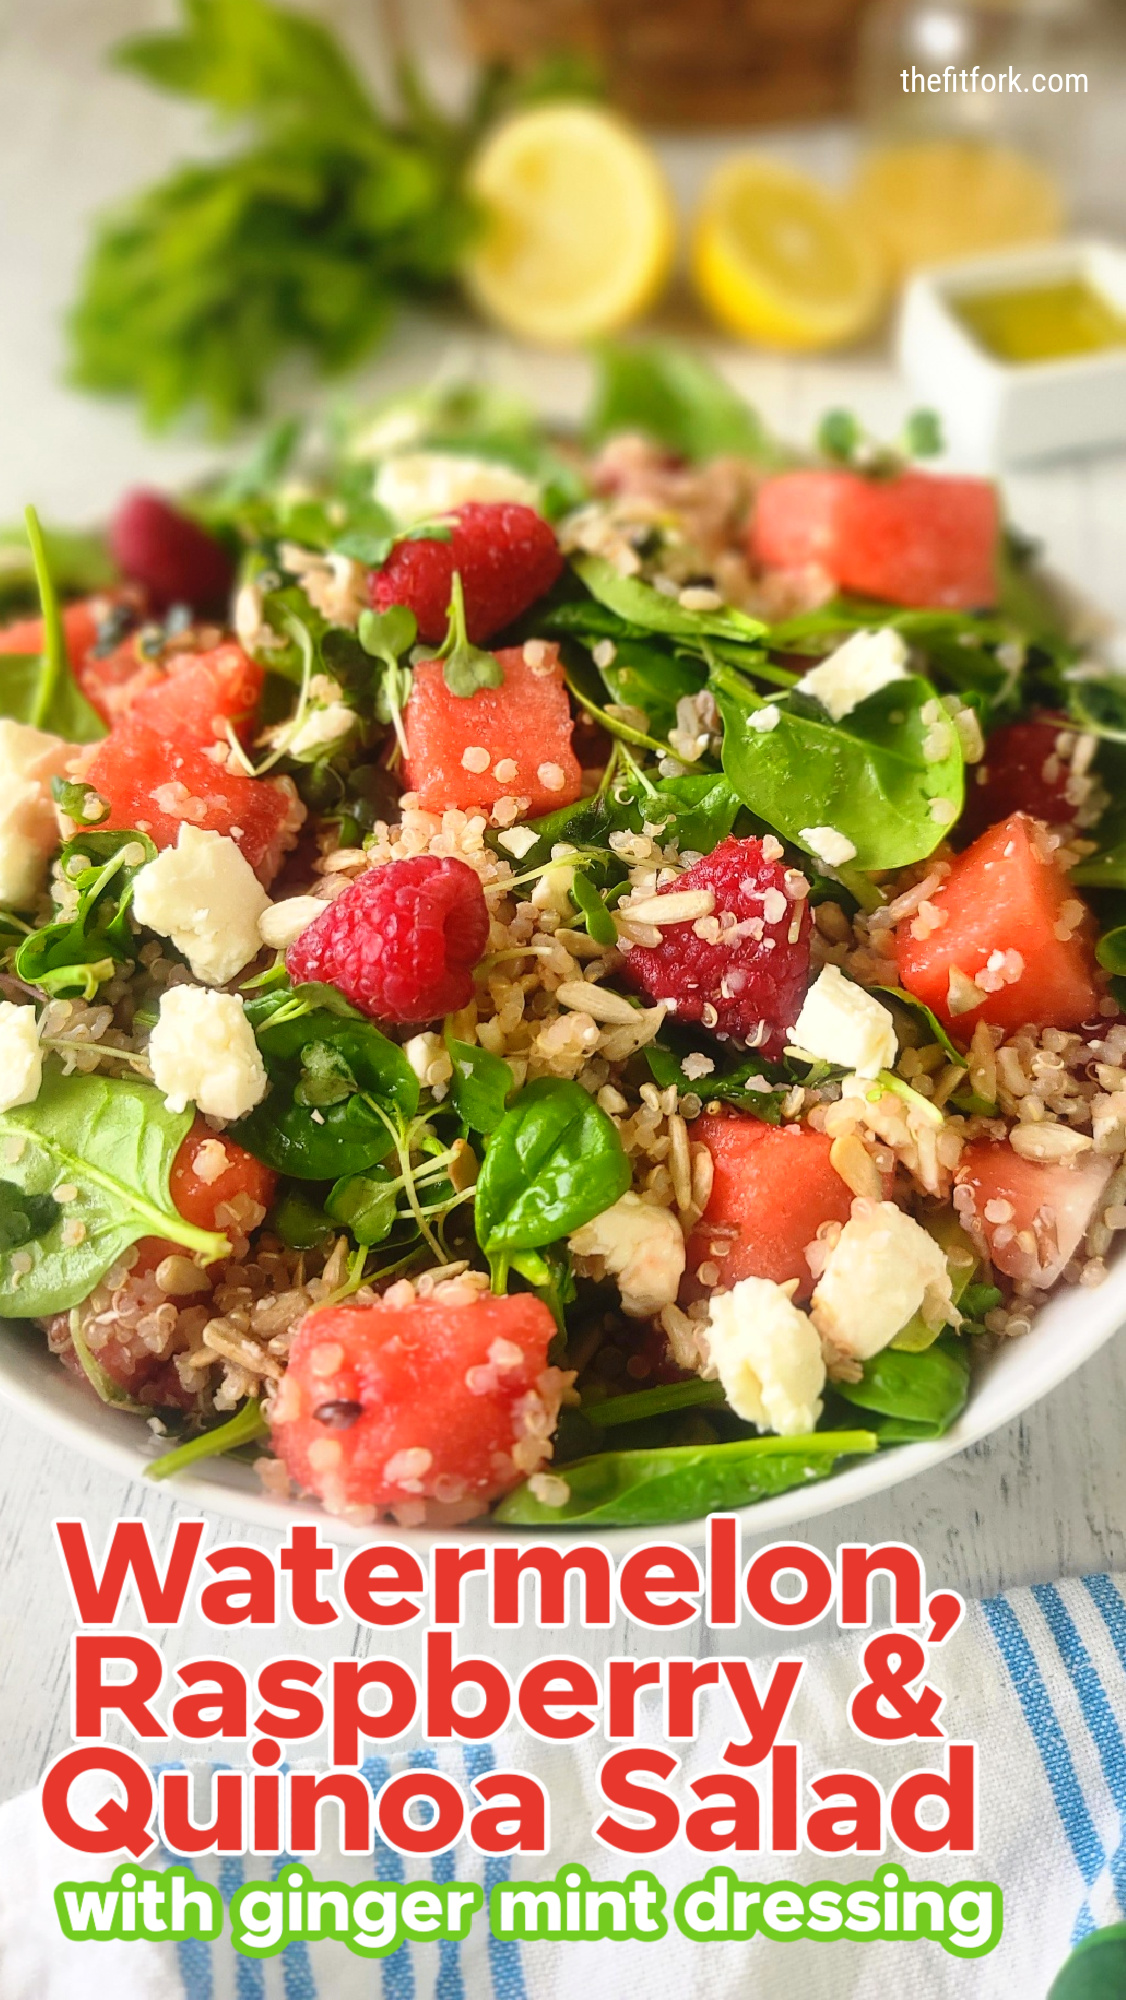
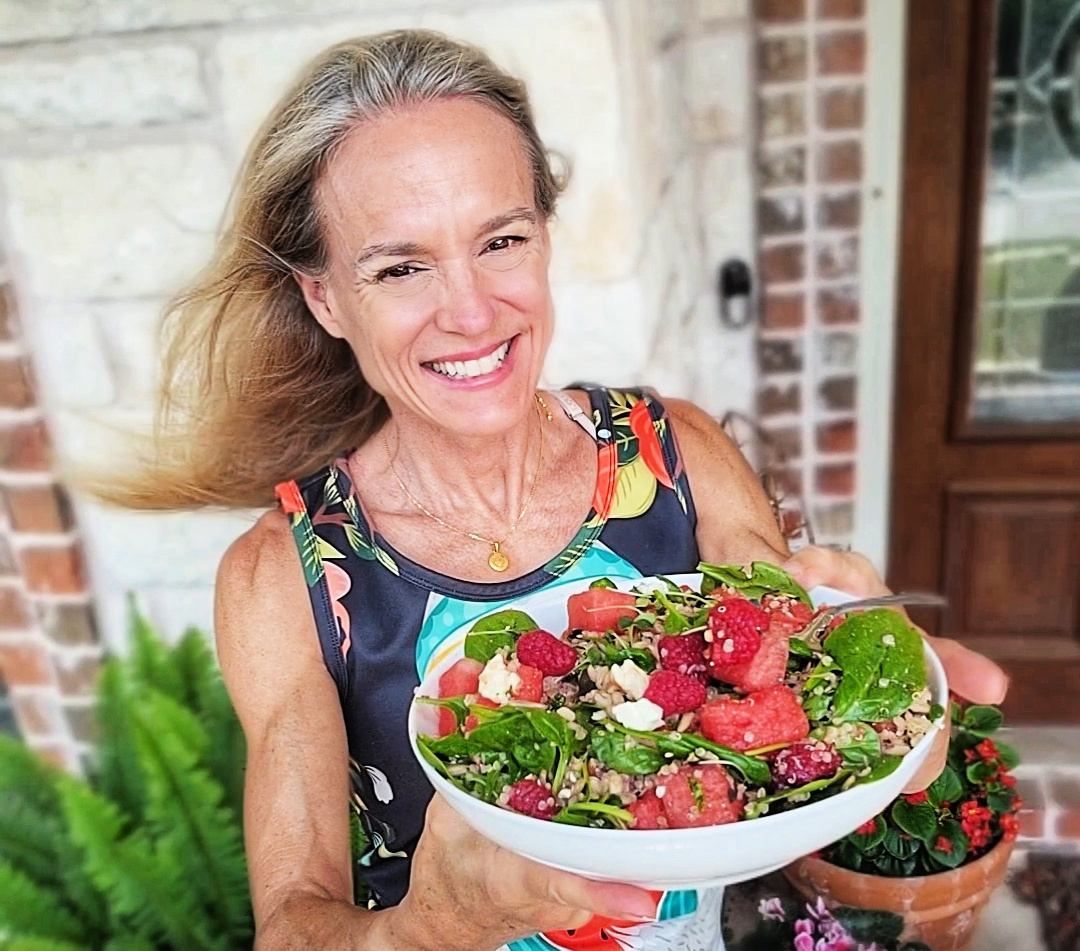
Summer is nearly here and this Watermelon, Raspberry, & Quinoa Salad with Ginger Mint Dressing is an easy-fix for upcoming pool parties, picnics and patio dining.
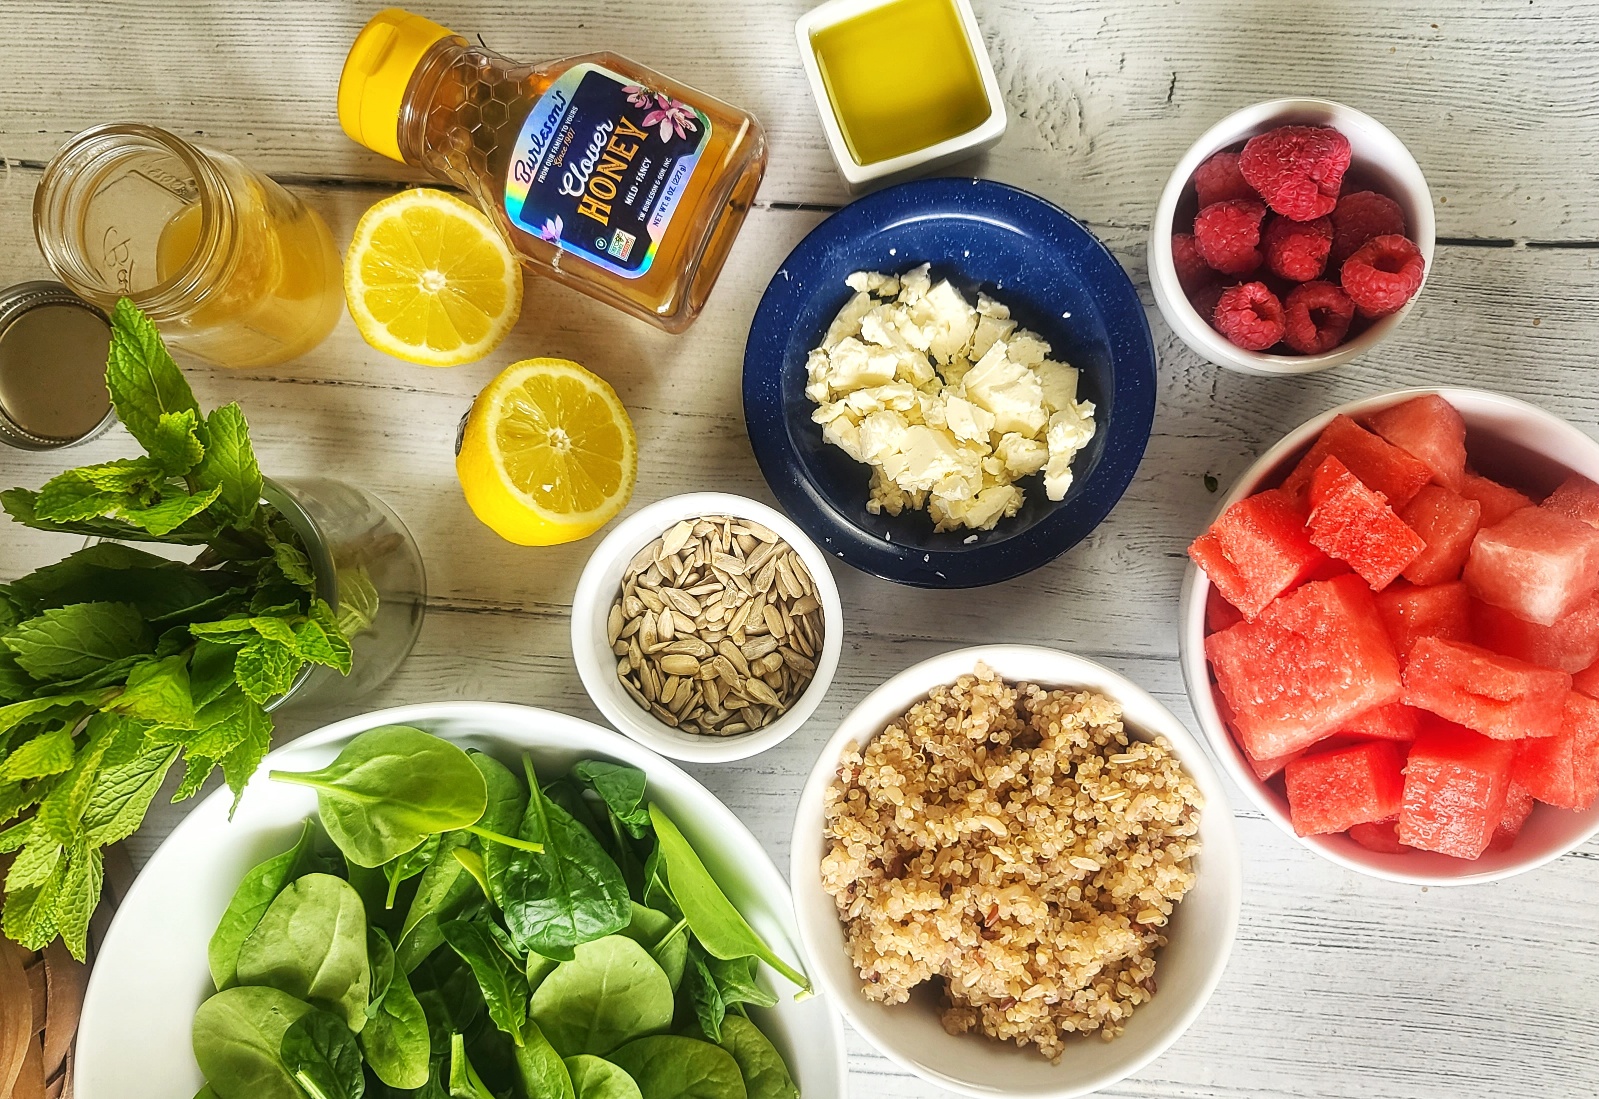
Fully-loaded, this watermelon salad won’t leave you hunger a few minutes later. It’s actually quite hearty with quinoa, sunflower seeds, feta cheese, loads of greens, juicy watermelon and raspberries.
Pin this for later!
Why I love this watermelon salad, other that the amazing taste: Fresh ingredients to fuel my adventures, no cooking, stunning as a side dish but hearty enough for a main course (especially if you add some shrimp or salmon!).
I love how watermelon is a refreshing and delicious addition to salads, providing a burst of sweetness, hydration and nutrients. It’s also a smart way to use up leftover watermelon, if you purchased a big one! By the way, check out this post on how to efficiently cut up a jumbo-sized watermelon fast.
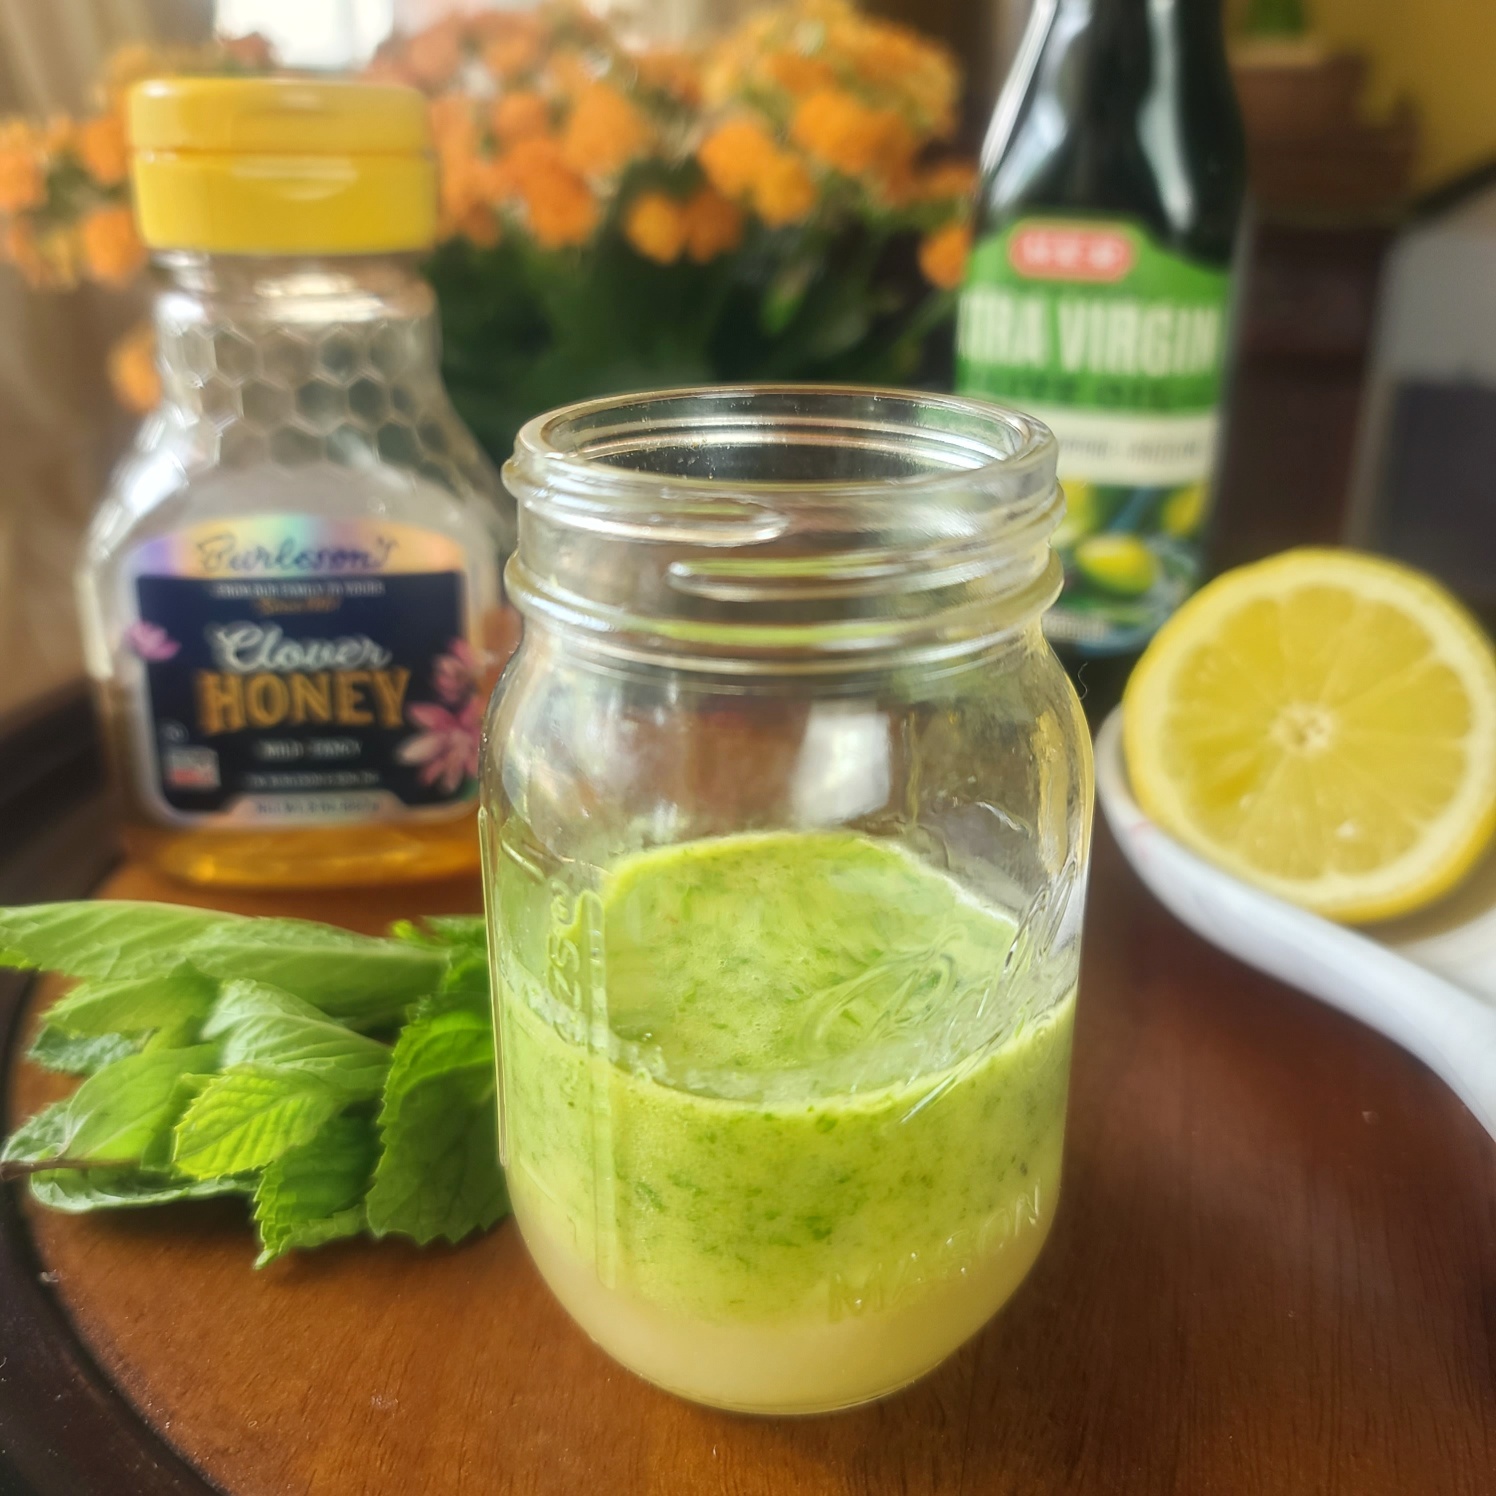
Ginger Mint Dressing, so fresh and fragrant!
Let’s talk about the fresh, invigorating, and aromatic dressing. Ginger Mint Dressing is so simple to make with just a quick blast in a personal-sized blender. It’s also a smart way to tackle mint that likes to take over gardens this time of year. Now and then, I pull out my juice to make Ginger Juice (and store in small portions in my freezer). Check out my tips on Juicing Ginger Root. However, if I’m “out of stock,’ for convenience I just rely on bottled ginger juice or the little ginger juice shots you can buy in the fresh juice section of the produce department.
This Ginger Mint Dressing also makes an amazing marinade for fish and shrimp.
Watermelon, Raspberry & Quinoa Salad with Ginger Mint Dressing.
Prep Time
15mins
Total Time
15mins
Hydrate and invigorate with this juicy fresh salad featuringwatermelon, raspberries and quinoa! The zingy ginger mint dressing is amazing.It’s a stunningly colorful side dish or add shrimp or salmon for a main dish.
Add salad ingredients to bowl. Then add all dressing ingredients to small blender and process until mostly smooth. If you don’t have ginger juice, you can sub watermelon juice (from the watermelon prep run off) and a ½ teaspoon of finely grated ginger. Pour dressing over salad and gently toss. Best eaten same day as dressed – serves 4 as a side.
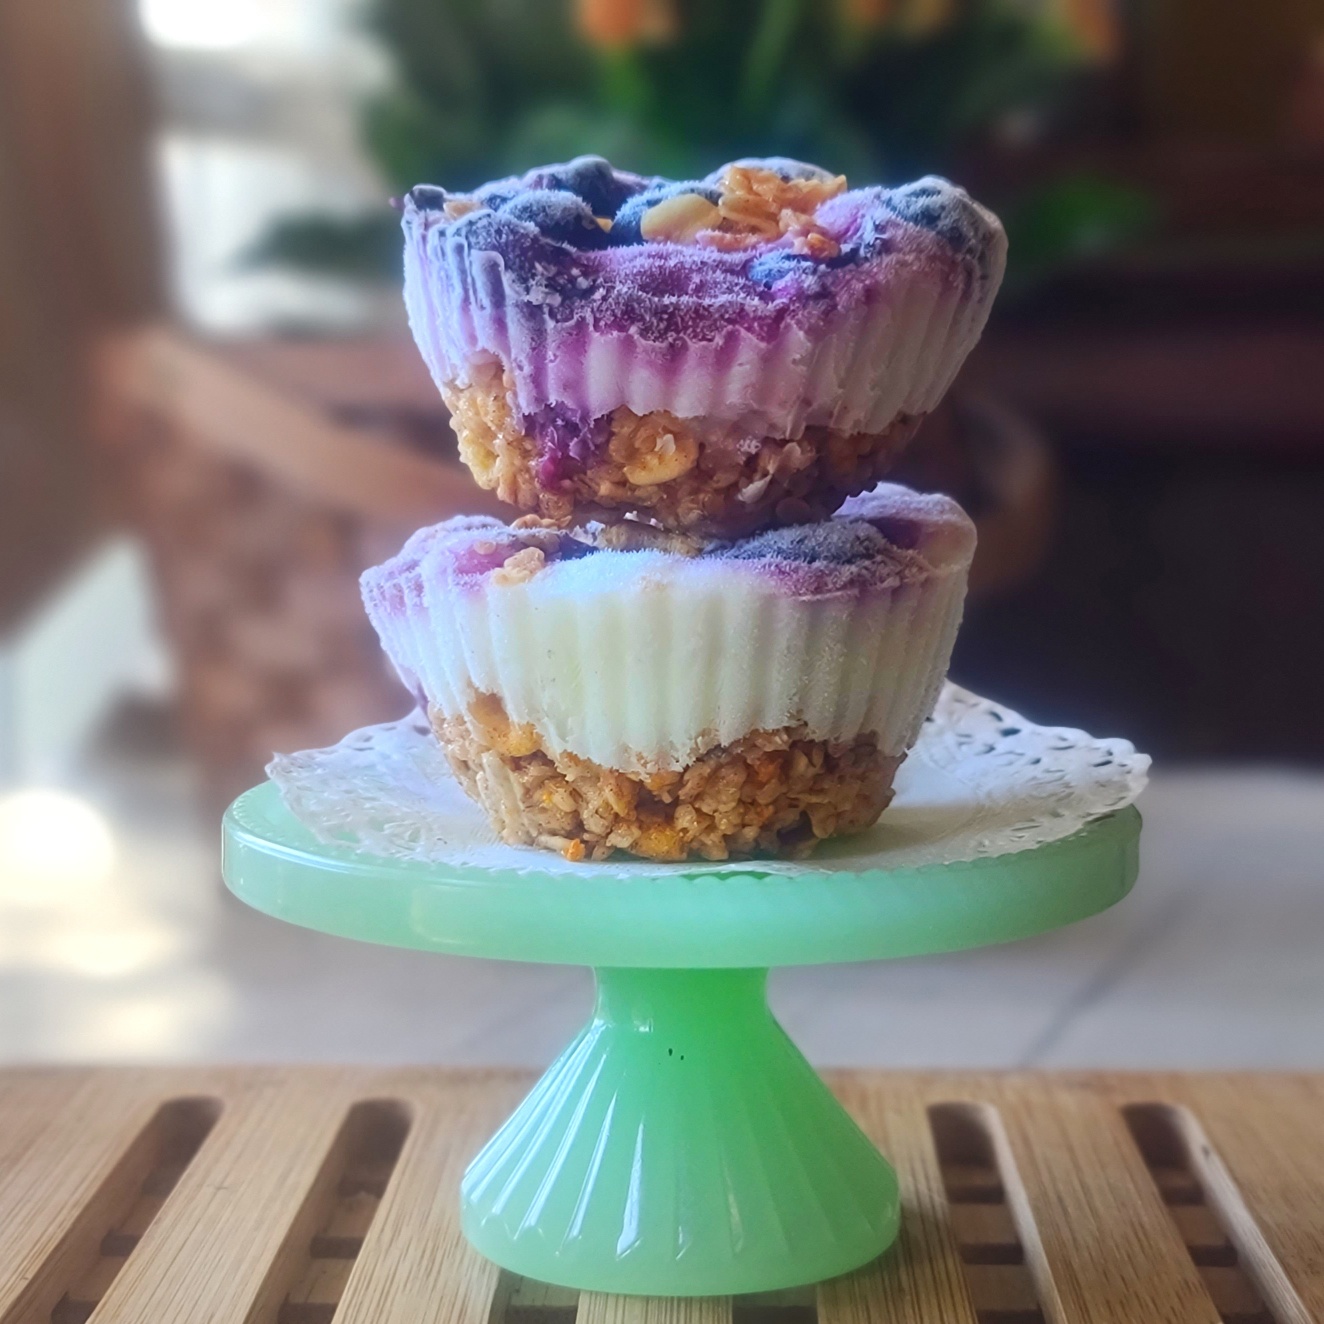
Granola Berry Frozen Yogurt Cups are a delicious and healthy treat that combines the tangy flavor of Greek yogurt with the sweetness of blueberries and the crunch of granola. Simple to make with just five ingredients and basically no cooking, these little frozen desserts are a low-stress, no-guilt delight!
I’m a huge fan of Greek yogurt to fuel my active lifestyle. It’s high in protein to help me build and repair muscle and promote satiety. It provides probiotics for gut health, it’s a good source of calcium to keep my bones strong. I also love that rich, creamy taste and the versatility to eat right out of the carton or to use in all sorts of sweet and savory recipes.
It’s worth noting that not all Greek yogurts are created equal, nutrition varies between products. I read the back label to ensure I’m getting a Greek yogurt with no added sugar and minimal additives.
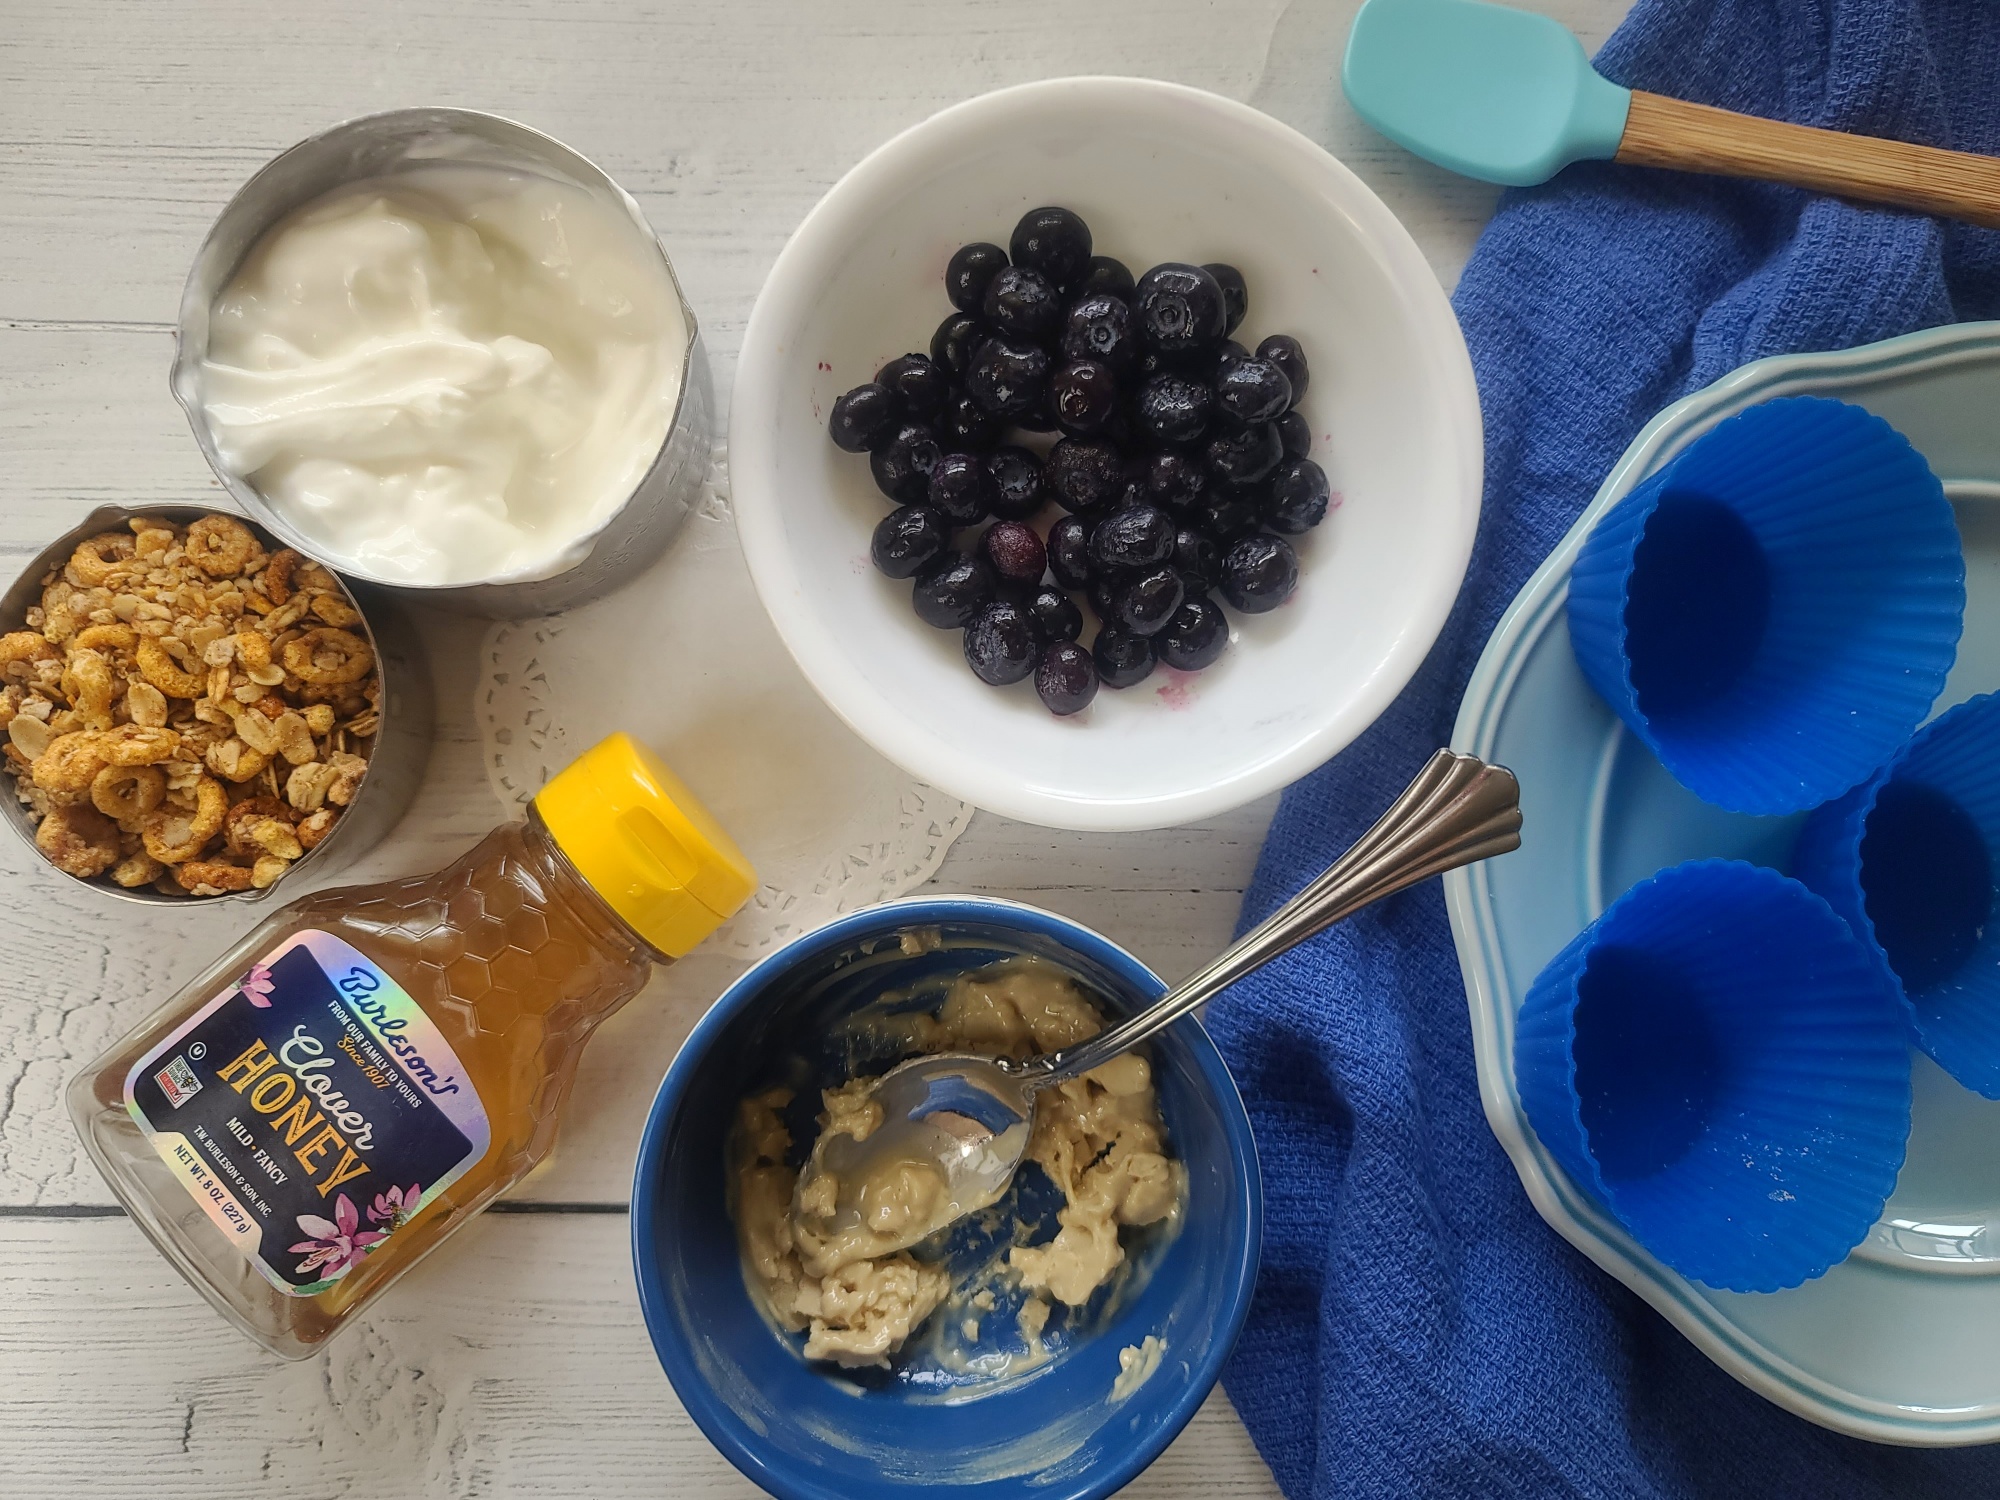
Five simple ingredients!Nut butter, honey (or alternative) and granola make a bottom layer crust (no baking needed)!
TIPS FOR MAKING GRANOLA BERRY FROZEN YOGURT CUPS
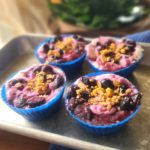
Container Choice: You’ll need appropriate vessels to freeze/firm up the prepped recipe. I prefer individual silicone muffin cups, they are reusable and very easy to peel off. You can also use 8-oz ramekins or a traditional muffin tin where the cups are attached – it’s just a tad harder to release the frozen treat before eating.
Yogurt Selection: You can use any kind of Greek Yogurt you like – no fat, 2%, full-fat, etc. Flavors are fine too – however, I prefer to use an unsweetened Greek yogurt and stir in a few drops of liquid stevia or liquid monk fruit sweetener. I’ve never tried to make with a non-dairy yogurt, but I don’t see why it wouldn’t work.
Nut Butter Choice: Use what you like!!! A natural nut butter is best – but the nut base is up to your preferences. So is “crunchy” or “smooth”. On this last batch, I used smooth cashew butter and it was so good. Also, don’t miss the step to pop nut butter in microwave for 20-30 seconds to help soften it up enough to incorporate the natural sweetener and granola.
Syrup-y Sweetener: This helps soften up the nut butter so that granola can be mixed in a coated. I used honey, but other choices are maple syrup, date syrup, honey substitute, zero-carb syrups, etc.
Granola Choice: Again, it’s up to you. I use store-bought for convenience, but homemade granola would be the bomb. Also, feel free to use a grain-free, gluten-free, or whatever you need to suit your dietary eating pattern.
Berry Selection: For this frozen yogurt cup recipe, I have to save frozen berries have an edge over fresh. Frozen berries can be stocked in your freezer for anytime use and I like how they juice up a little when thawed and mashed– that makes a nice “syrup” to blend into the yogurt without having to macerate them with sugar like one would do for a fresh berry. I used blueberries, but blackberries, raspberries are chopped up strawberries would be amazing too!
Storage: This Greek yogurt fruit dessert obviously needs to be stored in the freezer. I let them freeze for 2 hours (the optimal time before eating) and then remove all from their muffin liners/ramekins and place in an air-tight storage container meant for the freezer. When the cups go into a deep freeze after a couple hours, the consistency will be pretty hard. For a more enjoyable consistency, I place my FroYo treat in a small bowl and let set on the counter to soften up for about 5 minutes before enjoying.
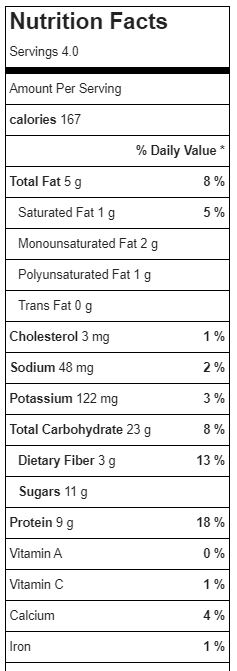
Macros: Recipe makes 4 servings, each serving has 167 cal, 23g carb, 5g fat, and 9g protein.
Did You Know? This healthy dessert recipe was adapted from MY Cooking for One for Dummies ! It’s an easy recipe to scale up or down depending on your needs.
3% Back at Amazon.com and Whole Foods Market* 2% Back at restaurants, gas stations, and drugstores* 1% Back on all other purchases* No annual fees* No foreign transaction fees*
Reusable round baking cups (24-pack) in assorted colors; ideal for baking, lunch/snack cups, and more Made of food-grade, BPA-free silicone; can be reused, again and again; works with any standard muffin pan; stain and odor resistant Flexible and non… read more
Reusable Baking Cups: Made of premium food-grade silicone, LFGB tested and certified, BPA-free, and odorless. Ideal for baking muffins, cupcakes, puddings, egg tarts, bread, mousse, jellies, and prepared foods—perfect for all your baking needs. Vibra… read more
Granola Berry Frozen Yogurt Cups are a delicious and healthy treat that combines the tangy flavor of Greek yogurt with the sweetness of blueberries and the crunch of granola.
Course:
Dessert, Snack
Keyword:
blueberries, frozen yogurt
Servings: 4
Calories: 167kcal
Ingredients
2tbspnut butter
1tbsphoney
½cup+ 1 tbsp store-bought granola of choice
2/3cupfrozen blueberriesthawed
¾cupunsweetened Greek yogurt
optional 5 to 10 drops stevia if you like sweet yogurt
Instructions
In small microwave-safe bowl, heat nut butter for 20 seconds or until softened. Stir in honey until incorporated.
Add granola to nut butter mixture and mix well until coated.
Place ¼ of granola mixture into each of four silicone standard muffin cup or four 8-ounce ramekin, pressing down with spoon to form a thick crust layer.
If desired, stir in liquid stevia or monk fruit drops into unsweetened yogurt and stir well.
Top each crust with an equal portion of yogurt.
Mash of thawed blueberries in another bowl. Divide among top of yogurt layer, using tip of spoon to slightly swirl into yogurt.
Freeze for a minimum of 2 hours or overnight. Let thaw on counter for 1 minute before peeling out of silicone cup or removing from ramekin.
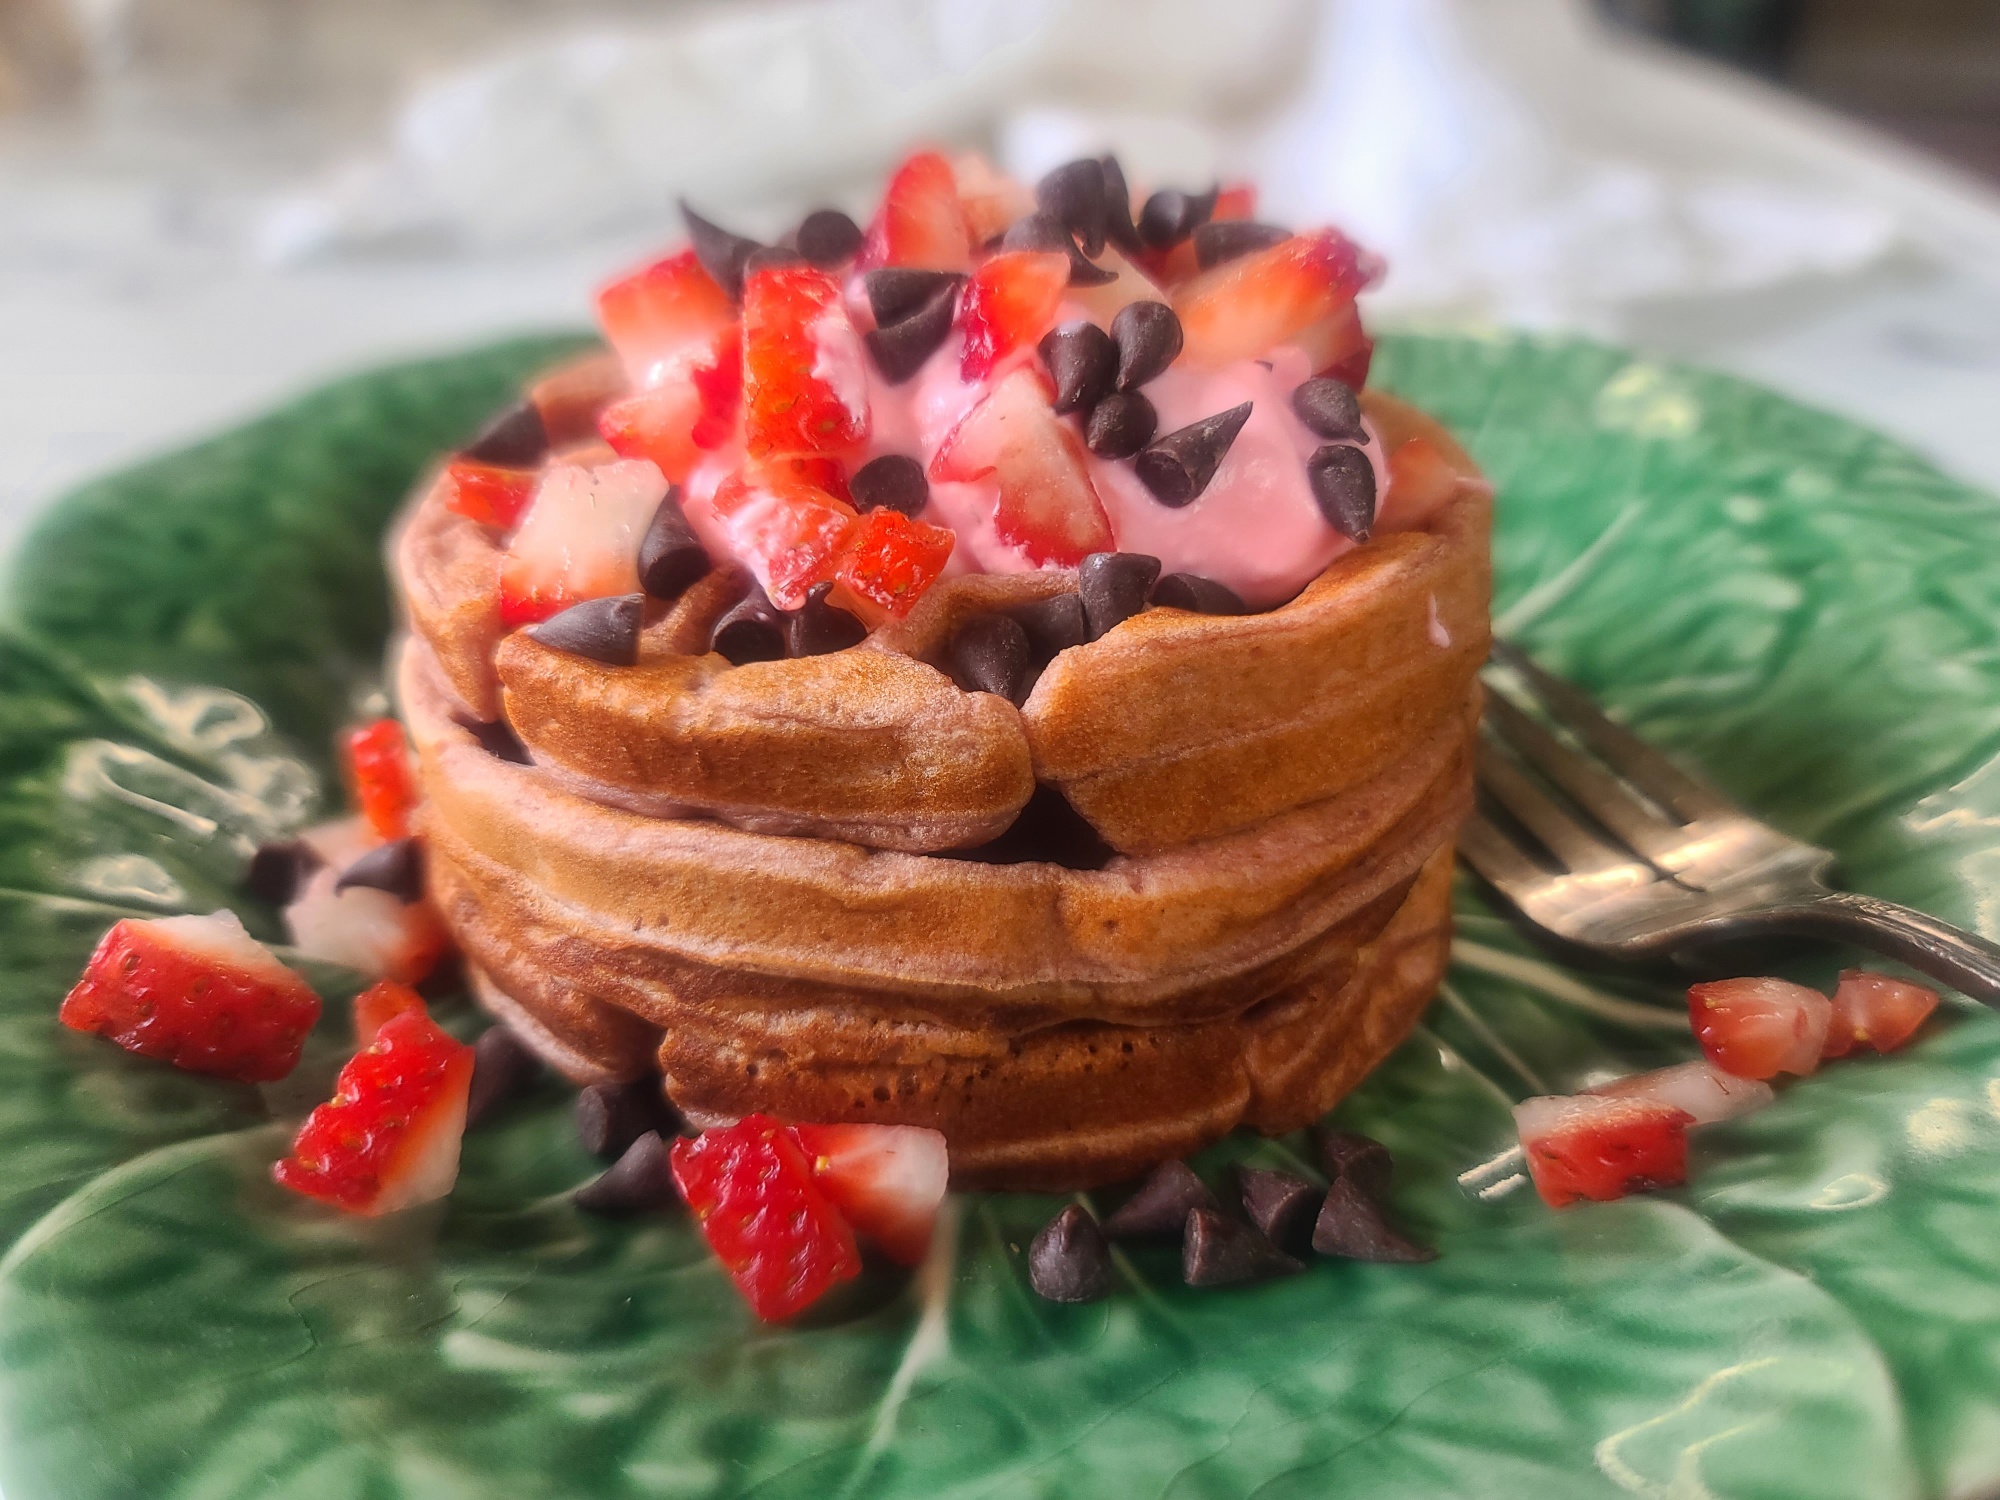
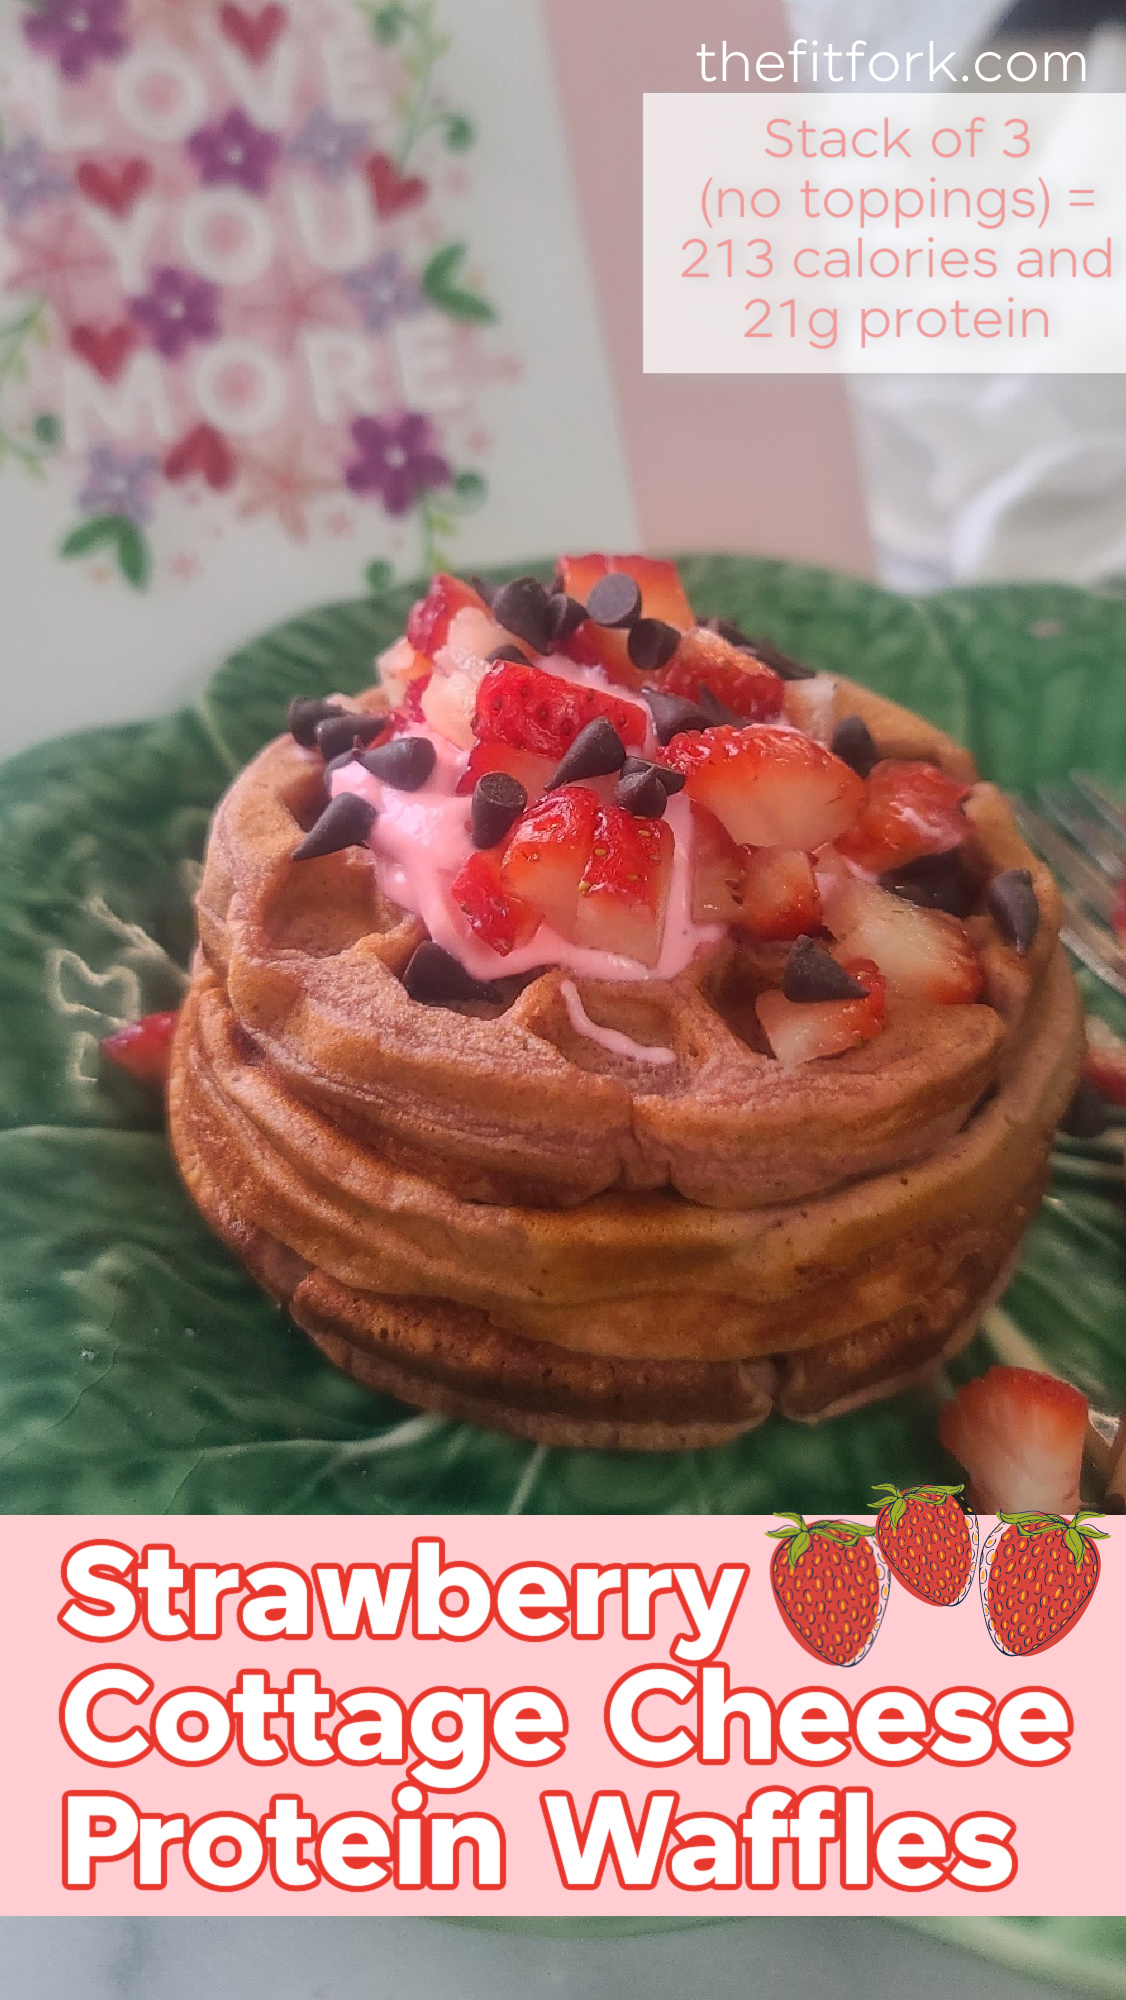
Strawberry Cottage Cheese Protein Waffles are a quick and easy breakfast that taste like sweet summer with every bite (even without fresh berries)!
One of my favorite flavor takes on my basic cottage cheese protein waffle recipe, this strawberry-pumped version uses both strawberry protein powder and freeze-dried strawberry slices ground up together and blended in the batter.
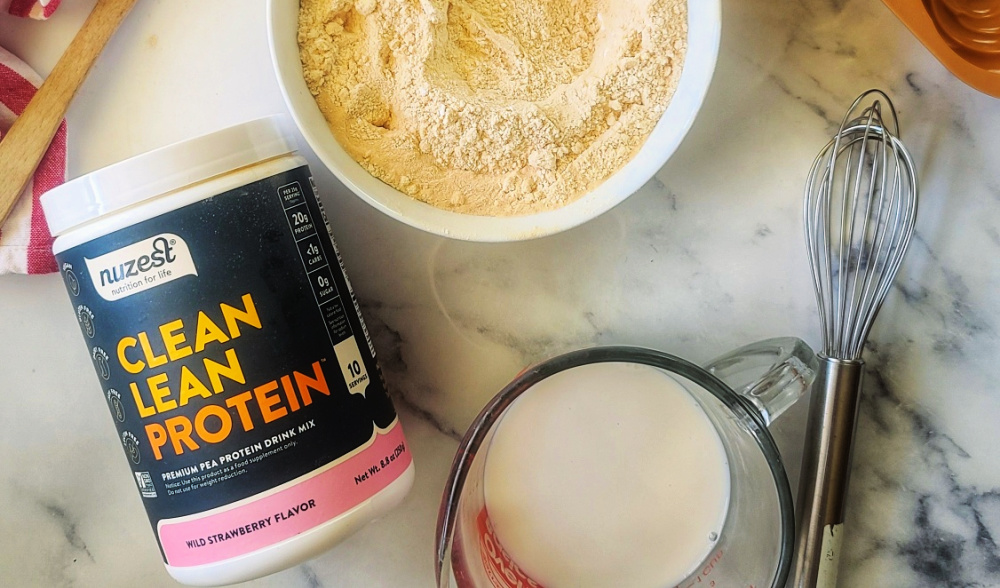
Used my favorite plant-based protein powder from Nuzest in Wild Strawberry Flavor. Vanilla protein powder would work too, the end result would be less “STRAWBERRY” and more “Strawberries-n-Crème” – which is yummy too!
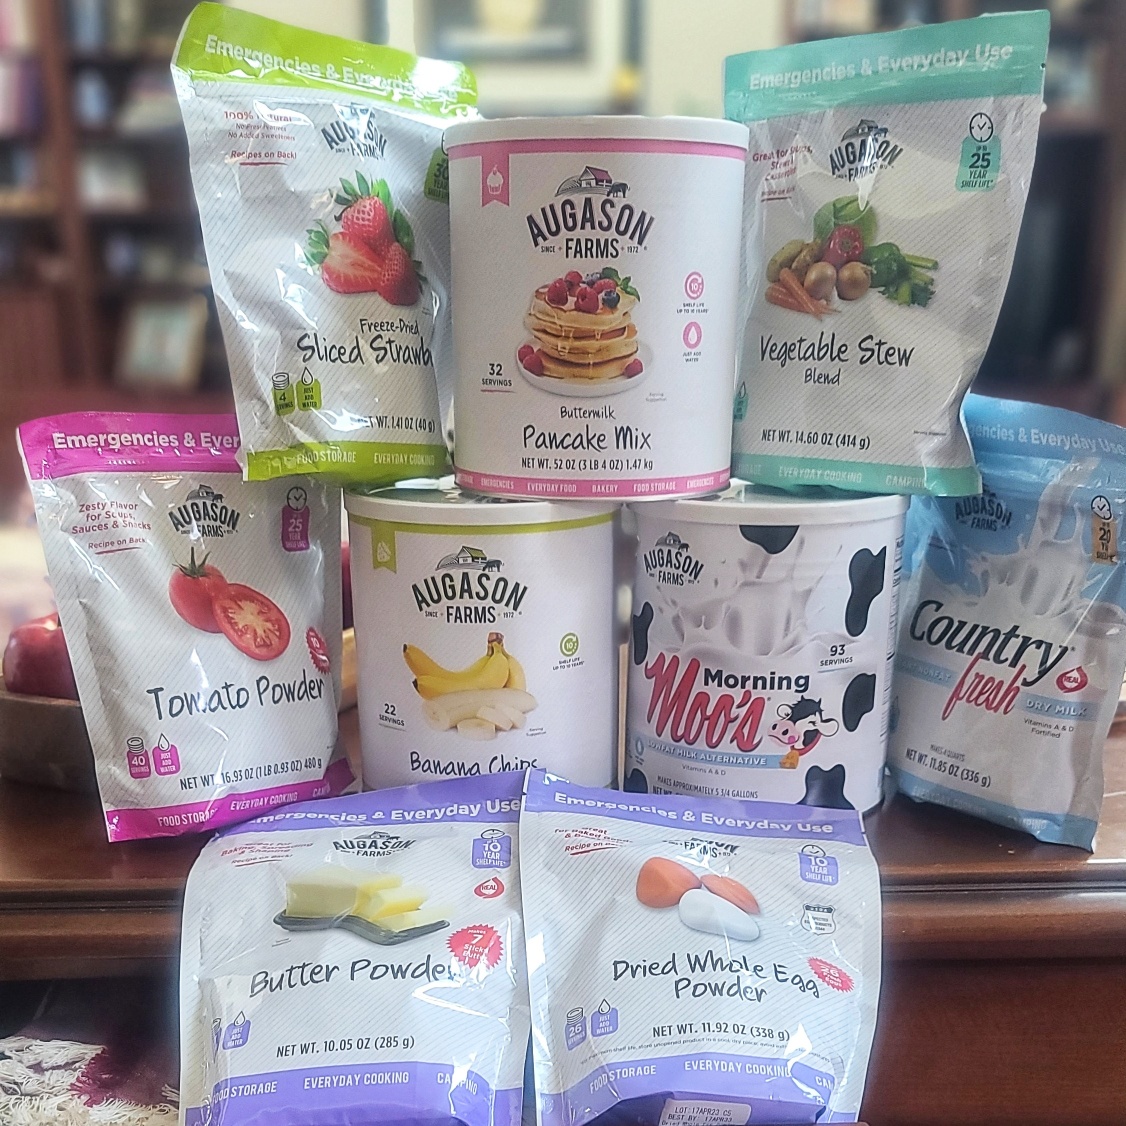
To amplify the real strawberry flavor, I used freeze-dried strawberries that are ground into a powder and become incorporated with the other dry ingredients. The freeze dried strawberry pouches I use are from Augason Farms, I think they are delicious and have a great price point. Read more about this camping, ultra and adventure-racing, and pantry-friendly food company further down the post.
Another perk of this strawberry waffle recipe is that you can make it in a blender – from grinding down the freeze-dried strawberries into the flour and protein powder, to incorporating the wet ingredients – eggs, milk, cottage cheese. I like NOT having to haul out the big blender or stand mixer. I can use my smaller personal-sized blender to whip of the batter.
Also, since we’re on the topic of personal-sized countertop appliances, I MUST also mention Dash mini waffle maker – the best $10 I’ve ever spent! Of course, you can use a traditional 4-square iron (and I do that frequently when I’ve multiplied the recipe to make a bunch at once for the freezer).
Each generous-sized serving (3 waffles) has 213 calories, 5g fat, 21g protein and 20g carb. Not included in this count for the strawberry cottage cheese waffles are extra toppings you might consider adding – syrup, butter, extra berries, whipped cream (I added a pinch of beet powder to mine to make it pink)!
A little more about Augason Farms: These guys have been around for 50 years and know what they’re doing when it comes to making freeze dried foods and long-term pantry stables. Whether it’s an emergency (like wildfires, flooding or injury/illness), an adventure (like camping or ultra races), or even just to be “recipe ready” with simple, on-hand ingredients, the products from Augason Farms are ideal. In addition to the strawberry slices, I incorporated into my waffles, they produce other freeze-dried fruits and vegetables; beans, legumes and grains; dried dairy (like eggs, milk, butter); soup mixes; beverages; baking mixes; even freeze-dried meats and plant-based alternatives. I’ll post some pantry-friendly recipes with some of their different products soon.
You don't need a bumper crop of fresh berries to enjoy these easy strawberry waffles that are also pumped up with cottage cheese and protein powder.
Ingredients
3large eggs
¼cupmilk
½cup2% cottage cheese
½cupgluten-free flour
½cupstrawberry protein powder
½cupfreeze-dried strawberries
¼teaspoonbaking powder
Optional Toppings: whipped creammini chocolate chips, syrup, chopped fruit, etc.
Instructions
Add eggs, milk and cottage cheese to blender (recipe should fit most mini blenders). Blend for 30 to 45 seconds, or until cottage cheese is smooth. Batter will be thick, but if too thick, blend in a teaspoon or two of water at a time to thin.
Next, mix in flour, protein powder, freeze-dried strawberries and baking powder. Blend until incorporated for another 30 to 45 seconds, stopping to scrape down sides of blender with spatula, as needed.
Heat waffle iron, and cook several minutes or until indicator light goes off and/or lid to waffle iron opens easily. Release waffle from iron with a fork; repeat process as many times as needed with the remaining batter. (I get about 12 waffles from my mini iron and 3 big 4-square waffles from my larger iron.)
Serve hot and top, as desired with extras.
Leftovers may be stored in an air-tight container in the fridge for 4 to 5 days, or in the freezer for several months. To reheat, thaw (if frozen) and pop in the toaster for a minute or two.
Recipe Notes
Each generous-sized serving (3 waffles) has 213 calories, 5g fat, 21g protein and 20g carb.