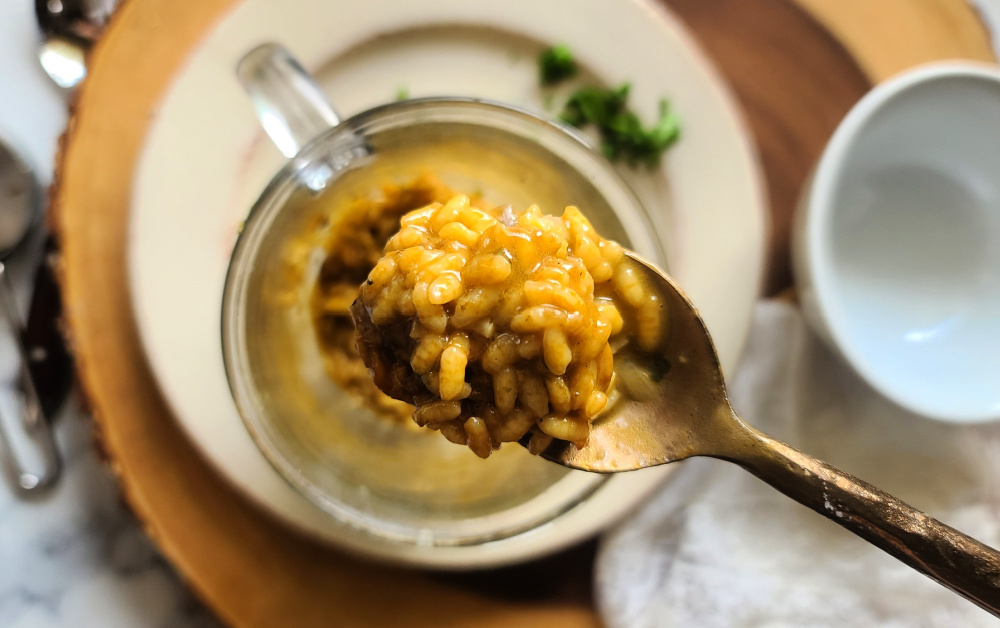
Flying solo on dinner plans? Stay home and cook up a comforting, delicious serving Mushroom Risotto for One that is well worthy enough to make any restaurant menu.
Maybe you’ve made risotto before and are like, “No, way . . .that’s going to take too long and/or I don’t have the patience.” However, unlike traditional risotto that takes 20 minutes of constant stirring and devoted attention (a real PITA) to produce, this easy-make risotto cooks up in the MICROWAVE in less than 10 minutes.
Check out how easy it is to make risotto in the microwave!
Plus, since it is a single-serve mushroom risotto recipe, you have automatic portion control that will keep you from eating an entire pot full. It’s so creamy and velvety and mushroom-y, you are going to love this under 10-minute risotto recipe.
The recipe uses all of the traditional risotto ingredients including Arborio rice, which (consider this your warning) you should NOT swap out for another type of rice. Arborio a medium-grained rice that is that textbook standard for producing the right starchy, creamy texture of this beloved rice comfort dish. Also of course, butter, Parmesan cheese, and mushrooms! I think Baby Bella (aka Cremini) mushrooms work great, but those simple white button mushrooms will do just fine too!
Pin this for later!
Serving: 300 cal, 13g fat, 27g carb, 6g protein). I used a vegetable-based culinary concentrate from Zoup to whip up the broth, so convenient and rich-tasting, there was no point in opening a big carton of broth for just ½ cup.
Pro Tip: Use a really big mug, about 20 – 24 ounces (or bigger). This will at first appear too big when you see the small amount of rice in it, but the large size is mandatory to prevent any messy over-boiling. If you’d like a large yield microwave risotto dish, check out my recipe for Microwave Risotto with Lemon & Asparagus which serves four
Note: This post contains affiliate links. I may earn a small commission from purchases, however price to you remains the same. Proceeds help offset operating costs for The Fit Fork – thank you!
Mushroom Risotto for One (in a Mug, in the Microwave)!
Prep Time
2mins
Total Time
10mins
In less than 10 minutes, whip up creamy, velvety Mushroom Risotto in the microwave (in a mug)! Delicious, restaurant-worthy, easy and perfectly portioned for dinner for one!
Course:
rice, Side Dish
Cuisine:
comfort, Italian
Keyword:
mushroom, rice, risotto
Servings: 1serving
Calories: 300kcal
Ingredients
½tbspbutter
1tbspfinely chopped onions
¼cupof arborio riceno substitutes
1/2cupof veggie broth
1tbspof dry white winecan sub broth or water
Pinchgarlic powder
Pinchground black pepper
3tbspfinely chopped mushroomsabout 2 white buttons
1tbspgrated Parmesan cheese
Optional garnish: chopped thyme or p
Instructions
Place the butter and onion in oversized 20- to 24-ounce mug. Mug will look “too big” for ingredients, but it will boil up so you need that room. Microwave on HIGH for 90 sec, stopping to stir halfway through.
Add the rice, garlic powder, ground pepper, and broth to butter mixture.
Microwave on 50% power for 2 minutes. Let “rest” for 2 minutes, then at 50% for another two minutes.
Stir in wine and mushrooms. Microwave at 50% for 2 more, let sit 2 minutes. If it is liquid-y or rice still has “crunch” then microwave again at 50%, adding water if getting too dry.
Add cheese and herbs, if desired, and heat another 1 minute at 50% power.
*Because microwave cooking times can vary depending on wattage, if at any time too much liquid is evaporating and rice looking dry, add a tablespoon more of broth/water back in.
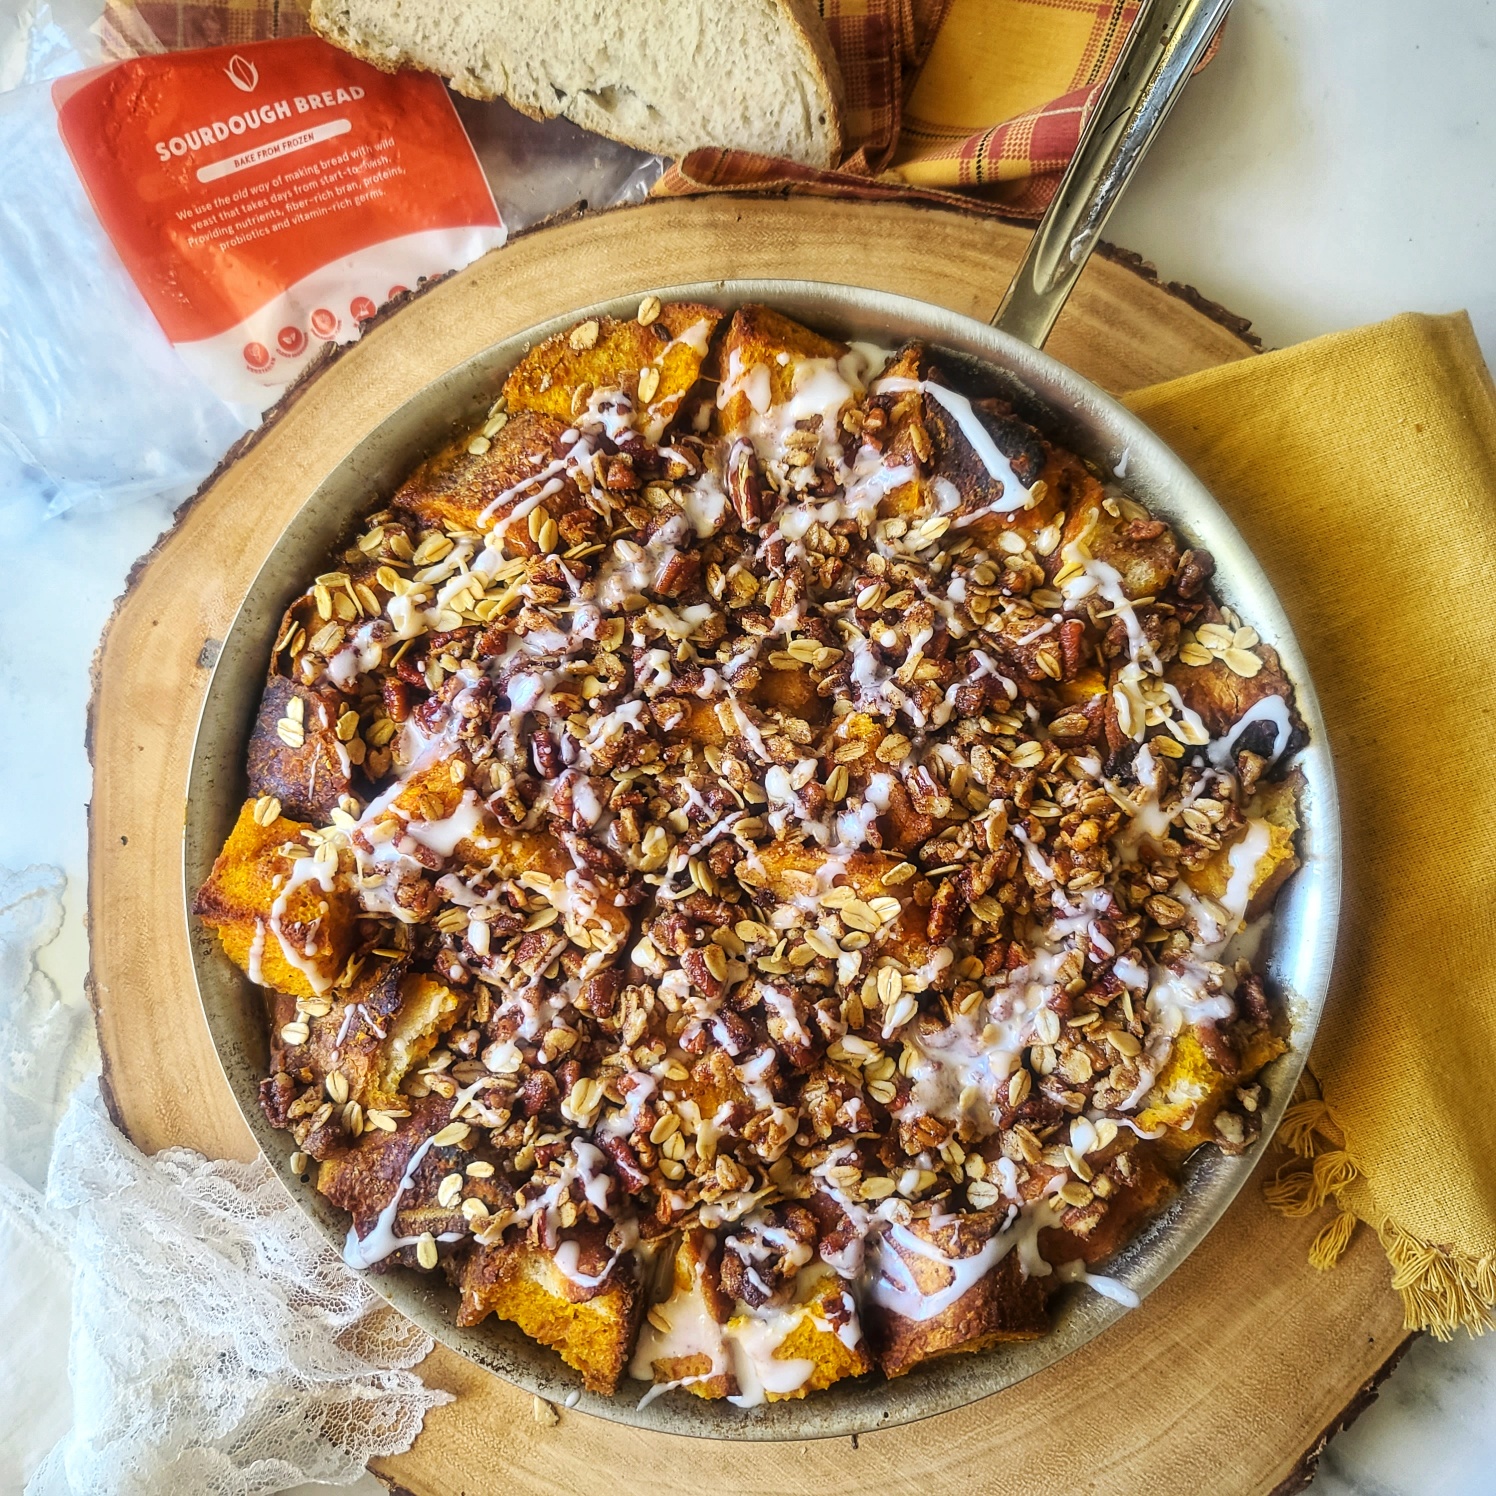
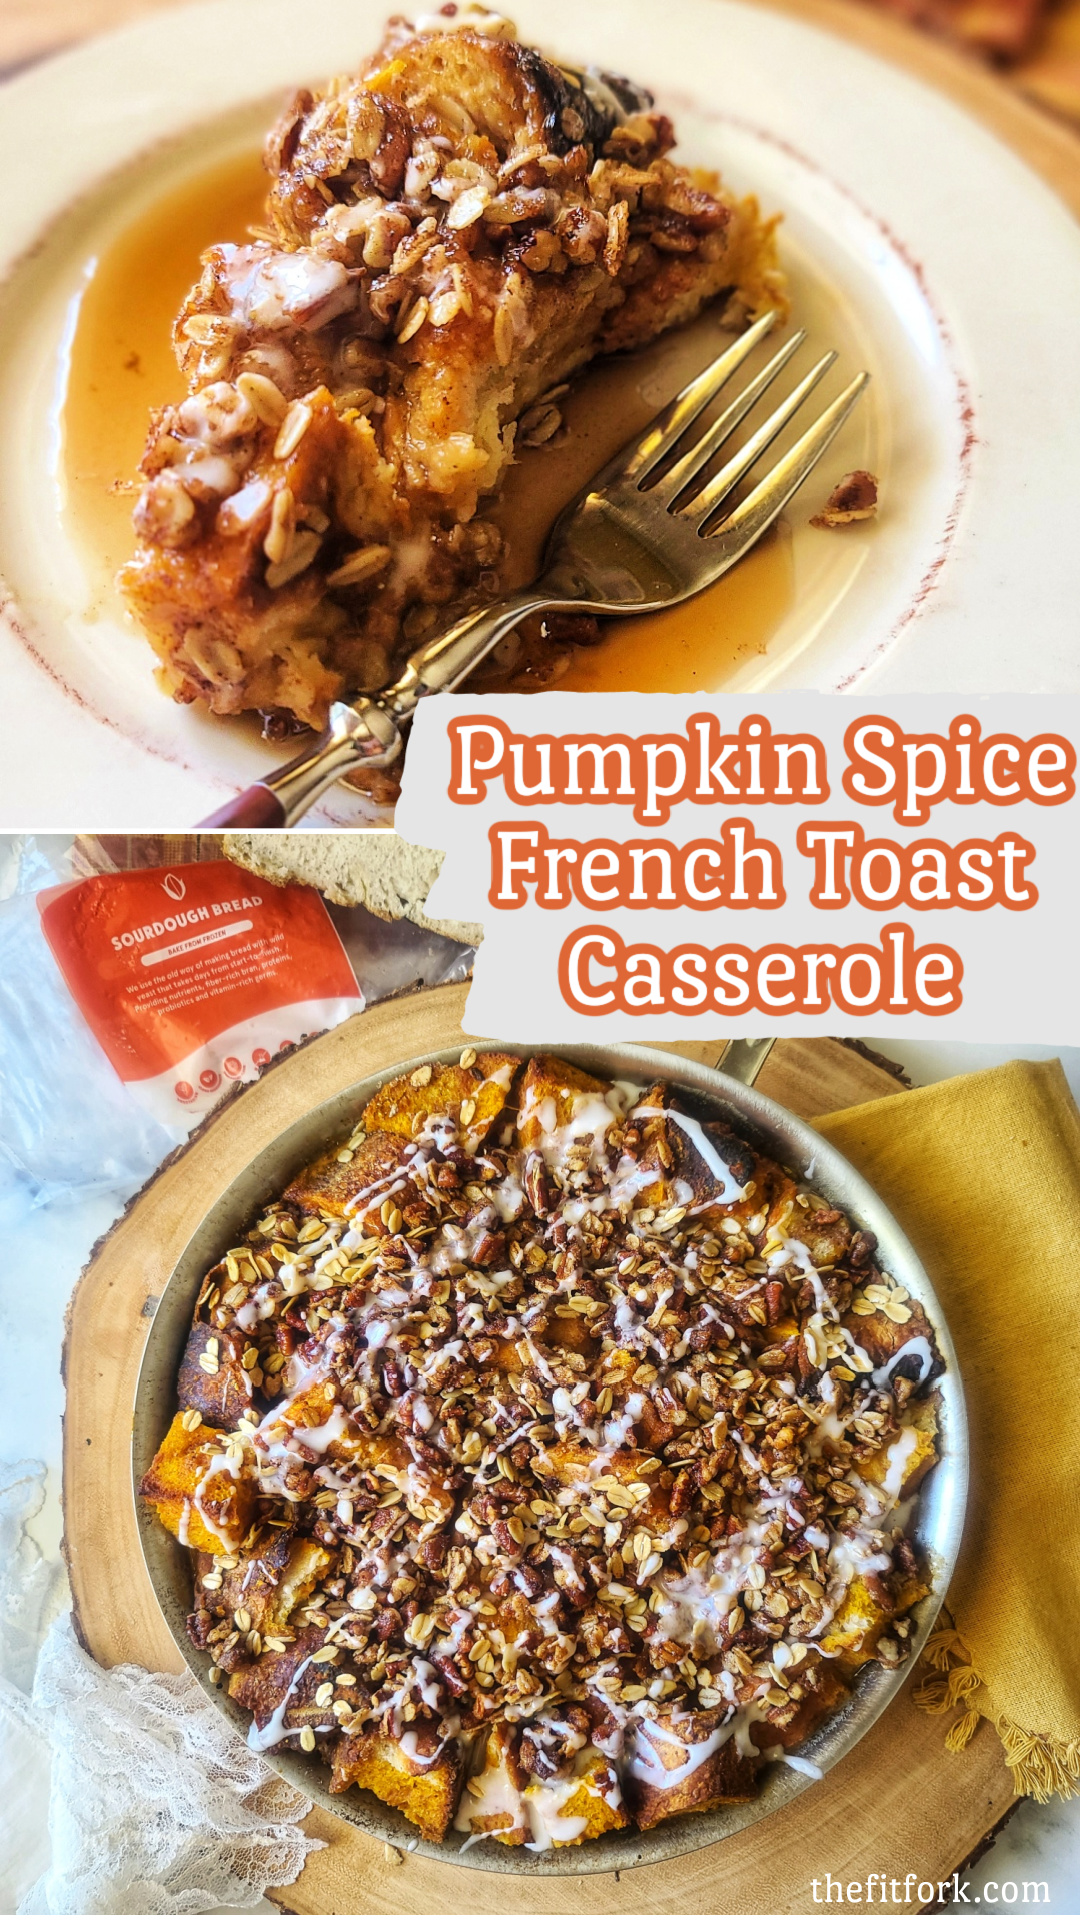
Pumpkin Spice French Toast Casserole with Pecan-Oat Crumble topping is a scrumptiously seasonal dish for upcoming holiday breakfasts and brunches.
Throw it together the night before you plan to serve and keep this make-ahead breakfast casserole in the fridge until ready to bake and serve. This takes so much stress out of a busy morning when hosting guests or just otherwise have a lot on your proverbial plate.
Pumpkin spice everything is LIFE this time of year, and using a pumpkin pie spice blend and already pureed pumpkin from a can minimizes the steps and adds convenience to putting together a holiday brunch recipes. A Wildgrain subscription box is another way to simplify and add convenience to your holiday entertaining and recipe plans.
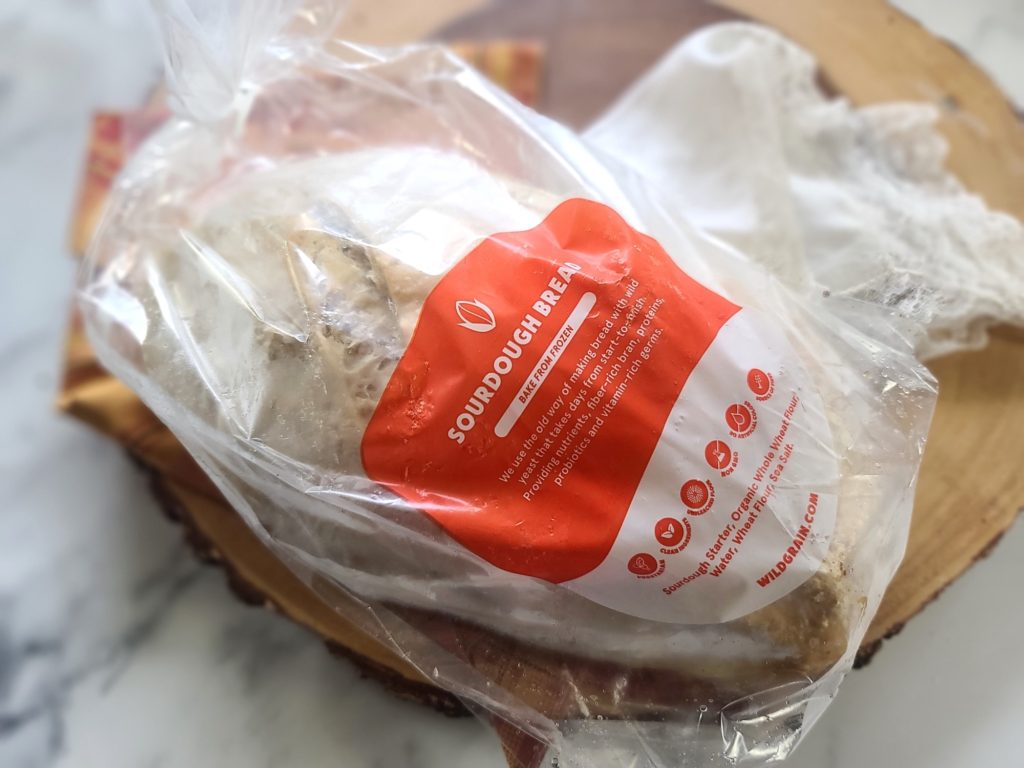
Wildgrain is a delicious bread subscription box that also delivers artisanal pastas, pastries all kinds of breads (made with clean, nutritious ingredients) to your door that are frozen and ready to prepare in a flash – no more than 25 minutes from freezer door opening to your mouth opening for the first bite! I love to cook, but baking from scratch is a whole ‘nutha skill set and patience level, so I’m happy to let Wildgrain come to my rescue this holiday season when there is already more than enough “to-dos” on my list!
For this pumpkin breakfast casserole, I used the plain sourdough loaf in my box. Wildgrain bakers start with wild yeast to made the sourdough starter which takes days from start to finish and provides nutrients such as fiber-rich bran, proteins, probiotics, and vitamin-rich germ. The exterior of this loaf bakes up fabulously crusty and audibly crunchy while the interior is soft and tender with that old-school sourdough zip. So good!
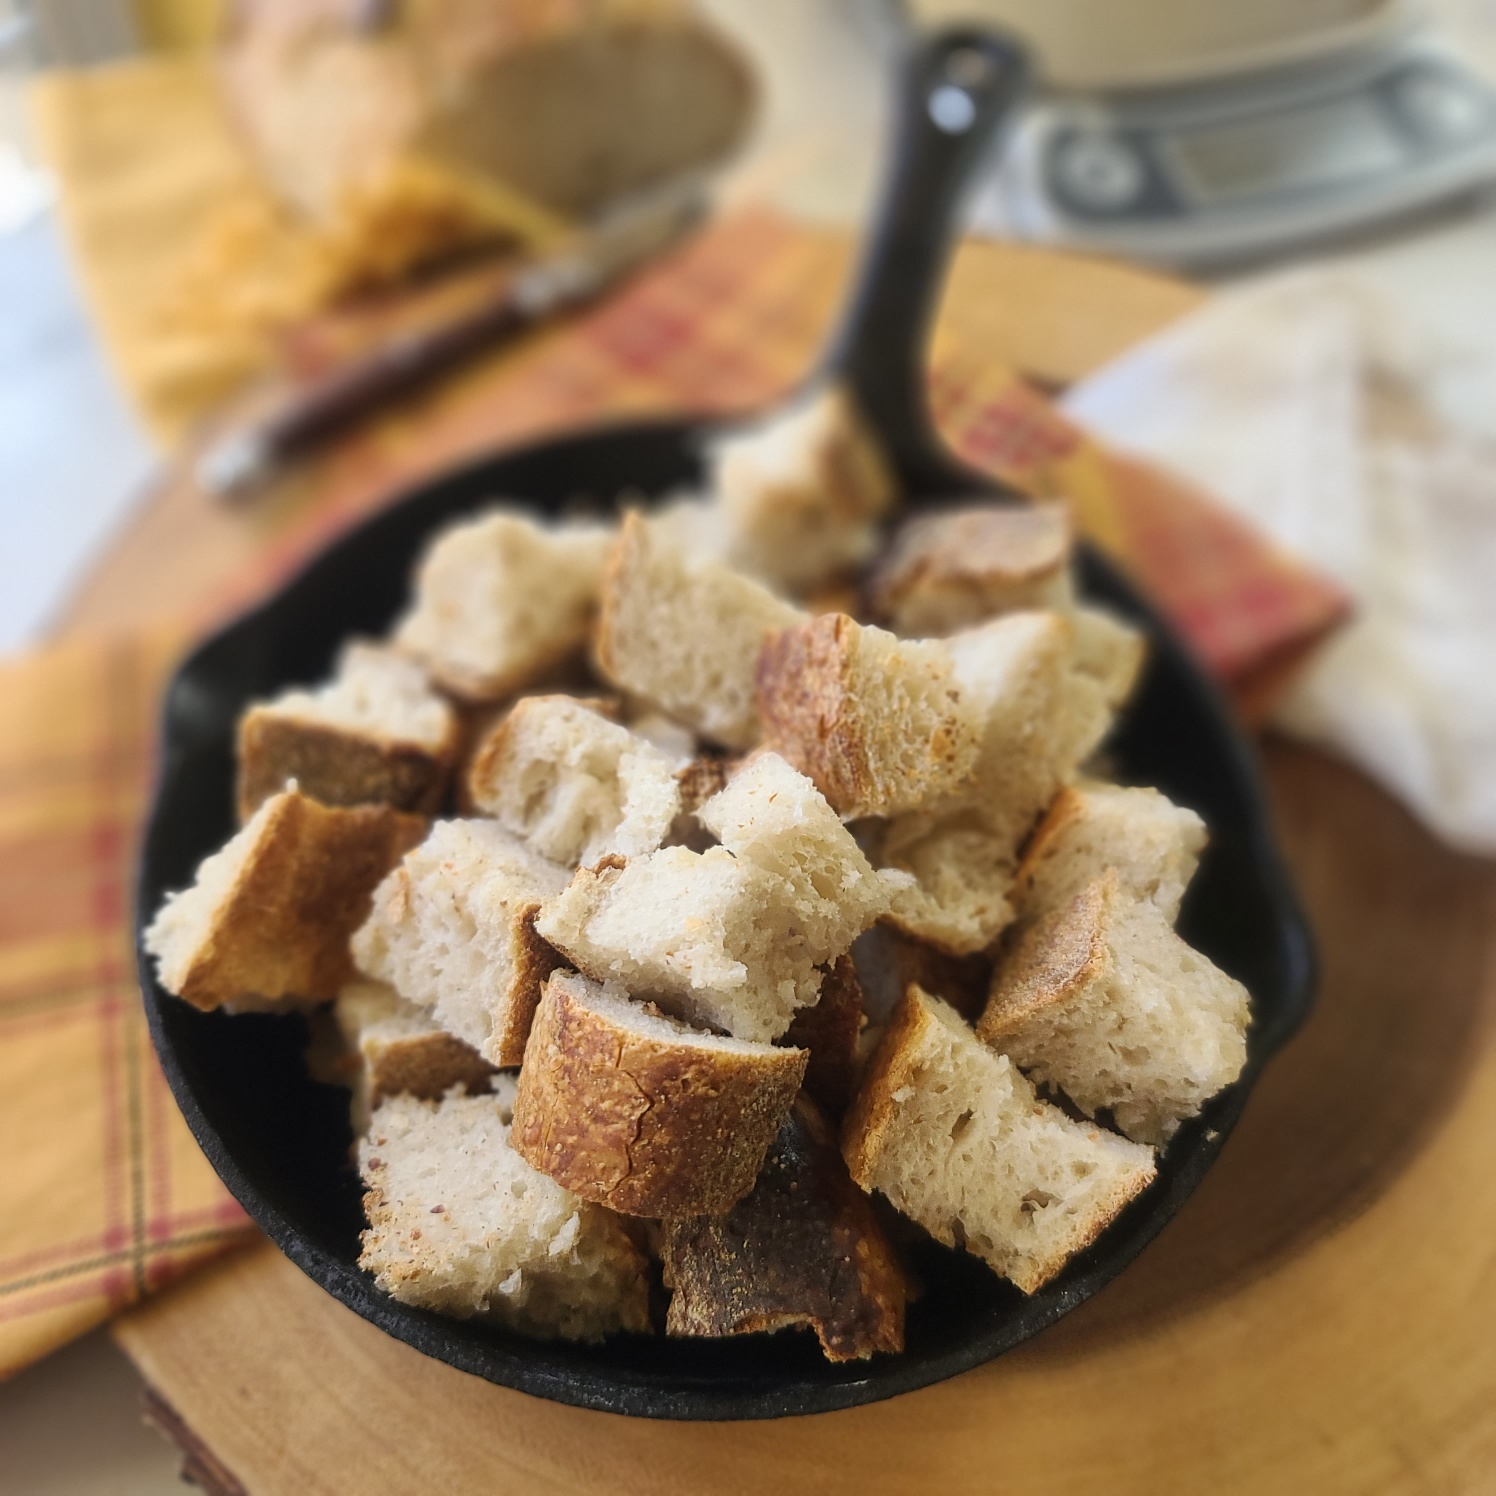
When making a French toast casserole, it typically usually turns out best with bread a tad on the stale side so that it better soaks up the milk-egg mixture like a sponge.
With a fresh-baked loaf, the easy work around is to cut up in bite-sized cubes and leave on the counter uncovered for a couple hours.
Check out the No-Cook Tomato Artichoke Pasta made using one of Wildgrain’s hand-cut pastas! This was a quick and simple summer-inspired dish I created but would also be great for the holiday season, to bring to a party or serve at home on one of those busy nights when everything’s happening at once.
Pin this for later!
Let me know what you think about this pumpkin spice breakfast casserole and don’t forget to check out Wilgrain. Use code THEFITFORK to save $10 on your first box (AND, if you sign up now, they will treat you to a free 4-pack of croissants with each and every box you have delivered for life – and these croissants ARE AMAZING, we were fighting over the last one at my house!!!)
Pumpkin Spice French Toast Casserole with Pecan-Oat Crumble Topping
Prep Time
15mins
Cook Time
45mins
Total Time
1hr
Treatyour holiday crowd this delicious pumpkin spice breakfast bake inspired byFrench toast! A crusty loaf of sourdough soaks up all the goodness and apecan-oat streusel like topping adds extra yum and then some! Make it ahead,stick in fridge overnight and bake in the morning for brunch
Course:
Breakfast, brunch
Keyword:
entertaining, fall, holiday, make ahead
Servings: 8servings
Ingredients
1 16-ounceloaf sourdough breadI used plain sourdough loaf from Wilgrain
6large eggs
2 1/4cupswhole milk
2teaspoonspure vanilla
1cuppumpkin pureefrom can
3/4cupbrown sugar
2teaspoonspumpkin pie spice
2teaspoonsvanilla extract
CRUMB TOPPING
1/3cuppacked light brown sugar
1/3cuprolled oats
1/2teaspoonpumpkin pie spice
6tablespoonsbuttercold
3/4cuproughly chopped pecans*
Optional topping ideas: maple syrupcaramel sauce, or powdered sugar drizzle
Instructions
Cut or tear loaf into approximate 1” cubes. Stale bread soaks up the egg mixture better, so if loaf is fresh-baked, let the bread cubes sit on counter uncovered for a few hours.
Spray a 10”-diameter oven-proof skillet or 9”×13” inch baking dish with nonstick cooking spray.
Add bread cubes to skillet or dish.
In large bowl, whisk eggs, milk, vanilla, pumpkin, brown sugar, and pumpkin pie spice together. Pour mixture evenly over bread.
Cover skillet and chill in fridge for 2 hours or more (even overnight) so that bread absorbs as much of the egg-pumpkin mixture as possible.
Prepare topping by tossing brown sugar, oats, and pumpkin pie spice. Cut cold butter in little cubes and, using a fork or pastry cutter, mash around until mixture is coarsely combined and crumbly. Do not add topping until ready to bake (also keep in fridge until ready).
Preheat oven to 350°F.
Sprinkle pecan-oat crumb topping evenly over casserole and bake uncovered for 20 minutes. Then, cover skillet with aluminum foil and bake for an additional 25 minutes or until center appears set. Total bake time is about 45 minutes.
Remove from oven and let cool for 5 minutes. If desired, drizzle with a sauce such as maple syrup, caramel sauce, or a simple powdered sugar-milk drizzle.
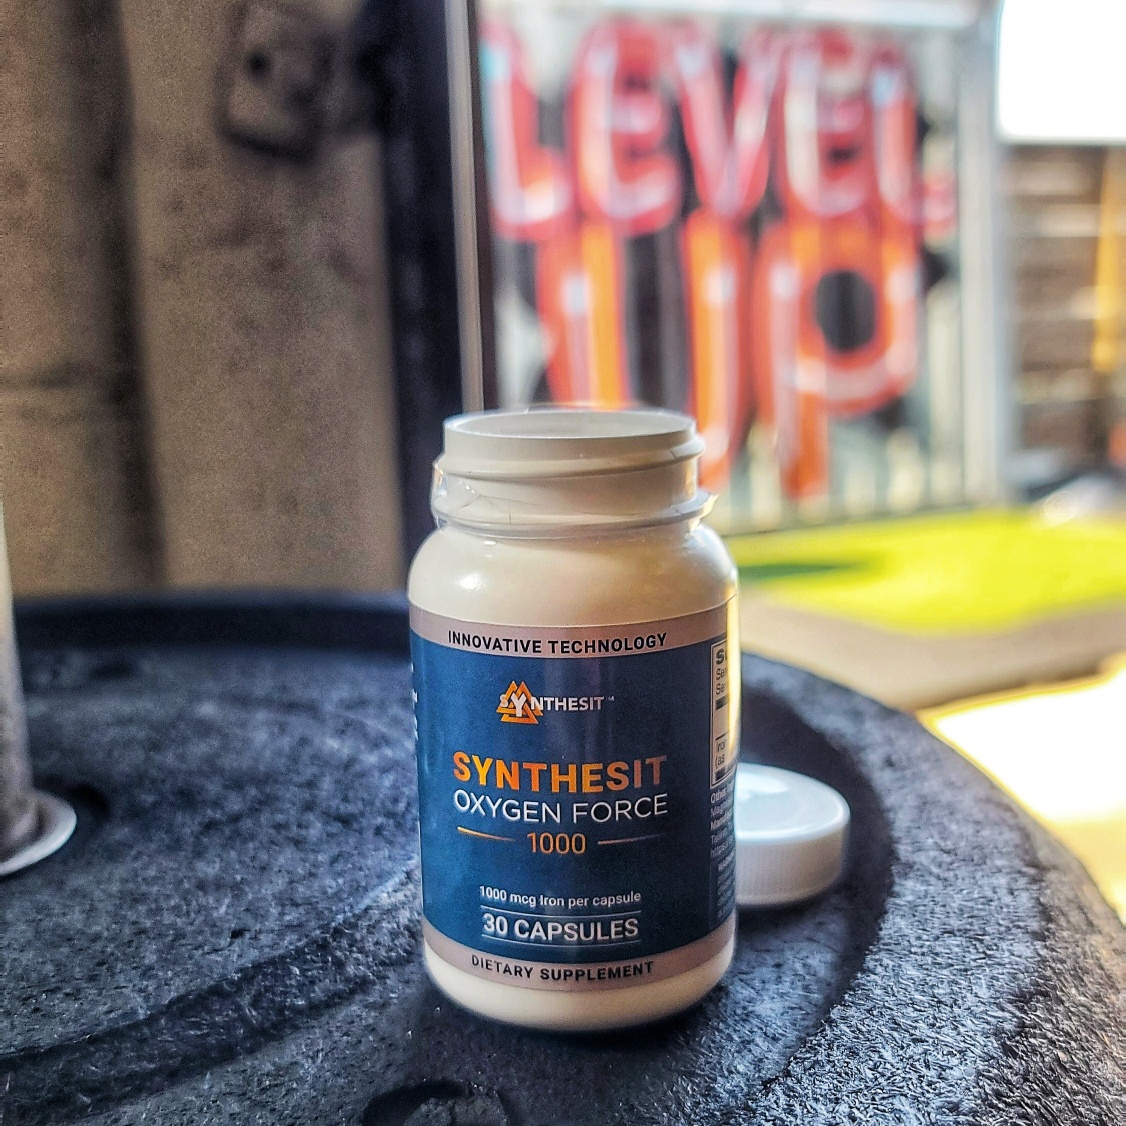
Today, I’m sharing with you my thoughts on and experiences with Synthesit™ Oxygen Force 1000, a dietary supplement that caught my attention as a safe, smart and simple way to improve my energy, performance, and recovery as Master’s level athlete and all-around active person over 50 years old.
Synthesit™ Oxygen Force 1000 is a dietary supplement with the innovative bioactive mineral based on iron. It is intended to boost new blood stem cells production, restore circulation and increase blood oxygen level to as high as 100%. As a result, it gives you energy and strength to live life to the fullest. You can save $10 with code JEN1000
This particular dietary supplement stands apart from other common iron supplements. Synthesit is obtained using proprietary productions methods that result in superior absorption and increased red blood cells production. It literally rejuvenates the body.
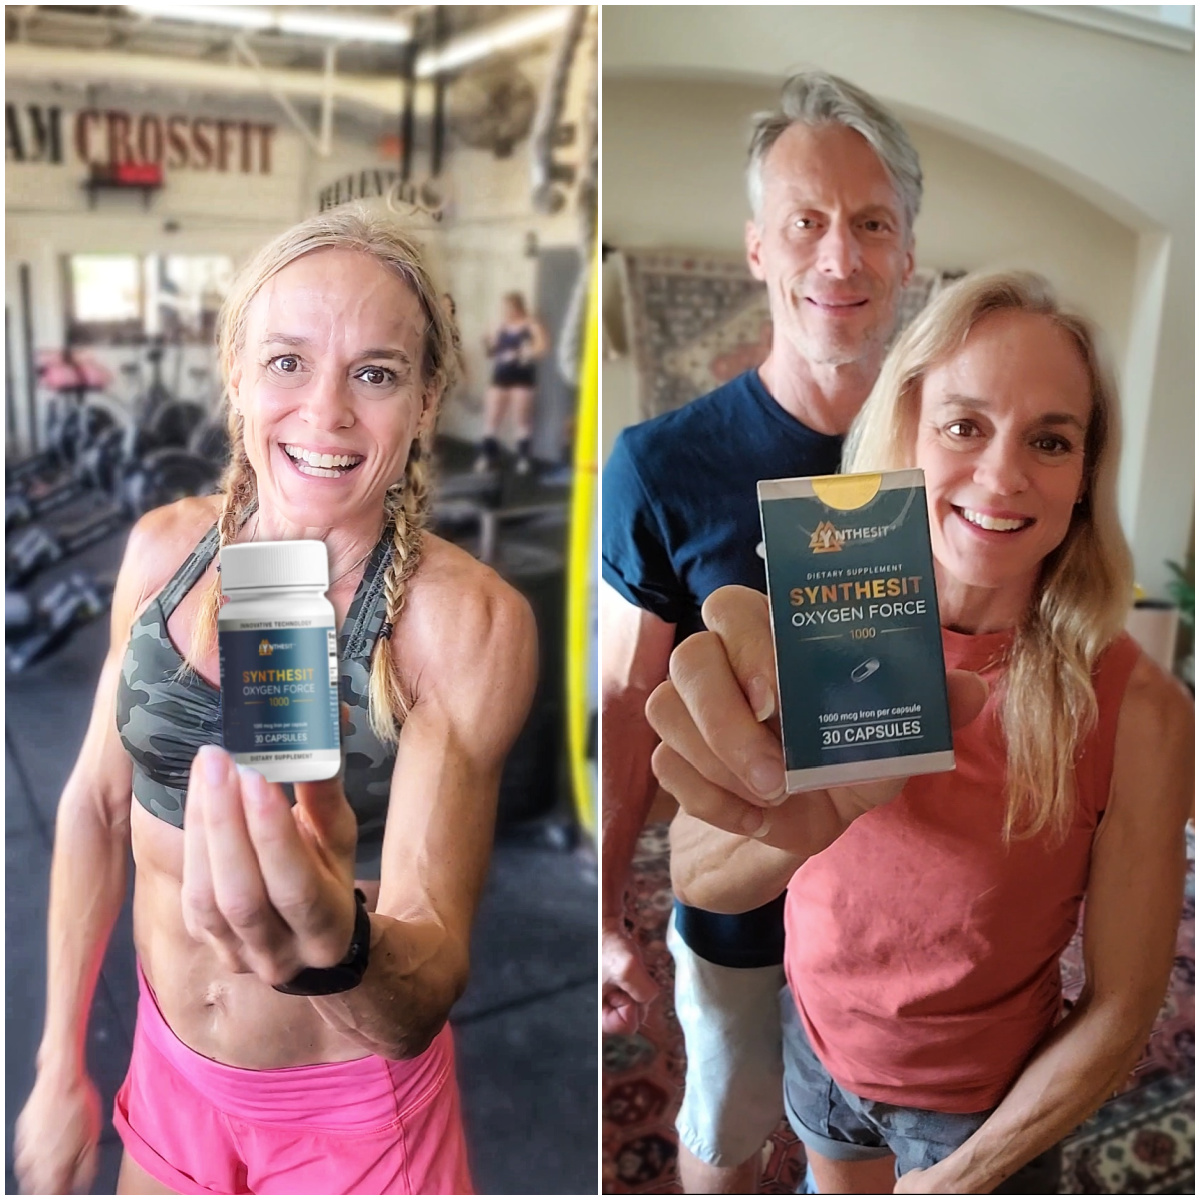
Synthesit™ Oxygen Force 1000 is helping me maintain my strength and energy.
Why do I need Synthesit™ Oxygen Force 1000 as an athlete?
In addition to Synthesit’s effects, like enhanced creation of blood cellular components, it also efficiently restores iron in the body and has no toxic effects. As a quickie science refresher, iron is needed to replenish the constant turnover of red blood cells (at the rate of 1% a day) and to keep this troop of tiny oxygen-deliverers adequately stocked with hemoglobin. Common ways athletes lose Iron is through sweat, GI-distress, even foot strike.
We need iron from food and supplements to be well absorbed. Absorption depends both on intestinal function and the quality of food. The better tissues and blood are supplied with oxygen, the better is intestinal function AND iron absorption. But, if your body doesn’t have enough iron, the blood oxygen level is also insufficient. Synthesit Oxygen Force helps to break this vicious cycle: “no iron — no oxygen, no oxygen — no iron.”
Without oxygen moving from your lungs to every part of your body via the red blood cells, organs and tissues are not able to perform as they should, let alone at the optimal capacity demanded by the rigorous training schedule of an athlete.
A diet lacking in iron-rich foods, deficient in vitamins that are “helpers” to iron, or certain drugs that leach or prevent absorption can also be an issue. Plus, menstruation and pregnancy have an impact on iron stores for female athletes. I have a past blog post regarding iron and runners, check it out HERE.
What are the health-supporting benefits of Synthesit for older athletes?
Your body’s ability to incorporate iron into red blood cells becomes less effective as it ages and tissue respiration decreases (athlete or not) on top of all the other issues descripted in the last section (like sweat, diet, drugs, etc.). Having lower iron levels is all linked to declines in muscle strength, energy levels, recovery, mental abilities, and other issues which all affect training and staying well. But iron that is not absorbed creates free radicals which we don’t want either for the reason of different age-related health concerns. Too little iron is bad, too much is bad – what do you do? That’s where Synthesit can help.
Its superior absorption and an ability to boost new blood stem cell production allows you to exercise as if you were decades younger. Synthesit simply gives the body resources for that: better blood oxygenation, new blood cells and better viscosity. This keeps your blood young, with healthy iron levels, which eventually can help heal all tissues and organs. As mentioned, Synthesit is produced via a proprietary method which makes it a game changer for older body or any body, to help you feel and perform your best.
Because the blood quality can contribute to age-related health issues, keeping your blood within optimal condition is worth a discussion with your health care provider to figure out what’s right for you.
By the way, Synthesit isn’t designed exclusively for athletes, actually it has broad-spectrum benefits for anyone looking to improve vitality, energy, stamina, and general well-being as they age. It can help stabilize blood pressure; improve the health of damaged organs, musculoskeletal and skin regeneration through improved microcirculation; and support improved cognition among a range of other benefits.
My husband is using Synthesit™ Oxygen Force 1000 too!
How do I take Synthesit and is it safe?
It’s easy to use Synthesit™ Oxygen Force 1000, simply add one capsule to your daily routine, ideally before breakfast. For best results, take at least 90 days and science shows that new blood stem cells take about 3 months to turn over. I was very happy to find that taking the supplement on an empty stomach did NOT make me feel queasy as most other iron supplements have in the past. One capsule is the recommended dose and it contains 1000mcg of the mineral based on iron (which equals 1mg).
According the National Institutes of Health (see Iron Fact Sheet), Men over 19 need 8mg a day, Women ages 19-50 need 18mg a day, Women 51 and older need 8mg a day, and Pregnant Women need 27 mg a day.
Taking a supplement is not meant to be a replacement for eating a balanced, healthy diet, but when dosed properly can help you fill in any gaps. Synthesit also helps you to absorb vitamins and minerals from your food.
Synthesit is safe to take “forever,” as an essential daily mineral for health. However, Synthesit is only indented for adults, and you should consult your doctor before use If you are pregnant, nursing, taking any medications or have any medical condition or suspected medical condition.
What is my personal experience with Synthesit?
I have not yet taken the supplement for 90 days (it takes 3 months for the new blood stem cells to turn over), but am seeing some initial results that may be linked to using Synthesit. I am sleeping better, feel more alert in my day-to-day tasks, and feeling a little more energetic in my training sessions – it’s all interrelated, I know! I talked to my healthcare provider and will keep taking this product 1x per day, along with eating a healthy, balanced diet, as I continue to keep up my demanding training schedule and also transition through menopause (not quite there yet). I did appreciate that I noticed absolutely no nausea upon taking the supplement, which has been a big issue of mine with other iron supplements or multi-vitamins containing iron.
Disclaimer: Synthesit is a dietary supplement made with imported ingredients in an FDA-approved facility in the USA. The health statements here and on their website have not been evaluated by the Food and Drug Administration. This product is not intended to diagnose, treat, cure or prevent any disease. Information on this site is provided for informational purposes only. It is not meant to substitute for medical advice from your physician or other medical professional. You should not use the information contained herein for diagnosing or treating a health problem or disease, or prescribing any medication. Carefully read all product documentation. If you have or suspect that you have a medical problem, promptly contact your regular health care provider. For adult use only. Please keep away from children, accidental iron poisoning is a leading cause of death in children under age 6. If you are pregnant, nursing, taking any medications or have any medical condition, consult your doctor before use.
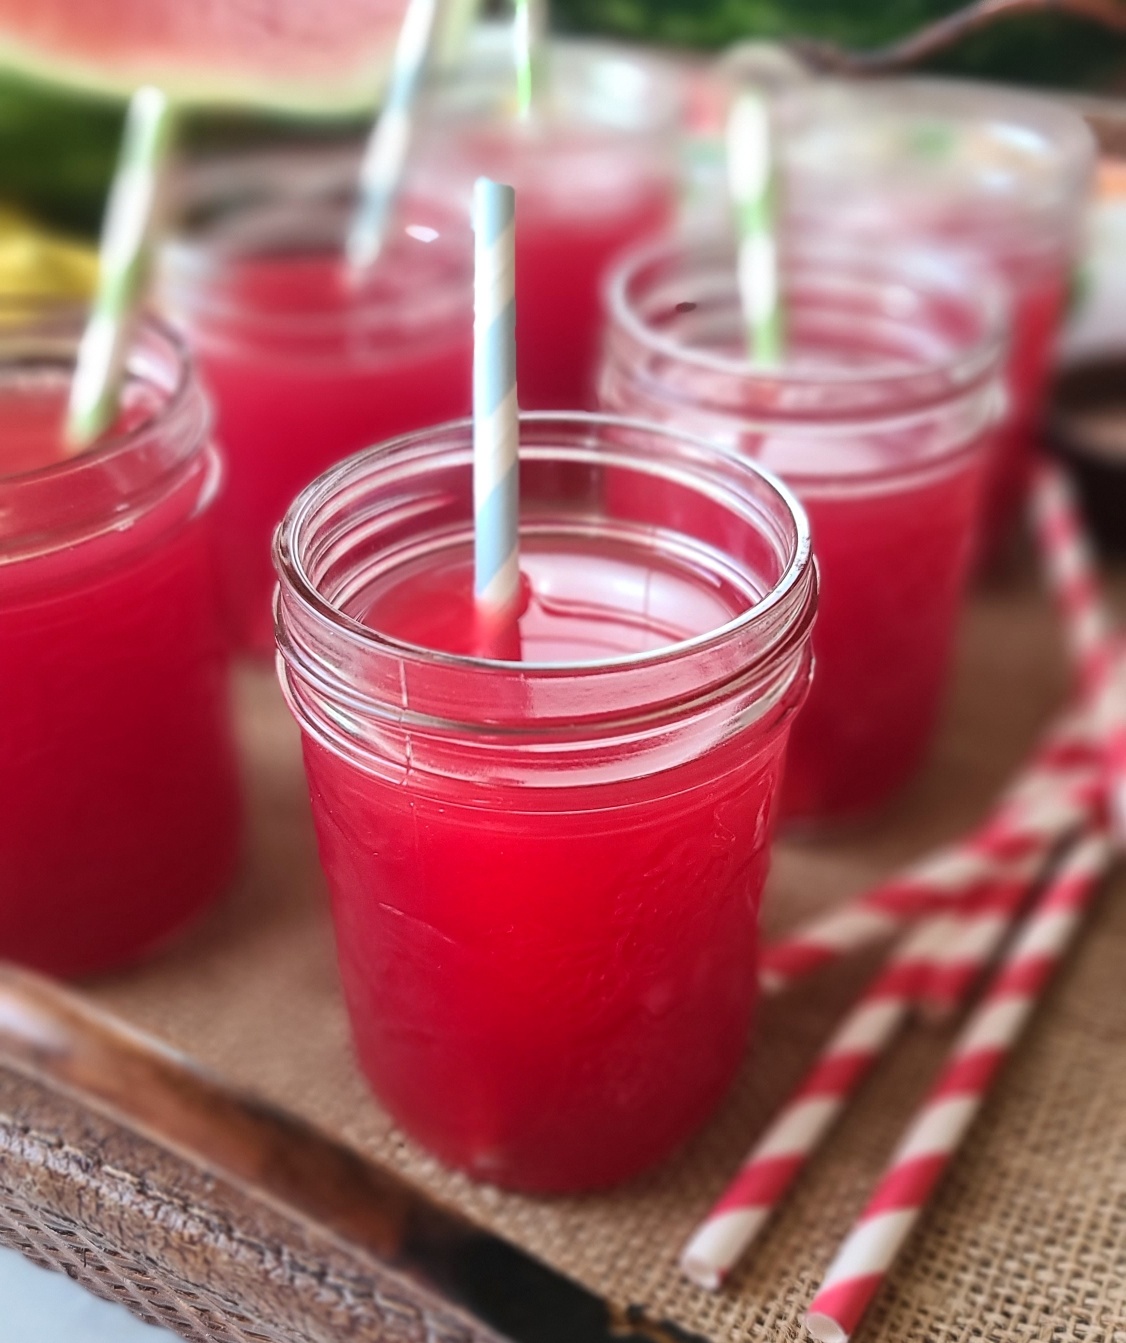
I’m here to give you all the juicy details about watermelon juice. Not just why I personally adore it, but why you will be hard-pressed not to love it too! Ex-squeeze me for all the puns. Also, learn how to make watermelon juice at home, how to store it plus how long it will stay fresh, and discover simple 1-ingredient stir-ins to entertain your taste buds.
At 92% water, watermelon is one of my favorite choices to stay hydrated, especially after runs, workouts and other active endeavors. During the summer season, icy cold juice (or even handful of frozen cubes) is so refreshing and in the winter months, I’ve been known to warm it up, which is surprisingly delicious. Either way, an 8-ounce serving of watermelon juice provides me fluids, vitamins and minerals that my body needs like vitamin C (19.4mg), vitamin A (67.2mcg), and B6 (108mcg), potassium (269mg), and lycopene (10.9mg).
Watermelon is a Smart Alternative to Soda
If had to name one vice, it would be drinking soda. But swapping with watermelon juice satisfies my craving in a naturally sweet way and helps me avoid the refined sugar, caffeine and artificial stuff. At 72 calories per 8-ounce serving, watermelon juice is a great alternative to sodas – plus you can even add sparkling water to make it a bigger, bubblier treat.
How to Make Watermelon Juice
Watermelon juice is really something you should make at home if you want to ensure the best beverage every time plus save a ton of money. I’ve seen bottled fresh watermelon juice in some better stores, but you really have to scrutinize the label to make sure you’re getting 100% juice and not flavorings and sugar fillers. Also, those elusive cold-pressed bottles of watermelon juice out there are expensive – anywhere from $3 to $5 or more for a “single” serving bottle. Heck for $5 or a little more here in Texas, I can get the whole watermelon and make much, much more juice (plus have leftovers enjoy a wedge or two on the side).
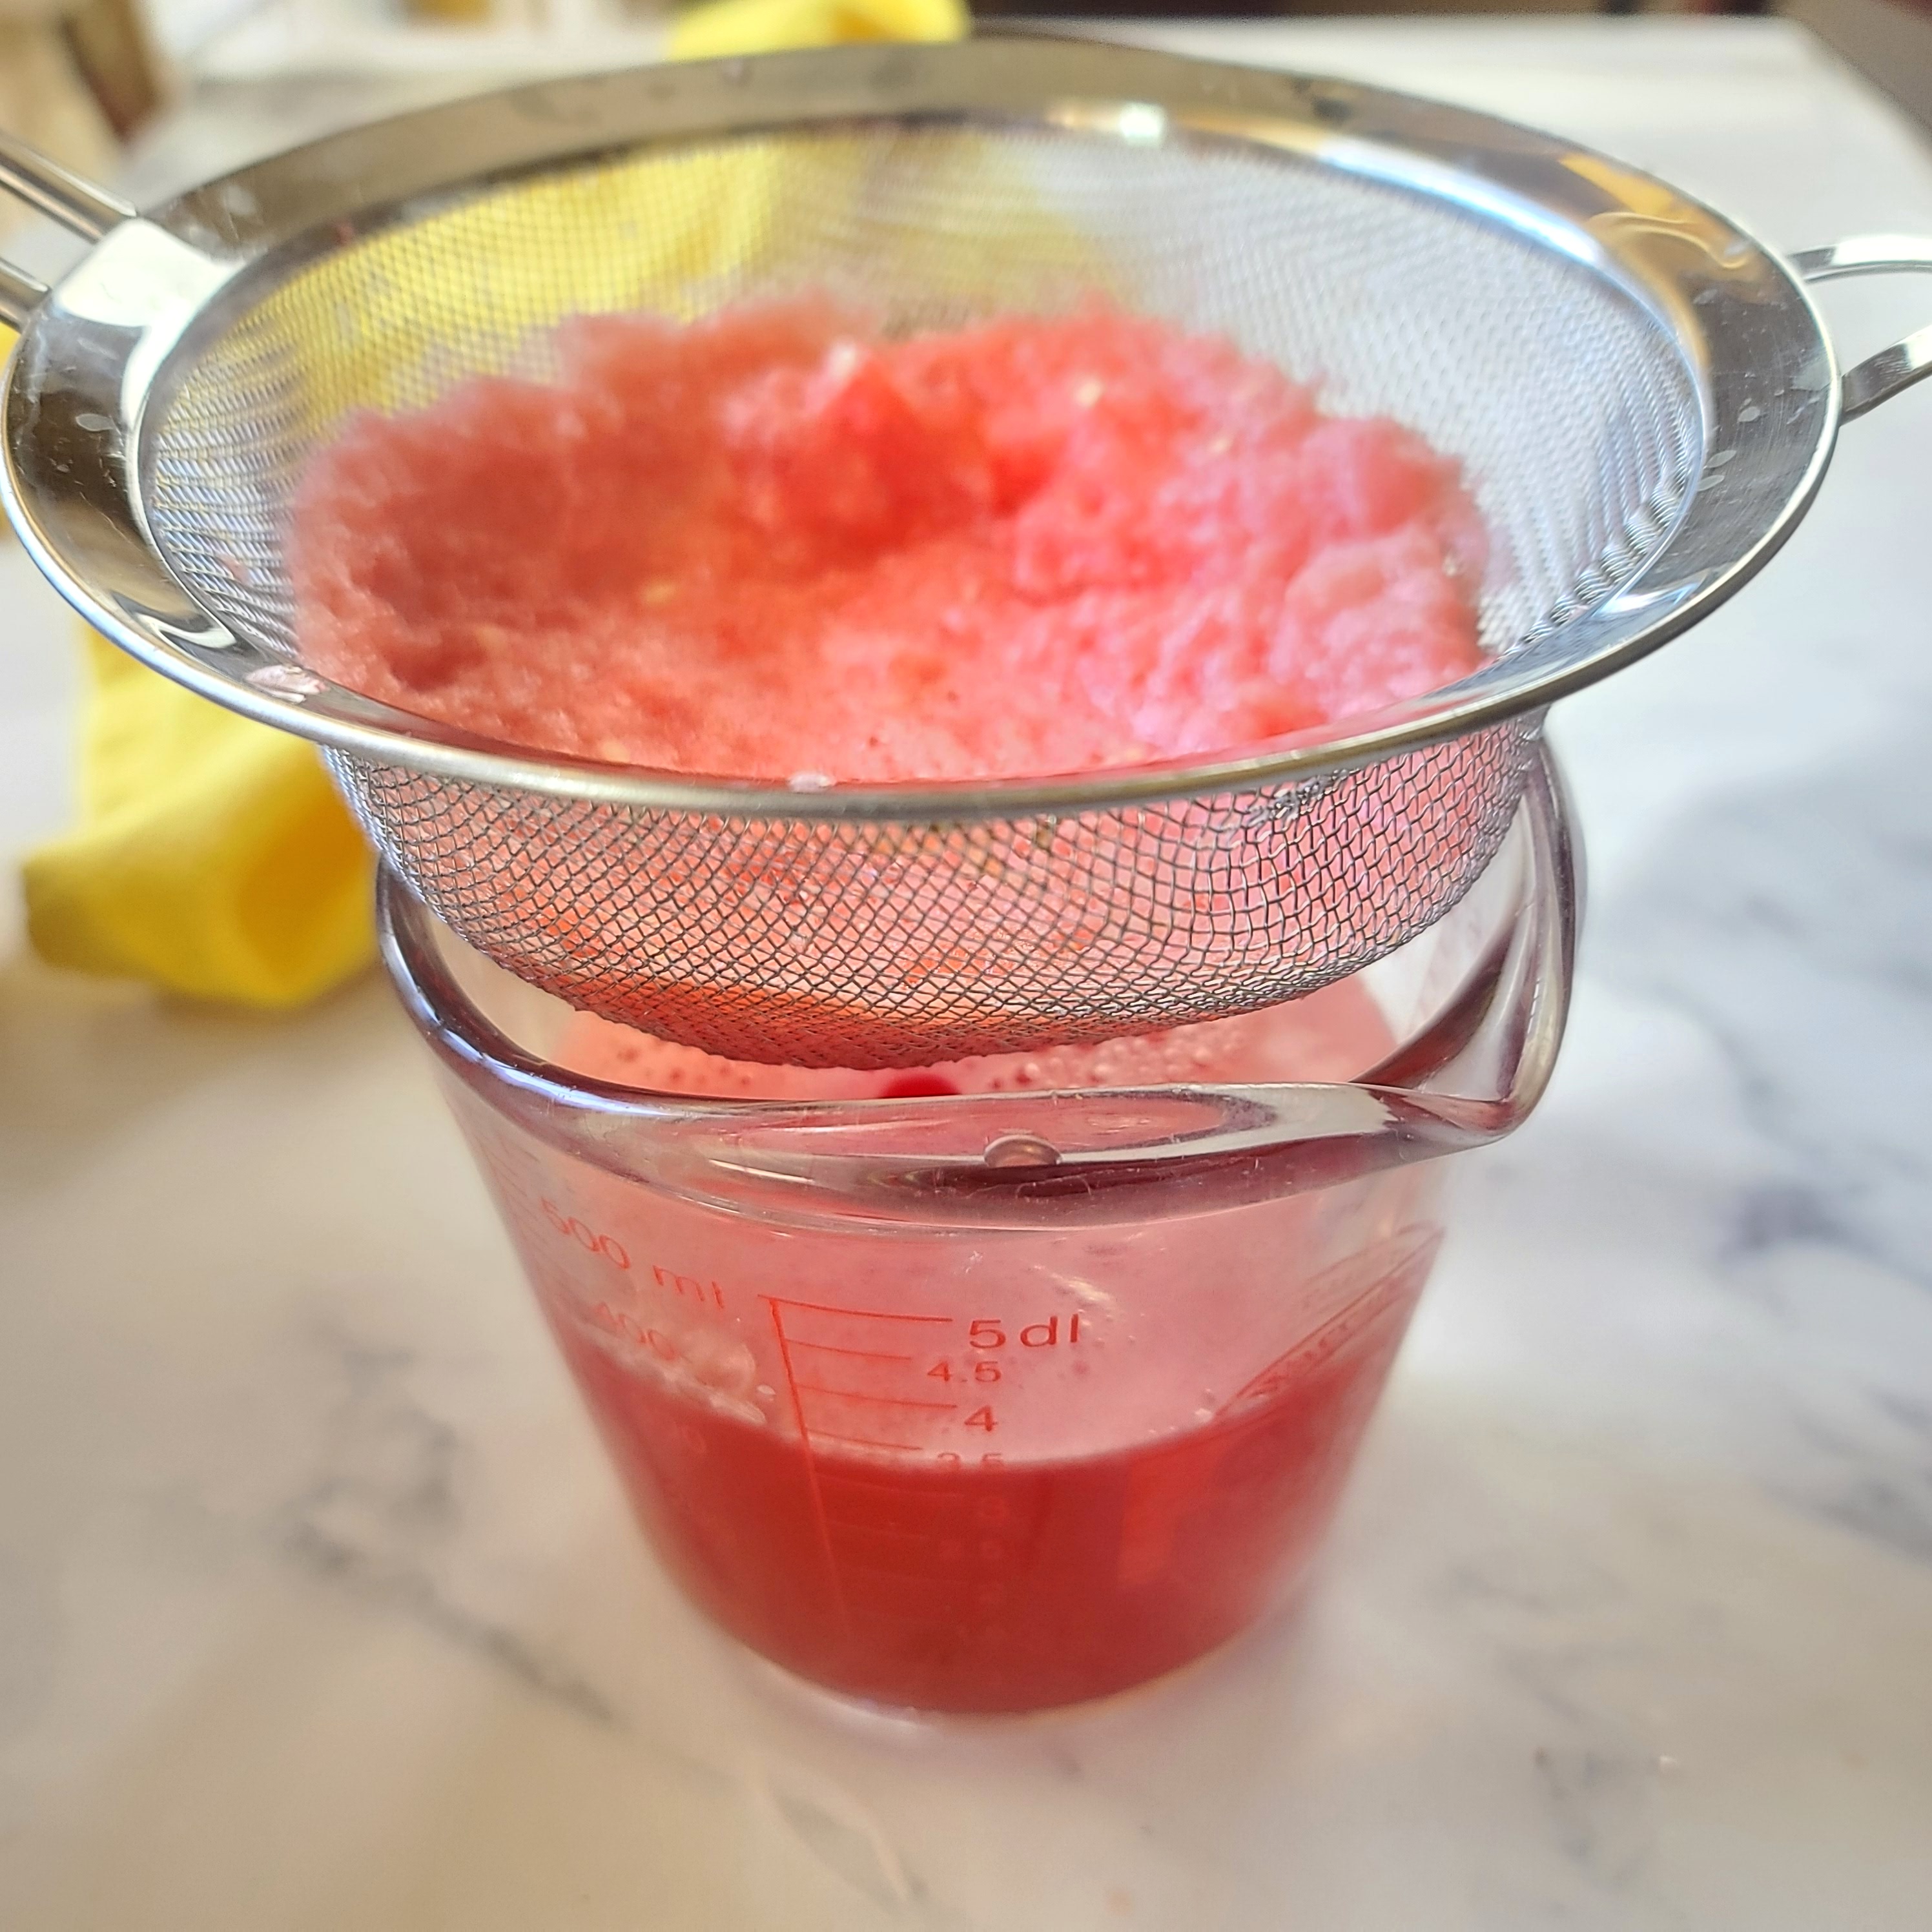
Also, here’s an easy watermelon juice tutorial from Watermelon.org You can see it’s as easy as cutting, blending and straining (if you desire).
Straining watermelon juice is not necessary, just stir up pulp before serving.
You can also avoid food waste by making watermelon juice with the remaining flesh of a cut watermelon that is over-ripe or is about to reach expiration in the fridge. Watermelon.org says that a large watermelon can last up to 7 days chilled between 9°F and 36°F. Also, I have another watermelon juice collecting hack. After I cut up a big watermelon to store in the fridge, I pour off the seeped juice sitting in the bottom of the container every night and morning – it’s amazing how much juice you collect, even when you end up eating all the watermelon! I also feel like it helps keep the texture of the cut watermelon at its best.
How Long Does Watermelon Juice Stay Fresh? Watermelon juice, because it is fresh and unpasteurized, should be consumed in 24 to 72 hours after juicing and kept chilled between 9°F-36°F In addition, the USDA recommends not leaving unpasteurized juice sitting out for more than 2 hours to prevent bacteria growth. At this time, watermelon juice can be frozen for longer term storage
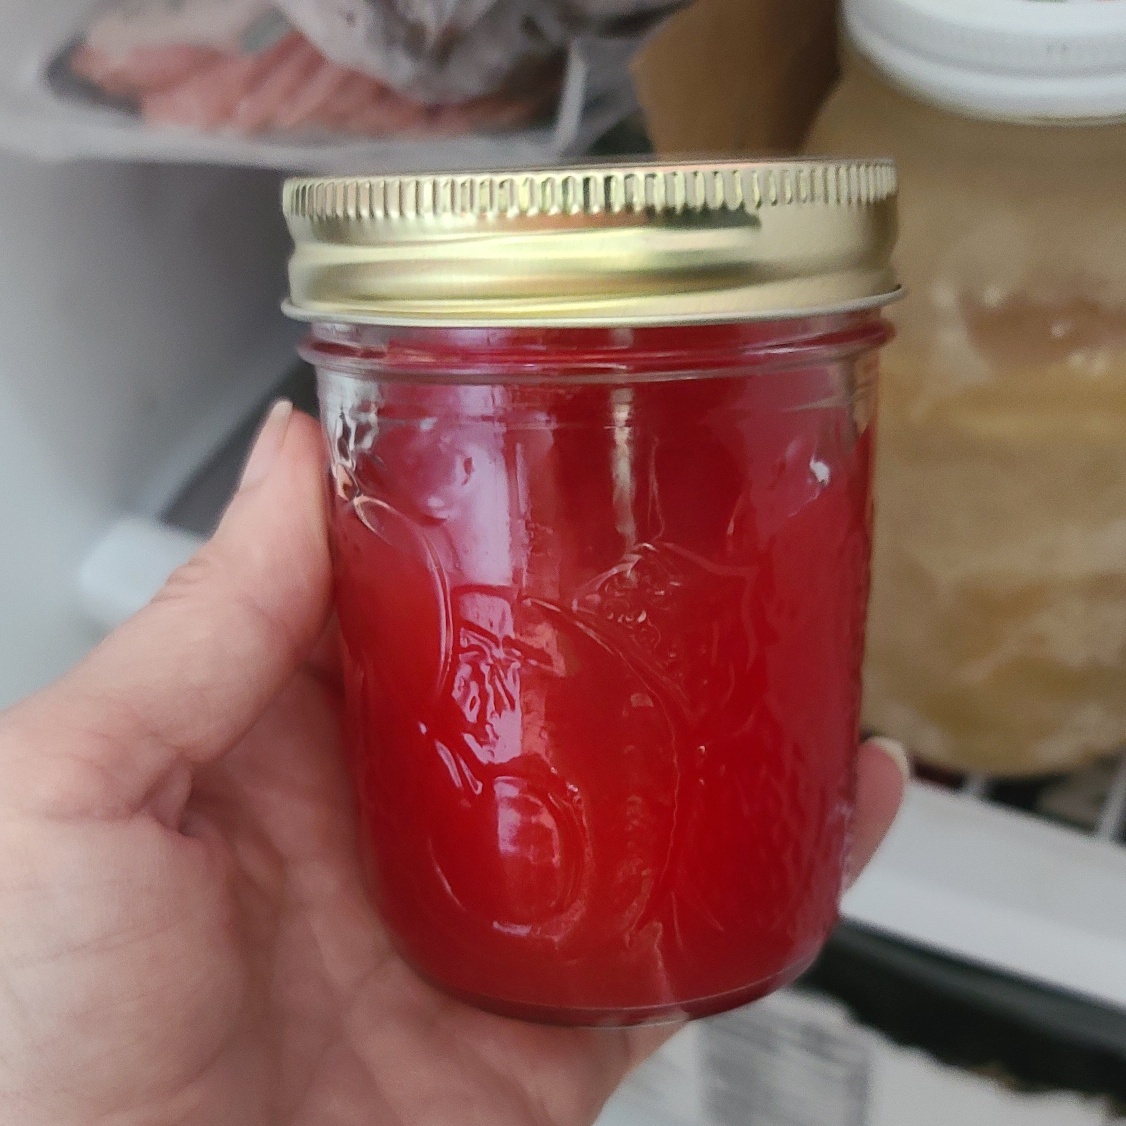
How to Freeze Watermelon Juice Freeze watermelon juice within 24-72 hours of making it and having storing it properly in the fridge. You can freeze watermelon juice for up to 6 to 12 months in a freezer set to 0°F. Freeze watermelon juice in glass canning jars, air-tight freezer containers (tubs or heavy baggies), or even ice cube trays (later pop out and store in a freezer bag). Make sure that your container has enough headroom at the top, about 1 or 2 inches for a jar, to allow for expansion during the freezing process. When ready to thaw, please set in the refrigerator overnight rather than leaving on the counter
Other Food Safety Tips for Cutting Watermelon & Juicing
Only use watermelon that are free from signs of damage. Bruises, fissures and mushy spots could indicate contamination. Wash hands thoroughly with soap and water before cutting watermelons. Before cutting watermelon for juicing (or just eating), wash the outer surface thoroughly with cool tap water to remove surface dirt. Use a clean knife. Chill cut watermelon within 4 hours of cutting and store between 9°F-36°F for no more than 7 days.
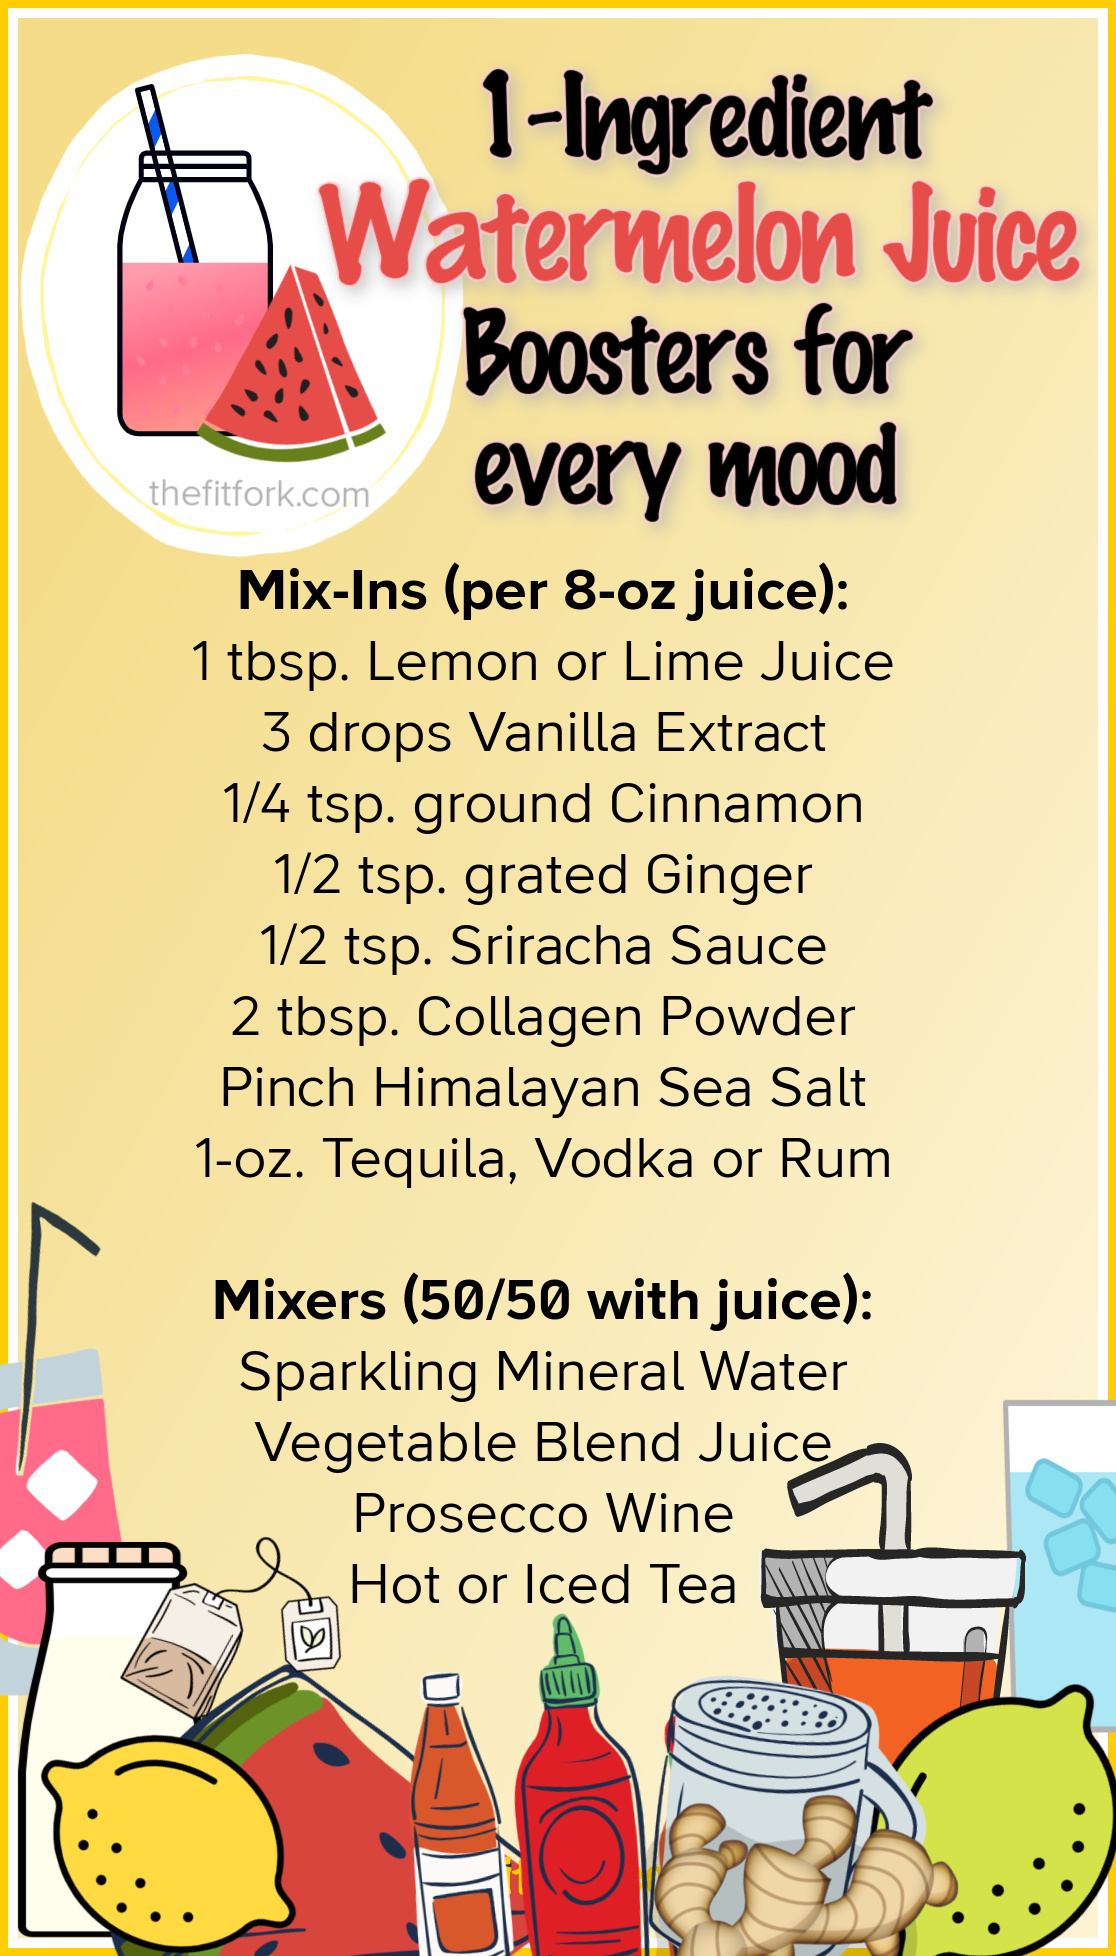
Single-Ingredient Watermelon Juice “Mix-Ins”
Looking for a simple way to switch it up! Have fun with these easy flavor ideas to boost your watermelon juice.
Watermelon Juice Pro-Tips for School-Age Parents:
Pour watermelon juice into ice-pop molds for a naturally sweet dessert.
Add a frozen bottle of watermelon juice to a child’s lunchbox as a drink that will thaw out by lunch and also keep the lunchbox cool.
Add sparkling water to watermelon juice as a faux-soda for children who are starting to beg for bubbly drinks.
Enjoy a refreshing, hydrating, nutrient-packed beverage by making watermelon juice. Making your own watermelon juice is much more economical the purchasing fresh in the store (if you can even find it). So great for post workout refueling (or to make cocktails and mocktails)!
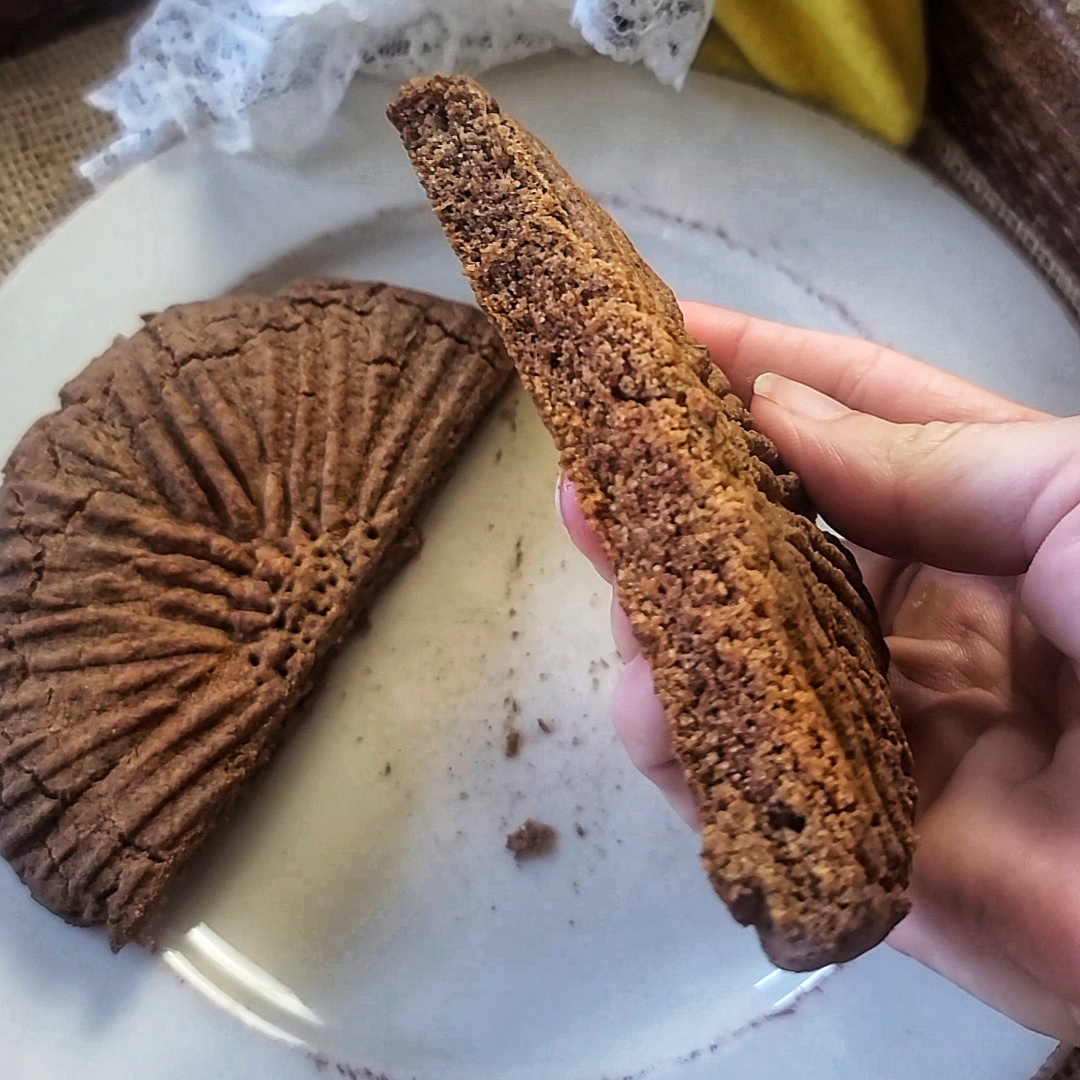
A great way to keep your hand mindless out of the cookie jar is to bake up a single serve cookie — when it’s gone, it’s gone! My Giant Peanut Butter Protein Cookie for One tastes nostalgically amazing, yet is packed with protein so that it fills you up and you CAN be satisfied with just one.
Actually, you may even be happy and your sweet tooth satisfied with just half a cookie — it’s HUGE! I typically eat half and save the other half for later in the day, for double the yum time!
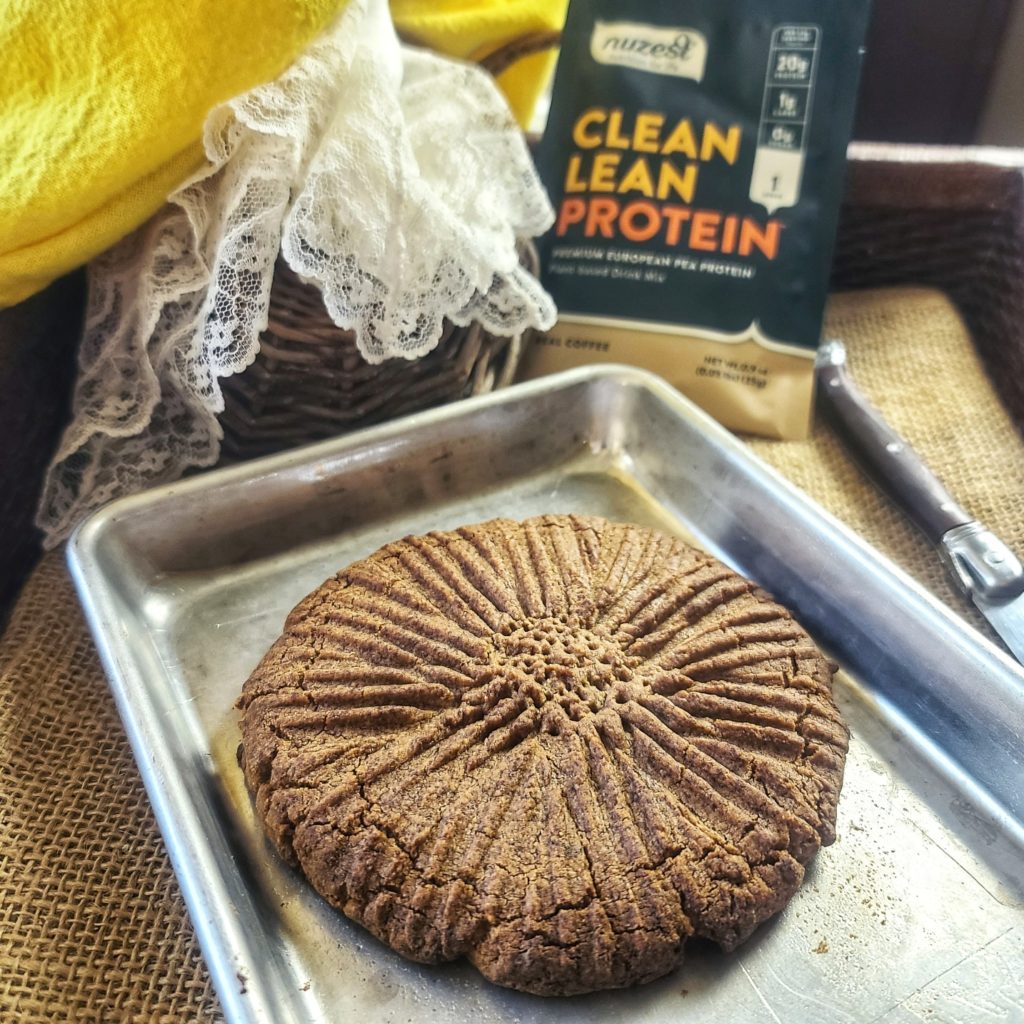
In order to avoid heating up a big oven to bake just one cookie, I made this protein peanut butter cookie in the toaster oven — I use the Instant Oven™ 18L Air Fryer Toaster Oven which is an air fryer and multi-purpose toaster oven. Only a few minutes to put the batter together and about 9 to 10 minutes to bake. In less than 15 minutes you’ll be enjoying a fresh-from-the-oven protein dessert.
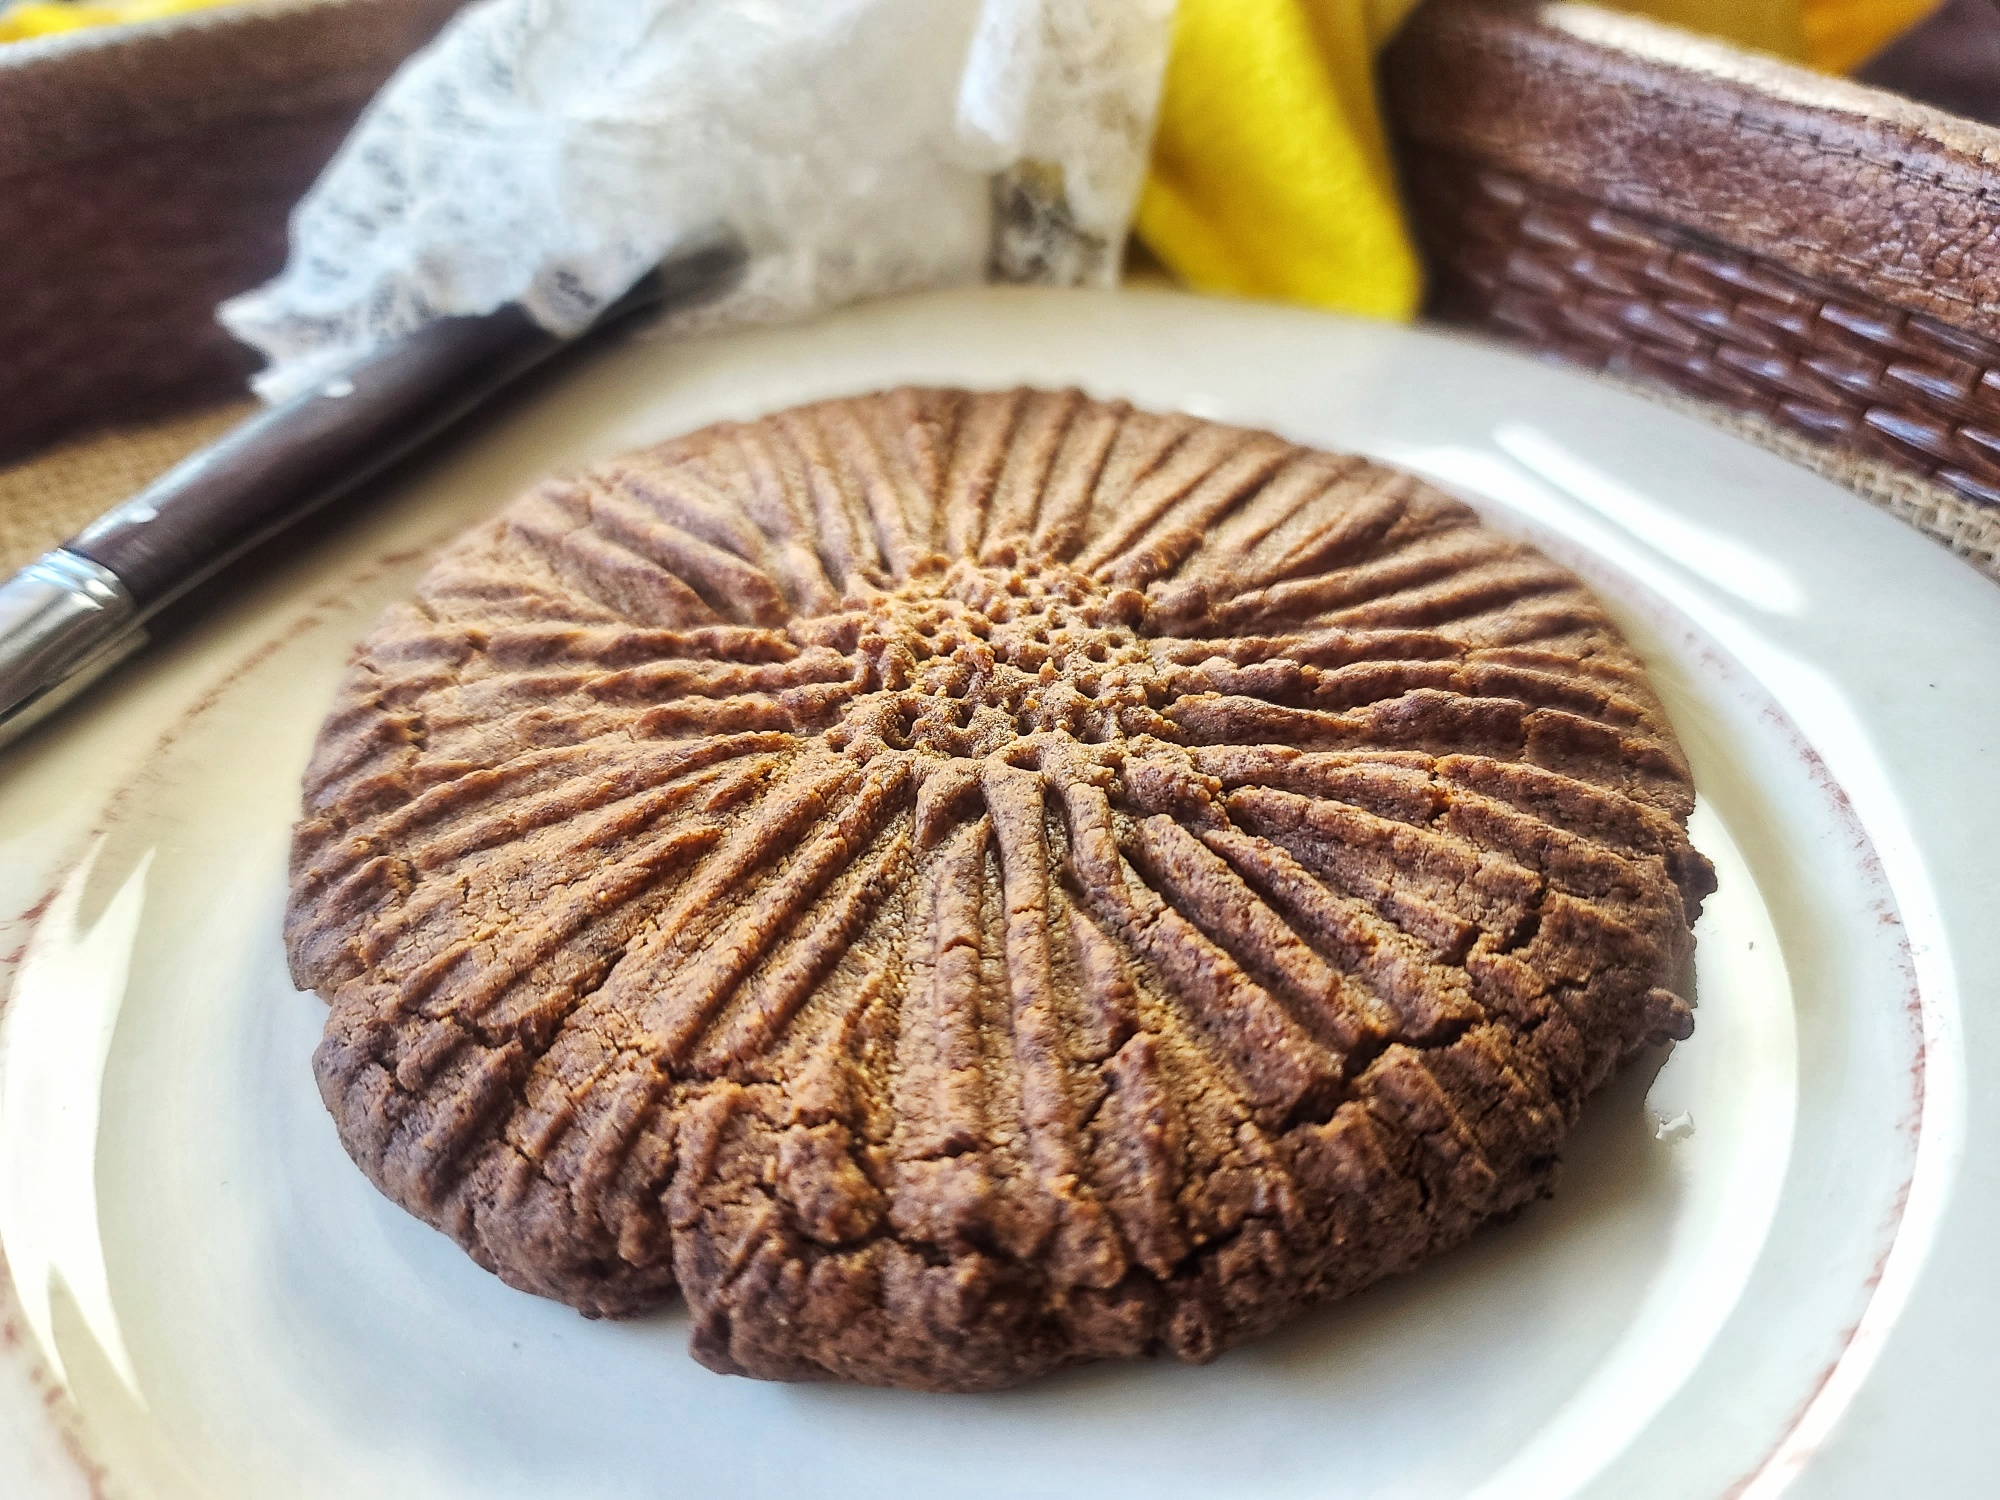
Giant Peanut Butter Protein Cookie for One is HUGE, big enough to share (or not)!
In terms of the best plant-based protein powder, I like the Clean Lean Protein Powderfrom Nuzest –it has a great nutrient profile and works for vegan, vegetarian and paleo diets. I love it for this protein powder cookie recipe and smoothies and other uses too! You can save `15% with my discount code: FITFORK .
Before baking the cookie, you want to press the dough ball out into an approximate 5″ diameter circle, and then make the fork marks which as SO nut butter cookie important. Because this protein cookie is bigger that an standard old fashioned peanut butter cookie, you can’t really to the criss-cross hatch marks. Instead, I used the tins of the for to go around the edges of the cookie with points of for going up almost to center of cookie, but not quite — this made a “center” that I then used the tips of the fork to make a bunch of little pock marks. It all looked like a flower to me in the end and didn’t puff out the design during baking either!
Pin this for later!
Note: This post contains affiliate links. I may earn a small commission from purchases made through links, however price to you remains the same. Proceeds help offset operating costs for The Fit Fork. Thank you!
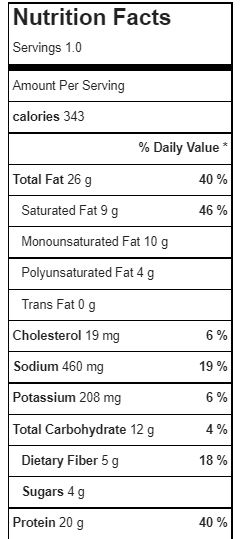
A delicious, low-carb peanut butter that will make you feel nostalgic for the treats of your childhood, but offers 20g of protein and only 7g net carb. Bake it in a toaster oven! Big enough to share, but you may not want too!
Course:
Dessert, Snack, treat
Keyword:
cookie, cooking for one, peanut butter, protein powder
Servings: 1serving
Calories: 343kcal
Ingredients
2tbsp.buttersoftened
2tbspnatural-style peanut butter
2tbspgranulated stevia blend baking sweetener
1tbspliquid egg white
1/8tspbaking soda
1scoop Nuzest Lean Clean Protein Powder (chocolate or vanilla)or 2tbsp other protein powder
1tbspcoconut flour
Instructions
Mix together butter, peanut butter, stevia and egg white.
Stir in baking soda, protein powder and coconut flour. Shape into big dough ball. Press out into thick circle with clean hands.
Use tins of fork to press out remainder of way to about 1/3” thickness and approx. 5” diameter.
Bake for 9 to 10 minutes. Let cook for 5 minutes on baking sheet