Granola Honey Sweet Potato Fries! Pre-race carb loading (or every day munching) at it’s finest – all the good stuff, so easy! Based on a single-serve recipe on page 215 my Cooking for One for Dummies cookbook that can be ordered now on Amazon, Barnes & Noble, or your other fine book retailer online or in person.

Baked or air-fryer sweet potato fries are one of my go-to side dishes the night before a big workout or race. Those healthy carbs from the sweet potato and honey give me energy and the prep method doesn’t make me feel heavy and gross with added oils I don’t need.
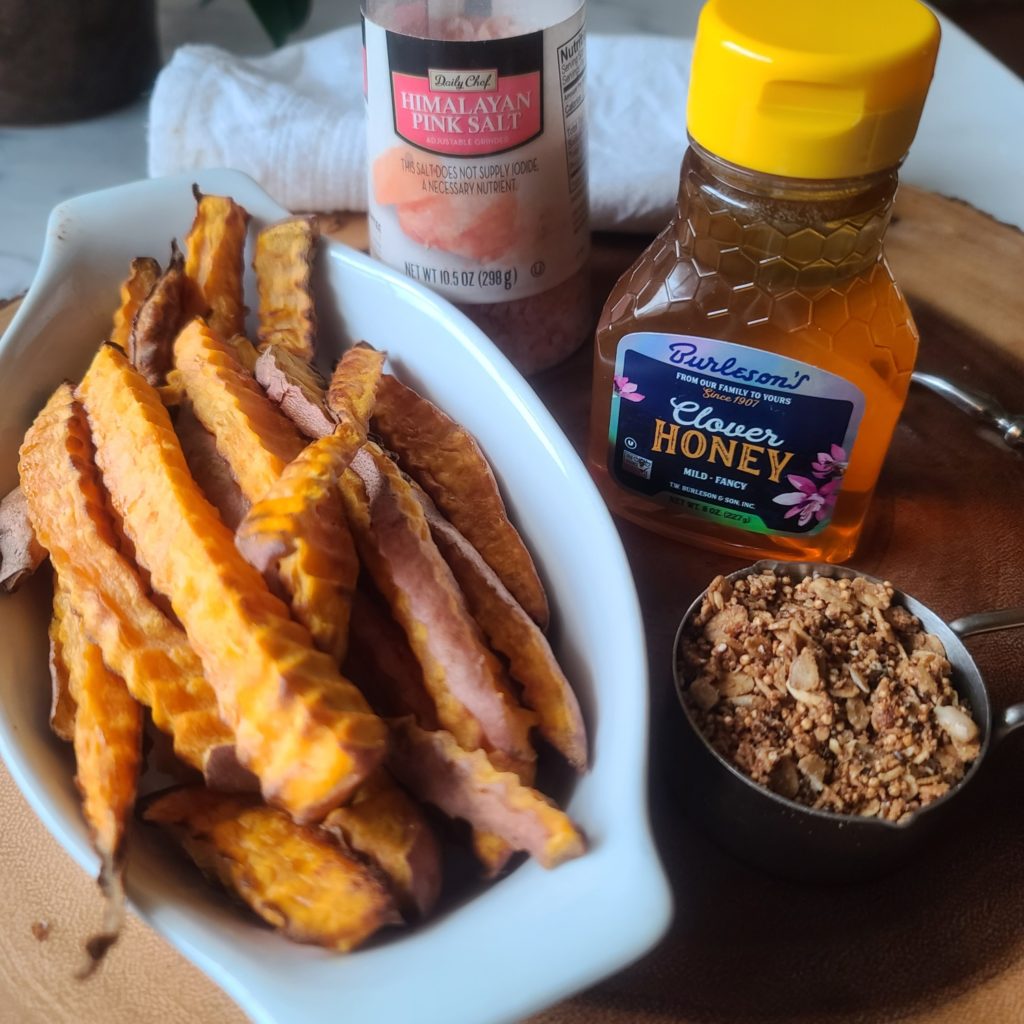
I was inspired to add honey and coarse sea salt to my fries after eating a similar dish at a steak house years ago before a 50 miles race!!! So yummy, and I know helped me make it through many of those miles in the first half.

Adding granola was just an “ah-ha” moment, when I was curious about adding a little extra texture and crunch. A box of salty-sweet granola made with oats, ancient grains, pecans and cinnamon was sitting out, so I sprinkled some on and it was like magic. You can use any granola you want, I just happed to have THIS ONE on hand.
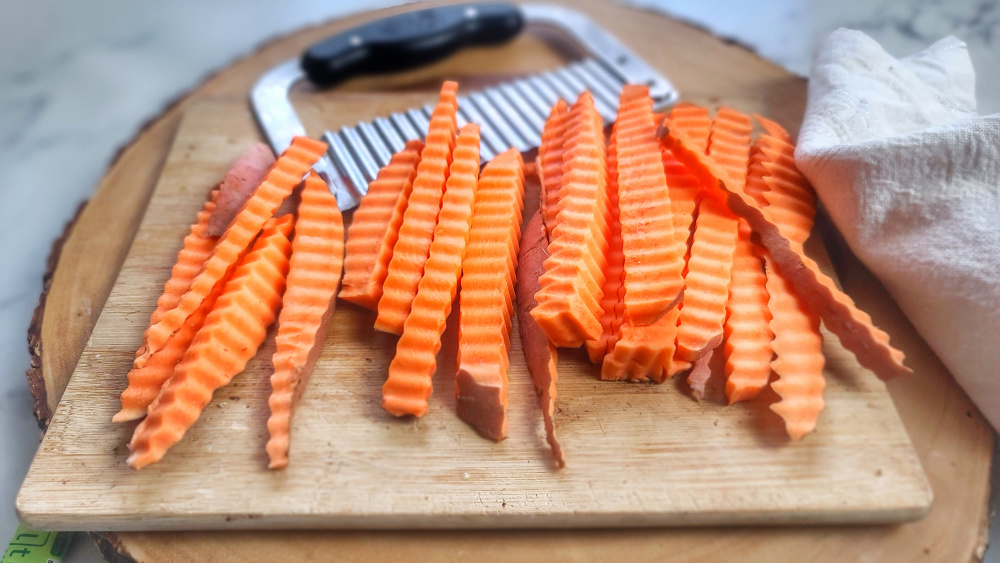
BTW, I used a Crinkle Cut Potato Tool, but you can also just use a knife!
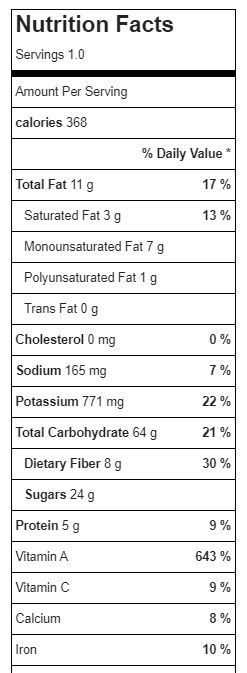
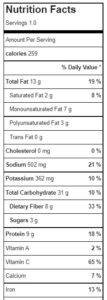
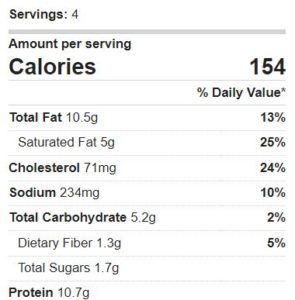
Sometimes I’m the only one in the family who wants a sweet potato for one, so I came up with this single-serve sweet potato fry recipe. With 368 Calories, 11g fat, 64g carb, 8g fiber, 5g protein, it’s pretty generous sized and can be split with a friend if not as hungry as I usually am!!
Looking for more impressive yet easy sweet potato recipes? Try my Mashed Rosemary Sweet Potatoes with Caramelized Onions! Delicious!
Looking for a quick and easy granola sweet potato recipe? Simple ingredients come together in minutes in an air fryer (or conventional oven) tomake the tastiest, crunchiest, salty-sweet (swalty) fries around!! You’ll love recipe for one (or two)!
- 10 ounce sweet potato approx
- 2 teaspoons olive oil
- 2 teaspoon honey
- ¼ teaspoon Himalayan Sea salt
- 2 tablespoon salty-sweet granola of choice
-
Preheat oven to 400F or Air fryer to 360F.
-
Wash, dry and cut sweet potato into 1/3” thick fry-sized pieces. Place wedges in pile on baking sheet and drizzle with olive oil; toss to coat. Spread out in even layer on pan or transfer to Air fryer basket.
-
Bake for 25 min in oven or 12 min in air fryer, flipping half way. Will be done when turning crispy brown around edges and soft in center.
-
Let cool a couple minutes. Sprinkle with salt and drizzle with honey, toss gently. Sprinkle with granola!
