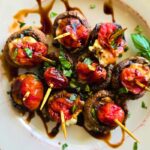
Air Fryer Caprese Stuffed Mushrooms (Easy 15-Minute Low Carb Appetizer)

If there’s a sweet spot in my kitchen life, it’s the intersection of looks impressive and requires almost no effort. A plate full of Caprese Stuffed Mushrooms situation lives right there.

It’s the kind of appetizer that makes people think you planned ahead, prepped thoughtfully, and maybe even “tested a few versions.” In reality? You pulled a few things together, tossed them in the air fryer, and called it a win. Low carb, high flavor, and only about 31 calories per mushroom and always a hit. Also worth noting: these are dangerously snackable. You will think you made enough. You did not – lol, so just heed my warning and double the batch!

Air Fried Stuffed Mushrooms: Lazy-Genius Ingredients
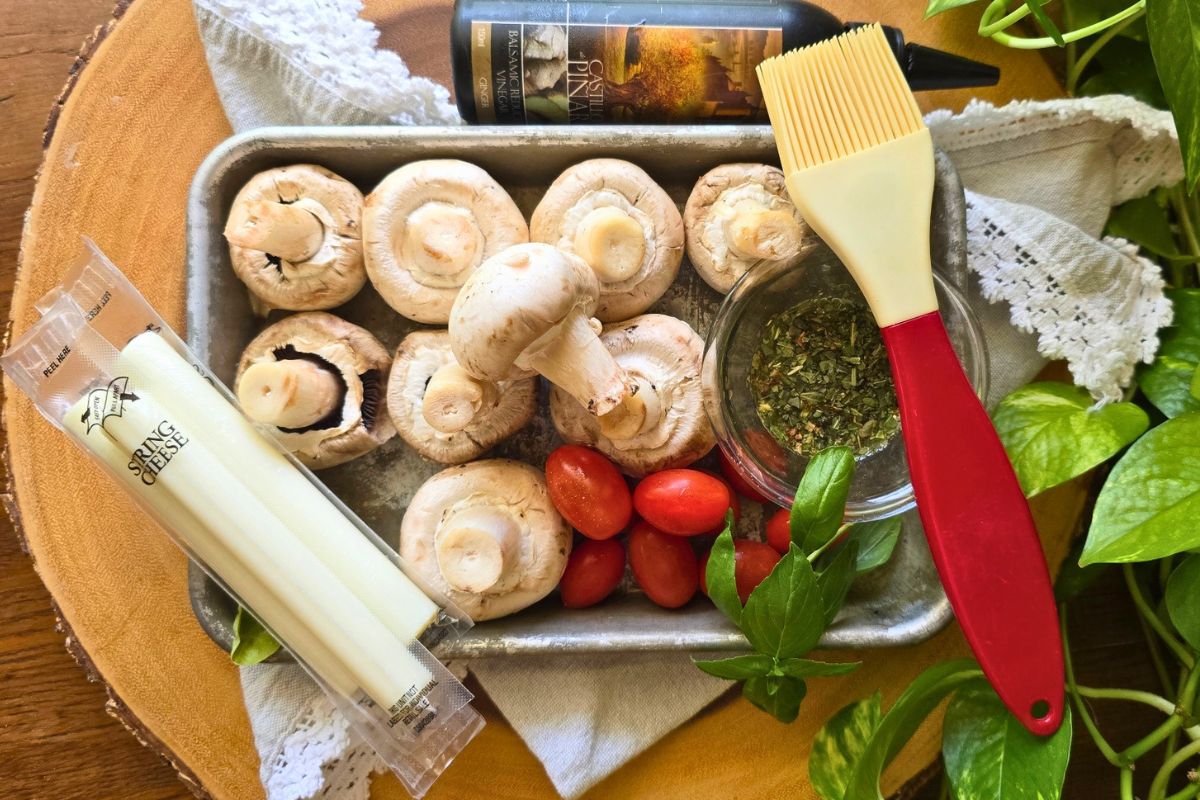
These stuffed mushrooms hit that perfect balance of sweet and savory. Think Caprese salad but reimagined into a warm, cheesy, handheld bite. Gourmet without requiring any actual gourmet behavior.

Mushrooms: Use white button mushrooms or cremini. They hold their shape, roast beautifully, and don’t turn into mushy little puddles in the air fryer.

Mozzarella Cheese Sticks: Lol, genius, right?! Cutting each cheese stick into a few chunks is honestly the most “effort” this recipe demands. For a flavor twist, try sharp cheddar cheese sticks instead of the traditional mozzarella.

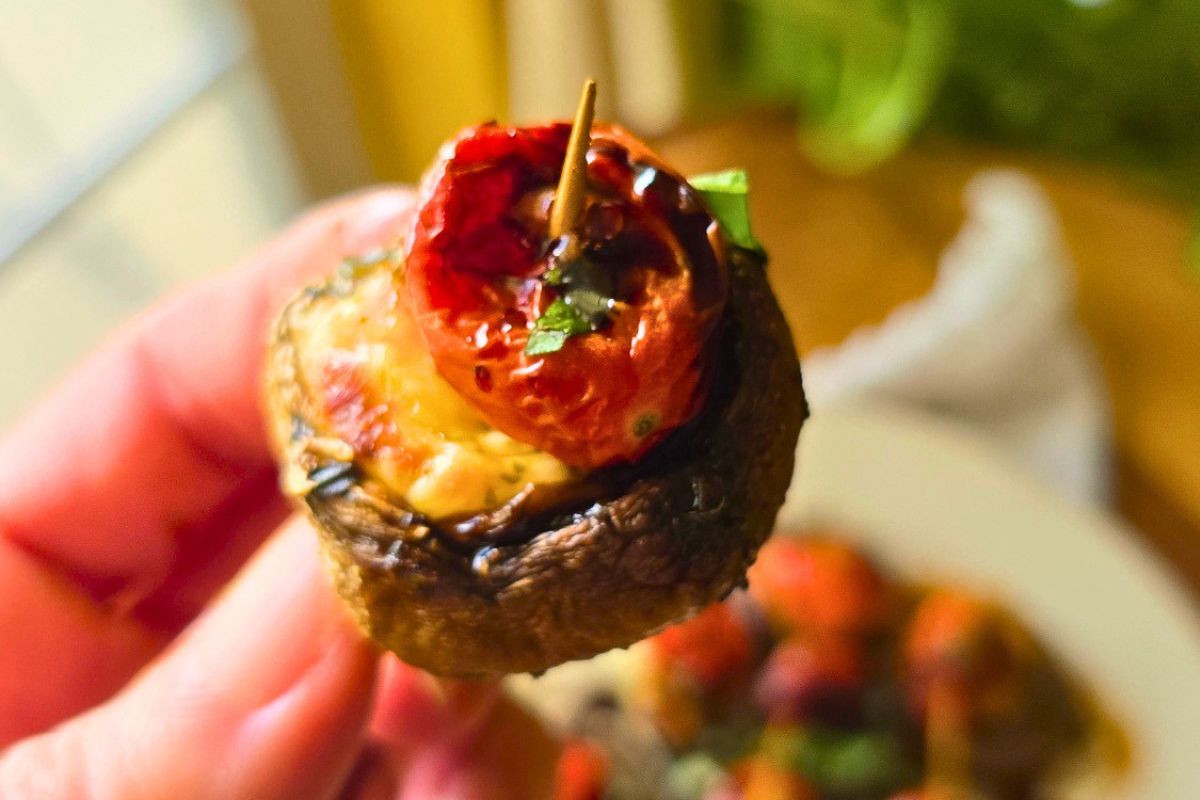
Grape tomatoes. A grape tomato skewered to the top of each cheese-stuffed mushroom adds a burst of sweet flavor. Use a toothpick to fasten and prevent both rolling off while roasting and also having the tomato explode with air frying (that little puncture from the toothpick releases the pressure)
Fresh basil: The herb of choice for Caprese inspired recipes. Use a sharp paring knife to chiffonade into thin, ribbon-like strips before garnishing.

Balsamic syrup:  Balsamic syrup (commonly known as balsamic glaze or balsamic reduction) is a thick, syrupy condiment made by simmering balsamic vinegar until it reduces into a concentrated, sweet, and tangy glaze. You can make yourself, but SO MUCH EASIER to by it bottled.

Why You’ll Love Mozzarella Stuffed Mushrooms Caprese Style
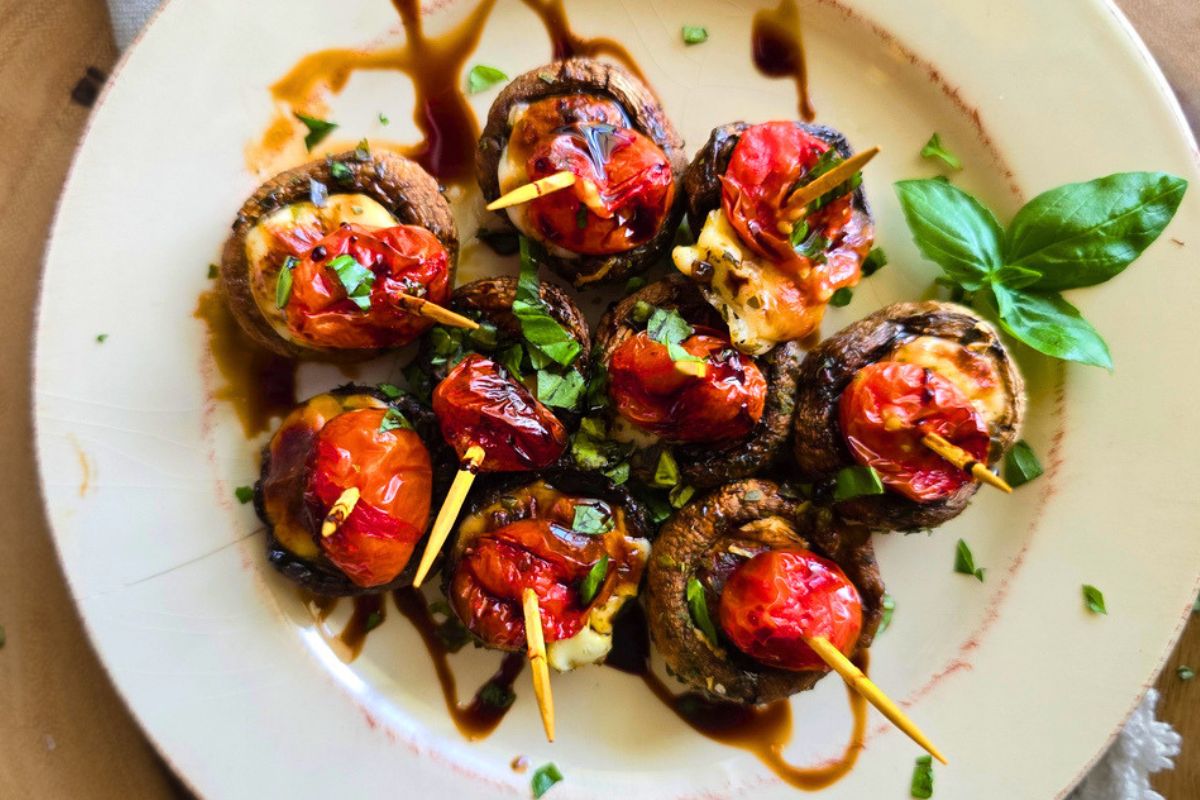
The pre-made balsamic syrup drizzle and cheese sticks (like the kiddos snack) on are two little hacks that can stay your secret!

  • It tastes like something you’d order at a wine bar.
  • It takes about the same amount of effort as making a grilled cheese.
  • The air fryer (my air fryer, love it) does almost all the work – but you can also use a regular oven (details in recipe below).
  • Just a handful of simple ingredients.
  • Low carb, just 31 calories each, with a couple grams of protein.
  • Fancy enough for guests, easy enough for a Tuesday.
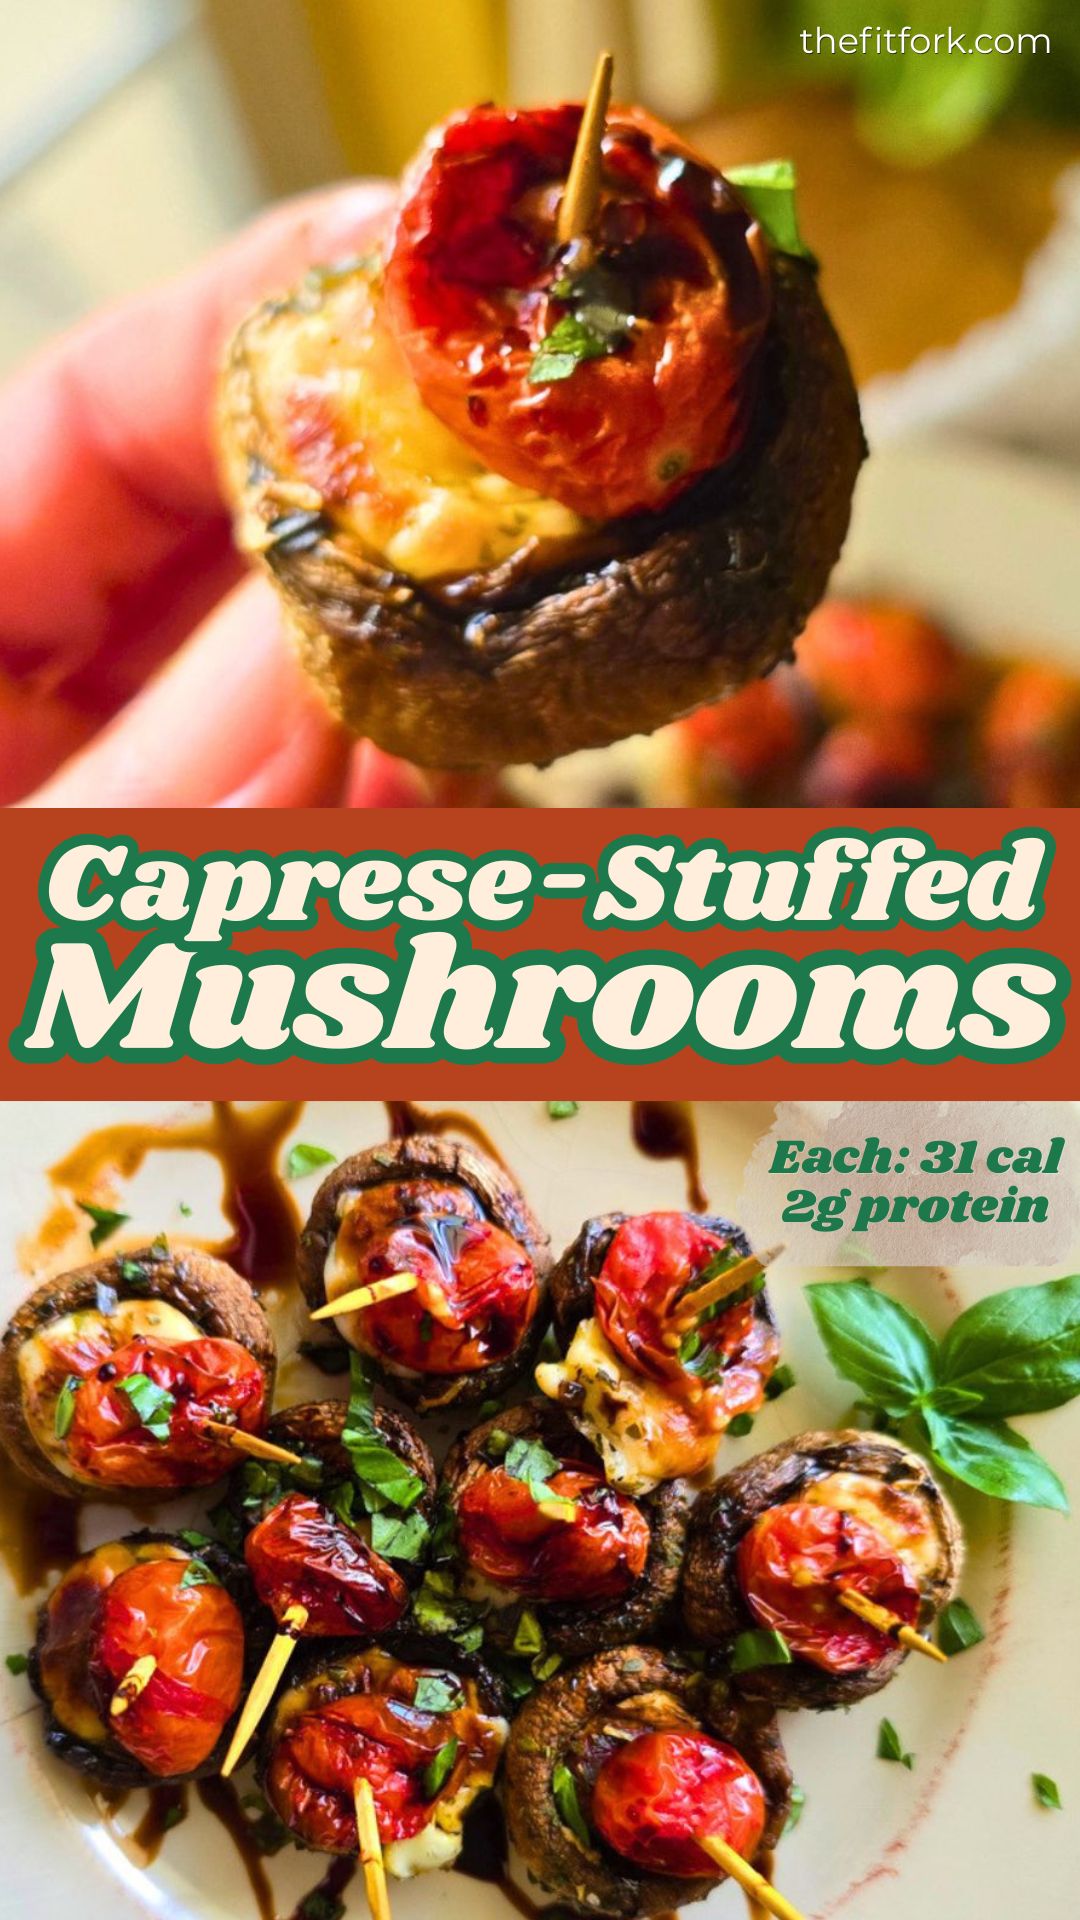
Air fryer Caprese Stuffed Mushrooms are a low carb, 31-calorie, easy appetizer made with mozzarella, tomato, basil, and balsamic glaze in just 15 minutes.
Air Fryer Caprese Stuffed Mushrooms (Easy 15-Minute Low Carb Appetizer)
Prep Time
5 mins
Cook Time
10 mins
Total Time
15 mins
 
Air fryer Caprese Stuffed Mushrooms are a low carb, 31-calorie, easy appetizer made with mozzarella, tomato, basil, and balsamic glaze in just 15 minutes.
Course: Appetizer, Snack
Cuisine: Italian, low carb
Keyword: air fryer, caprese, cheese stick, finger food, mozzerella, mushroom, party food
Servings: 9 mushrooms
Calories: 31 kcal
Ingredients
  • 1 pint 8-oz. White Button or Cremini mushrooms medium to larger sized ones work best (my container had 9)
  • 2 teaspoon Italian dressing or just olive oil + ½ tsp Italian seasoning
  • Salt and ground black pepper to taste
  • 2 mozzarella cheese sticks
  • 9 Grape tomatoes or enough to match quantity of mushrooms on hand
  • 1 tablespoon chopped fresh basil
  • 1 tablespoon balsamic syrup
Instructions
  1. Preheat air-fryer to 380°F (Or oven to 350°F).
  2. Remove the stems from the mushrooms by gently twisting them off. Discard or save for another use.
  3. Place mushroom caps on air fryer try (or baking sheet), smooth side up, and brush with Italian dressing and season with a little salt and pepper. Flip mushrooms back over so openings are face up.
  4. Slice cheese sticks into approximate 9 pieces* Place a piece of cheese inside the opening of each mushroom.
  5. Add a grape tomato to the top of cheese-stuffed mushroom, keeping in place upright with a toothpick (using the toothpick will also prevent tomato from bursting in the air-fryer)
  6. Cook in pre-heated 380F air fryer for 10 minutes (or traditional oven at 350F for 20 minutes) or until tomato is softened and roasted and cheese is gooey.
  7. Remove and drizzle with balsamic syrup and garnish with basil.
Recipe Notes

*Note: My pint of mushrooms contained 9 button mushrooms, so I used 9 tomatoes and cheese sticks cut into 9 pieces. You may need to adjust depending on your mushroom count (pints can vary based on the size).
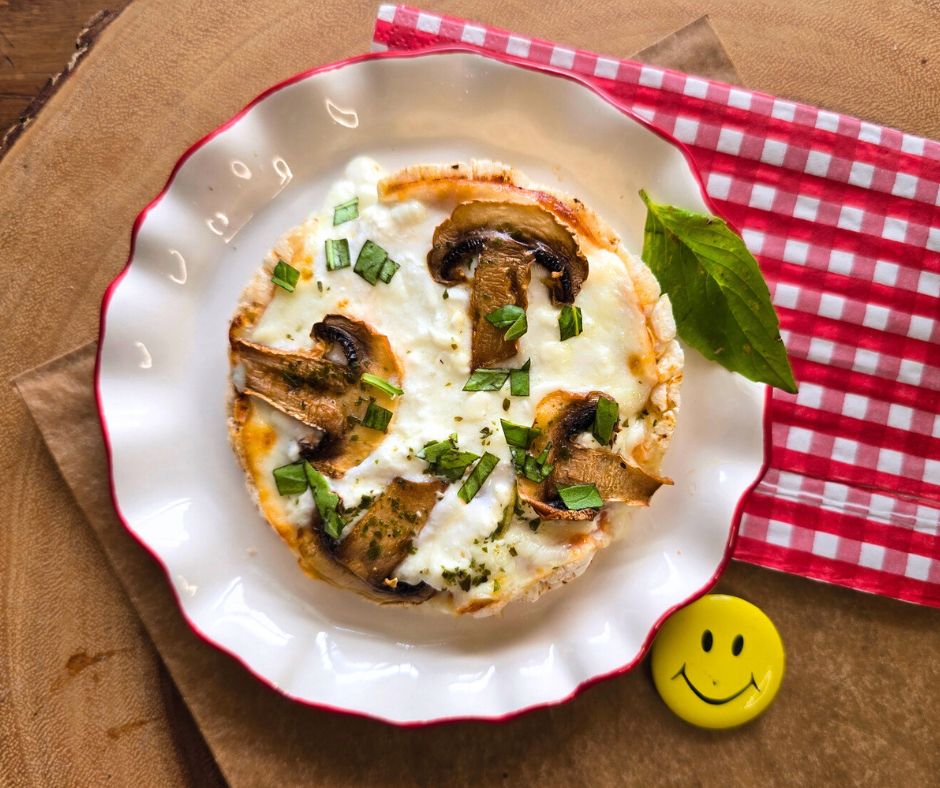
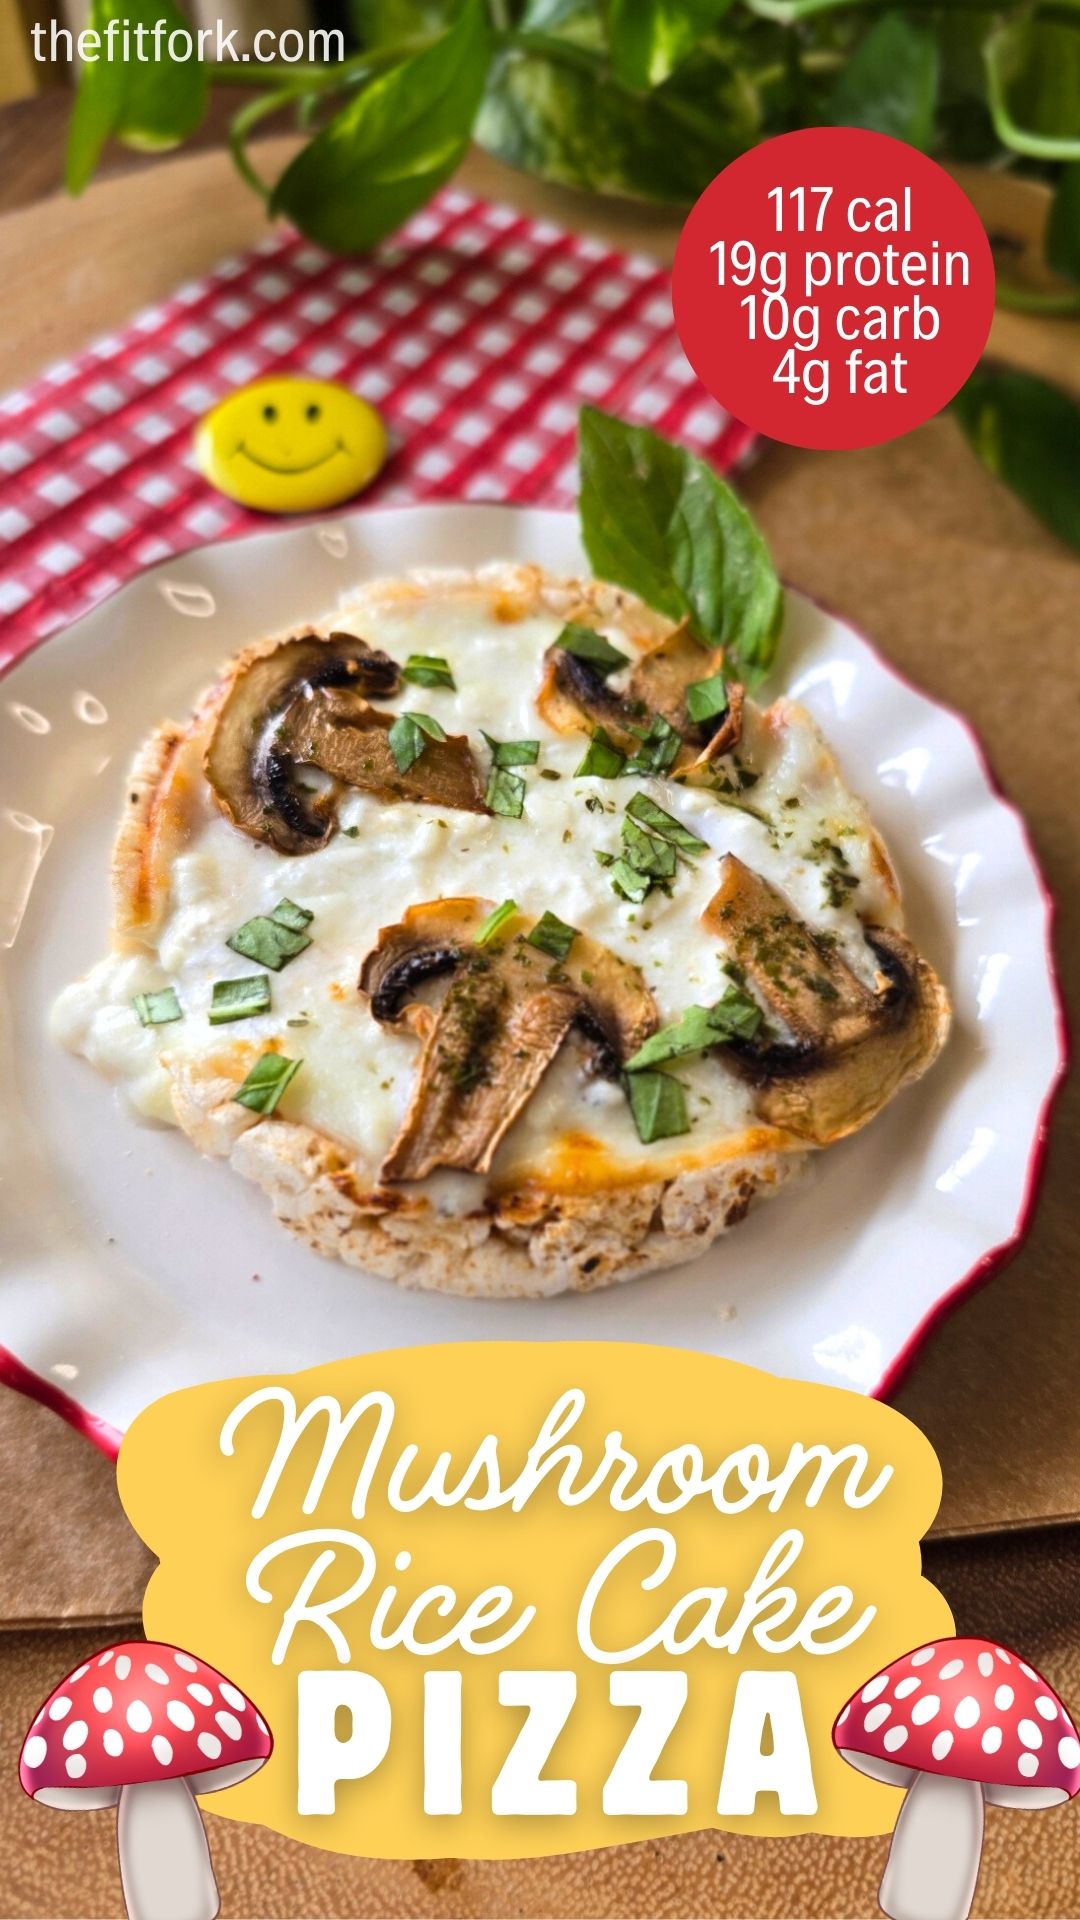
Mushroom Rice Cake Pizza (High-Protein Air Fryer Snack in Minutes)

If you’re craving something savory, cheesy, and satisfying — but still want to keep things healthy — this Mushroom Rice Cake Pizza is about to become your new go-to snack.

Made in the air fryer in just minutes, this mini “pizza” delivers big flavor with minimal effort. With 10 grams of protein and only 117 calories, it’s perfect for those in-between meals when hunger hits but dinner is still a way off.

Whether you’re fueling a workout, managing busy days, or simply trying to snack smarter, this recipe fits seamlessly into a balanced lifestyle.

Why You’ll Love This Mushroom Rice Cake Pizza

Unlike many “healthy” snacks that leave you wanting more, this creative mini pizza delivers real satisfaction and combines convenience, nutrition, and comfort food flavor:

  • Ready in under 10 minutes
  • High-protein and low-calorie
  • Budget-friendly ingredients
  • No complicated prep
  • Crispy, cheesy, and filling
  • Perfect for meal prep or quick snacks

High-Protein Secret: Cottage Cheese

In addition to the rice cake, the other secret ingredient in this recipe is 2% cottage cheese. This simple swap helps turn a basic snack into a protein-packed mini meal.

When drained and layered onto the rice cake, it warms to create a creamy texture while boosting protein. It blends seamlessly into the pizza, adding nutrition without affecting flavor. To keep the rice cake from getting soggy, make sure that you have drained off as much liquid as possible from cottage cheese and are layering on TOP of the provolone slice, not under it.

Easy Recipe Variations

Customize this rice cake pizza with your favorite flavors to keep things fresh and exciting.

Extra Cheese: Add a second slice of provolone, mozzarella or parmesan for a richer bite.

Spicy Version: Top with red pepper flakes or chili oil.

Meat Lover: Add turkey pepperoni or lean ham. Ground beef crumbles are delicious too.

Veggie Boost: Try chopped spinach, bell peppers, or zucchini.

Pesto Style: Replace tomato sauce with pesto.

When to Eat This High-Protein Snack

Mushroom Rice Cake Pizza is quick enough for busy schedules and satisfying enough to feel indulgent. Ideal for:

  • Afternoon slumps
  • Post-workout recovery
  • Late-night cravings
  • Light lunches
  • On-the-go days
Mushroom Rice Cake Pizza
Prep Time
5 mins
Cook Time
4 mins
Total Time
9 mins
 
This Mushroom Rice Cake Pizza is a quick, high-protein air fryer snack with only 117 calories and 10g protein. Made with cottage cheese, provolone, and mushrooms, it’s crispy, cheesy, and ready in minutes.
Course: lunch, Snack
Cuisine: high protein
Keyword: mushroom, pizza, rice cake
Servings: 1 servubg
Calories: 117 kcal
Ingredients
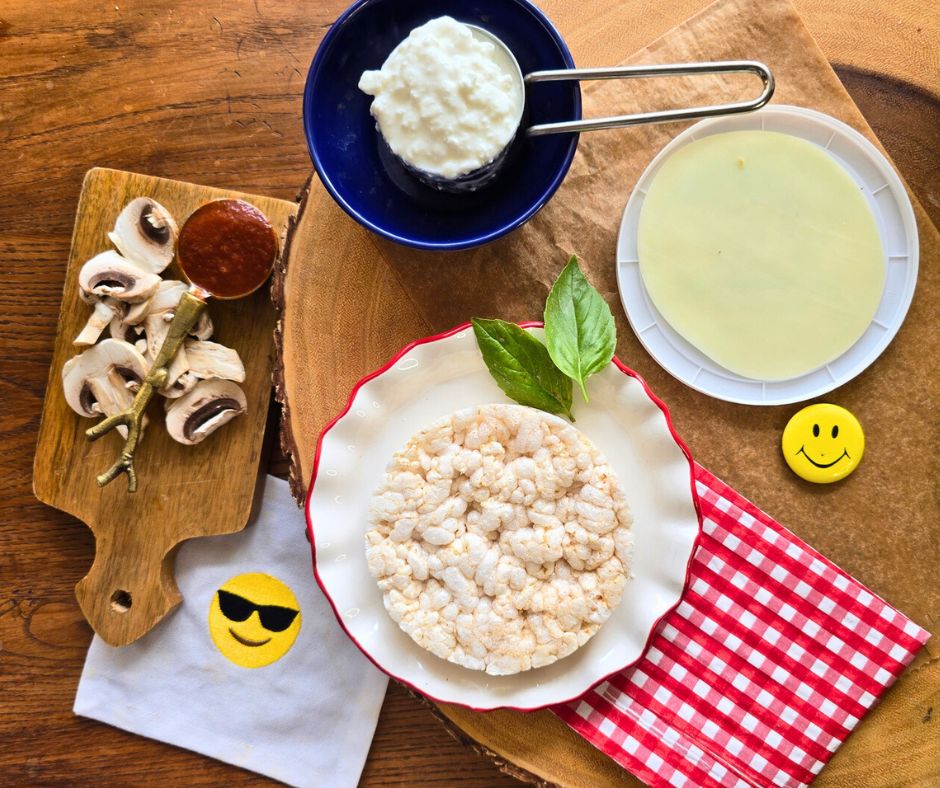
  • 1 plain rice cake
  • 1 tbsp tomato-based pasta sauce
  • 1 ultra-thin slice provolone cheese
  • 3 tbsp 2% cottage cheese drain off the excess moisture
  • 1 white mushroom sliced
  • pinch Italian seasoning
Instructions
  1. Pre-heat air fryer to 380F. Spread pasta sauce on rice cake, top with cheese slice. Add drained cottage cheese on top of this evenly. Top with sliced mushrooms, sprinkle with Italian seasoning and air fry for 4-5 minutes, or until cheese bubbling / browning some at edges and mushrooms are softened.
Recipe Notes

117 cal, 10g carb, 4g fat, 10g protein

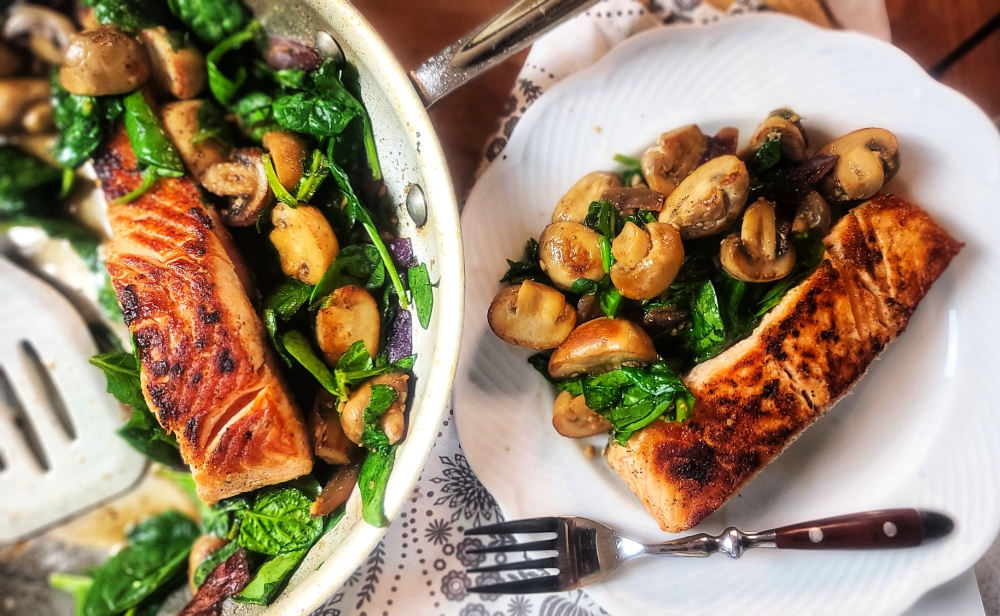
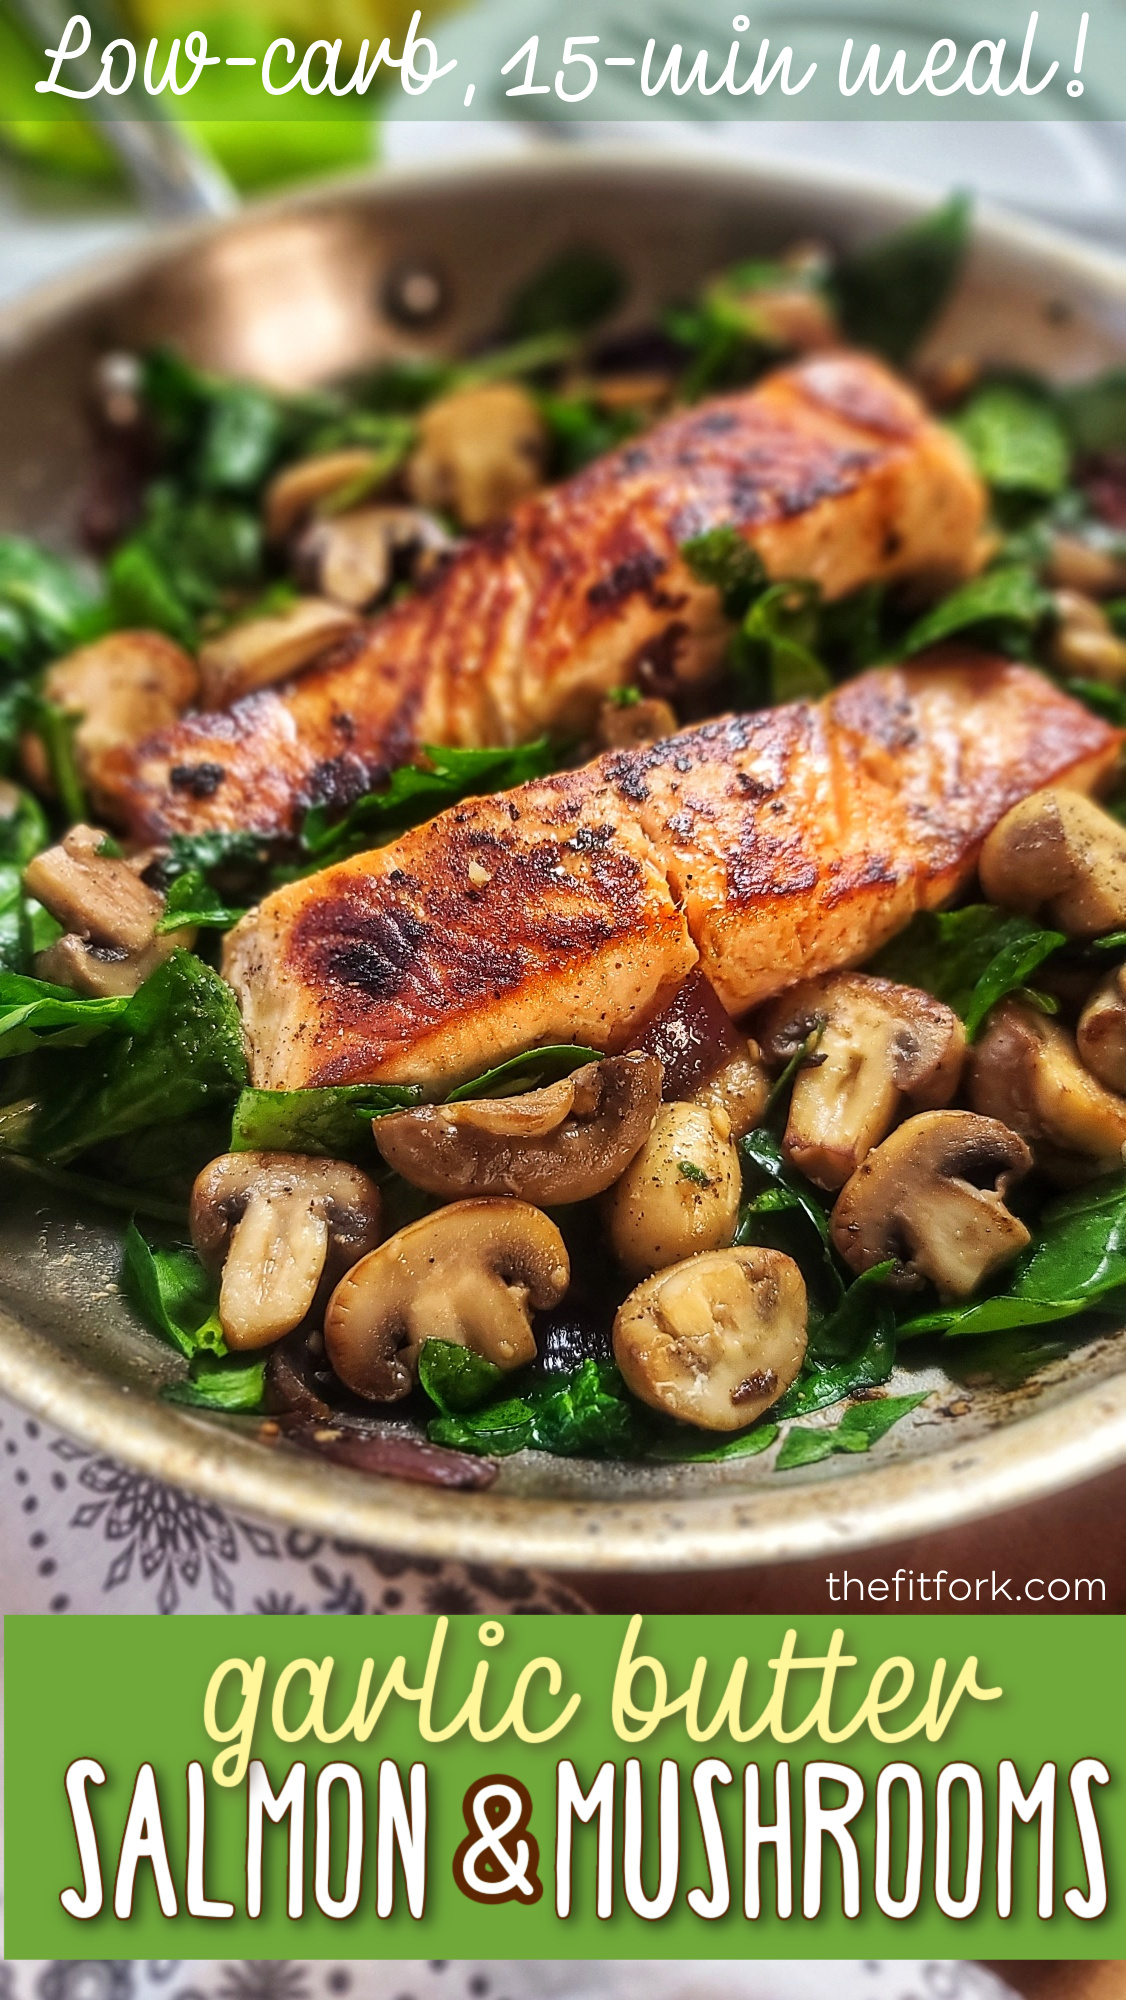
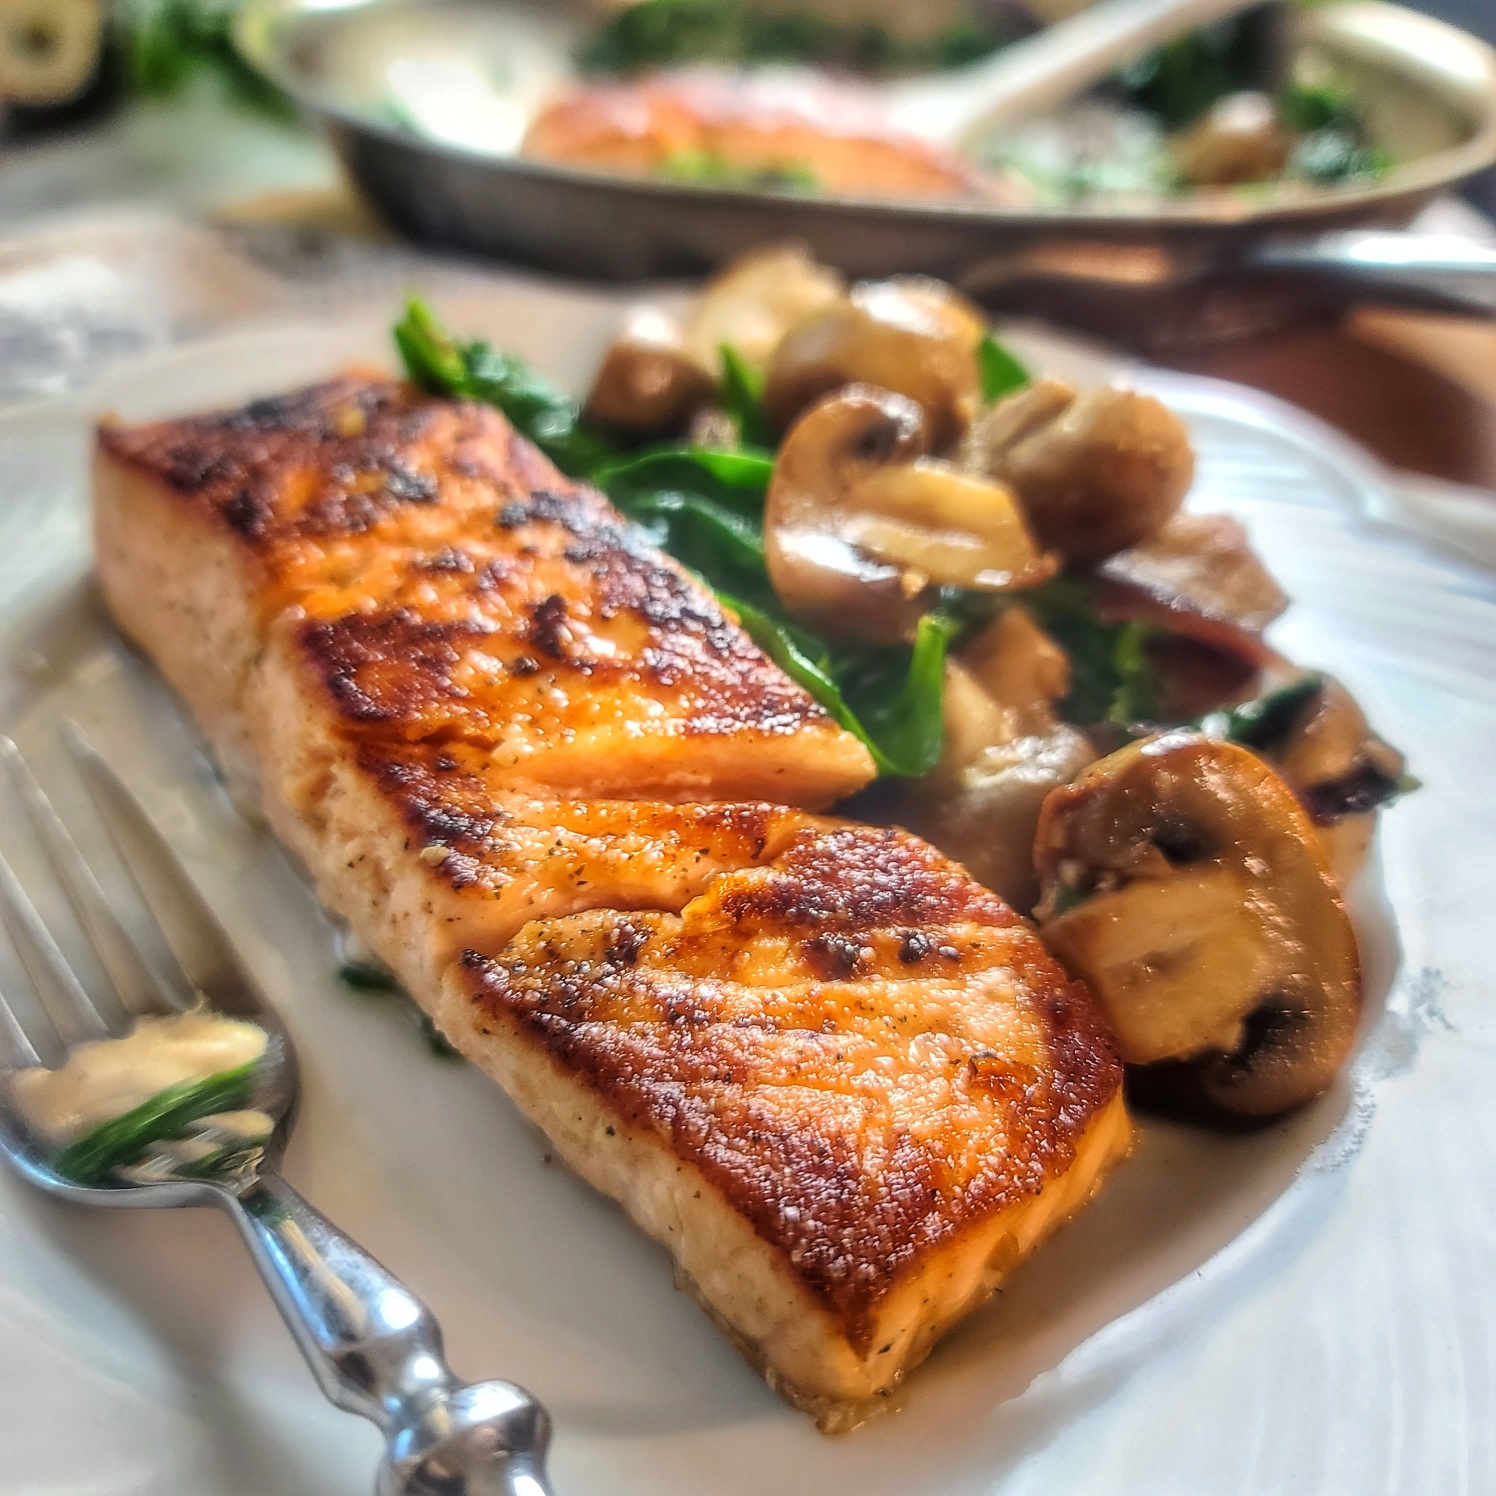
Garlic Butter Salmon and Mushrooms – Low-carb, 15-min Recipe

Salmon fillets are a mainstay on on my weekly dinner menu. Whether fresh or from frozen, salmon is a quality protein that makes the perfect blank canvas, ready to be “painted” with colorful vegetables and the seasonings that suit your mood of the moment!

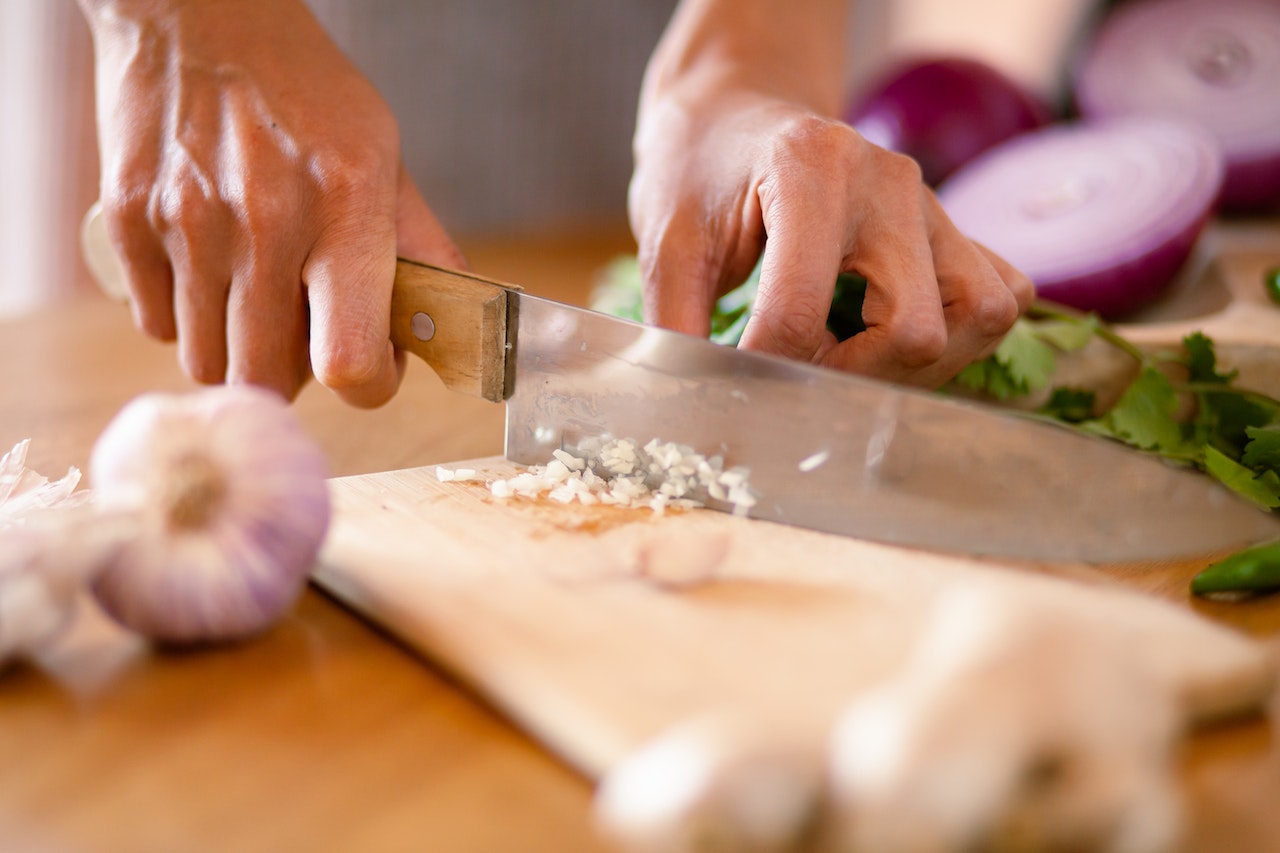
When it comes to seasonings and flavor, garlic can’t be beat. It has a host of functional health benefits, is umami-friendly and maximizes the flavor of everything it’s paired with, from veggies, to proteins, to grains, pastas and bread . . ahh, garlic bread. Distinctively pungent, yet more mellow upon cooking, garlic is probably the “first reach” seasoning in my kitchen. If I could only pick one seasoning (other than salt and pepper) for a dish, it would be garlic — that’s how I keep life easy! Fresh minced or crushed garlic is the best, but when I’m making a quick dinner recipe, I rely on the convenience of minced garlic in a jar, garlic paste in a tube, or pre-portioned frozen crushed garlic.

Minced fresh garlic if you have the time, but purchased garlic in jar, tube or frozen portions is convenient!

I drooled earlier about buttery garlic bread, but buttery garlic MUSHROOMS – ohhhhyeah! Low-cal and low-carb, can be a little bland on their own — but with just a little butter and garlic, any mushroom side dish becomes heaven! You can use white button mushrooms or baby bellas (cremini) mushrooms in this low-carb salmon recipe — both act like little sponges that soak up all the rich flavor.

A quick little 15-second tutorial!

Pro-Tips:

1) Leave bottom skin on salmon, this makes a richer recipe and makes the cooking process easier (less sticking). You can remove it later . . . but remember, the brown/gray “gunk” between the skin and salmon flesh is salmon fat and where most of the beneficial Omega-3 fatty acids reside.

2) Salmon is cooked in 2 steps. First a sear with the skin side up. Then the par-cooked salmon rests on a plate while the veggies cook. Second, the fish is finished off by cooking skin side down among the vegetables, with a lid on top of the skilled to expedite the process. Make sure to have the lid nearby.

3) You can substitute peeled, de-veined jumpo shrimp. Those will cook for 3 to 4 minutes UNTIL DONE on the first step, and then you add back into the recipe when the vegetables are finished. Don’t add cooking time after this, or they will become rubbery.

4) For this garlic mushroom salmon skillet recipe, a non-stick skillet/fry pan with lid (10″) works well to keep the garlicked up salmon from sticking to the pan on the searing step. However, if you don’t have a non-stick or don’t want to use a non-stick, and end up with some bits burned onto the pan, there is a solution. After removing fish to rest on plate, add a splash of water to the hot skilled to sizzle and then quickly scrape off with spatula.

5) This mushroom salmon recipe scales up easily. To make 4 servings, just double the recipe (fine to be loosy-goosey on vegetables) and use a 12″ non-stick skillet/frypan with lid.

Pin this for later!
Macros per serving: 469 cal, 34g fat, 6g net carb, 33g protein
Amazon Store - The Fit Fork

Note: This post contains affiliate links.

5 from 9 votes
What's better than garlic butter? Garlic butter all over salmon, mushrooms and delicious veggies! This easy one-dish salmon skillet is sure to become your favorite 15-minute meal.
Garlic Butter Salmon and Mushroom Skillet
Prep Time
5 mins
Cook Time
10 mins
Total Time
15 mins
 

What's better than garlic butter? Garlic butter all over salmon, mushrooms and delicious veggies! This easy one-dish salmon skillet is sure to become your favorite 15-minute meal.

Course: dinner
Keyword: garlic, mushrooms, one dish, salmon
Servings: 2
Calories: 469 kcal
Ingredients
  • 2 5- ounce salmon filets skin on
  • ¼ teaspoon each salt and black pepper plus more for seasoning at end, if desired
  • 2 tbsp. garlic divided
  • 1.5 tbsps salted butter
  • 8 ounce white or cremini mushrooms cleaned and halved ½ red onion, chopped coarsely
  • 1/2 cut coarsely chopped red onion
  • 3 cups fresh spinach coarsely chopped
Instructions
  1. Season salmon with salt, pepper and 1 tbsp. of the garlic.
  2. Heat olive oil in skillet over med-high heat.
  3. Add filets skin side up; sear for 3 minutes or until crust forming on flesh. Set par-cooked fish aside on plate (will finish cooking later).
  4. Melt butter in skillet over med-high, add mushrooms and onions and saute for about 3 minutes; add remainder of garlic and cook for another 30 seconds. Stir in spinach; set salmon back in skillet, skin side down this time. Cook on medium for about 3 to 5 more minutes (with lid on for several minutes to help speed process). Actual cook time will depend on thickness of salmon filets.

  5. Season with additional salt and pepper, as desired.
Recipe Notes

2 servings. Each serving: 469 cal, 34g fat, 6g net carb, 33g protein

Mushroom Pizza Stuffed Zucchini Boats

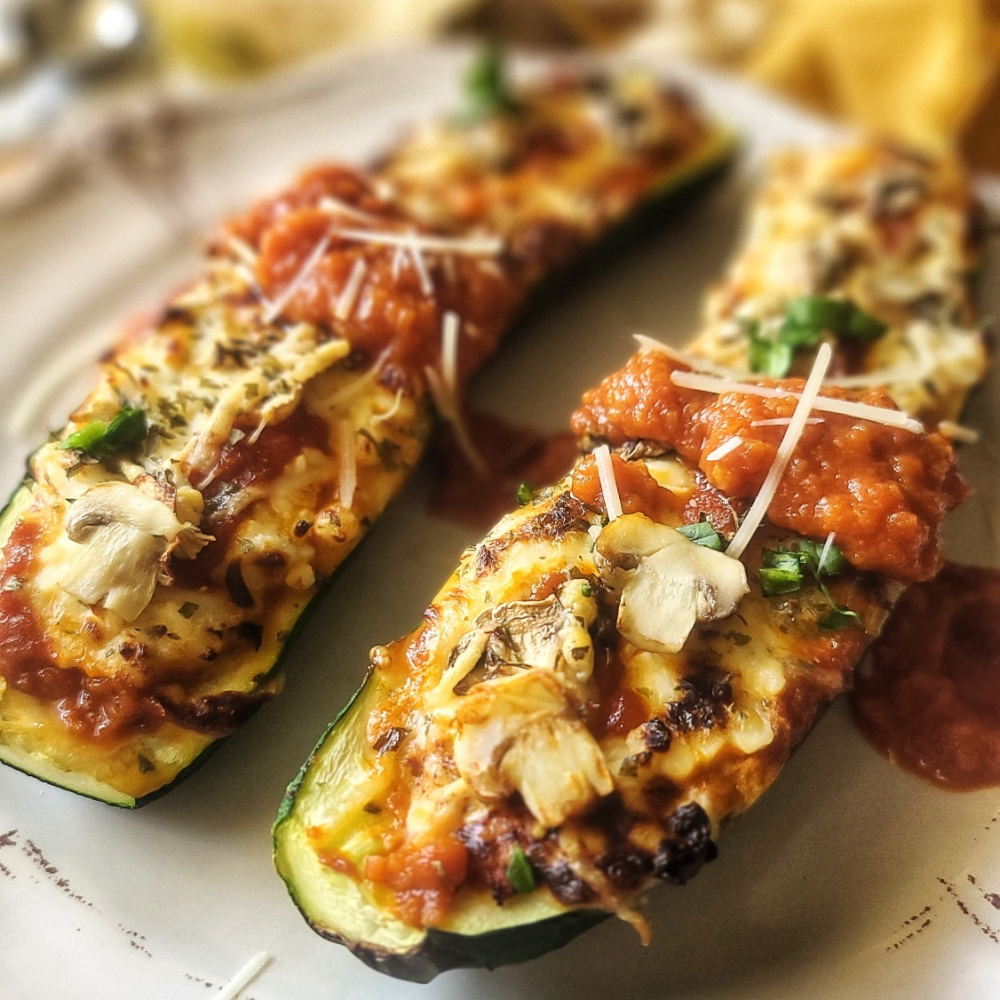
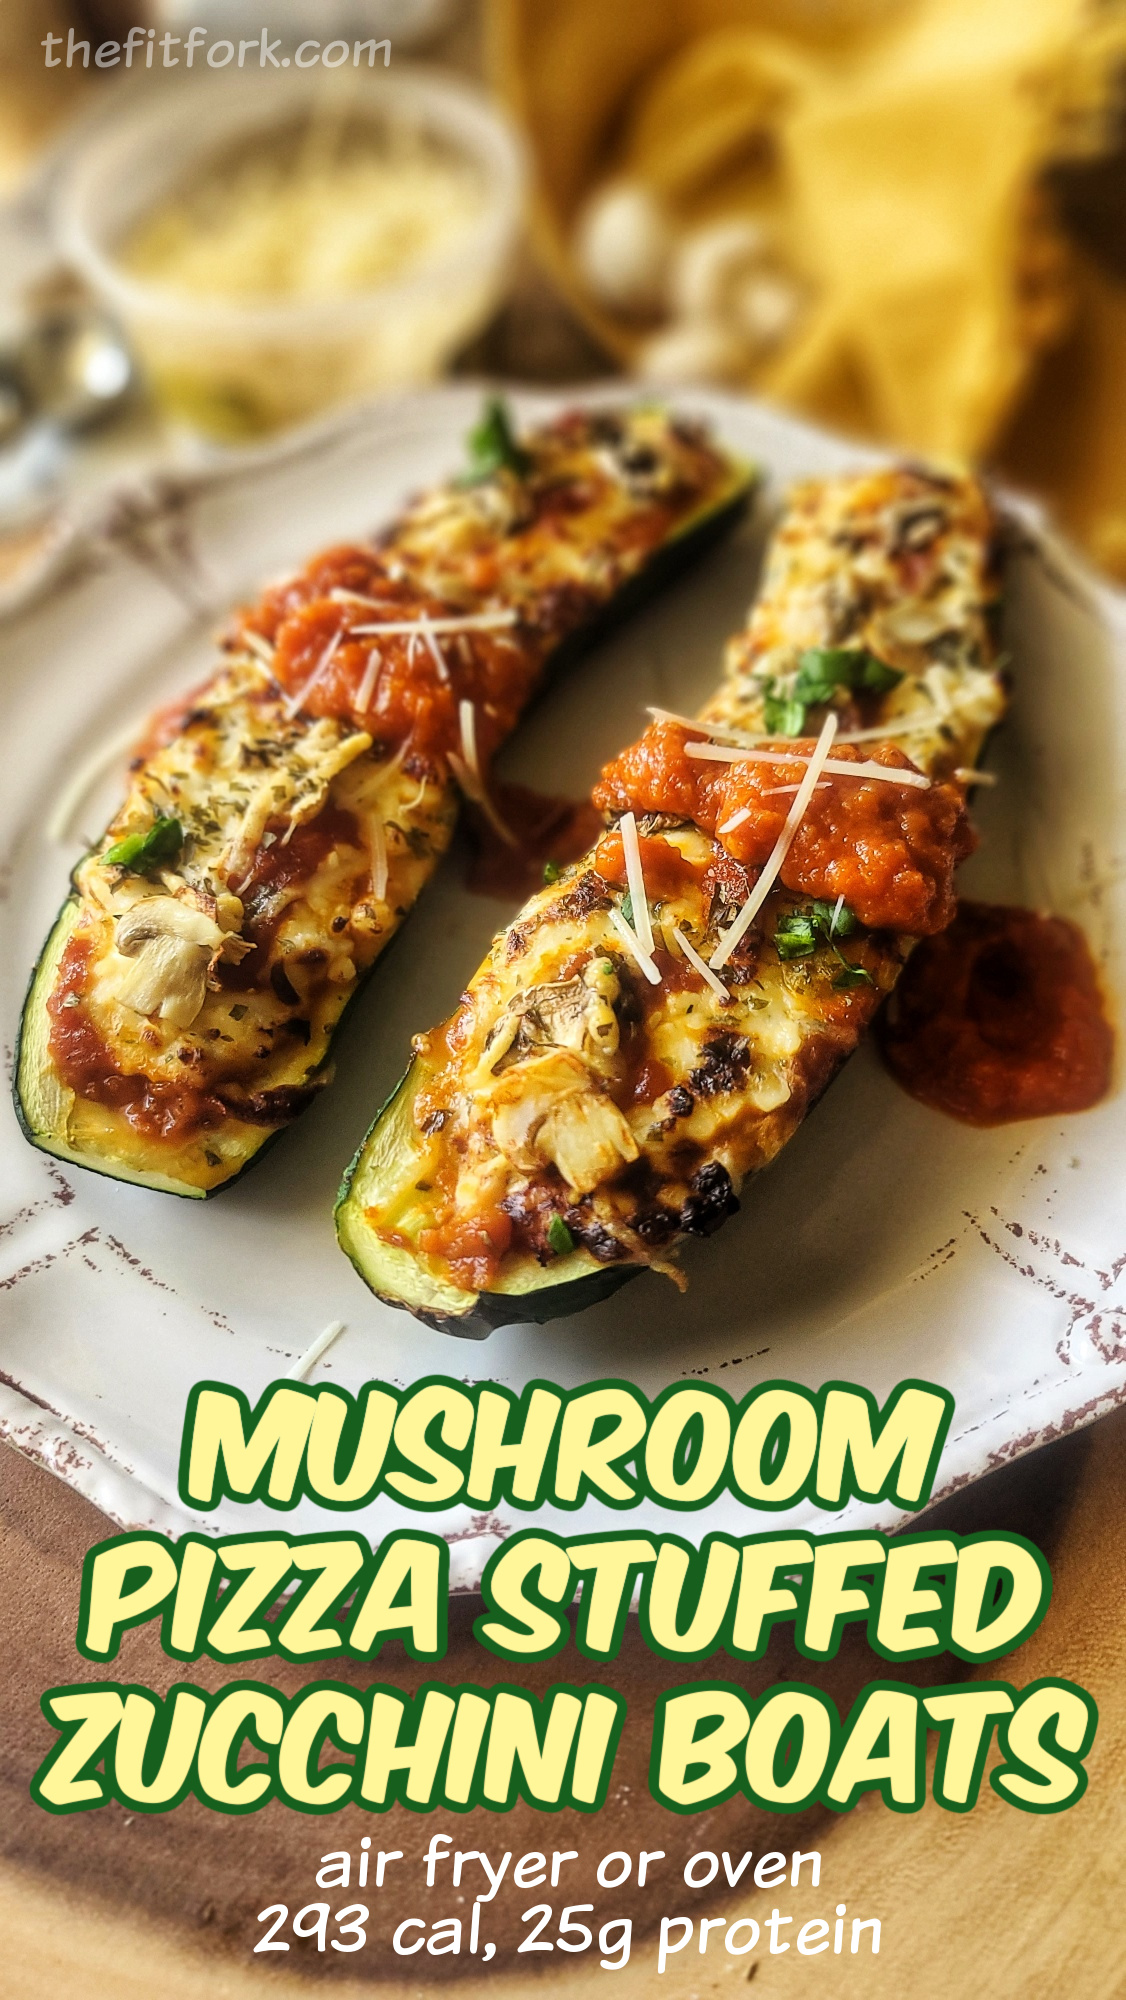
Make waves with these delicious, nutritious Mushroom Pizza Stuffed Zucchini Boats. Easy, cheesy and a smart way to optimize zucchini season!

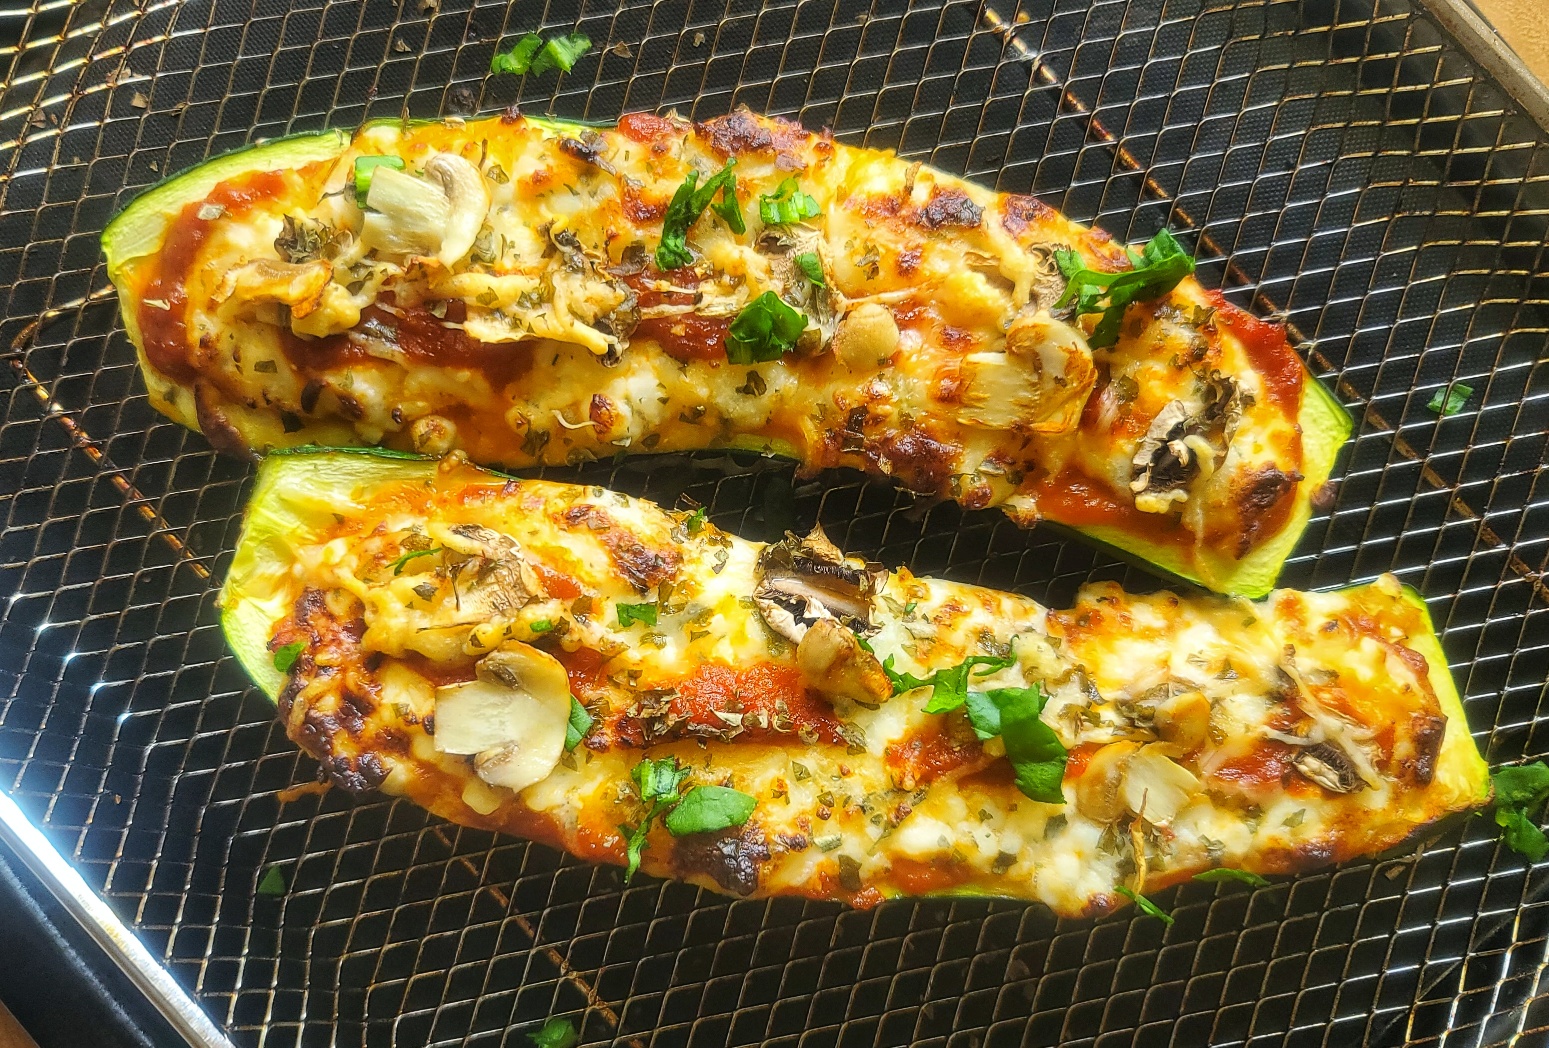
Quick, easy, delicious and nutritious, these cheesy, saucy stuffed zucchini will remind you of a mushroom pizza - -but without the crust, so lower calorie, lower carb and gluten-free. A great way to use up a bumper crop of squash!

Even if you don’t grow your own zucchini (I don’t, but my neighbors do, lol) this green squash is a great way to add extra fiber, vitamins, minerals, and volume to your meals. Exceptionally versatile if you are gluten-free or a lower carb kinda person, plus it seems to be a perennial in the produce department and inexpensive, to boot!

Check out this short video tutorial!

If air-frying, you only need 15 minutes, prep to plate, for this cheesy stuffed zucchini recipe. Takes a little longer in regular oven, but still not time-consuming, especially if you give zucchini boats a 1 minute microwave “par cook” before stuffing and baking.

Quick, easy, delicious and nutritious, these cheesy, saucy stuffed zucchini boats will remind you of a mushroom pizza - -but without the crust, so lower calorie, lower carb and gluten-free. A great way to use up a bumper crop of squash!

I love easy recipes that pack a nice punch of protein. These mushroom pizza zucchini boats help you meet your protein goals on nights when you are going no-meat or just don’t have the time to prepare beef, chicken or pork. It’s a blend of cottage cheese and mozzarella cheese for the protein win!

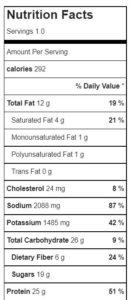
A serving (of TWO halves) has 25g protein, 20g net carb, 12g fat and 293 calories. This is A LOT of food that will ya up! Alternatively, you can just serve one piece as a scrumptious side dish!

Quick, easy, delicious and nutritious, these cheesy, saucy stuffed zucchini boats will remind you of a mushroom pizza - -but without the crust, so lower calorie, lower carb and gluten-free. A great way to use up a bumper crop of squash!
5 from 5 votes
Quick, easy, delicious and nutritious, these cheesy, saucy stuffed zucchini boats will remind you of a mushroom pizza - -but without the crust, so lower calorie, lower carb and gluten-free. A great way to use up a bumper crop of squash!
Mushroom Pizza Stuffed Zucchini Boats
Prep Time
5 mins
Cook Time
10 mins
Total Time
15 mins
 

Quick, easy, delicious and nutritious, these cheesy, saucy stuffed zucchini will remind you of a mushroom pizza – -but without the crust, so lower calorie, lower carb and gluten-free.

Course: dinner, side
Cuisine: Italian
Keyword: gluten free, low carb, pizza, zucchini
Servings: 1 serving (or serves 2 as a side)
Calories: 293 kcal
Ingredients
  • 1 approximate 10- to 12-ounce zucchini ends cut off and sliced lengthwise
  • 1/3 cup bottle marinara or tomato-based pasta sauce divided
  • ¼ cup 2% cottage cheese
  • ¼ cup shredded mozzarella cheese
  • ½ teaspoon garlic salt
  • ½ teaspoon Italian seasoning
  • 2 to 3 white mushrooms sliced
  • 2 tablespoons Parmesan cheese
  • Optional fresh herbs
Instructions
  1. Preheat air fryer to 390F degrees (or oven to 375F)
  2. Cut ends off zucchini and slice lengthwise. Use small spoon to scoop out seeds and some flesh in center, leaving about 1/3” of flesh around outside so that it keeps shape during cooking.
  3. Place zucchini halves on microwave safe plate and “par” cook for 60 seconds in microwave on high.
  4. Transfer lightly cooked zucchini halves to air fryer tray.
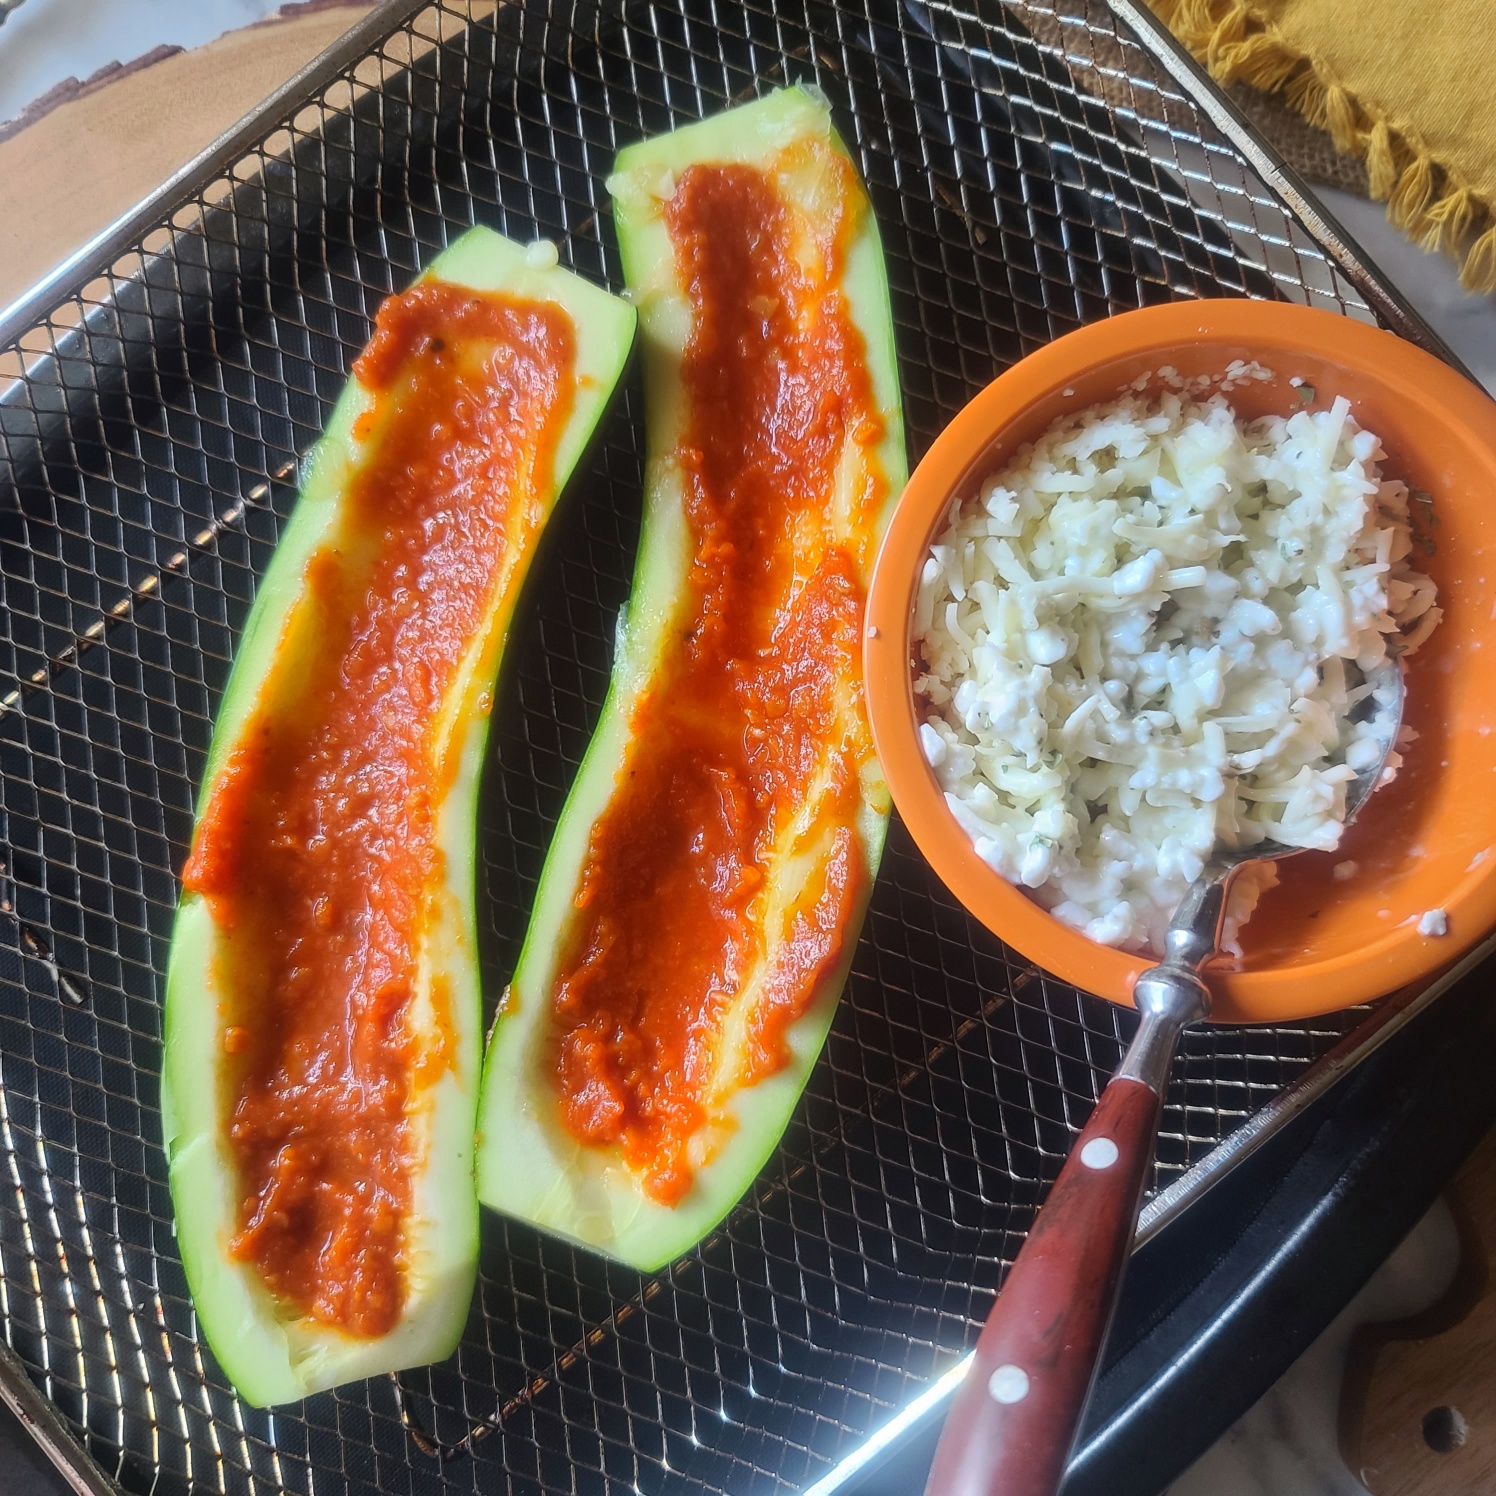
  5. Spread the inside of each zucchini with 1 tablespoon sauce.
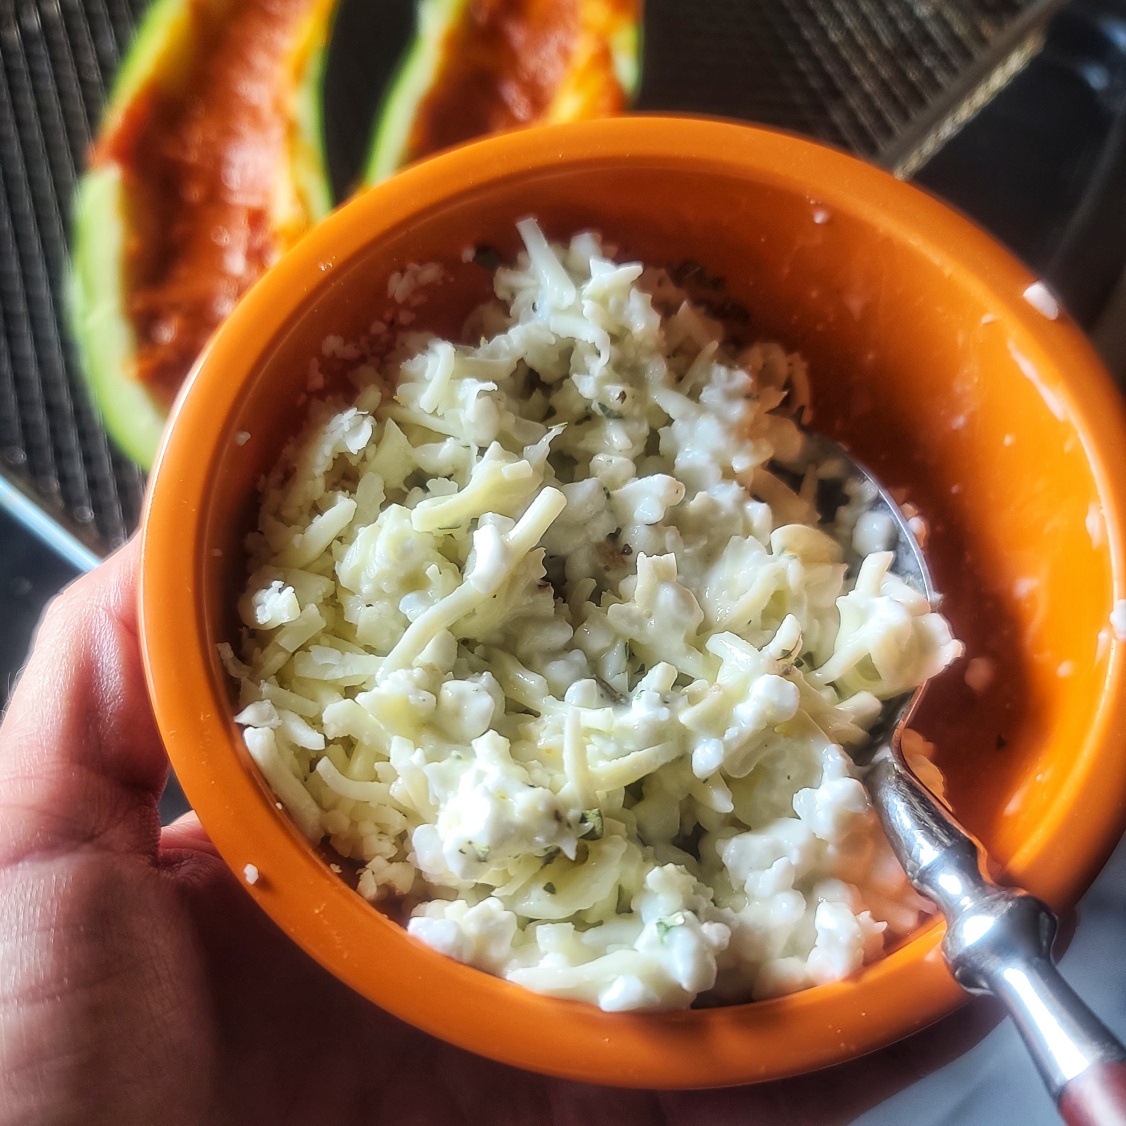
  6. In small bowl, mix together cottage cheese, mozzarella cheese, garlic salt and Italian seasoning.
  7. Spoon cheese mixture into zucchini halves, pat down with spoon.
  8. Add just few little dollops of sauce to top, if desired.
  9. Arrange sliced mushrooms on top.
  10. Sprinkle with parmesan cheese.
  11. Air fry for 6 to 8 minutes (or oven for 15 to 20 minutes) until cheese lightly browning and hot and zucchini softened (but not soggy)
  12. Sprinkle with chopped Italian herbs and serve with additional warmed sauce, if desired.
Recipe Notes

Rustic Mushroom Bacon Blue Cheese Tart with Garlic-Thyme Pastry “Leaves”

This post is sponsored by Wick’s Pies.

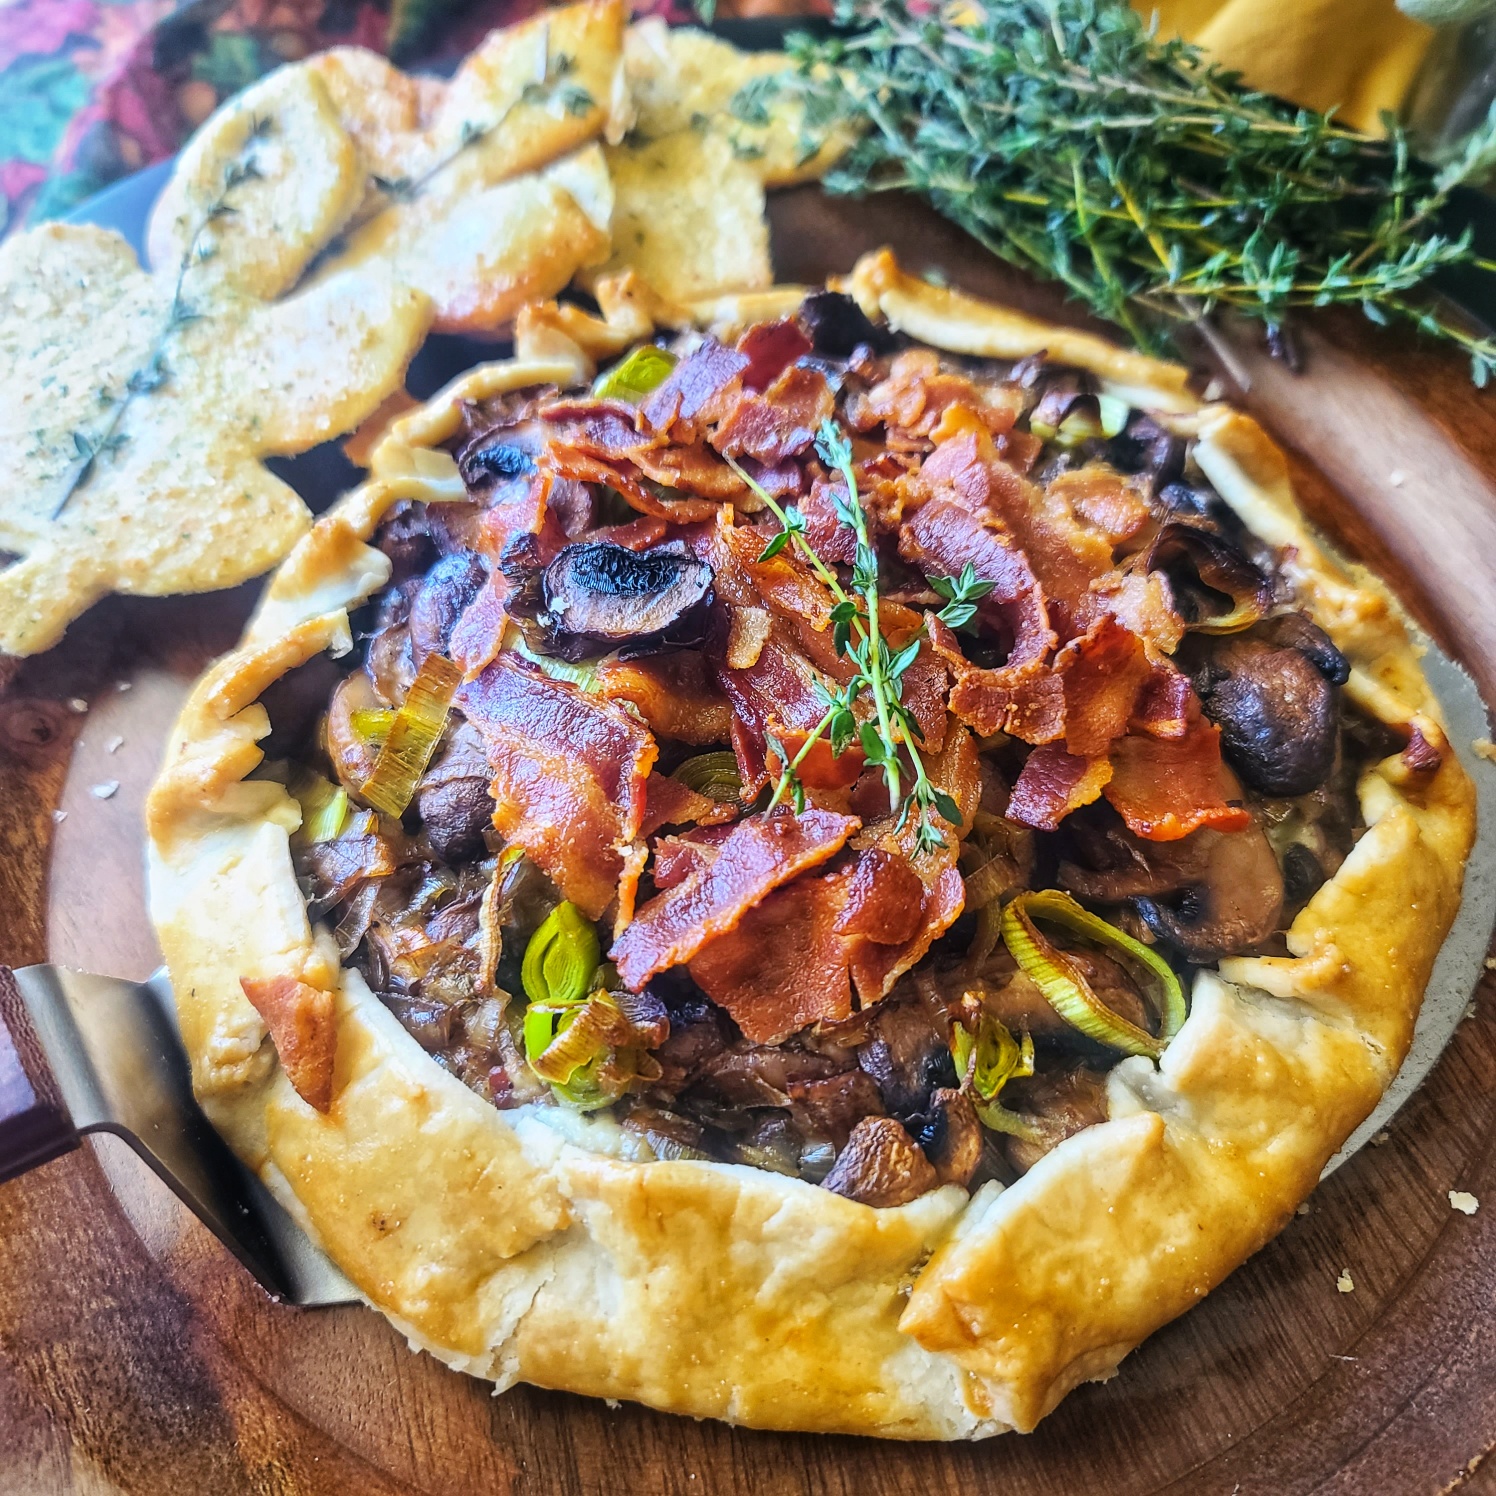
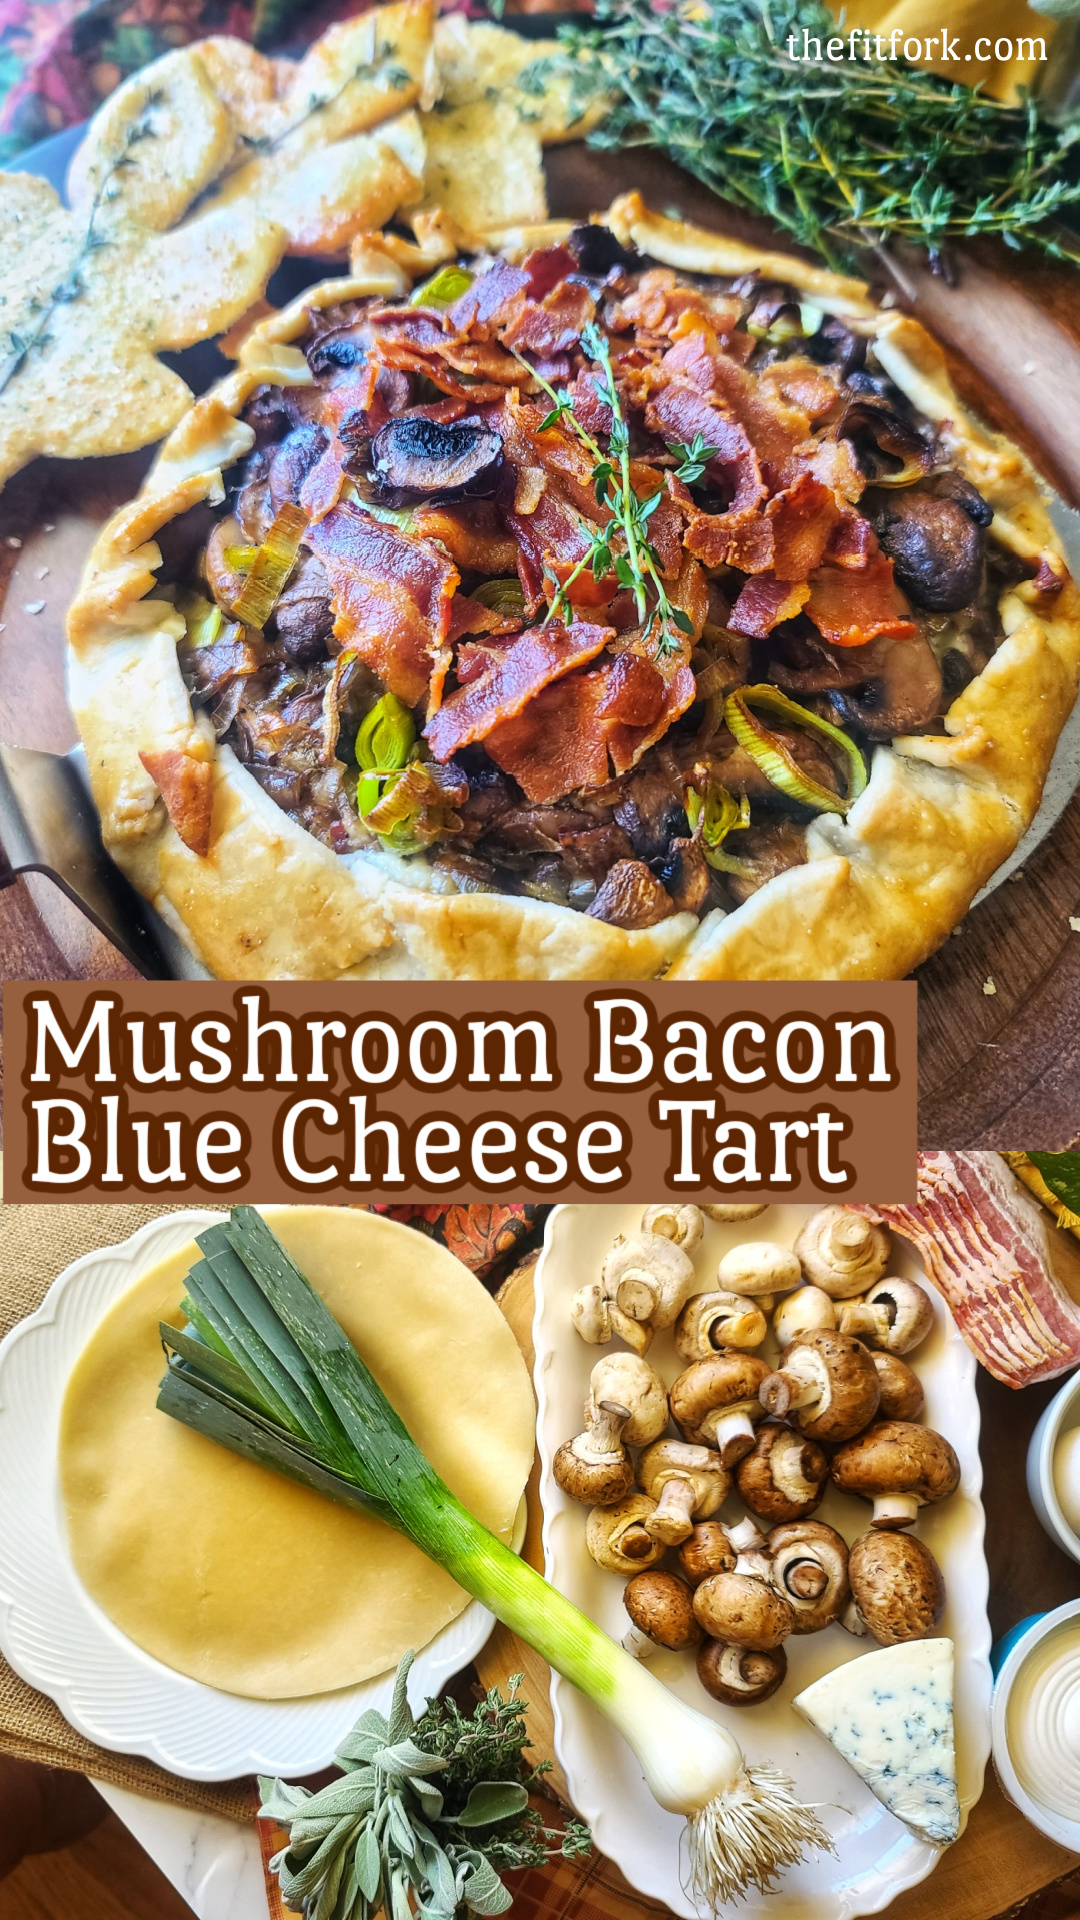
Autumn is here, the cozy yet bold flavors are dropping faster than the leaves from a tree! Like this Rustic Mushroom Bacon Blue Tart (with Garlic-Thyme Pastry “Leaves”), an autumn-inspired, delightfully delicious meal that comes together conveniently thanks to frozen pie crusts from Wick’s Pies.

So bold and beautiful, this mushroom blue cheese tart is filled with flavor and easy to make thanks to a frozen pie crust! Sever with a green salad for a brunch or light dinner -- or as an appetizer for your fall-season party!

Eating pie for dinner is where it’s at! This is one of the best savory tarts I have ever made and is brimming with mushrooms, leeks, bacon and fresh herbs on a bold layer of creamy blue cheese.

Oh, and the crust! Let’s talk about the crust! Delicate, tender, flakey yet oh-so convenient! It’s a frozen pie crust from Wick’s Pies. I am NOT a pastry chef, and having the time and skill to make a pie crust worthy to envelope all the delicious ingredients in this mushroom tart stresses me out!

A glimpse at how easy this “use a froze pie crust” recipe actually is!

Using a frozen (and thawed) 8” Raw Circle of rolled out dough from Wick’s Pie, make my life so much easier – and I can spend my culinary talents focusing on the fillings and overall flavor of my tart rather than worrying about a dry, soggy, or otherwise lackluster crust.

So bold and beautiful, this mushroom blue cheese tart is filled with flavor and easy to make thanks to a frozen pie crust! Sever with a green salad for a brunch or light dinner -- or as an appetizer for your fall-season party!
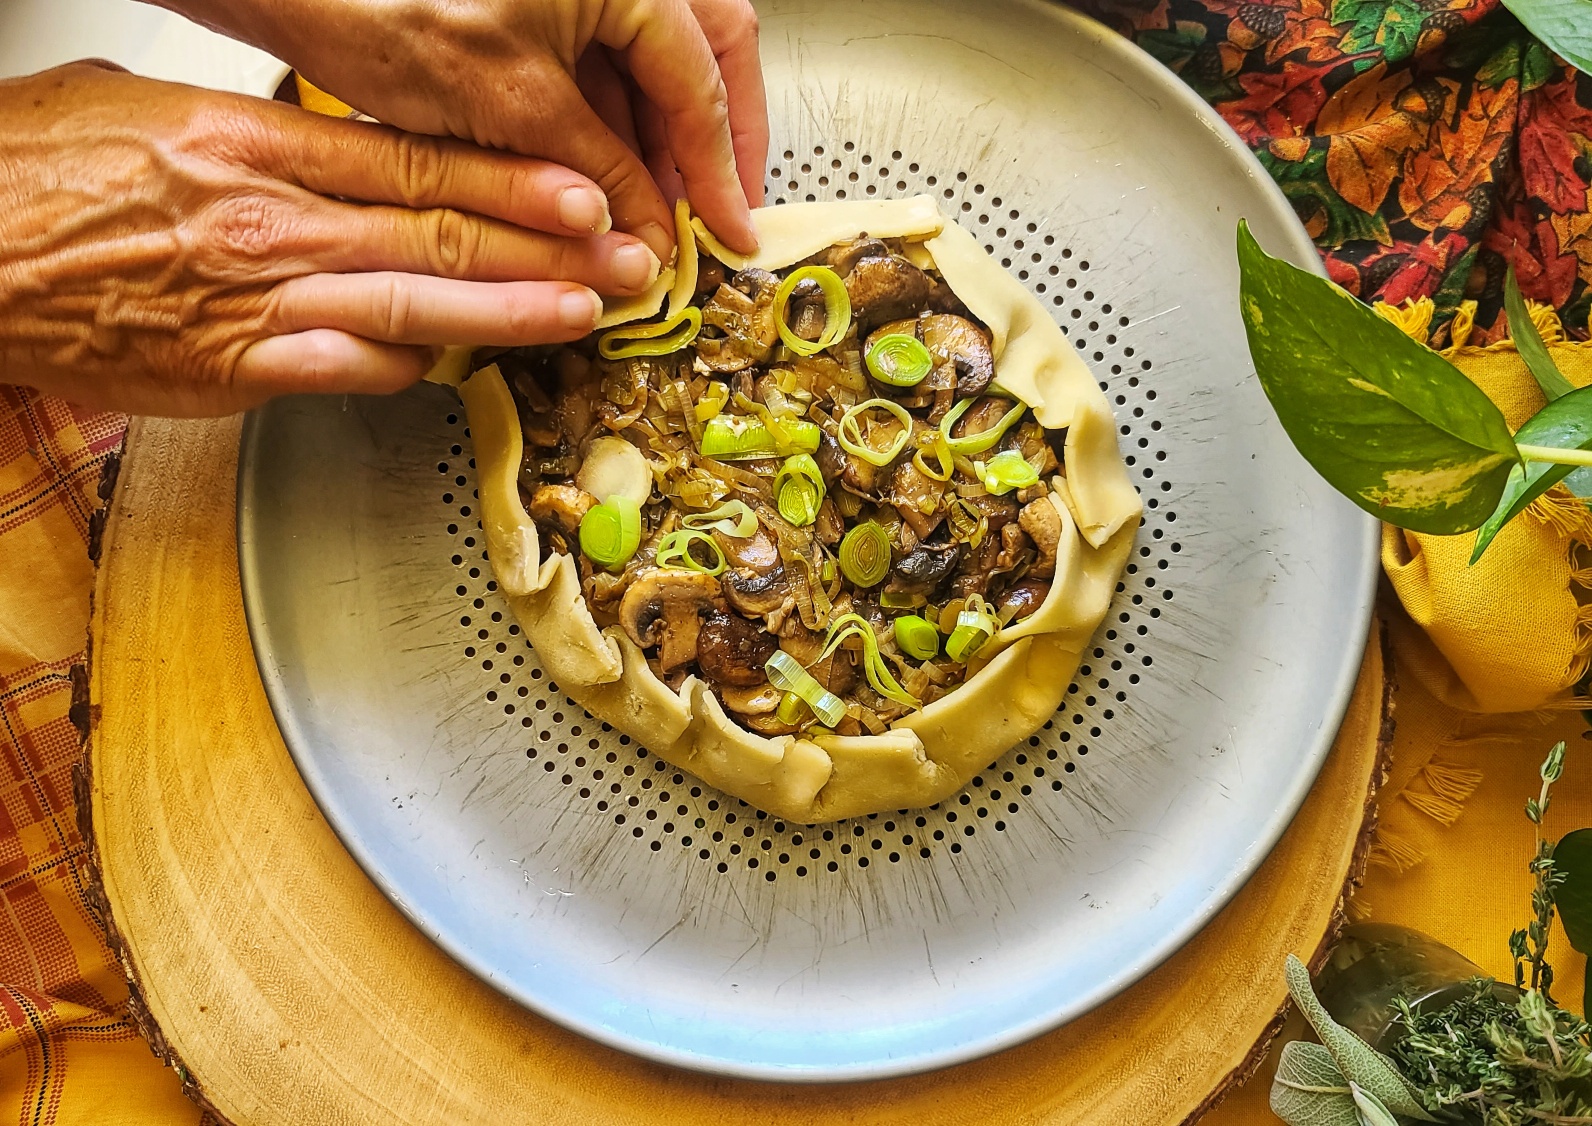
Fold up the sides, easy-peasy – you can’t make a mistake!

Also, I making a “rustic” tart, NOT in a pie pan with fancy lattice work, pinching or braiding also makes easy savory tart recipe a winner. Just put fillings in the middle, leaving about a 1-inch border, and then fold up the edges to secure. This mushroom pie CAN’T be messed up and any imperfections in executing the crust “fold up” just adds to the rustic, country charm.

So bold and beautiful, this mushroom blue cheese tart is filled with flavor and easy to make thanks to a frozen pie crust! Sever with a green salad for a brunch or light dinner -- or as an appetizer for your fall-season party!

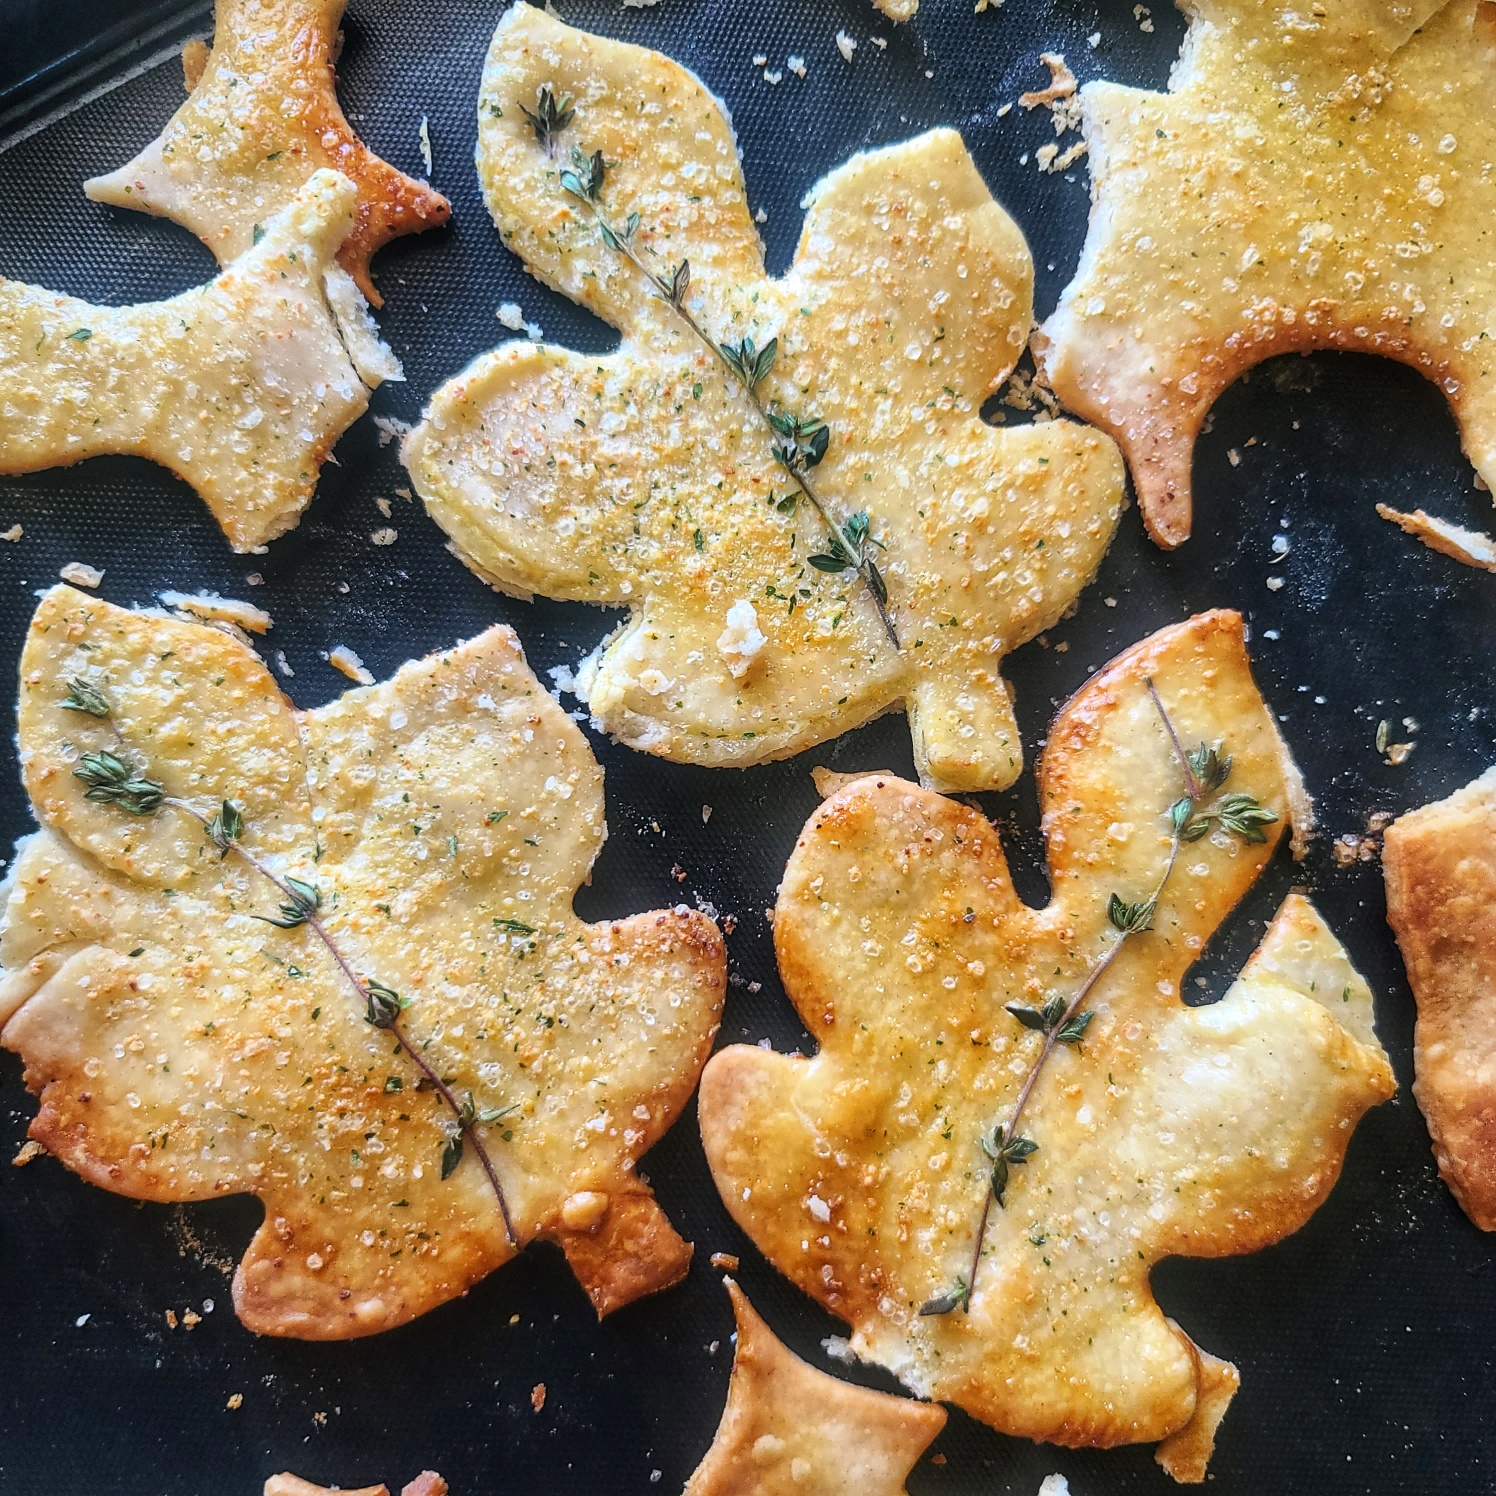
Because I’m so addicted to this delicious, tender convenience pie crust, I decided to use a leaf-shaped cookie cutter to make extra savory pie-crust pastries. You can NEVER have too much crust, am I right?! I simply sprinkled these pie dough cut outs with garlic salt and pressed in a bit of fresh thyme decoratively. Feeling so fancy serving this casual yet pretty darnclassy meal to my mom and dad this weekend!

So bold and beautiful, this mushroom blue cheese tart is filled with flavor and easy to make thanks to a frozen pie crust! Sever with a green salad for a brunch or light dinner -- or as an appetizer for your fall-season party!
Use a cookie cutter to punch out your favorite shape and sprinkle with garlic salt!

Mushroom Tart Pro Tips:

After sautéing mushrooms, slightly tilt pan to pool up excess liquid and mop off with a paper towel. This will prevent the crust from getting soggy.

Don’t skip the egg wash step in the recipe, this helps the crust turn a beautiful golden brown with a nice gloss.

If you are not a blue cheese fan, you can substitute another type of cheese (maybe crumbled Feta or even grated sharp white cheddar) instead.

I like to use a vented pizza pan, I think it keeps the crust crispier and flaker.

Check out Wick’s Pies wholesaler page for the source of the 8” Raw Circles used in my recipe . . . or you can also order whole pies of the dessert type to be delivered to your door– what a fabulous way to minimize upcoming holiday entertaining stress!

  1. Website: https://www.wickspies.com/
  2. Facebook: https://www.facebook.com/WicksPies
  3. Instagram: https://www.instagram.com/wickspies/
  4. Twitter: https://twitter.com/WicksPies

Learn more about Wicks Pies!

o bold and beautiful, this mushroom blue cheese tart is filled with flavor and easy to make thanks to a frozen pie crust! Sever with a green salad for a brunch or light dinner -- or as an appetizer for your fall-season party!
Pin this for later!
5 from 3 votes
o bold and beautiful, this mushroom blue cheese tart is filled with flavor and easy to make thanks to a frozen pie crust! Sever with a green salad for a brunch or light dinner -- or as an appetizer for your fall-season party!
Rustic Mushroom Bacon Blue Cheese Tart with Garlic-Thyme Pastry “Leaves”
Prep Time
10 mins
Cook Time
36 mins
Total Time
35 mins
 

So bold and beautiful, filled with flavor and easy to make thanks to a frozen pie crust! Sever with a green salad for a brunch or light dinner — or as an appetizer for your fall-season party!

Course: Appetizer, brunch, dinner
Cuisine: American, country, French
Keyword: bacon, blue cheese, mushroom, pie crust, tart
Servings: 4 servings
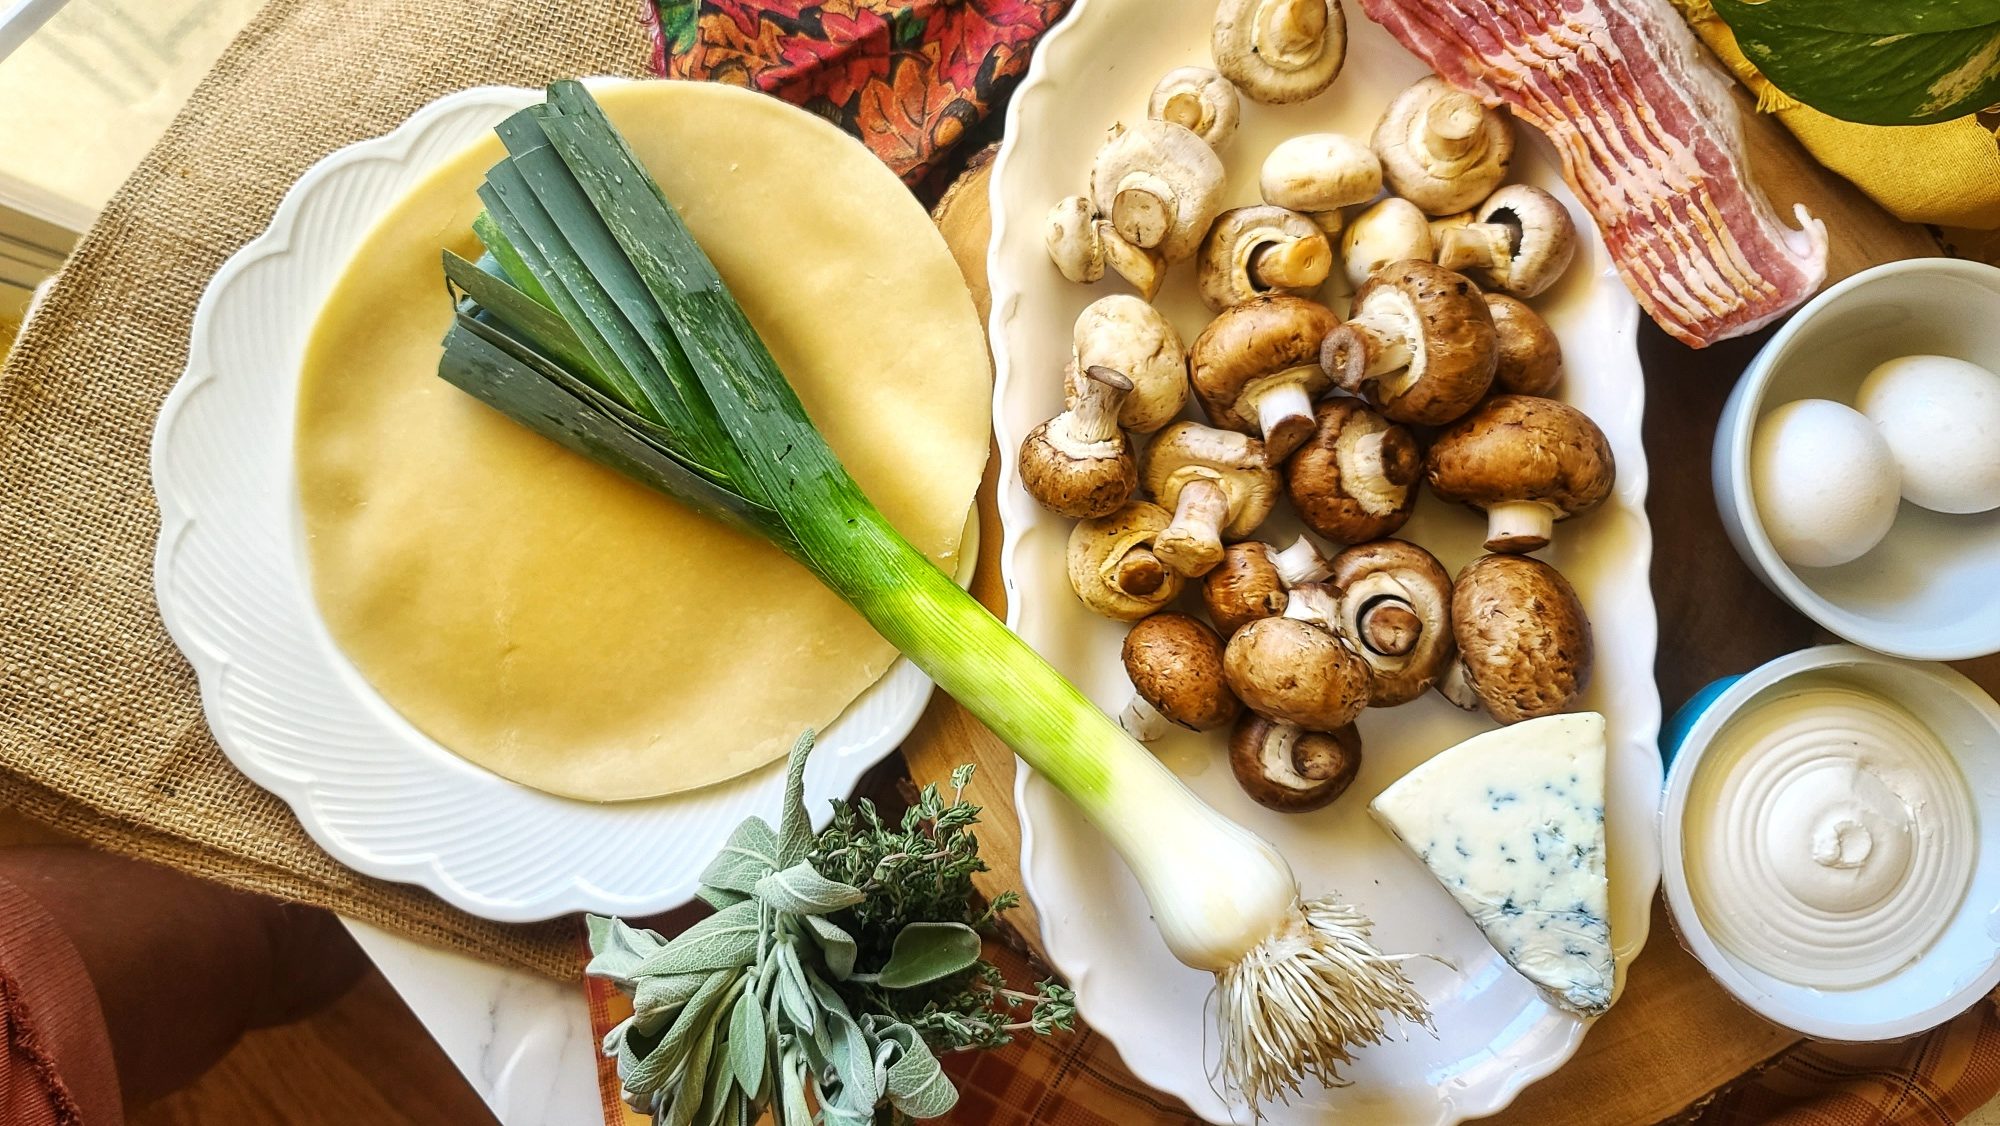
Ingredients
  • 4- ounce bacon
  • 10 ounces mushrooms of choice I used Cremini and White Button
  • 1 cup sliced leeks whites and light greens
  • 1/4 teaspoon black pepper
  • ¼ teaspoon sea salt
  • 4 ounces cream cheese softened
  • 2 ounces blue cheese crumbled
  • 1 teaspoon fresh thyme leaves plus extra for garnish and crust “leaves”
  • 1 whisked egg for wash
  • ½ teaspoon garlic salt
  • 2 frozen Wick’s Pie crusts, thawed 1 for tart, 1 for extra crust “leaves” (optional
Instructions
  1. Heat 12-inch stainless steel skillet over medium-high and cook bacon for several minutes each side, until browning and crispy. Remove to paper towel-lined plate to drain, reserving about 1 tablespoon bacon fat in pan (discarding the rest).
  2. Add sliced leeks to pan, and sauté for 2 minutes and then add mushrooms and continue to cook for a 4 to 5 more minutes until softened and liquid released. Season with salt and pepper. Remove from heat and slightly tilt pan to pool up any remaining mushroom liquid and carefully pour off or sop up with paper towel. This will help prevent tart from getting soggy.
  3. Preheat oven to 400F.
  4. Allow mushroom mixture to cool for a few minutes. Meanwhile, make cheese filling by coarsely mashing together 2 ounces of crumbled blue cheese with 4 ounces cream cheese.
  5. Place thawed Wick’s Pie crust on a baking sheet (I prefer a vented pizza pan), coated with non-stick spray.

  6. Using spatula, spread on cheese mixture eaving a 1” border. Next pile on mushroom mixture over cheese and lightly pat down.

  7. Fold up edges of pie crust “rustically,” pinching excesses in the folds together as needed. Brush exposed edges of pie crust with egg wash.
  8. Top with crumbled bacon.
  9. Bake at 400F for 25 minutes or until crust golden and cheese bubbling.

  10. Once you stick tart in oven, start preparing the optional garlic-thyme “leaves” which will bake in the same oven as the tart for the last 5 to 6 minutes of baking.

  11. Spread thawed Wick’s crust on a baking sheet and sprinkle with garlic salt. Use leaf shaped cookie cutter (or other cutter design of choice) to make impressions that cut through – slightly wiggle the cut crust from them, but leave on the pan to cook as “extra” snacking material for later! Press on some of the fresh thyme into to dough decoratively. Bake at 400F for 5 to 6 minutes or until golden. Remove to cool on pan for 5 minutes before handling.
  12. Serve garlic-thyme leaves alongside the tart, if desired (making the leaves is an optional step).