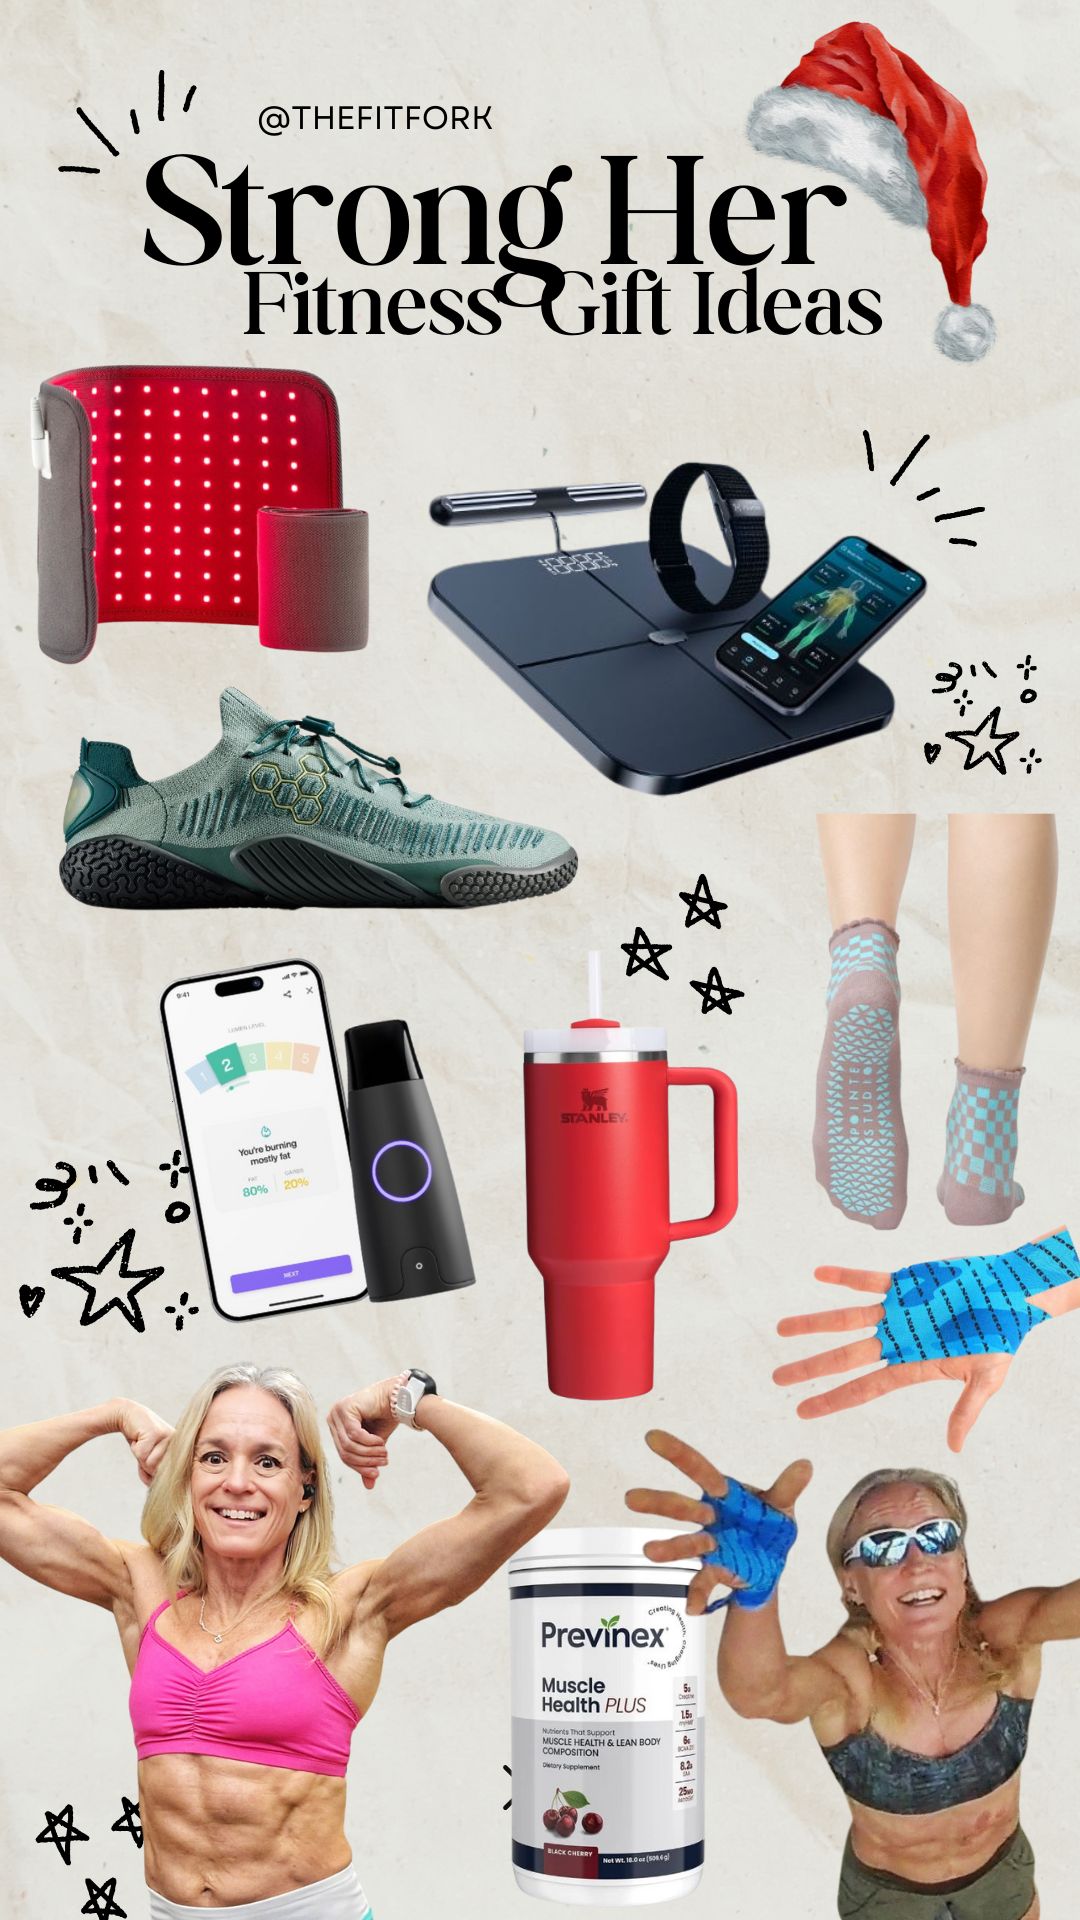
Finding the perfect fitness gift for the strong, active women in your life doesn’t have to be hard. Whether she’s into strength training, yoga, studio classes, running, or simply staying on top of her wellness goals, the best gifts are the ones that make her feel empowered, supported, and excited to move. This curated list pulls together my favorite tried-and-true fitness gifts—gear I personally use, love, and recommend—ranging from tech tools for body composition, to recovery essentials, to performance wear that helps every woman feel strong from the inside out.

Hume Body Pod – Body Composition Scale :This is the “smart scale” EVERYONE is raving about on social media—and for good reason. After using the Hume Body Pod for a full year, I can confidently say it’s incredibly accurate and user-friendly. The Body Pod delivers advanced body composition analysis (way better than old-school bio-impedance scales and allegedly 98% as accurate as an in-office DEXA scan).
It tracks 45+ metrics, including muscle mass, body fat, hydration, and more. I step on twice a week and use the app to help guide my nutrition, hydration, and training choices. It also supports multiple users, so everyone in your home can track progress from their own app account. Huge Promo: Stack my code THEFITFORK (20% off) on top of their already major monthly sale—total savings up to 50% off. HSA/FSA eligible, too!

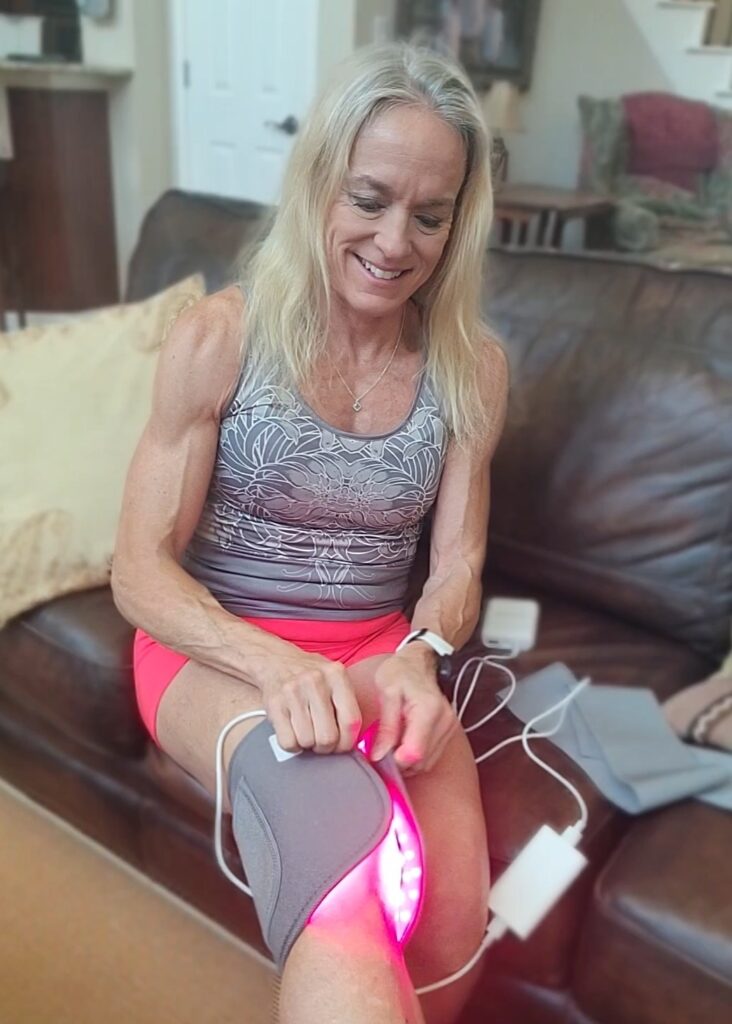
NOVAA Light Pad – Athletic Recovery Therapy: I love how this flexible red-light therapy pad wraps around wherever I need it—knee, shoulder, back, anywhere. It’s powerful, medical-grade, and has helped me bounce back from injury while reducing everyday muscle soreness, fatigue, and inflammation. I also bought the battery pack so I can wear it on the go for portable recovery. Use code THEFITFORK for 10% off unless a better offer is running.
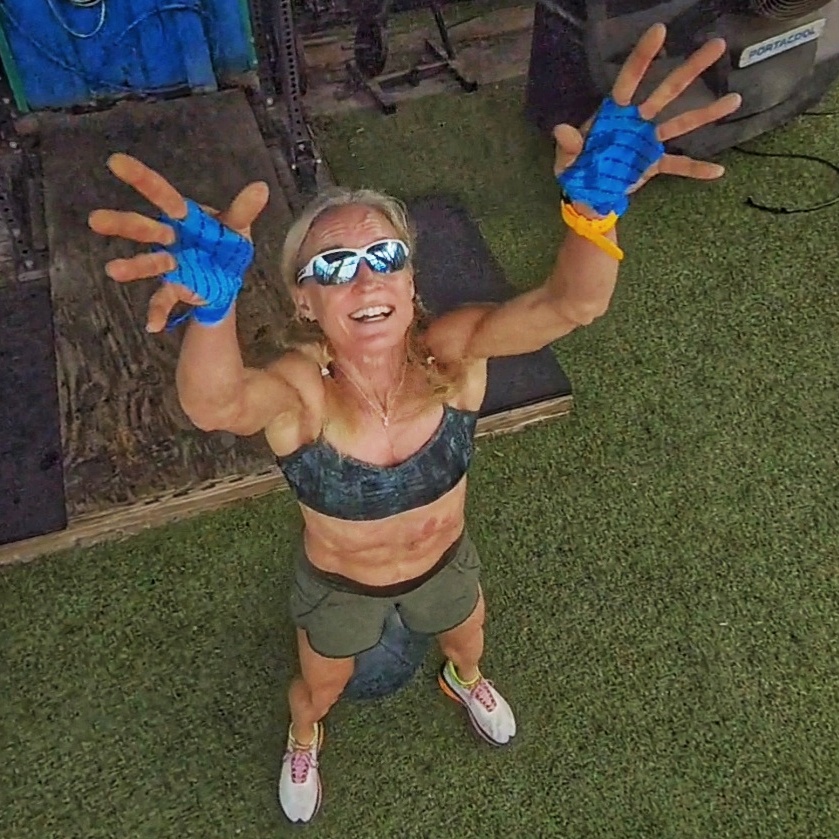
WOD&DONE Custom Hand Protection Athletic Tape Grips: I’m not a fan of bulky gloves, but sometimes my hands need protection—especially during OCR races or high-volume bar work. These disposable grips feel practically invisible but offer excellent grip and tear protection. I also like the added light wrist compression you can get from the wrap-style ends.
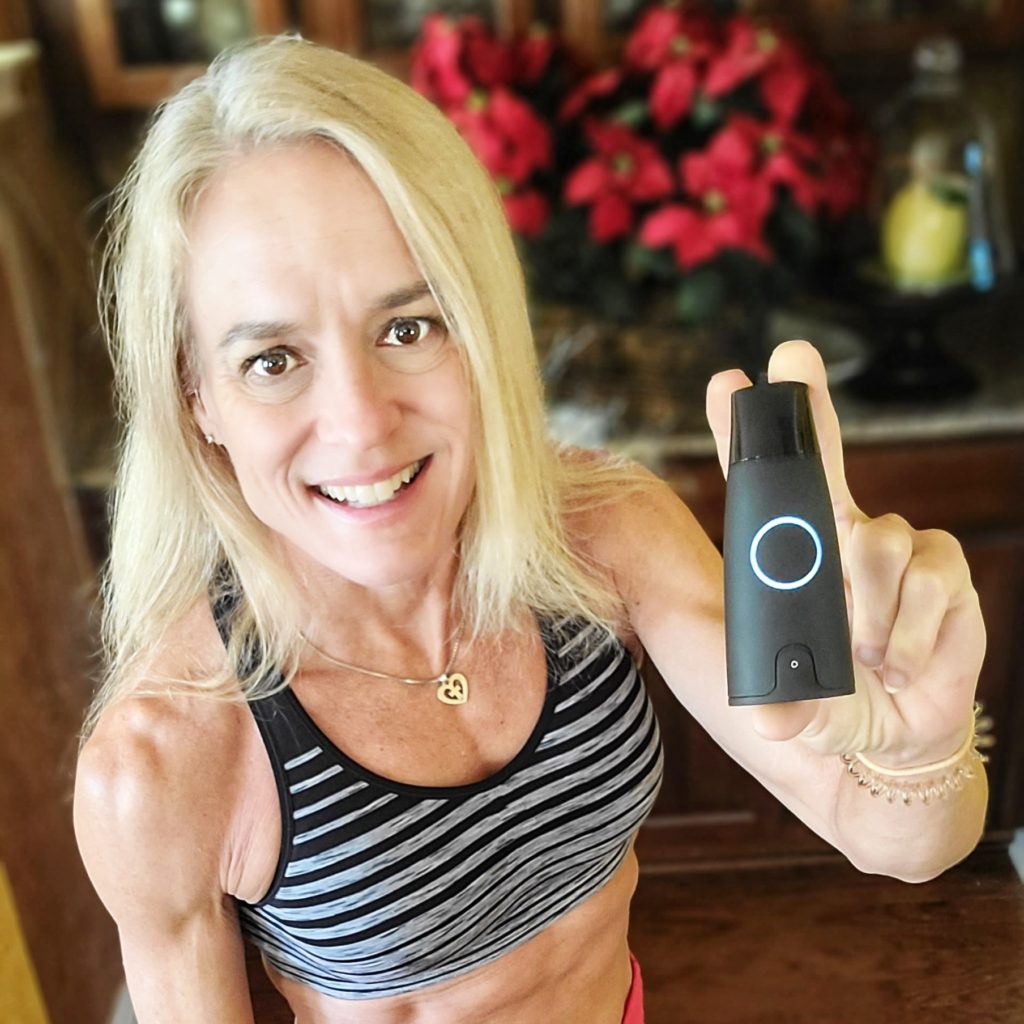
Lumen Metabolic Tracker: Any fitness enthusiast looking to dial in their nutrition will love Lumen, a portable device designed to measure track and analyze your metabolism instantly and provided nutrition recommendations to help reach goals. It does this by measuring the CO2 in your breath. I’ve been using my Lumen for a while now and it has helped me make better choices and when and what to eat to perform my best support my athlete lifestyle. It’s also a great tool to help you manage weight or become more aware of how various factors affect your overall health. Right now, through Dec.1, you can save 50% OFF Lumen – from $599 → $299. PLUS, my discount code THEFITFORK will always give you another 15% off (it’s evergreen, use it anytime).
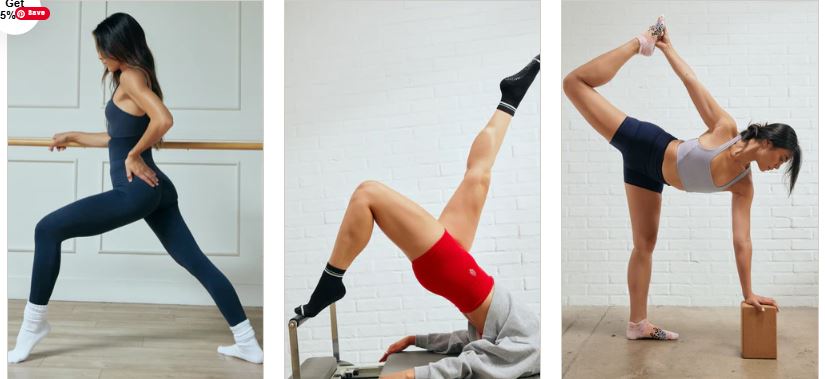
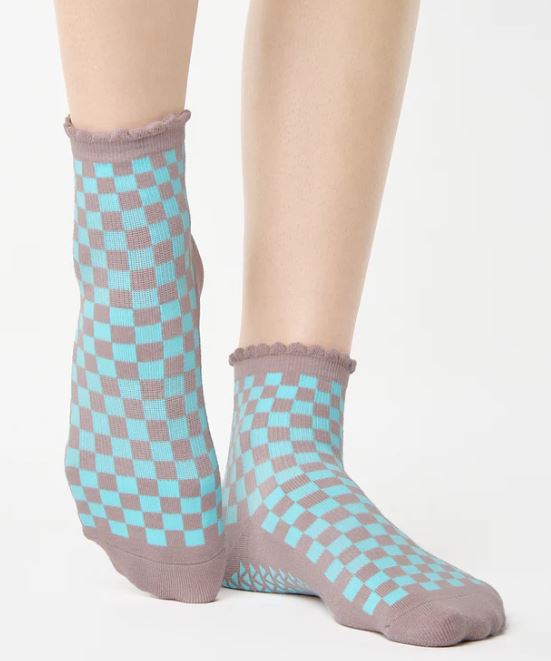
Grip Socks from Pointe Studio: Grip socks are essential for Pilates, barre, and yoga—or just cozying around on slippery floors at home. Pointe Studio makes some of the cutest, highest-quality grip socks out there (lots of styles, see above for some).. I’m currently wearing the Annie Ankle (shown to left) featuring a stylish scalloped edge, checkerboard patterns, no-slip bottoms, and built-in arch compression for comfort and support.

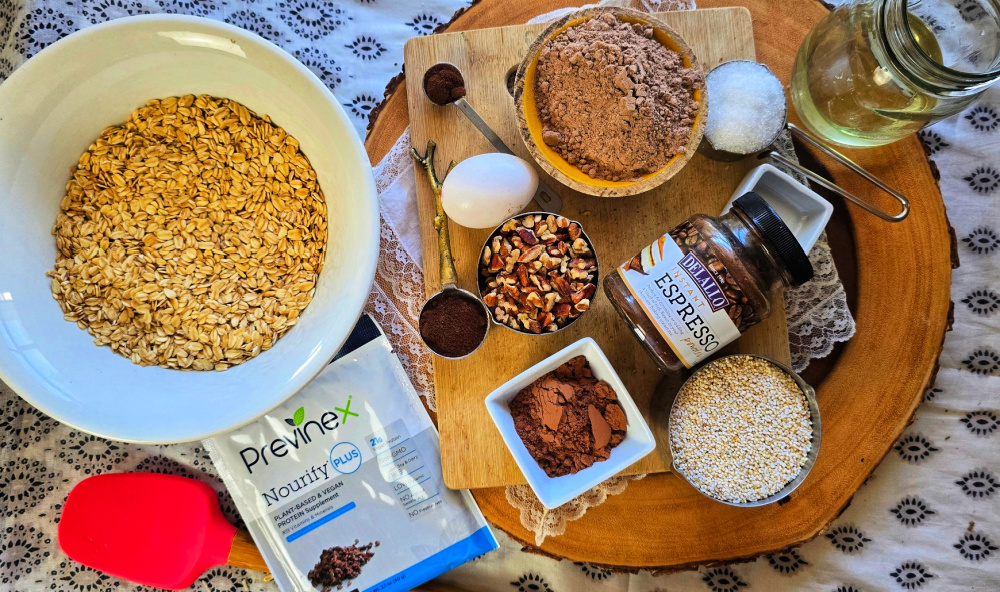
Previnex Muscle Health PLUS: I take this every day to support lean muscle—SO important for women, especially as we age. This powerhouse formula includes creatine monohydrate, myHMB®, BCAAs, EAAs, and AstraGin® to reduce muscle breakdown, increase lean mass, boost protein synthesis, and enhance strength. Also, I love that for every purchase made, Pevinex donates a bottle of their Super Vites® kids vitamins to the most in-need children. Use code thefitfork to save 15%.
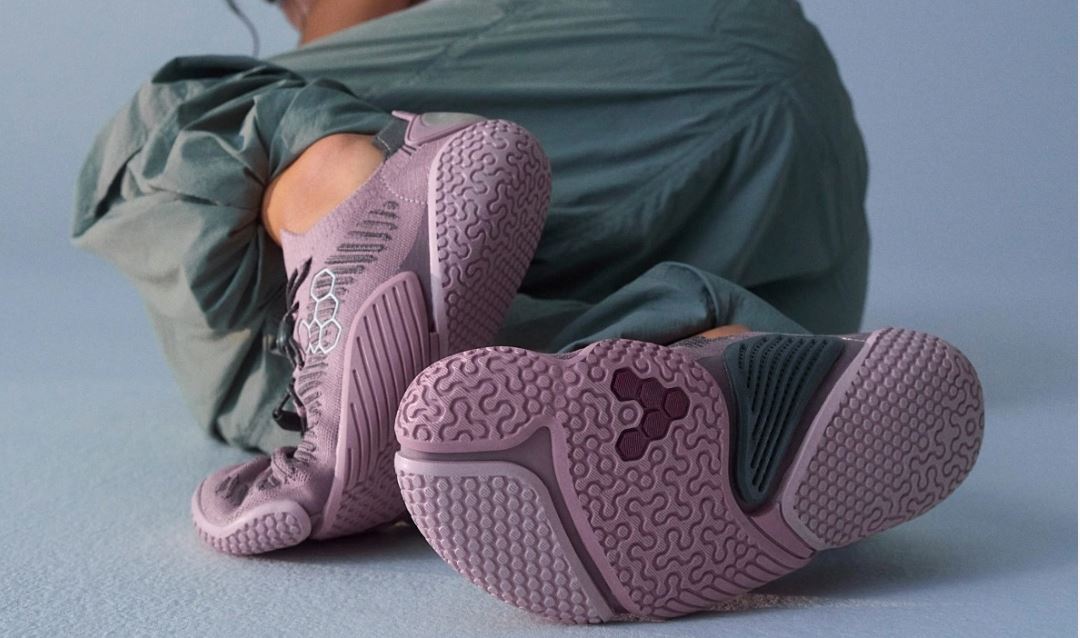
Motus Flex from Vivobarefoot: Healthy feet = healthier movement, and Vivobarefoot nails this philosophy. The Motus Flex is their most barefoot-feeling performance trainer with incredible flexibility for calisthenics, primal movement, bodyweight training, and gym sessions. I don’t run in them (I need more cushion for that), but they’re AMAZING for everything else—giving you the freedom of barefoot movement in places you can’t go without shoes. Save 25% with THEFITFORK25 (through 11/30/2025) or 20% anytime with THEFITFORK20.
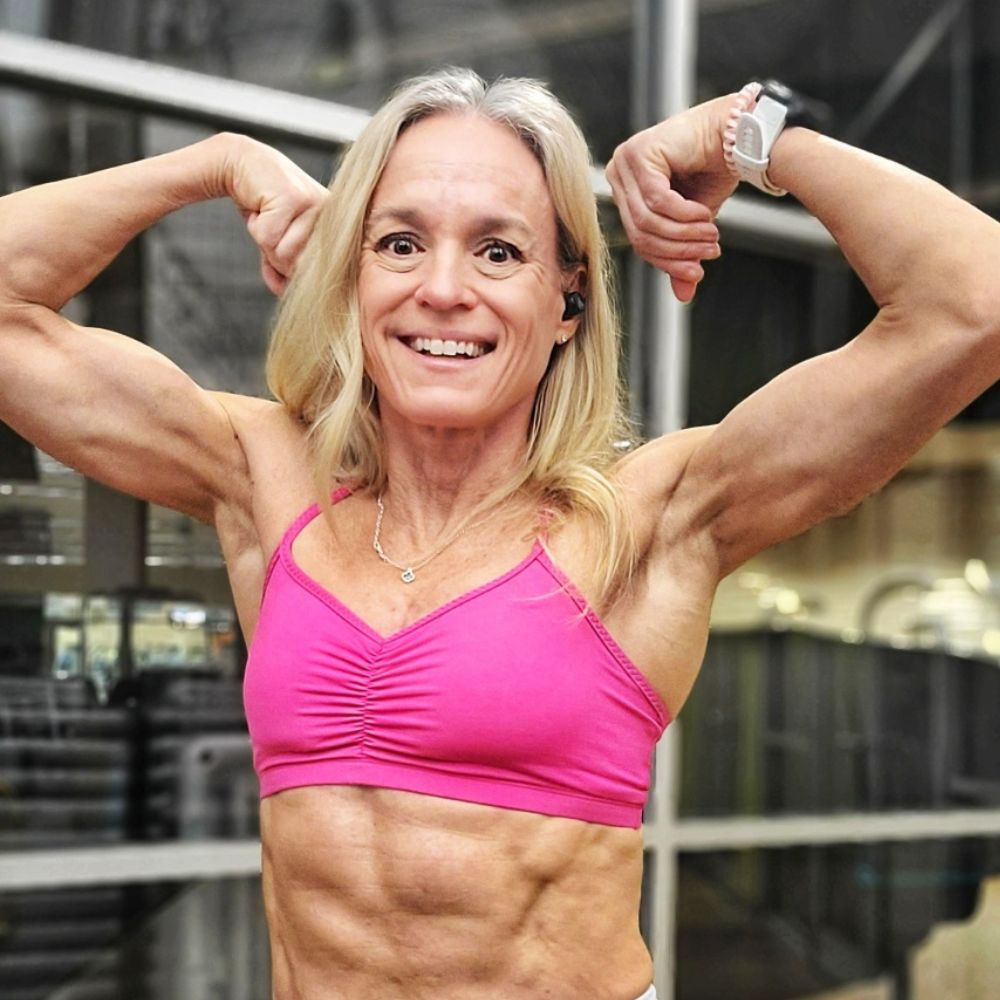
Adjustable Bra by Handful: If there was ever a perfect sports bra—this is it. I own more than a dozen of these because they’re unbelievably comfortable, flattering, supportive, and versatile. The removable pads are the best I’ve seen, the fit is perfect for my not-so-curvy shape, and they offer styles for every body type. Even better: 12.5% of revenue from every Handful Bra purchased in the Battle Cry Pink color (shown) bra supports the Young Survivor Coalition, honoring the 1 in 8 women diagnosed with breast cancer. Use code TheFitForkFS for FREE SHIPPING.
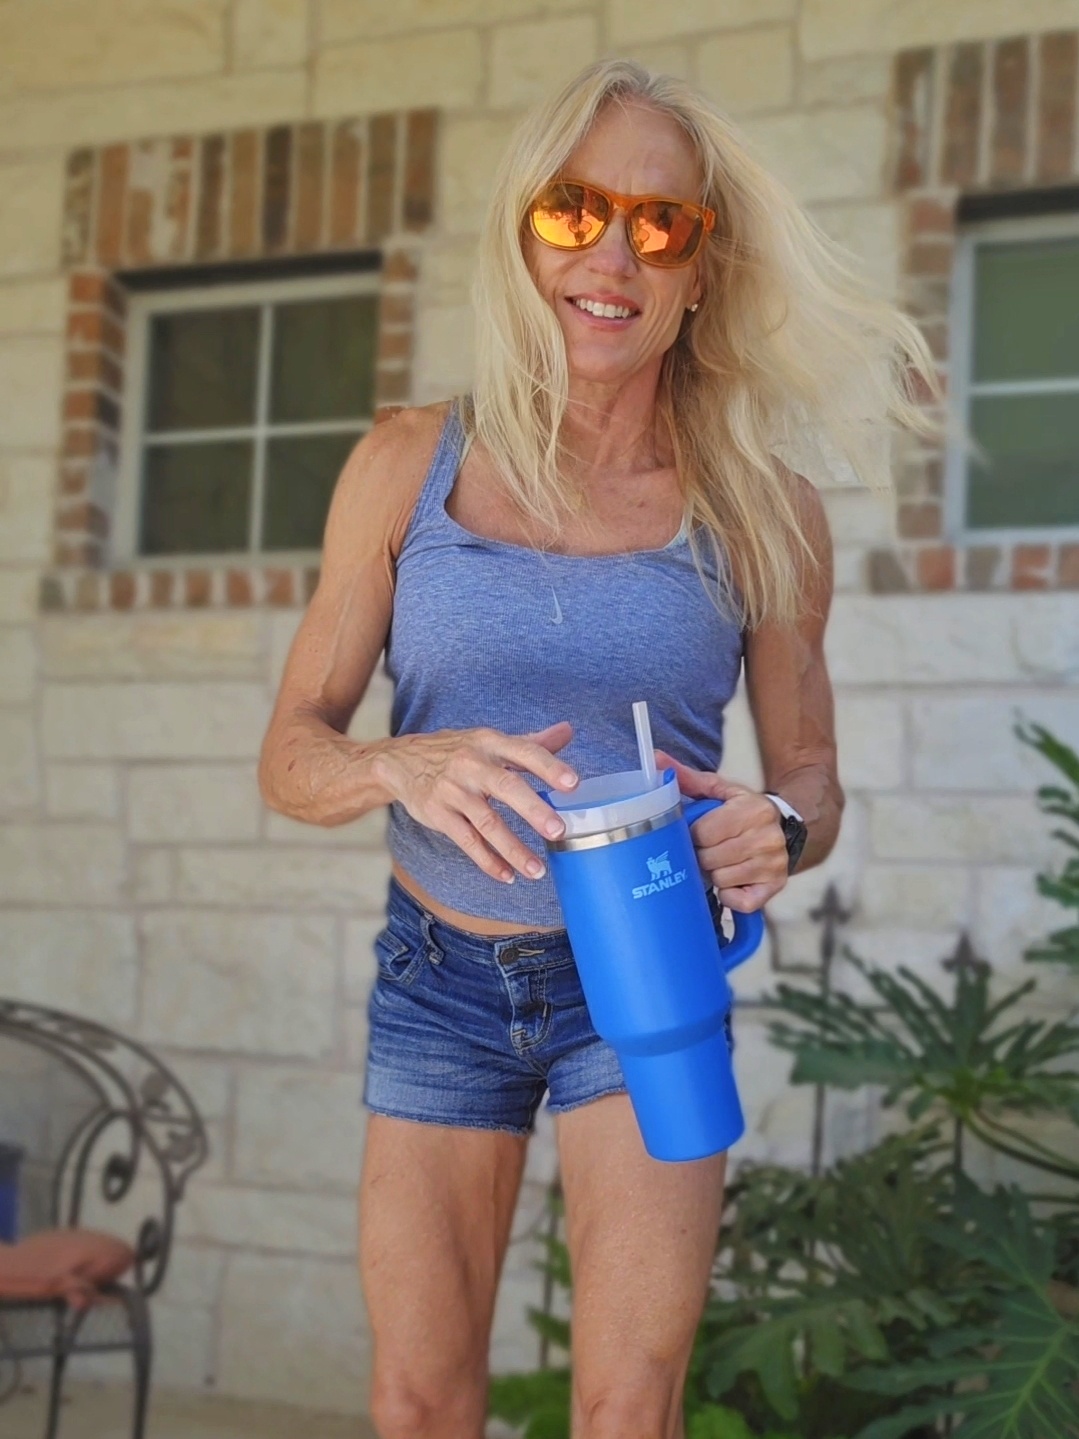
STANLEY Quencher H2.0 Tumbler with Handle and Straw 40 oz: My everyday hydration hero! This 40 oz STANLEY Quencher fits perfectly in my car cupholder, keeps cold drinks icy and hot drinks steaming for hours, and comes in so many cute colors. Durable, convenient, and stylish—truly a winner!

Note: This post contains affiliate links. I earn a small commission on sales generated through links. Proceeds help offset expenses for The Fit Fork.