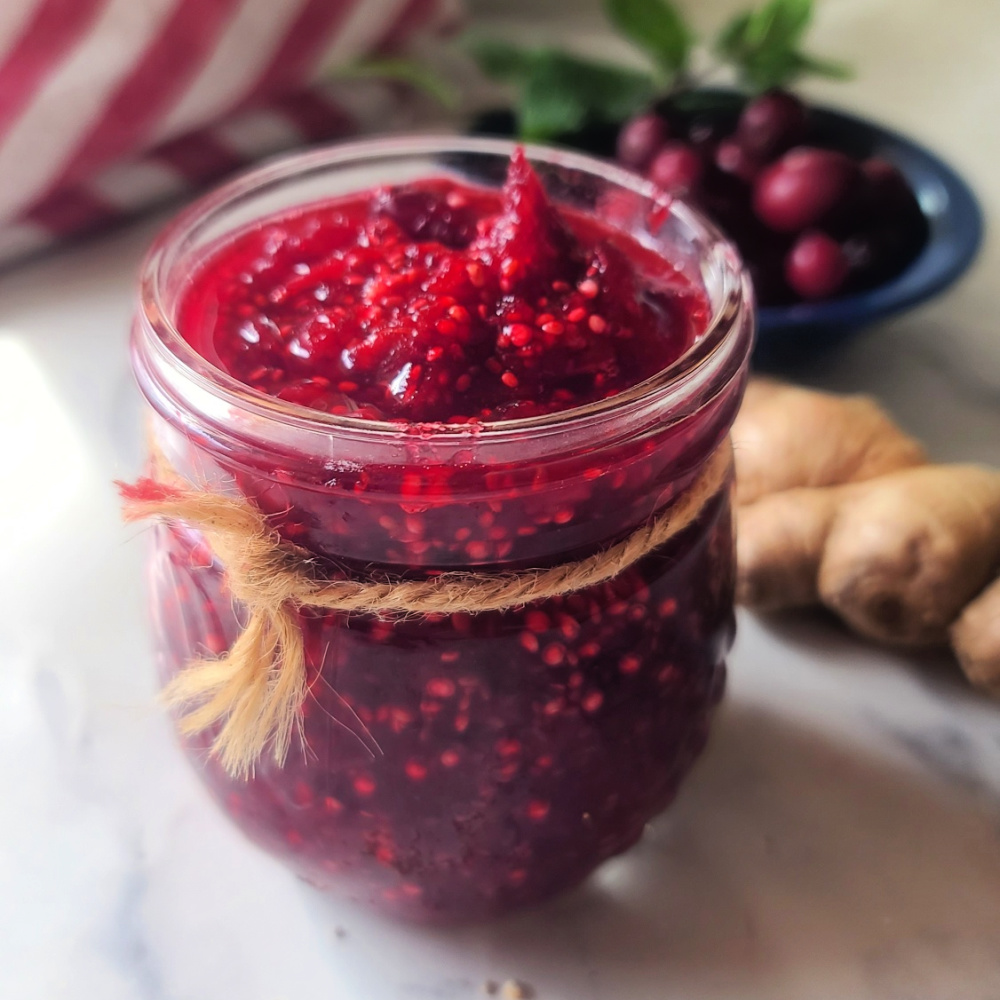
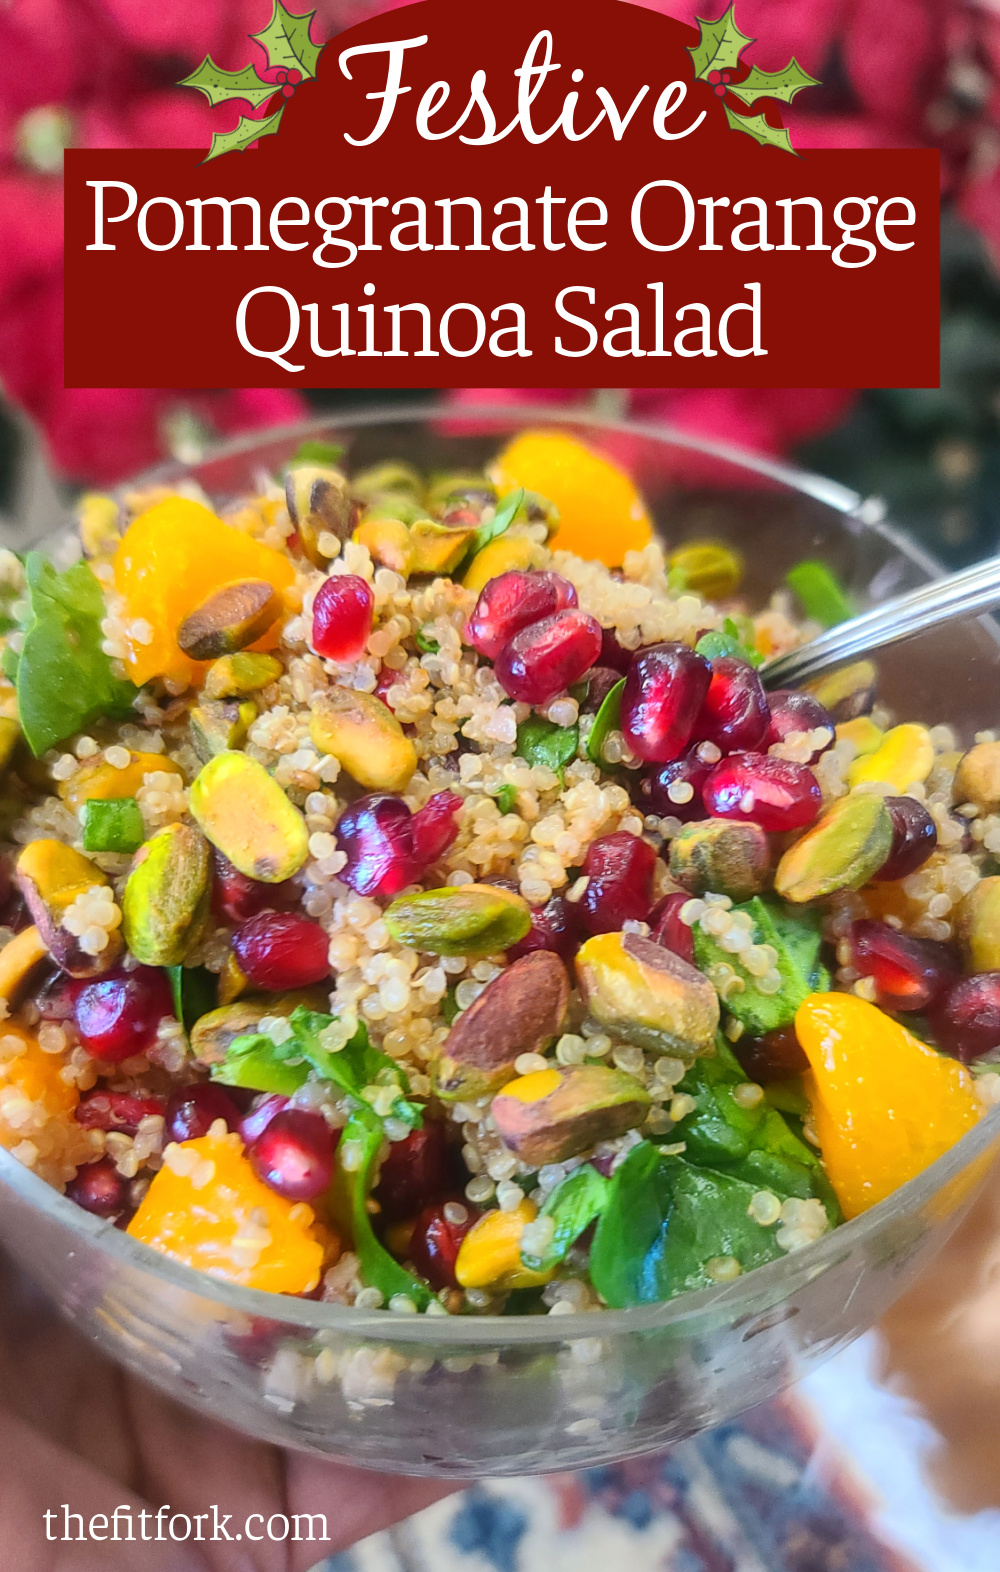
Deck your plate for the holidays with this festive quinoa salad featuring pomegranate and orange. it’s a beautiful, healthy, delicious recipe elegant enough for the season’s celebrations and simple enough for a simple weeknight dinner.
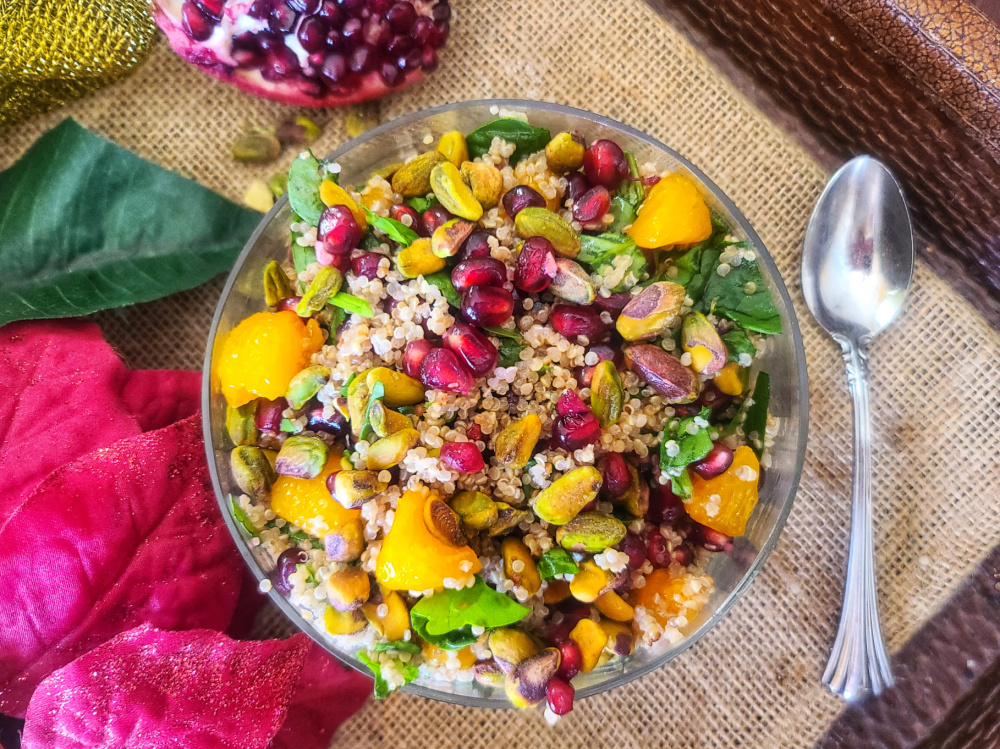
A simple creamy dressing made with a vinaigrette base along with Greek yogurt and date syrup adds even more flavor to this simple holiday quinoa salad that comes together with just a handful of healthy ingredients.
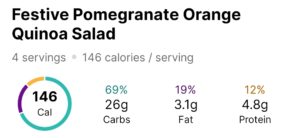
This pomegranate orange quinoa recipes makes 4 servings, each with 146 calories, 26g carbs, 3.1g fat and 4.8g protein.
I pair this cold quinoa salad with a quality protein to make sure I’m hitting my 25-30g per meal goal. Tonight, I made cod that was simply seasoned and air-fried.
TIPS FOR FESTIVE QUINOA SALAD:
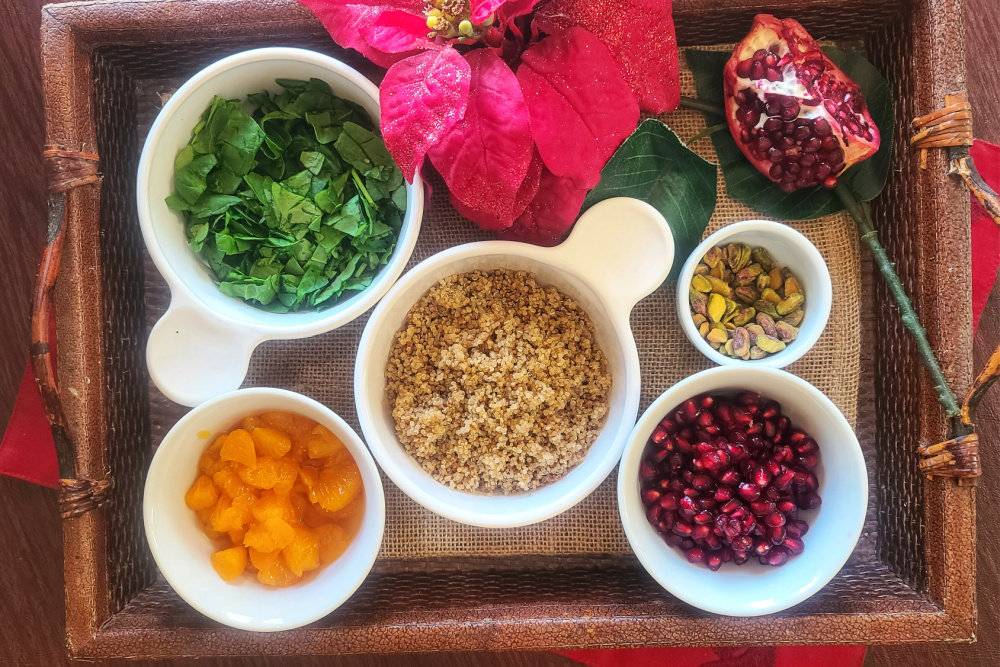
Quinoa: You can use any color quinoa (eg: white, red, black, mixed). Also, consider batch-cooking quinoa and keeping in the freezer in 1-cup portions. This makes creating quick recipes with this healthy whole grain (really a seed), even easier – you can read my quinoa prep post HERE.
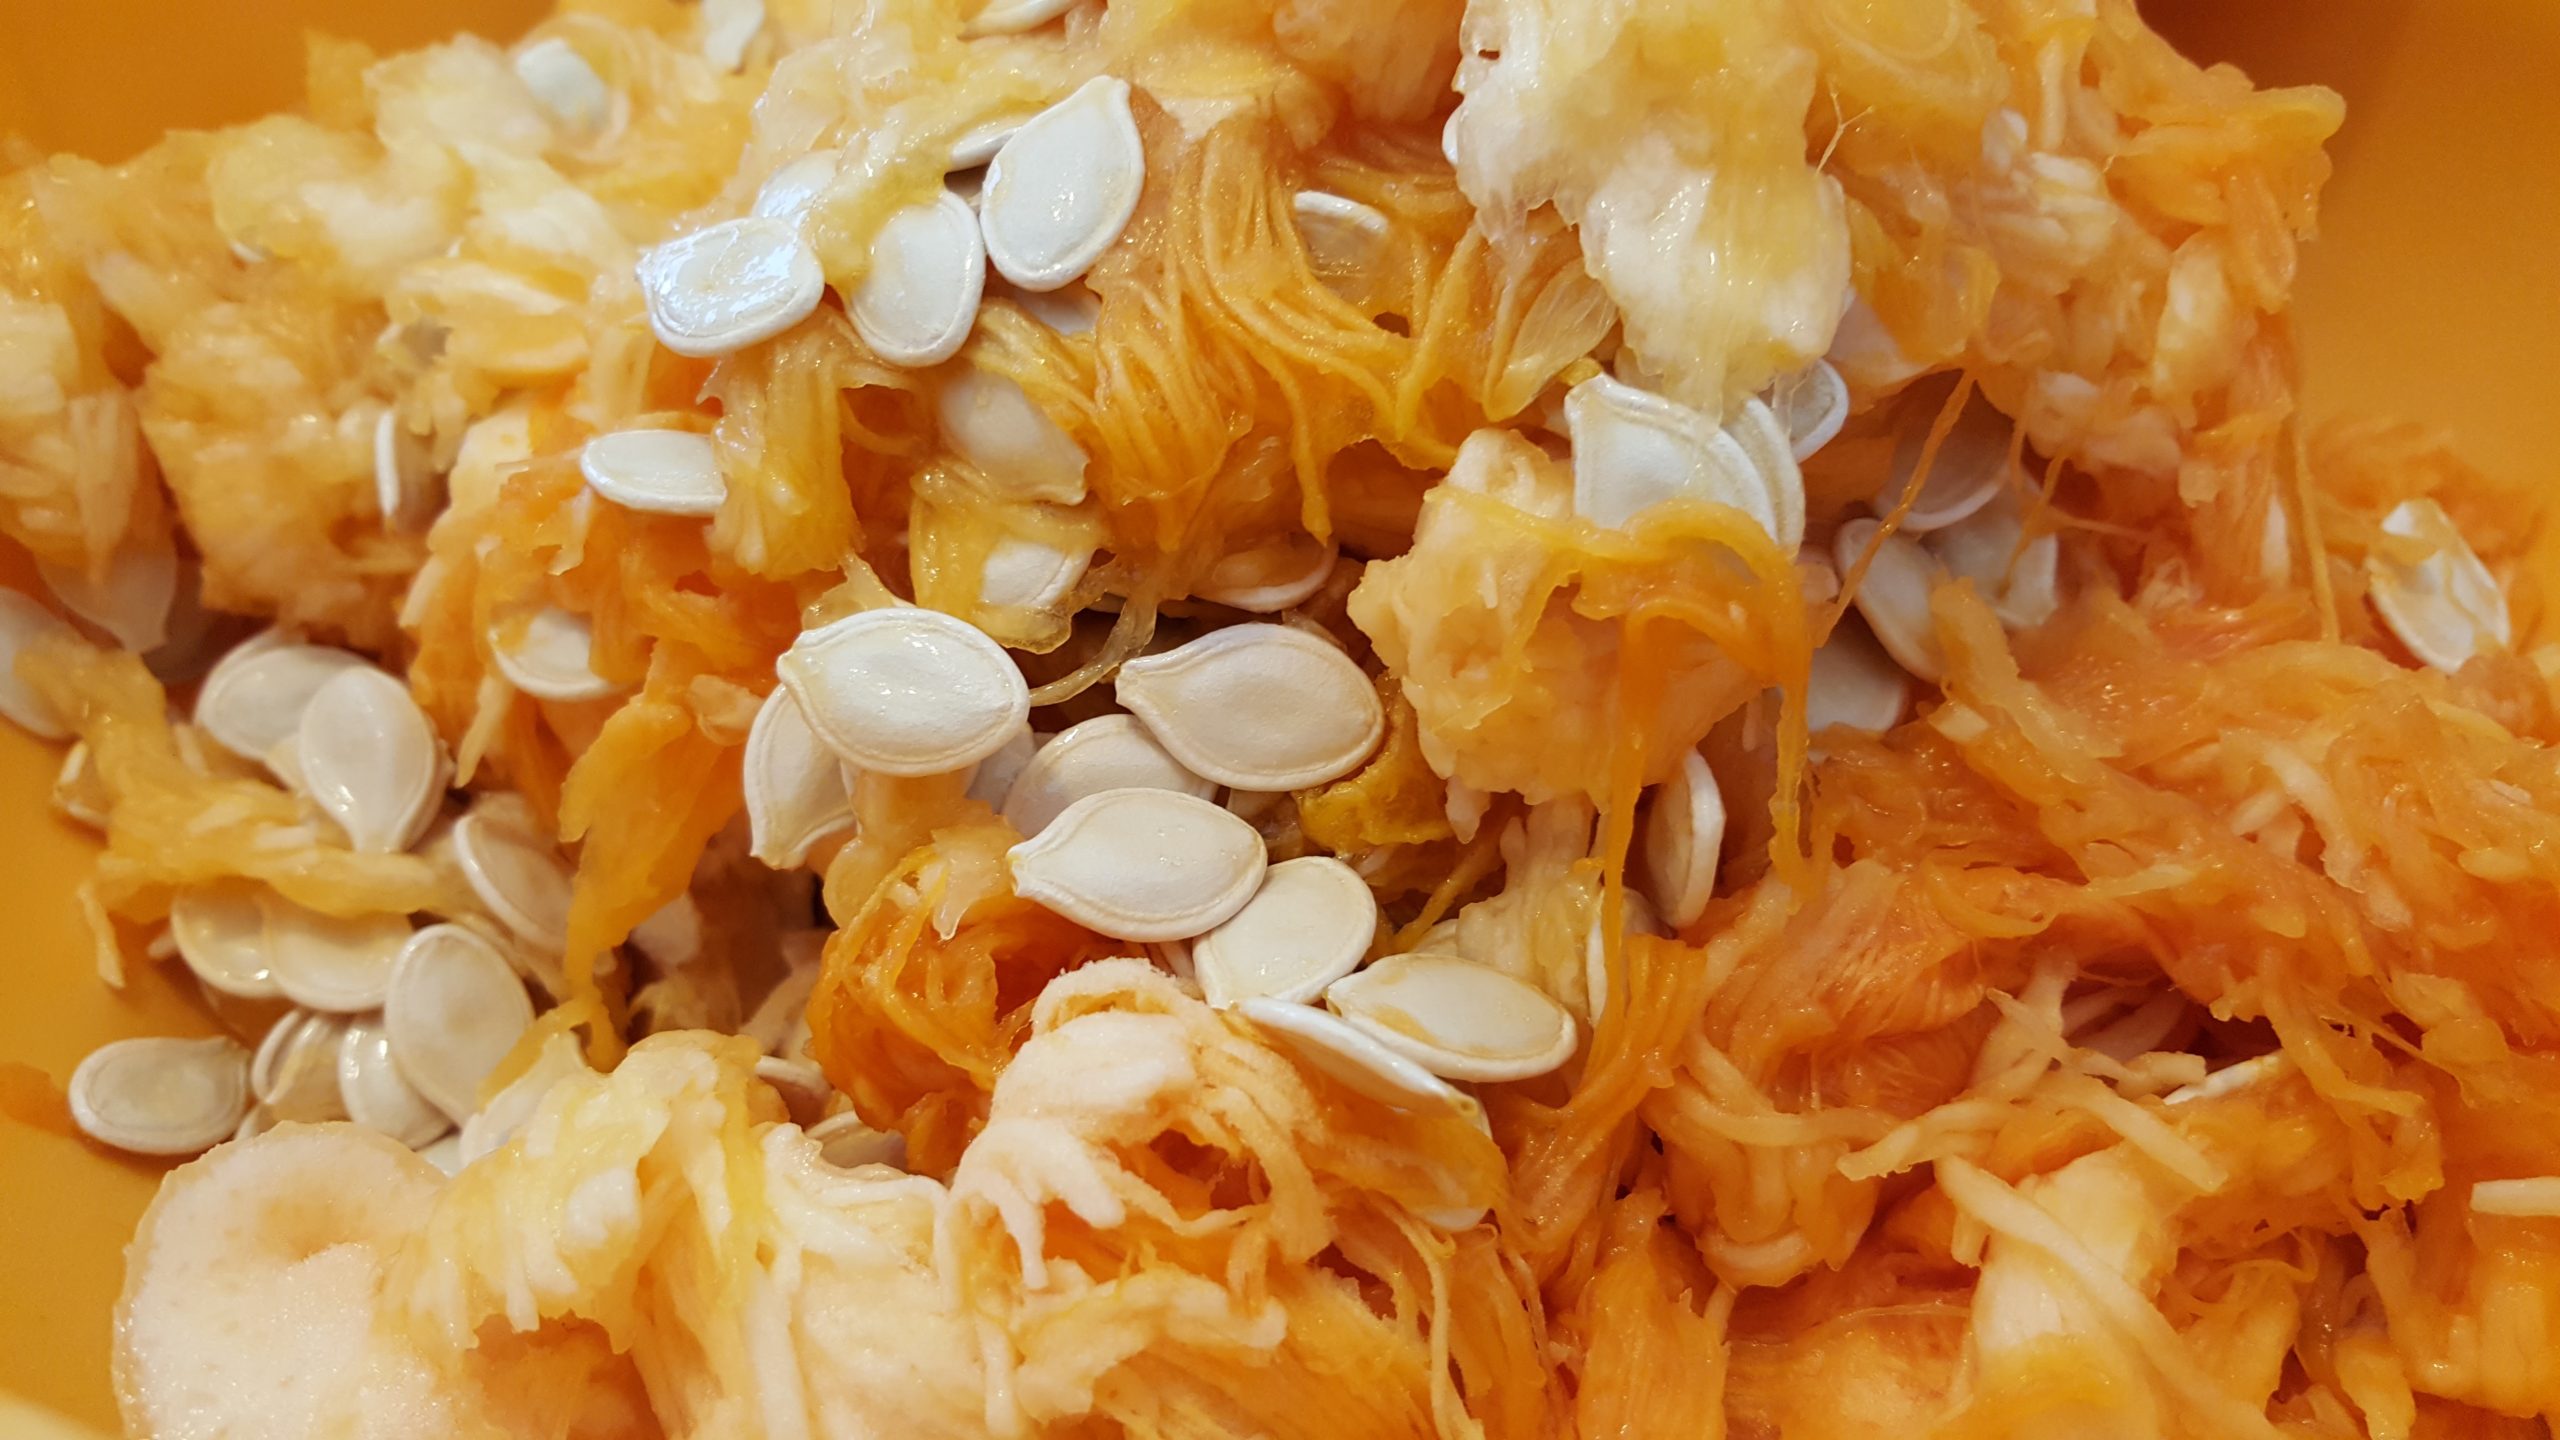
Pomegranate & Oranges: Use fresh or pre-packaged, it really only comes down to your preference and time to prep. If using either from a jar, tub, or can, choose “no sugar added” and drain off the juice so the quinoa isn’t soggy later. However, do reserve about 1 tablespoon of pomegranate juice for the dressing (or if fresh, drain it from the bowl after getting the arils out).
Dressing: This recipe makes just enough for the salad, and I prefer underdressed salads. If you think it needs more, double the dressing recipe and pour it on a little at a time – going by taste. Also, if you’d like to turn this from a vegetarian quinoa recipe into a vegan quinoa recipe, then use a substitute for the Greek yogurt, such as a plant-based yogurt, tahini or a natural nut butter.
Optional Ideas: You can swap out the pistachios for a chopped nut of choice like almonds, pecans – or none at all. Also, I love to sprinkle mine with feta cheese for a salty contrast with the sweet.
Make Ahead & Storing: This recipe will get a little soggy if you make the day before. To save time, it’s best to prep the ingredients (cook quinoa, chop spinach, peel/seed fruit, etc) the day before. Then simply toss everything together and shake up the dressing – it will literally just take 2 minutes! You can store leftovers in the fridge for up to 3 days. Still tastes yummy, but the crunch of the nuts and crisp of the spinach will be gone.
This is one of my favorite creative quinoa salad ideas – for it’s flavor, fast-fixing, and festive appearance! Enjoy!
As an Amazon Influencer, I earn from qualifying purchases.

Transform plain quinoa into something to celebrate for theholiday season! Pomegranate, orange segments and pistachios bejewel this quick,easy and nourishing vegetarian salad that is equally beautiful for a dinnerparty or quick lunch!
- 1 cup cooked quinoa
- 1 cup chopped fresh baby spinach
- ¾ cup pomegranate arils juice drained & reserved if packaged container
- ¾ cup mandarin orange segments packed in water or juice or fresh
- ¼ cup shelled pistachio kernels coarsely chopped
- 1 tablespoon olive oil
- 1 tablespoon juice reserved from pomegranate or orange segments
- 1 tablespoon white wine vinegar
- 2 tablespoons Greek yogurt
- 1 tablespoon date syrup
- 1/8 teaspoon salt
-
Add quinoa, spinach, pomegranate and orange segments (cut in half crosswise) into medium bowl.
-
In small mason jar, shake together dressing ingredients until emulsified.
-
Pour dressing over salad and gently stir.
-
Before serving, stir in pistachios.
-
Best eaten right after making to keep the texture of the lettuce and pistachios. But you can store leftovers in fridge for up to 3 days and it’s still good.