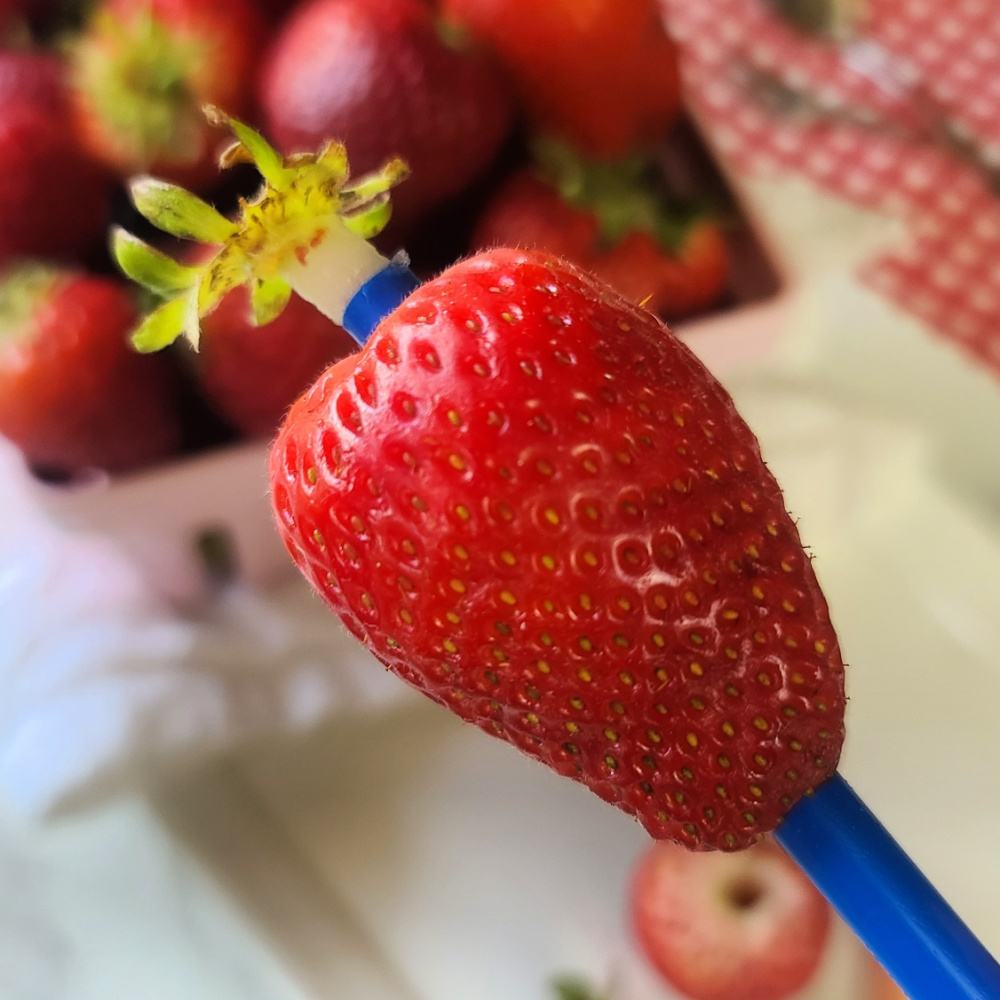
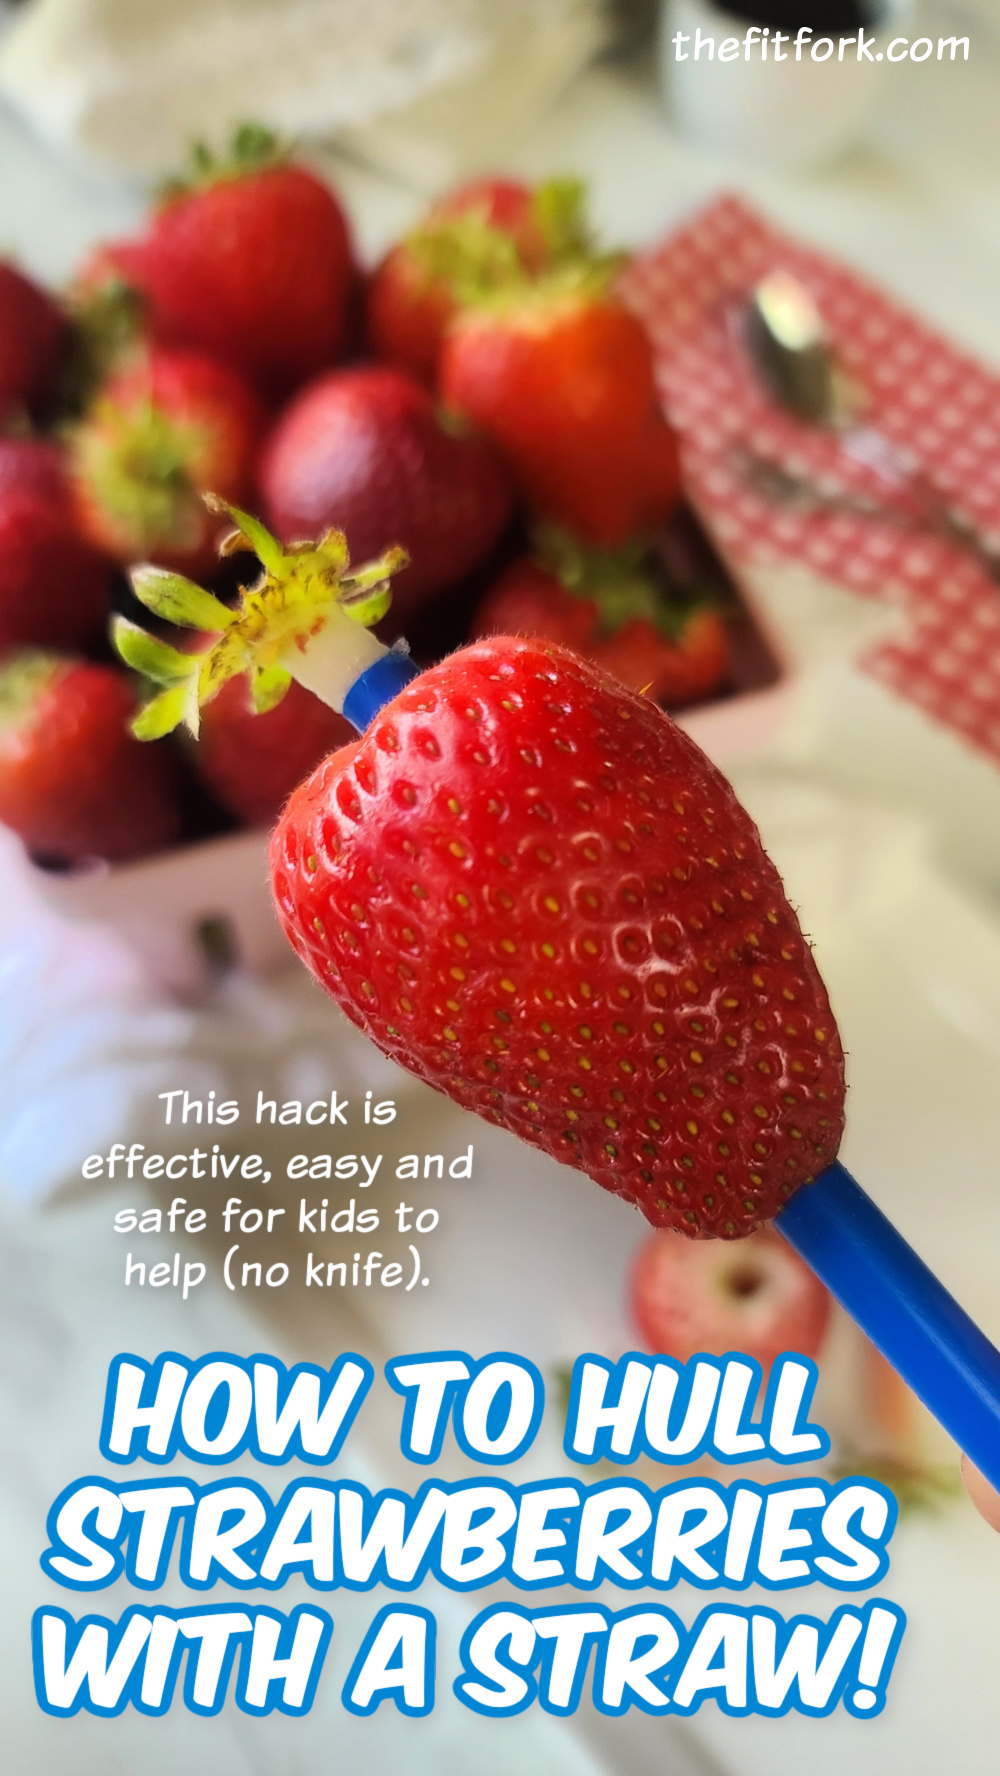
Hulling a strawberry with a straw is a simple and effective method to remove the stem and the flavorless core. It’s quick, easy and efficient — especially if you are preparing a bunch of strawberries at once for a fruit tray, summer snack, or as an ingredient for recipes. Also, this strawberry hack is safe for kids — no knife needed and they will have lots of fun with the ‘chore’.
What you need: Fresh strawberries and a straw. A sturdy straw works best, such as a metal straw or a reusable plastic straw). Even a higher-quality disposable straw (like from fast food) will work — but a paper straw will definitely NOT hold up.
HOW TO HULL STRAWBERRIES WITH A STRAW
Wash berries under cool water to remove dirt and pesticides.
Hold strawberry with one hand, straw with the other.
Insert straw into bottom of berry, directly opposite of the stem.
Push and/or gently wiggle straw upwards to effectively remove core and stem in one motion.
Pull out straw, which also removes core/stem.
Pull stem out of straw and repeat with remaining strawberries. Compost or toss away this part.
Sometimes on bigger berries, a bit of leafy section will remain. Just nip that off with a paring knife.
By following these strawberry prep steps, you’ll have perfectly hulled strawberries ready for your recipes or as a healthy snack! Washed, dried, and hulled strawberries should remain fresh for about a week if stored in an air-tight container lined with paper towels. I find the paper towels help help soak up any additional moisture and lengthen the storage time.
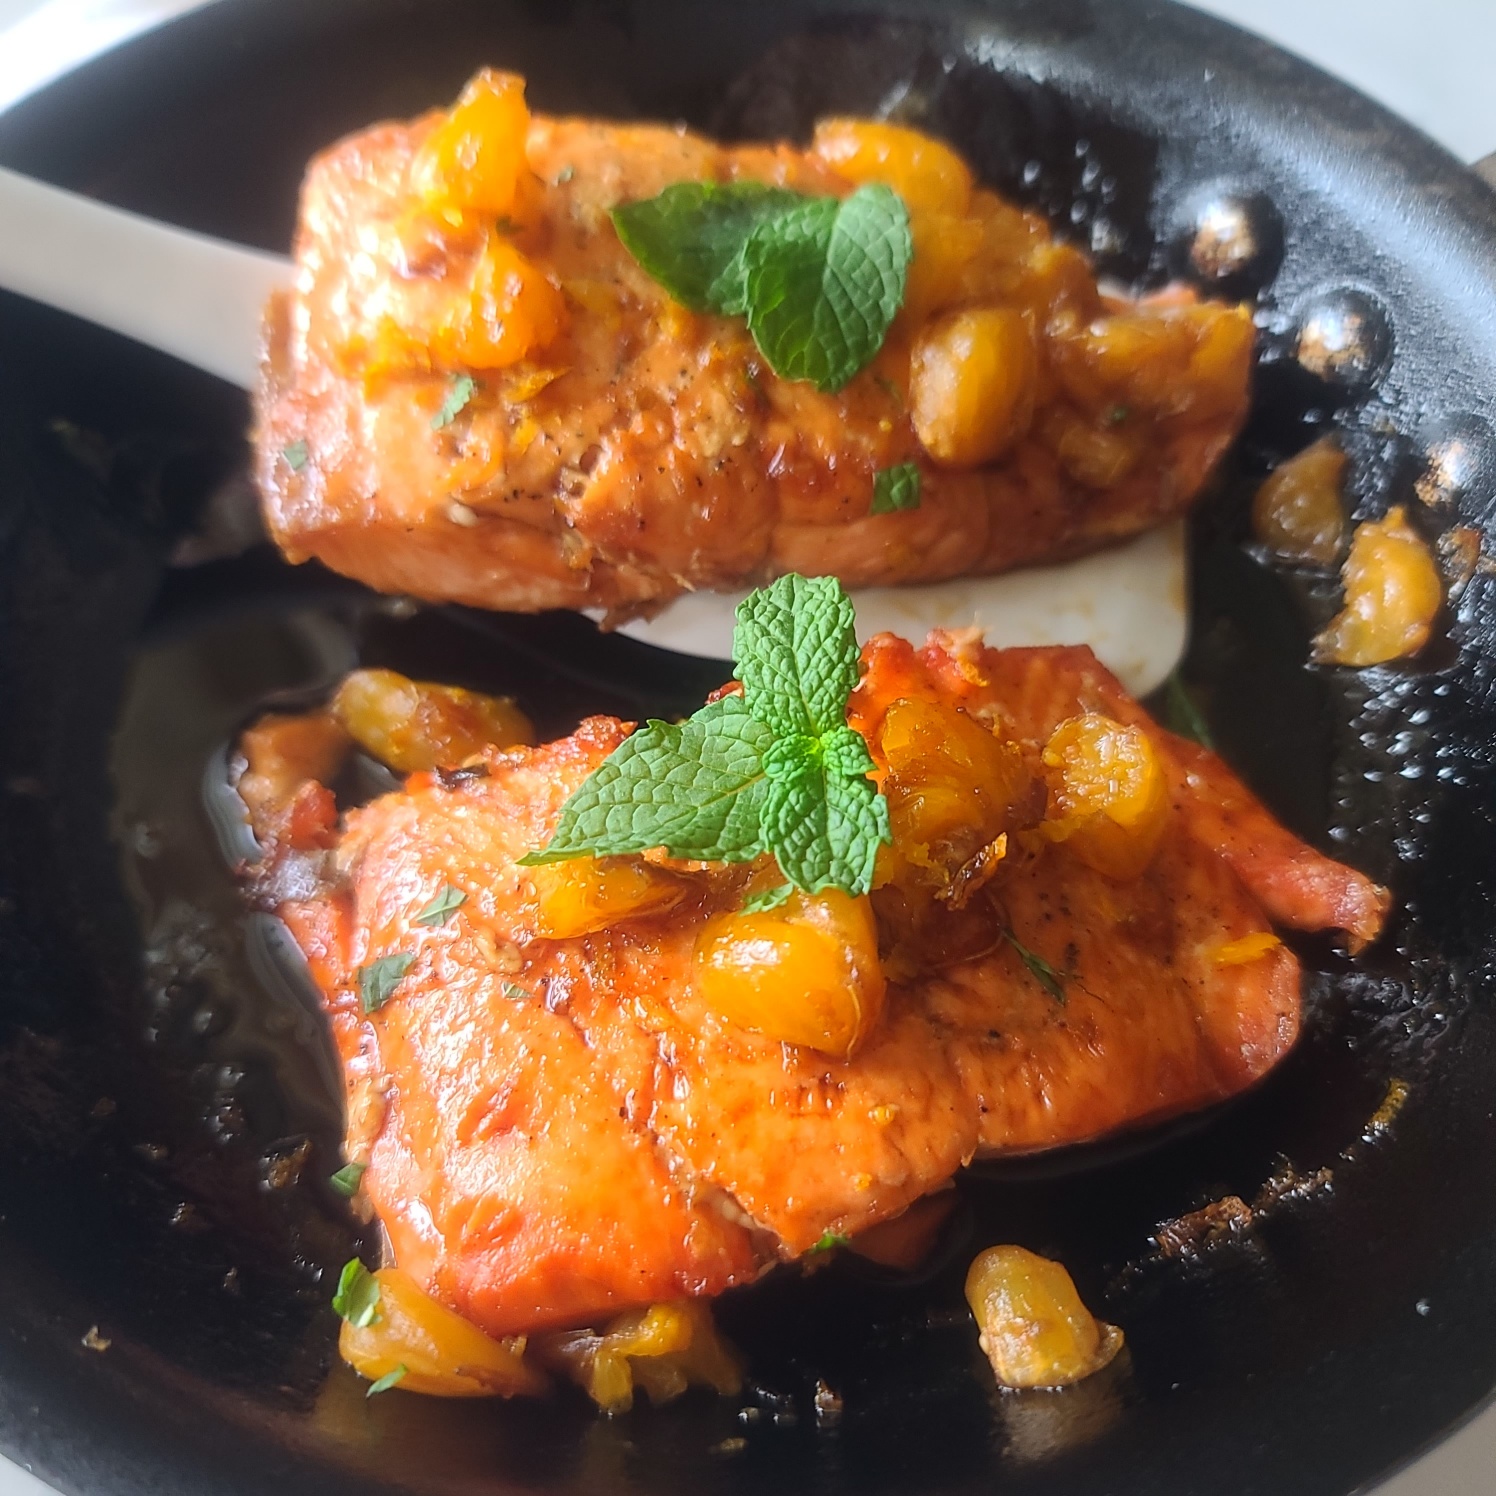
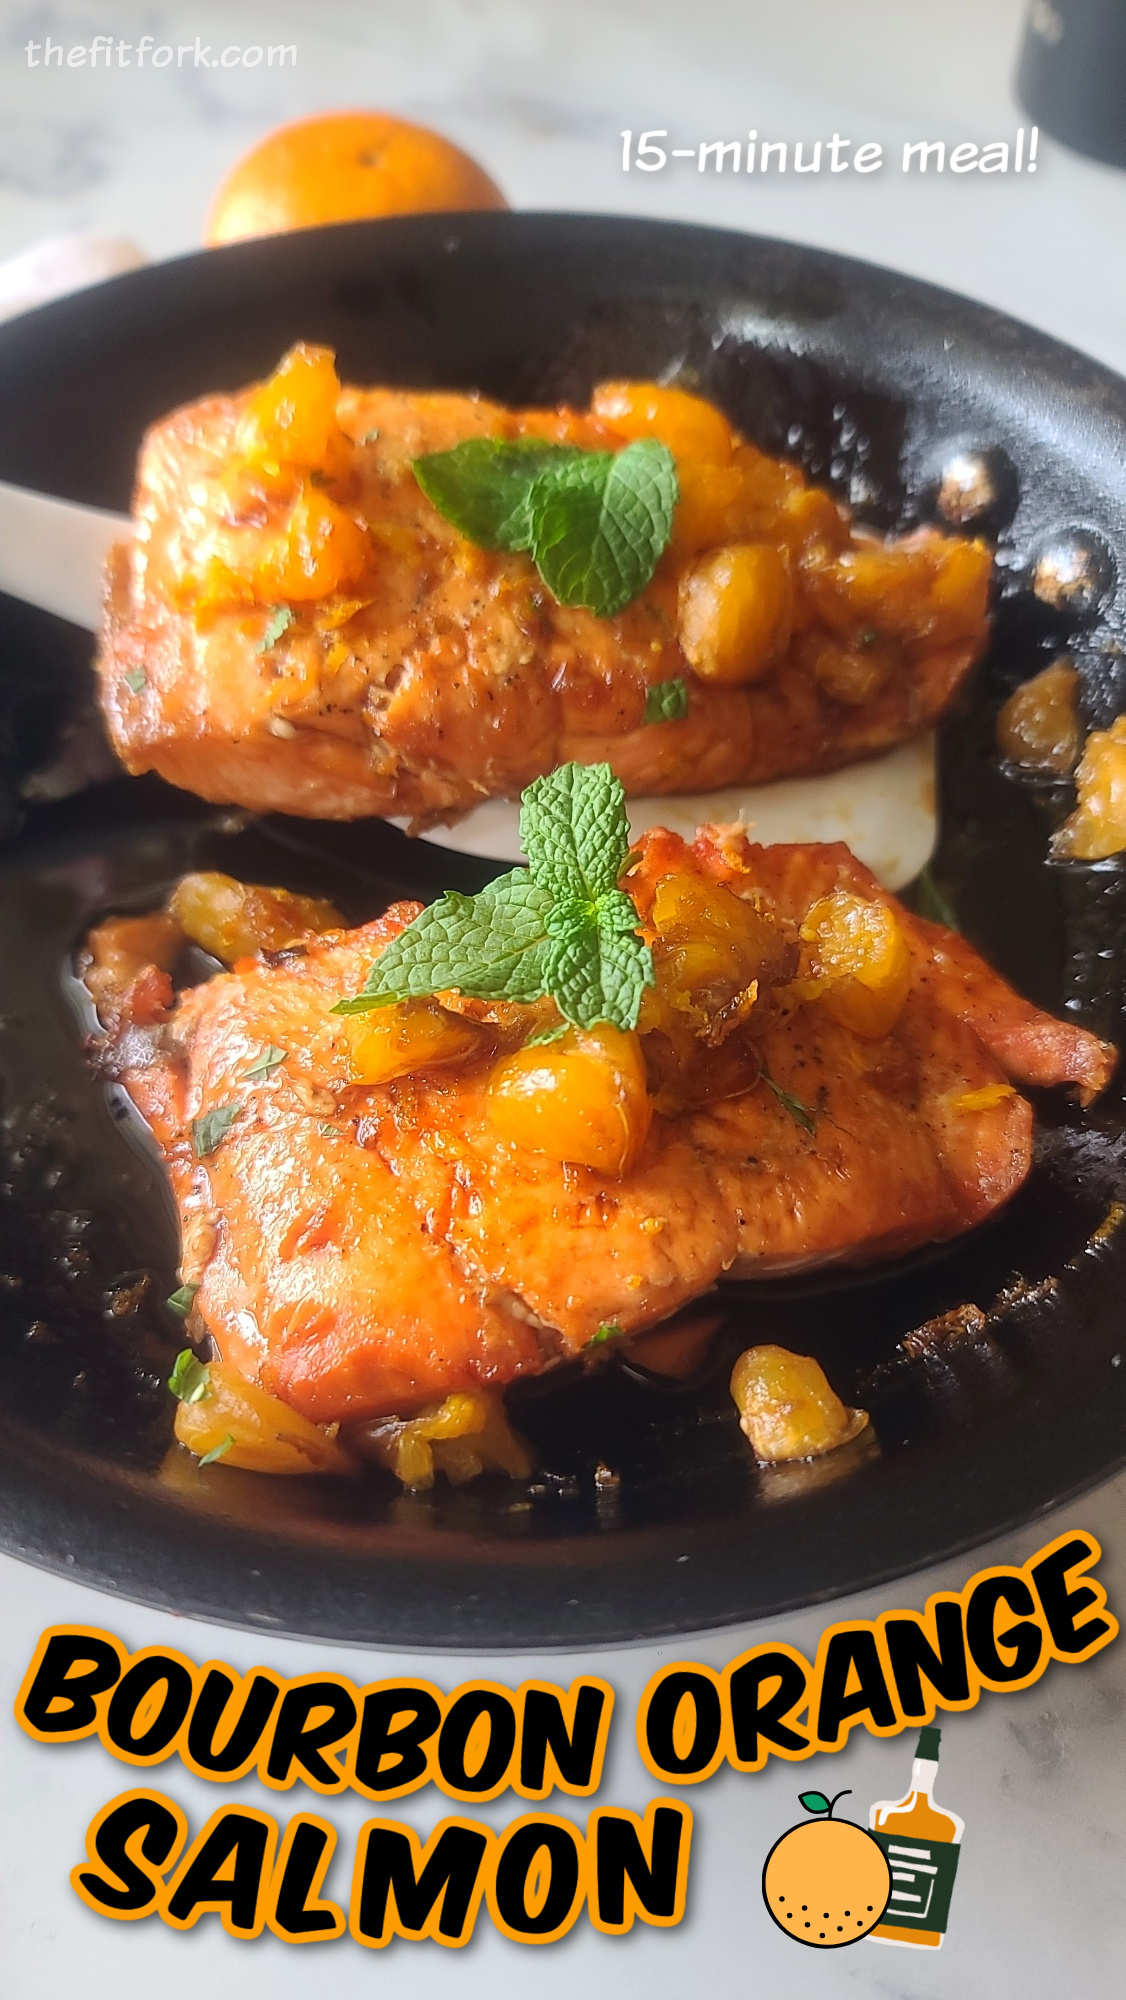
Make flavor waves on a busy weeknight with this Bourbon Orange Salmon – ready in just 15 minutes.
It doesn’t have to be hard to be delicious, quick and flavorful. Wild-caught Sockeye Salmon Filets from my Butcher Box Delivery are quickly thawed in cool water (or overnight in the fridge). Keeping my freezer stocked with salmon and other quality proteins, such as grass-finished beef, from this subscription box delivery just makes life easy, healthy and flavorful. I always have the foundation for a fabulous meal – like this salmon with bourbon sauce – at the ready.
The salmon is simple seasoned with salt and pepper and seared in a skillet to succulent perfection. After pan-searing, a quick bourbon sauce (the alcohol is cooked off) in the same skillet along with a mandarin orange and a few other mindful ingredients.
The key to a super citrus-y taste that pairs so well with bourbon, is to use a microplaner to remove the zest from your mandarin orange before peeling and chopping. This handheld citrus zester fits perfectly in your palm and makes the task easy.
I hope you enjoy the Orange Bourbon Salmon at learn more about Butcher Box subscription meat and seafood deliveryHERE:
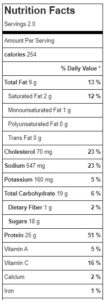
This 15 minute salmon recipe is prepared in a skilled and drizzled with a sweet bourbon orange glaze. Great for a quick weeknight meal or even company!
Servings: 2servings
Calories: 254kcal
Ingredients
1tspolive oil
24-oz. skinless salmon fillets
1/4tsp.black pepper
1/4tsp.salt
1mandarin orangezested, peeled and chopped
1/4cupbourbon
2tsp.honey
1tbsp.coconut sugar
1tbspcoconut aminos
1tbsp.butter
Instructions
Heat large non-stick skillet over medium-high.
Season salmon with salt and pepper and add to skilled with olive oil. Cook into golden on both sides, about 130F internal temp. Time will vary by thickness, but about 6-8 minutes typical.
Remove salmon from skillet, an in same skilled over medium heat add bourbon, coconut sugar, coconut aminos and let simmer for a few minutes until alcohol cooked of and volume is reduced.
Toss in chopped orange, zest and butter and cook another minute until heated.
To serve, drizzle sauce over salmon. Garnish with fresh herbs if desired.
Summer’s here I’m snacking on peanuts more than ever. Recipes like these Spicy Sweet Ancho Roasted Spanish Peanuts make a quick, easy and economical snack that will curb the hangries and keep the whole family filled up on road trips, hikes, long days at the park and more.
This sweet savory peanut recipe uses raw Spanish peanuts – make sure you are using RAW nuts, not those already roasted and salted. Raw Spanish peanuts are typically a great deal compared to other nut options and can be ordered in large bags* or you can pick up from the bulk bins in the exact amount you want at your market. *If you have more raw peanuts than you will use right away, keep remaining raw Spanish peanuts in an air-tight container in the fridge or freezer for up to 6 months, to ensure freshness.
I used Ancho Chile Powder for a mildly spicy, sweet vibe – but feel free to sub another spice like a hotter chile powder or cinnamon even pumpkin pie spice! This is YOUR snack!
When prepping for the Ancho Roasted Peanuts recipe, all you may wonder if you need to remove the red skin from the Spanish peanuts. No, that’s no necessary! In fact, peanut skins have an abundant amount of natural antioxidants and a high content of dietary fiber, so I always leave them on!
I made this spiced Spanish peanut recipe in a large, oven-style air fryer. If using a smaller, drawer-style air fryer you will need to do in two batches. Also, you can roast red skin peanuts, including this recipe, in a traditional oven. The details are in the recipe card below.
This roasted red skin peanut recipe makes about two cups, serving eight (about ¼ cup per each). Leftovers store great, just keep in an air-tight bag for a month or so – if they last that long! Also, check out my Heavenly Cinnamon Honey Roasted Peanuts based on a recipe from my Cooking for One for Dummies book.
Post contains Amazon affiliate links. Visit my Amazon store for more products I love to use in my recipes.
Spicy Sweet Ancho Spanish Peanuts Roasted in Air Fryer
Prep Time
5mins
Cook Time
13mins
Total Time
18mins
Get your hot peanuts here! Raw Spanish peanuts are roasted in air fryer or oven after being coated with butter, sugar (or alternative), salt and a mildly spicy chile powder. An easy, economical and low-carb snack that sustains — perfect for hikes, road trips, post workout and more!
Course:
Snack
Cuisine:
Southwestern
Keyword:
ancho, low carb, peanuts, snack
Servings: 81/4 cup servings
Ingredients
2cupsraw Spanish peanutsred skin still on
2tbspbutter, melted
1tbspsugar or equivalent low-carb granulated sweetener
1tspsalt
1tspancho chile powderor can use another type of chile powder or spice like cinnamon, pumpkin pie spice, etc.
Instructions
In medium bowl, stir sugar, salt, and chile powder until combined.
Add peanuts (leave skins on), stir until coated. Pour out onto air fryer tray lline with parchment paper for easier clean up.
Air fry at 300F degrees for 5 minutes, stir around with spatula. Then air fry at 350F degrees for an additional 8 minutes (so 13 min. combined).
Or, roast in 350F degree oven on a rimmed baking sheet, for about 15 minutes (stirring up every 5 minutes).
If desired, while still warm you can sprinkle with a little more sugar and salt. So yummy warm. If you have leftovers, let cook and store in a zip-top bag.
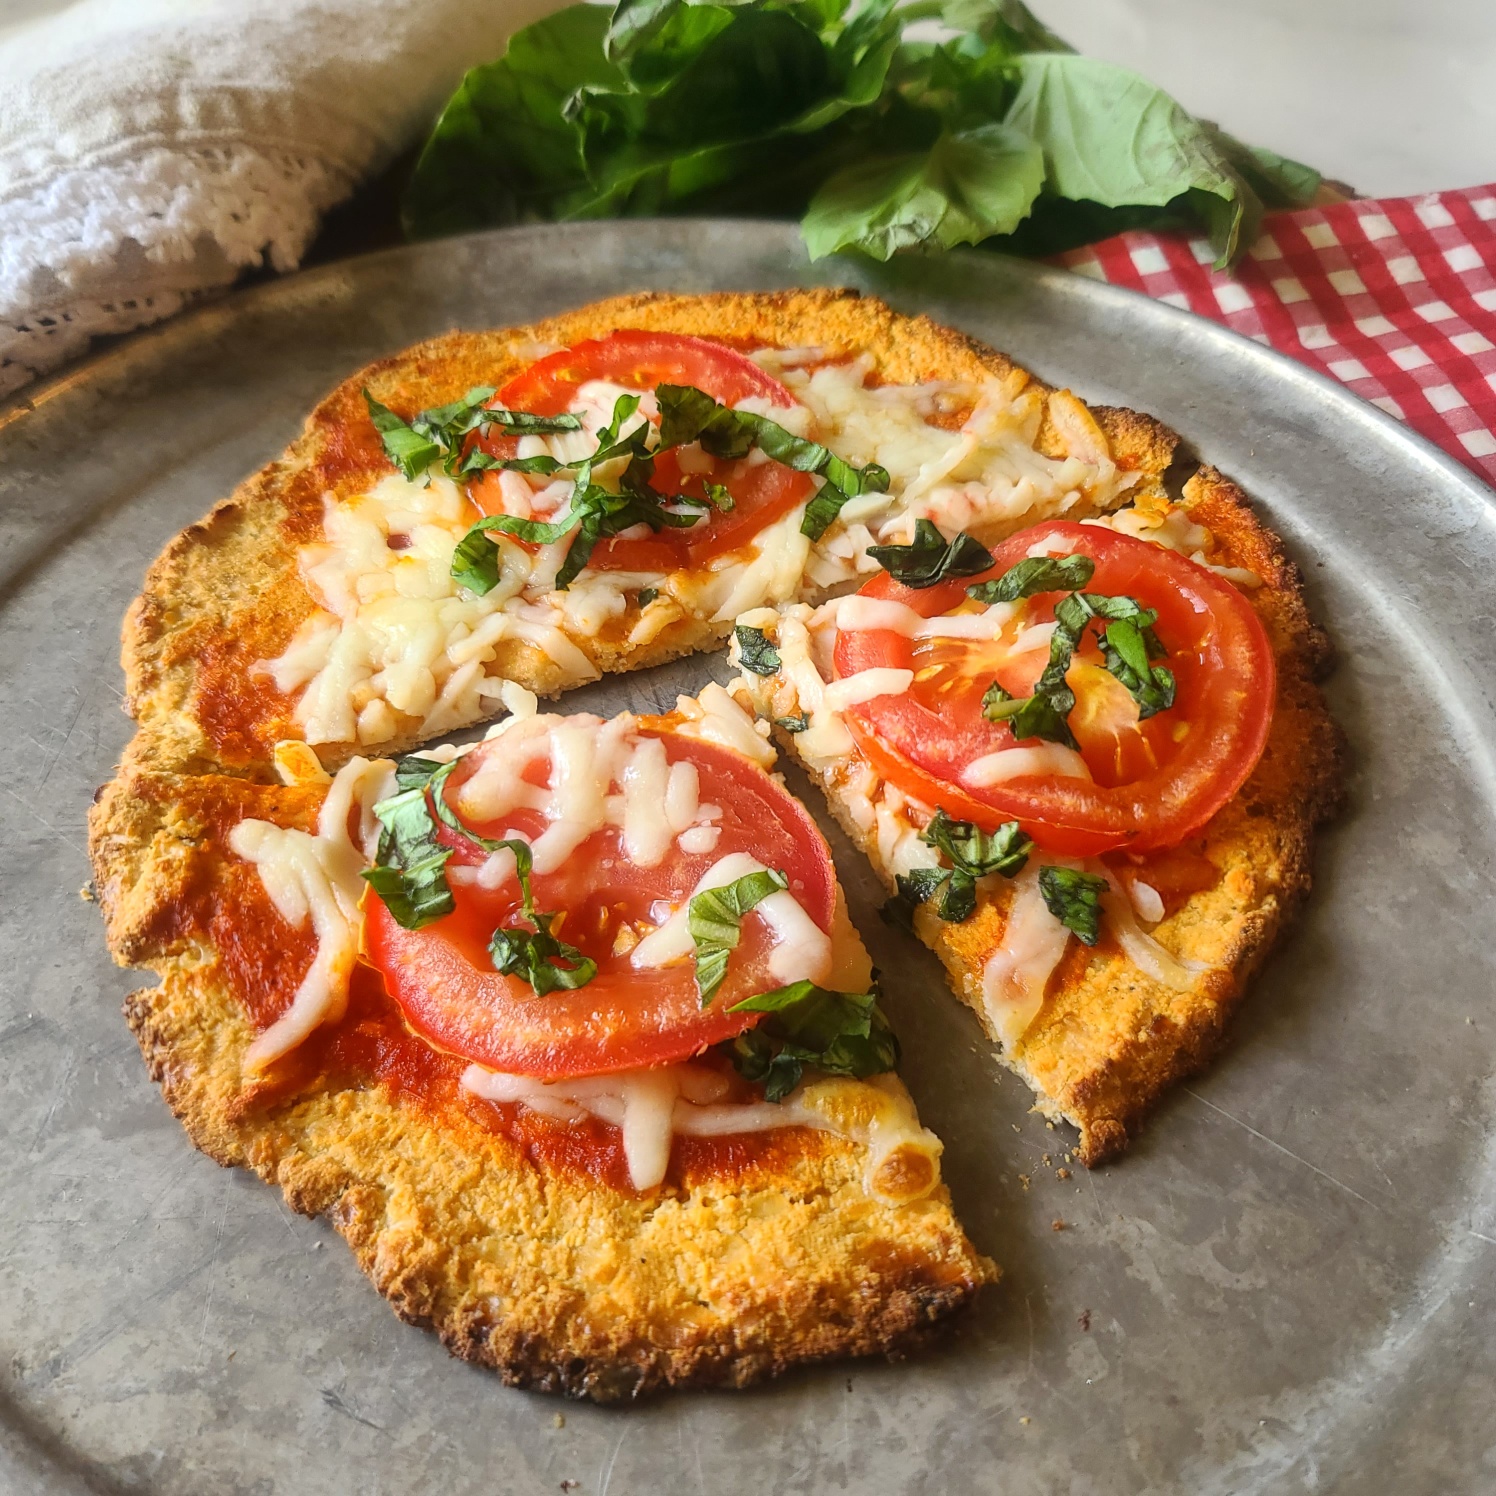
Treat yourself to pizza night done right with 3-Ingredient Cottage Cheese Pizza Crust, a gluten-free, low-carb and protein-packed alternative to traditional crusts.
I’ve been baking and cooking with cottage cheese for YEARS, so it’s funny to see all these viral cottage cheese recipes on TikTok, Instagram and such as if it’s something new! Using cottage cheese is a smart way to bump up protein, lower fat, and minimize carbohydrates in many recipes – pizza crusts included!
The macros on this pizza crust are impressively good. The recipe makes two personal sized crusts (about 6” diameter each) with a single crust (before toppings of your choice) coming in at 163 cal, 4g net carb, 10g dietary fiber, 5g fat and 18g protein.
The only ingredients used in this low carb pizza crust are cottage cheese, coconut flour and ground flax seed meal.
TIPS FOR MAKING COTTAGE CHEESE PIZZA CRUST:
COTTAGE CHEESE: When it comes to selecting cottage cheese for his keto pizza crust recipes, pick a small curd cottage cheese with 2% or 4% milk fat. Stay away from the Fat-free cottage cheese, it does not perform as well. Also, if you use small-curb cottage cheese, there is no need to blend the cottage cheese smooth (as some similar recipes call for). For reference, I used Good Culture 2% Classic Low-Fat Cottage Cheese. They also make a lactose-free cottage cheese, if that is needed.
COCONUT FLOUR: This recipe only calls for ¼ cup of coconut flour, but it is a very “thirsty” flour and much less is required than other types of flour. For this reason, please to not make flour substitutes.
GROUND FLAXSEED MEAL: I added ground flax seed to add more fiber to the recipes, along with omega fatty acids. If you can not source this, you can *likely* just substitute with 1 tablespoon more of coconut flour – but I have not tried this yet, so let me know if you do.
OPTIONAL SEASONINGS: You won’t need salt because cottage cheese has enough sodium. But you might like to add garlic powder, everything bagel seasoning, fresh chopped herbs, or whatever else you would prefer.
BAKING: You will need parchment paper or a silicon baking sheet to cover your baking pan and prevent sticking.
COOLING & STORING: After removing the crust from the initial baking, you will want to let it cool almost completely. Otherwise, it will be too fragile to handle. This recipe makes two homemade personal-sized pizza crusts. If you are not using both, cover the leftover one and keep in the fridge to use later for up to 5 days.
TOPPINGS: After your crust has mostly cooled, feel free to handle it to add sauce, more cheese, veggies, meats or whatever toppings you love. Pop back in the oven for about 10 minutes or until cooked to your preference.
I also have a 2-Ingredient, 2-Minut Pizza Crust recipe that the family loves too – it uses Greek Yogurt and self-rising flour (or an all-purpose gluten-free baking blend with a bit of baking soda).
Simple, scrumptious and a crust you will crave for pizza night!! Add the toppings you enjoy. Makes two personal-sized crusts, each with 163 cal, 14g carb (4 net carb), 5g fat and 18g protein.
Course:
Appetizer, dinner, lunch
Keyword:
cottage cheese, gluten free, high protein, low carb, pizza
Servings: 2servings
Calories: 163kcal
Ingredients
1cup2% or 4% cottage cheeseNot zero-fat
¼cupcoconut flour
1tbspground flax seed*
Optional: ½ tsp garlic salt or other seasoning of your choiceHowever, don't add seasonings with a lot of salt added. Cottage cheese already has enough sodium.
Instructions
Preheat oven to 400F.
Add ingredients to bowl, mix until combined. Form into two balls.
Line baking sheet with parchment paper or a silicone baking sheet. Use hands to smoosh down and form into two thin discs, approx. 6” diameter.
Bake for approx. 20 minutes, or until turned golden brown and edges just about to get too brown. Remove from oven and let cool on pan about 5-10 minutes.
Top with ingredients of choice and return to oven to bake for 10 more minutes, or until toppings done to your liking.
If you don’t use the 2nd crust, wrap up and store in fridge for use later, up to 5 days.
*If you can’t find this flax meal, try subbing in with 1 tbsp. more coconut flour. I can’t 100% vouch for outcome, but it should work. The flax is just a nice variety, offers fiber and omega fatty acids.
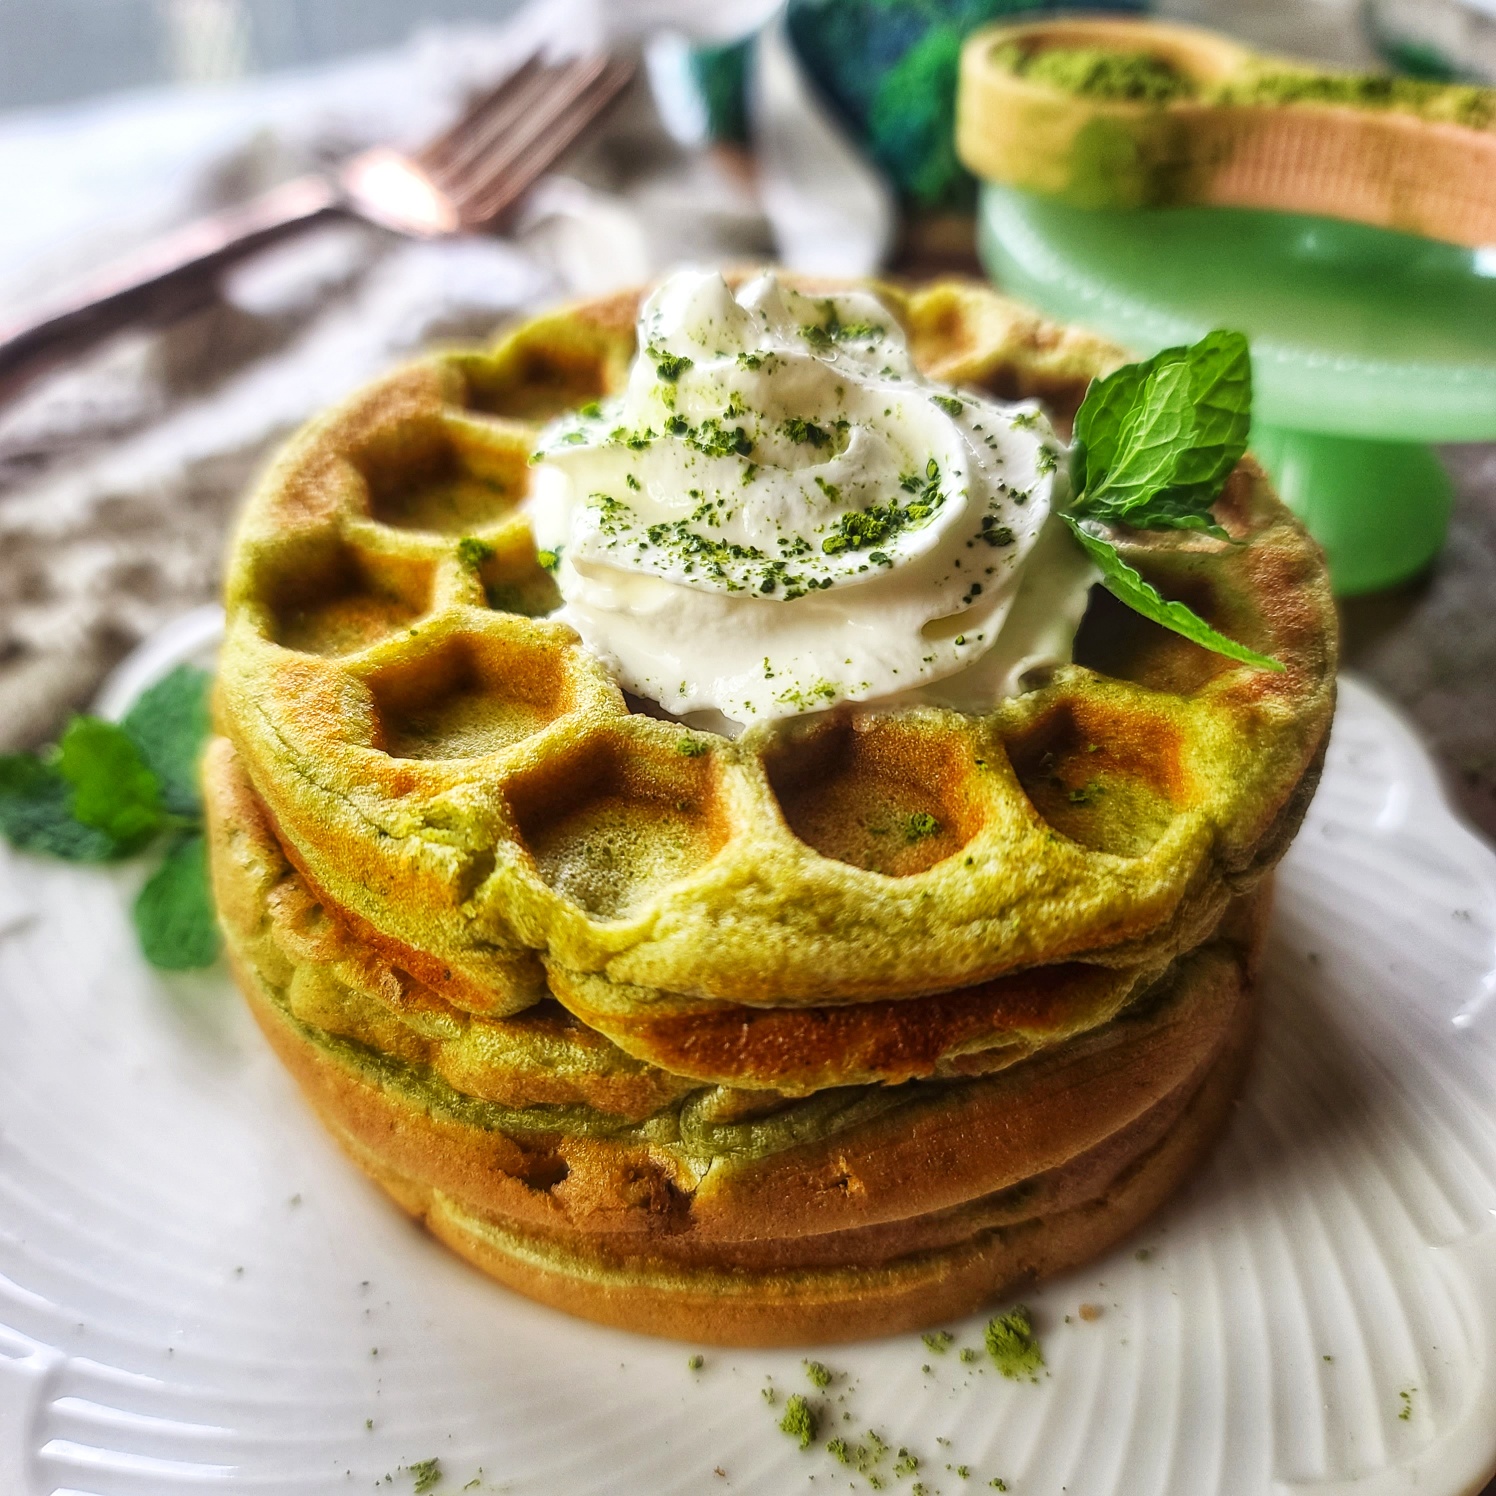
Matcha Cottage Cheese Protein Waffles area matcha match-up made in heaven. Enjoy the benefits of matcha green tea in a filling breakfast that will fuel your morning. With 251 calories and 25g protein for a generous three-waffle stack, this is a protein breakfast idea you’ll want to put on repeat.
I upgraded my already amazing cottage cheese waffles, I make on repeat by adding a few teaspoons of matcha green tea powder to the batter. Love the vibrant color of matcha green tea powder, and also the benefits which include non-jittery energy, anti-oxidants, metabolism support and more.
Another thing I love about these matcha waffles are that they are lightly sweet and don’t need any syrup. Of course, you can drizzle with syrup . . . but without syrup, they are perfect for taking on the go!
You are now hungry for matcha waffles!
INGREDIENT TIPS FOR PROTEIN MATCHA WAFFLES
Flour: You can make with a traditional all-purpose flour, or a gluten-free baking blend (I use Bob’s Red Mill 1:1 Gluten Free Baking Flour with great results. This recipe is not really meant for heavier alternative flours like almond flour, green banana flour, coconut flour, etc. – and thusly, those are not recommended.
Cottage Cheese: Even if you think you aren’t a cottage cheese fan, you are going to love these delicious protein waffles. The cottage cheese is blended smooth into the batter and you won’t even know it’s there – except you get a huge protein boost. I would recommend using 2% cottage cheese (or even 4%) over no-fat cottage cheese.
Protein Powder: Use the type and brand that you like – I’ve made batches with plant-based (Nuzest) and also whey protein. Both are great. Depending on the powder you “may” need to add a skosh more milk when blending the batter – it should be thicker than runnier though, so don’t over do.
Matcha: I’m a fan of Jade Leaf Matcha, it’s the #1 selling farm-direct organic Japanese matcha green tea powder in the U.S. For this recipe, I’m using the pure culinary matcha, not one of their amazing matcha latte mixes (which I do recommend for your waffle-accompanying beverage experience). Through May 10, 2024 use code NMDVIP20 to save 20% at JadeLeafMatcha.com.
Note: Post contains affiliate links. I earn a commission based on sales. Thanks for supporting The Fit Fork.
Matcha Green Tea Waffles are made with protein powder and blended cottage cheese for a protein-packed, low-cal breakfast that will satisfy you all morning. Lightly sweet with no added sugar, so no syrup needed – take on the go! Gluten-free option.
Course:
Breakfast
Keyword:
cottage cheese, matcha, waffles
Servings: 3(about 3 waffles)
Calories: 251kcal
Ingredients
3large eggs
1/3cupmilk of choice
½cup2% cottage cheese
½tspvanilla extract
1/3tspbaking powder
½cupvanilla protein powderor unflavored collagen powder with a few drops of liquid stevia or monkfruit
½cupflour blendlike bob’s red mill gluten blend or a traditional all-purpose flour
2tspmatcha powder
Instructions
Add eggs, milk, cottage cheese and vanilla to blender; blend until smooth.
Add baking powder and protein powder, and matcha powder and blend until smooth.
Add flour half at a time, blending and scraping down sides between.
Cooking in hot waffle iron according to manufacturer’s instructions. I used a Dash mini waffle iron to make 9 waffles. A traditional 4-square iron will make about 2 big waffles (eg: 8 squares).