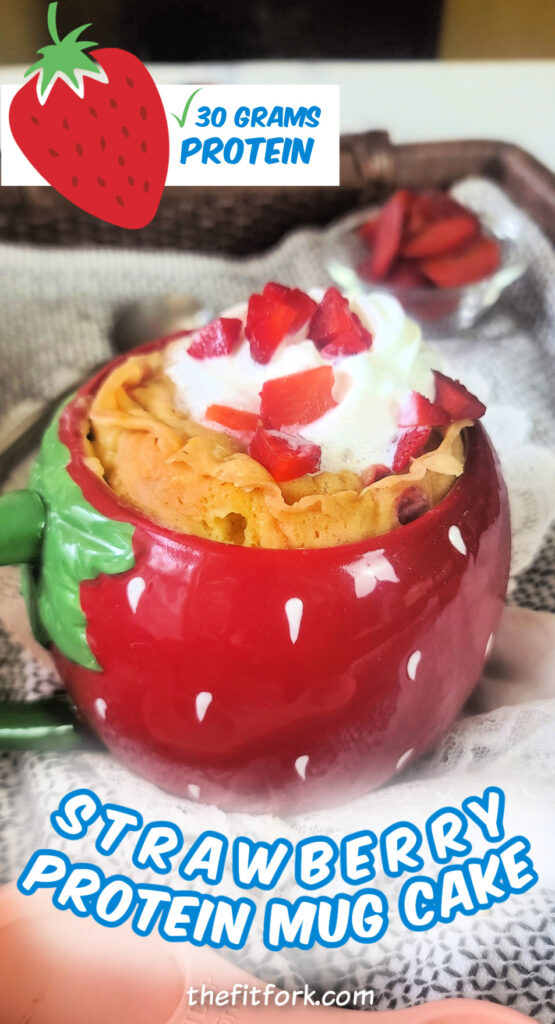
Strawberry Protein Mug Cake – Quick, Delicious, and Packed with 30g Protein

Strawberry season is the best—sweet, juicy, and bursting with flavor! When I spotted the cutest new strawberry-themed mug, I had to whip up a strawberry protein mug cake to match. It’s a fast and fun way to celebrate the season and satisfy your sweet tooth without sacrificing your wellness goals.
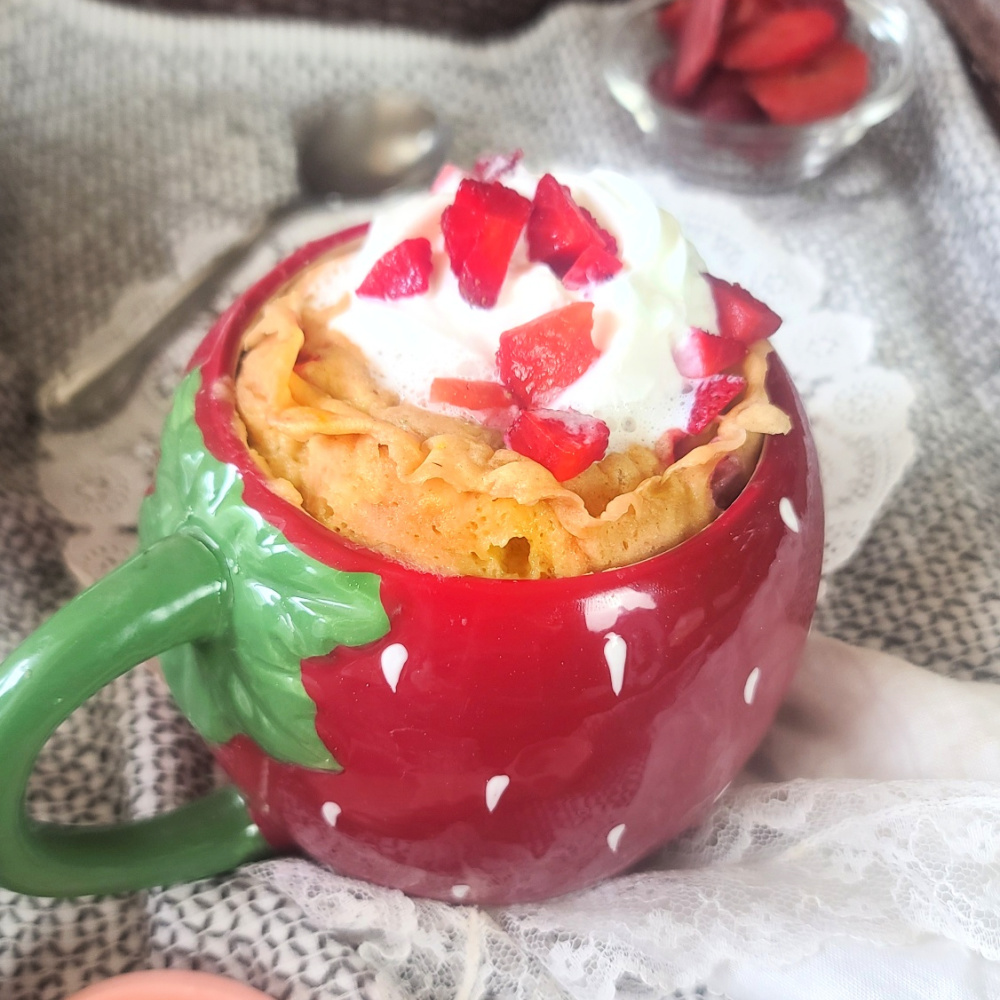
This high-protein mug cake is powered by Nourify PLUS protein powder from Previenix—a plant-based protein that goes beyond just protein. It’s fortified with micronutrients, probiotics, and digestive enzymes to support your overall health – that’s why I think it’s the best vegan protein powder. Bonus: use my code THEFITFORK for 15% off!

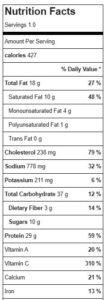
To make this single-serve protein dessert, I also added cottage cheese and an egg, which team up with the protein powder to deliver a whopping 30g of protein per serving. It’s my go-to treat when I need a quick and easy protein boost, whether it’s post-workout recovery or a healthier late-night dessert.

All it takes is a quick mix and about 3 minutes in the microwave—no oven required! Enjoy this a 30g protein snack straight from the mug, or take it to the next level with your favorite toppings like Greek yogurt, whipped cream, or fresh strawberries.

Whether you’re looking for a quick protein dessert, a healthy strawberry recipe, or a satisfying way to curb cravings, this high-protein mug cake –a cooking for one dessert — is a berry sweet win!

Strawberry Protein Mug Cake
Prep Time
2 mins
Cook Time
3 mins
Total Time
5 mins
 
Course: Breakfast, Dessert, Snack
Keyword: mug cake, protein powder, vegetarian
Servings: 1 servings
Ingredients
  • 2 tsp butter
  • ½ cup 2% cottage cheese undrained
  • 1 large egg
  • 1/4 tsp baking powder
  • ¼ cup about 25grams protein powder (I used Nourify PLUS from Prevenix)
  • 2 Tbsp all-purpose flour or gluten-free baking blend
  • 1/3 cup diced strawberries
  • 10-20 liquid stevia or monk fruit drops or 1-2Tb granular sweetener with cup-for-cup sugar equivalency
Instructions
  1. 10-20 liquid stevia or monk fruit drops (or 1-2Tb granular sweetener with cup-for-cup sugar equivalency)
  2. Melt butter in large mug, about 15-20 seconds. Stir in cottage cheese and microwave for another 15 seconds. Mash up cottage cheese into butter so that it’s less lumpy (but don’t worry that it’s not smooth).
  3. Let cup cool for 60 seconds, then whisk in egg with a fork.
  4. Mix in dry ingredients: baking soda, protein powder, and flour.
  5. Stir in most of the strawberries, reserving a bit for garnish.
  6. Add sweetener last, with the amount and type based on your preference. You actually may not even need sweetener, depending on the sweetness of protein powder used.
  7. Microwave on high for approximately 3.5 minutes. Let cool for 1 minute and then top with whipped cream, yogurt, extra strawberries or whatever you like to dress it up.
Recipe Notes

Protein Cheesecake Stuffed Baked Apples – A Flex on Fall Flavors

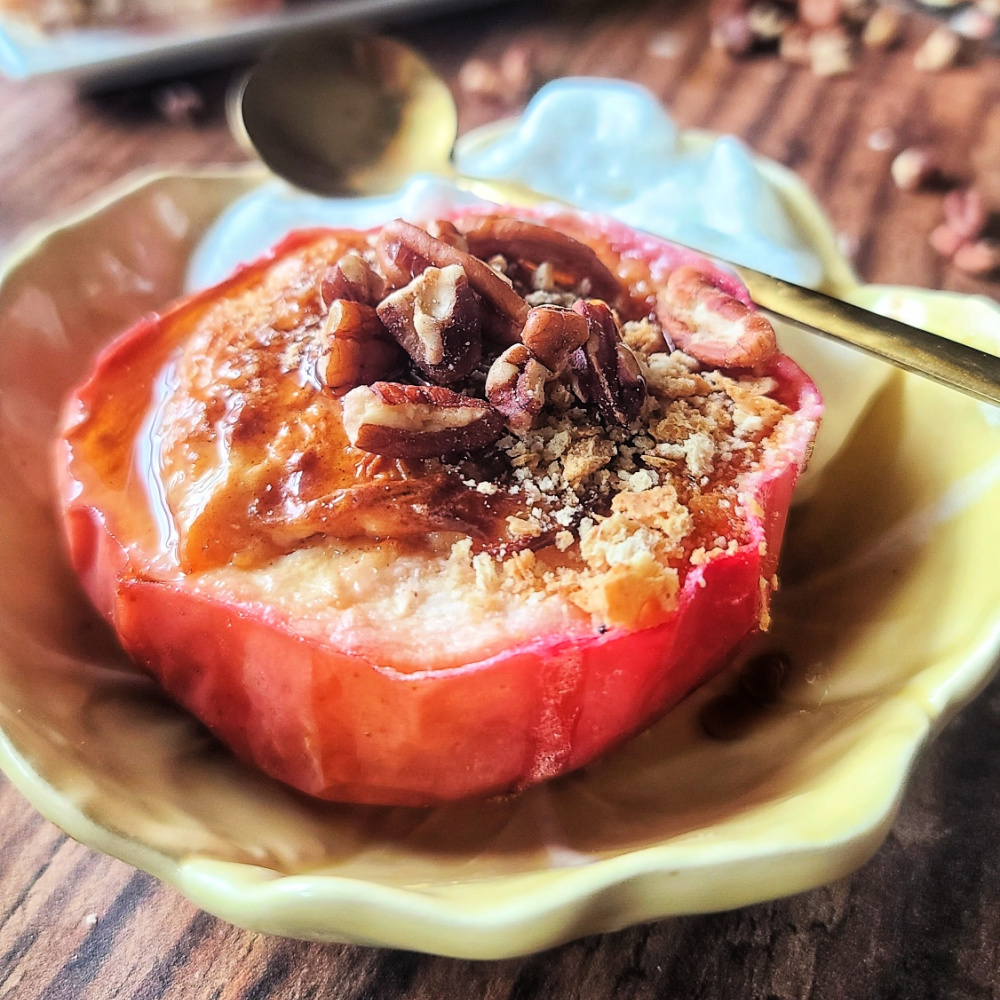
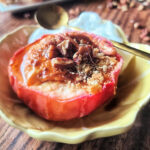
When cheesecake and baked apples unite, they make the perfect fall dessert! Imagine all the cozy goodness of baked apples paired with a protein-packed cottage cheese cheesecake filling that’s not only dessert-worthy but healthy enough for breakfast.

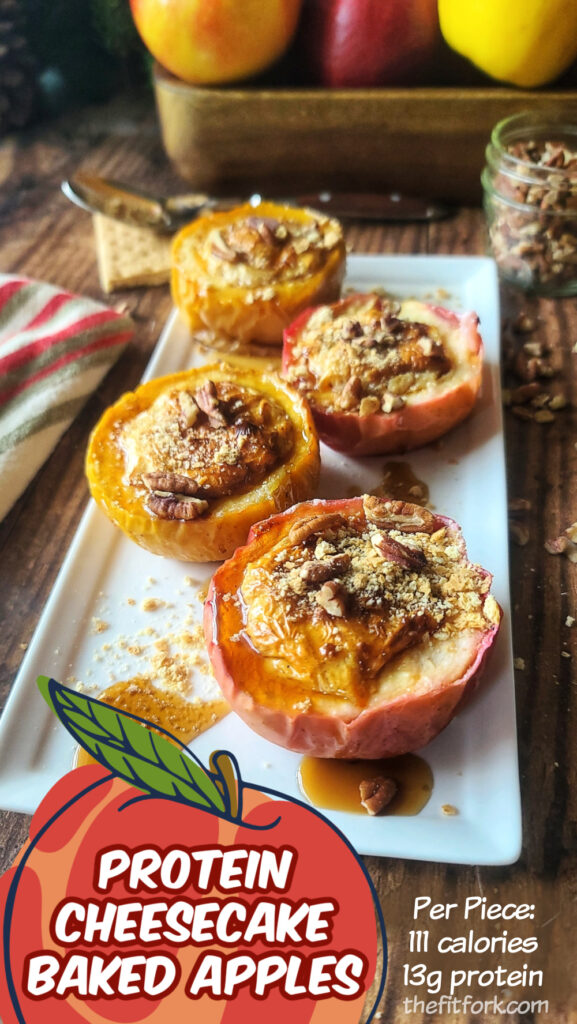
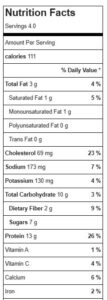
Each apple half is a cute, single-serving treat that fits right into apple season with warm hints of cinnamon and sweet, aromatic flavor. And at just 111 calories and a satisfying 13 grams of protein per piece, it’s a healthy fall snack recipe that fuels you and feels like an indulgence.

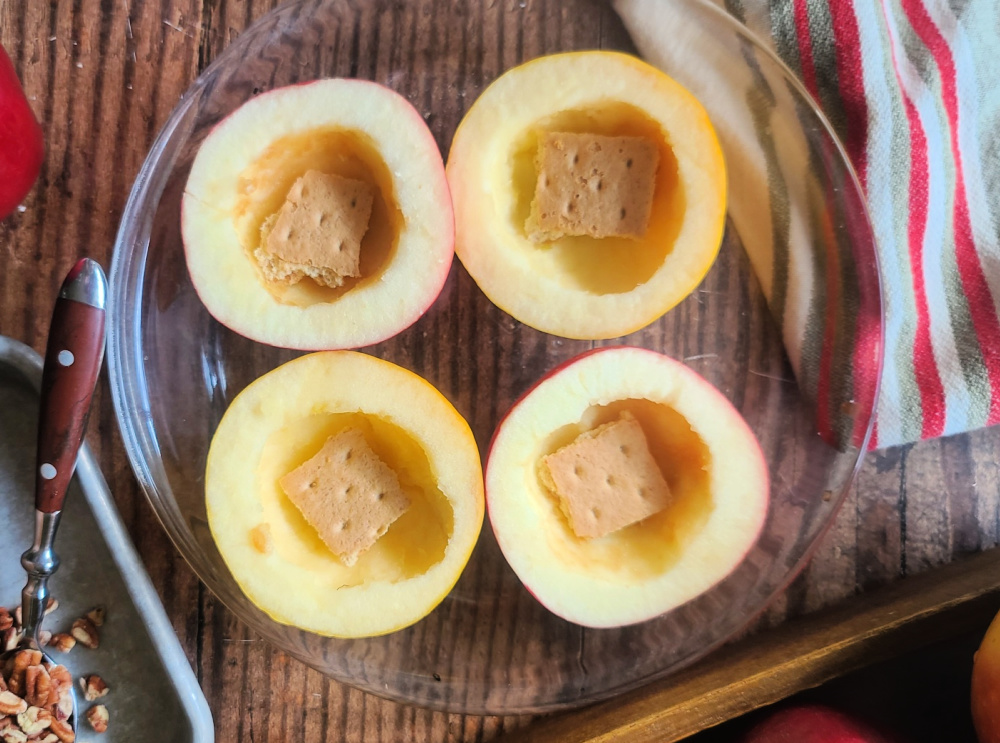
The beauty of these Protein Cheesecake Baked Apples (in addition to their cuteness) lies in the simplicity and adaptability. Start with your favorite apple variety—Honeycrisp for a sweet crunch, Granny Smith for a tart bite, or Fuji for that perfect balance. Slice in half crosswise and scoop out the center core about the size of a golf ball (a melon baller or cookie dough scoop works well for this).

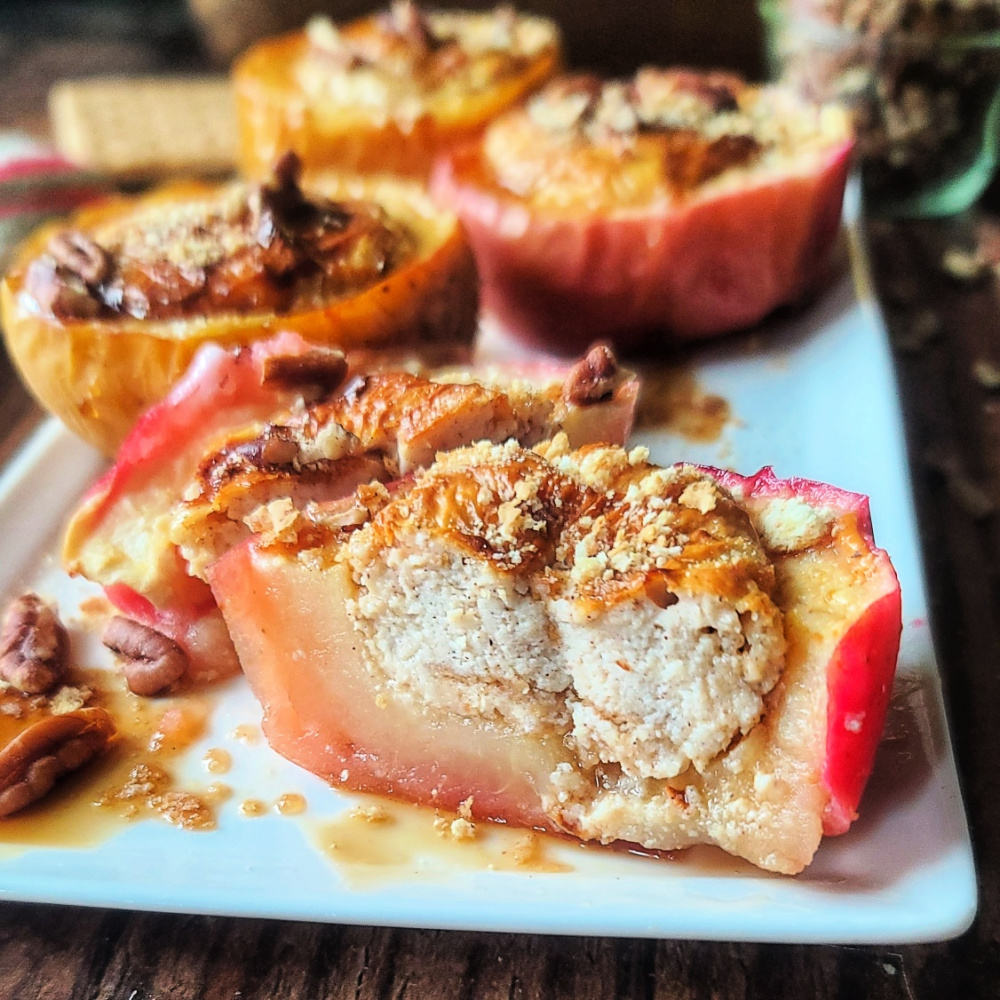
The filling for this protein-packed baked apple is straightforward yet packed with protein: just cottage cheese, an egg, a scoop of vanilla protein powder, and a hint of cinnamon for that warm fall flavor. Blended together until smooth, this filling bakes into a creamy, cheesecake-like consistency that pairs beautifully with the tender, roasted apple. Each ingredient serves a purpose, from providing creaminess and protein to enhancing the flavors of fall, so you get a dessert (or protein breakfast apple!) that’s delicious and nutritious.

Whether you’re serving this healthy baked apple recipe at an autumn gathering or just cozying up with one for solo snacking, they’re as versatile as they are delicious. For an extra touch of indulgence, try serving them warm with a drizzle of maple syrup, a sprinkle of crushed graham cracker crumbs (here’s a good gluten-free graham cracker option), or a handful of pecans. Or, if you’re going all out, pair one with a scoop of vanilla ice cream for that perfect creamy, melty contrast.

This healthy apple cheesecake recipe delivers all the flavor and none of the guilt, making them the ideal fix for fall cravings. Protein-packed but also a low-calorie apple dessert (unlike most apple pies and cheesecakes) – so if you want to enjoy two pieces, only 111 calories each without toppings, then make room on your plate!   Serve at room temperature or slightly warmed for a fall-inspired flavor experience you’ll want to savor again and again!

Note: This post contains Amazon Affiliate Links and/or my storefront. Commissions earned help offset operating expenses at The Fit Fork. Thank you!

Protein Cheesecake-stuffed Baked Apples
Prep Time
10 mins
Cook Time
20 mins
Total Time
30 mins
 

A healthy fall dessert (that’s balanced enough for breakfast), these little protein cheesecakes baked apples are cozy, comforting and a no-added-sugar craving fix with the fall-flavor dessert mood hits. Boosted with protein from cottage cheese and protein powder to support sustained energy.

Course: Breakfast, Dessert, Snack
Cuisine: American, healthy
Keyword: apples, cottage cheese, fall
Servings: 4 servings
Calories: 111 kcal
Ingredients
  • 2 large apples about 16 oz total, 12 oz after centers scooped
  • 2/3 cup 2% cottage cheese
  • 30 g vanilla protein powder this was 1 scoop from my bag
  • 1 large egg
  • 1/2 teaspoon cinnamon
  • ½ large graham cracker rectangle broken in 4 pieces (or gluten-free alternative)
  • Optional toppings; maple syrup pecans, extra graham cracker crumbs, whipped cream, etc (not included in macros)
Instructions
  1. Slice whole apple through the middle crosswise and scoop out the insides for a center well about the size of a golf ball.
  2. In small blender, add cottage cheese and egg. Blend until smooth, scraping sides down as needed. If your cottage cheese didn’t have a lot of liquids, you may need to add 1 tbsp milk.
  3. Add protein powder and cinnamon to cottage cheese mixture and blend until smooth.
  4. Place apples, cut side up, and add a piece of the graham cracker at bottom of well. This is like a mini crust, but also serves as a barrier in case a small whole was created where the stem once was.
  5. Fill apples to just under the rim with the cheesecake mixture.
  6. Bake at 350 for 20-25 minutes until cheesecake filling is set. Transfer to a plate and let cool for 15 minutes.
  7. Add toppings of choice, if desired.
Recipe Notes

Pumpkin Spice Latte Protein Cheesecake: No-Bake Treat for Fall

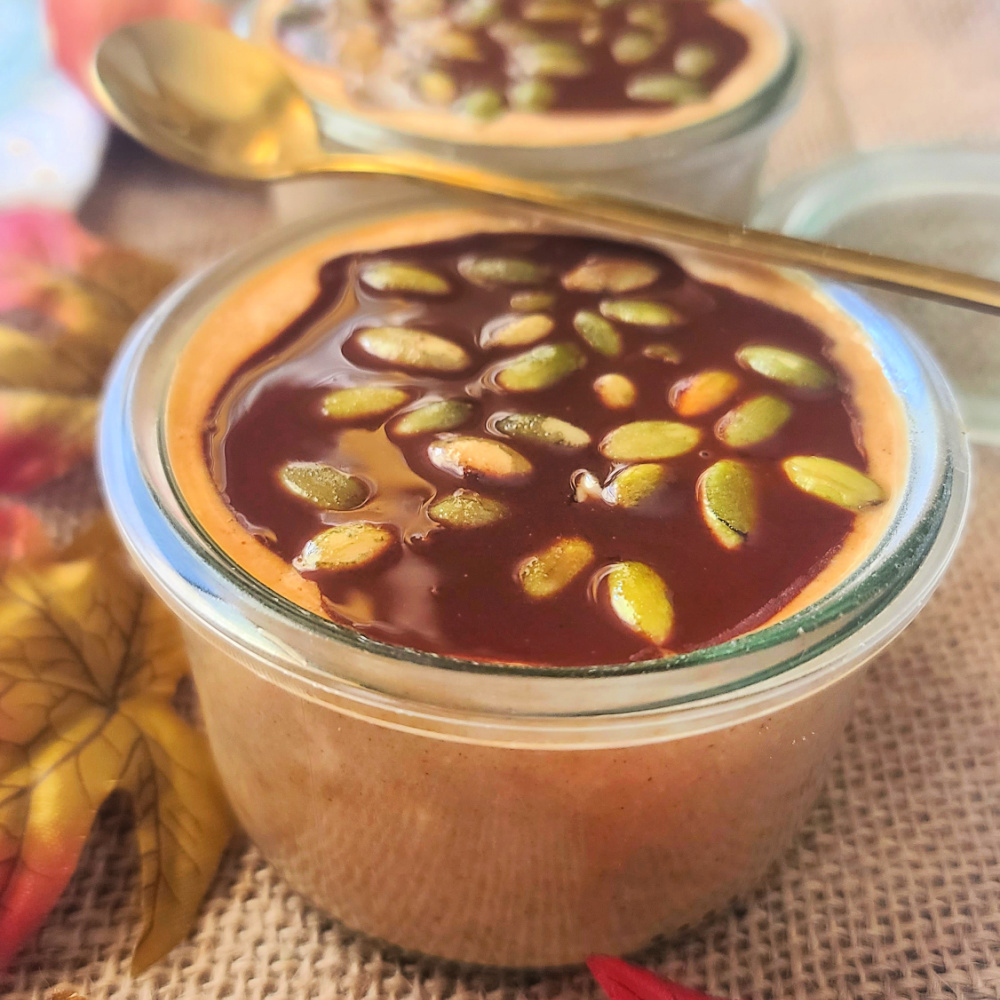
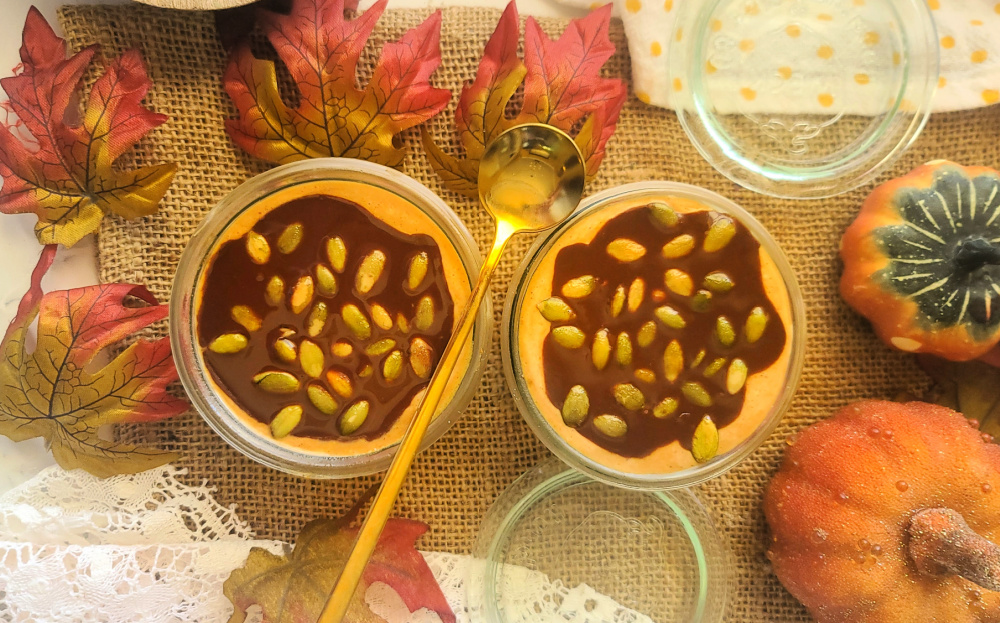
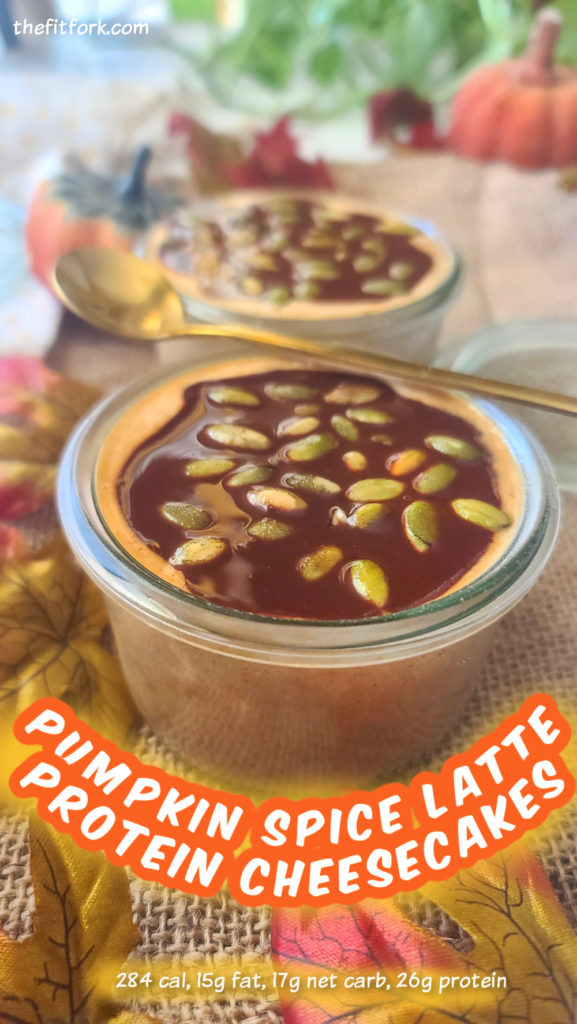
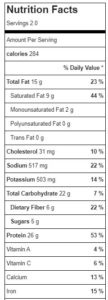
Fall is officially here, which means it’s time to indulge in all things pumpkin spice! But what if you could enjoy that iconic fall flavor in a healthy, protein-packed treat? Well, say hello to my Pumpkin Spice Latte Protein Cheesecakes—a no-bake dessert that you can whip up in minutes and is perfectly portioned in single servings! Makes two; each with 284 cal, 15g fat, 17g net carb, 26g protein

Pumpkin Spice Latte Protein Cheesecakes—a fall-flavored no-bake dessert that you can whip up in minutes and is perfectly portioned in single servings! Makes two; each with 284 cal, 15g fat, 17g net carb, 26g protein

These cheesecakes are perfect for when you’re craving something sweet but want to keep it light and nourishing. Made with smooth blended cottage cheese and a whey-protein coffee mix, each cheesecake offers a serious protein boost while keeping things creamy and delicious. Plus, you’ll get a little caffeine kick, about the same as half a cup of coffee, to keep you energized throughout the day.

BENEFITS OF PUMPKIN SPICE LATTE PROTEIN CHEESECAKES

Healthy Ingredients: Cottage cheese and whey protein coffee mix create a nutrient-dense base that’s high in protein and low in sugar.

Energy and Focus Boost: Thanks to the whey protein coffee mix, you get a modest kick of caffeine in each serving (equivalent of about ½ cup coffee) to help you smash goals through they day.

Fall Flavors: With canned pumpkin and pumpkin pie spice, you’ll get that cozy autumn vibe in every bite.

Easy to Make: These cheesecakes are no-bake, single-serving, and can be prepped in just a few minutes. They’re ideal for busy mornings, a post-workout snack, or a guilt-free dessert.

Chocolate Shell Topping: Sugar-free chocolate chips melted with a touch of coconut oil create a rich, crunchy shell that hardens in the fridge. It’s the perfect contrast to the creamy filling!

Pumpkin Spice Latte Protein Cheesecakes—a fall-flavored no-bake dessert that you can whip up in minutes and is perfectly portioned in single servings! Makes two; each with 284 cal, 15g fat, 17g net carb, 26g protein

WHEN TO ENJOY PUMPKIN SPICE CHEESECAKE WITH PROTEIN

Post-Workout: High in protein, these cheesecakes will help refuel, support muscle management, and satisfy hunger after a workout.

Dessert: Indulge in a sweet treat and satisfy cravings that won’t derail your health goals.

Breakfast: Yes, these pumpkin coffee cheesecakes are healthy enough to start your day with! No sugar crash, just lots of sustained energy here! Plus, the caffeine from the coffee mix adds a nice little morning boost.

TIPS FOR MAKING PSL PROTEIN CHEESECAKES

Blending: This recipe calls for blending cottage cheese for a smooth and creamy texture. For the small amount required, I find that using a personal-sized blender works best – or blending the entire container and using what you need, and saving the rest for another use.

Leftover Pumpkin: You will have leftover canned pumpkin from this recipe. If you don’t have another use for it in the next couple days, freeze in portions (I like ¼ cup in muffin tins) to thaw out and use later in smoothies, oatmeal, baked pumpkin protein recipes and more!

No-Caffeine Version: Swap out the protein coffee mix for an equal amount of vanilla, cake batter, or pumpkin-flavored whey protein. Continue with the rest of the recipe as directed.

Containers: I like to use 6-8 oz. container with air-tight lid, like a canning jar — like these wreck jars in photos.

Pumpkin Spice Latte Protein Cheesecakes—a fall-flavored no-bake dessert that you can whip up in minutes and is perfectly portioned in single servings! Makes two; each with 284 cal, 15g fat, 17g net carb, 26g protein
Pumpkin Spice Latte Protein Cheesecakes
Prep Time
5 mins
chill
5 mins
Total Time
10 mins
 

Pumpkin Spice Latte Protein Cheesecakes—a fall-flavored no-bake dessert that you can whip up in minutes and is perfectly portioned in single servings! Makes two. each with 284 cal, 15g fat, 17g net carb, 26g protein

Course: Breakfast, Dessert, Snack
Keyword: coffee, cottage cheese, latte, protein powder, pumpkin
Servings: 2 servings
Calories: 284 kcal
Ingredients
  • 1 cup 2% cottage cheese, blended
  • 0.33 cup mashed, pumpkin puree
  • 0.25 tsp ground cinnamon
  • .25 tsp pumpkin pie spice
  • 2 scoops coffee whey protein (equals 32 grams) (I used Chike)
  • optional a few drops of liquid stevia or monk fruit if not sweet enough for you.
  • 3 Tbsp sugar-free chocolate chips
  • 1 tsp coconut oil
  • 1 tsp pumpkin seeds
Instructions
  1. Add blended cottage cheese, pumpkin, spices, and coffee whey protein mix
  2. together and stir until smooth.
  3. Taste, and if not sweet enough for your liking, add 5-10 drops of liquid stevia or monk fruit.
  4. Divide mixture among two small bowls, approx. 6-8 oz.
  5. In small microwave safe dish, melt chocolate chips and coconut oil together for 45 to 90 seconds (stirring up every 20 seconds or so, until smooth and glossy). Pour evenly in a layer between the two cheesecakes.
  6. Sprinkle with a few pumpkin seeds, let set in the fridge 15 minutes to s
Recipe Notes

This post contains Amazon affiliate links.

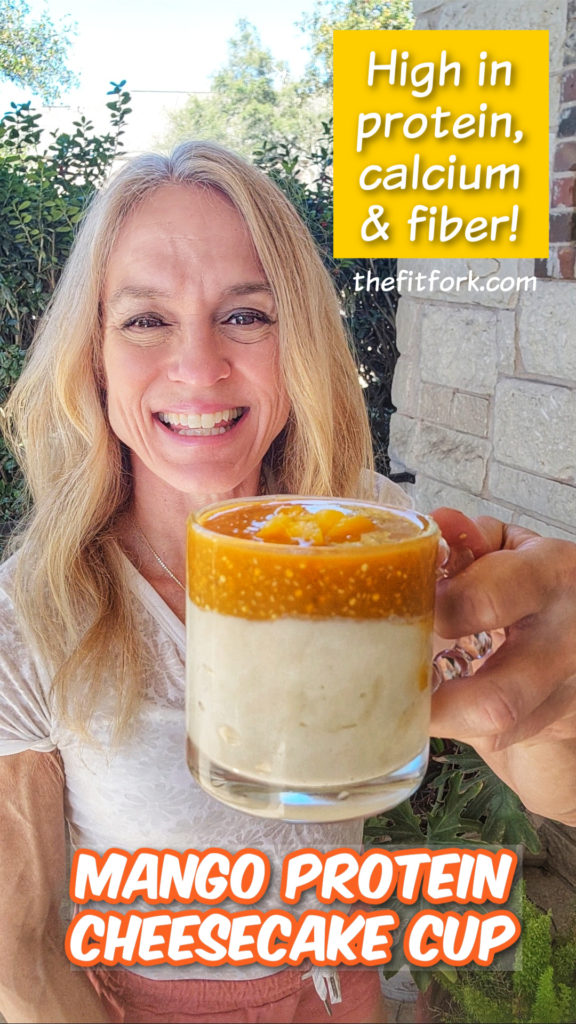
Mango Protein Cheesecake Cup for One

When life throws mangos at you, make a Mango Protein Cheesecake Cup for one. It’s no-bake, no stress and ready to impress your taste buds.

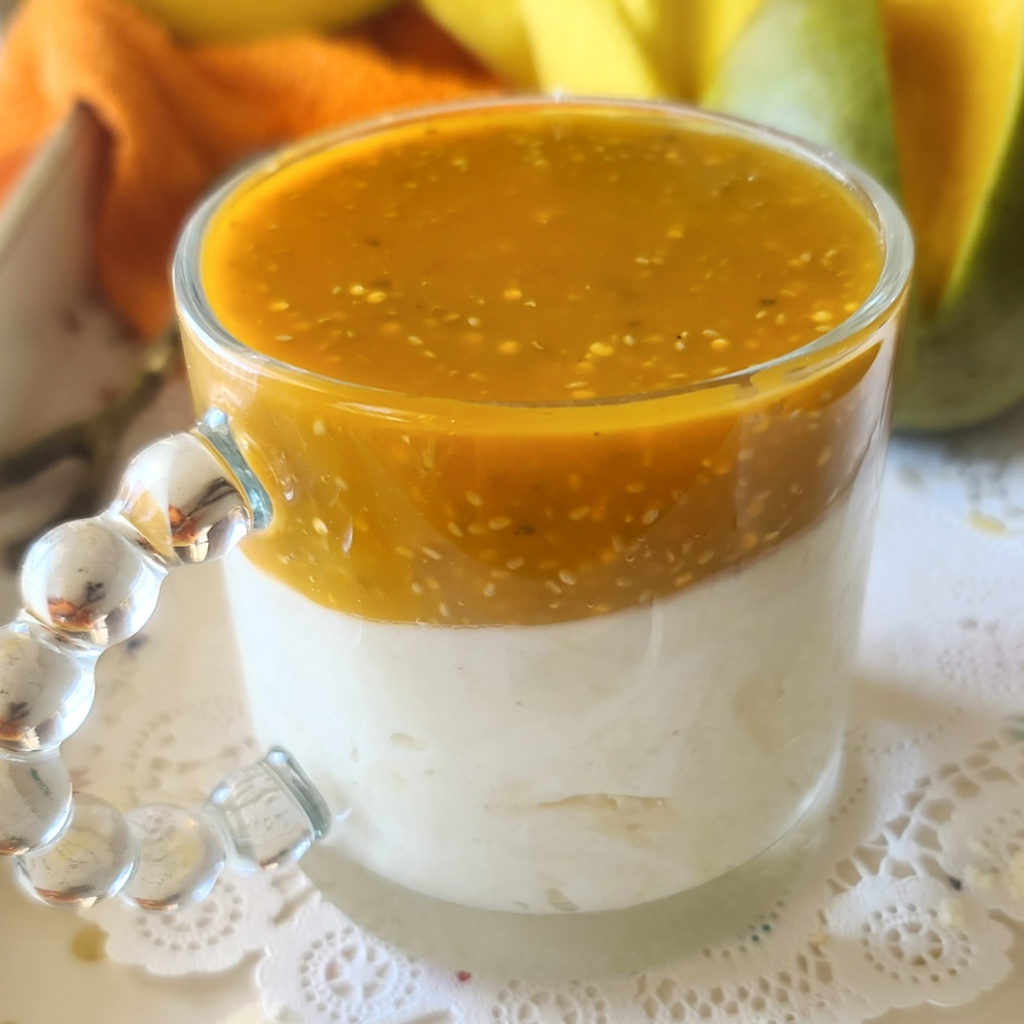
Mango Protein Cheesecake Cup for One is a no-bake, easy high protein snack that will be your new tropical-inspired favorite for a healthy dessert, post-workout snack or even an easy breakfast that also boasts lots of calcium and fiber.

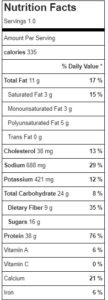
This easy, single-serve high protein snack is sweet and tart and creamy, a delicious healthy dessert that is nutritionally on point for breakfast or a post-workout snack! It’s a great source of protein, calcium and fiber (full nutrition in recipe card).

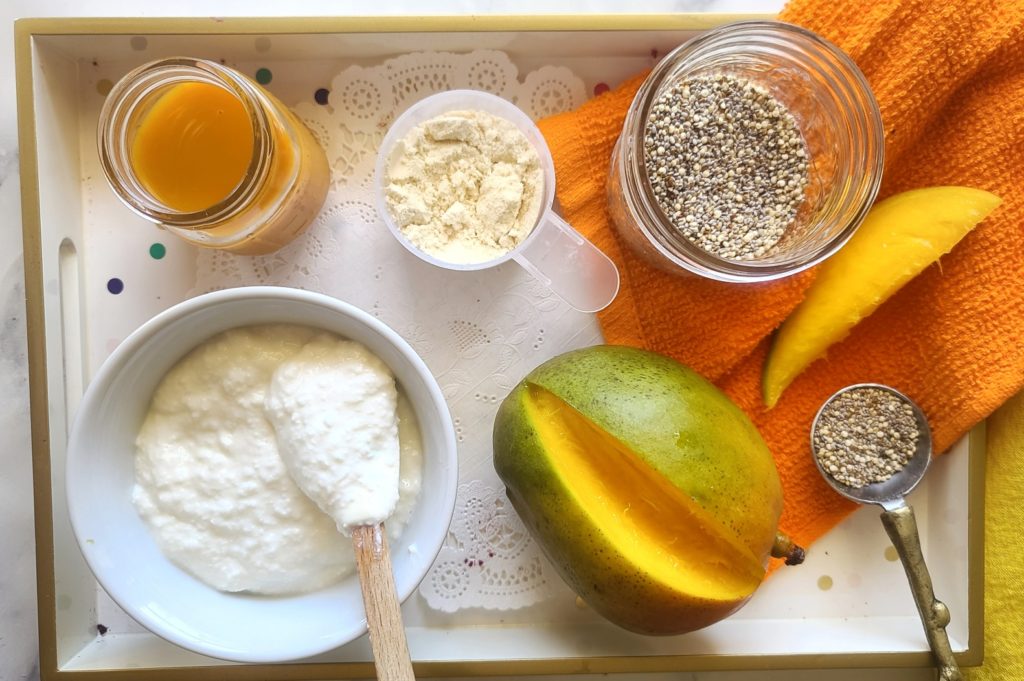
It all starts with one of my favorite ingredients, blended cottage cheese. A cottage cheese cup is such a powerhouse food providing lots of protein and calcium for a relatively low calorie expenditure.  Vanilla protein powder pumps up the protein even more – use the variety you like best! In this cheesecake cup, I use Nuzest Clean Lean Protein, a plant-based protein powder that’s easy to digest and has a good texture. (Save 15% with code FITFORK)

Mango Protein Cheesecake Cup for One is a no-bake, easy high protein snack that will be your new tropical-inspired favorite for a healthy dessert, post-workout snack or even an easy breakfast that also boasts lots of calcium and fiber.
If you have fresh mango to add as garnish – GREAT! But, it’s still amazing with just the mango juice!

TIPS FOR MAKING MANGO PROTEIN CHEESECAKE CUP

Container: You’ll need a 10 to 12-oz bowl, mug or jar for this mango protein cheesecake!

Juice: You can use straight up mango juice, or a mango juice blend – I prefer to look for juice with no added sugar.

Chia Seeds: these help the juice gel up and add a great jam-like texture – you can use black chia seeds or white chia seeds, your choice!

Cottage Cheese Tip: Because I almost exclusively use BLENDED cottage cheese in my diet (a texture preference), I pre-blend my cottage cheese when I get home from the market and then put it back in the container, ready to go. However, if you are just blending the small ¾ cup called for in this recipe, you’ll want to use a personal sized blender.

Mango Protein Cheesecake Cup for One is a no-bake, easy high protein snack that will be your new tropical-inspired favorite for a healthy dessert, post-workout snack or even an easy breakfast that also boasts lots of calcium and fiber.

Note; This post contains affiliate links.

5 from 3 votes
Mango Protein Cheesecake Cup for One is a no-bake, easy high protein snack that will be your new tropical-inspired favorite for a healthy dessert, post-workout snack or even an easy breakfast that also boasts lots of calcium and fiber.
Mango Protein Cheesecake Cup for one
Prep Time
10 mins
chill
30 mins
Total Time
40 mins
 
Mango Protein Cheesecake Cup for One is a no-bake, easy high protein snack that will be your new tropical-inspired favorite for a healthy dessert, post-workout snack or even an easy breakfast that also boasts lots of calcium and fiber.
Course: Breakfast, Dessert, Snack, workout
Keyword: cheesecake, cottage cheese, mango, protein powder
Ingredients
  • ¾ cup 2% cottage cheese blended
  • 3 tbsp. vanilla protein powder
  • 3 oz. mango juice or a no-added sugar mango juice blend I used Naked’s Mighty Mango
  • 1 ½ tbsp. chia seeds black or white
  • optional garnish Fresh mango, chopped
Instructions
  1. Blend cottage cheese in personal-sized blender, scrape down sides as needed.

  2. Stir in protein powder. Add cottage cheese mixture to 10-12 ounce mug (or bowl)

  3. Add mango juice and chia seeds to small jar and shake. Pour over top, chill for 30 minutes to gel up chia seeds. Add chopped mango, if desired.

Recipe Notes

Heavenly Half-Size Raspberry Chocolate Tart

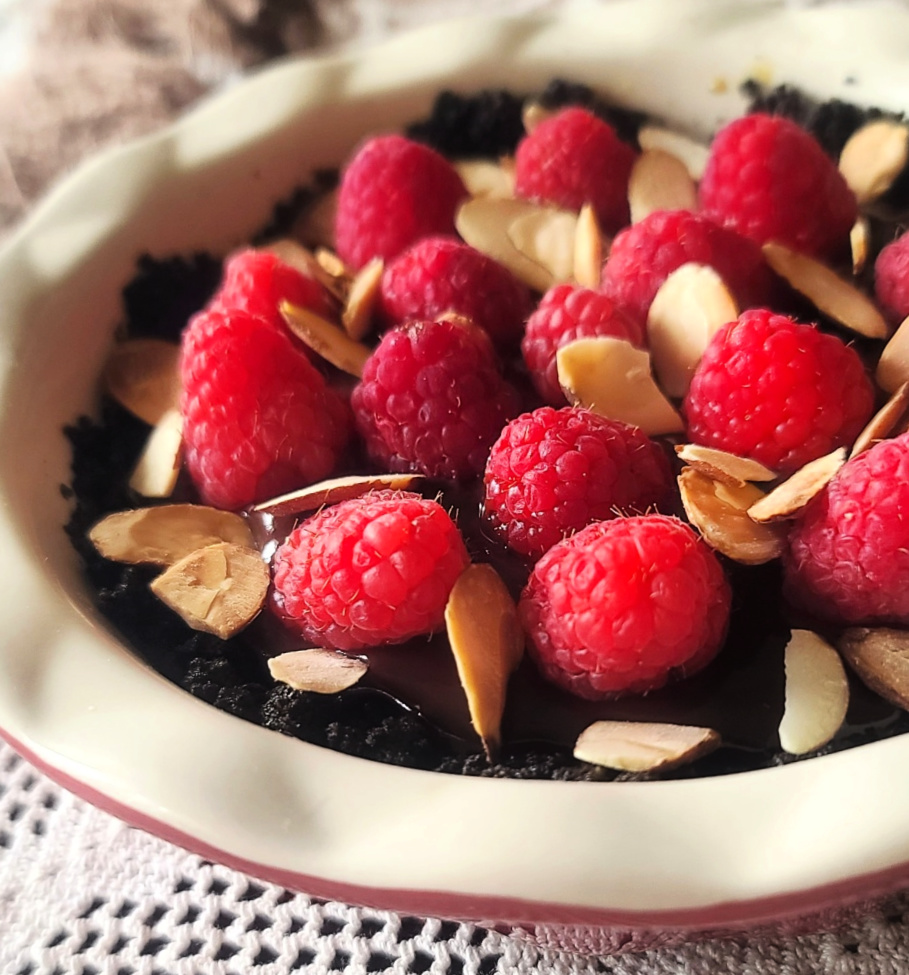
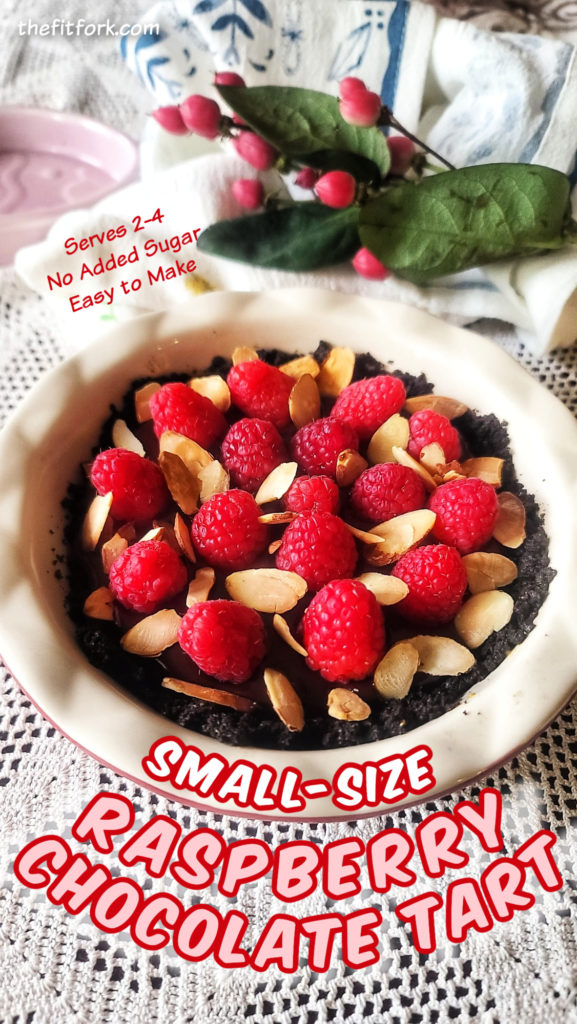
Treat yourself to a slice of this small-batch Raspberry Almond Dark Chocolate Tart, a luxuriously rich and creamy dessert (without added sugar) that is perfectly portioned to serve four.

A rich and delicious chocolate tart bejeweled with raspberries and almonds, and perfectly portioned to serve two to four guests. No added sugar and can be gluten-free depending on what type of cookie used for the crumb crust.

I’m typically not entertaining a crowd – so this half-sized chocolate tart is ideal for small gatherings, intimate dinner dates, or just because you know (like me) you’d eat all the leftovers without thinking!

This dark chocolate tart with raspberries is surprisingly simple to make, and only uses a handful of ingredients, six to be exact – butter, sugar-free cookies, heavy cream, sugar-free chocolate chips, raspberries and a sprinkle of almonds.

A rich and delicious chocolate tart bejeweled with raspberries and almonds, and perfectly portioned to serve two to four guests. No added sugar and can be gluten-free depending on what type of cookie used for the crumb crust.

TIPS FOR MAKING CHOCOLATE ALMOND RASPBERRY TART

Sugar-free Ingredients: While I used sugar-free products, like sugar-free chocolate chips) it’s not imperative. You can substitute the full-sugar siblings – however, it will alter the nutritional details. The cookies are crushed, and while I used a chocolate sandwich cookie, you may use other sugar-free types like sugar-free vanilla wafers, chocolate chip cookies, or graham crackers.

Dairy Ingredients: Do NOT substitute the butter with margarine or heavy cream with half-and-half or milk. The filling is a classic chocolate ganache, and these full-fat dairy items are essential for a successful outcome. If you need a dairy-free recipes, try my full-size, Paleo Chocolate Raspberry Tart

Tart Pan / Dish: A little 5.5” pie dish works perfectly, or a smaller quiche pan, tart pan, or lower profile ramekin with a 5.5 to 6” diameter.

Microwave: I don’t have the patience to melt chocolate and cream on the stove top using a double boiler method. So, instead I melt by heating up the cream in microwave (to just under boiling) and then adding my FINELY chopped chocolate at room temperature (or mini chocolate chips work well). Then I stir until everything melted together, smooth, and glossy! Those little pieces of chocolate melt fast, but if needed, you still have chocolate lumps – microwave for 5-10 seconds and stir again.

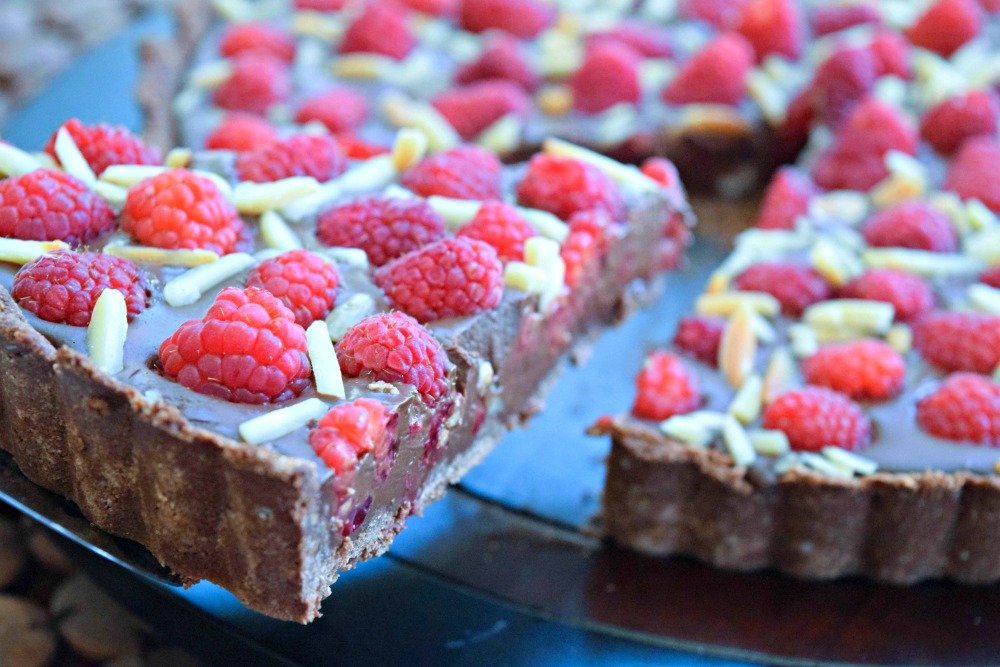
Paleo Chocolate Raspberry Tart slic

 As mentioned, if you need a dairy free raspberry tart, my  Paleo Chocolate Raspberry Tart (above) is for you – it gets rave reviews. It is full-sized, but leftovers will store covered in the fridge for up to 5 days.

5 from 5 votes
A rich and delicious chocolate tart bejeweled with raspberries and almonds, and perfectly portioned to serve two to four guests. No added sugar and can be gluten-free depending on what type of cookie used for the crumb crust.
HALF-SIZE CHOCOLATE ALMOND RASPBERRY TART
Prep Time
10 mins
Cook Time
10 mins
chilling
10 mins
Total Time
30 mins
 
This rich and delicious chocolate tart is bejeweled with raspberries and almonds, and perfectly portioned to serve two to four guests. No added sugar and can be gluten-free depending on what type of cookie used for the crumb crust.
Course: Dessert
Keyword: chocolate, raspberry, tart
Servings: 4
Ingredients
  • 1 tbsp butter melted
  • 8 sugar-free “oreo” type cookies crushed (or 2/3 cup crumbs of another crunchy cookie)
  • 4 oz. heavy cream (aka whipping cream) 1/2 cup
  • 4 oz. sugar-free dark chocolate finely chopped (or sugar free chocolate chips)
  • 15 Fresh raspberries
  • 1 tbsp slivered almonds toasted
Instructions
  1. Preheat oven (or toaster oven) to 350F.
  2. Add melted butter and cookie crumbs to tart pan. Stir together until combined. Press down with fingers to compact crumb mixture into pan, pushing it up the sides at least 1/2″-inch.
  3. Bake crust for 8 minutes. Remove and let cool completely.
  4. To make filling, add cream to microwave-save bowl or glass measuring cup. Heat on high for about 45 seconds until hot, but not boiling. Remove and add finely chopped chocolate (or mini chocolate chips). Stir until chocolate melts into the cream and mixture is glossy and smooth. If needed, can stick back in microwave for 5-10 seconds if come pieces haven’t melted.
  5. Pour this mixture into the cooled crust, using a spatula to scrape out every last bit of that goodness.
  6. Transfer to fridge for about 10 minutes to allow the ganache to set up. Then add raspberries and almonds on top, let chill another 10 minutes or until ready to serve.
  7. Cut in wedges, serves 2 to 4 depending on appetite. Store any leftovers, covered and in the fridge for up to 5 days.
Recipe Notes